10 Clever Ways to Hide Small Kitchen Appliances on the Counter
Explore ways to hide small kitchen appliances on counter with practical design ideas, planning advice, safe installation notes, and helpful tips for your US home.
By Home Crane Editors. . 10 min read.
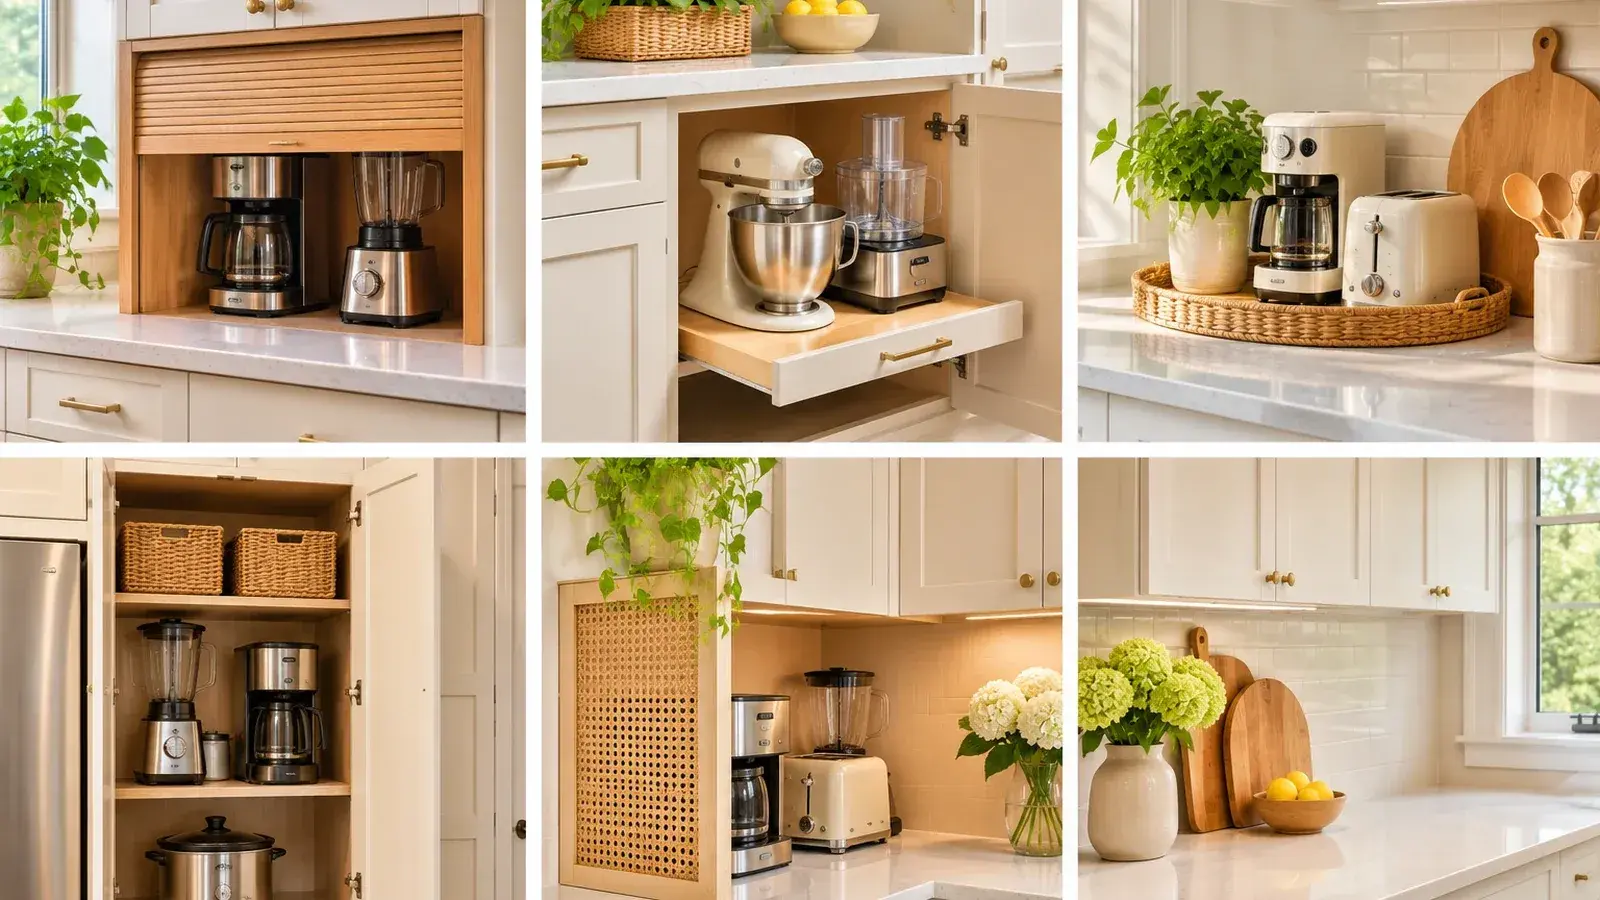
A kitchen counter can look crowded even when every appliance is useful. Coffee makers, toasters, blenders, mixers, and air fryers all compete for the same working surface, and storing them in random cabinets can make daily routines harder. The goal is not to hide everything at any cost. It is to give frequently used equipment a planned home, keep preparation space clear, and make sure appliances are stored only when cool and operated with the airflow and clearances required by their manufacturers. These ten ideas work across compact kitchens, apartment layouts, and larger rooms that need calmer counters.
Before you start
Before building or buying an appliance garage, measure the appliances you actually own, including handles, lids, cords, and the space needed to lift or open them. Separate equipment by how often it is used. A coffee maker may deserve a ready-to-use station, while a food processor used once a week can be stored in a lower cabinet. Also check cabinet depth, shelf strength, outlet location, and the direction a door or pull-out shelf moves. A cabinet that looks spacious in a drawing may not fit an appliance with a tall lid or rear cord.
Heat and ventilation are the important safety limits. A toaster oven, air fryer, kettle, or other heating appliance should not be operated behind a closed cabinet door or in a tight cubby unless the manufacturer expressly approves that setup. Panasonic’s guidance for one toaster-oven model specifies substantial open space around and above the unit; other products have different requirements. Open the appliance garage fully, move the appliance to its approved operating position if necessary, and allow it to cool before closing it away. [1] [2] [3]
Ideas to try
1. Build an appliance garage with a tambour door
A tambour-front appliance garage hides a coffee maker or blender while keeping the counter visually quiet. The roll-up door avoids a wide swing into the room, which can be helpful beside a corner or narrow walkway. Choose a durable interior finish and a counter-depth opening that fits the tallest appliance with its lid open. Keep cords from tangling behind equipment and leave room to move each item forward when it is in use.
Make it work: Use the garage for storage, not as an enclosed operating chamber. Open it completely and follow the appliance manual’s ventilation instructions before turning anything on.
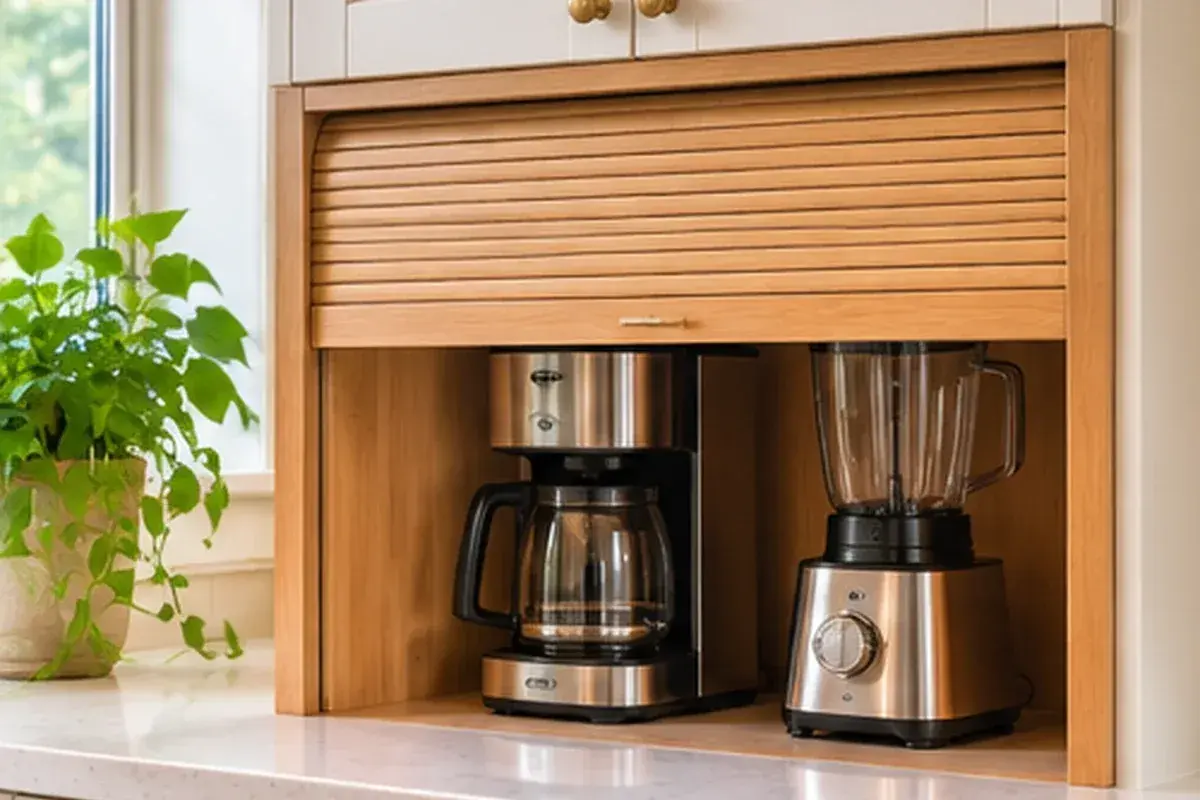
Appliance garage with a roll-up tambour door.
2. Use a pull-out shelf inside a deep base cabinet
A sturdy pull-out shelf can bring a heavy stand mixer or blender toward the user instead of requiring repeated lifting from a deep cabinet. It also clears the counter between uses. Select a slide system and cabinet base rated for the combined weight of the shelf and appliance, and confirm that the appliance can be lifted safely once the shelf is extended. Store attachments in a nearby divided drawer so the main shelf does not become cluttered.
Make it work: Do not operate a heating appliance inside a closed cabinet. Pull-out hardware must be installed according to its load rating and the cabinet manufacturer’s instructions.
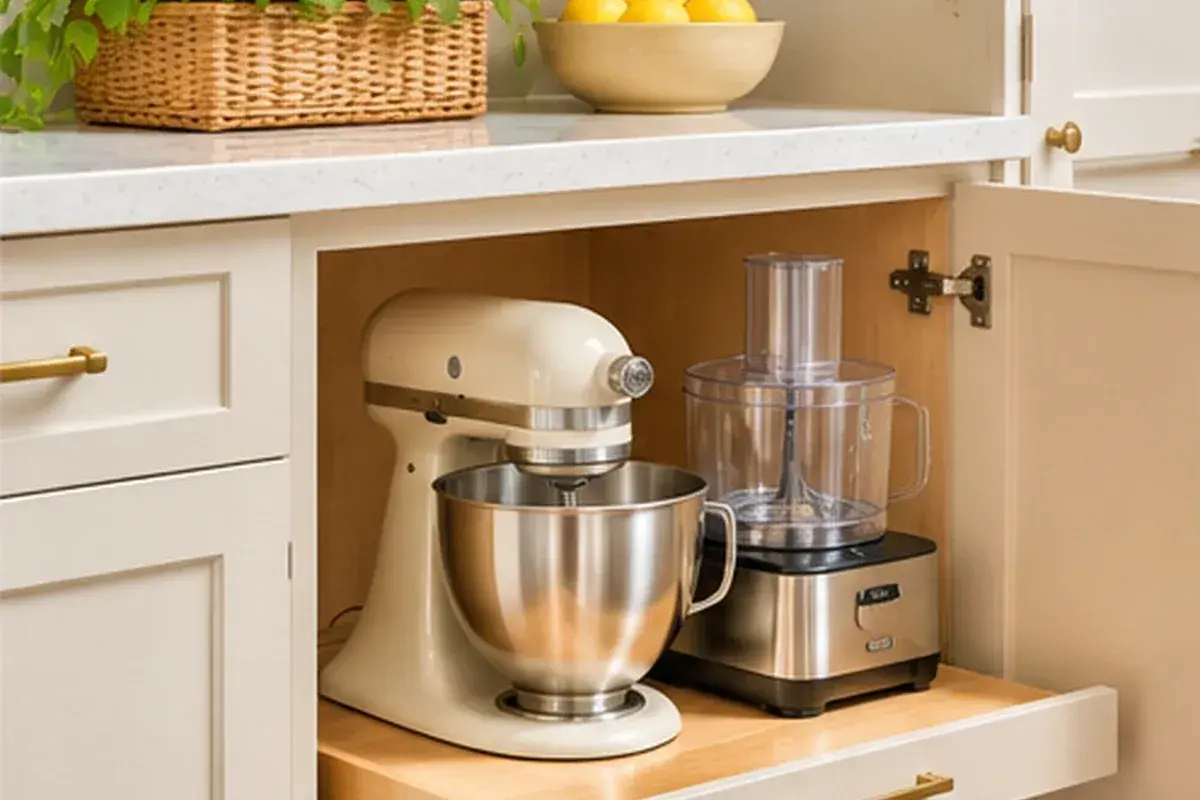
Pull-out shelf for a compact kitchen appliance.
3. Create a dedicated coffee station
Group the coffee maker, grinder, mugs, and filters on one section of counter or inside a planned niche. A tray can visually contain the small pieces, while a drawer below holds pods, tea, and cleaning supplies. When the station has a clear boundary, the rest of the counter stays open for meal preparation. Match the tray, shelf, and cabinet hardware to the kitchen rather than introducing another decorative style.
Make it work: Keep liquids away from outlets and never hide a cord beneath a wet tray. Allow steam and heat to escape as specified by the coffee maker manufacturer.
4. Hide rarely used equipment in a pantry cabinet
Large appliances that are not used daily can live on an adjustable pantry shelf. A food processor, waffle maker, or slow cooker is easier to retrieve when it has a defined shelf and a labeled basket for accessories. Place heavier equipment at a comfortable lifting height rather than above shoulder level, and use a shelf deep enough to support the complete base without overhang.
Make it work: Do not place a heavy machine on a shelf that flexes or is not securely supported. Store appliances unplugged and fully cool, with removable parts clean and dry.
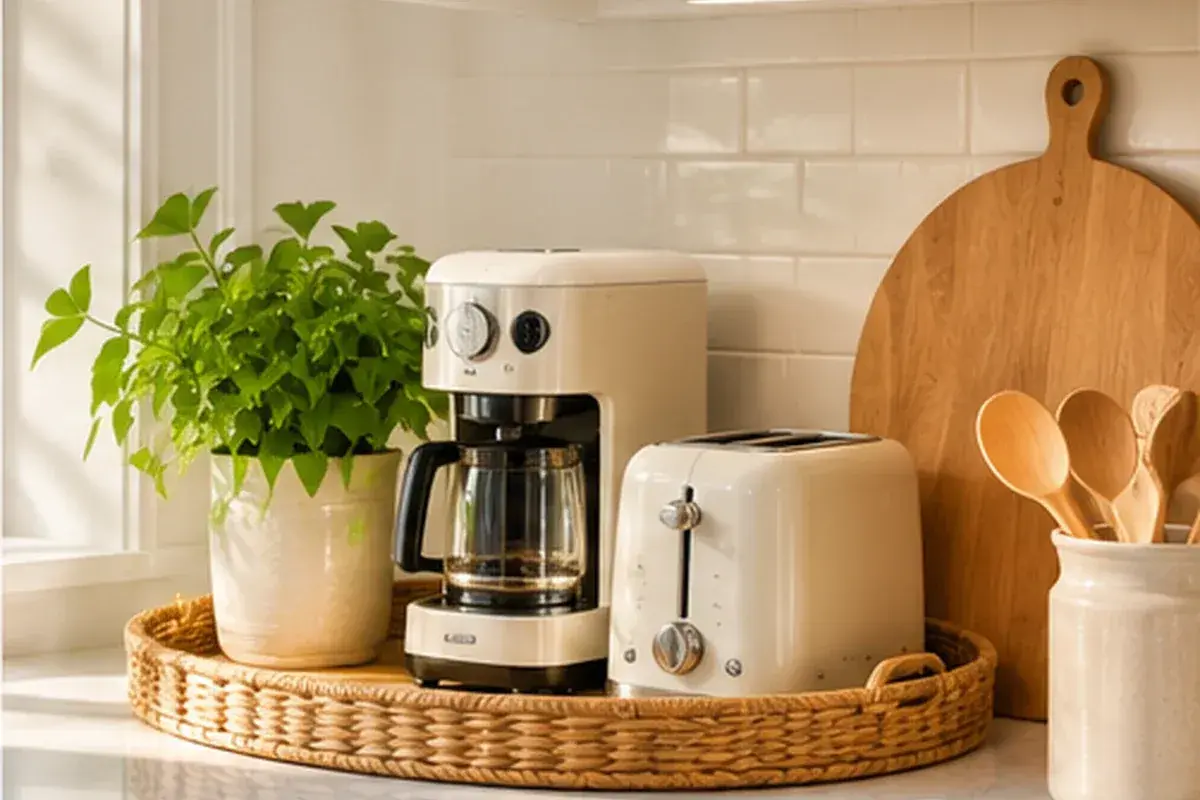
Countertop coffee station with coordinated small appliances.
5. Add a lift-up mixer shelf
A cabinet with a lift-up shelf can make a stand mixer easier to access while preserving the counter when the appliance is not needed. This is particularly useful in a kitchen with a narrow worktop. Choose hardware specifically designed for the appliance’s weight and make sure the shelf locks securely in its raised position. Keep the mixer bowl and attachments nearby, but not on the counter where they can become a permanent pile.
Make it work: A lift mechanism needs correct installation and a suitable cabinet. Have a qualified installer assess the cabinet structure if the appliance is heavy or the hardware requirements are unclear.
6. Use a tall cabinet with an appliance zone
A tall pantry cabinet can hold a compact collection of small appliances on separate shelves. Put the most frequently used machine at mid-height and reserve lower shelves for heavier items. An interior outlet can be convenient only when electrical work and the cabinet design are planned correctly. For heat-producing appliances, the storage space must not be treated as a place to operate them unless the product and cabinet system are specifically designed for that purpose.
Make it work: A built-in outlet should be installed by a qualified electrician and meet local electrical requirements. Keep stored appliances accessible for cleaning and inspection.
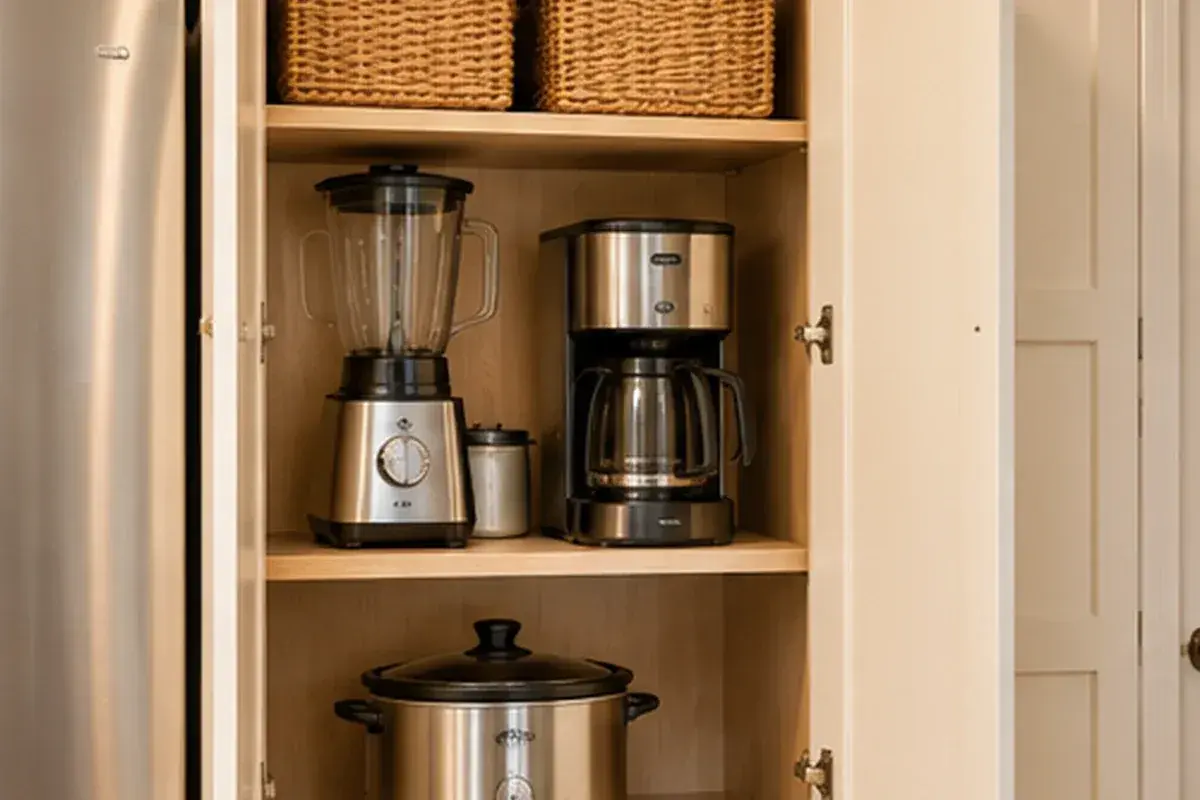
Tall pantry cabinet with organized appliance shelves.
7. Choose a counter tray that makes appliances look grouped
Not every appliance needs a door. A wood or stone-look tray can make a coffee maker, sugar bowl, and small canister read as one organized station. Use the tray to define the zone, not to create a sealed base around equipment. Choose a size that leaves room for the appliance to be moved or wiped underneath, and keep the tray away from sink splash and cooking heat.
Make it work: Do not place a heating appliance on a decorative tray unless the appliance manual permits that surface. The tray should not cover feet, intake openings, or ventilation gaps.
8. Store compact appliances in a wide drawer
A deep drawer with internal dividers can store a hand mixer, immersion blender, scale, and other compact equipment. This arrangement is useful when upper cabinets are full or when the counter is short. Measure each appliance with its attachments removed and plan a separate compartment for beaters, blades, and cords. Use a drawer with suitable hardware and avoid packing it so tightly that items are damaged when opened.
Make it work: Never place a warm appliance or damp component into a closed drawer. Clean, dry, and cool equipment before storage.
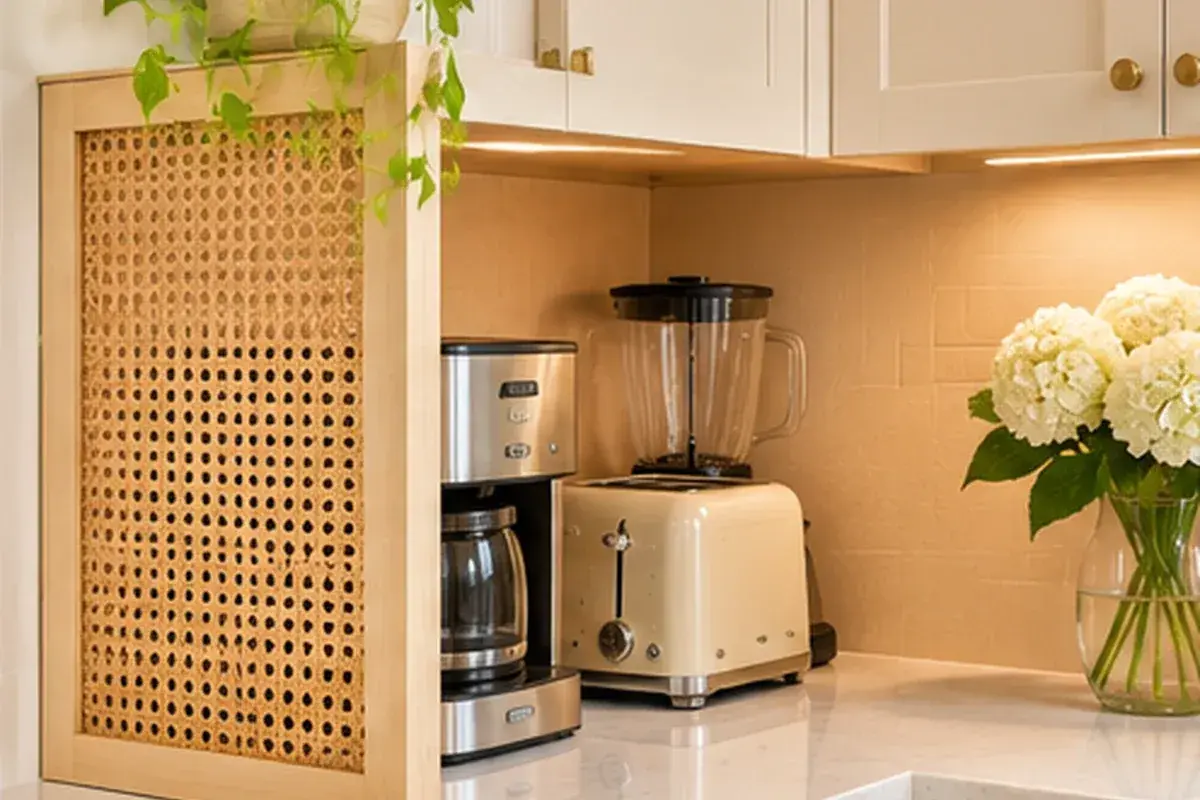
Cane-front appliance station in a light kitchen.
9. Create a sliding pocket-door station
Pocket doors can slide back into the cabinet sides, leaving the counter open without a swinging door. They work well for a compact breakfast center or a small collection of frequently used appliances. The interior should be finished with a wipeable surface, and the opening should be wide enough for the largest appliance plus the movement needed to use it. A pocket door is a design feature, not a reason to ignore heat clearances.
Make it work: Keep the doors fully open during any approved appliance operation and confirm that heat cannot damage the cabinet finish or door mechanism.
10. Keep the counter clear with a rotating-use plan
Some households have more appliances than daily counter space. A rotating-use plan assigns a home to each machine based on frequency: daily coffee equipment stays accessible, weekly mixers sit on a pull-out shelf, and occasional gadgets go to a pantry. This simple inventory can be more effective than adding expensive cabinetry. Keep the items you use together in one location so meal preparation remains convenient.
Make it work: Avoid storing equipment in damp spaces or stacking heavy machines. Follow each manufacturer’s instructions for cleaning, cooling, and long-term storage.
Minimal counter with small appliances stored away.
How to plan a practical appliance storage zone
List every appliance and record its footprint, height, weight, plug position, and the space needed to operate it. Include lids, removable bowls, and doors in the measurement. Then mark the counter area that must remain available for food preparation. This makes it easier to see whether an appliance garage, tall cabinet, deep drawer, or simple tray is the best answer. A storage solution should reduce daily friction, not force you to move three objects to reach one machine.
Group by activity rather than by appearance. Coffee tools can live together, baking equipment can share a cabinet, and compact food-prep tools can fit near the work zone where they are used. Keep frequently used equipment at easy reach and heavier items low. If new cabinetry includes outlets, lighting, or fixed shelving, confirm the plan with the relevant trades before ordering doors and hardware.
The difference between hiding and operating an appliance
Storage doors are useful when equipment is switched off, cool, unplugged where the manual recommends, and clean. Operation is different. Heating appliances release heat and steam, and some need substantial clearance above, behind, and beside the case. Panasonic provides model-specific instructions for a toaster oven, and Breville publishes separate clearance guidance for its countertop ovens. These instructions are examples of why one universal appliance-garage dimension cannot be assumed. [1] [2]
A cabinet that is safe for a blender in storage may not be safe for a toaster oven while it is running. Do not close doors around hot equipment, do not cover vents, and do not improvise a permanent extension cord inside a cabinet. Major appliances should be connected directly to suitable wall outlets, according to the U.S. Fire Administration. Ask a qualified electrician about additional outlets or changes to kitchen wiring. [3]
Finishes and organization that keep a kitchen easy to clean
Choose cabinet interiors that can be wiped clean and tolerate the expected level of everyday wear. Removable trays, dividers, and baskets make it easier to catch crumbs and return accessories to their places. Leave enough space to remove a coffee maker’s water reservoir or a mixer’s bowl without striking the cabinet. A storage system that requires perfect packing every time will usually stop being used after a few weeks.
Use a limited palette of materials. Matching the appliance garage to the cabinet fronts makes it disappear, while a wood interior or a contrasting door can create a deliberate focal point. Keep decorative containers away from appliance vents and do not use a cabinet top as a place to stack paper towels or other combustible supplies near equipment that becomes warm.
A simple reset for a crowded counter
Before buying a new cabinet, remove everything from the counter and put back only the appliances used most days. This temporary reset often reveals that the problem is not a lack of storage but a lack of zones. Group the blender with food-prep equipment, keep coffee items near the cups, and store occasional-use appliances in a cabinet that is easy to reach. Measure the items that remain before choosing a permanent storage solution.
A storage system should reduce steps rather than create them. If a machine is used every morning, hiding it behind a complicated door may make the kitchen less convenient. If an appliance is rarely used, however, moving it to a pantry shelf can create an immediate improvement. Review the arrangement after a week and adjust the locations that feel awkward.
Finally, leave at least one clean preparation area where there is no appliance, tray, or decorative container. A clear surface makes the kitchen easier to wipe down and gives hot cookware a safe place to rest. The most successful solution is usually a balance of concealed storage, one organized daily-use station, and genuinely open workspace.
Frequently asked questions
Can I use a toaster or air fryer inside an appliance garage?
Only if both the appliance manufacturer and the cabinet system explicitly allow that operation and all required clearances are maintained. In most ordinary appliance garages, the door should be fully open and the appliance positioned for safe use, or the appliance should be moved to an open counter.
What is the easiest way to hide small kitchen appliances?
Start by moving occasional-use appliances to a pantry or deep cabinet. Group daily coffee equipment on a tray or in an open station, and consider an appliance garage only when the dimensions and ventilation are appropriate.
Can I add an electrical outlet inside an appliance cabinet?
A qualified electrician should plan and install any new outlet. The cabinet design, appliance load, local code, and manufacturer instructions all matter.
Should I store appliances while they are still warm?
No. Let equipment cool fully and follow its cleaning and storage instructions before putting it into a cabinet or drawer.
How do I decide which appliances stay on the counter?
Keep the equipment used daily and that fits safely in the available space. Store bulky or occasional-use appliances in accessible cabinets, with heavier items at lower levels.
Sources and further reading
[1] Panasonic: Toaster Oven Cabinet Installation and Safety Guidance
[2] Breville Support: Countertop Oven Clearances and Smoke Prevention
[3] U.S. Fire Administration: Appliance and Electrical Fire Safety
Sources
- Panasonic: Toaster Oven Cabinet Installation and Safety Guidance. Checked November 4, 2026
- Breville Support: Countertop Oven Clearances and Smoke Prevention. Checked November 4, 2026
- U.S. Fire Administration: Appliance and Electrical Fire Safety. Checked November 4, 2026
Share this article
Get new guides by email
Practical home articles and free resources. No spam, and you can unsubscribe at any time.
Keep reading
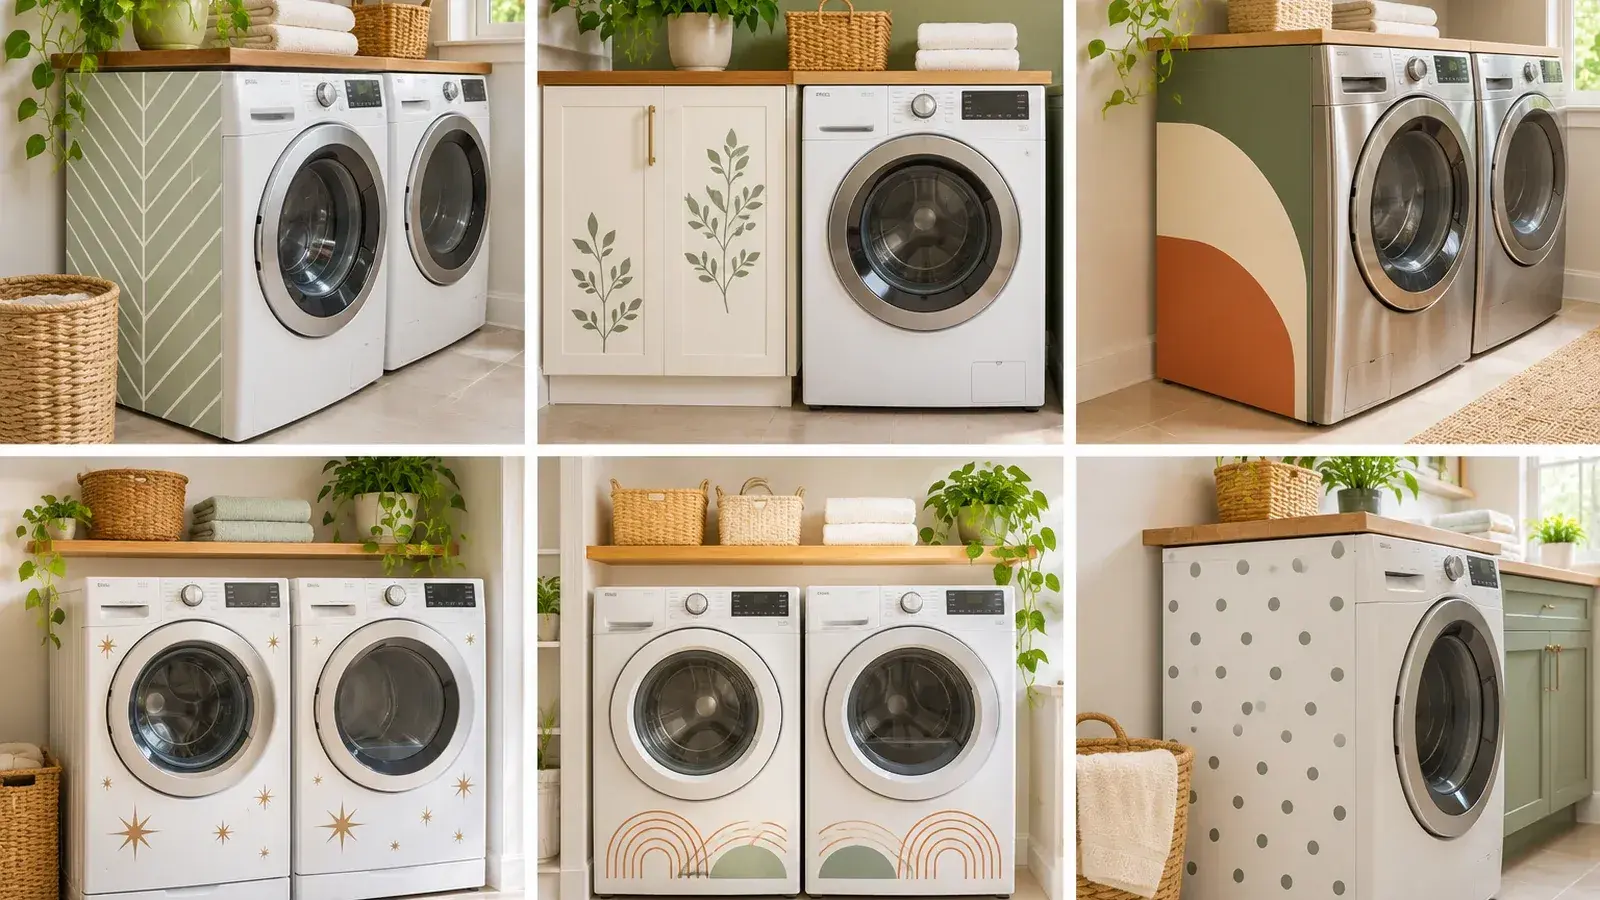
9 Easy DIY Washer and Dryer Decal Makeover Ideas
Explore DIY washer and dryer decal makeover ideas with practical design ideas, planning advice, safe installation notes, and helpful tips for your US home.
November 2026, 10 min read
13 Best Vintage Countertop Toaster Oven Aesthetic Looks
Explore vintage countertop toaster oven aesthetic with practical design ideas, planning advice, safe installation notes, and helpful tips for your US home.
November 2026, 10 min read
15 Retro Mini Fridge Decor Ideas for a Bedroom Setup
Explore retro mini fridge decor ideas bedroom setup with practical design ideas, planning advice, safe installation notes, and helpful tips for your US home.
November 2026, 11 min read