9 Easy DIY Washer and Dryer Decal Makeover Ideas
Explore DIY washer and dryer decal makeover ideas with practical design ideas, planning advice, safe installation notes, and helpful tips for your US home.
By Home Crane Editors. . 10 min read.
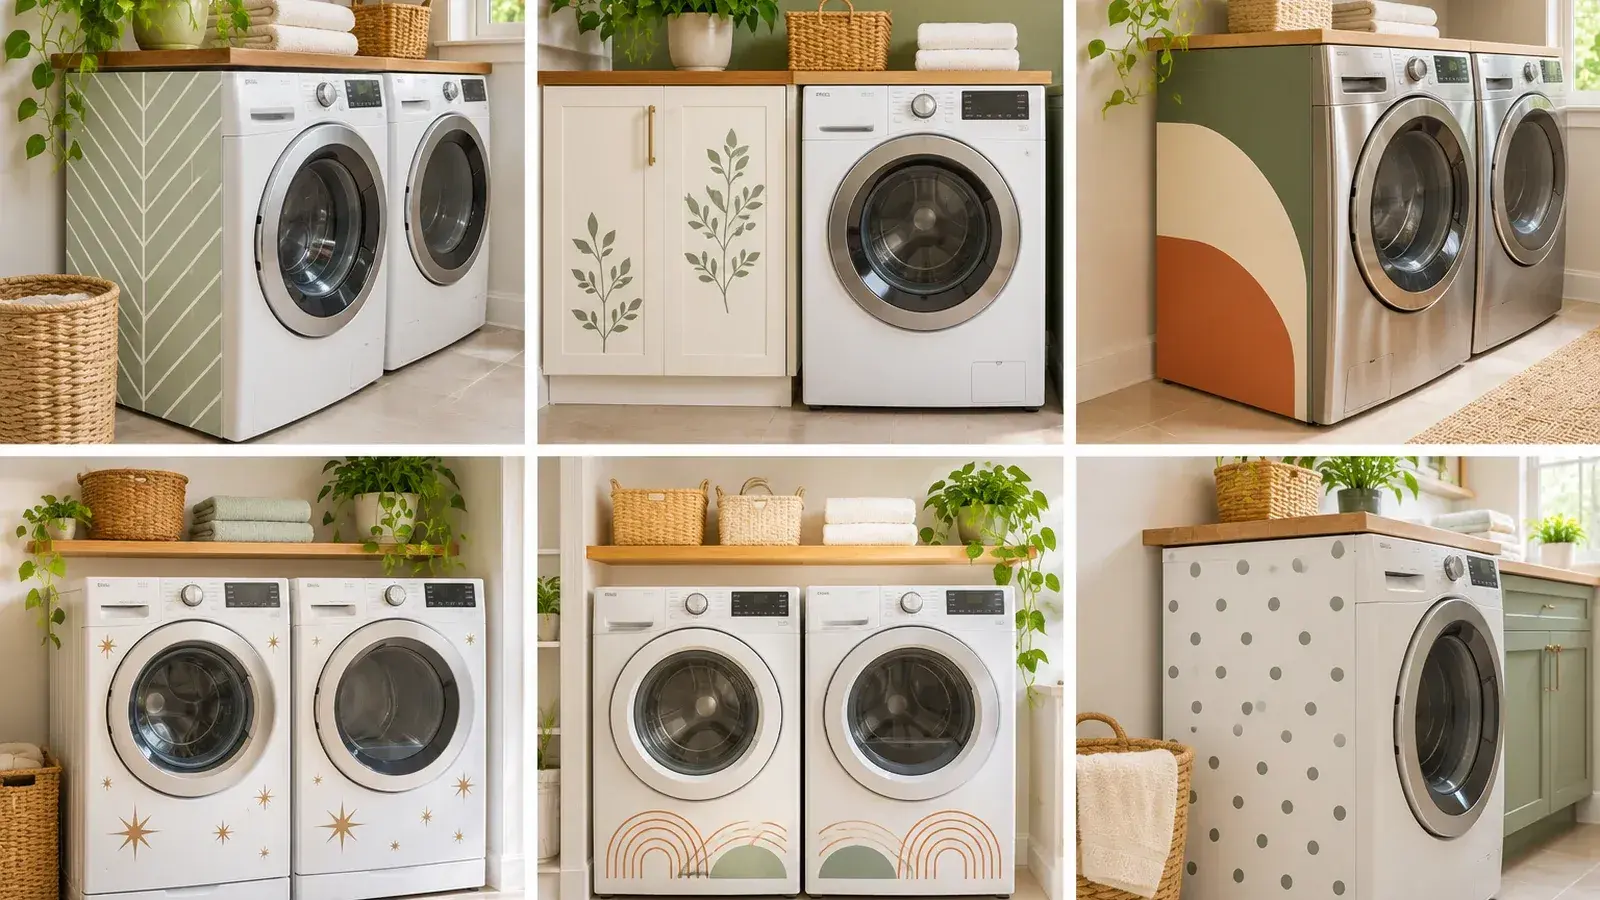
A laundry room can feel more finished with a small decorative change, and removable decals offer a way to add pattern or color without replacing the washer and dryer. The best makeovers are restrained, easy to remove, and applied only to surfaces the appliance manufacturer allows. A decal should never cover an air opening, control, warning label, serial plate, door seal, hinge, filter access, or service panel. These nine ideas focus on visual changes that can make a plain laundry pair feel coordinated while respecting the heat, moisture, vibration, and cleaning demands of the room.
Before you start
Read the washer and dryer manuals before selecting vinyl or placing any decal. Exterior materials differ by model: some surfaces are painted metal, some are plastic, and some parts may become warm during operation. GE’s care guidance for one washer-dryer model recommends non-abrasive cleaning and notes that the case can feel warm in normal use. That is a reason to test compatibility and avoid placing decorative material on warm or restricted areas. Do not cover controls, vents, door openings, safety information, product labels, or access panels. [1]
Choose a removable film from a reputable supplier and check its temperature, surface, and removal guidance. The decal should be applied only to a clean, dry, cool surface that the manufacturer permits. Avoid adhesives that leave residue or require aggressive solvents. Keep the room ventilated while cleaning, follow product label instructions, and do not use heat tools or sharp scraping on appliance finishes. If the manual does not clearly permit adhesive decoration, use a freestanding decorative panel or coordinated wall art instead.
Ideas to try
1. A small botanical decal cluster
Place a few simple leaf shapes near the upper outer corner of each appliance to introduce a soft botanical note. Use the same muted sage or olive tone on both machines so the pair reads as coordinated. Keep the design deliberately small and away from the display, door edge, and any area the manufacturer identifies as a vent or service opening. A subtle cluster can look like custom detailing without covering most of the factory finish.
Make it work: Use only removable material approved for the surface and temperature. Do not apply decals to warm panels or control surfaces.
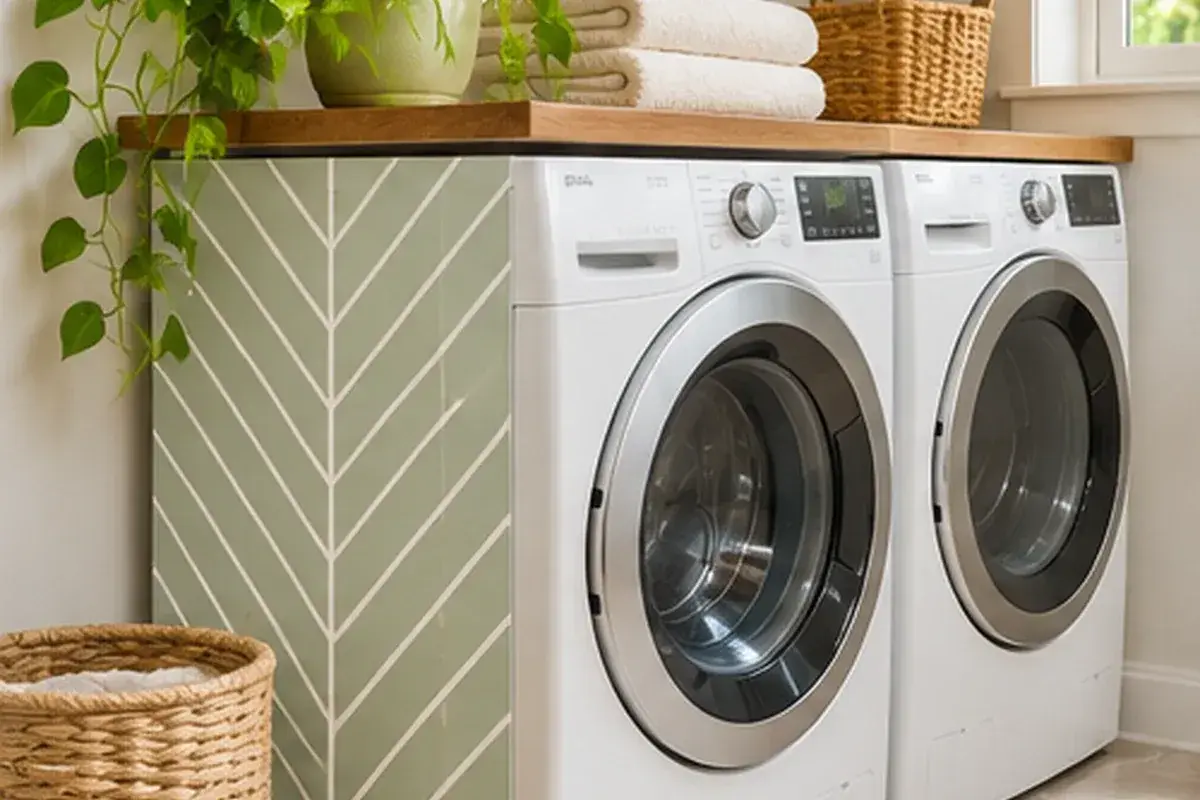
Sage geometric decals on a coordinated washer and dryer.
2. A narrow geometric stripe
A single horizontal or vertical stripe can visually connect the washer and dryer and make them feel like a planned set. Choose a color that repeats the cabinetry or floor tile, such as charcoal, muted terracotta, or soft green. Measure carefully so the stripe does not cross a door seam or hinge, and keep its placement simple enough to remove later without leaving a large adhesive footprint.
Make it work: Do not place vinyl across moving joints, door seals, latches, or access panels. Confirm the appliance exterior is an approved application surface.
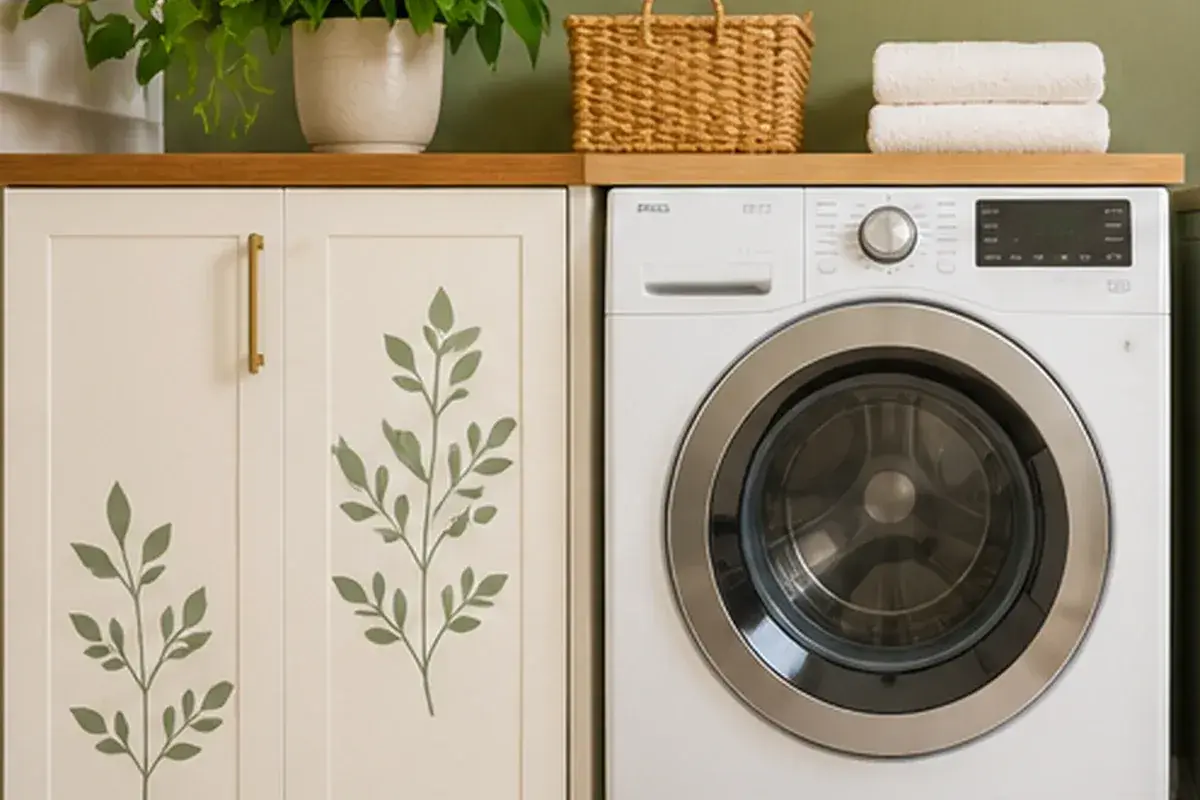
Botanical line decals on a white laundry machine.
3. A soft arch-shaped accent panel
An arch motif can echo a rounded mirror or wall niche in the laundry room. Use a small removable arch shape on a permitted flat side panel rather than covering the whole appliance front. A pale clay or sage color creates a warmer look against white machines, while a cream accent can soften a darker pair. Repeat the shape in wall art or a nearby storage label for a coherent design.
Make it work: Keep the arch completely separate from ventilation slots and the control panel. Use material rated for the actual surface conditions.
4. A restrained terrazzo-dot pattern
A few irregular dots can bring a playful terrazzo effect to an otherwise plain laundry space. Limit the colors to two or three and use a light background only if it contrasts clearly with the appliance. Apply the dots as separate pieces with enough space between them to avoid a large film that is difficult to remove or clean around.
Make it work: Small decals should not create a rough edge where lint and cleaning residue collect. Avoid the top surface if the machine becomes warm there.
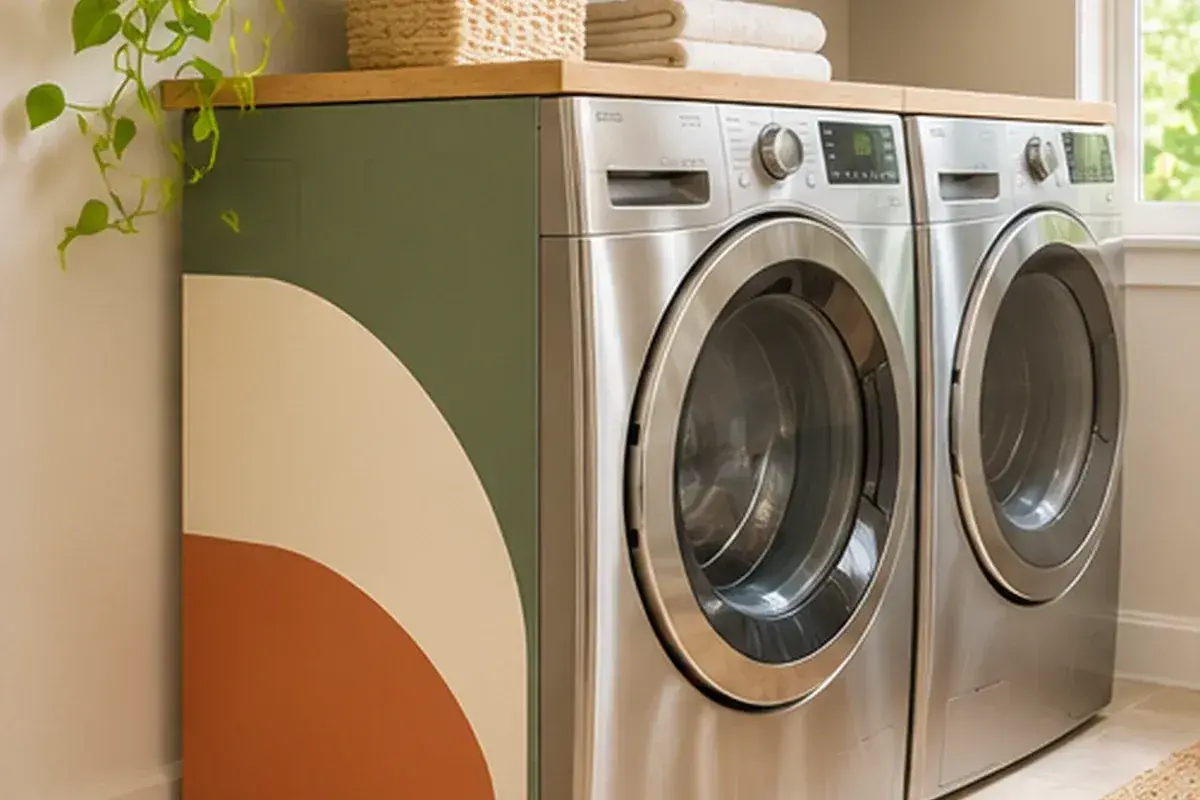
Warm clay color-block accent beside a stainless washer.
5. A matched pair of corner motifs
A repeated corner detail can make two different machines feel like a set even when their handles or control layouts do not match. A small sunburst, leaf, or simple line motif near the lower outer edge can balance the pair. Measure from the floor and cabinet edges so the design sits at a consistent height, then test one sample before applying the full set.
Make it work: Do not put a decal near the dryer exhaust, lint filter, washer detergent drawer, or any component that needs regular cleaning.
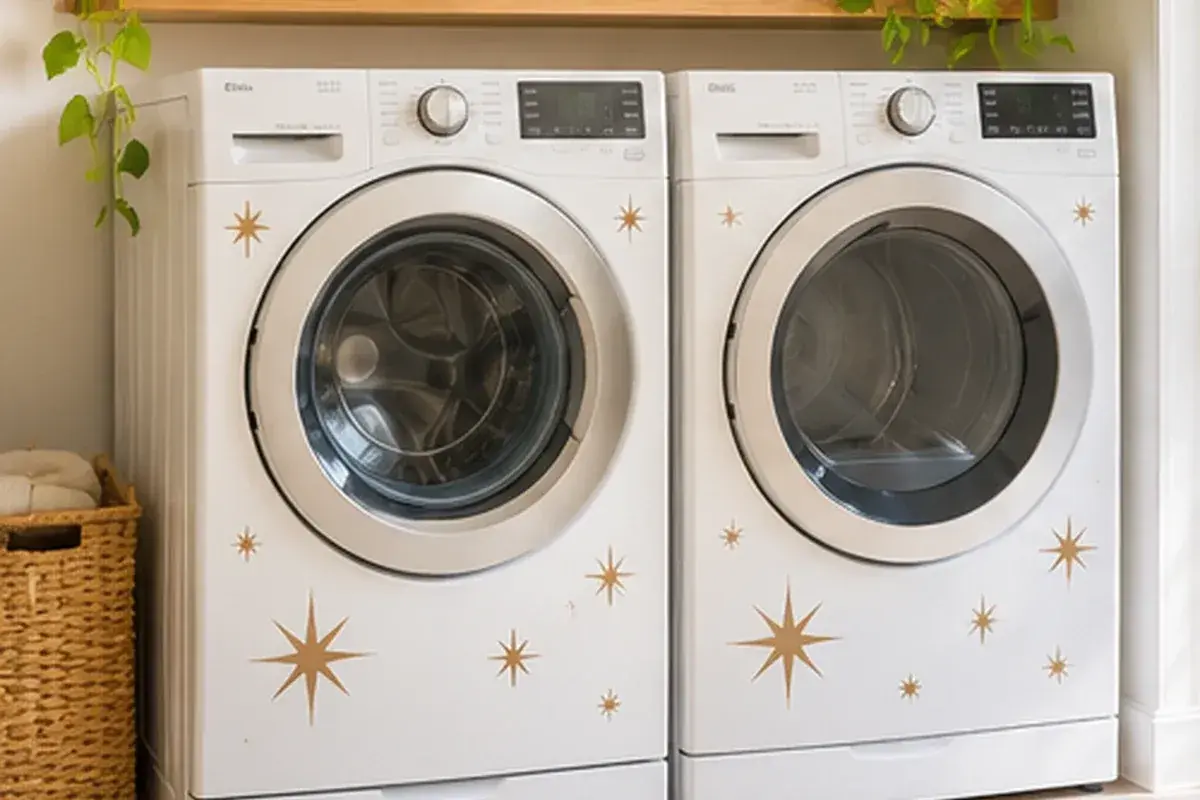
Small starburst decals on white laundry appliances.
6. A removable color-block accent
A color block can add personality to a laundry room with plain walls and simple storage. Choose a modest rectangle or curved panel on a permitted non-heated surface and repeat its color on a basket or wall shelf. A removable film makes it easier to change the look later without committing to a permanent finish, but only if the adhesive is designed for the appliance’s finish.
Make it work: Do not wrap an entire machine in generic contact paper. Large wraps can interfere with heat release, service access, and finish maintenance.
7. A coordinated leaf-and-line design
Combine a few leaf shapes with thin lines to create a decorative border that feels more custom than a single sticker. Keep the design low-contrast and limited to the outer side panels or another location approved by the manufacturer. It works well with natural wood shelves, woven baskets, and neutral towels because the appliance becomes part of the overall room palette.
Make it work: Leave a generous plain area around labels, hinges, seams, and controls. If the surface is textured, do not force the vinyl to conform where it may peel.
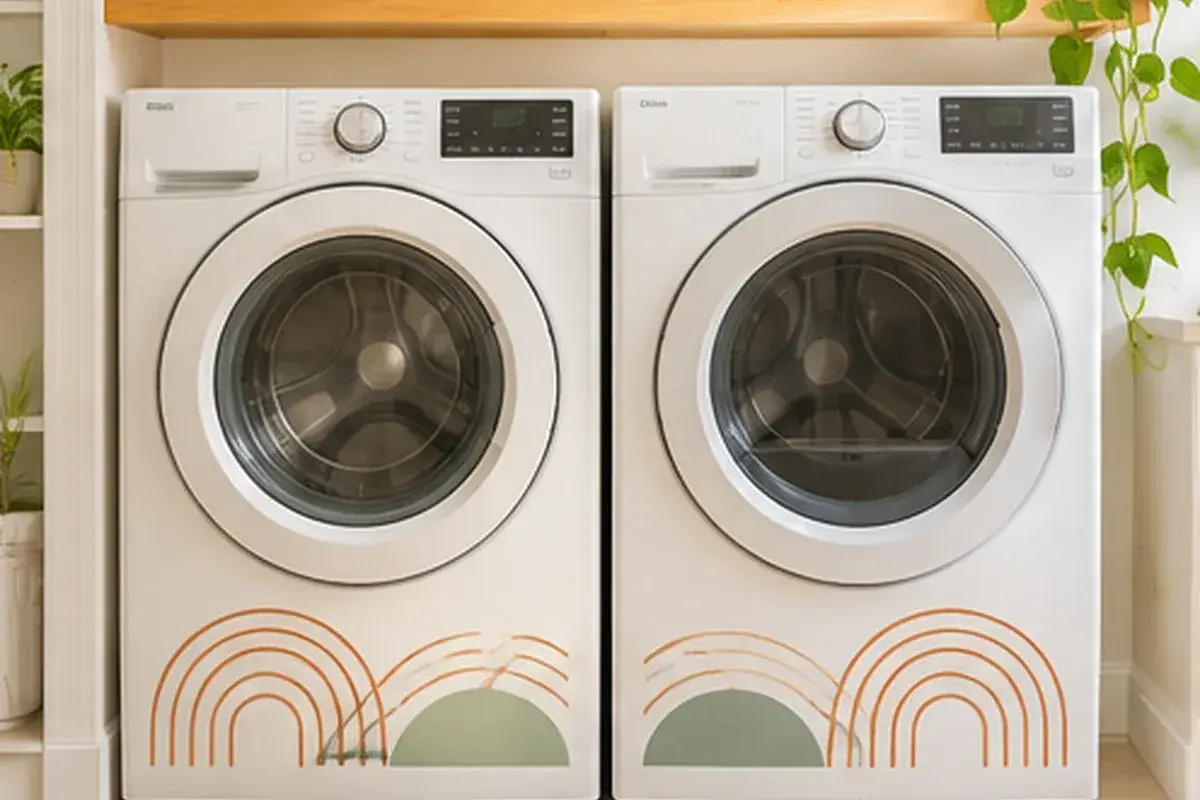
Curved rainbow line decal on front-loading laundry machines.
8. A subtle starburst or sun motif
A small starburst can give a laundry pair a mid-century feel without overwhelming the room. Use one motif on each machine, perhaps in warm rust or muted mustard, and let the rest of the styling remain simple. A matching framed print or round wall mirror can carry the theme into the room without adding more adhesive to the appliance.
Make it work: Keep decorations away from hot surfaces and moving parts. Check the model manual for approved cleaning methods before applying or removing anything.
9. A minimal monogram-style corner detail
A small initial or simple abstract mark can make a laundry space feel personal. Avoid covering the manufacturer’s logo, model number, warning text, or energy and safety labels. Instead, use a tiny removable motif on a permitted blank panel and repeat the color in a storage basket or wall hook. The goal is a personal detail, not a graphic wrap that dominates the appliances.
Make it work: Never cover any label that identifies the appliance or provides safety, service, or operating information. Keep the design away from all controls and openings.
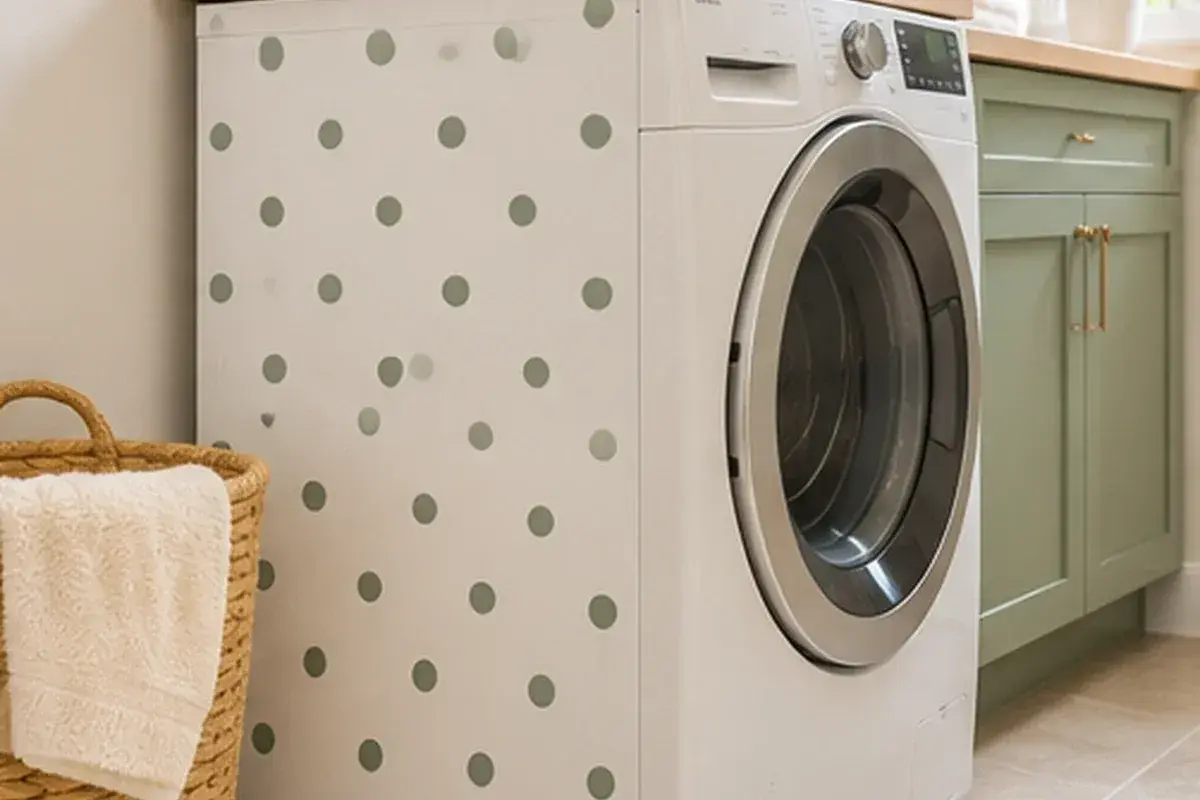
Muted dot pattern on a compact laundry appliance.
A cautious, beginner-friendly decal process
Start by checking the appliance manual and manufacturer support page for exterior-care restrictions. If adhesive decoration is not addressed, contact the manufacturer before proceeding. Choose a removable vinyl product whose supplier identifies the surface types and operating-temperature limits it can tolerate. Avoid using ordinary craft stickers on areas that become warm, are touched frequently, or are exposed to detergent and moisture.
If the surface is approved, clean it only with the method the appliance maker recommends. GE advises a damp, non-abrasive cloth for the exterior of one washer-dryer model and cautions against abrasive cloths and cleaners. Allow the surface to dry and cool completely. Test a small sample in an inconspicuous approved area, check that it adheres without damaging the finish, and remove it according to the vinyl maker’s instructions if it begins lifting. [1]
Areas that should remain completely uncovered
Do not decorate ventilation openings, rear exhaust paths, control panels, warning labels, model and serial plates, detergent dispensers, door seals, hinges, latches, filter doors, or service panels. Do not stretch film across a moving seam. These locations have practical functions and may need to be read, opened, cleaned, or inspected. A design that interferes with maintenance is not a successful makeover.
The dryer is especially important to keep clear around its exhaust and lint-maintenance areas. The U.S. Fire Administration reports that failure to clean was the leading factor contributing to ignition in home clothes-dryer fires in the cited 2018-2020 data. Decorative work should never interfere with lint-filter access or the regular cleaning recommended by the dryer manufacturer. [2]
Alternatives when decals are not suitable
A coordinated laundry room does not depend on wrapping the machines. Use matching baskets, a washable runner, framed art, painted wall color, open shelves, and a consistent set of containers. A removable magnetic design may work on a steel cabinet where the manufacturer permits magnets, but not every panel is metal and magnets should not cover labels, controls, or airflow paths.
A narrow painted panel on the wall behind the machines can create the same color-block effect without putting adhesive on the appliance. Keep the wall finish washable and preserve access to the washer connections, dryer duct, outlet, and service area. If the laundry layout is being changed, have electrical and venting work handled by qualified professionals.
How to keep the laundry room looking coordinated
The machines do not need to carry all of the decoration. A painted wall, a narrow washable shelf, matching baskets, framed artwork, and a consistent set of laundry containers can create a finished room without modifying the appliance finish. Use the same two or three colors across the room so the design feels intentional. A washable runner should sit clear of the machine feet, doors, and any required service access.
Think about how the room is cleaned. Lint, detergent residue, and humidity can collect around laundry equipment, so accessories should be easy to move and wipe. Avoid placing fabric baskets against warm surfaces or blocking rear access. Keep detergents and cleaning products in their original labeled containers, stored as directed and out of reach of children and pets.
When in doubt, decorate the wall rather than the machine. A framed print, a painted color block, or a simple rail can create the same visual effect while leaving the manufacturer’s finish untouched. This option is particularly useful when the appliance warranty, surface type, or decal temperature rating is unclear.
Choosing decals that suit an appliance finish
A decal advertised as removable is not automatically suitable for a washer or dryer. Adhesives are developed for particular surfaces and temperature ranges, and an appliance can become warm or vibrate during ordinary use. Read the vinyl maker’s technical information and compare it with the appliance manual. If the supplier cannot confirm the surface and temperature compatibility, choose a wall-based decoration instead of experimenting on the machine.
Check how the room is used before choosing a design. A busy family laundry may benefit from a small, easy-to-clean motif, while a decorative guest-house laundry can use a more expressive pattern. In either case, keep the decal edge away from places where hands, baskets, clothing, or cleaning cloths repeatedly rub against the surface. Repeated friction can lift an edge and make the decoration look worn.
Plan for future maintenance as well. A washer or dryer may need to be moved, serviced, or replaced, and a large wrap can complicate access to identifying labels or service information. Keep the original finish as intact as possible, photograph the machine before changing anything, and store the vinyl product details in case it needs to be removed later.
A final visual check should be done with the room lights on and the doors fully open. Look for lifting edges, blocked labels, and any place where the design would be rubbed by a basket or laundry hamper. If a piece begins to lift, remove it according to the vinyl maker’s instructions rather than pressing it back onto a surface that may be warm or contaminated with detergent.
Frequently asked questions
Can I put vinyl decals on a washer or dryer?
Only on an exterior surface that the appliance manufacturer allows and only with film rated for the surface conditions. Do not cover vents, controls, warning labels, door seals, or service access.
Will decals damage the appliance finish?
They can. Adhesive strength, surface coating, temperature, cleaning products, and removal method all matter. Test compatibility with the manufacturer and vinyl supplier before decorating.
Can I wrap the whole washer and dryer?
A full wrap is not recommended unless the appliance manufacturer explicitly approves the material and installation. It can interfere with heat release, labels, controls, and service access.
What is the safest way to clean the machine before applying a decal?
Follow the owner’s manual. Some manufacturers recommend only a damp, non-abrasive cloth for exterior surfaces. Do not use solvents or abrasive cleaners unless approved.
Can I use decals near the dryer vent?
No. Keep all exhaust openings, lint-filter access, and service areas uncovered and unobstructed.
Sources and further reading
[1] GE Appliances: Washer-Dryer Exterior Cleaning and Care
[2] U.S. Fire Administration: Appliance and Electrical Fire Safety
Sources
- GE Appliances: Washer-Dryer Exterior Cleaning and Care. Checked November 4, 2026
- U.S. Fire Administration: Appliance and Electrical Fire Safety. Checked November 4, 2026
- U.S. EPA: Lead-Safe Renovation for DIYers. Checked November 4, 2026
Share this article
Get new guides by email
Practical home articles and free resources. No spam, and you can unsubscribe at any time.
Keep reading

13 Best Vintage Countertop Toaster Oven Aesthetic Looks
Explore vintage countertop toaster oven aesthetic with practical design ideas, planning advice, safe installation notes, and helpful tips for your US home.
November 2026, 10 min read
10 Clever Ways to Hide Small Kitchen Appliances on the Counter
Explore ways to hide small kitchen appliances on counter with practical design ideas, planning advice, safe installation notes, and helpful tips for your US home.
November 2026, 10 min read
15 Retro Mini Fridge Decor Ideas for a Bedroom Setup
Explore retro mini fridge decor ideas bedroom setup with practical design ideas, planning advice, safe installation notes, and helpful tips for your US home.
November 2026, 11 min read