25 Stunning Drought-Tolerant Landscaping Ideas for California
Explore 25 illustrated drought-tolerant landscaping ideas for California, including native planting, paths, shade, containers, and water-wise planning.
By Home Crane Editors. . 5 min read.
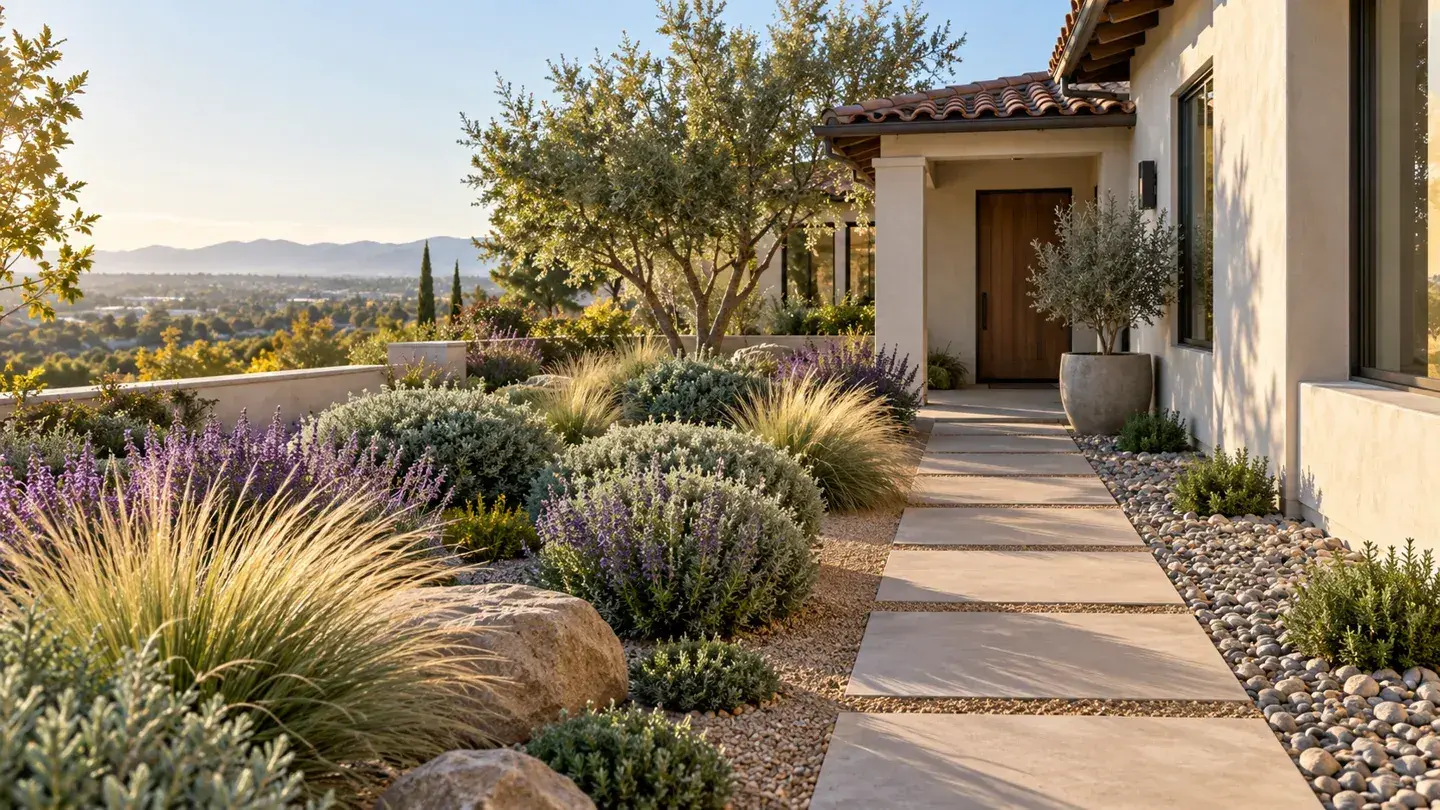
A beautiful drought-tolerant California landscape combines suitable plants with a useful layout, thoughtful irrigation, and room to grow. It does not have to be a yard of gravel and isolated succulents. Start by replacing unused lawn, repeating a few compatible plants, and making paths and seating deliberate.
California's coastal, inland, desert, and mountain climates need different plant choices. Use the California Native Plant Society's gardening resources to explore locally appropriate candidates. These are design ideas, not a statewide plant prescription. New planting needs establishment care, and low-water does not mean no care.
In wildfire-prone locations, check CAL FIRE's defensible-space guidance and current local requirements before placing plants or combustible mulch near buildings. No plant is fireproof. Illustrations show composition, not botanical identification or a site-specific fire or drainage plan.
1. Replace a little lawn with repeated planting
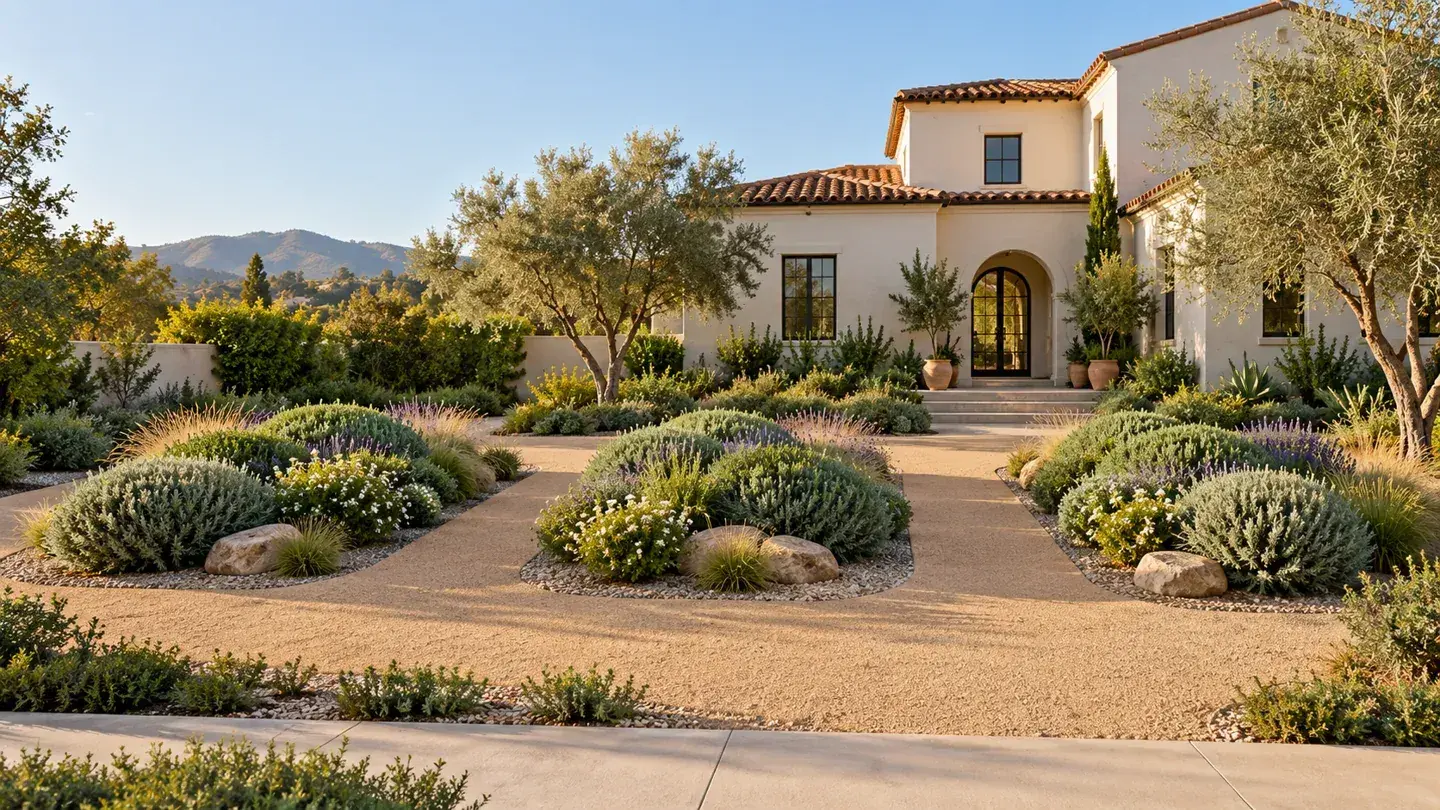
Replace an underused lawn corner with three repeating plant groups. Keep the shape simple enough to maintain and preserve the lawn that serves a real purpose. Repetition gives the new bed a deliberate rhythm and lets you learn from a manageable planting before changing the whole yard.
2. Frame a path with deergrass
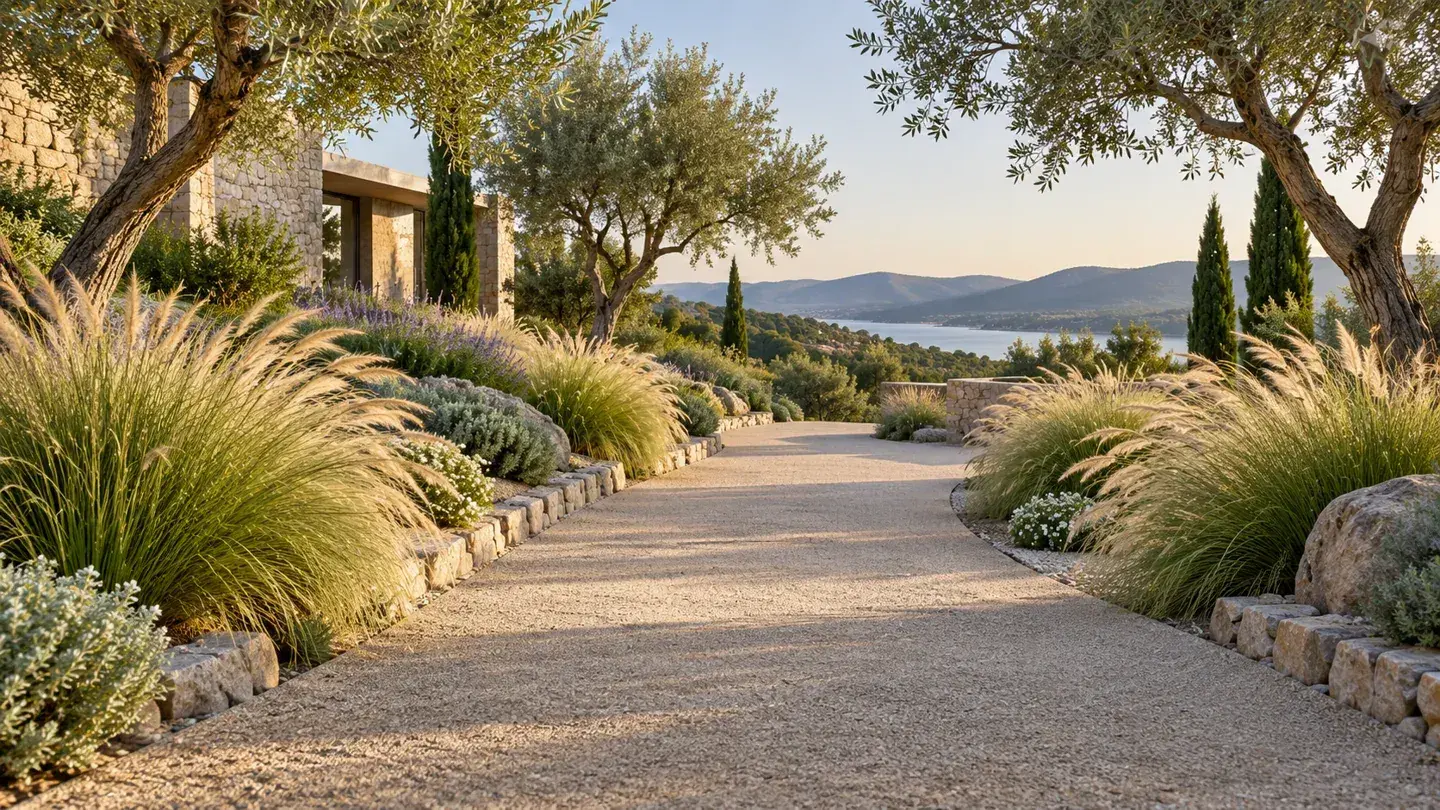
Use deergrass as a repeated upright shape where its mature spread will fit. It appears in the Waterwise native-plant resources. Keep the walking surface clear; a young nursery clump is not a reliable guide to the space an established plant will occupy.
3. Use manzanita as a focal point
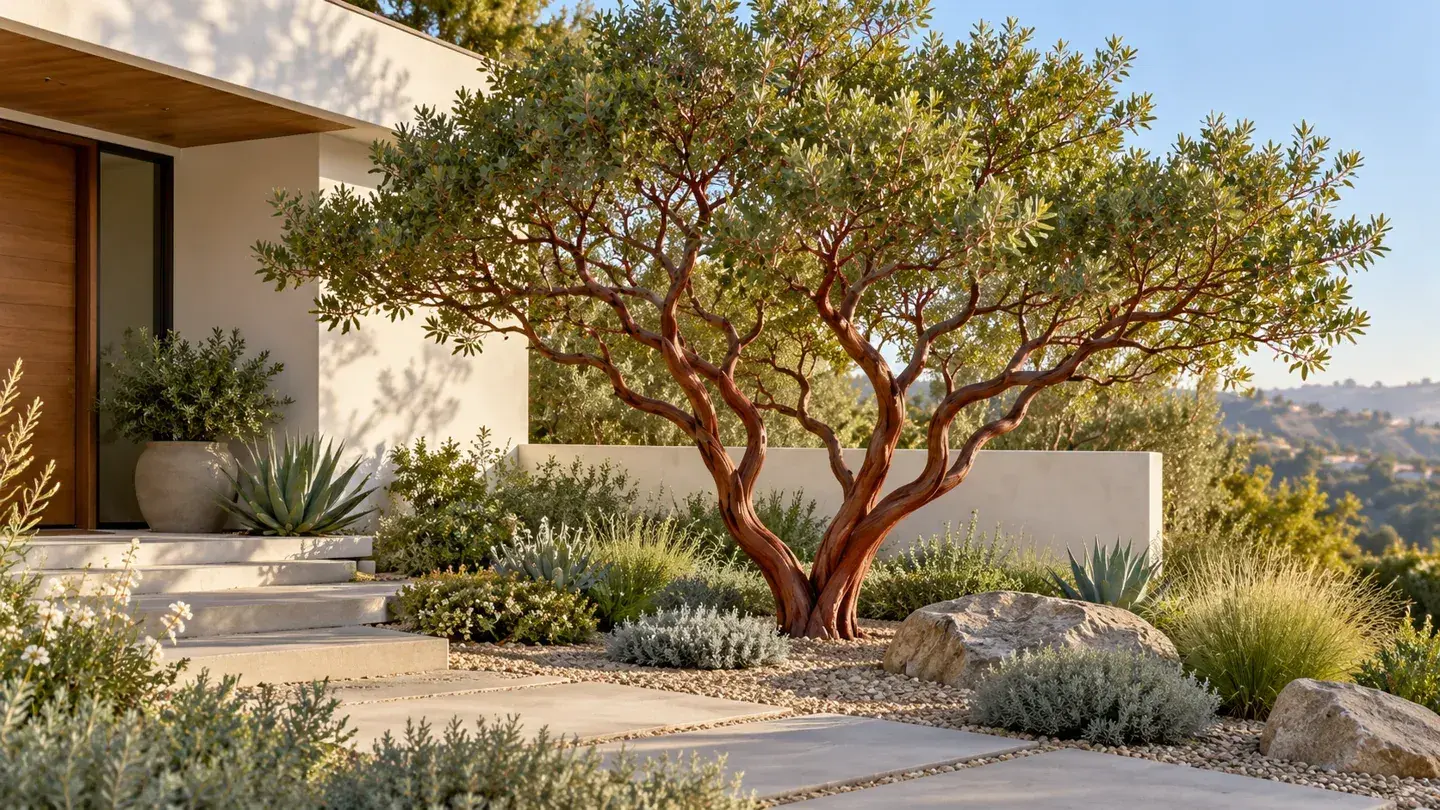
A well-chosen manzanita can organize a whole planting bed. Leave visual space around its branching rather than crowding it with unrelated shrubs. UC's manzanita guidance stresses selecting for habitat and mature size. Check the named selection rather than buying a generic label.
4. Give dry shade its own planting
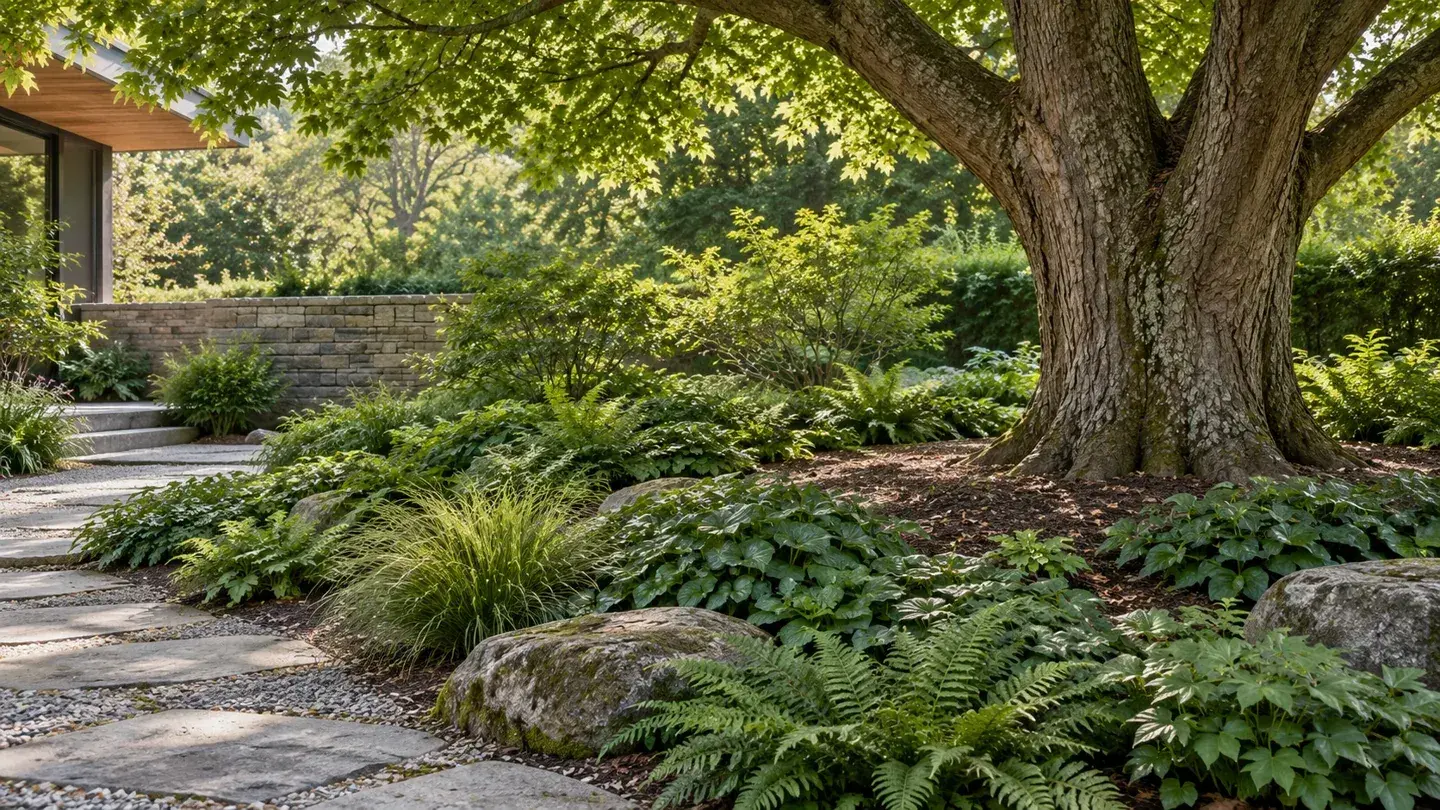
Separate dry shade from the sunny border in your plan. Note whether shade changes seasonally and whether established trees dominate the root area. Select plants for those actual conditions. A few compatible plants with a quiet background will be more convincing than struggling sun-lovers beneath a canopy.
5. Group plants by irrigation needs
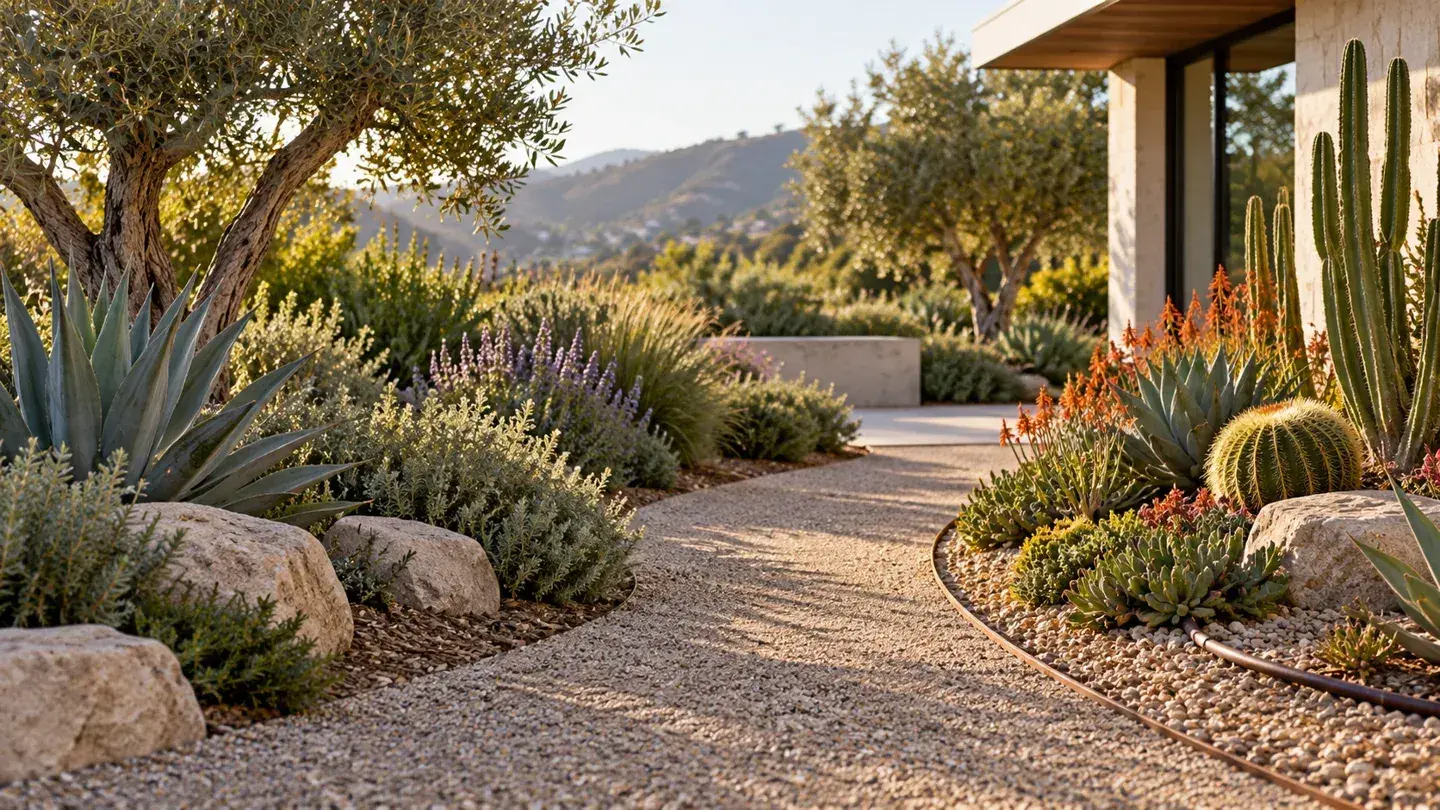
Keep plants with similar water requirements together. UC Sonoma's water guidance recommends irrigation zones matched to plant needs. A newly planted tree and an established dry border should not automatically receive the same schedule just because they share a front yard.
6. Use gravel as a quiet background
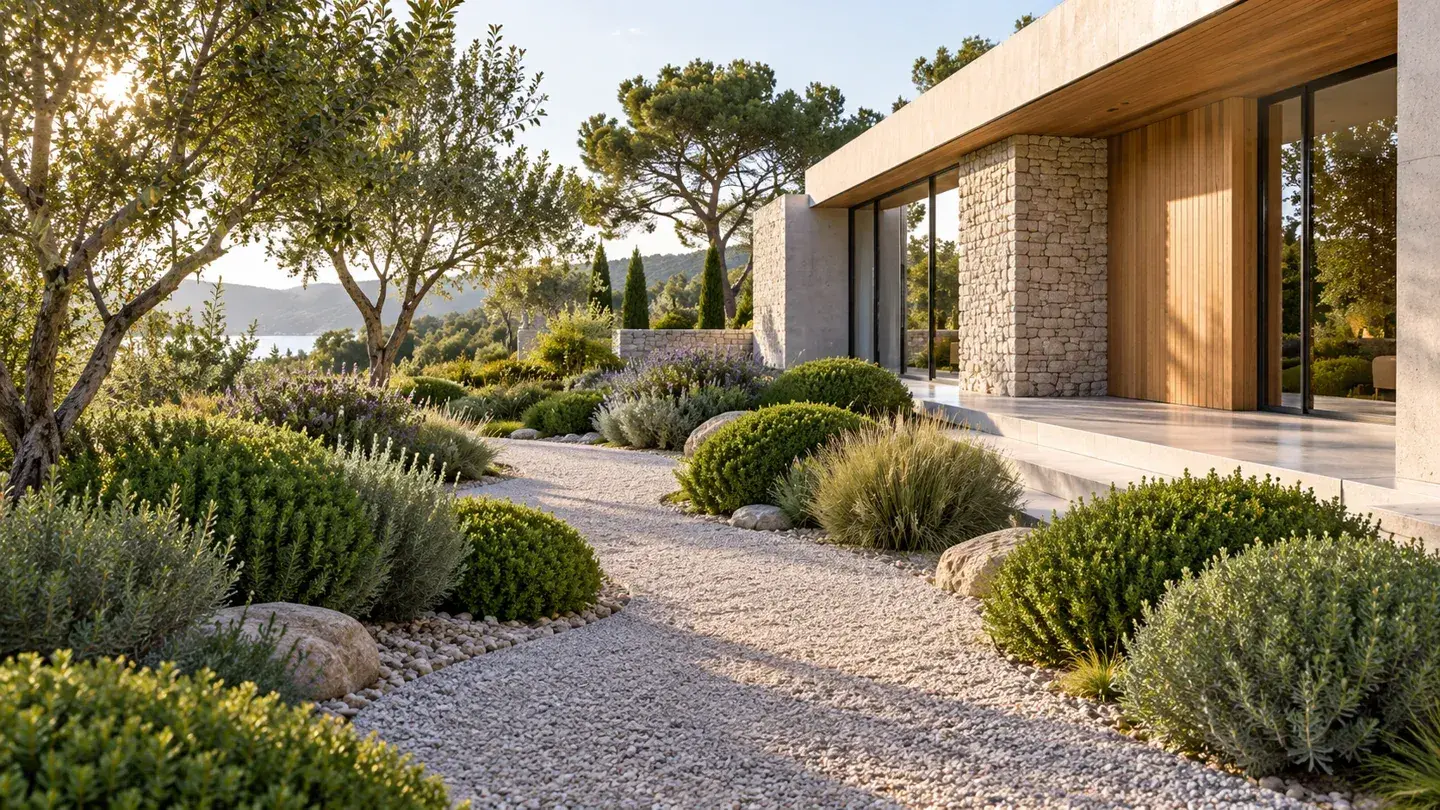
Choose one restrained gravel color beside the house's paving and masonry. Use it to connect planted areas visually, rather than filling every available space. Consider heat, migration, and walking comfort. Gravel does not eliminate weeds, and its appearance does not establish that the site drains well.
7. Make a compact seating terrace
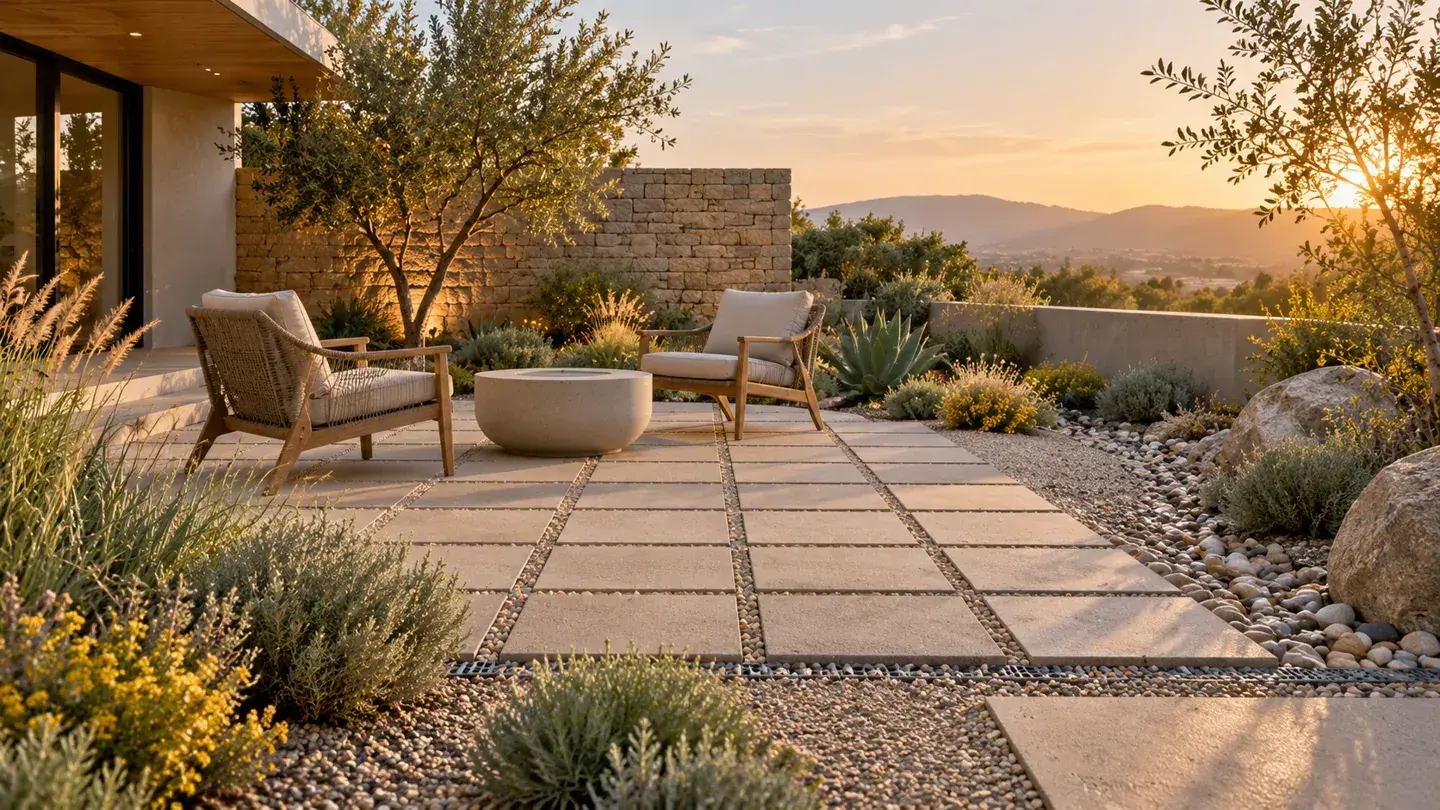
Replace unused lawn with a small, comfortable sitting area. Place the chairs first, then outline the required surface and access route. If choosing permeable paving, have the complete base and drainage system assessed. Open joints alone do not guarantee that water will safely soak into the site.
8. Choose a climate-matched shade tree
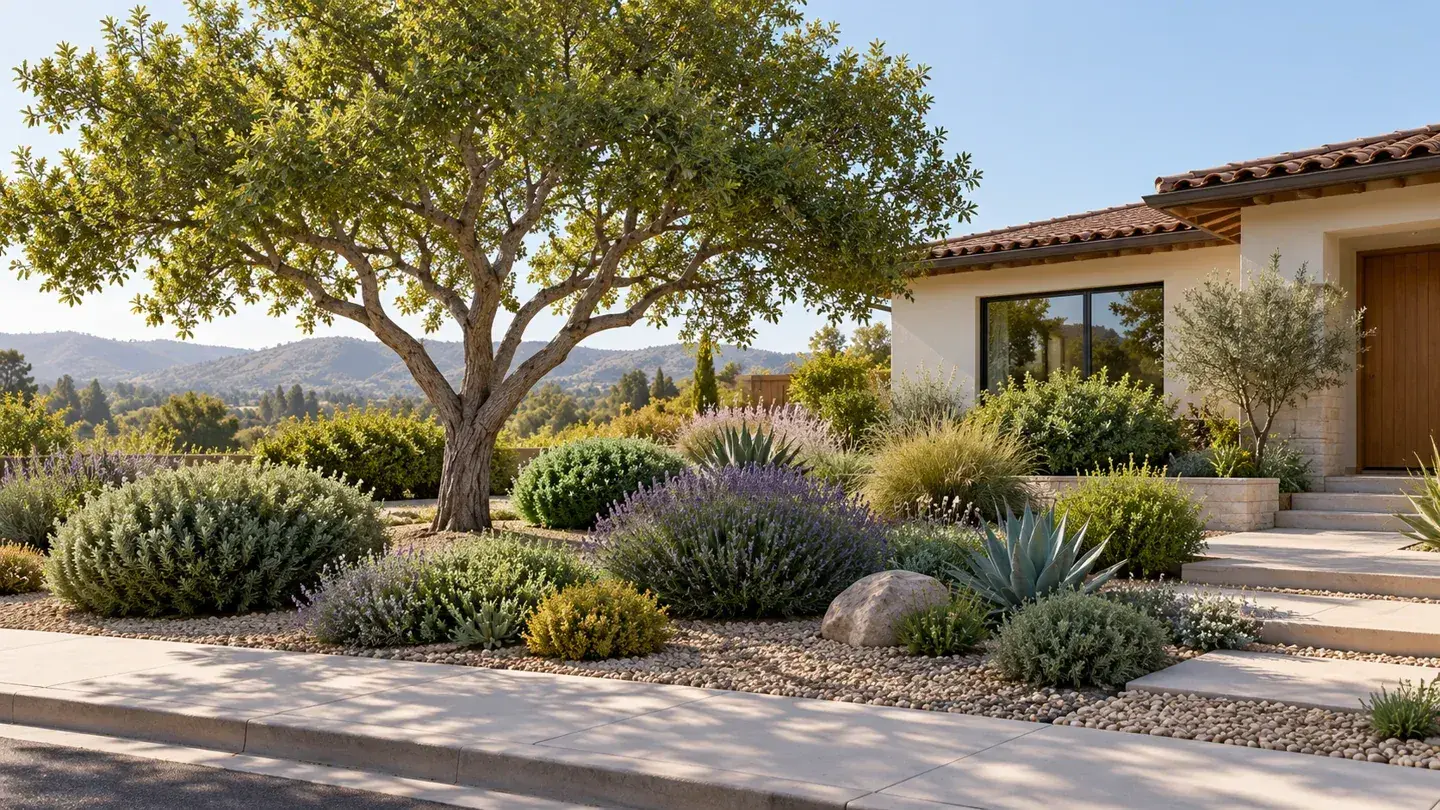
Choose a tree for local conditions and eventual size, then organize the smaller planting around it. Check overhead lines, roots, paving, views, and establishment watering. Test the intended seating location at the time of day you will use it, rather than assuming any nearby tree provides useful shade.
9. Keep containers on a separate schedule
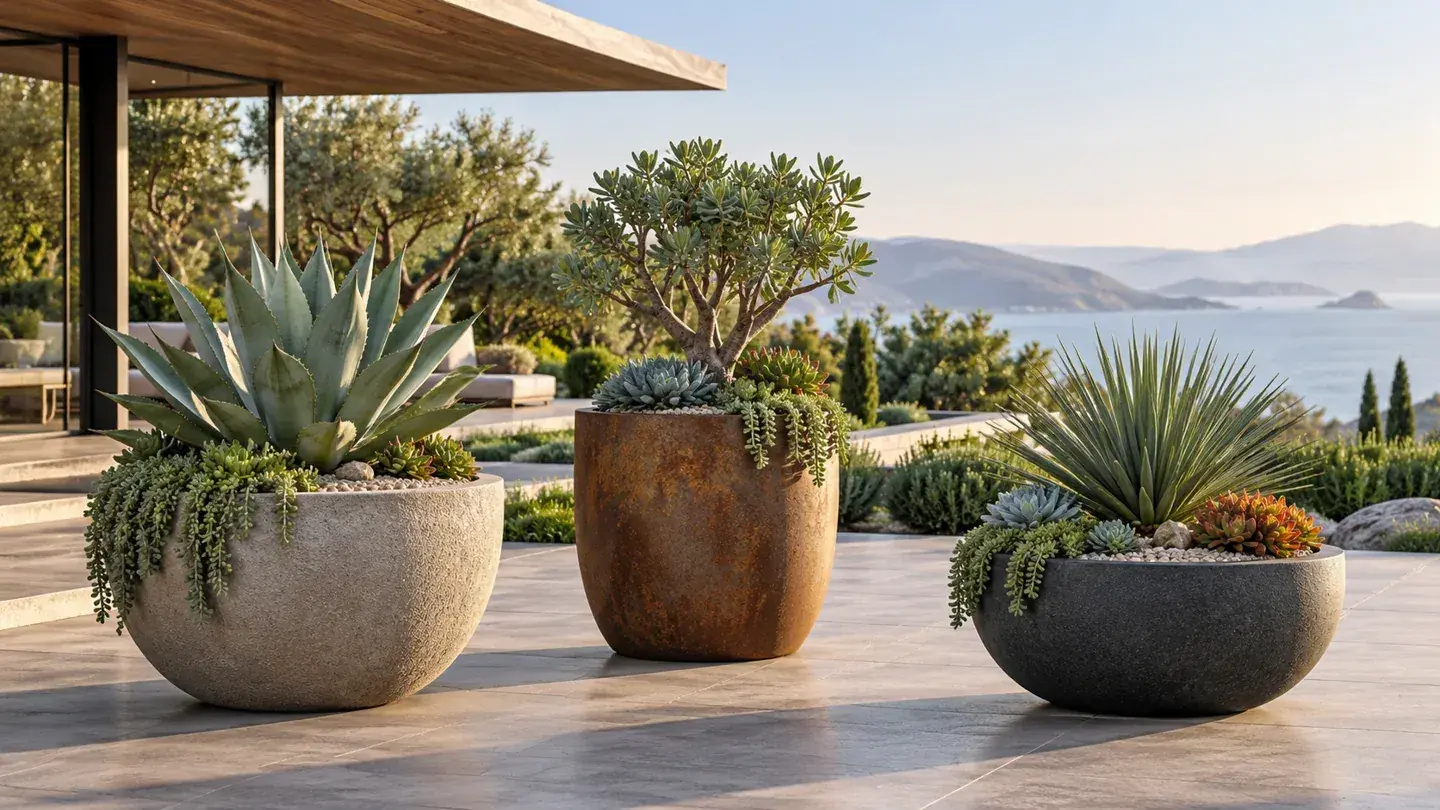
A few large containers can create a changing focal point without complicating every planting bed. Give them their own watering plan. The CNPS container guide offers native options, but pot exposure, drainage, and care still differ from an established in-ground garden.
10. Plan a suitable rain-catching garden
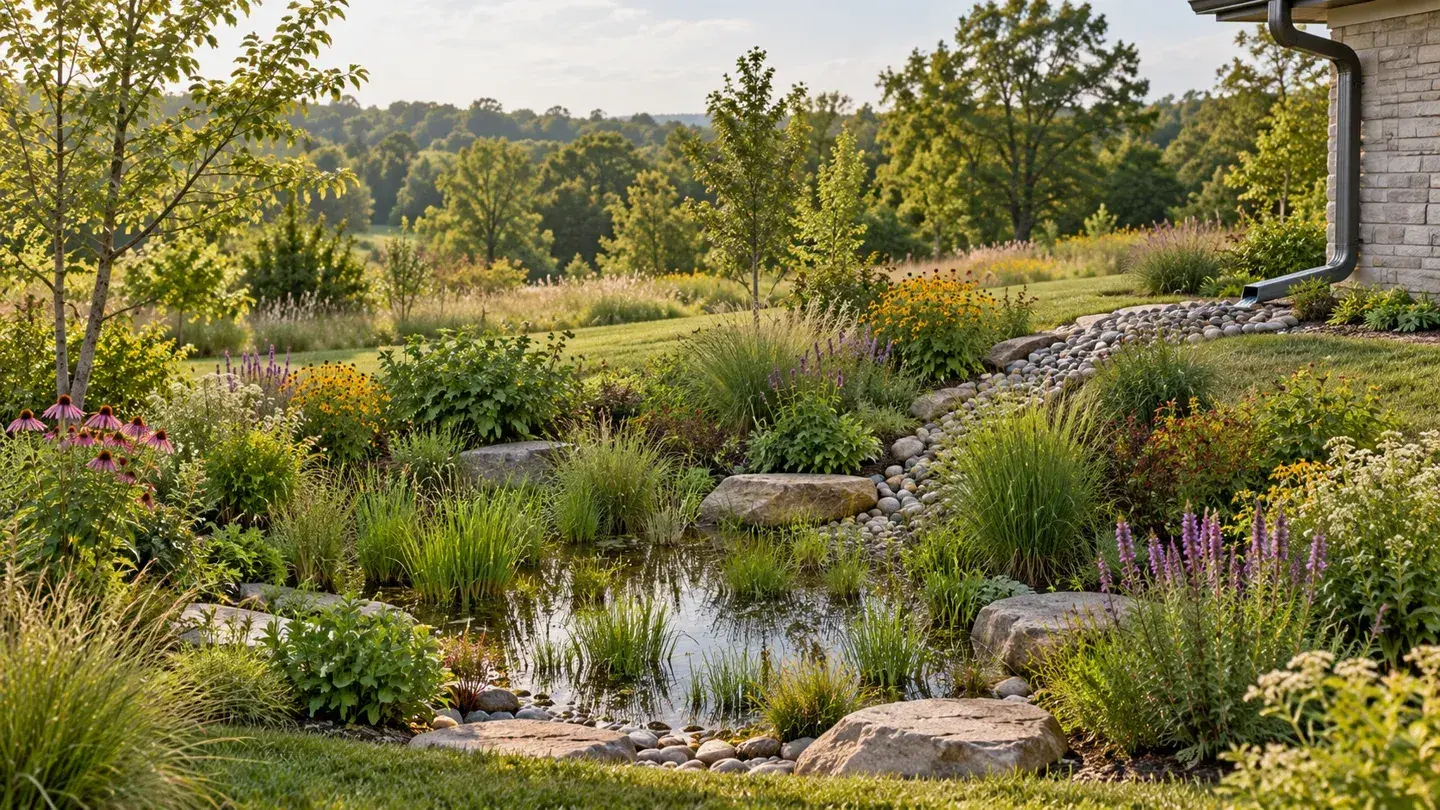
Where site conditions allow, explore a planted area that receives appropriate runoff. Keep its location, capacity, overflow, and maintenance within a proper drainage plan. UC Sonoma discusses rain gardens as one water-management option. Never send roof water toward foundations merely to irrigate a bed.
11. Place sculptural succulents away from paths
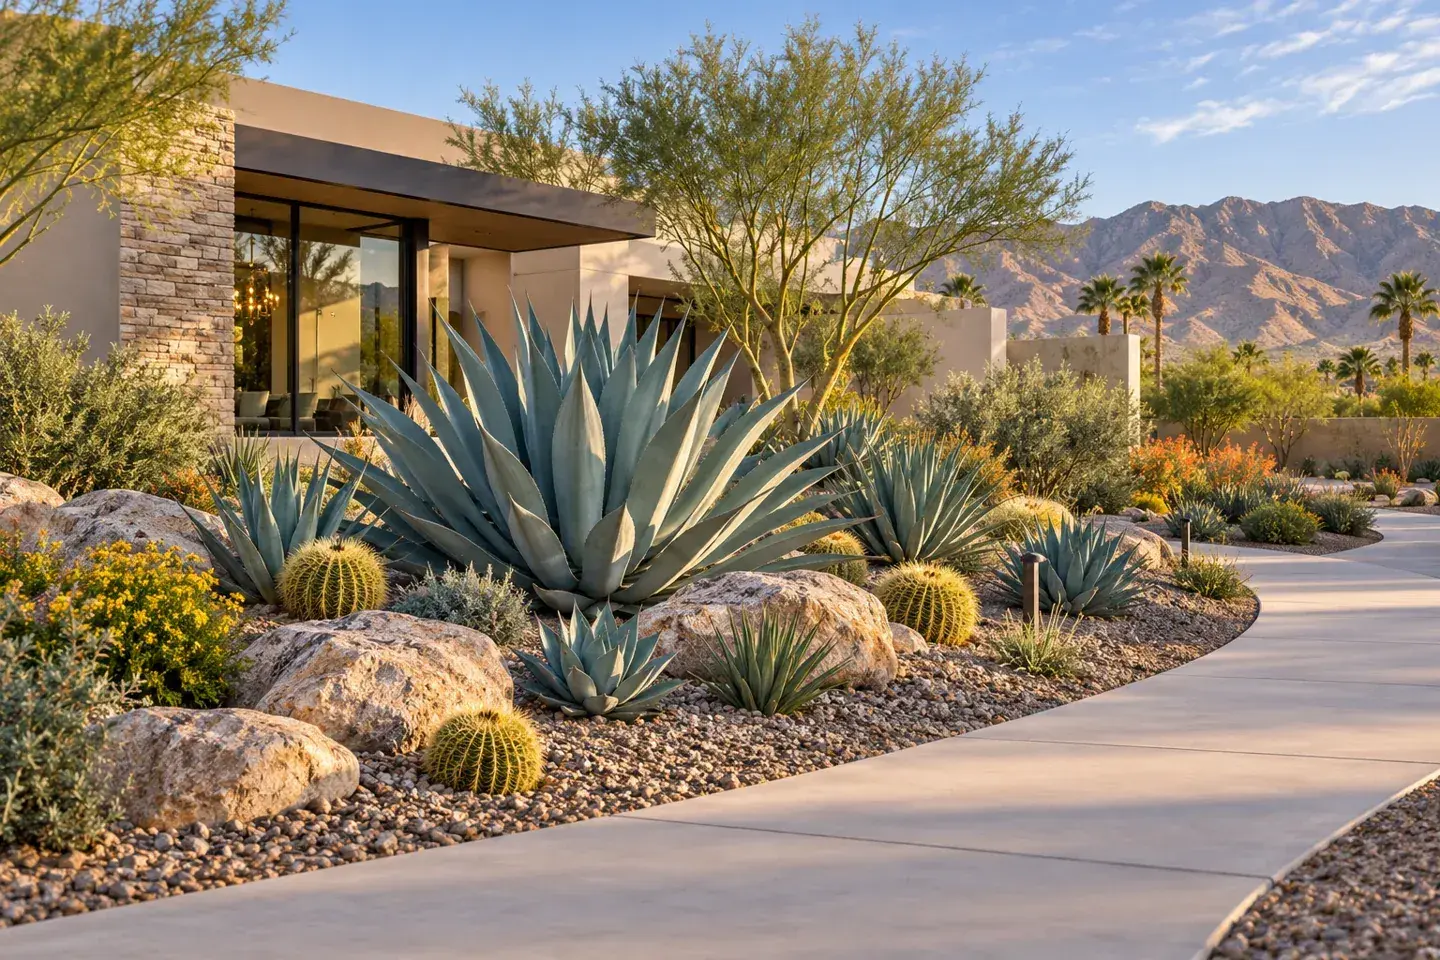
Group climate-suitable succulents in a generous island where their mature form can be enjoyed. Keep spines and sharp leaves away from walking routes. Frost tolerance and drainage vary, so the dramatic plant in a coastal photograph may be unsuitable for a cold inland site.
12. Choose a direct paved entry route
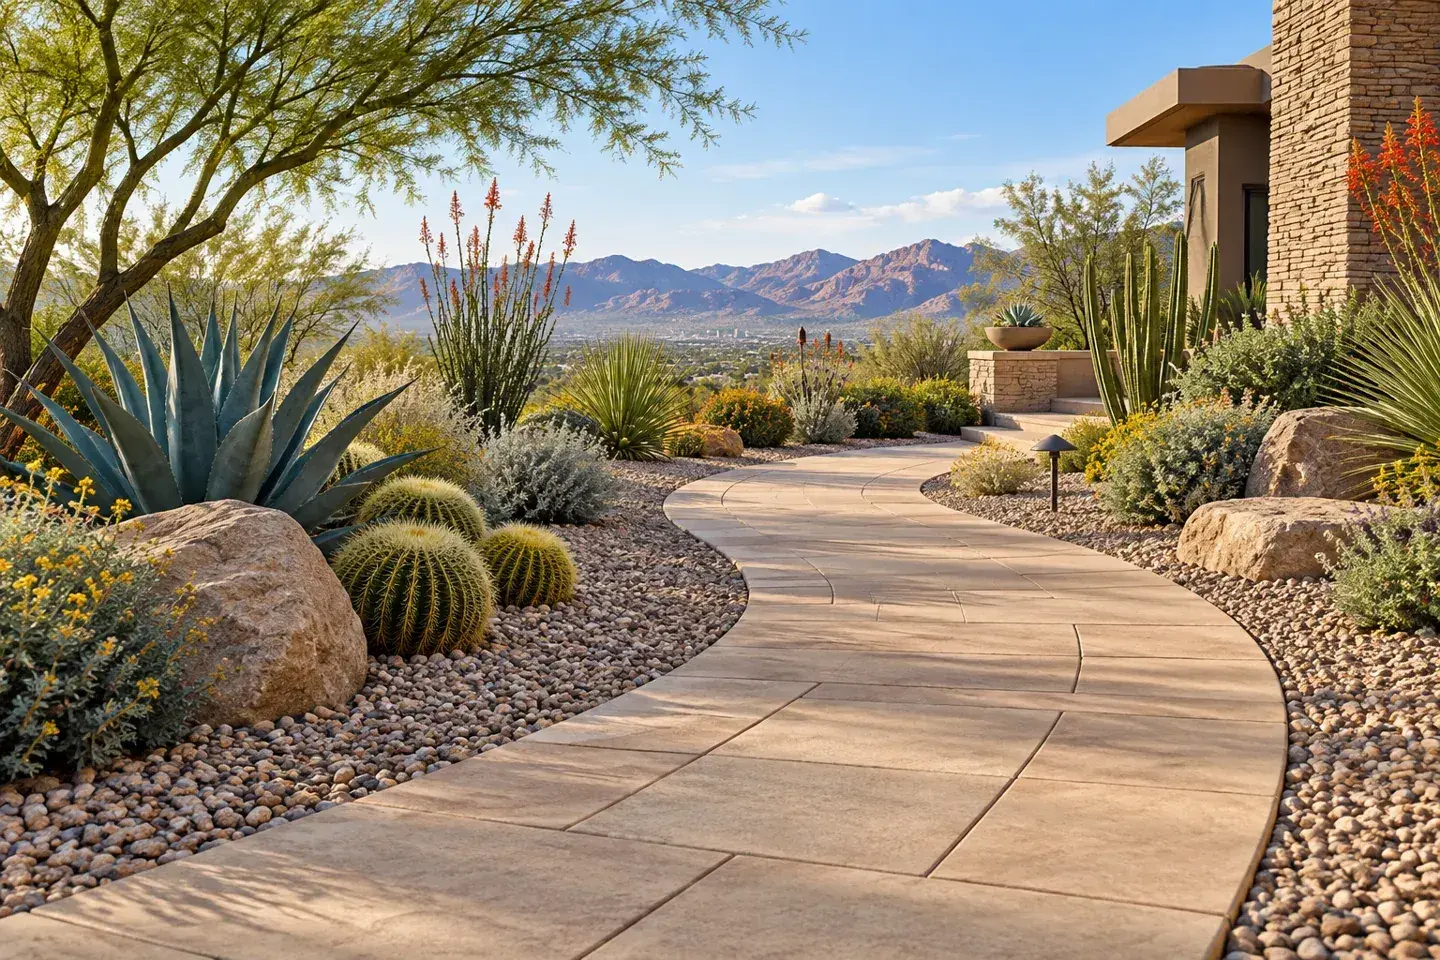
Make the route to the front door obvious. A direct, comfortable paved path can give an informal garden the structure it needs. Keep plants beside the route rather than forcing visitors to brush through them. Resolve levels and drainage before selecting decorative paving details.
13. Use a pair of generous entry containers
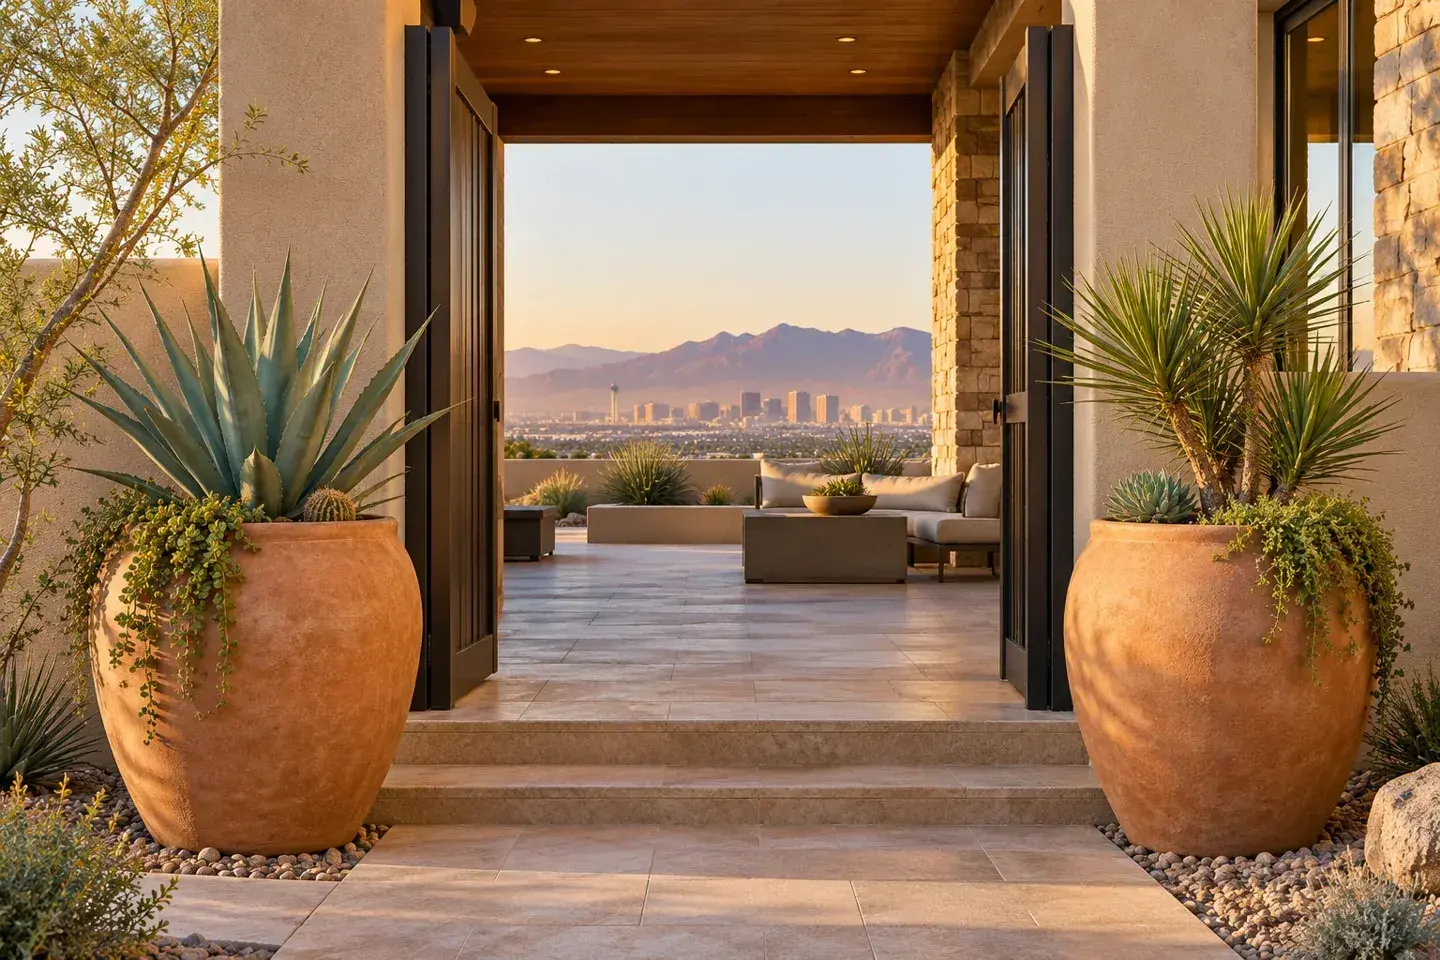
Use two substantial containers to frame an entrance or patio view. A matching pair provides order without requiring a long row of pots. Keep the doorway and access clear, and choose stable containers with suitable drainage. Plan how they will be watered without washing soil across the route.
14. Light only the walking route

Use restrained downward lighting to reveal the path and changes in level. The planting can remain comparatively dark. Check the view from indoors before adding more fixtures. Any new electrical work should suit the location and be installed appropriately; a decorative concept is not a wiring plan.
15. Leave shrubs room for their natural form
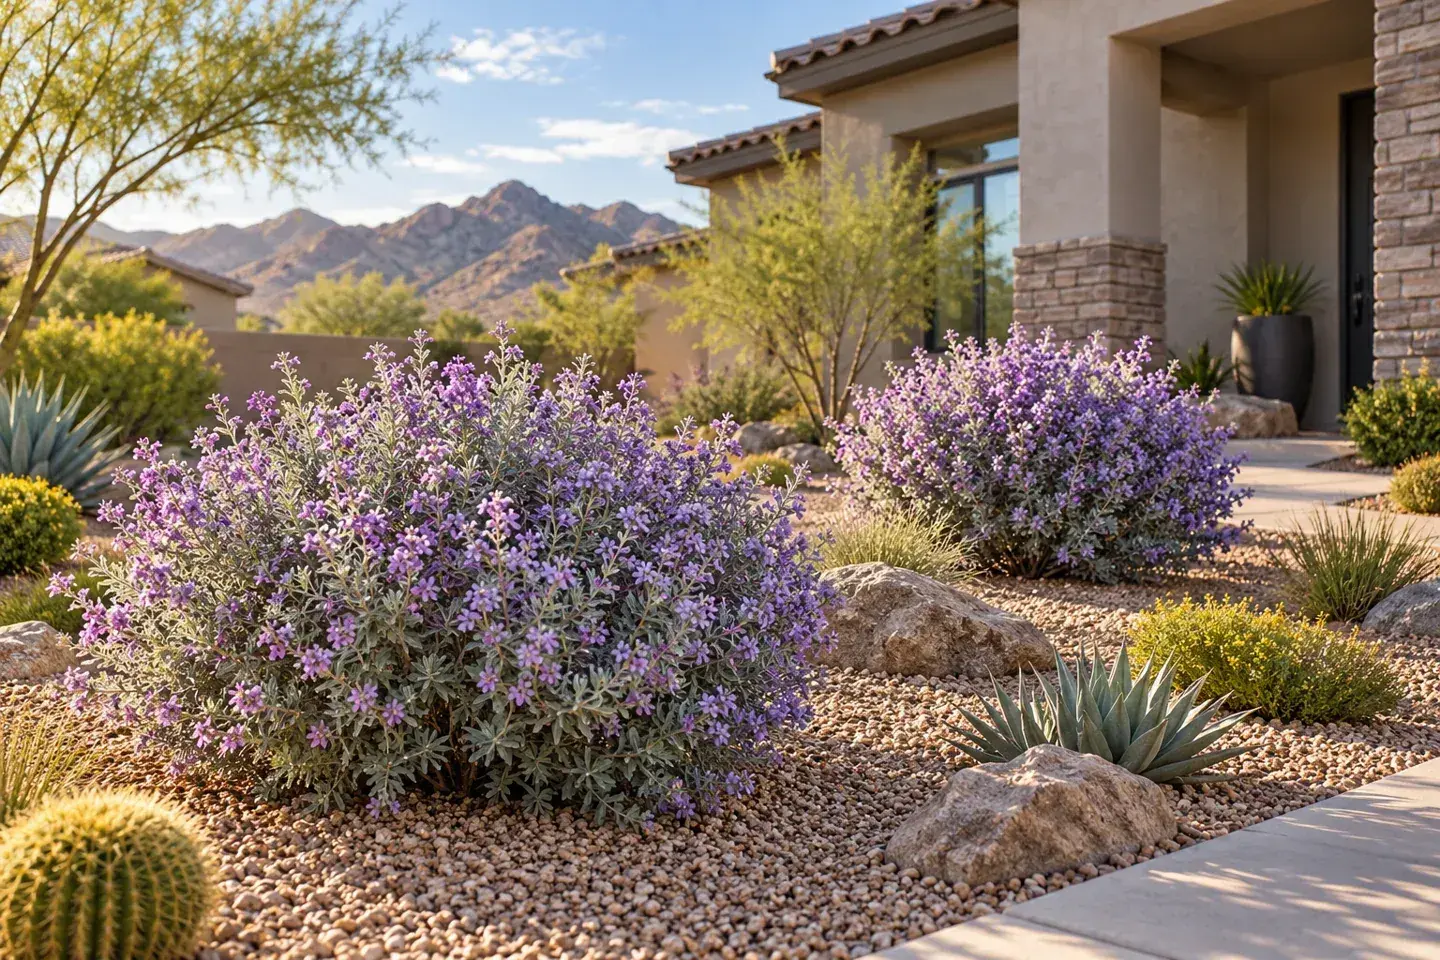
Choose shrubs whose mature dimensions fit their allotted spaces. Let their natural form become part of the garden instead of relying on repeated shearing to keep them small. The right-sized plant can simplify the appearance and reduce the need to repair an overcrowded composition later.
16. Keep a clear service passage
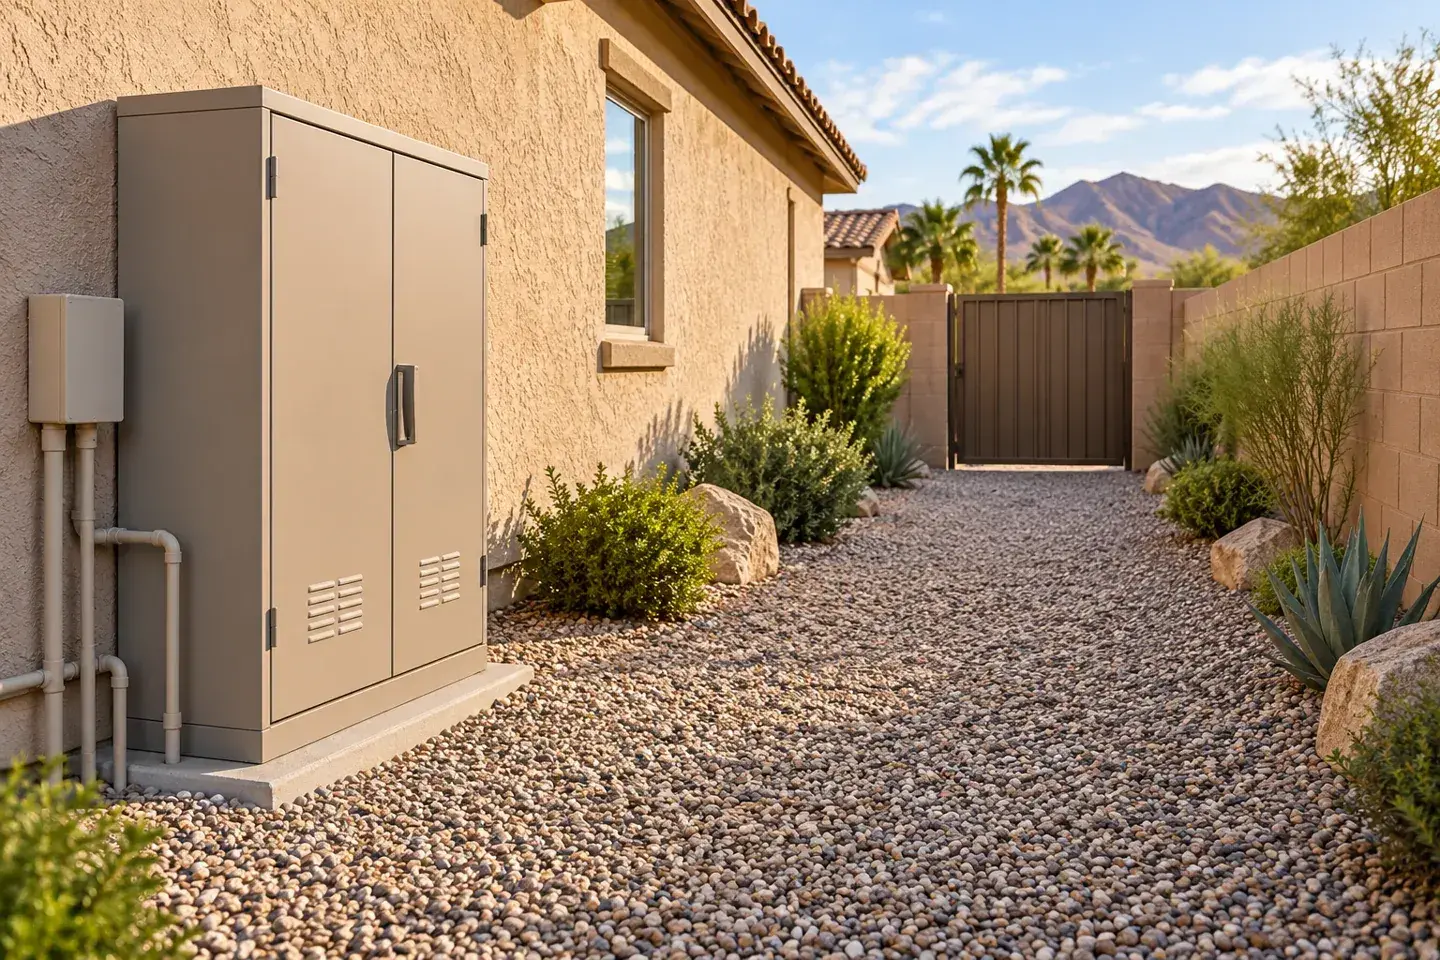
Preserve access to gates, meters, valves, and equipment. Mark required service clearances before filling a side yard with plants or containers. A simple open passage can look intentional when its surface and edging match the rest of the garden. Confirm equipment-specific clearances with the responsible provider.
17. Add a soft wood-chip surface
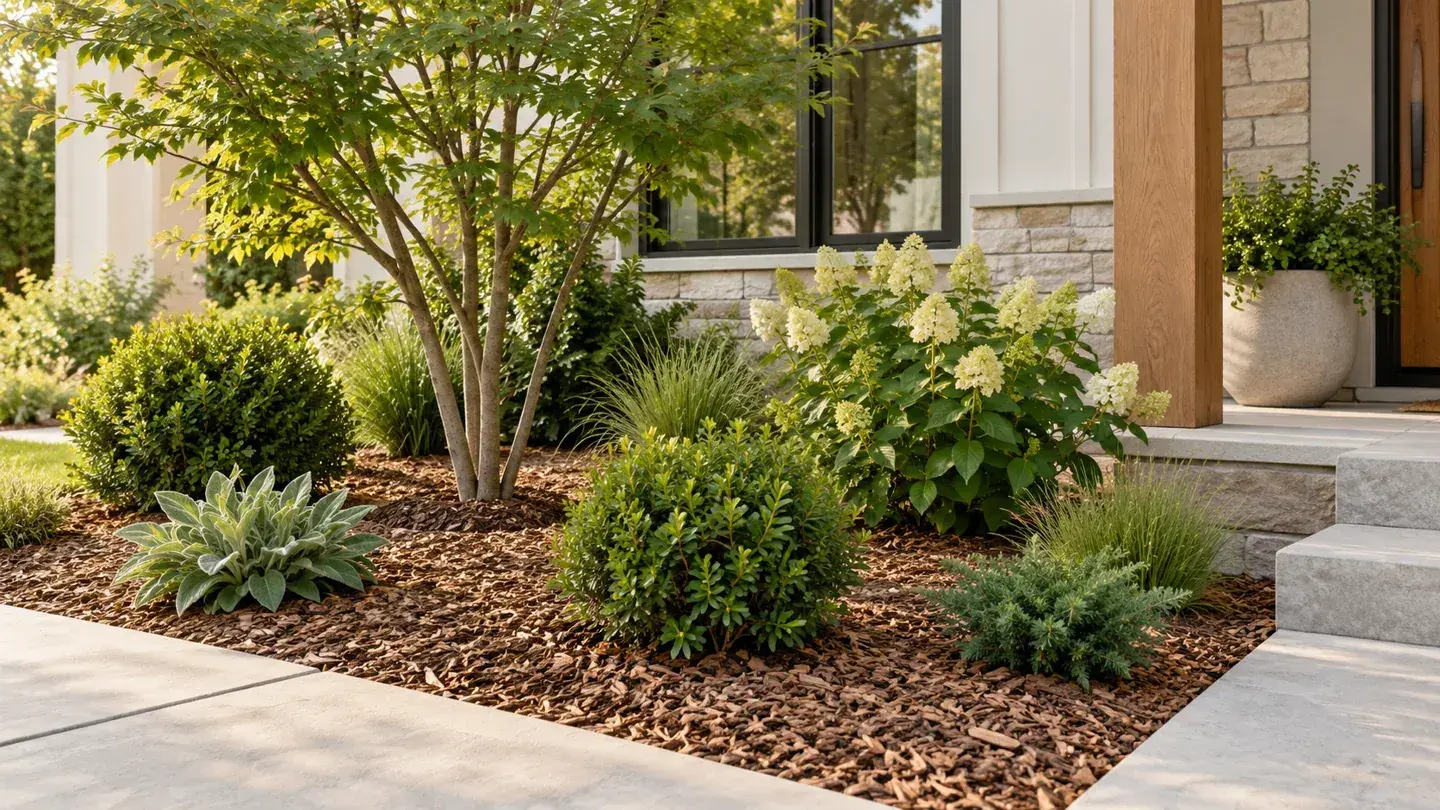
Use an appropriate organic mulch in a planted area where it suits the plants and fire context. UC's mulch guidance describes moisture and weed benefits. Keep trunks and crowns clear, and choose material and depth for the actual setting rather than copying an illustration.
18. Frame the garden with a few boulders
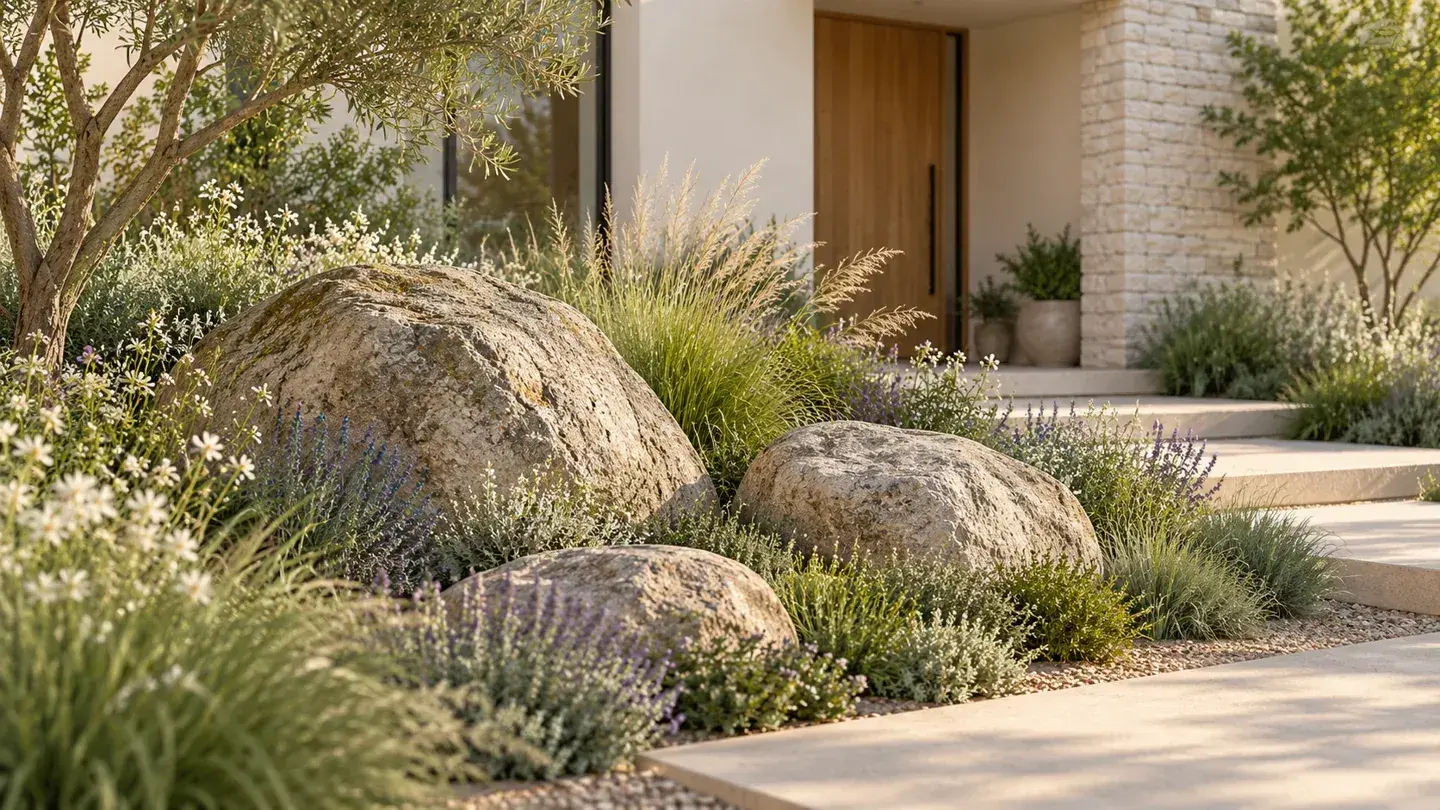
A few carefully positioned boulders can connect planting groups and contrast with fine foliage. Avoid an evenly spaced row that looks like a barrier. Select scale and placement before planting, and arrange safe professional handling for heavy stones. Decorative placement is not a retaining-wall design.
19. Finish one garden zone before expanding
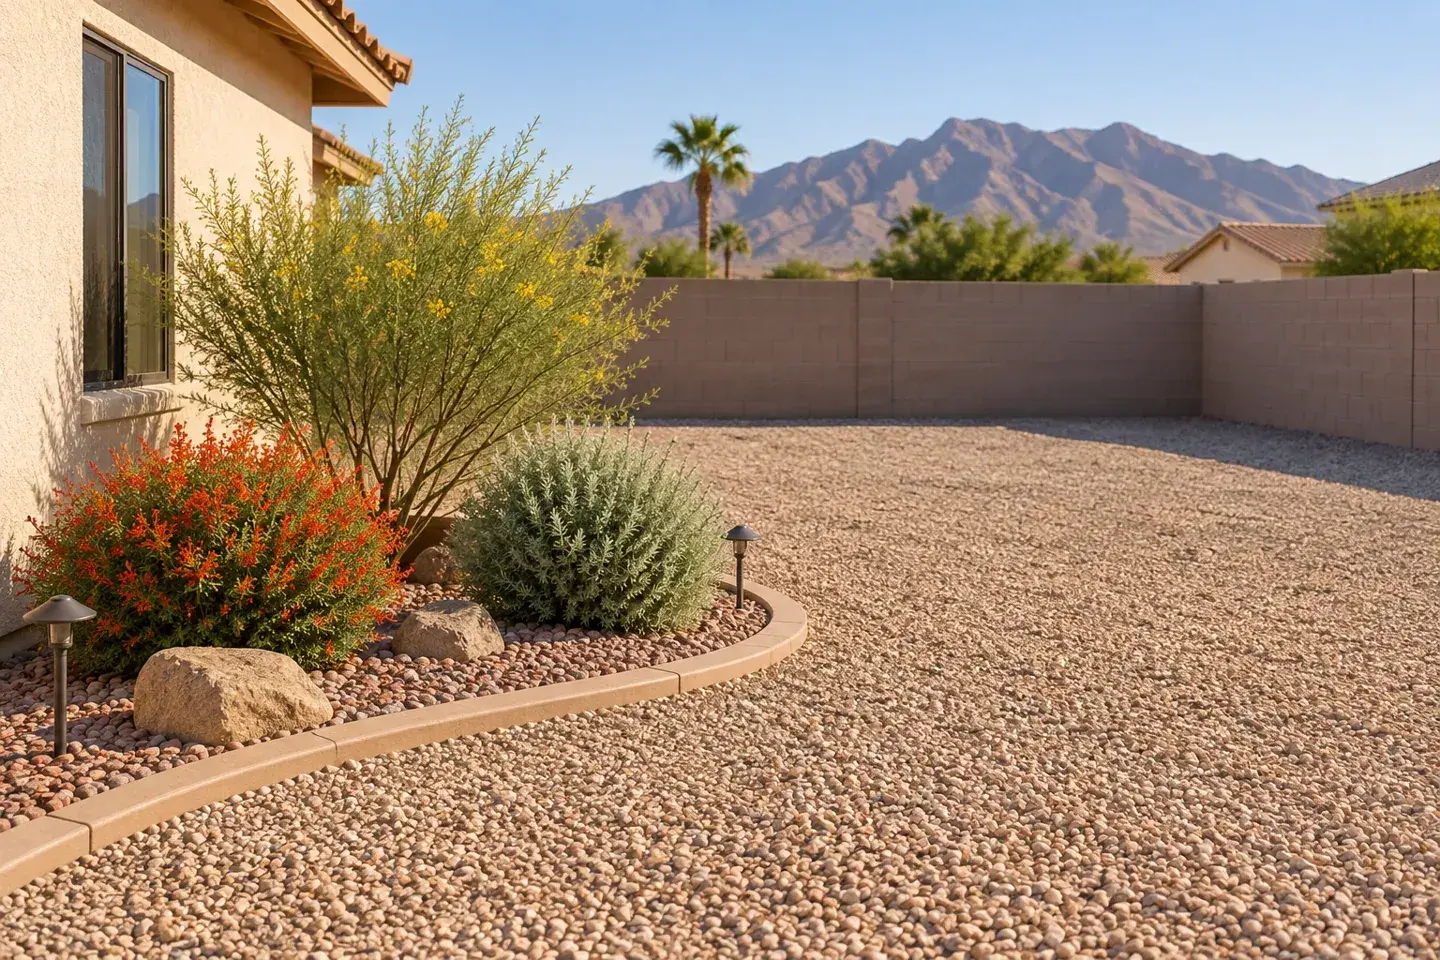
Complete one visible area with its planting, edging, and irrigation before expanding. Photograph it through the seasons and record which plants crowd, struggle, or need different care. Use those observations to refine the next zone. A tested small composition is more useful than a rushed yard-wide purchase.
Turn the ideas into a plan
Choose three compatible ideas: one for movement, one for planting, and one for everyday use. Map sun, drainage, existing roots, and irrigation before shopping. Confirm mature sizes with a local plant resource, then build an establishment schedule you can maintain. Let the site determine the palette; use the illustrations to explore arrangement.
Sources
- California Native Plant Society's gardening resources. Checked October 6, 2026
- CAL FIRE's defensible-space guidance. Checked October 6, 2026
- Waterwise Garden Planner's California native palette. Checked October 6, 2026
- Waterwise plant profile. Checked October 6, 2026
- Waterwise native-plant resources. Checked October 6, 2026
- UC's manzanita guidance. Checked October 6, 2026
- UC Davis describes substantial cultivar variation. Checked October 6, 2026
- UC Sonoma's water guidance. Checked October 6, 2026
- CNPS container guide. Checked October 6, 2026
- UC's mulch guidance. Checked October 6, 2026
Share this article
Get new guides by email
Practical home articles and free resources. No spam, and you can unsubscribe at any time.
Keep reading
15 Beautiful Xeriscaping Ideas for Colorado Front Yards
Explore 15 illustrated xeriscaping ideas for Colorado front yards, with grasses, flowers, shade, paths, useful lawn, and winter structure.
October 2026, 5 min read
The Best Grass Seed for North Carolina Lawns: Choose by Site
Choose North Carolina grass seed by region, sun, traffic, and upkeep. Compare tall fescue, Bermuda, centipedegrass, zoysia, and actual seed labels.
October 2026, 5 min read
Artificial Turf Cost in Arizona: Installation and Materials
Compare Arizona artificial turf materials and installation costs using an attributed Phoenix benchmark, clear exclusions, heat concerns, and a sample budget.
October 2026, 5 min read