5 Cheap Ways to Update Old Kitchen Cabinets Without Replacing Them
Old kitchen cabinets do not always need replacement. If the boxes are sound, doors function, and the layout works, a focused update can improve appearance.
By Home Crane Editors. . 4 min read.
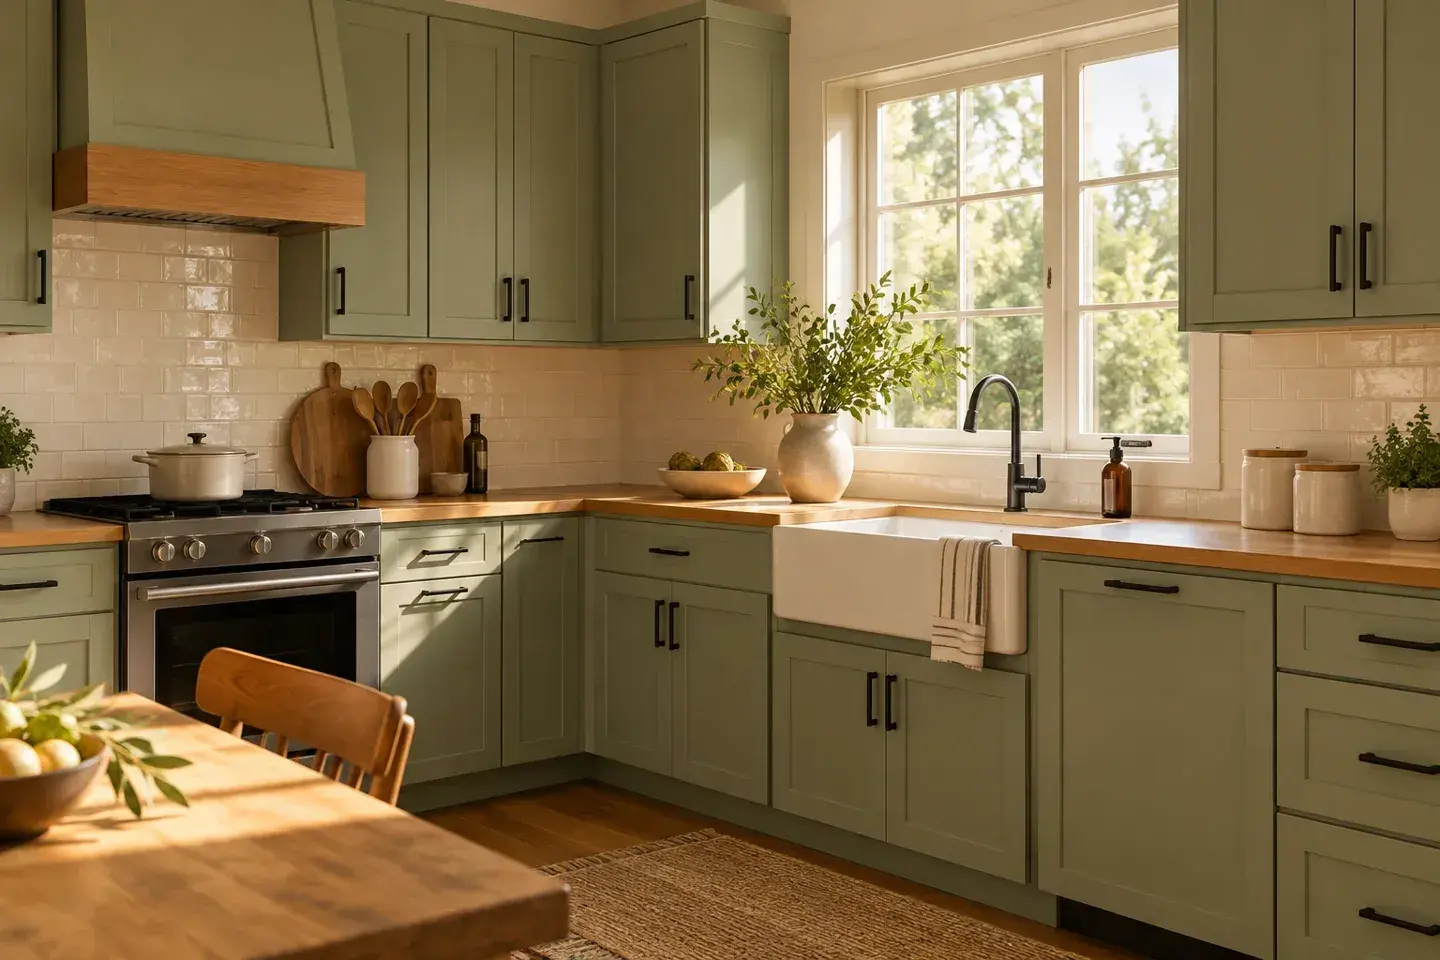
Old kitchen cabinets do not always need replacement. If the boxes are sound, doors function, and the layout works, a focused update can improve appearance and daily use. The best first step is to separate cosmetic wear from water damage, loose mounting, or failing cabinet construction.
These five options range from a low-cost tune-up to a more involved paint project. Choose the smallest change that addresses the actual problem. Replacing every visible detail at once can cost more than expected, especially when new holes, repairs, and finish matching enter the job.
1. Clean, adjust, and repair what you already have
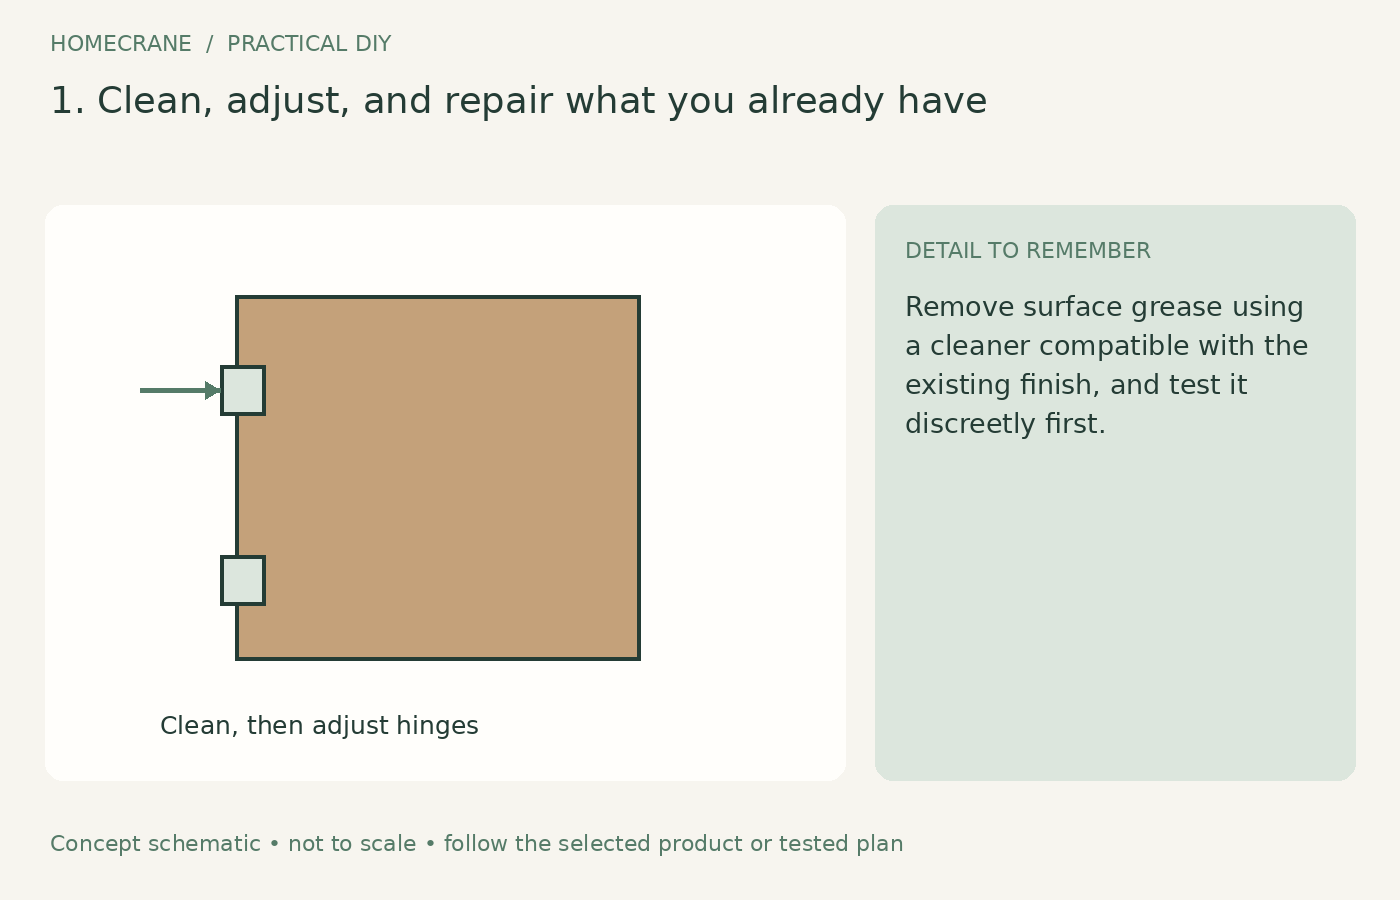
Remove surface grease using a cleaner compatible with the existing finish, and test it discreetly first. Change cloths as they become dirty and follow any rinsing requirement. Avoid soaking cabinet edges or using aggressive abrasives that can damage a thin decorative surface.
Check hinge adjustment, drawer alignment, loose handles, and missing bumpers. Follow the hardware instructions rather than tightening every screw indiscriminately. A stripped screw hole or damaged hinge mounting needs a suitable repair, not increasing force until the panel cracks.
This option is especially effective when the cabinets look neglected rather than fundamentally dated. Straight doors, clean edges, and quieter closing can improve the room before any color changes. Take photographs after cleaning so you can reassess whether painting is still necessary.
2. Change handles while keeping the existing holes
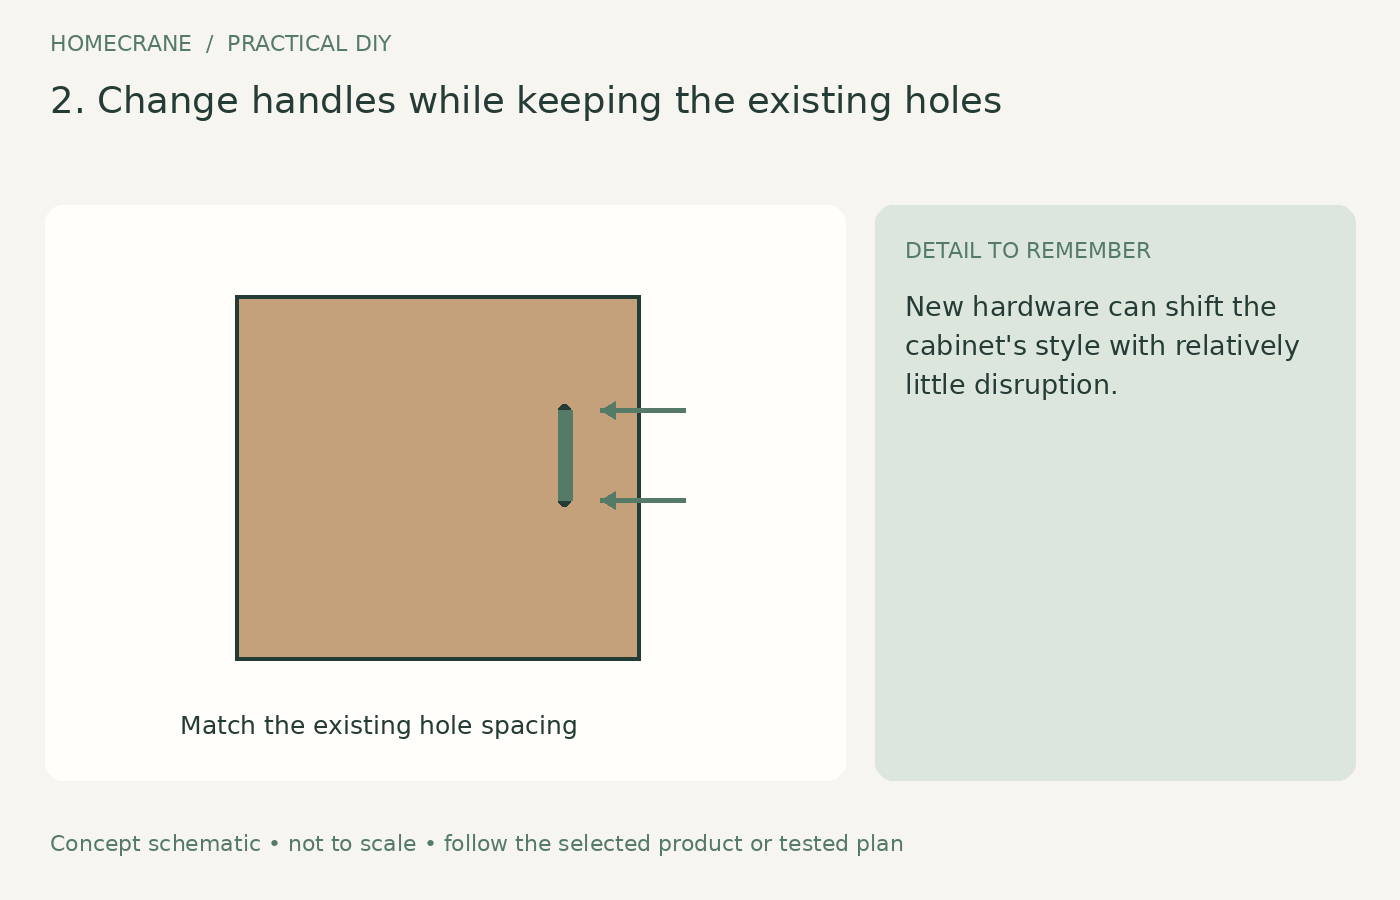
New hardware can shift the cabinet's style with relatively little disruption. Measure the center-to-center spacing of existing pulls, not their overall length. Choose compatible screws for the actual door or drawer-front thickness.
Order one sample before buying a full set. Check comfort, clearance, finish, and whether the handle catches clothing. A stylish pull that is awkward to grip becomes irritating quickly in a busy kitchen.
Keeping the original hole pattern avoids filling and redrilling visible faces. If you want a different spacing, plan the repair and finish work first. On a stained door, a filled hole may remain visible even when the new handle looks attractive. Count every door and drawer, including rarely used ones, before estimating the total cost.
3. Paint sound surfaces with a compatible cabinet system
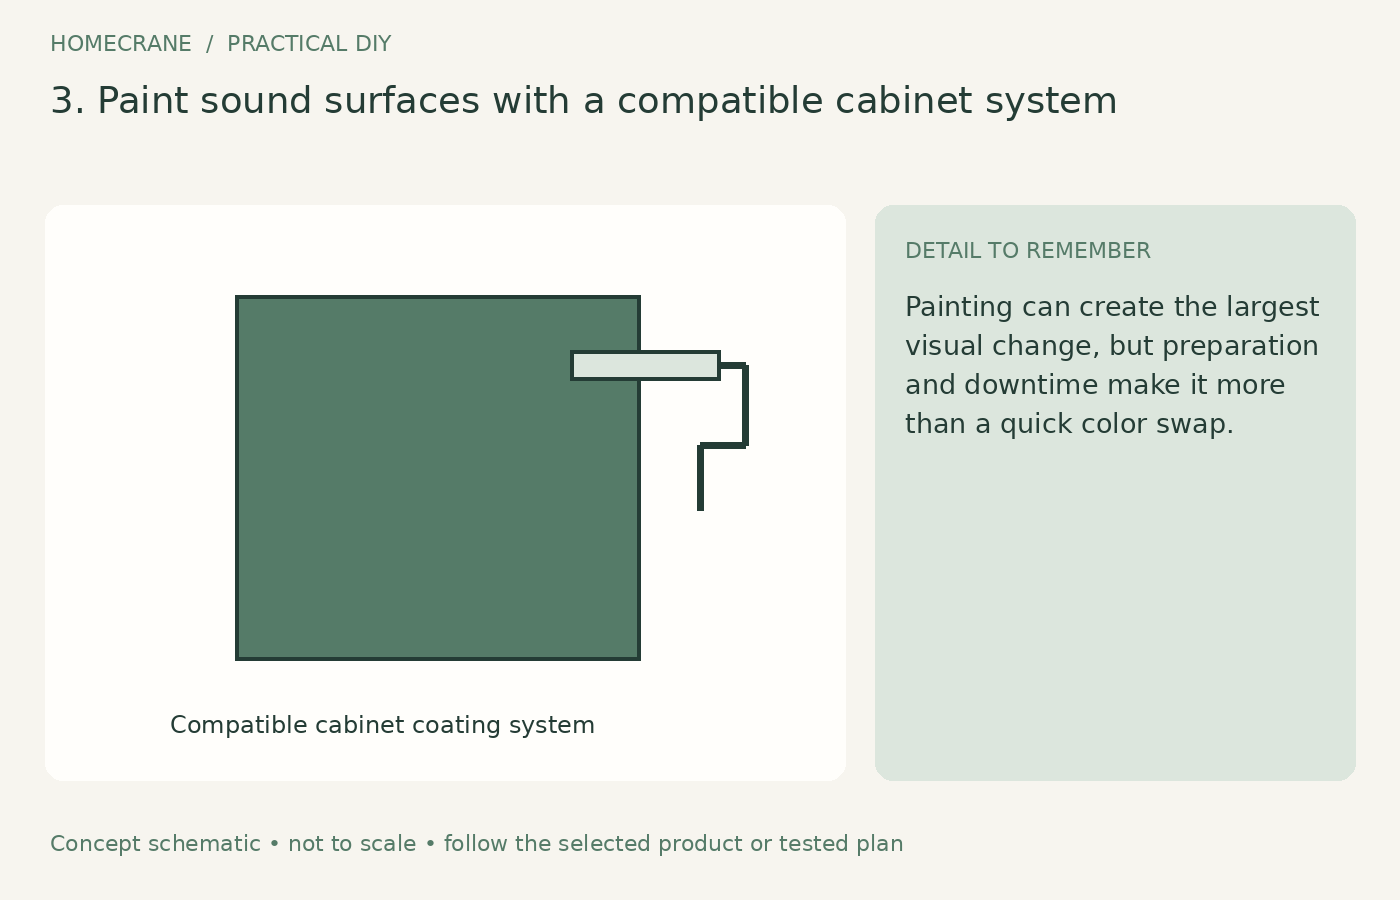
Painting can create the largest visual change, but preparation and downtime make it more than a quick color swap. Identify the surface, remove contamination, and choose a system approved for that material and condition.
Rust-Oleum's Cabinet Transformations guidance describes use over suitable well-adhered existing paint within its preparation process. The current kit page shows why the exact product instructions matter. Different versions can use different preparation components.
Label doors and hardware, test adhesion, and follow coat and cure requirements. Do not paint over swollen particleboard, lifting laminate, or unresolved leaks. A new finish can make sound cabinets more appealing, but it cannot restore a failed substrate.
4. Add restrained decorative trim where suitable
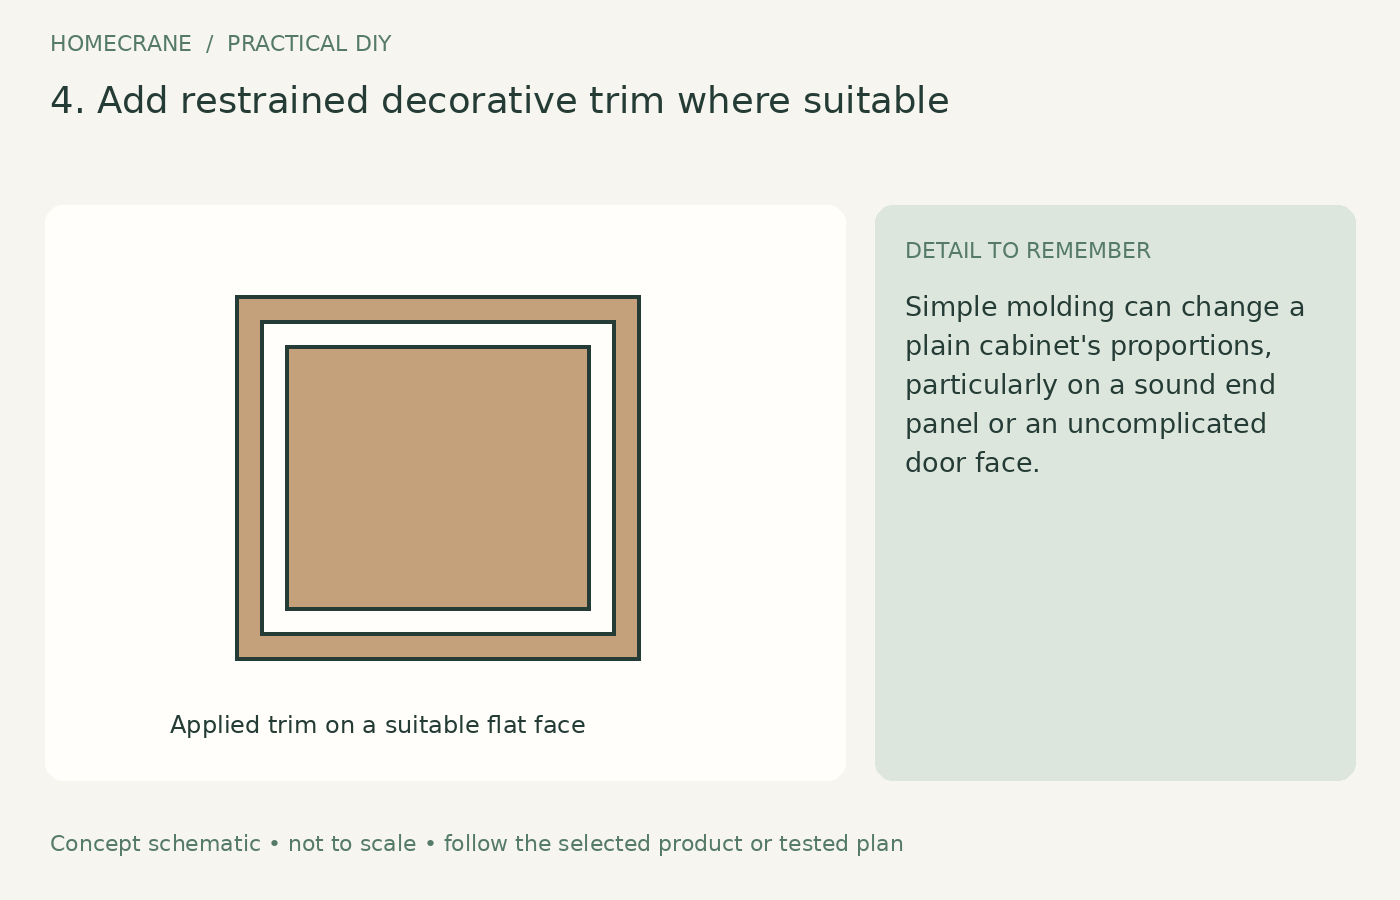
Simple molding can change a plain cabinet's proportions, particularly on a sound end panel or an uncomplicated door face. Keep the design light and check that the added thickness does not interfere with hinges, neighboring doors, or appliance clearances.
Make a cardboard mockup or use tape to preview the pattern. Measure each door instead of assuming they are identical. Test the attachment and finish system on suitable scrap, and do not drive fasteners through a thin panel without understanding its construction.
This is not a good route for every laminate or flexible door covering. Added trim can create awkward edges and cleaning ledges, and extra weight can affect hardware. Use it selectively where the result looks intentional, rather than applying a complicated pattern to every surface.
5. Improve the interiors with removable organization
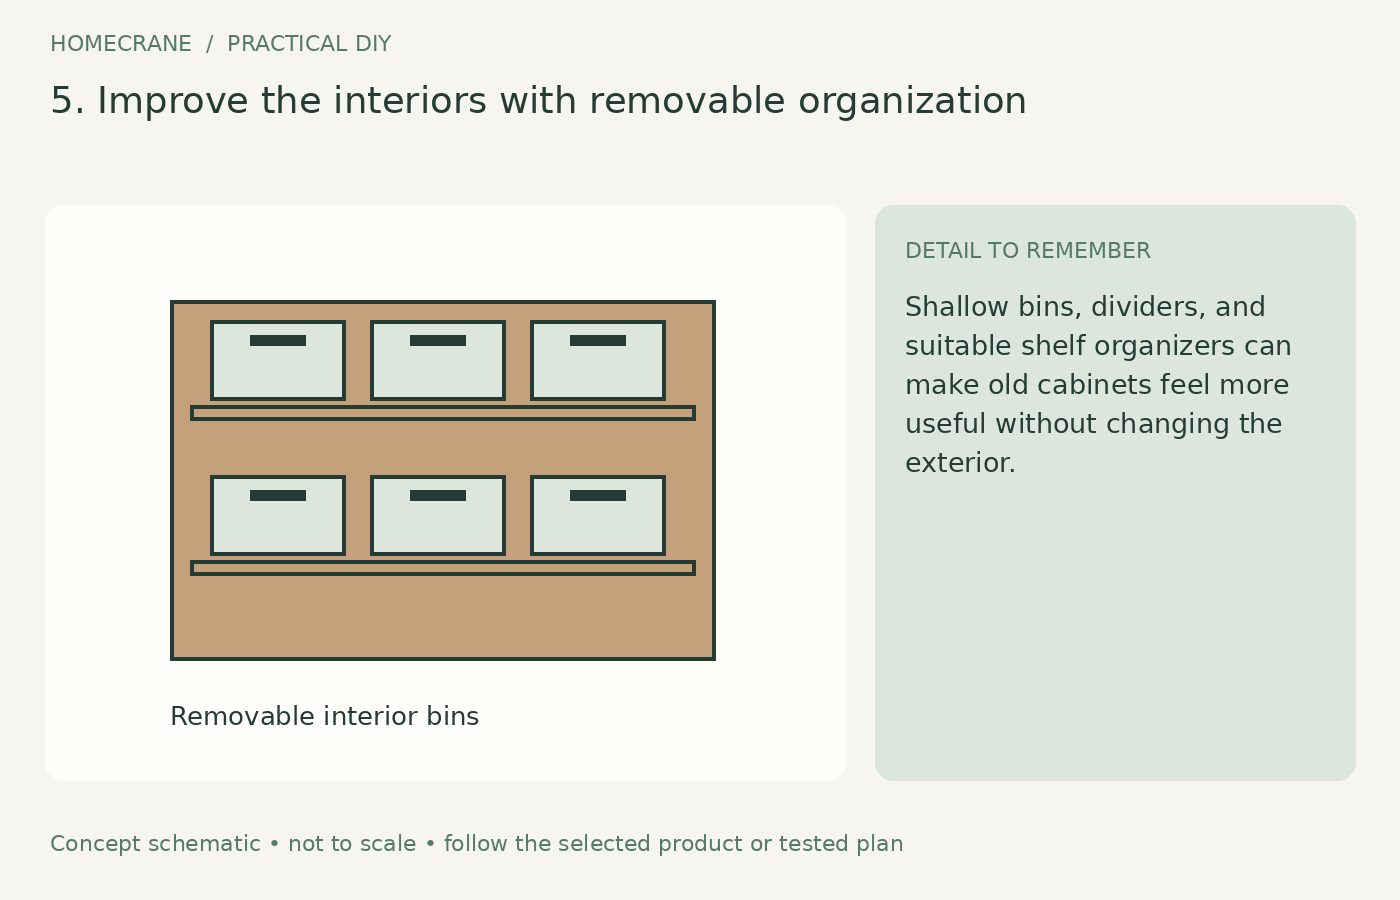
Shallow bins, dividers, and suitable shelf organizers can make old cabinets feel more useful without changing the exterior. Start with the item you struggle to retrieve most often, such as pan lids, cleaning cloths, or baking supplies.
Measure the opening as well as the interior. Door hinges and face frames can prevent a bin from passing through even when it fits inside. Keep heavier items within comfortable reach and do not exceed the shelf or organizer's limits.
Choose reversible accessories before cutting cabinet parts or adding complex pull-outs. A simple tray that brings a category forward may solve the problem at a fraction of the cost. Keep plumbing, shutoffs, and electrical connections accessible under the sink.
Compare effort before deciding
| Feature | Typical disruption | Best starting condition |
|---|---|---|
| Cleaning and adjustment | Low | Sound finish and hardware |
| Matching-hole handles | Low | Usable existing holes |
| Cabinet paint system | Moderate | Stable, compatible surfaces |
| Decorative trim | Moderate | Suitable flat faces and clearances |
| Interior organization | Low | Sound shelves and accessible space |
These are relative effort categories, not price quotes. Build a complete shopping list and include samples, preparation, replacement hardware, and tools. For a small budget, start with cleaning and one hardware sample before committing to paint.
Questions homeowners ask
When is updating a poor use of money?
When cabinet boxes are failing, mounting is insecure, moisture damage is widespread, or the layout no longer serves the kitchen. Address those problems before adding cosmetic layers.
Can I sand old paint to prepare for an update?
First identify the surface and any older-paint risk. The EPA's DIY lead guidance is relevant when disturbing paint in older homes. Preparation should match both the coating system and the condition of the existing cabinet.
Sources
- Rust-Oleum's Cabinet Transformations guidance. Checked October 11, 2026
- Rust-Oleum: Cabinet transformation kit page. Checked October 11, 2026
- EPA's DIY lead guidance. Checked October 11, 2026
Share this article
Get new guides by email
Practical home articles and free resources. No spam, and you can unsubscribe at any time.
Keep reading
20 Farmhouse Kitchen Remodel Ideas Before And After
Explore 20 farmhouse kitchen remodel ideas before and after with practical design concepts, planning checks, budget guidance and safety considerations for US ho
November 2026, 20 min read
How to Update a 90s Bathroom on a $500 Budget
Refresh a dated bathroom with a sample $500 plan for cleaning, paint, hardware, textiles, and storage while keeping sound fixtures.
October 2026, 3 min read
Modern Farmhouse Kitchen Remodel: A Budget-Friendly Guide
Refresh a modern farmhouse kitchen with five illustrated ideas, from keeping a working layout to coordinating finishes and planning a sample budget.
October 2026, 5 min read