Modern Farmhouse Kitchen Remodel: A Budget-Friendly Guide
Refresh a modern farmhouse kitchen with five illustrated ideas, from keeping a working layout to coordinating finishes and planning a sample budget.
By Home Crane Editors. . 5 min read.
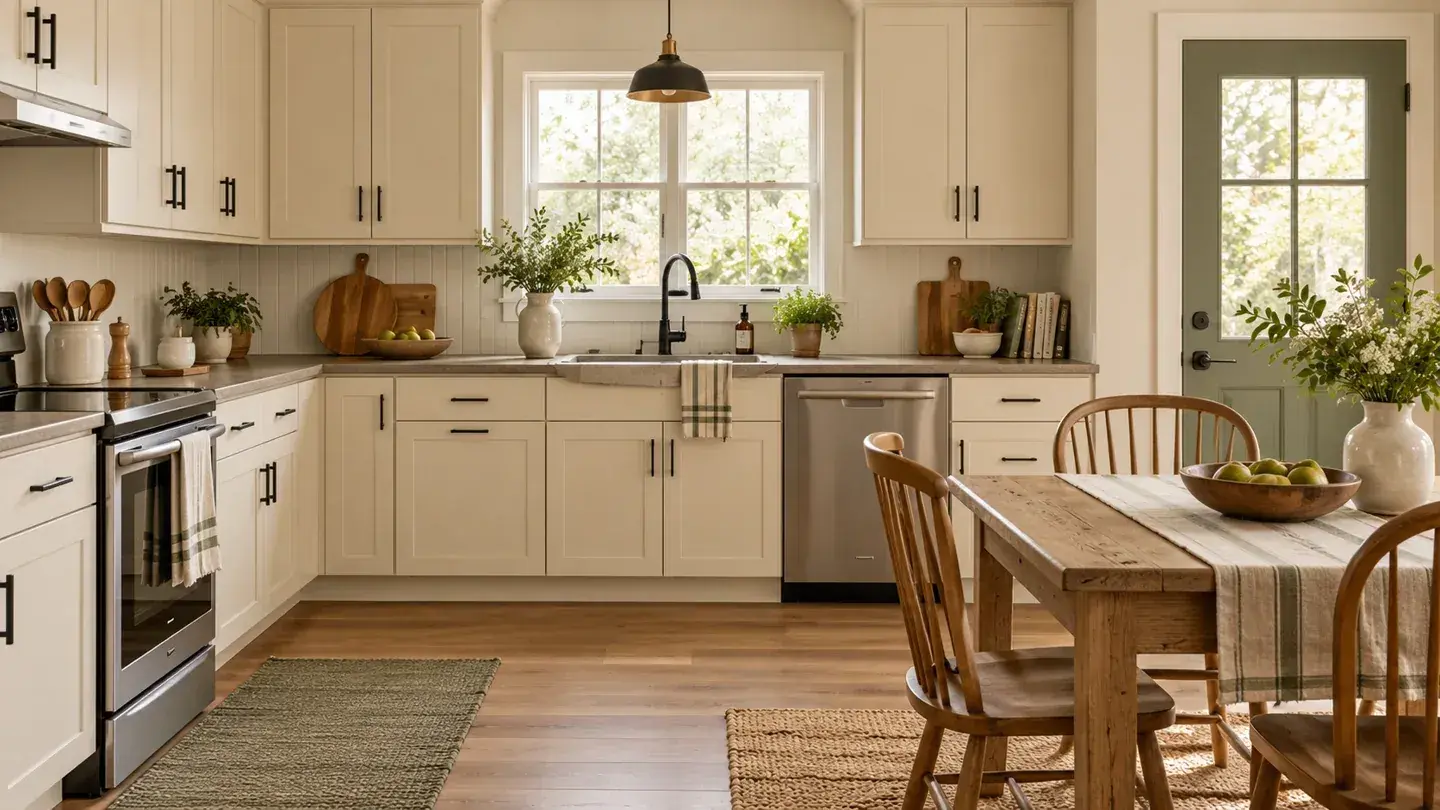
A budget-friendly modern farmhouse kitchen starts with a clear limit on the work. Keep what functions, choose a small group of coordinated finishes, and spend on the details you see and use most. You do not need a new apron-front sink, a giant island, or a full cabinet replacement to introduce the style.
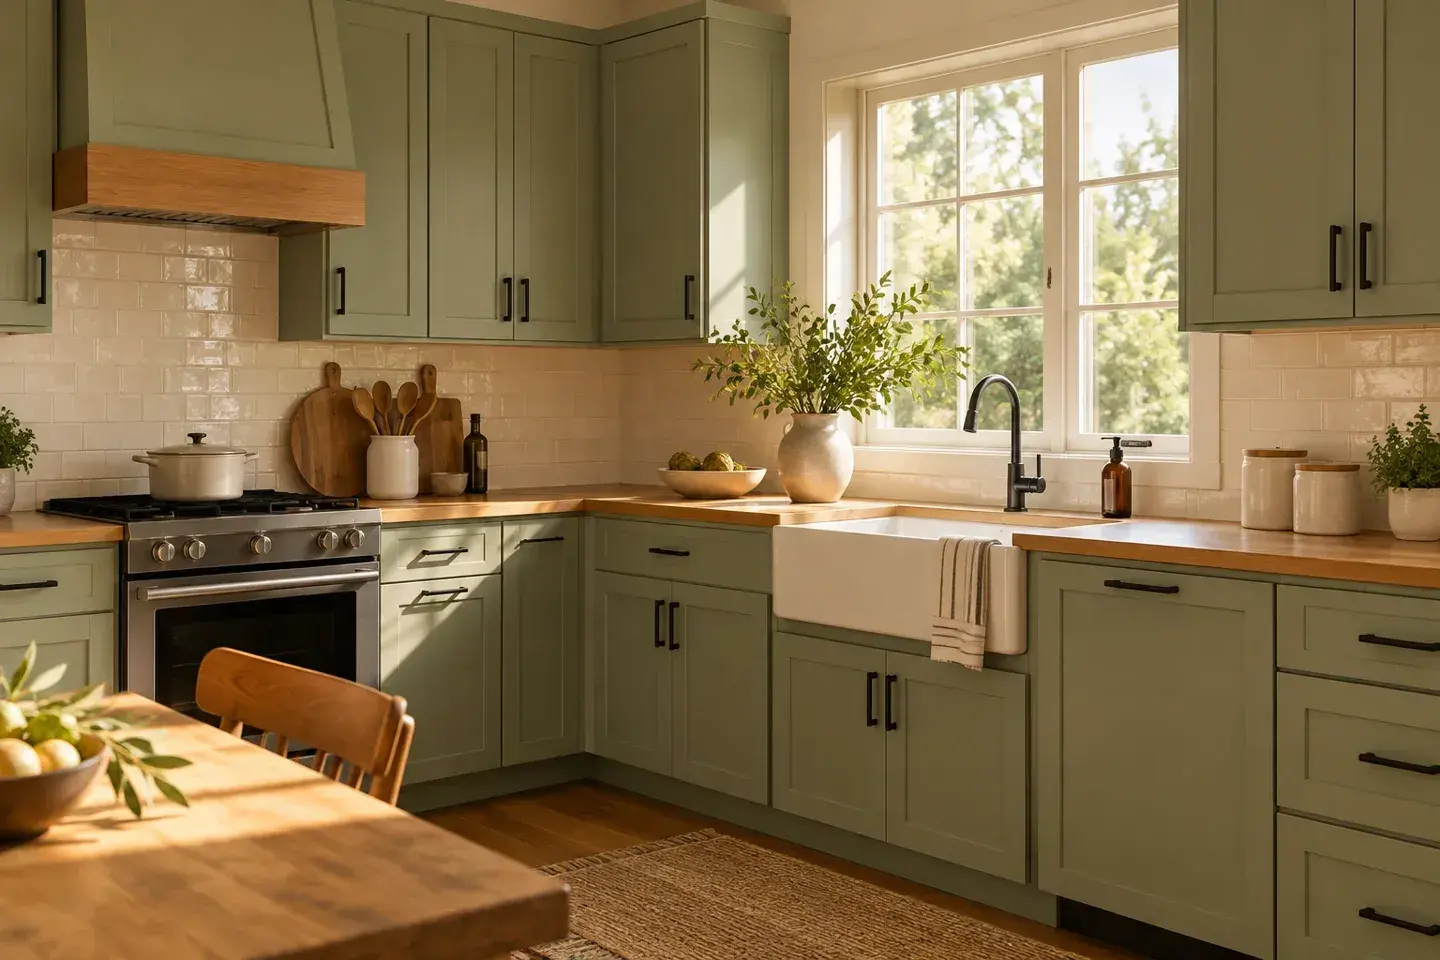
Think of warm wood, simple cabinet lines, restrained hardware, and a few useful everyday objects. The modern part comes from editing the room so it feels calm and practical. The farmhouse character comes from texture and familiarity, not a requirement to buy a collection of themed accessories.
Define a Refresh Before Calling It a Remodel
List what is working: layout, appliances, cabinet boxes, counter, lighting, and storage. Then list the problems that actually affect daily use. A cosmetic refresh is a different budget from moving plumbing, rewiring, or replacing damaged cabinetry.
A This Old House farmhouse kitchen case study illustrates the value of retaining major existing elements while changing the room's appearance. Its historical project price is not a current quote for your kitchen. Use the scope lesson, then obtain today's prices for your own materials and labor.
1. Keep a Layout That Already Works
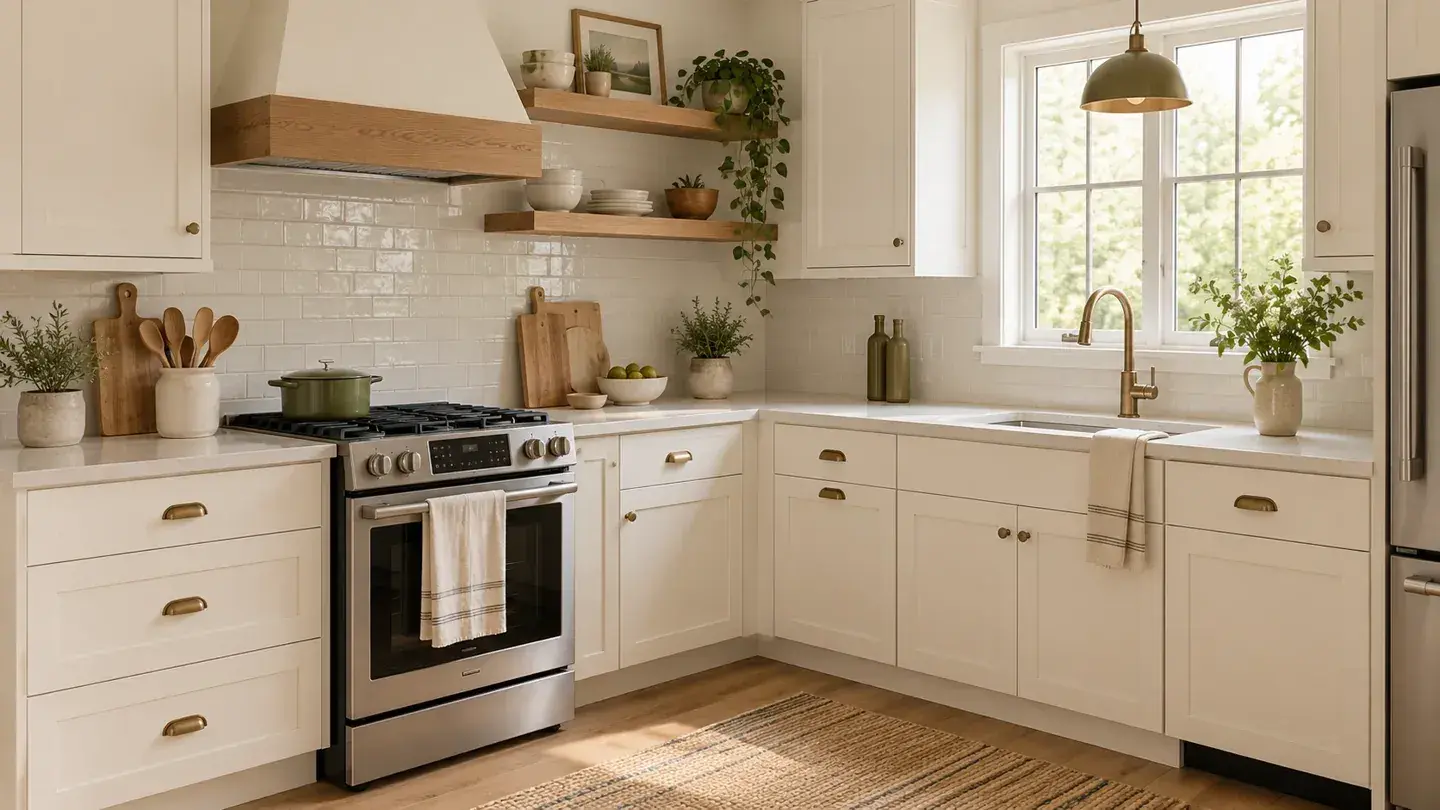
If the sink, range, refrigerator, and storage are in sensible positions, make retaining them the default. Photograph the room and mark the features you plan to keep before collecting inspiration. This helps prevent an attractive reference image from quietly expanding the project into a complete rebuild.
Walk through a normal meal preparation routine. Is there a place to set groceries, enough usable counter space, and a clear path through the room? If a genuine functional problem exists, price that correction separately. Do not disguise it with decoration and expect the room to work better.
For a cosmetic refresh, consider removing visual clutter, changing a freestanding table, or organizing an awkward cabinet before altering the footprint. Keep circulation and appliance operation clear. A small kitchen can look welcoming without forcing in an island that interrupts the way the household moves.
2. Refresh Sound Cabinets and Choose Simple Hardware
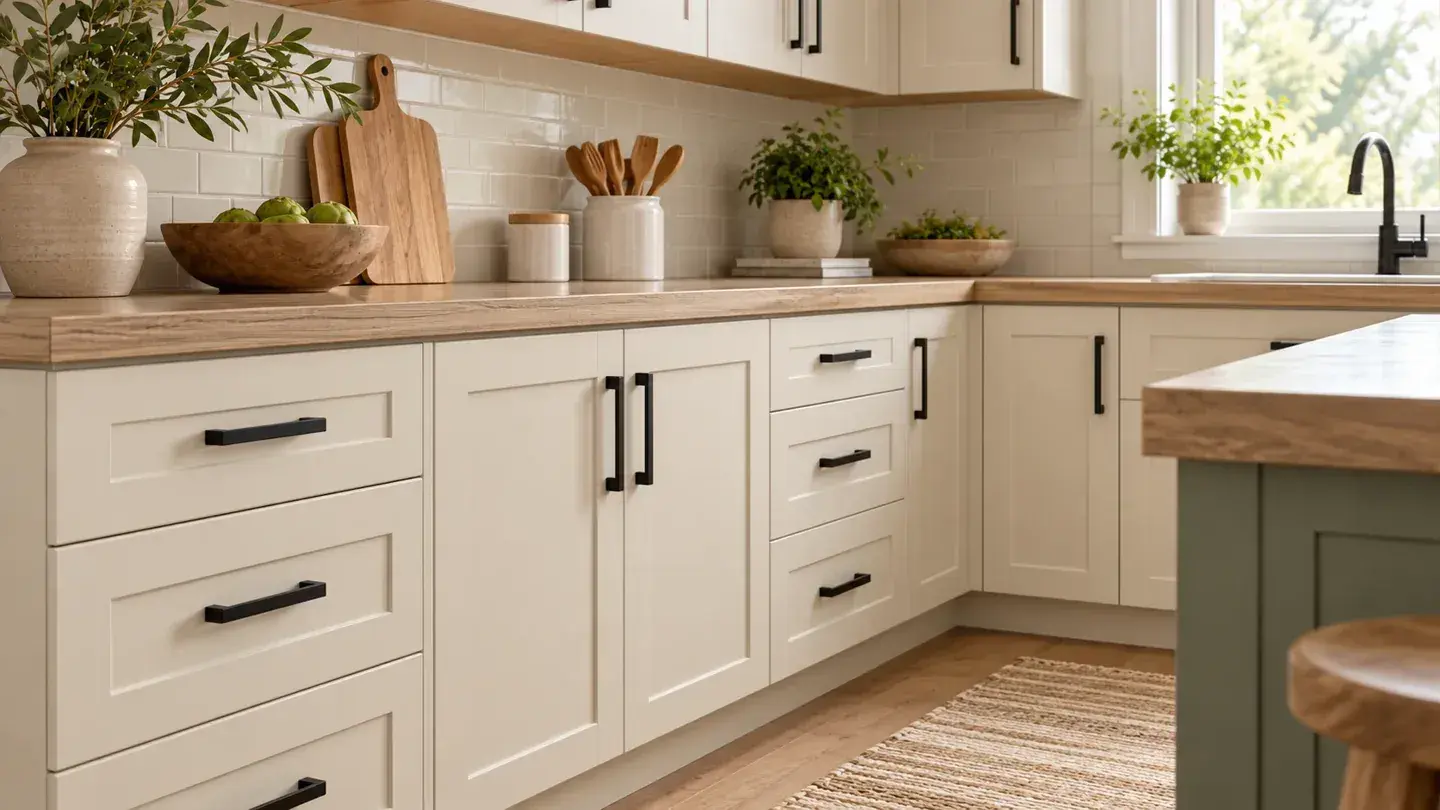
Cabinets occupy a large part of the view, so their condition and finish deserve early attention. Clean them first and inspect doors, edges, hinges, and drawers. Repainting, replacing selected fronts, or simply changing hardware are different options with different preparation needs.
Confirm compatibility before ordering replacement doors. IKEA's guidance distinguishes its current SEKTION system from older AKURUM cabinetry. The broader lesson is to identify the cabinet system rather than buying fronts based on appearance alone.
For new pulls, measure the existing hole spacing and test one piece before purchasing the whole set. Simple black, brushed metal, or warm brass-colored hardware can work; consistency matters more than choosing a supposedly mandatory farmhouse finish. If painting is part of the plan, budget preparation and cure time, and follow lead-safe guidance before disturbing older coatings.
3. Use a Quiet Counter-and-Backsplash Palette
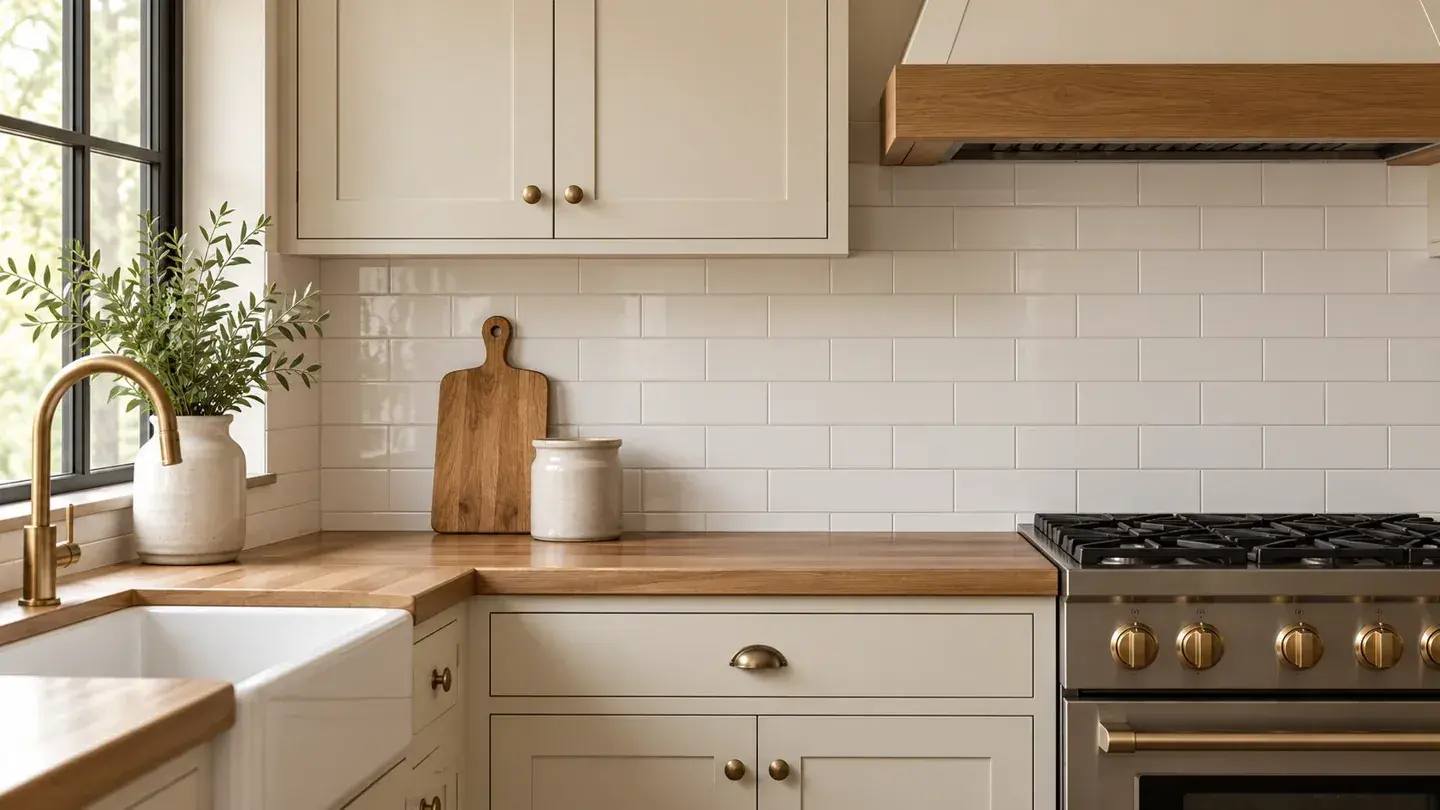
Choose the counter and backsplash as a pair, even if only one is changing. A busy existing counter may look better beside a simple wall finish than beside another strong pattern. Bring samples into the kitchen and compare them under both daylight and evening lighting.
A restrained tile pattern can support the style without becoming the entire design. If the current backsplash is sound and acceptable, consider keeping it and using the budget elsewhere. Replacing a finish that is not causing a problem can consume money needed for a more useful repair.
Before ordering a backsplash, establish the complete installation scope: removal, wall preparation, materials, edge details, and work around outlets. Decorative adhesive products have surface and location limits, so check the exact instructions, especially near cooking equipment. An inspiration image does not establish heat resistance or installation approval.
4. Add Warmth With Useful, Movable Details
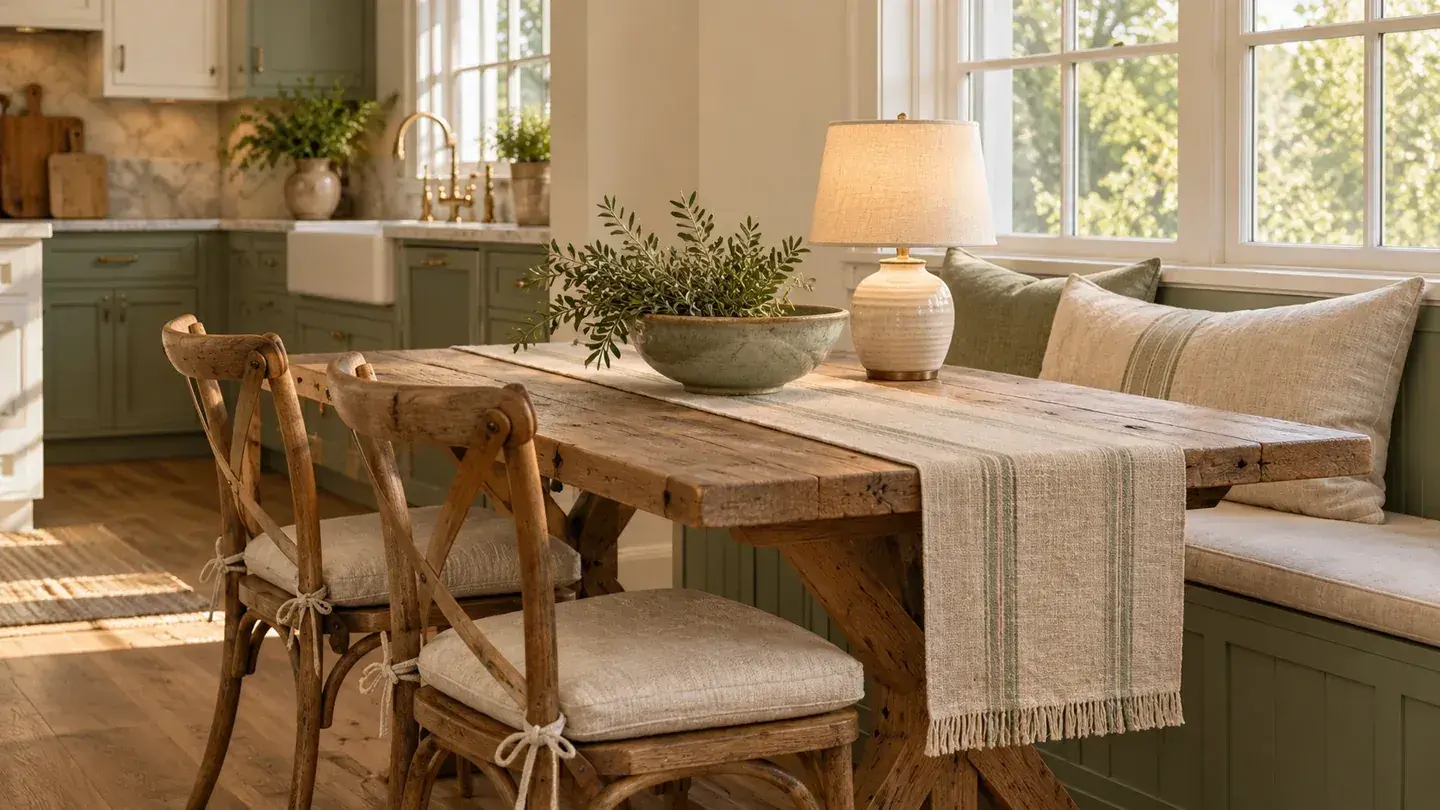
A wood table, washable linen-look curtain, plain ceramic bowl, or shaded lamp in a suitable dry location can add warmth without construction. Start with items you already own. Repeating one wood tone and one textile color often creates a more settled result than buying many unrelated accents.
Keep practical work areas clear. A decorative board or basket should not occupy the only useful preparation surface. Choose items that earn their place, such as a tray that gathers everyday supplies or a chair that makes the breakfast corner more comfortable.
Review lighting before adding more decoration. A suitable plug-in lamp can change a dining corner, but permanent lighting changes need the appropriate electrical work. Keep cords away from heat, water, and walking routes. The aim is a kitchen that feels welcoming during real use, not only in a photograph.
5. Finish in Stages and Protect the Budget
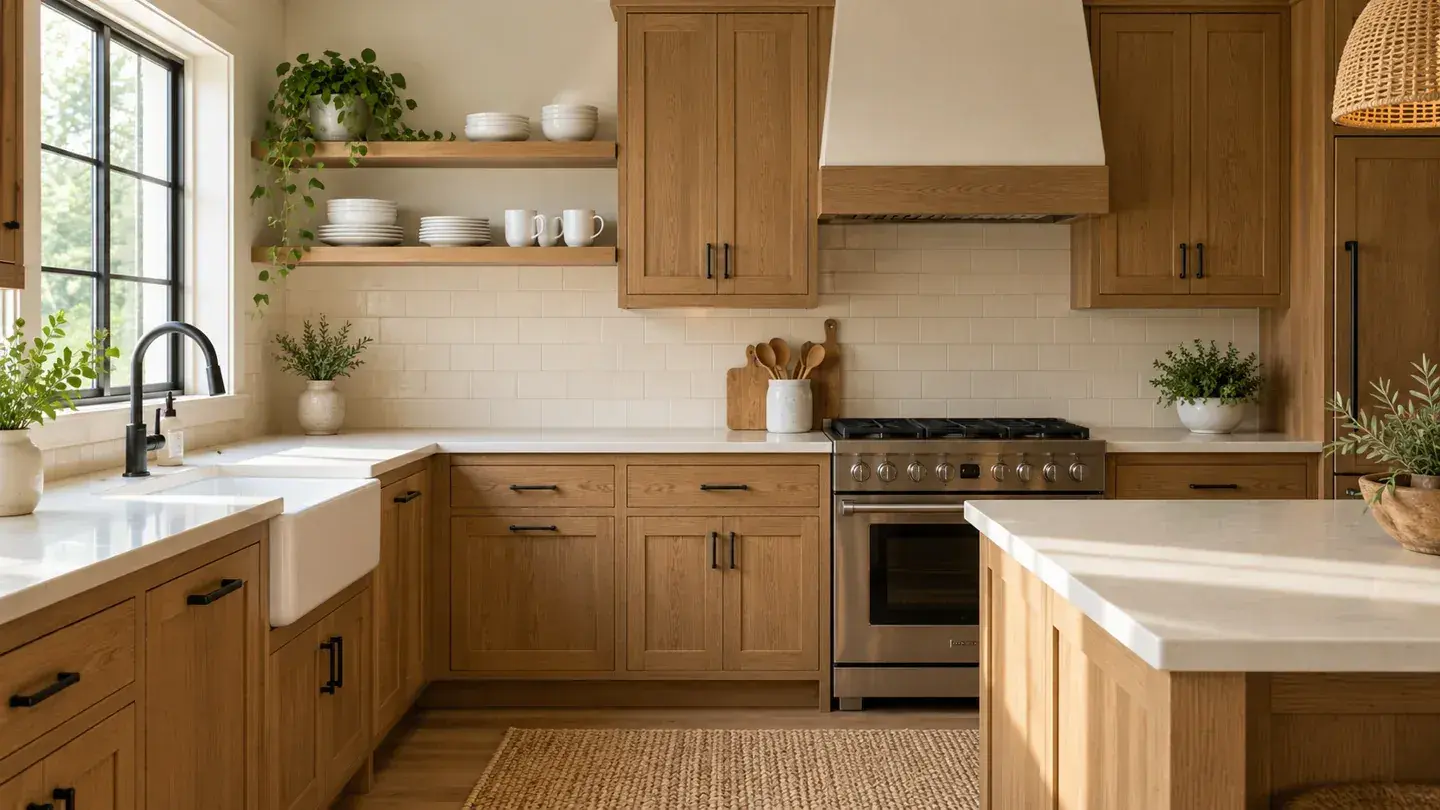
Divide the work into a necessary stage and an optional stage. Necessary work includes addressing defects and completing any finish you have already started. Optional work includes a new shelf, extra accessories, or a decorative feature that can wait without affecting function.
Open shelving can suit the style, but retain enough closed storage for ordinary kitchen contents. If adding a shelf, confirm suitable support for its intended load and location. A few frequently used dishes are easier to maintain than a large display installed only to fill a wall.
Photograph the room after the main changes, then pause before shopping again. You may find that refreshed cabinets, coordinated hardware, and a calmer counter are enough. Completing a smaller, coherent project is often more satisfying than spreading the budget across unfinished upgrades.
An Illustrative $2,000 Refresh Budget
These amounts are invented allocations for planning, not market estimates. They assume a cosmetic project with owner labor and retained appliances, layout, and countertops. The professional allowance is a placeholder for a defined small task, not a promise that it covers any particular trade scope.
| Feature | Assumed allocation | |
|---|---|---|
| Cleaning and preparation supplies | $150 | |
| Cabinet coating materials | $350 | |
| Hardware | $180 | |
| Small backsplash materials | $300 | |
| Lighting accessories and textiles | $220 | |
| Defined professional task allowance | $400 | |
| Reserve | $400 | |
| Total | **$2,000** |
Replace every line with local prices and product quantities before committing. Tax, delivery, tools, and unexpected repairs can change the result. If a required task costs more than its allowance, reduce optional purchases rather than pretending the original total still works.
Make One Cohesive Decision at a Time
Choose your cabinet direction first, then coordinate hardware, backsplash, and movable details around the surfaces you are keeping. Save samples and product information together. This makes later purchases easier and helps avoid buying several nearly matching finishes.
A modern farmhouse kitchen can be modest, practical, and personal. The strongest budget decision is to know which parts of the room deserve change and which already do their job well.
Sources
- This Old House: A Farmhouse Kitchen Redo for 564. Checked October 5, 2026
- IKEA US: 9713 4f45 8b10. Checked October 5, 2026
- US EPA: Lead Safe Renovations Diyers. Checked October 5, 2026
Share this article
Get new guides by email
Practical home articles and free resources. No spam, and you can unsubscribe at any time.
Keep reading
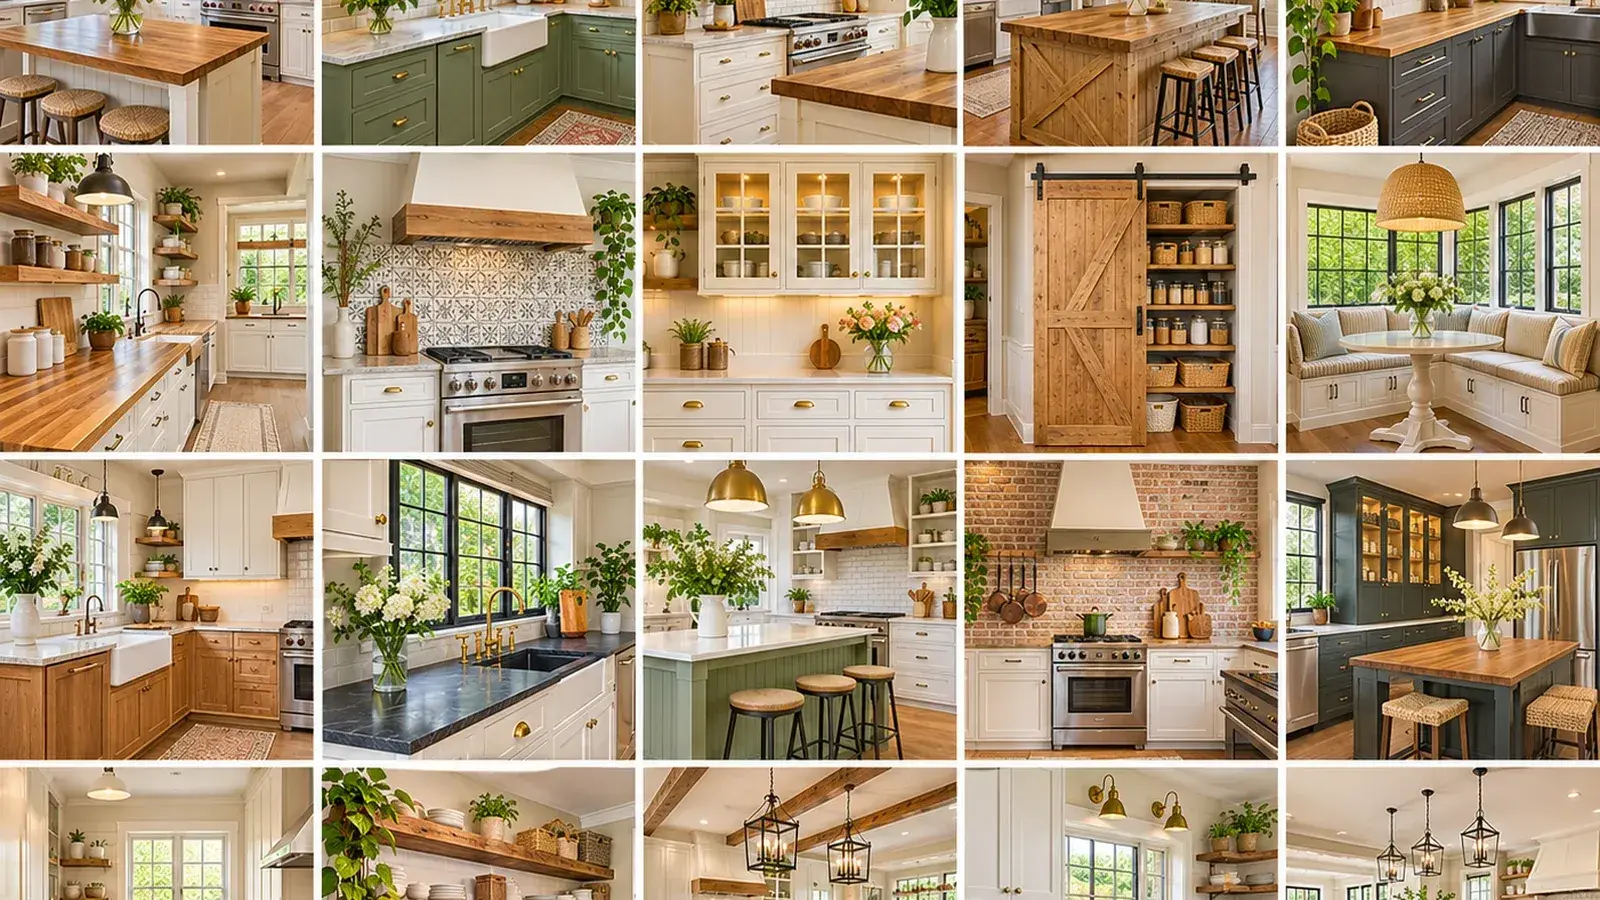
20 Farmhouse Kitchen Remodel Ideas Before And After
Explore 20 farmhouse kitchen remodel ideas before and after with practical design concepts, planning checks, budget guidance and safety considerations for US ho
November 2026, 20 min read
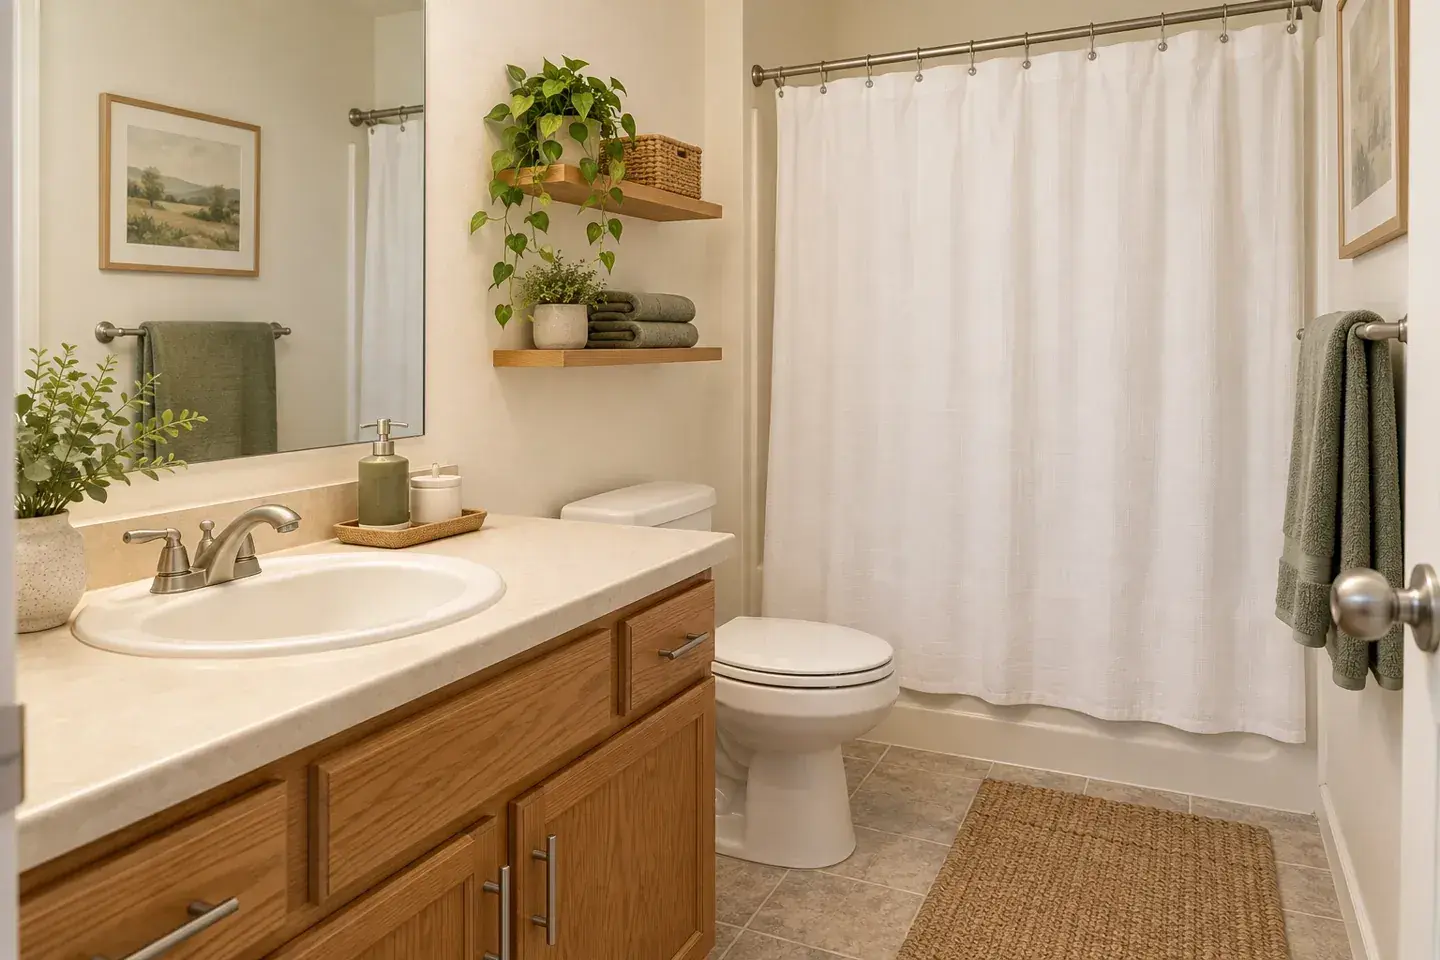
How to Update a 90s Bathroom on a $500 Budget
Refresh a dated bathroom with a sample $500 plan for cleaning, paint, hardware, textiles, and storage while keeping sound fixtures.
October 2026, 3 min read
5 Cheap Ways to Update Old Kitchen Cabinets Without Replacing Them
Old kitchen cabinets do not always need replacement. If the boxes are sound, doors function, and the layout works, a focused update can improve appearance.
October 2026, 4 min read