5 Steps: How to Make a DIY Cloud Ceiling LED Light
Learn the five stages of planning and building a glowing DIY cloud ceiling LED feature, with important guidance on mounting, lighting, materials, and fire safety.
By Home Crane Editors. . 8 min read.
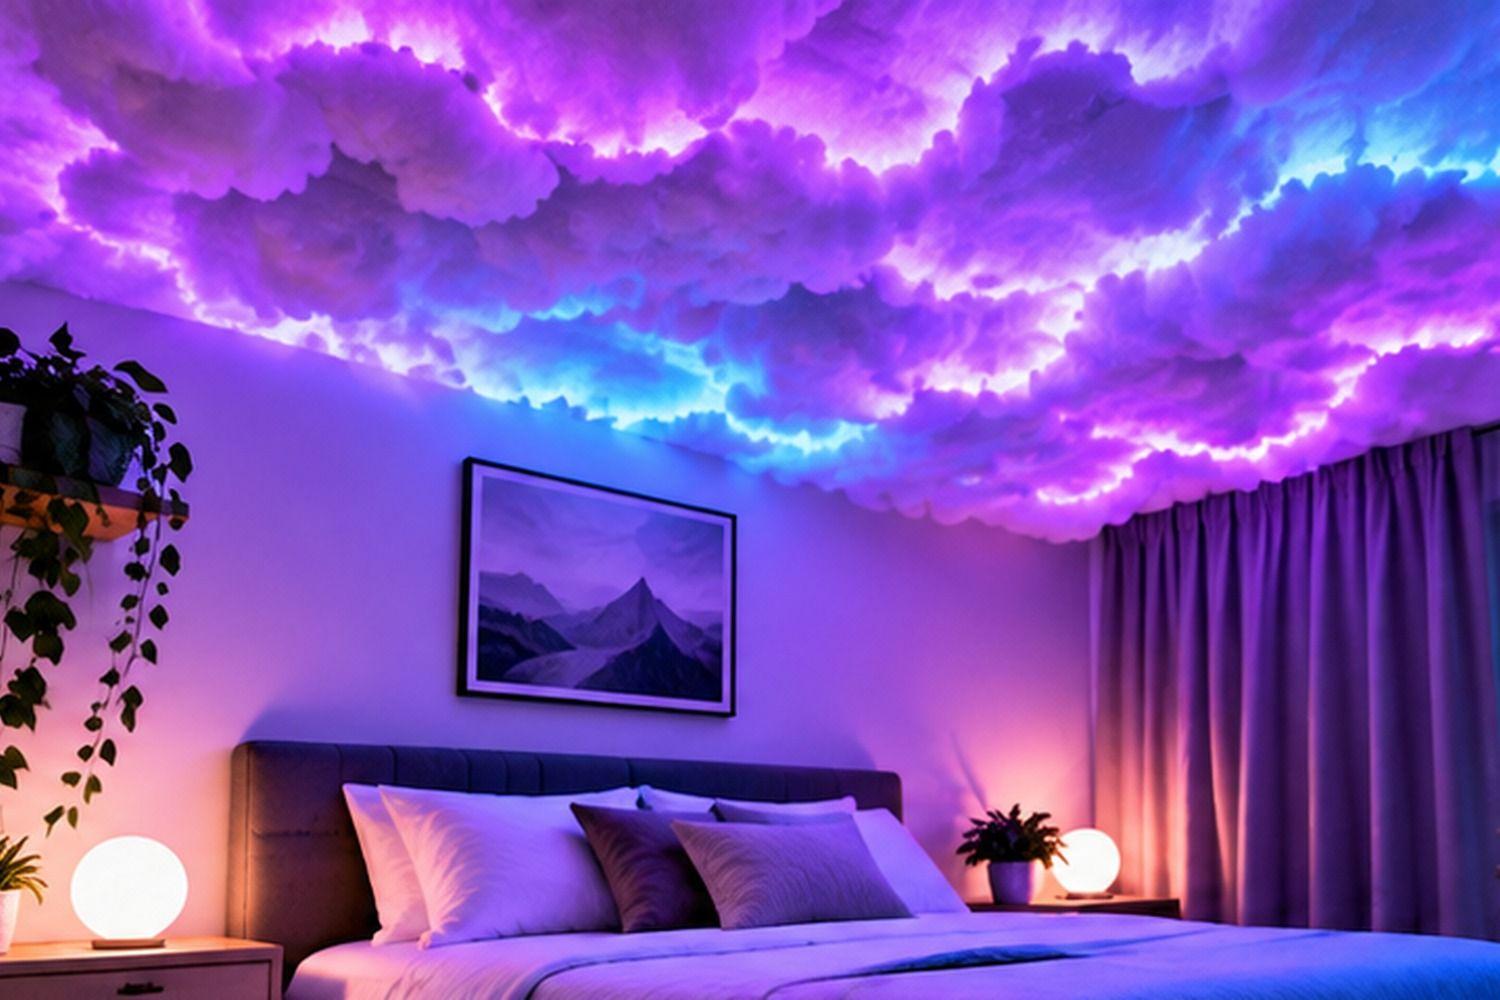
A DIY cloud ceiling can turn an ordinary bedroom into a soft, atmospheric space with glowing layers of color. The familiar look combines low-voltage LED lighting with a fluffy cloud-like finish, often arranged across a lightweight ceiling support. It can look spectacular in photos, but building one overhead requires more care than decorating a wall: the support must be secure, electrical components need ventilation, and the decorative material must be appropriate for use near lighting.
This guide explains the five main stages, from planning the layout to testing the finished effect. It focuses on a safer approach rather than simply sticking craft stuffing to a ceiling. Ordinary polyester fill, cotton batting, paper, and other decorative fibers may be combustible, so do not assume that a material is suitable just because it is lightweight. Use only products whose manufacturers document suitability for the intended application, and follow all stated clearances.
Important safety note: Do not cover smoke alarms, sprinkler heads, vents, ceiling fans, recessed lights, or other fixtures. Never attach a heavy overhead assembly with adhesive hooks or tape alone. Use a support system mechanically fastened to suitable structural backing. If the work involves mains wiring, new outlets, structural changes, or uncertainty about ceiling framing, hire a qualified professional.
Materials and tools to plan for
- Lightweight overhead support frame or smooth-edged mesh system rated for the intended installation
- Mechanical fasteners and mounting hardware appropriate for the ceiling structure
- Low-voltage LED strip kit with compatible controller and specified power adapter
- Cloud-effect decorative material with manufacturer-documented suitability and fire-performance information
- Manufacturer-approved clips, ties, or channels for securing the LED strip and decorative material
- Measuring tape, pencil, step ladder, and basic hand tools
- Safety glasses and dust protection appropriate to the materials being handled
The exact quantities depend on ceiling size, the support system, and the LED product. Measure first and use the manufacturers' instructions to determine compatibility. Avoid substituting random craft materials or electrical accessories.
Step 1: Plan the layout and prepare a secure base
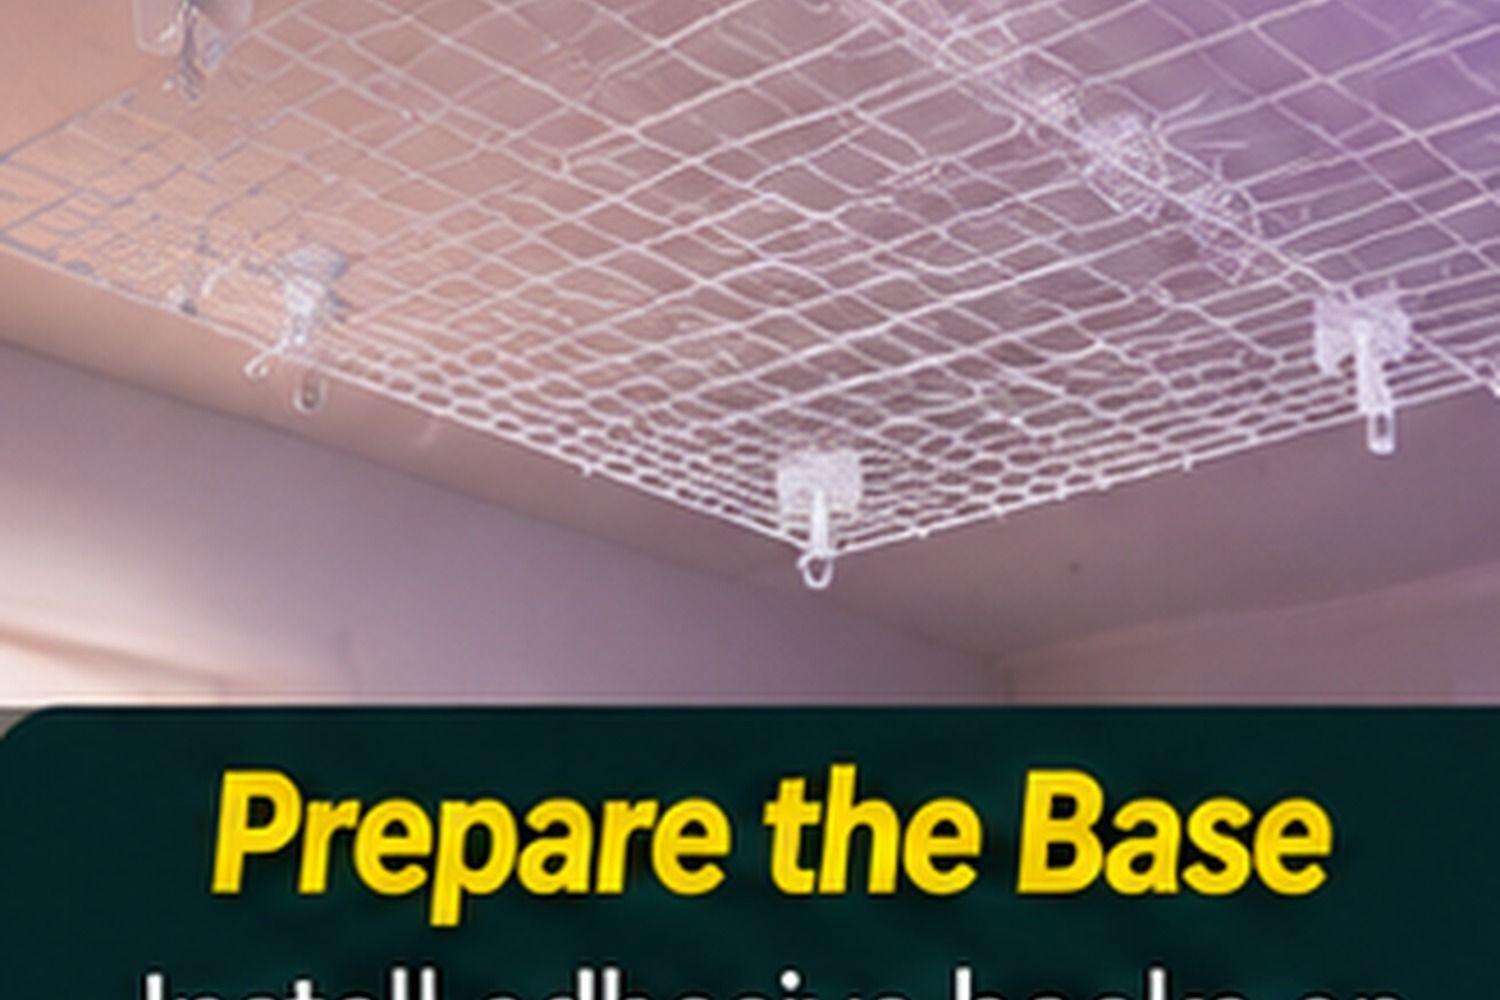
Measure the ceiling and decide where the cloud effect should begin and end. Sketch the layout around ceiling fans, recessed lights, smoke alarms, sprinklers, vents, access panels, and any existing fixtures. Keep all required devices visible and unobstructed, and follow the clearance instructions for each product. Do not cover a smoke alarm, sprinkler head, ventilation opening, or light fixture with decorative material.
Choose a lightweight support system designed for overhead installation. A purpose-made suspended frame or lightweight mesh support should be mechanically secured to suitable ceiling joists or other verified structural backing using hardware rated for the load. Do not rely on ordinary adhesive hooks, tape, or drywall alone to hold an overhead installation. Avoid chicken wire with sharp exposed ends; use a smooth-edged, purpose-made support grid. If you cannot identify the framing or safely install overhead supports, ask a qualified professional to do this part.
Before starting, switch off power to the work area where appropriate, keep tools and materials away from energized fixtures, and protect the room below. Check the ceiling for signs of moisture or damage. A cloud ceiling should never be used to conceal a wiring, leak, or structural problem.
Step 2: Install and test the LED strip lights
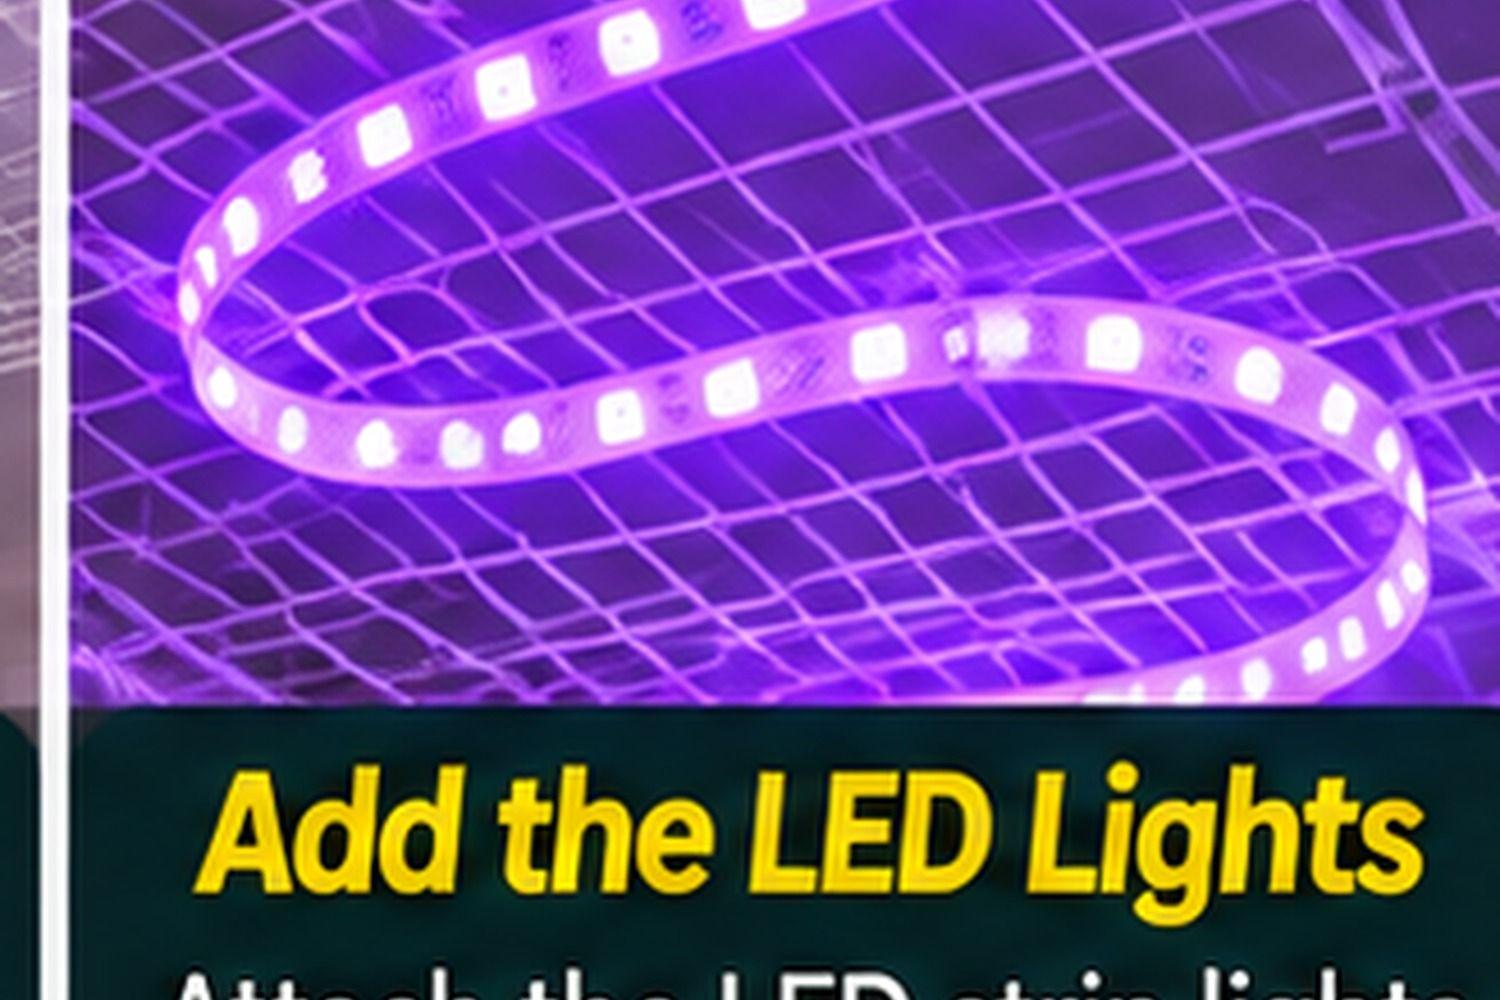
Select low-voltage LED strip lighting from a reputable manufacturer, with a compatible power supply and controller. Check the manufacturer's instructions for permitted mounting surfaces, bend radius, maximum connected length, ventilation, and whether the strip can be used in the intended indoor location. Choose a system that can be attached to the support frame without pinching or sharply bending the strip.
Lay out the strip in a gentle zigzag or broad loop pattern, keeping spacing consistent so the light spreads evenly. Secure it using the mounting clips or channels recommended by the manufacturer. Avoid placing strips directly against combustible cloud material unless the lighting and material manufacturers explicitly permit that combination. Leave the power supply and controller accessible, with the ventilation clearance required by their instructions.
Test the strip before adding any decorative covering. Confirm that every section lights, the controller works, and there are no damaged connectors or exposed conductors. Use only the supplied or specified low-voltage power adapter. Do not cut, splice, or extend the strip unless the product instructions explicitly allow it and you can make the connection safely.
Step 3: Choose a suitable cloud material and attach it carefully
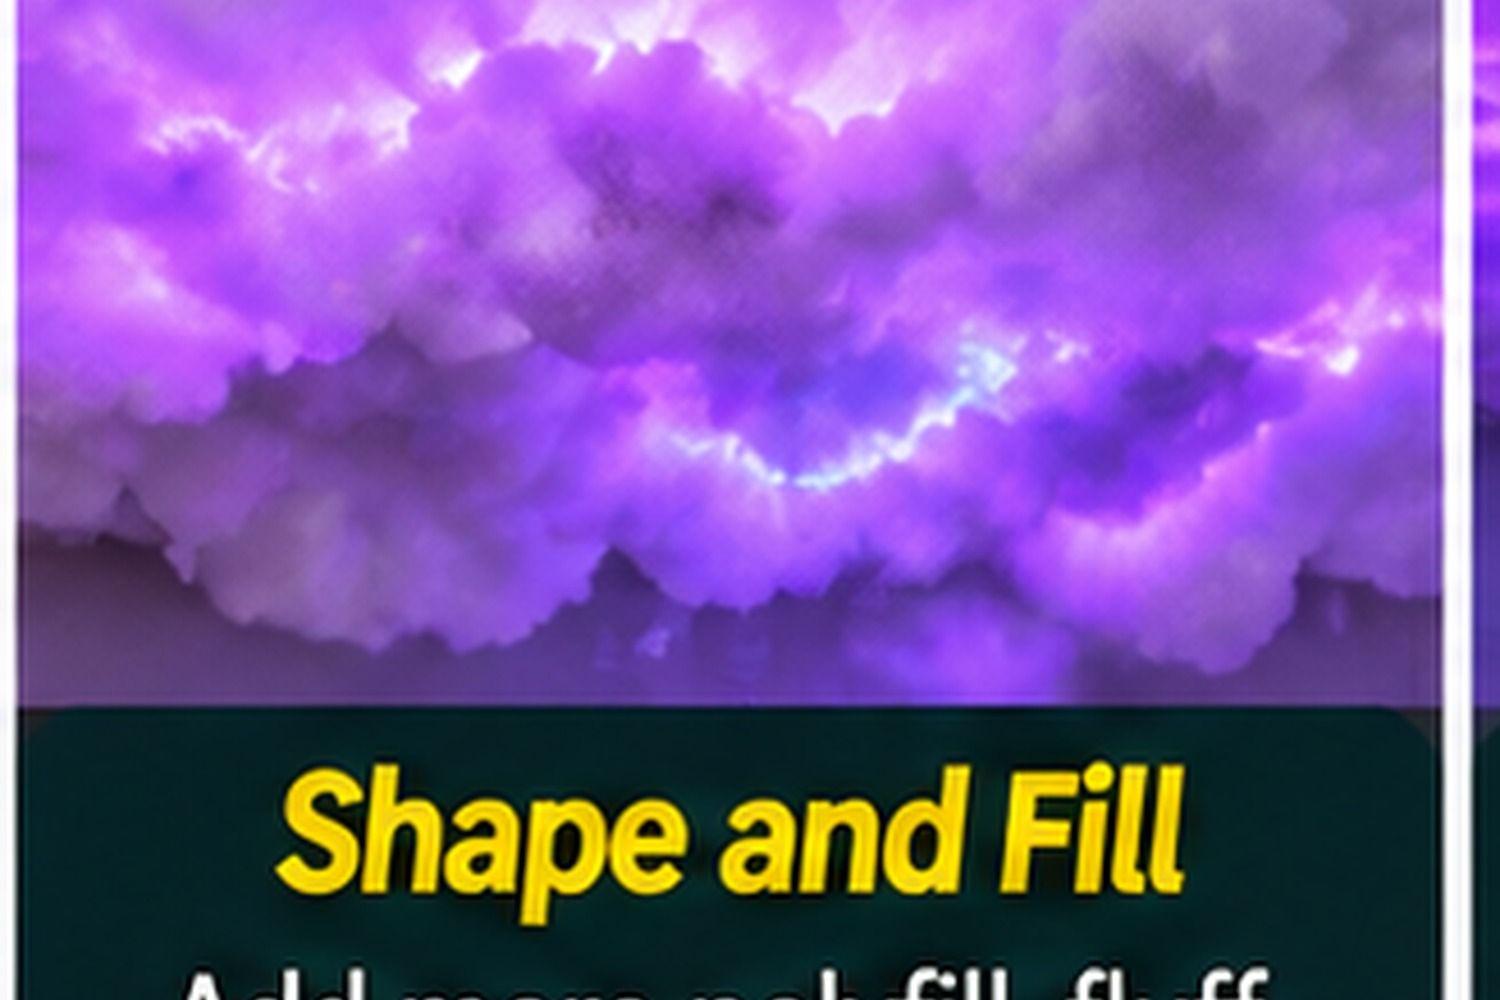
The fluffy appearance is usually created with a lightweight batting or decorative fiber material. Do not assume ordinary pillow stuffing, craft cotton, or polyester fill is safe for overhead use. Many common fibers are combustible and can melt or ignite when exposed to heat or electrical faults. Select a product specifically documented by its manufacturer as suitable for the intended decorative application, and look for relevant flame-resistance information. Follow its installation and clearance instructions.
Attach small, manageable sections to the support grid using the approved clips, ties, or attachment method. Keep material away from LED components, power supplies, connectors, hot fixtures, and any device that must remain uncovered. Do not compress material around the lights or create enclosed pockets that trap heat. If the material maker does not approve use near LED strips, do not combine them; choose a different material or a different lighting arrangement.
Step 4: Build depth and shape without blocking airflow
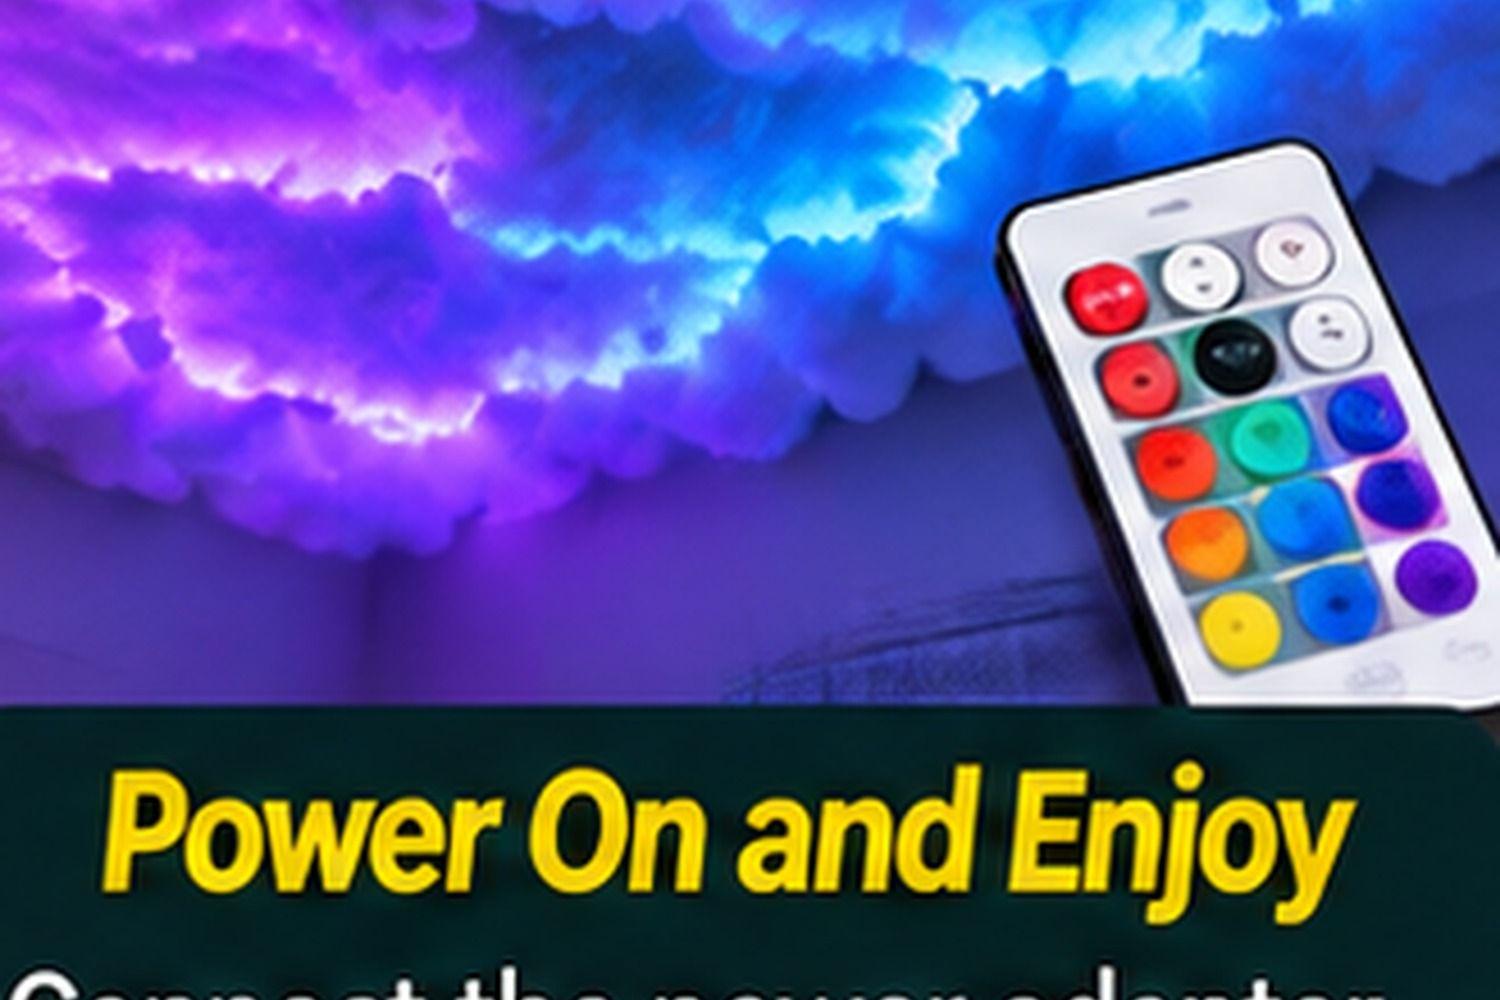
Add material gradually, varying the density to create soft cloud contours rather than one heavy, uniform layer. Step back frequently and view the ceiling from the doorway and from the bed. A few open gaps can help the lighting look more dimensional and reduce the temptation to pack material tightly around the LEDs.
Keep the installation lightweight and within the support system's rated capacity. Check that every attachment is secure and that no fibers hang into walkways, touch hot surfaces, or obstruct vents, alarms, sprinklers, or fixtures. Do not hide the power supply or controller inside the cloud. They should remain accessible for inspection and replacement, and must have the ventilation clearance specified by the manufacturer.
If the ceiling has a fan, recessed lighting, or other heat-producing equipment, maintain the required clearances and do not install cloud material where it could contact moving parts or hot surfaces. When in doubt, leave a larger clear zone.
Step 5: Connect the system, inspect it, and enjoy the effect
Once the decorative material is in place, inspect the entire installation from below. Check for sagging, loose ties, exposed sharp edges, damaged insulation, pinched wires, or material resting against the LED strip or power supply. Make sure the frame is firmly attached and the required ceiling devices remain fully visible and unobstructed.
Connect the low-voltage lighting to its specified power adapter and controller, following the manufacturer's instructions. Plug into an appropriately installed outlet; do not improvise mains wiring or conceal electrical connections behind the cloud. If a new outlet or hardwired connection is required, use a licensed electrician. Turn the lights on and test colors and brightness at a moderate setting. Check for unusual heat, flickering, buzzing, odor, or discoloration. Switch off immediately if anything seems abnormal.
Keep the manufacturer's instructions and product details for future maintenance. Periodically inspect the supports, ties, wiring, and material for dust buildup, sagging, damage, or changes in condition. Turn off and unplug the system before cleaning or adjusting it.
How to make the cloud ceiling look more polished

- Plan the light pattern first: Broad, even loops usually create a more consistent glow than tightly packed strips.
- Use a restrained color palette: A single color or a slow transition between two complementary colors can look calmer than rapidly changing effects.
- Build cloud depth gradually: Uneven, soft contours look more natural than a flat, dense layer.
- Keep service points accessible: Controllers, plugs, and power supplies should not be buried behind decorative material.
- Photograph the result in stages: Test the lighting before adding the finish, then check the appearance from different parts of the room.
Common mistakes to avoid
Using ordinary stuffing without checking its fire properties. Decorative fiber can be combustible or melt when exposed to heat. Verify product documentation and compatibility before installing it near electrical lighting.
Relying on adhesive hooks. Adhesives can fail over time, especially with dust, heat, humidity, or ceiling texture. Use an appropriate mechanical support attached to suitable structural backing.
Covering fixtures or safety devices. Keep smoke alarms, sprinklers, vents, access panels, and light fixtures clear and accessible. Follow local code and manufacturer clearance requirements.
Hiding the power supply. Drivers and controllers may need airflow and inspection. Do not bury them in the cloud material.
Overloading the ceiling. Keep the assembly lightweight and within the support system's rating. If you are unsure about the ceiling structure, get professional advice.
Frequently asked questions
Can I use regular pillow stuffing for a cloud ceiling?
Do not assume regular pillow stuffing is safe for an overhead lighting installation. Many synthetic and natural fibers are combustible. Choose a material whose manufacturer documents suitability for the intended use and follow its fire-performance and clearance instructions.
Are LED strip lights safe for a cloud ceiling?
Low-voltage LED strips can be used in decorative projects when installed according to the manufacturer's instructions, but they are not automatically safe in contact with fluffy material. Check mounting, ventilation, temperature, power-supply, and material compatibility requirements. Keep electrical components accessible and away from combustible material unless the manufacturers specifically approve the arrangement.
Can I attach a cloud ceiling with adhesive hooks?
Adhesive hooks and tape alone are not a reliable support for an overhead installation. Use a mechanically fastened support system secured to suitable structural backing and hardware rated for the load.
Should the cloud cover the whole ceiling?
It does not need to. A partial feature above a bed or seating area can create the desired effect while leaving fixtures, vents, alarms, sprinklers, and access points clear. Plan the layout around these essential features.
Can I install a cloud ceiling in a rental?
Check your lease and get written permission before drilling or making changes. A suspended frame still needs safe structural support, and a temporary adhesive-only solution is not recommended for overhead loads. A freestanding or wall-mounted lighting feature may be a better alternative if ceiling modifications are not permitted.
Final thoughts
A glowing cloud ceiling can be a memorable bedroom feature, but the attractive finish should never come at the expense of fire safety, secure mounting, or electrical access. Plan the layout, install a properly supported frame, test compatible low-voltage lighting, use documented decorative materials, and inspect the finished installation carefully.
If you cannot verify the ceiling structure, material fire performance, or electrical compatibility, pause and get qualified advice before proceeding. A little extra planning is worth it for a feature that hangs directly above the room.
Sources
- U.S. Fire Administration. Checked November 7, 2026
- National Fire Protection Association. Checked November 7, 2026
- U.S. Consumer Product Safety Commission. Checked November 7, 2026
- Electrical Safety Foundation International. Checked November 7, 2026
- International Code Council. Checked November 7, 2026
Share this article
Get new guides by email
Practical home articles and free resources. No spam, and you can unsubscribe at any time.
Keep reading
9 Wireless Light Bulb Trick Sconces DIY Projects
Explore 9 DIY wireless light bulb sconce ideas, from modern wood and industrial pipe to rattan, geometric, and minimalist designs.
November 2026, 8 min read

15 Cozy Warm Bedroom Lighting Ideas: Aesthetic Moods
Explore 15 cozy warm bedroom lighting ideas, from bedside lamps and pendants to LED strips, sconces, cove lighting, smart bulbs, and soft accent lights.
November 2026, 9 min read
11 Modern Moody Dining Room Lighting Ideas To Try
Discover 11 modern moody dining room lighting ideas, from statement pendants and ring chandeliers to wall sconces, cove lighting, and warm layered accents.
November 2026, 8 min read