15 DIY Craft Room Pegboard Tool Organization Ideas
Organize your creative workspace with 15 DIY craft room pegboard ideas for thread, ribbon, brushes, tools, yarn, paper rolls, and project supplies.
By Home Crane Editors. . 10 min read.
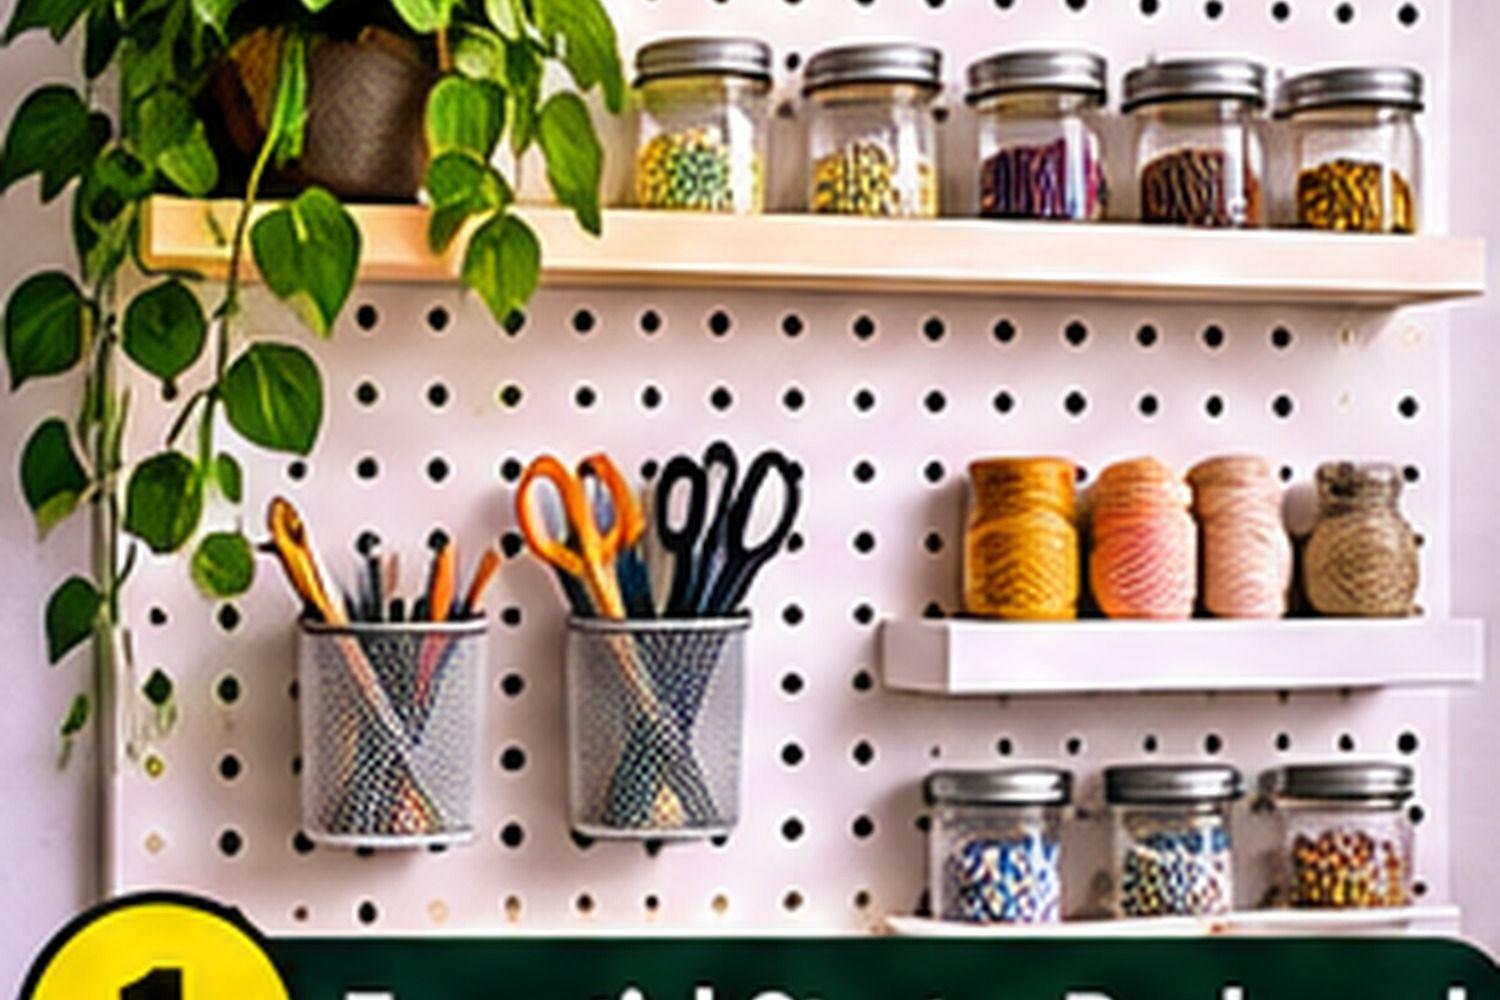
A craft room works better when the tools and materials you use most are easy to see, reach, and put away. A pegboard wall can turn an empty stretch of wall into flexible storage for scissors, thread, paintbrushes, yarn, paper rolls, and small project supplies. Unlike fixed cabinetry, a pegboard arrangement can be changed as your hobbies and storage needs evolve.
The best setup is not necessarily the biggest or most crowded one. It is a wall organized around the way you actually work. Keep everyday tools near the main work surface, group supplies by task, and leave room for new materials. A mix of hooks, cups, baskets, shelves, and rods gives you more options than using hooks alone.
These 15 ideas can help you plan a practical and attractive craft station, whether you sew, paint, scrapbook, make jewelry, knit, or enjoy several kinds of DIY projects. Before buying accessories, measure your wall and check that the pegboard, mounting hardware, and fittings are compatible.
Before you install a craft room pegboard
- Choose the right board: Common options include hardboard, metal, and purpose-made modular panels. Check the manufacturer's load limits and accessory compatibility.
- Plan the wall structure: A loaded board needs secure mounting. Fasten it to suitable framing or use anchors specifically rated for your wall type and expected load.
- Measure your supplies: Check the height and depth of baskets, jars, spools, and rolls before arranging the layout.
- Keep heavy items low: Store bulky or heavy supplies closer to the work surface and avoid overloading individual hooks.
- Protect the work area: Keep sharp tools, hot glue guns, and small components stored safely, especially in homes with children or pets.
- Make room for change: Leave a few open holes and spaces so the system can grow with your projects.
1. Build an essential starter pegboard
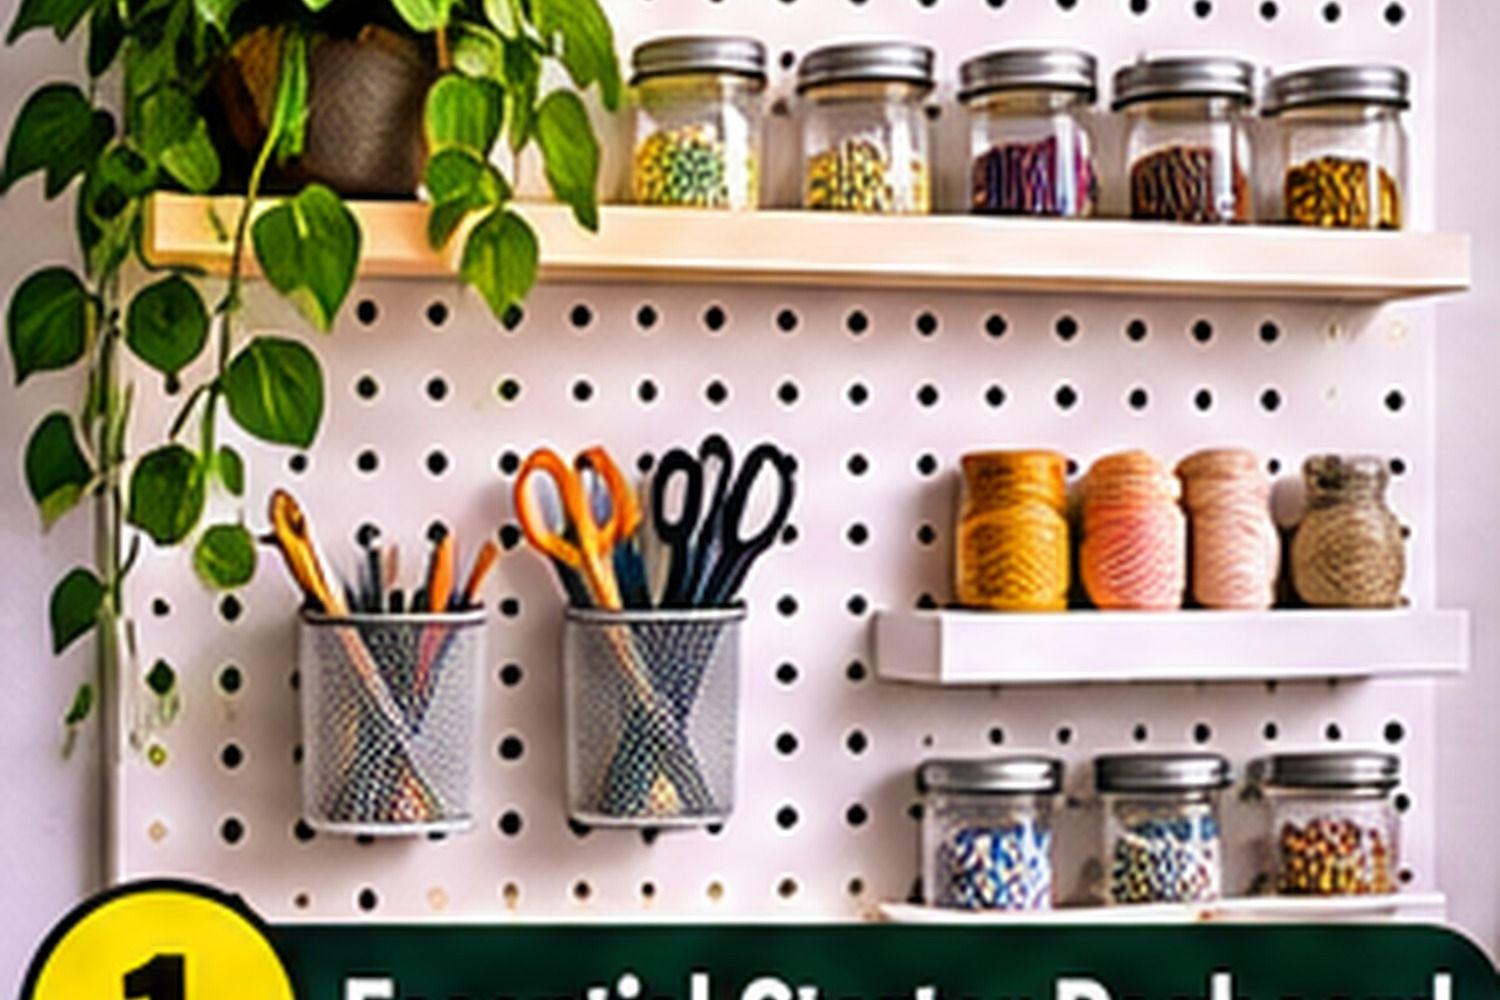
Start with one medium-size pegboard above your main work surface. Arrange the tools you reach for most often, such as scissors, a ruler, tape, pencils, and a small set of pliers. Use a mix of hooks, small baskets, and shallow shelves so each tool has a clear home. Leave a little open board around frequently used items; a wall packed edge to edge can look busy and make tools harder to return. Choose a board and mounting system rated for the load, and fasten it to suitable wall framing or use anchors specified for the wall type.
Organization tip: Place everyday tools at comfortable reach height and leave a little room to expand.
2. Create a thread and spool wall

A thread station keeps colors visible and prevents spools from disappearing into drawers. Fit short dowels or purpose-made spool pegs through compatible pegboard fittings, leaving enough clearance to lift each spool off easily. Group colors by family or arrange them from light to dark for a display that is practical as well as attractive. Check that the pegs are secure and that spools cannot slide off when the board is bumped. Keep thread away from direct sunlight, dust, and damp areas.
Organization tip: Group spools by color and make sure each peg has enough clearance for easy removal.
3. Make a ribbon roll organizer
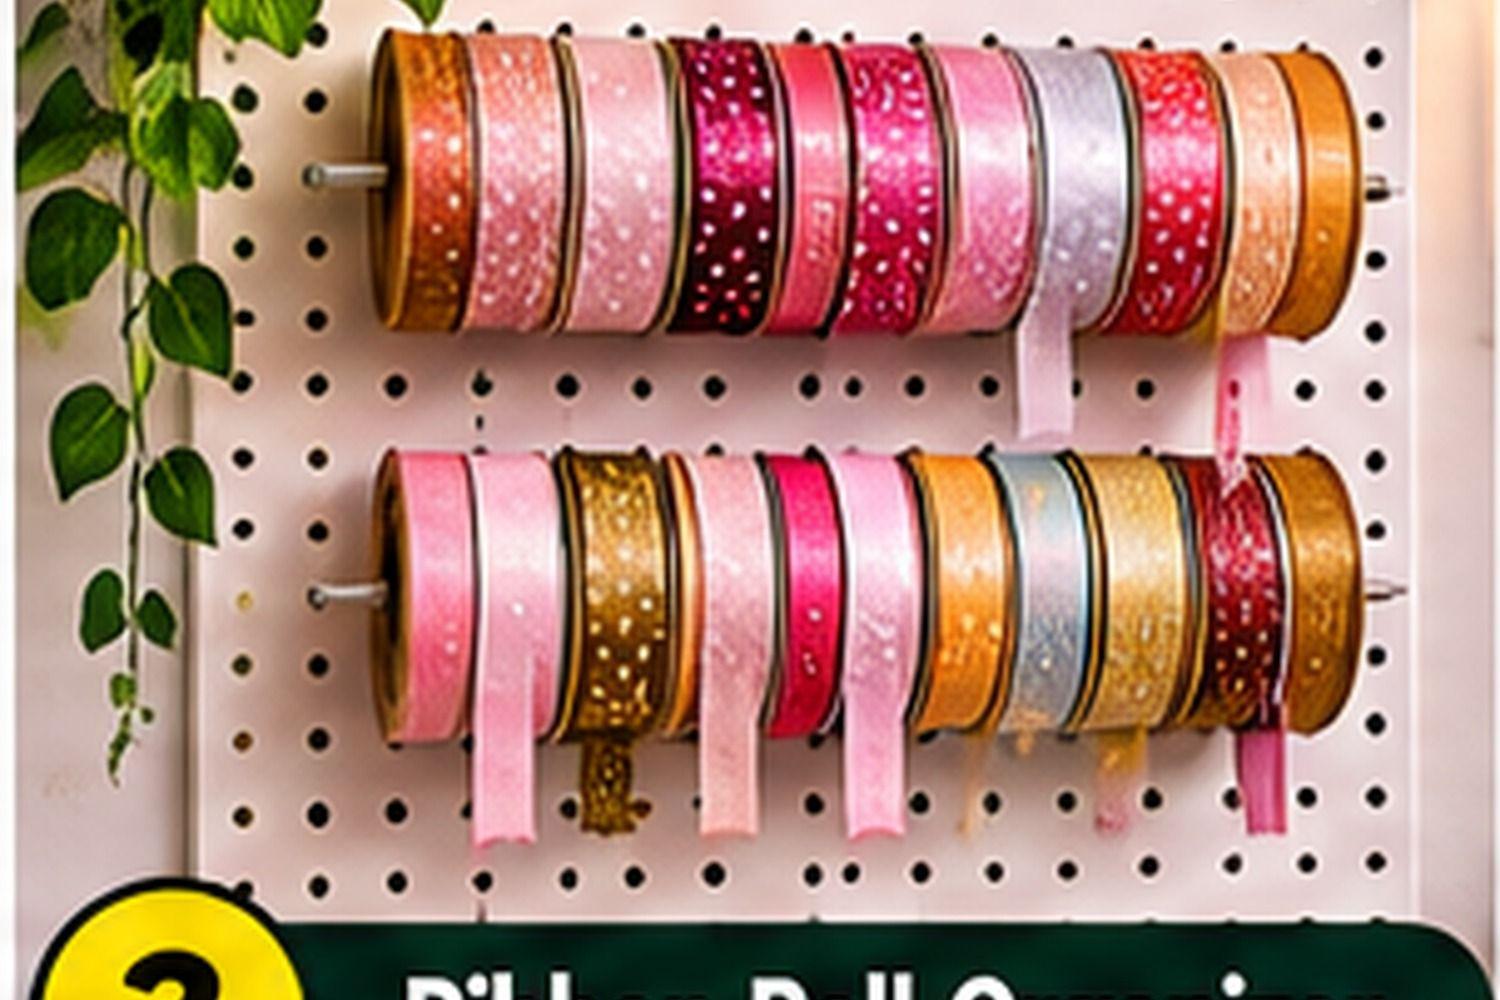
Ribbon rolls are easy to store on horizontal rods or purpose-built holders. Mount two or three rows of supports, with enough room between them for the widest rolls in your collection. A removable rod makes it easier to change rolls and thread ribbon ends through a small guide. Store frequently used widths at eye level and specialty ribbons higher up. Do not overload a single rod; distribute the weight across several properly supported fittings.
Organization tip: Measure the largest rolls first and use end stops to prevent them from sliding.
4. Set up a cutting tools station
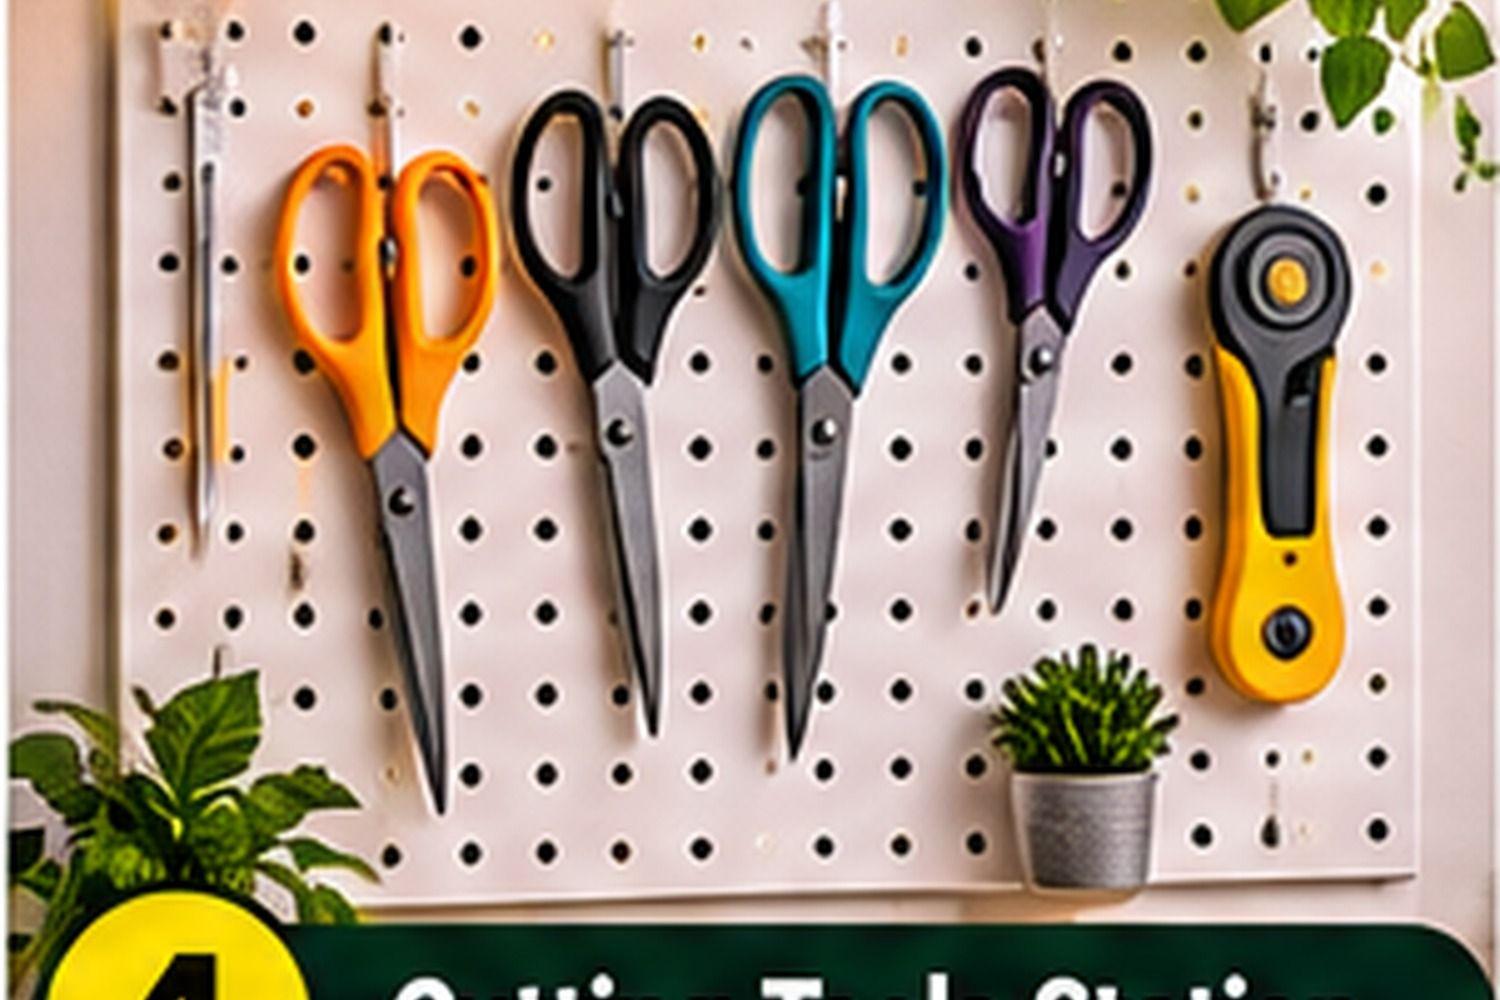
Scissors, rotary cutters, craft knives, and rulers deserve a dedicated zone. Use hooks or holders designed for each tool rather than forcing sharp items onto generic pegs. Keep blades covered or retracted when stored, and position cutting tools out of reach of young children. A small tray below the station can catch rulers and accessories, while a clear section of nearby worktop provides space for measuring and cutting. Follow the tool maker's storage and safety guidance.
Organization tip: Store blades safely and keep sharp tools away from children.
5. Organize paintbrushes and art tools
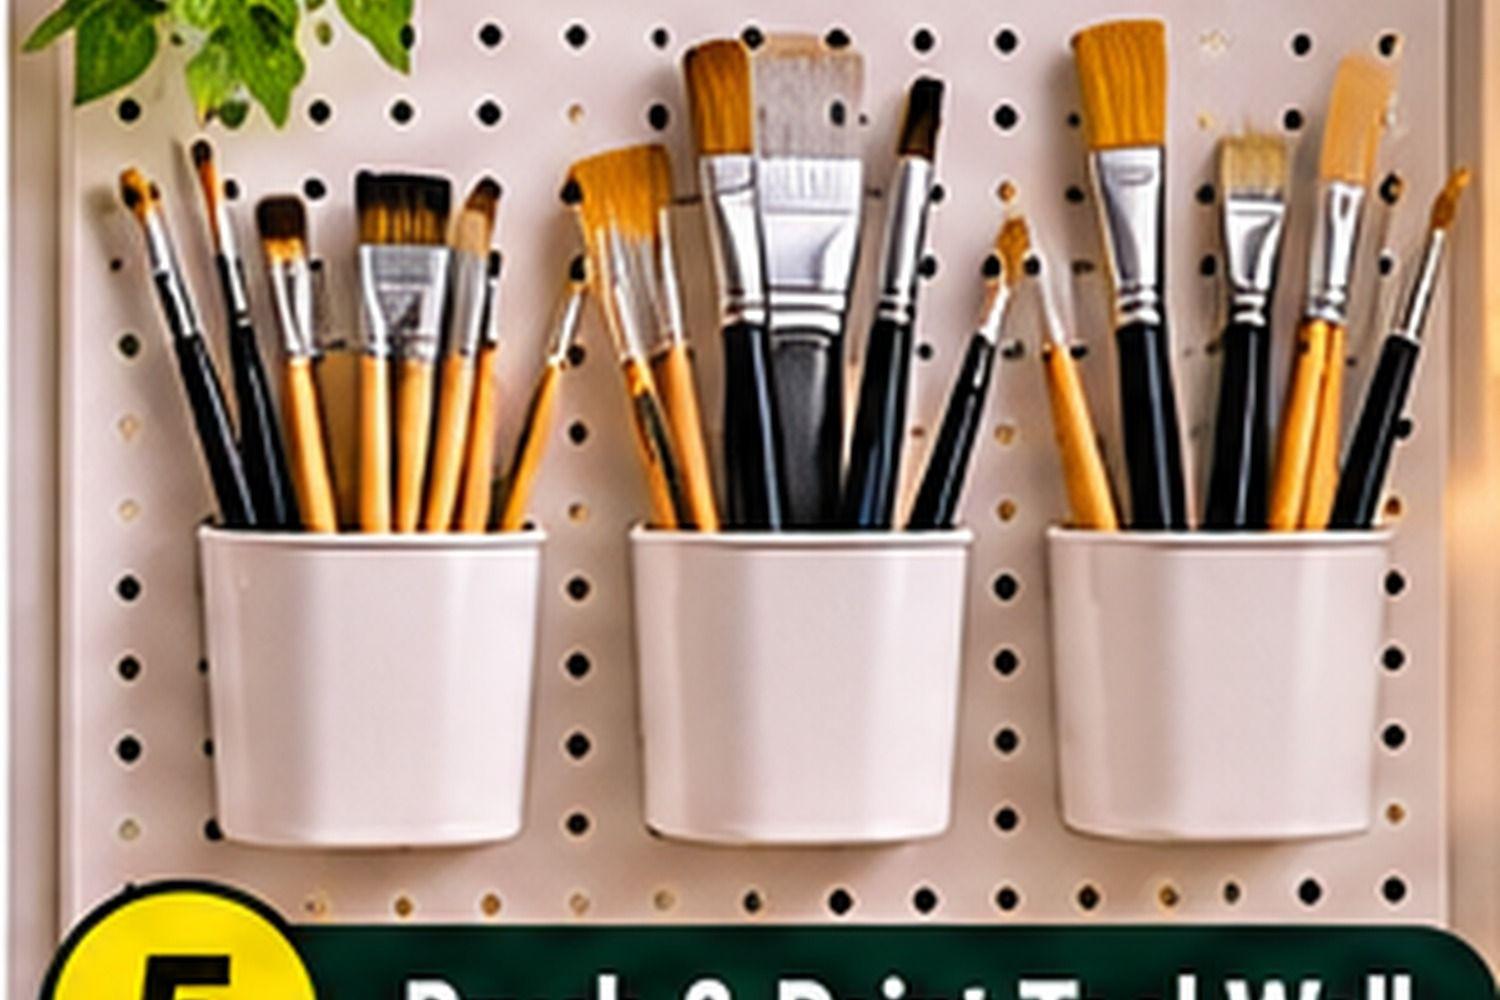
Small cups, baskets, or purpose-made containers can hold brushes, palette knives, markers, and other long-handled tools. Arrange containers by type or size and avoid packing them so tightly that handles become difficult to remove. Store clean, dry brushes with their bristles protected and avoid leaving wet tools in enclosed containers. If you use solvents or specialty art products, follow their labels and store them separately as directed.
Organization tip: Sort containers by tool type and protect delicate brush bristles.
6. Use clear jars for small supplies

Buttons, beads, clips, pins, eyelets, and other small materials are easier to find when grouped in transparent containers. A shallow shelf or pegboard-mounted jar holder can keep them visible. Choose containers with secure lids and avoid placing heavy glass jars high above a work area. Lightweight plastic containers may be more suitable for frequently handled supplies. Label the containers clearly, especially when similar colors or sizes look alike.
Organization tip: Use secure lids and keep heavier containers on lower shelves.
7. Give markers and pens their own holders
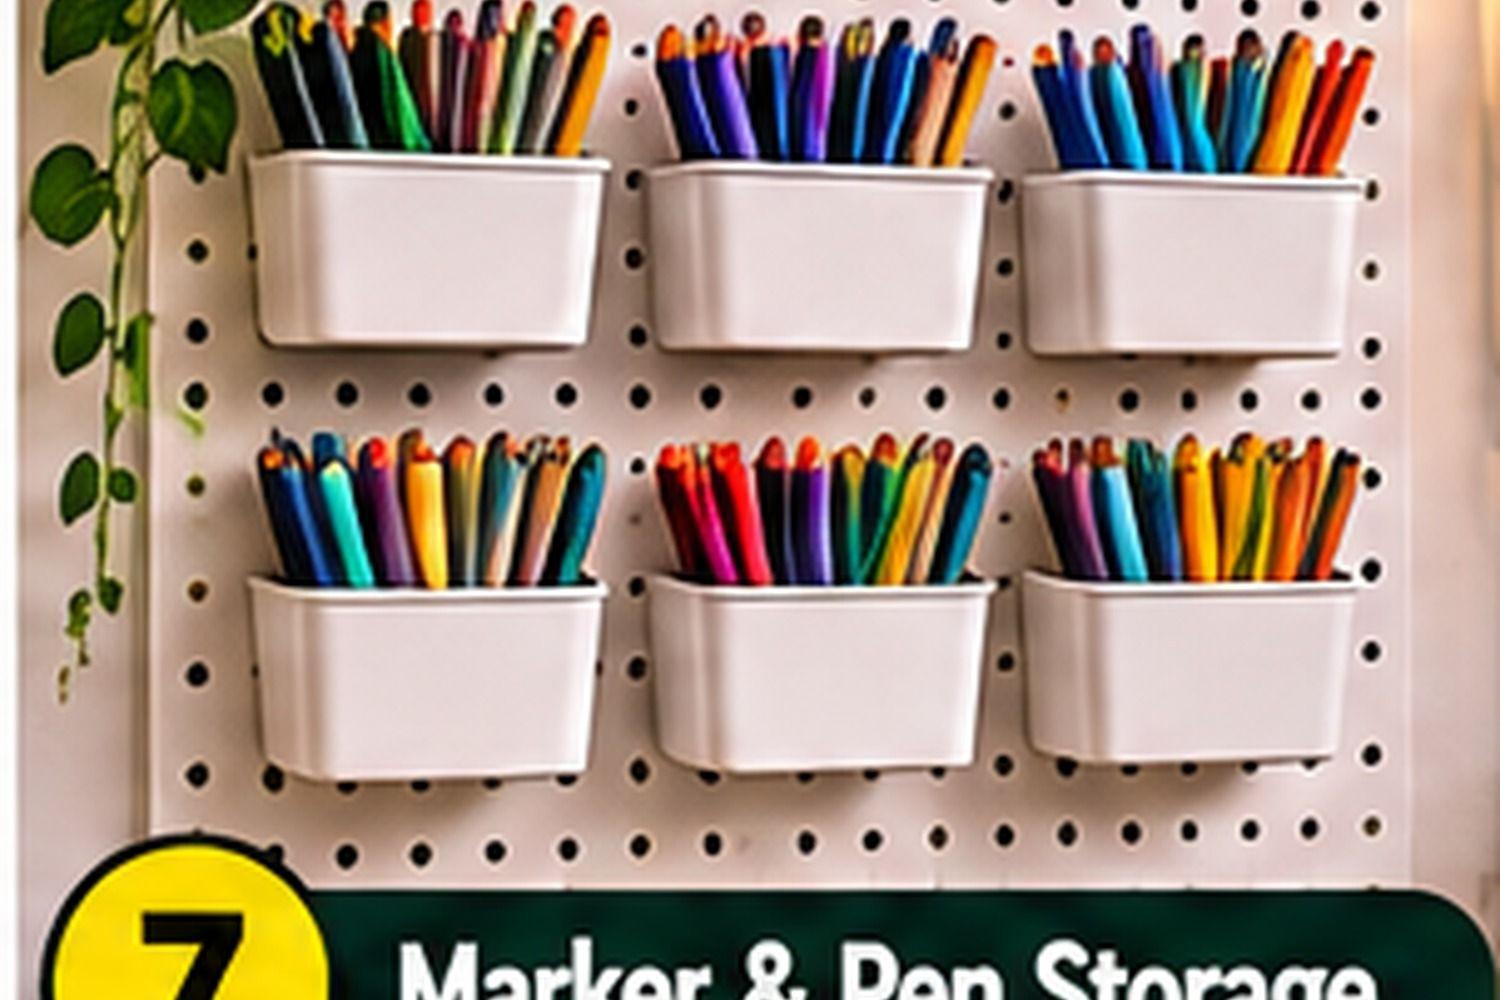
A row of narrow cups or bins makes pens, markers, pencils, and paint markers easy to sort. Divide them by color, tip size, or intended use. Keep caps fitted and store products in the orientation recommended by the manufacturer; some markers are designed to be stored horizontally. Place the most-used writing tools near the center of the board and reserve a lower basket for sharpeners, erasers, and spare caps.
Organization tip: Check storage orientation on marker labels and keep caps tightly fitted.
8. Add a vinyl and paper roll rack
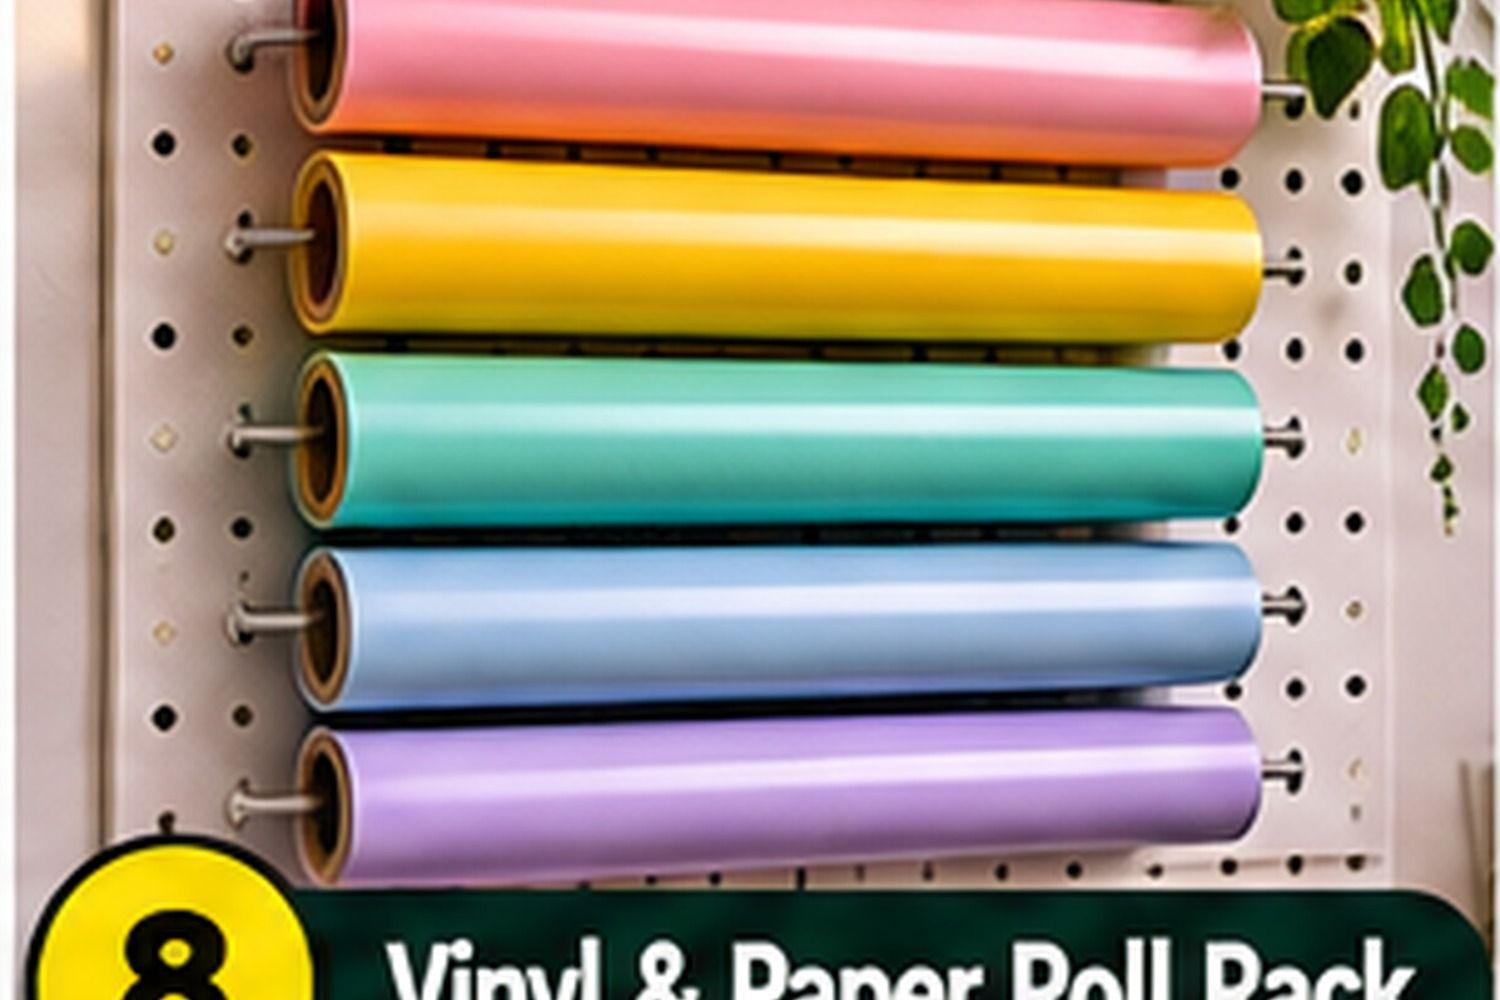
Long rolls of adhesive vinyl, wrapping paper, transfer tape, and craft paper can take over a shelf quickly. A rack with horizontal supports keeps them aligned and makes the colors easy to scan. Measure the roll widths and diameters before choosing the spacing. Use end stops or a retaining bar so rolls cannot slip off. Keep paper products away from dampness and heat, and avoid putting heavy rolls on fittings that are not rated for their weight.
Organization tip: Measure roll diameters and support the rod at suitable intervals.
9. Create a yarn storage pegboard
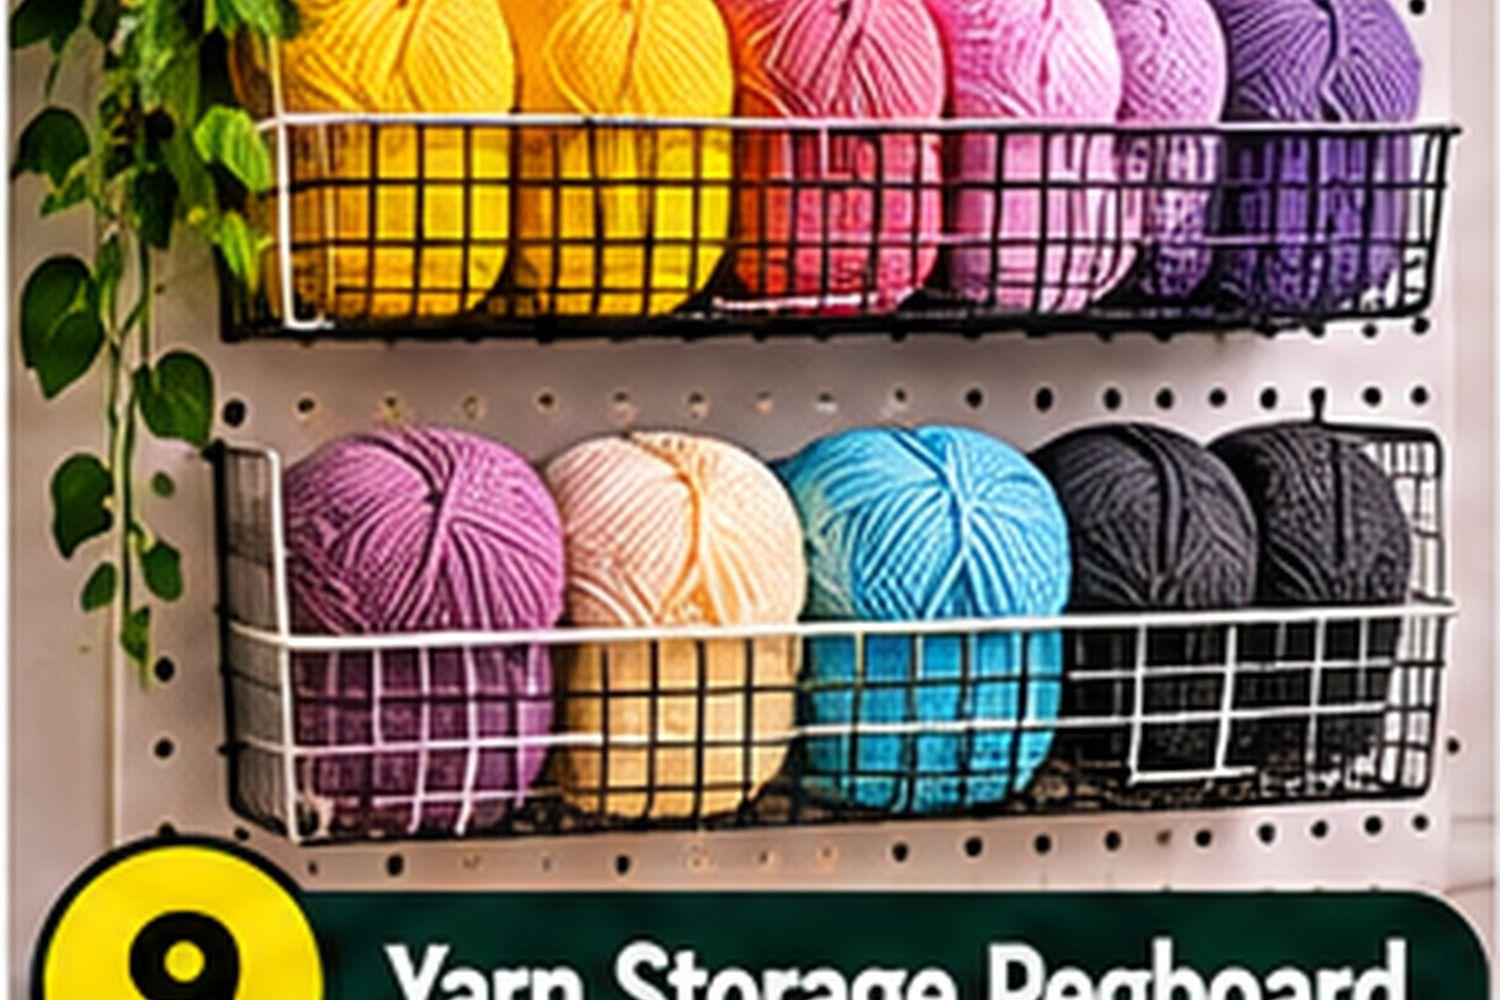
Wire baskets or broad hooks can hold yarn skeins and small knitting or crochet projects. Sort yarn by weight, color, or project so you can see what you already own. Do not stretch delicate fibers tightly across hooks, and avoid placing yarn where it will collect dust or be exposed to direct sun. A basket can also hold measuring tapes, stitch markers, and crochet hooks, while a separate holder keeps active project tools easy to reach.
Organization tip: Use baskets that support skeins without stretching or crushing the yarn.
10. Combine pegboard with shelves
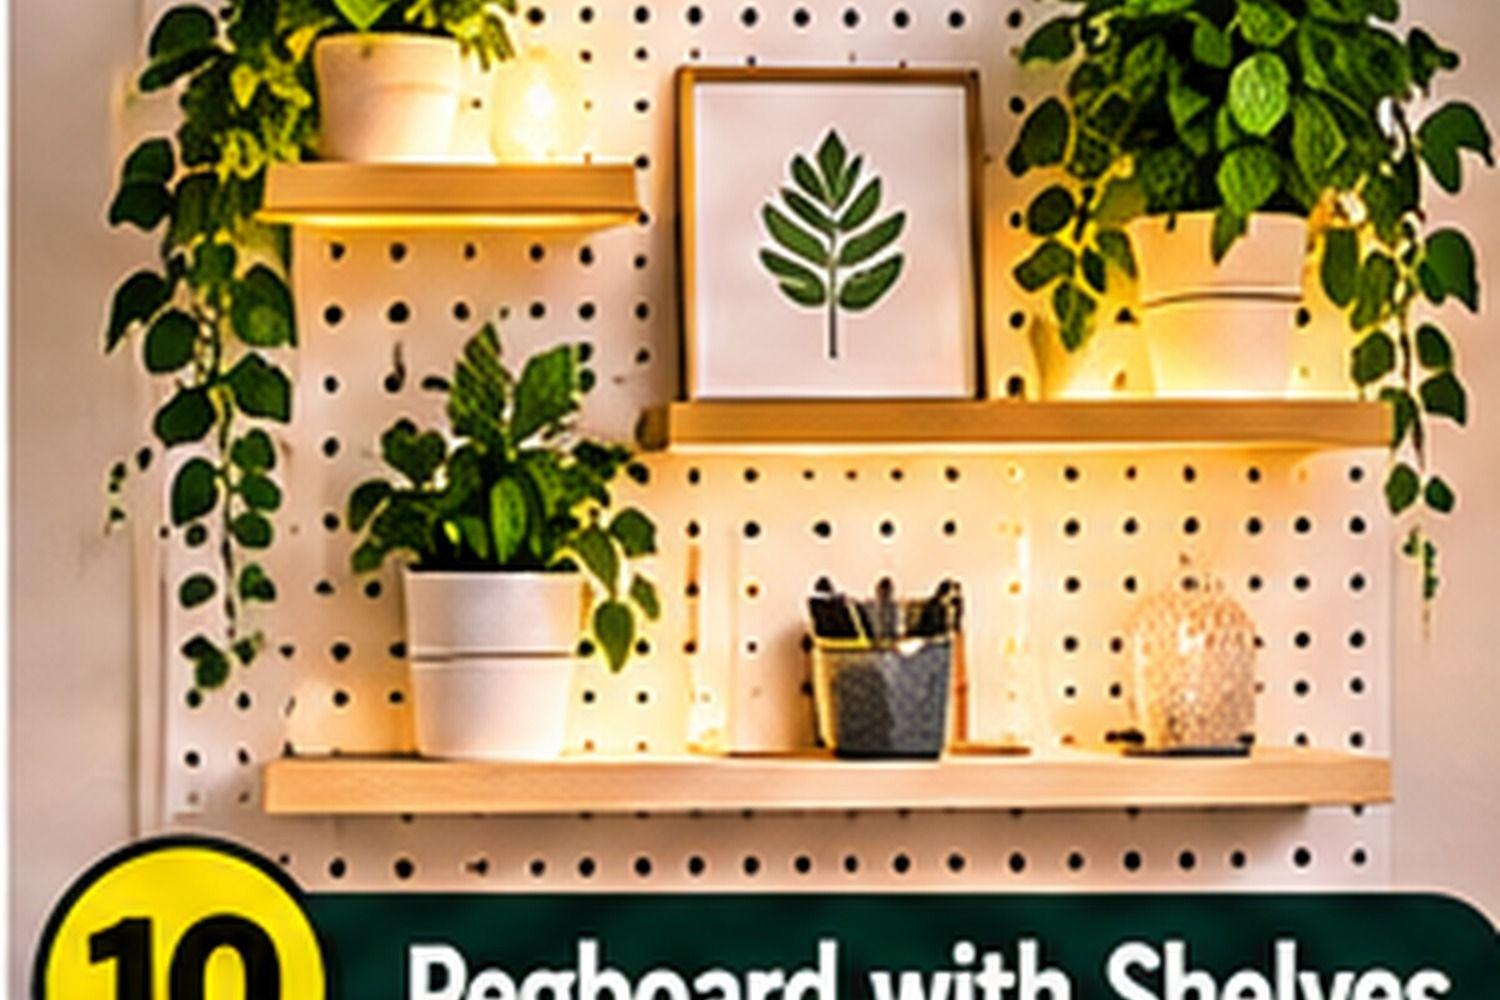
A few shallow shelves add capacity for supplies that do not hang neatly. Use compatible shelf brackets or a modular system designed for the board, and keep heavier items low. Plants, sample books, jars, and small project boxes can sit on shelves, while hooks below hold tools. Make sure the board is properly mounted and that the shelf brackets lock into place. Avoid using decorative shelves as a substitute for storage rated to carry heavy equipment.
Organization tip: Put heavier objects on lower shelves and verify bracket compatibility.
11. Make a dedicated tool hanging station
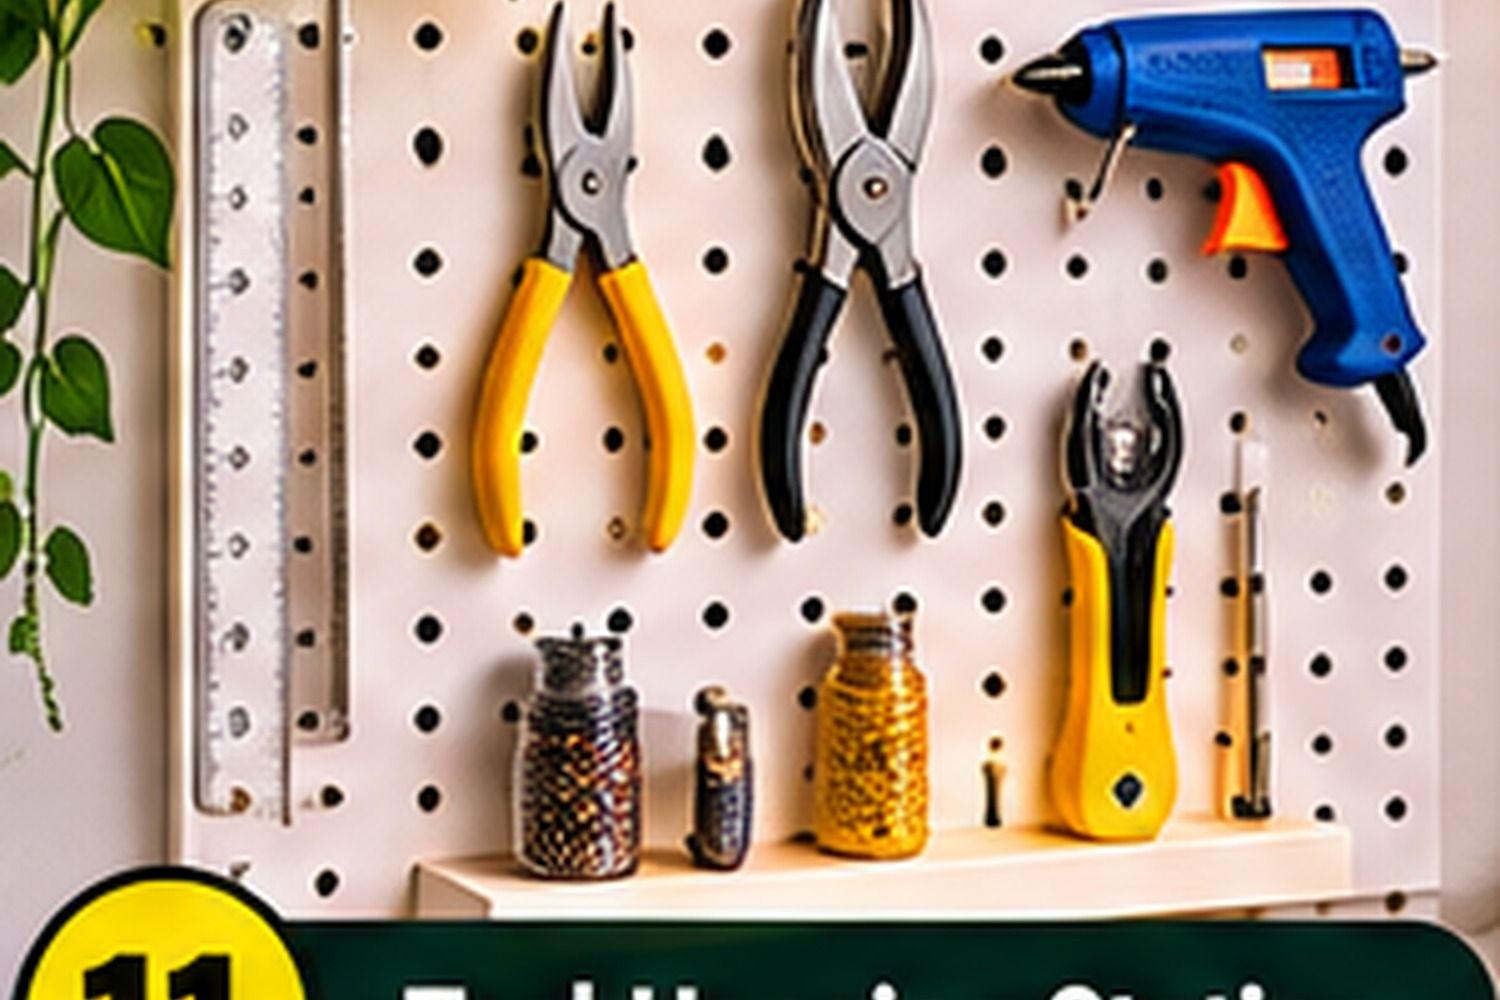
Pliers, wire cutters, glue guns, craft hammers, and other hand tools can be arranged in outlines or grouped by task. Use holders that support the tool's shape and weight. Store hot glue guns only after they have cooled completely, and keep them away from paper, fabric, and other combustible supplies while in use. Keep sharp or pointed tools covered and place frequently used tools within easy reach without creating a hazard near the edge of the work surface.
Organization tip: Use tool-specific holders and allow hot tools to cool before storage.
12. Add a project and file organizer
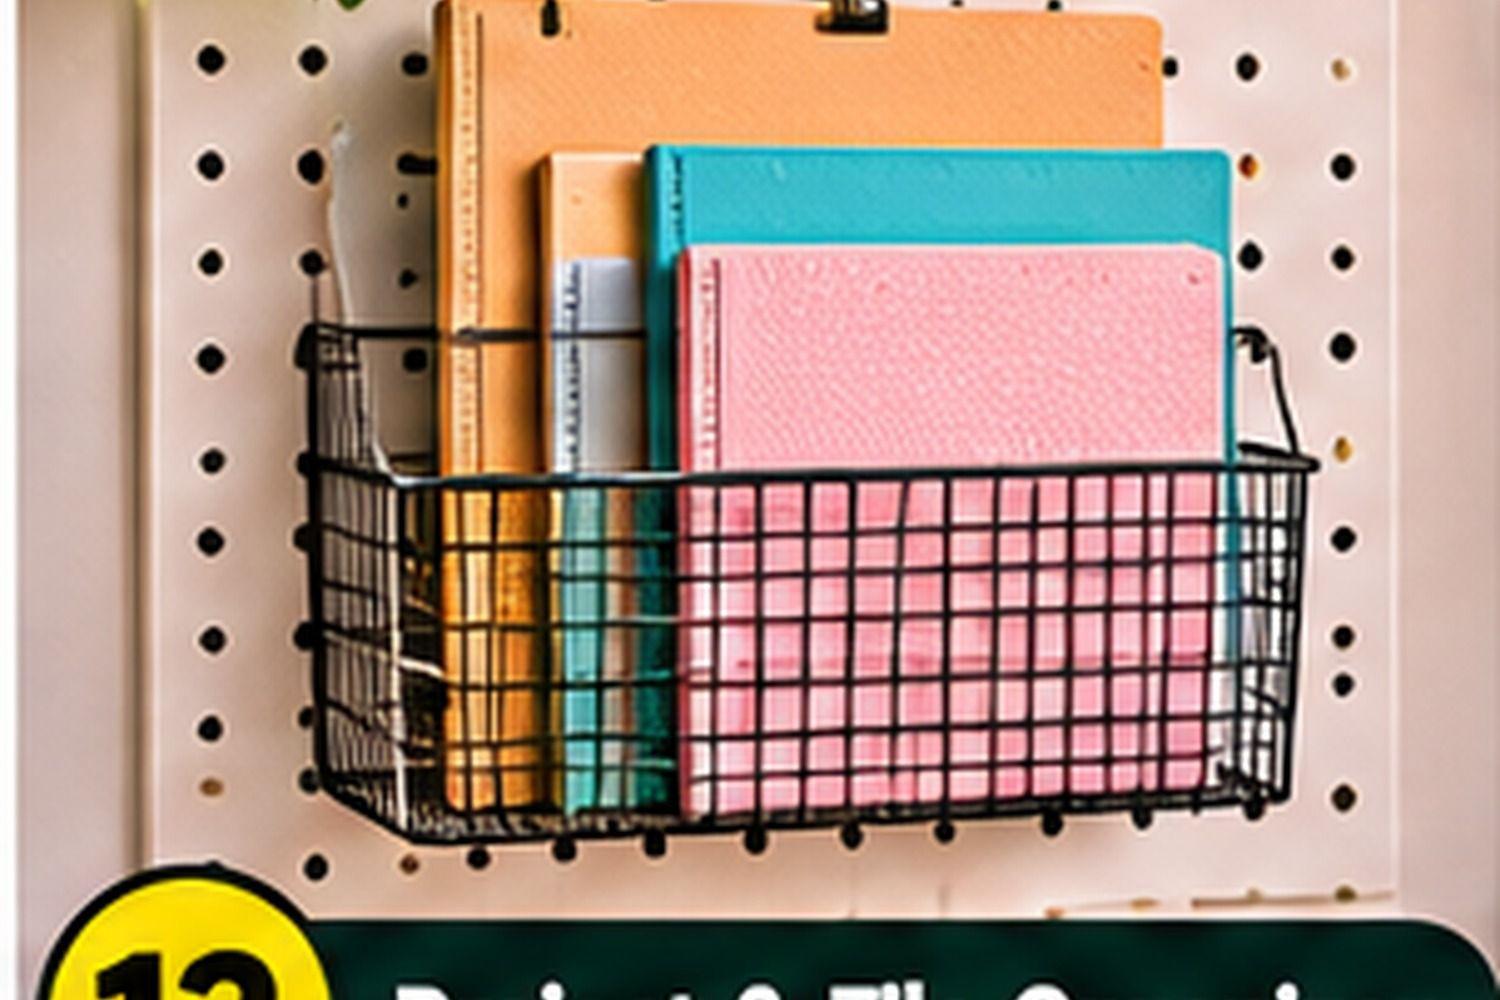
A wire basket, magazine holder, or shallow file pocket can keep sketchbooks, pattern sheets, instructions, and works-in-progress upright. Separate current projects from reference material so unfinished work does not get buried. Check the basket's depth and opening size before mounting it, and avoid overfilling it with heavy books. A small clip or label on the front can identify the current project without adding visual clutter.
Organization tip: Separate active projects from reference papers to reduce clutter.
13. Create an inspiration and mood board
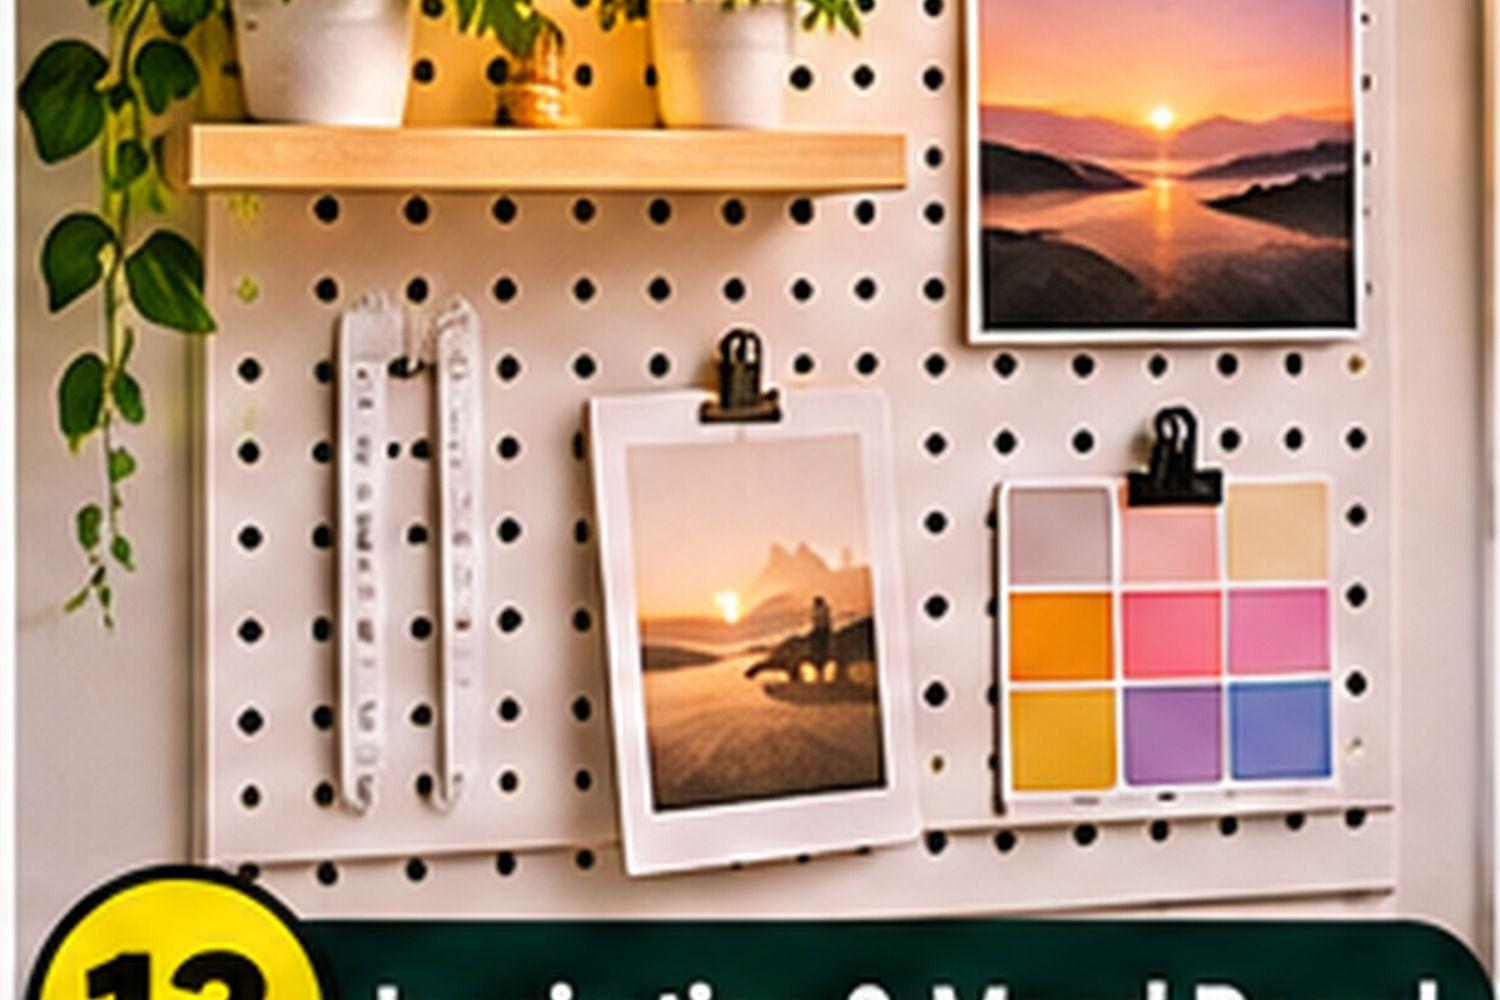
Reserve one section of the pegboard for color swatches, sketches, project notes, photographs, and material samples. Use clips, small frames, or shallow pockets so the display can change as projects evolve. Keep the board useful by limiting it to current ideas rather than every image you have saved. If you pin paper samples, keep them away from hot tools, lamps, and other heat sources.
Organization tip: Refresh the display as projects change instead of filling every hole.
14. Add subtle LED lighting

A small LED strip or task light can improve visibility and make the pegboard wall feel like a finished studio feature. Use a lighting product designed for the mounting location, with its specified power supply and installation accessories. Keep the light away from paper, fabric, and other materials unless the product instructions allow the arrangement. Do not conceal drivers or connectors where they cannot be inspected, and use a qualified electrician for any new hardwired connection.
Organization tip: Follow LED product instructions for mounting, heat clearance, and power.
15. Build a mobile pegboard cart
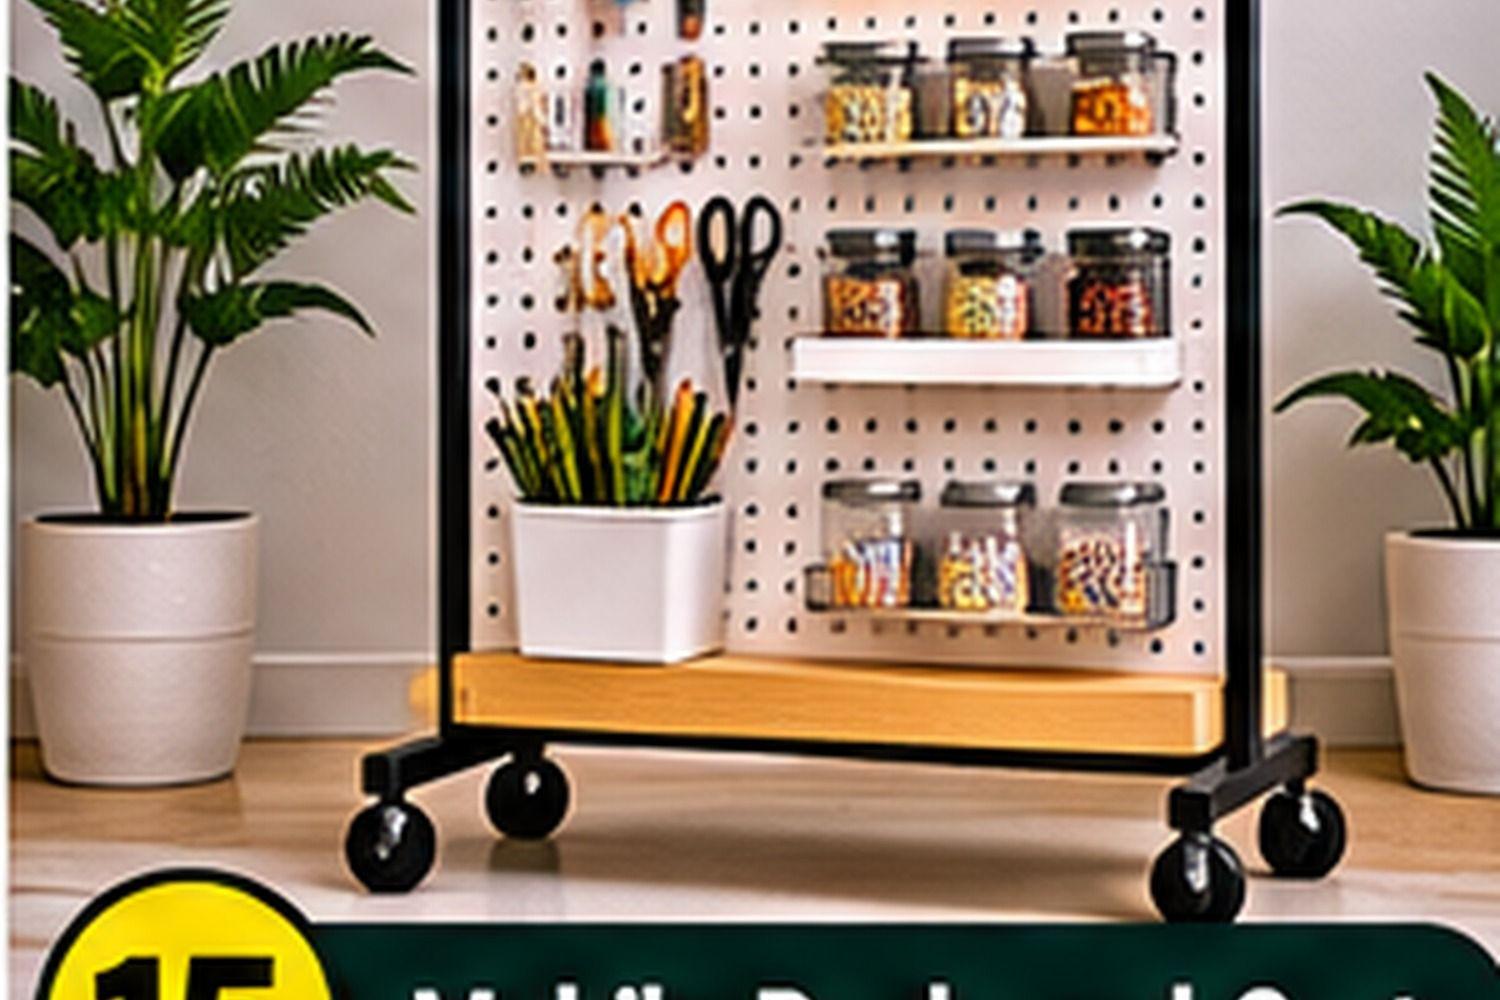
A freestanding rolling cart can bring tools closer to the project and make a shared craft room more flexible. Use a stable frame with locking casters and mount pegboard panels securely to the cart structure. Keep heavier supplies low to reduce the risk of tipping, and check that hooks and baskets stay in place when the cart moves. Do not overload the cart or use it on uneven floors where it could roll unexpectedly.
Organization tip: Lock the wheels while working and keep the cart's center of gravity low.
How to arrange a pegboard for an efficient workflow
Think about the sequence of a typical project. Measuring, cutting, assembling, decorating, and finishing each use different tools. Place the items used together in the same zone, rather than sorting every item only by appearance. For example, keep scissors, rulers, rotary cutters, and measuring tape near one another if you sew or work with paper.
Use the center of the board for the tools you reach for every day. Less frequently used supplies can go toward the edges or on higher shelves, provided they remain safe to access. If several people share the craft room, label baskets and assign each person or project a section.
A simple inventory can prevent duplicate purchases. Before adding more bins, take everything off the board, group similar supplies, discard dried-out or damaged materials appropriately, and decide what truly needs to stay visible. The goal is to make the room easier to use, not simply to fill every available hole.
Common pegboard organization mistakes
- Overloading the board: A pegboard and its fittings have limits. Follow the manufacturer's ratings and distribute weight across secure mounting points.
- Using incompatible accessories: Hole spacing, board thickness, and fitting styles vary. Confirm compatibility before purchasing hooks and baskets.
- Putting heavy items overhead: Keep heavy tools and containers low, where they are easier and safer to lift.
- Ignoring sharp edges and blades: Use covers or tool-specific holders and keep dangerous items away from children.
- Crowding every inch: Open space makes tools easier to find and gives the system room to adapt.
- Forgetting the wall itself: A board is only as secure as its mounting. Use suitable fasteners for the wall construction and seek professional help if you are unsure about the substrate.
Frequently asked questions
What is the best pegboard for a craft room?
The best choice depends on the tools and weight you plan to store. Hardboard can suit lightweight supplies, while metal or heavy-duty modular systems may be better for heavier tools. Check the board's load guidance and accessory compatibility before buying.
How do I hang a pegboard securely?
Use the mounting method specified by the manufacturer and fasten the board to suitable wall framing or use anchors rated for the wall material and load. A spacer or mounting frame may be needed so hooks can engage properly behind the board. Do not assume drywall alone can support a heavily loaded panel.
What should I put on a craft room pegboard?
Frequently used tools are good candidates: scissors, rulers, brushes, markers, thread, ribbon, and small baskets of supplies. Keep heavy materials low and store sharp tools in holders that protect their edges.
How do I organize a small craft room?
Use vertical wall space, keep the work surface clear, and group supplies by activity. A narrow pegboard above a desk, shallow shelves, and a mobile cart can provide flexible storage without taking up much floor area.
Can I paint a pegboard?
Some pegboards can be painted, but check the manufacturer's instructions first. Use a compatible coating and avoid filling the holes or creating a finish that prevents hooks from fitting properly. Allow the paint to cure fully before loading the board.
Final thoughts
A well-planned pegboard can make a craft room feel calmer and help every tool earn its place. Start with the supplies you use most, choose accessories that fit your board, and arrange the wall around your normal project workflow. A few baskets, hooks, rods, and shelves can create a flexible system that changes as your creative interests grow.
Prioritize secure mounting, sensible weight distribution, and safe storage for sharp or hot tools. With those basics in place, your pegboard can be both a practical organizer and an attractive feature in the room.
Sources
- U.S. Consumer Product Safety Commission. Checked November 7, 2026
- Occupational Safety and Health Administration. Checked November 7, 2026
- Electrical Safety Foundation International. Checked November 7, 2026
- International Code Council. Checked November 7, 2026
Share this article
Get new guides by email
Practical home articles and free resources. No spam, and you can unsubscribe at any time.
Keep reading
14 Easy Garage Wall Tool Storage Ideas That Are Budget Friendly
Organize your garage on a budget with 14 wall storage ideas for hand tools, cords, shelves, pegboards, hooks, bins, and long-handled equipment.
November 2026, 9 min read
12 Beginner Gardening Tool Kit Essentials List Items
Build a practical starter garden kit with 12 beginner gardening tools, from a hand trowel and pruners to gloves, watering gear, and plant labels.
November 2026, 7 min read
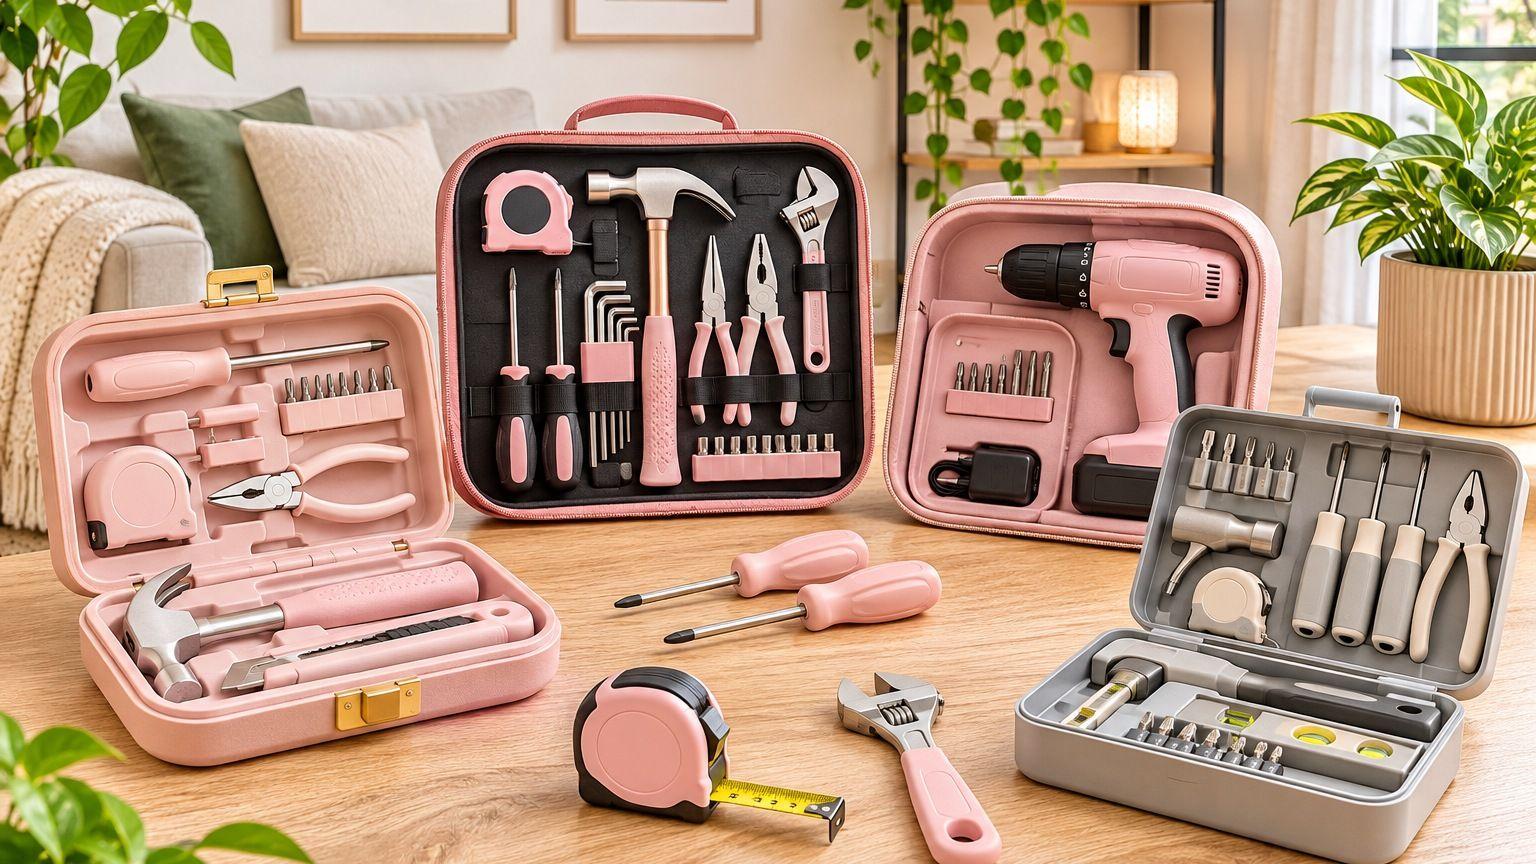
7 Best Cute Tool Sets for Apartments: Aesthetic Options That Are Actually Useful
Shop compact, cute tool sets for apartments, from blush-pink starter kits to minimalist cordless toolboxes. Compare contents, prices and storage needs.
November 2026, 10 min read