12 Nebraska Barndominium Interior Kitchen Island Layouts
Explore 12 gorgeous nebraska barndominium interior kitchen island layouts. Compare illustrated concepts, practical layout tips, and planning checks.
By Home Crane Editors. . 5 min read.
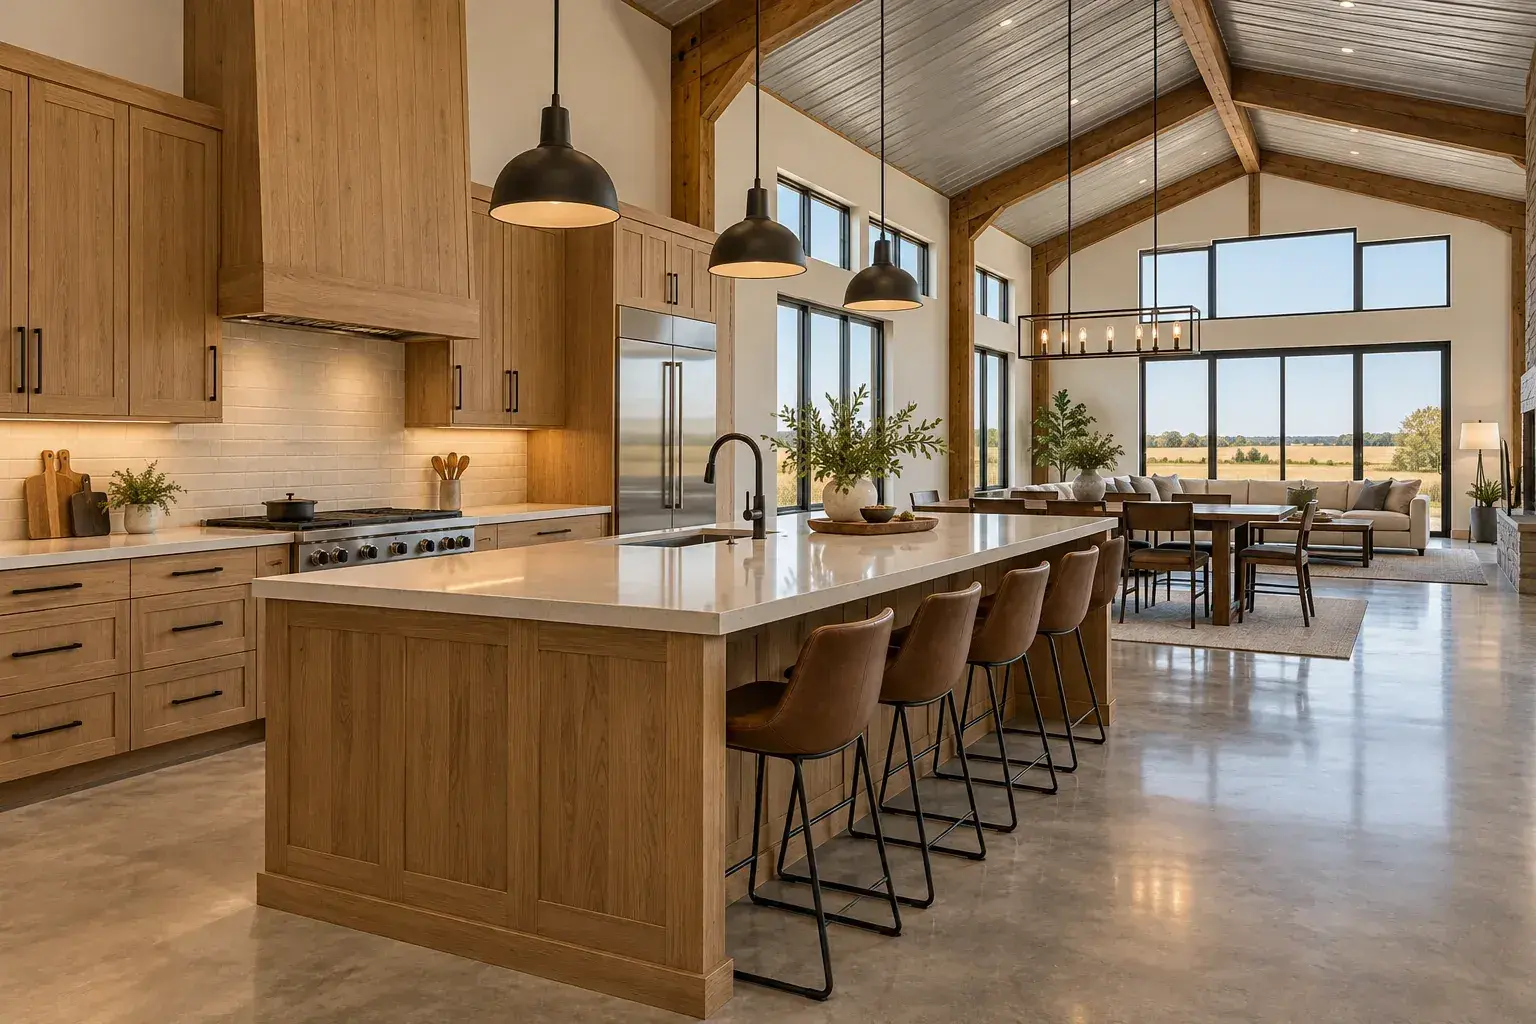
A kitchen island should earn the floor area around it. In an open barndominium, an oversized island can look impressive while making the path from refrigerator to sink awkward. These twelve Nebraska kitchen concepts explore different priorities, including preparation, seating, storage and serving. The strongest choice is the one that supports your household's routine and fits the actual room.
AI-generated design concept for visual inspiration; not a photograph of a completed project.
Before choosing a layout
Measure the kitchen with doors, drawers and seating in use rather than looking only at the empty floor. Decide which jobs belong on the island before adding appliances or plumbing. If a microwave drawer is included, its exact installation manual controls the opening, support and safety provisions; Sharp's manual is an example of the information an installer needs. [1] The diagrams below show functional zones, not universal aisle dimensions or a cabinet order. Nebraska is the audience for these ideas, not evidence that one island size or material suits every home in the state.
1. Simple rectangular preparation island
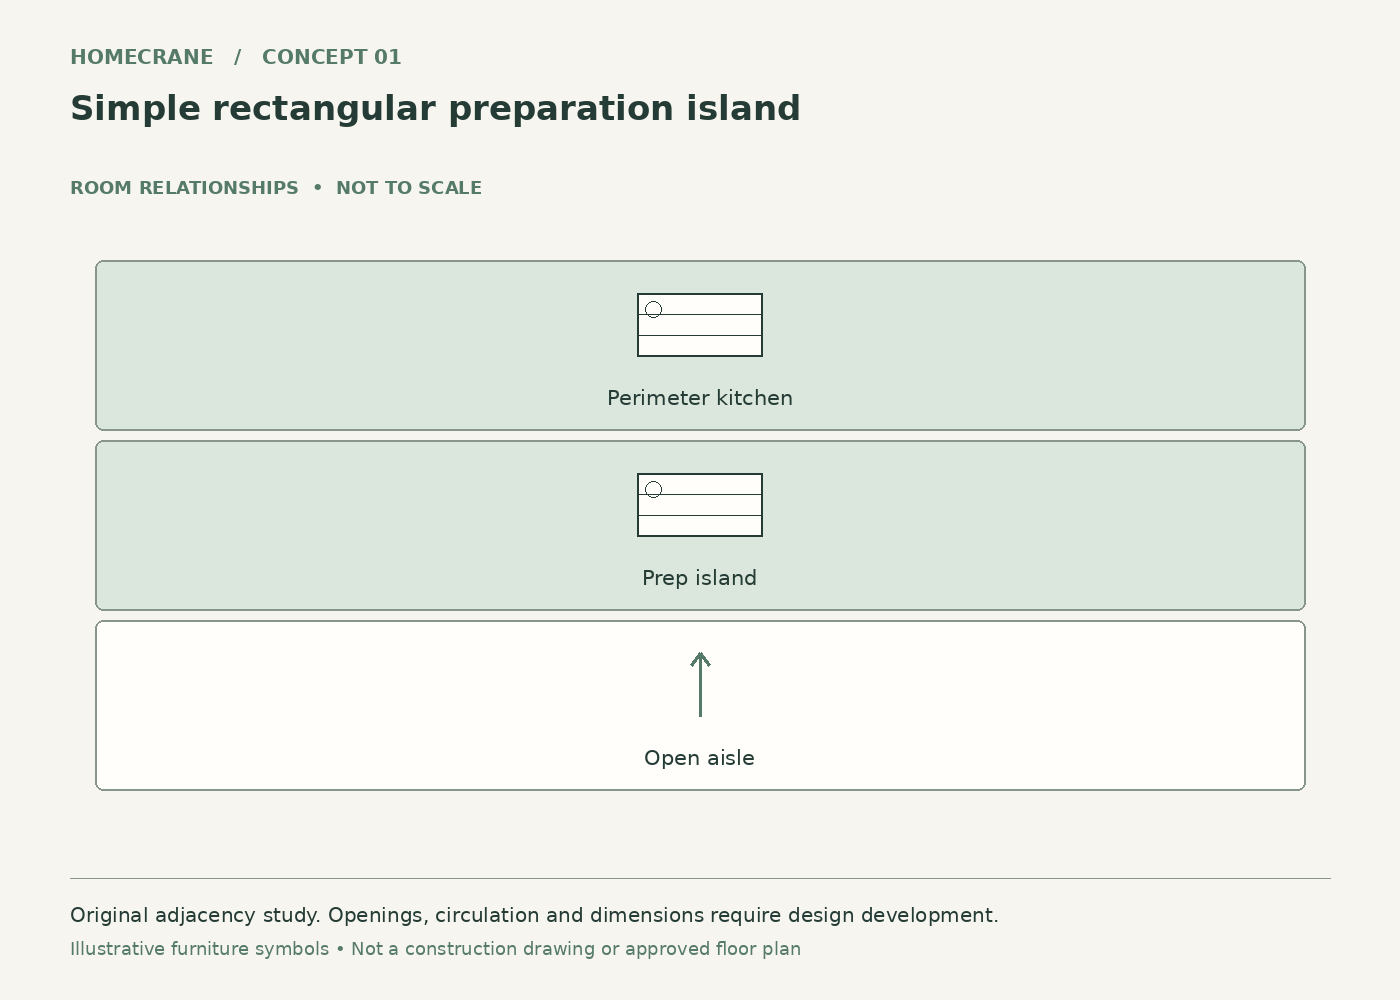
Concept 1: Simple rectangular preparation island. Original schematic, not to scale; see the accompanying design checks.
Keep the island mainly open counter with drawers beneath and appliances on the perimeter.
The large uninterrupted surface can handle meal preparation, baking or serving.
Plan for this: Avoid increasing the island until the surrounding route becomes tight. A useful counter needs usable space around it.
2. Island with seating on one long side
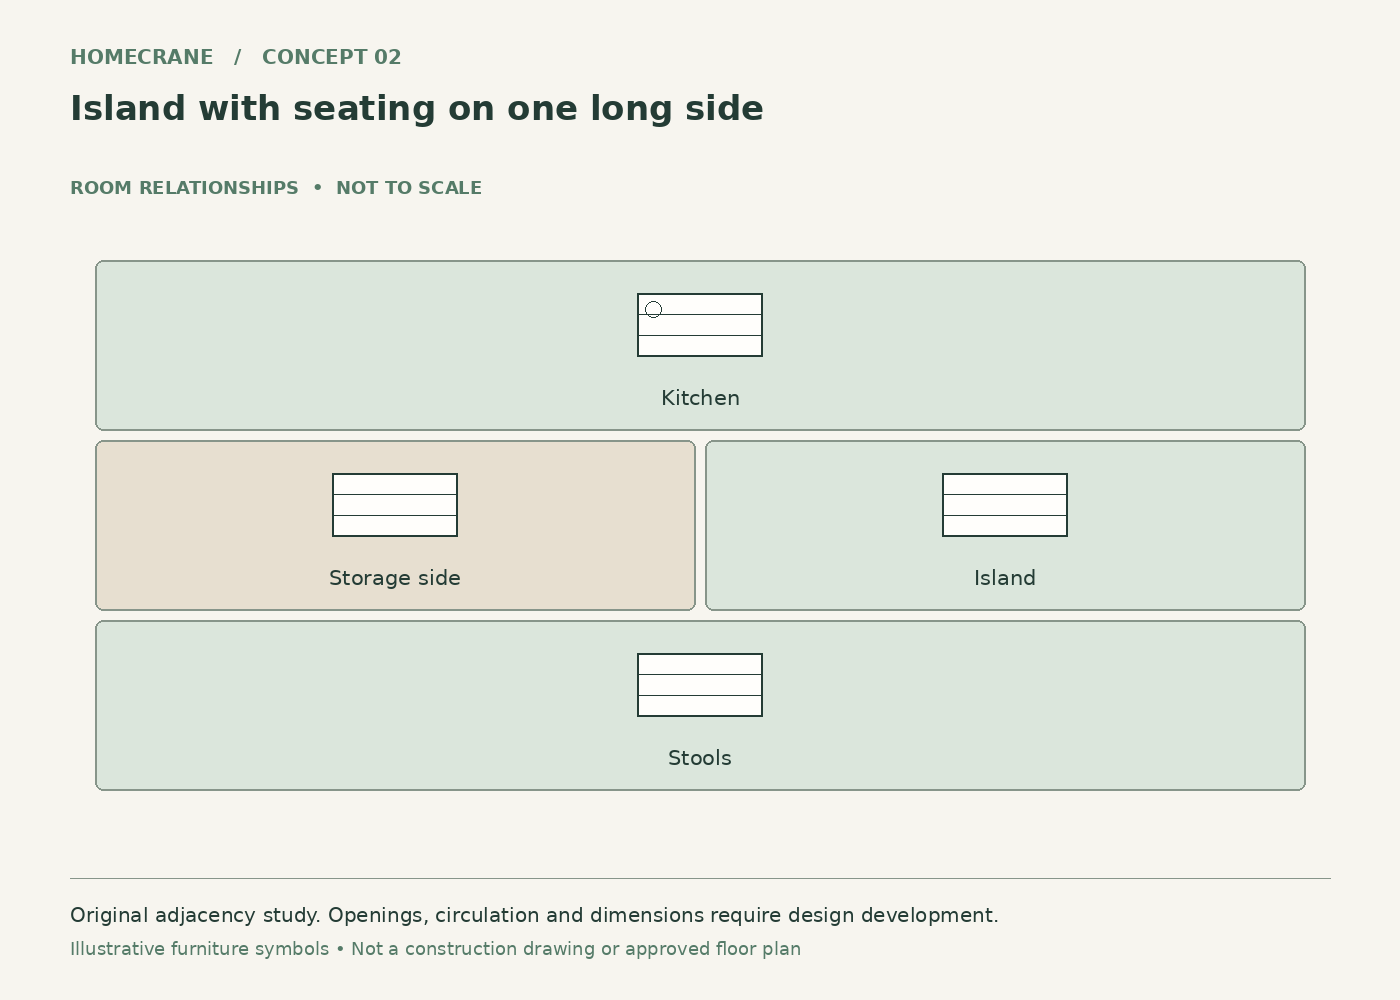
Concept 2: Island with seating on one long side. Original schematic, not to scale; see the accompanying design checks.
Reserve the kitchen-facing side for storage and the opposite side for stools.
Conversation and casual meals can happen without placing seating in the main work position.
Plan for this: Check occupied stools and the route behind them. The counter support and overhang require proper design.
3. Short-end seating for a quieter work face
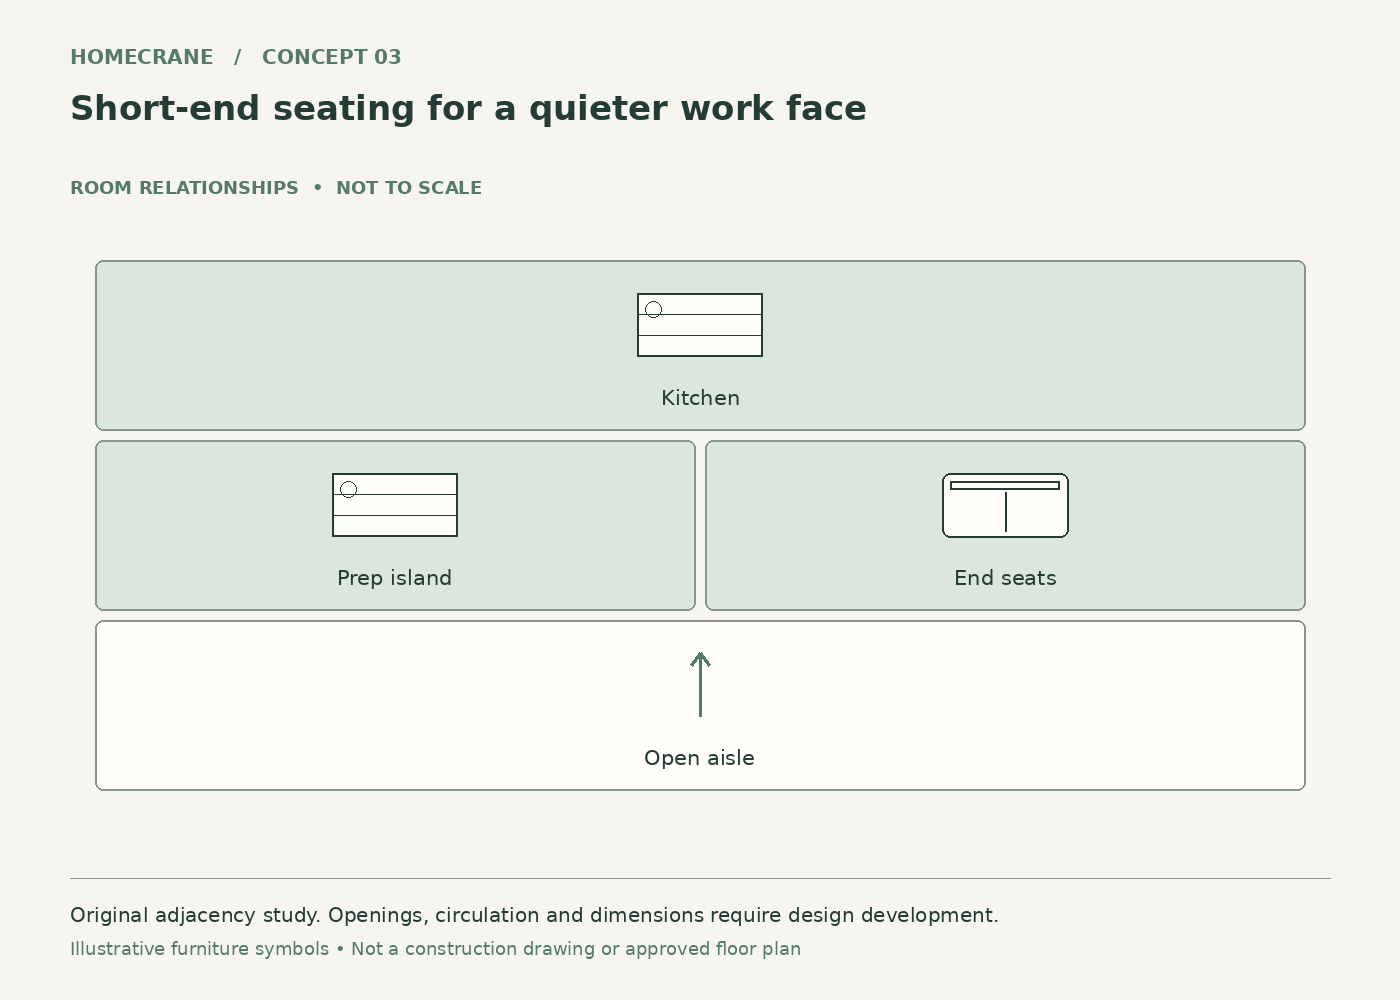
Concept 3: Short-end seating for a quieter work face. Original schematic, not to scale; see the accompanying design checks.
Place a small seating group at one short end while keeping the long sides available for preparation.
The cook can use a broad work face with fewer interruptions.
Plan for this: End seating needs enough room for knees and circulation. It can create a bottleneck near a doorway.
4. Island with a dedicated baking zone
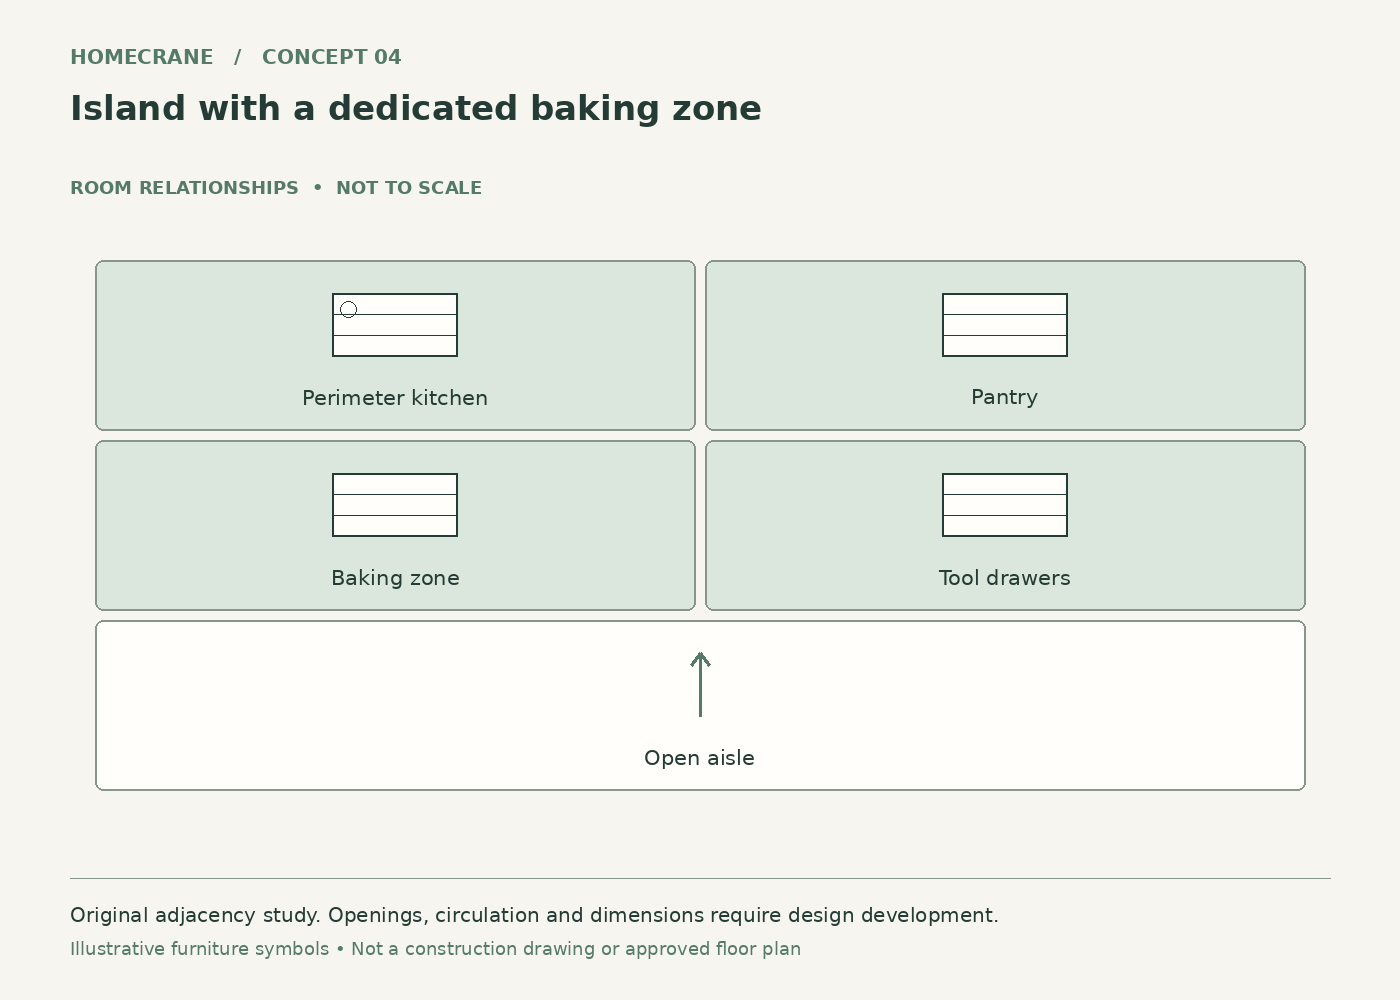
Concept 4: Island with a dedicated baking zone. Original schematic, not to scale; see the accompanying design checks.
Organize a clear counter area with nearby drawers for bowls, tools and dry ingredients.
The task has a defined home without spreading equipment across every kitchen surface.
Plan for this: Do not confuse a pretty baking display with working storage. Measure the mixer and allow practical lifting or movement.
5. Sink island with an organized cleanup side
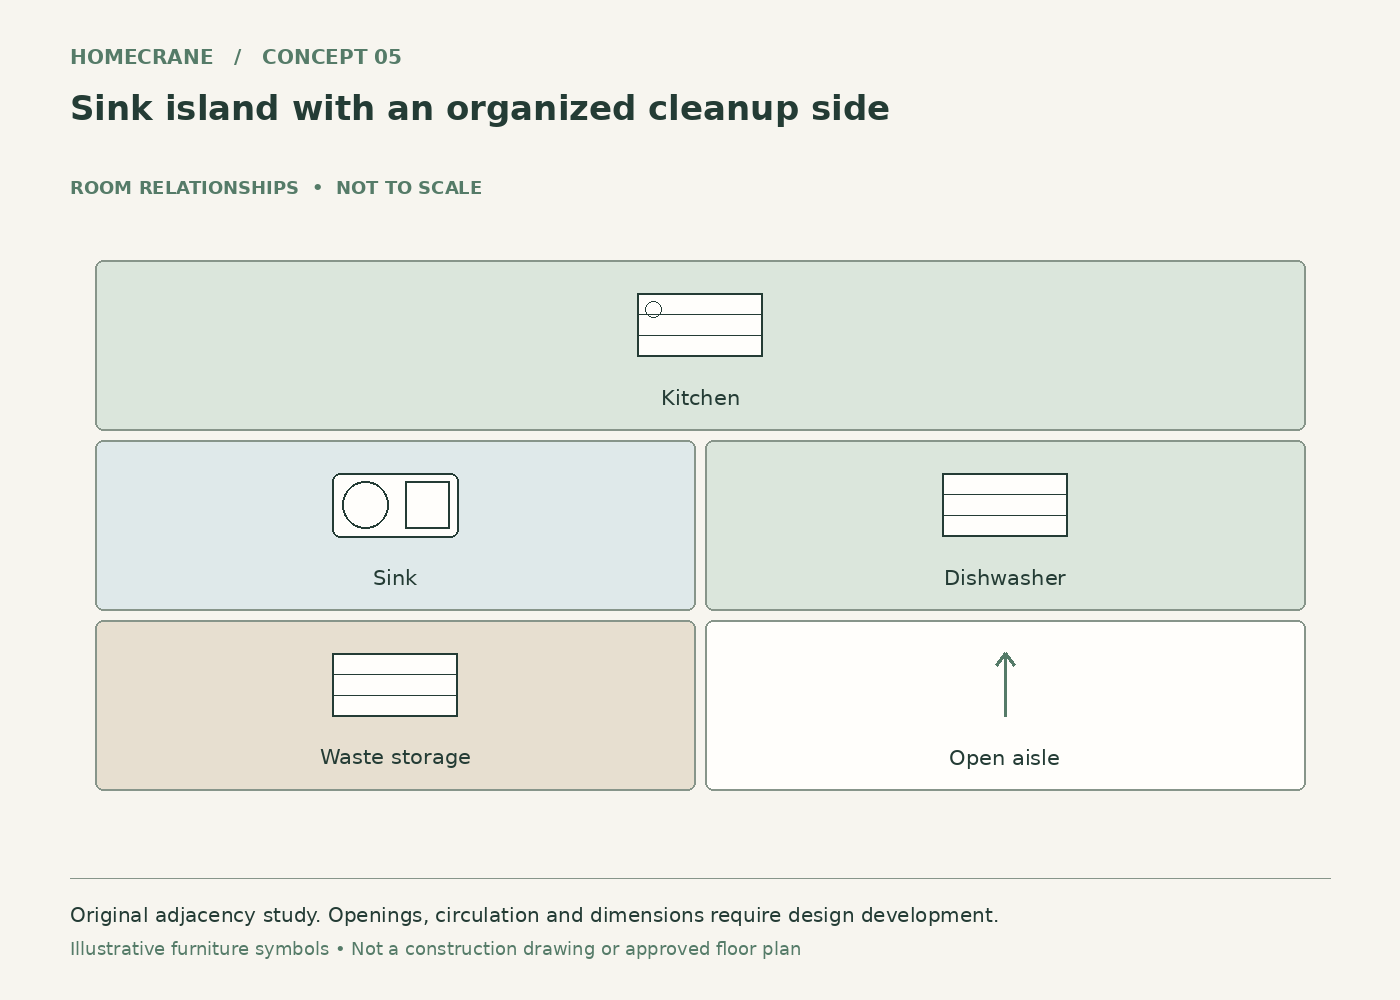
Concept 5: Sink island with an organized cleanup side. Original schematic, not to scale; see the accompanying design checks.
Put the sink, dishwasher and waste storage in a coordinated working section.
Cleanup can face the room while related tasks stay close together.
Plan for this: Coordinate plumbing, electrical work and open dishwasher space. Keep seating and hot-food handling from colliding with cleanup.
6. Dry island with a perimeter sink
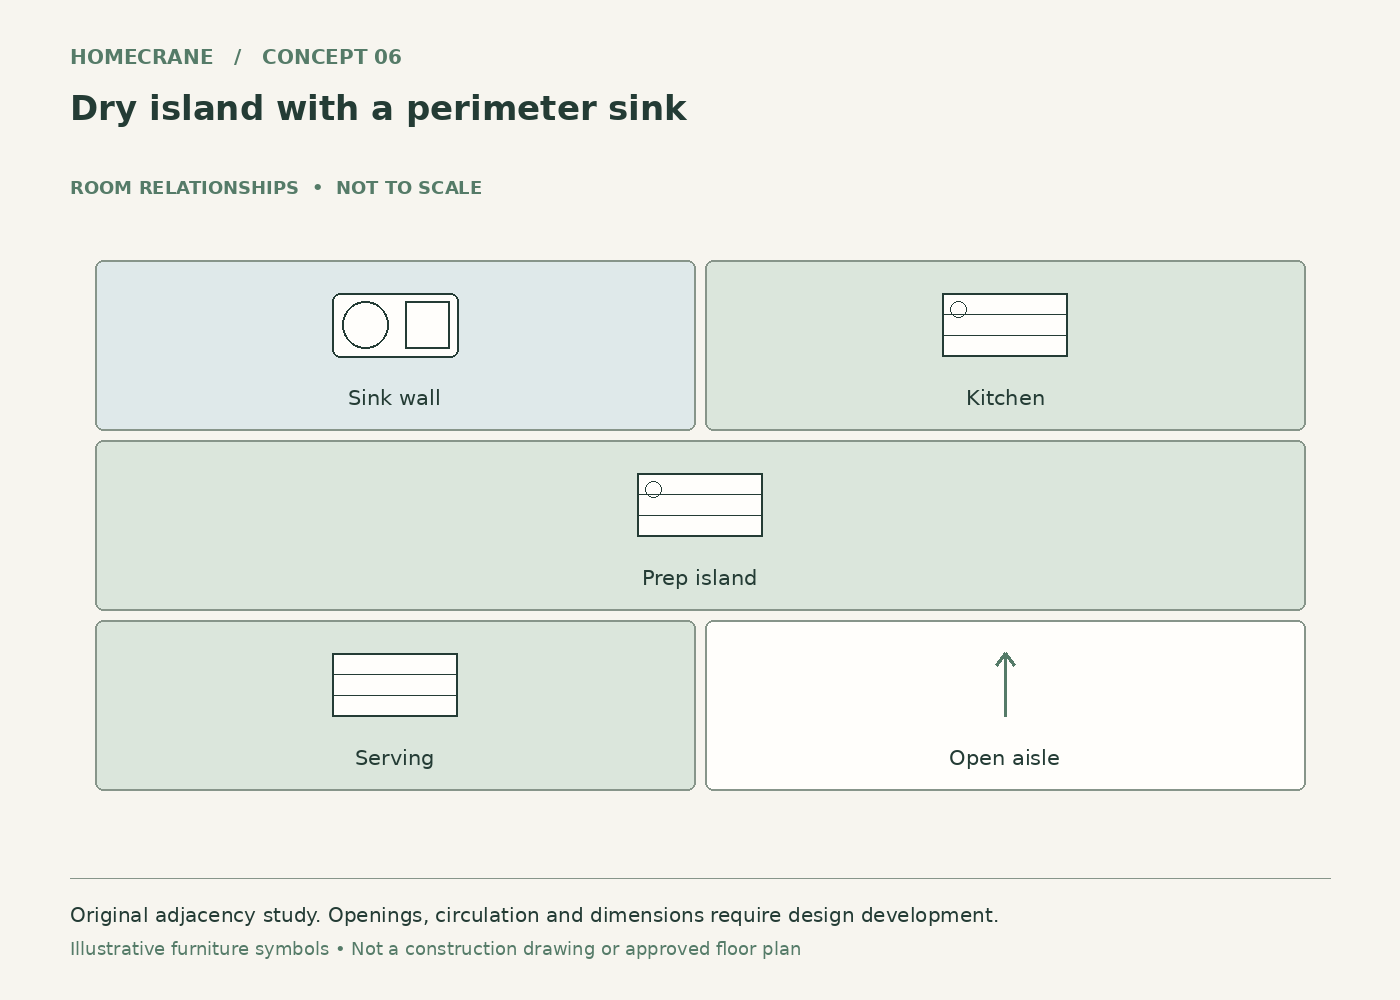
Concept 6: Dry island with a perimeter sink. Original schematic, not to scale; see the accompanying design checks.
Leave water and cleanup on the wall and use the island for preparation and serving.
The island stays free of a sink opening and wet dish clutter.
Plan for this: Verify the distance between washing and preparation. A dry island is most useful when the perimeter remains convenient.
7. Furniture-style island with open end shelves
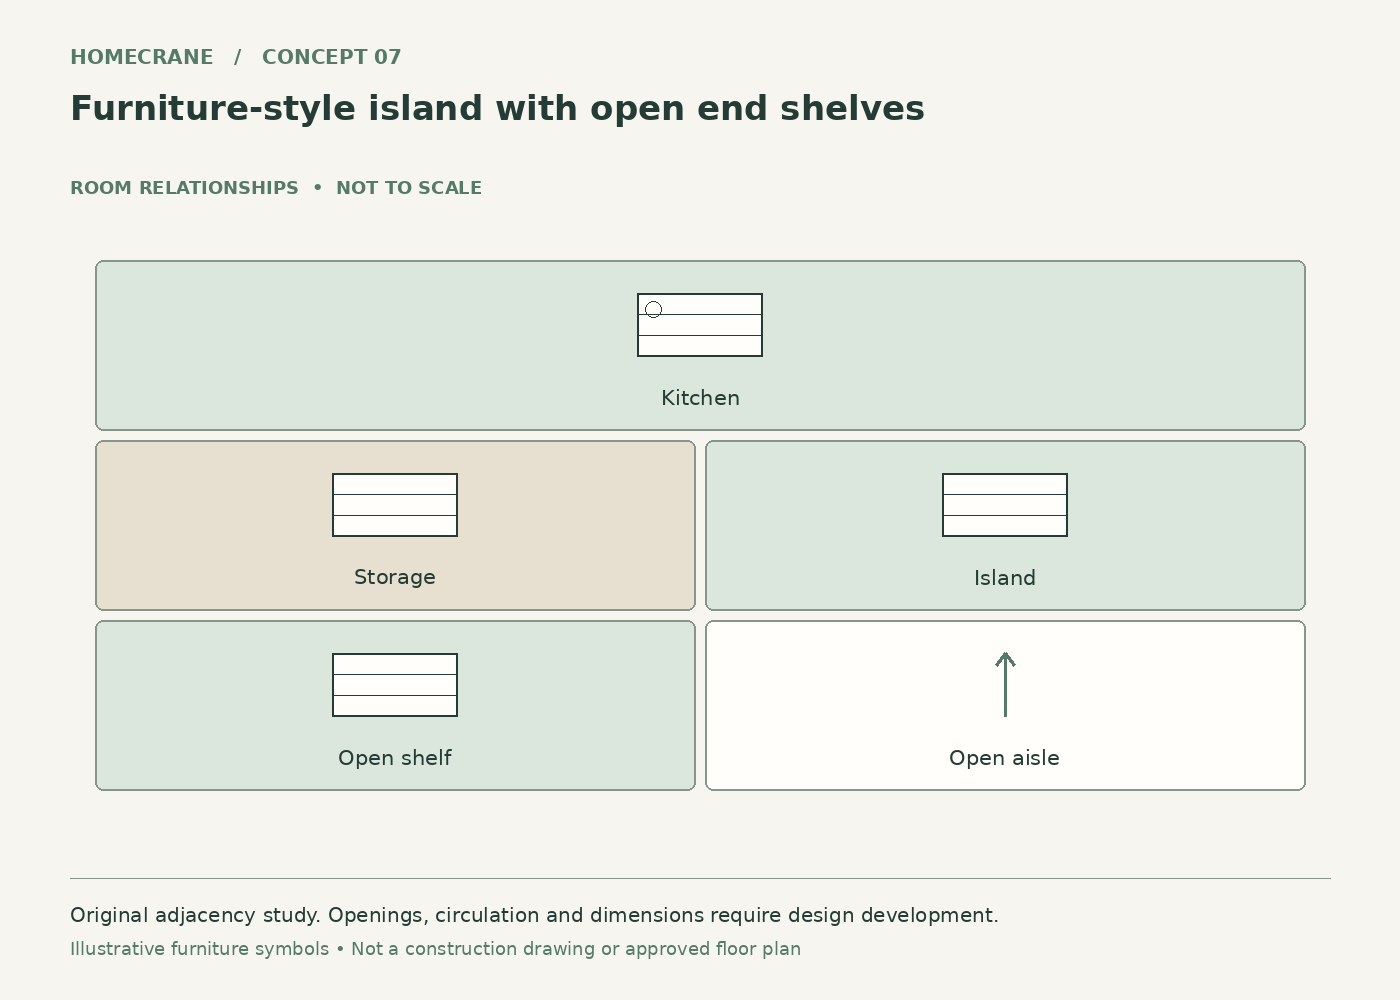
Concept 7: Furniture-style island with open end shelves. Original schematic, not to scale; see the accompanying design checks.
Use closed storage on the working face and a restrained open shelf at an exposed end.
The island relates naturally to a furnished great room.
Plan for this: Open shelves collect dust and are less suitable for items used beside splashes or heavy food preparation.
8. Two-level task zoning on one flat counter
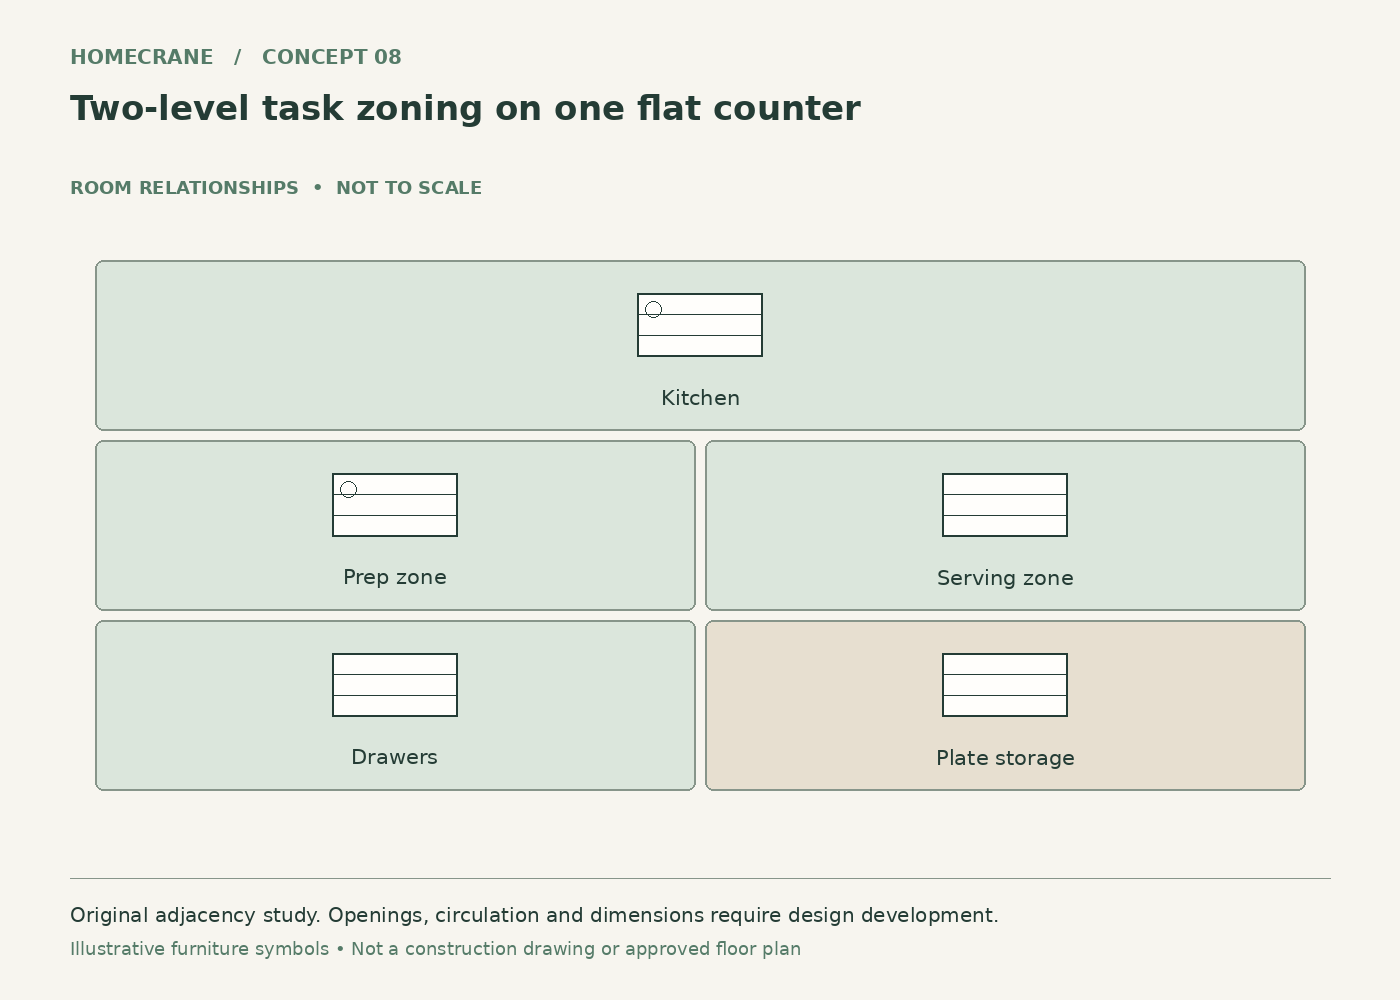
Concept 8: Two-level task zoning on one flat counter. Original schematic, not to scale; see the accompanying design checks.
Keep a single counter height but distinguish a preparation section from a serving section through layout.
The surface remains continuous and flexible while activities have recognizable positions.
Plan for this: Avoid a decorative divider that consumes the best working area. Lighting and storage can define zones more subtly.
9. Compact island with no seating
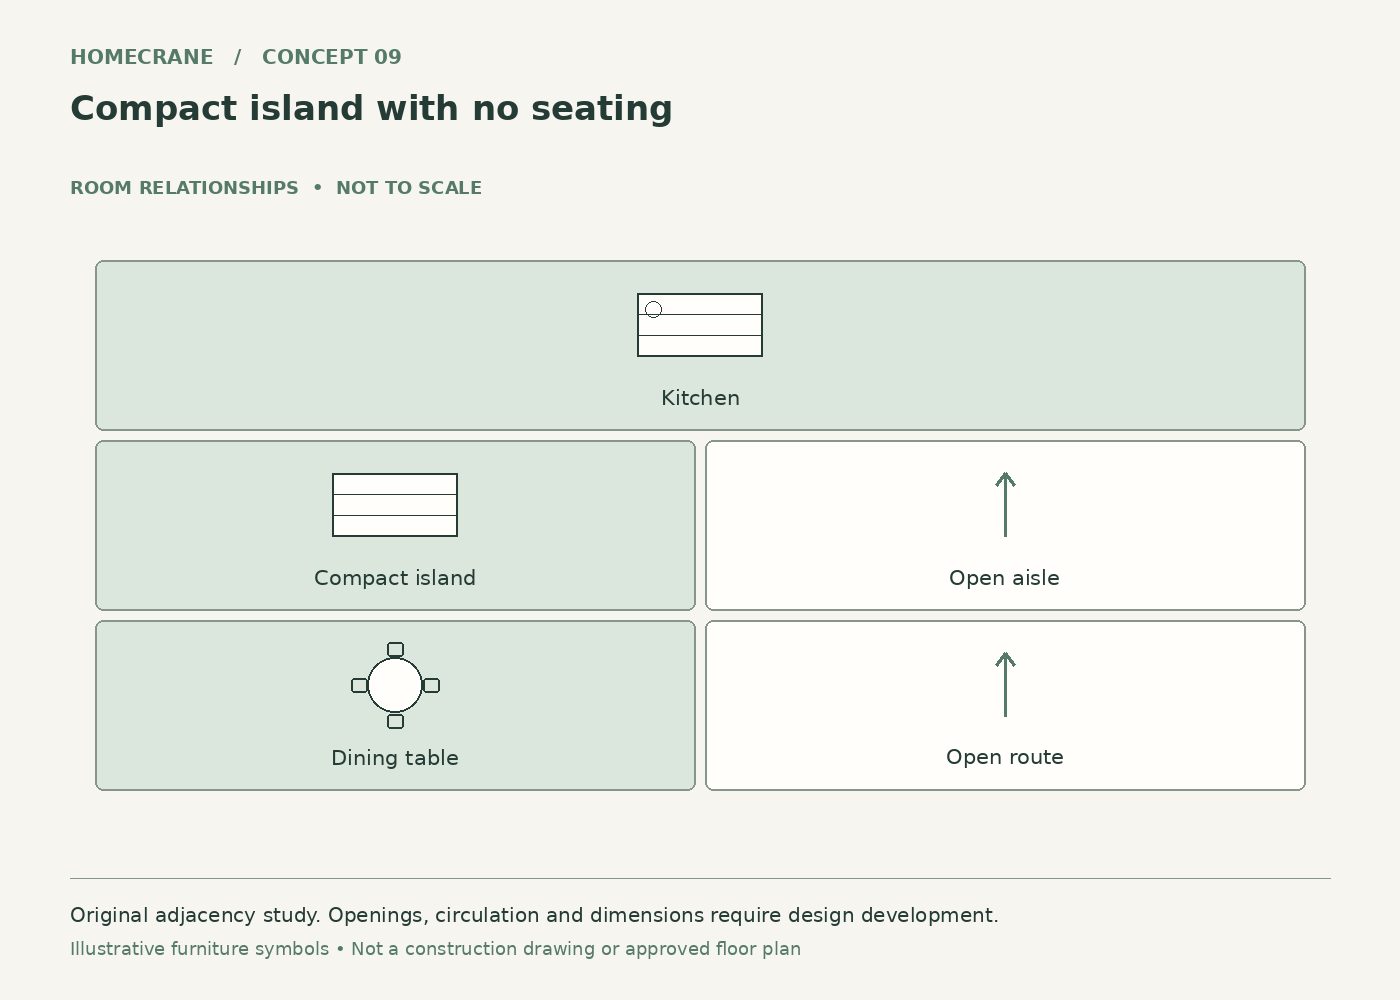
Concept 9: Compact island with no seating. Original schematic, not to scale; see the accompanying design checks.
Use a smaller island for storage and preparation, with dining at a separate table.
The kitchen can gain a useful work surface without forcing stools into every open edge.
Plan for this: If a movable worktable serves the room better, do not assume fixed cabinetry is necessary.
10. Island aligned with a pantry approach
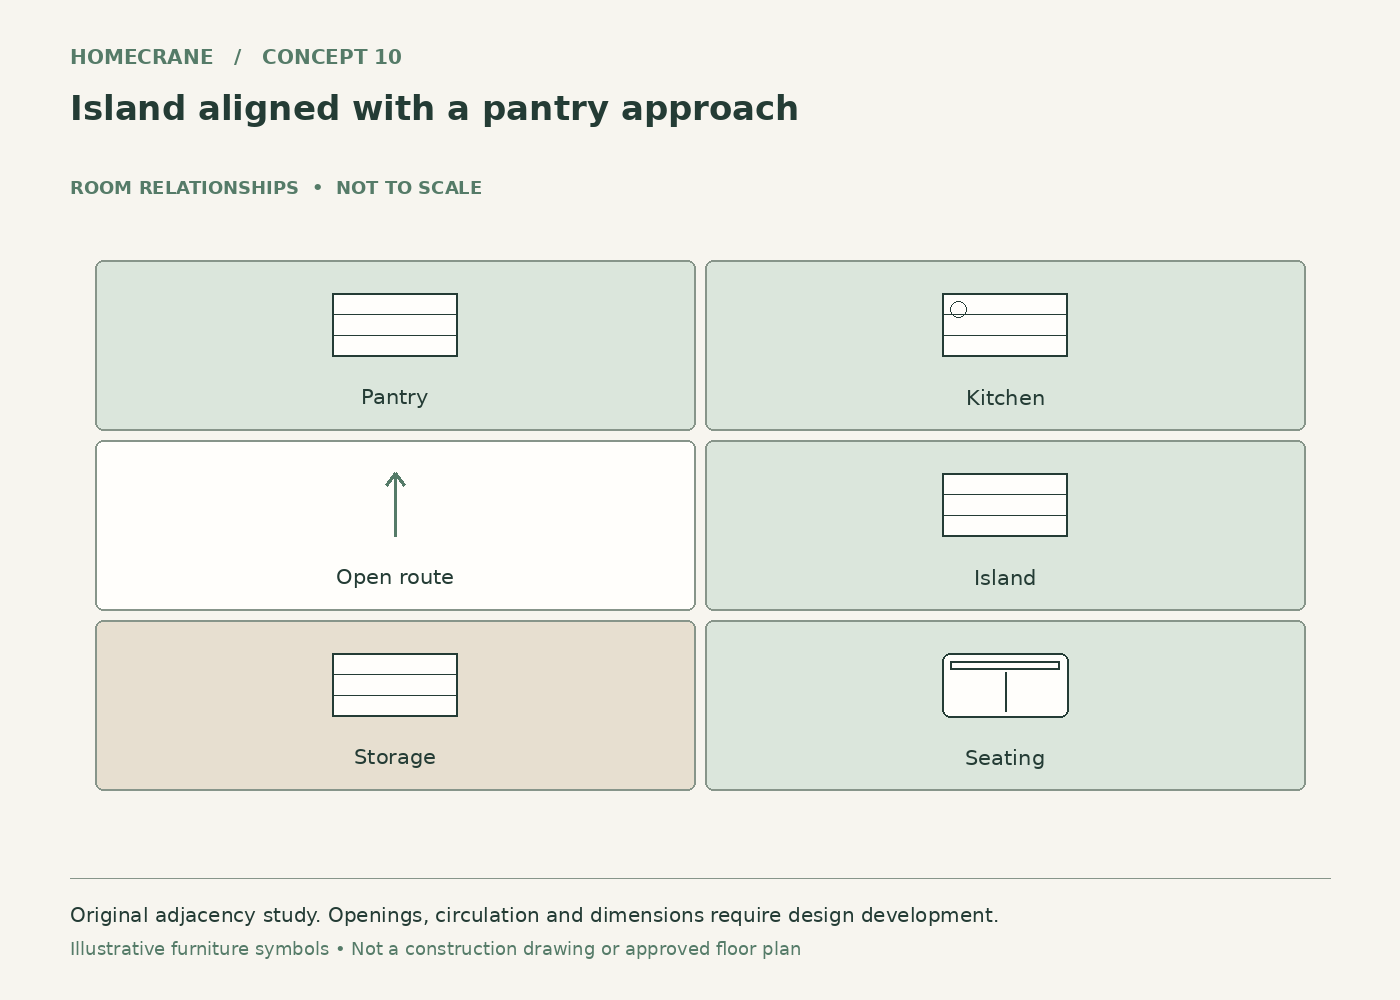
Concept 10: Island aligned with a pantry approach. Original schematic, not to scale; see the accompanying design checks.
Position the island so the pantry door opens onto a clear route beside it.
Putting groceries away becomes easier and the pantry is less likely to interrupt cooking.
Plan for this: Check pantry door swing and items carried in both hands. The shortest line is not always the most comfortable route.
11. Island with a built-in microwave drawer
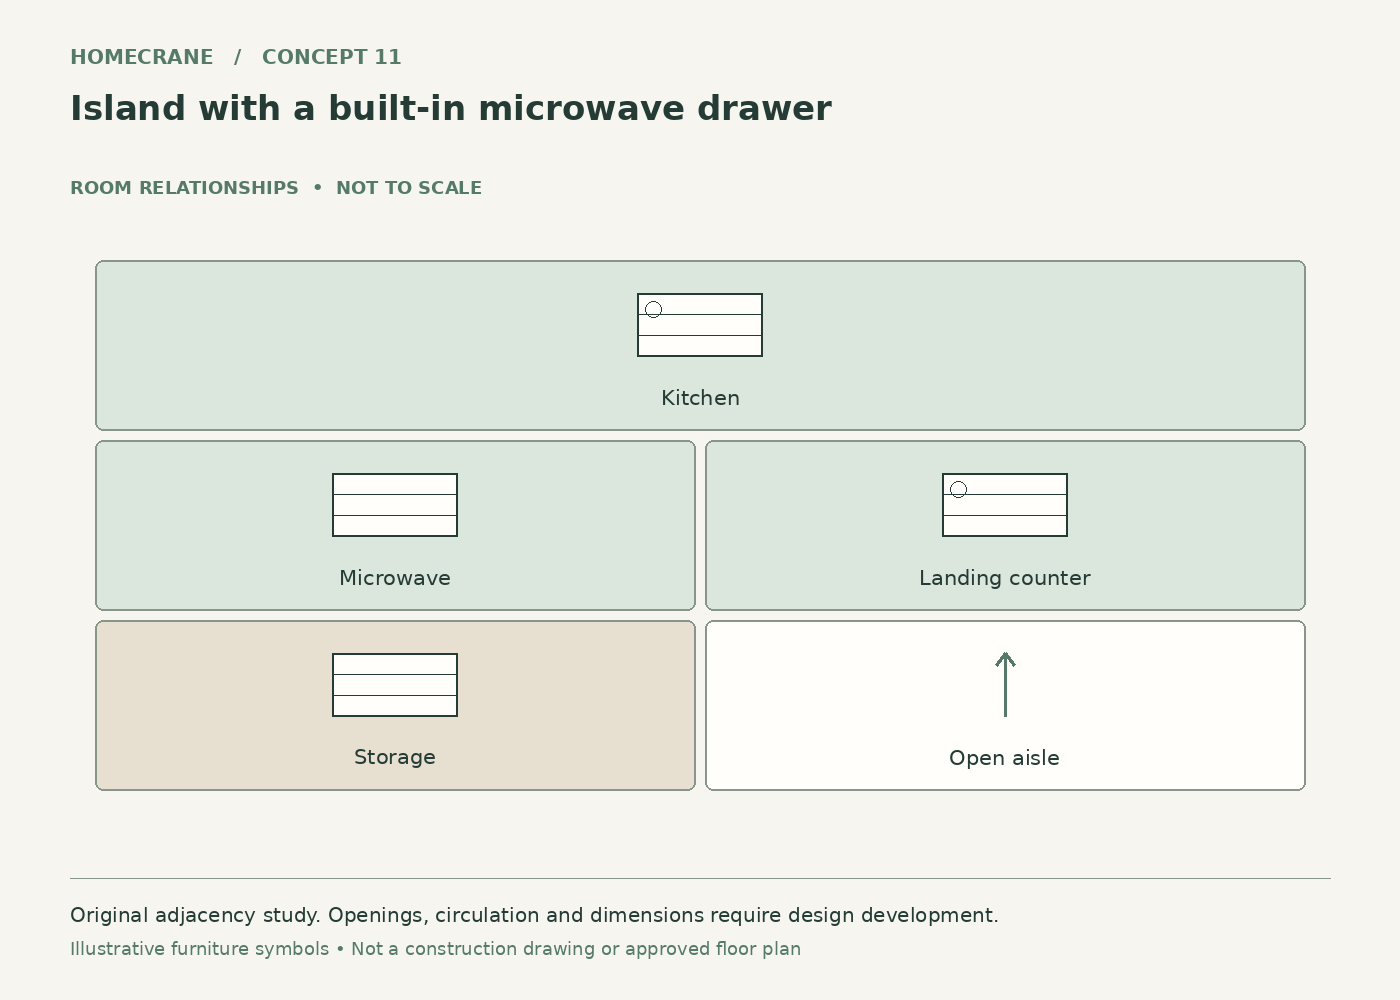
Concept 11: Island with a built-in microwave drawer. Original schematic, not to scale; see the accompanying design checks.
Place a suitable microwave drawer on the working face with clear counter space above.
Reheating can happen without occupying a perimeter countertop.
Plan for this: Use the exact model's installation requirements and keep the open drawer out of the main traffic path.
12. Paired narrow islands for a large room
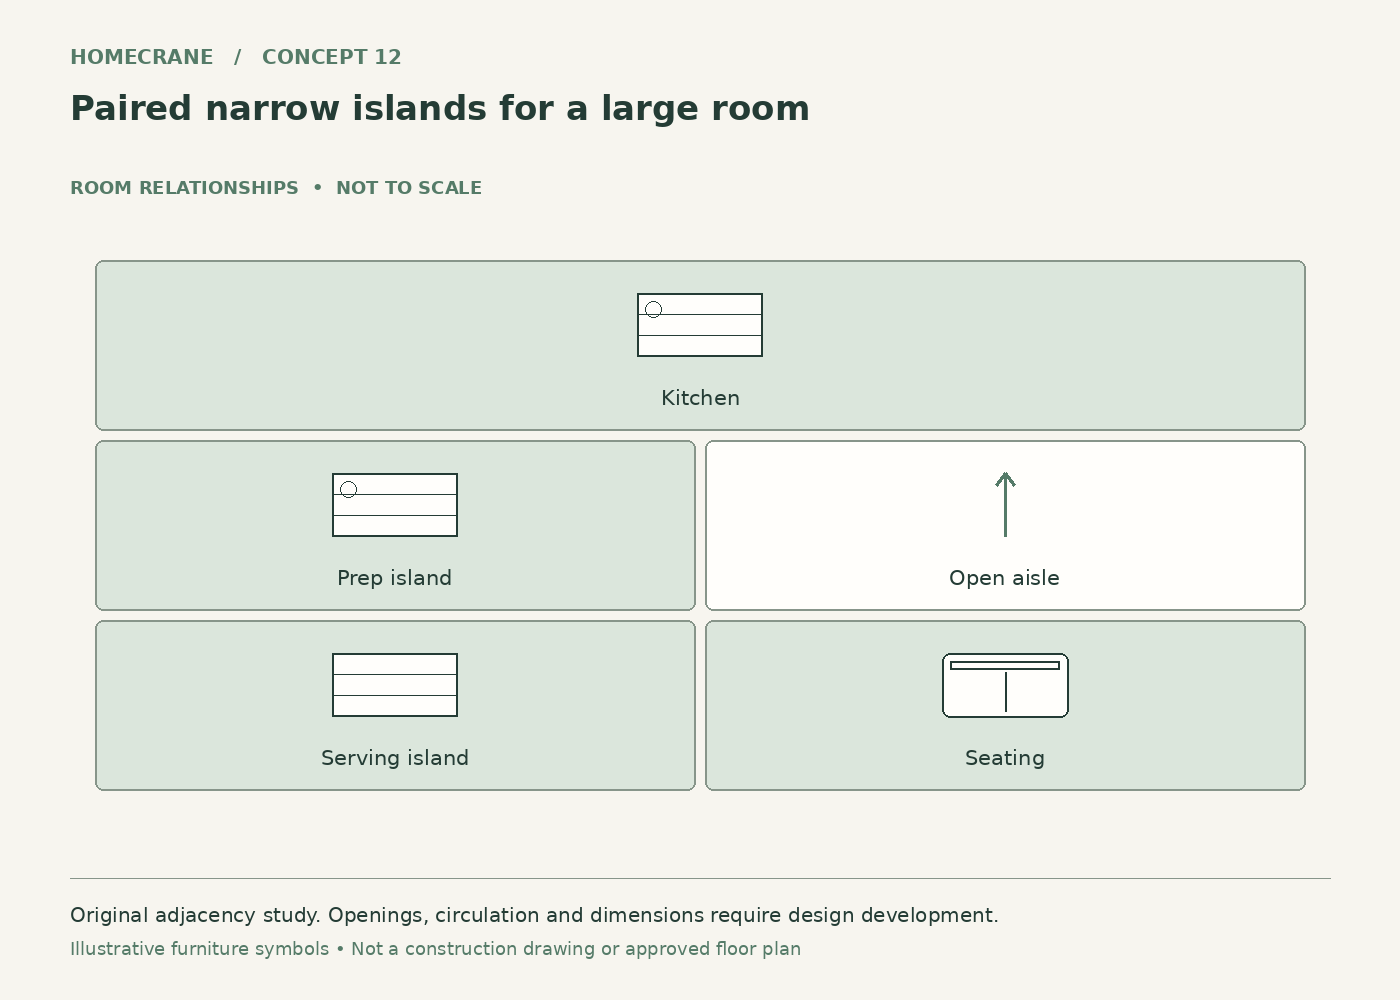
Concept 12: Paired narrow islands for a large room. Original schematic, not to scale; see the accompanying design checks.
Use two restrained islands only when one serves preparation and the other serving or seating.
Distinct jobs can organize a very large open kitchen more clearly than one enormous block.
Plan for this: This needs substantial room and careful circulation testing. More cabinetry is not automatically a better layout.
Compare your shortlist
| Feature | Main benefit | Check first |
|---|---|---|
| 1. Simple rectangular preparation island | The large uninterrupted surface can handle meal preparation, baking or serving. | Avoid increasing the island until the surrounding route becomes tight. A useful counter needs usable space around it. |
| 7. Furniture-style island with open end shelves | The island relates naturally to a furnished great room. | Open shelves collect dust and are less suitable for items used beside splashes or heavy food preparation. |
| 12. Paired narrow islands for a large room | Distinct jobs can organize a very large open kitchen more clearly than one enormous block. | This needs substantial room and careful circulation testing. More cabinetry is not automatically a better layout. |
Common questions
Does a barndominium need an oversized island?
No. The island should fit the work pattern and circulation. A smaller island with useful clear space can serve the home better than a large obstacle.
Should I put the sink on the island?
Consider cleanup visibility, plumbing, dishwasher operation and the route to the refrigerator and cooking area. A perimeter sink may preserve a more flexible island surface.
Turn the idea into a practical brief
Choose one primary concept, record the dimensions and constraints of your actual space, and keep a short list of the details you want to borrow from the others. A clear brief will be more useful than combining every attractive feature into a single crowded layout.
Sources and technical references
Sources
- Sharp SMD2480CS: Installation Manual. Checked October 12, 2026
Share this article
Get new guides by email
Practical home articles and free resources. No spam, and you can unsubscribe at any time.
Keep reading
11 Kansas Modern Barndominium Interior Design Entryway Ideas
Explore 11 kansas modern barndominium interior design entryway ideas. Compare illustrated concepts, practical layout tips, and planning checks.
October 2026, 4 min read

10 Modern Idaho Barndominium Floor Plans with Attached Shops
Explore 10 modern idaho barndominium floor plans with attached shops. Compare illustrated concepts, practical layout tips, and planning checks.
October 2026, 4 min read

12 Wyoming Barndominium Floor Plans with Large Clear Span Garages
Explore 12 wyoming barndominium floor plans with large clear span garages. Compare illustrated concepts, practical layout tips, and planning checks.
October 2026, 5 min read