14 Easy IKEA Dresser Paint Hack Ideas for Beginners
Explore IKEA dresser paint hack ideas for beginners with practical design ideas, planning advice, safe installation notes, and helpful tips for your US home.
By Home Crane Editors. . 10 min read.

A painted IKEA dresser can look more personal with a modest change in color, hardware, or drawer detail. The key is to identify the surface before choosing paint. Some IKEA dressers use solid wood, while others use particleboard, paper foil, plastic foil, acrylic paint, or a combination of materials. A finish that bonds well to pine may not adhere to a smooth foil-wrapped drawer front. These beginner-friendly ideas focus on achievable visual updates and on the preparation that helps a finish last, without assuming that every IKEA dresser is made from the same material.
Before you start
Check the product page, assembly instructions, and care information for the exact dresser model. IKEA’s RAST dresser is made with solid pine components, while current NORDLI and HAUGA product descriptions list combinations such as particleboard, paper foil, acrylic paint, plastic foil, and fiberboard. That difference matters. Solid wood can accept a different preparation and finishing system from a smooth foil surface. Benjamin Moore’s laminate-furniture guidance recommends careful cleaning, light surface preparation, and a bonding primer designed for slick surfaces. Follow the selected primer and paint labels, and test a hidden area before proceeding. [1] [2] [3]
Before painting, inspect the dresser for loose joints, damaged runners, missing hardware, or instability. Empty and remove drawers, label them, and keep paint away from runner tracks, drawer sides that rub, and any assembly holes. Allow each coat to dry and cure as directed before reassembling or loading the drawers. Secure the finished dresser to the wall with the anti-tip hardware supplied with the furniture. CPSC advises anchoring dressers and other top-heavy furniture to help prevent tip-over incidents. [4]
Decorating ideas
1. One-color matte sage
A muted sage finish gives a plain dresser a soft, contemporary look and works with oak, cream, linen, and warm gray. Paint the case and drawer fronts in one color for a calm, furniture-like result. Keep the top styling simple with a lamp, one tray, and a plant. Sage is forgiving in bedrooms because it feels colorful without competing with bedding or artwork.
Make it work: Choose a primer and paint system compatible with the dresser’s exact surface. Do not assume a smooth foil finish will accept ordinary wall paint without preparation.
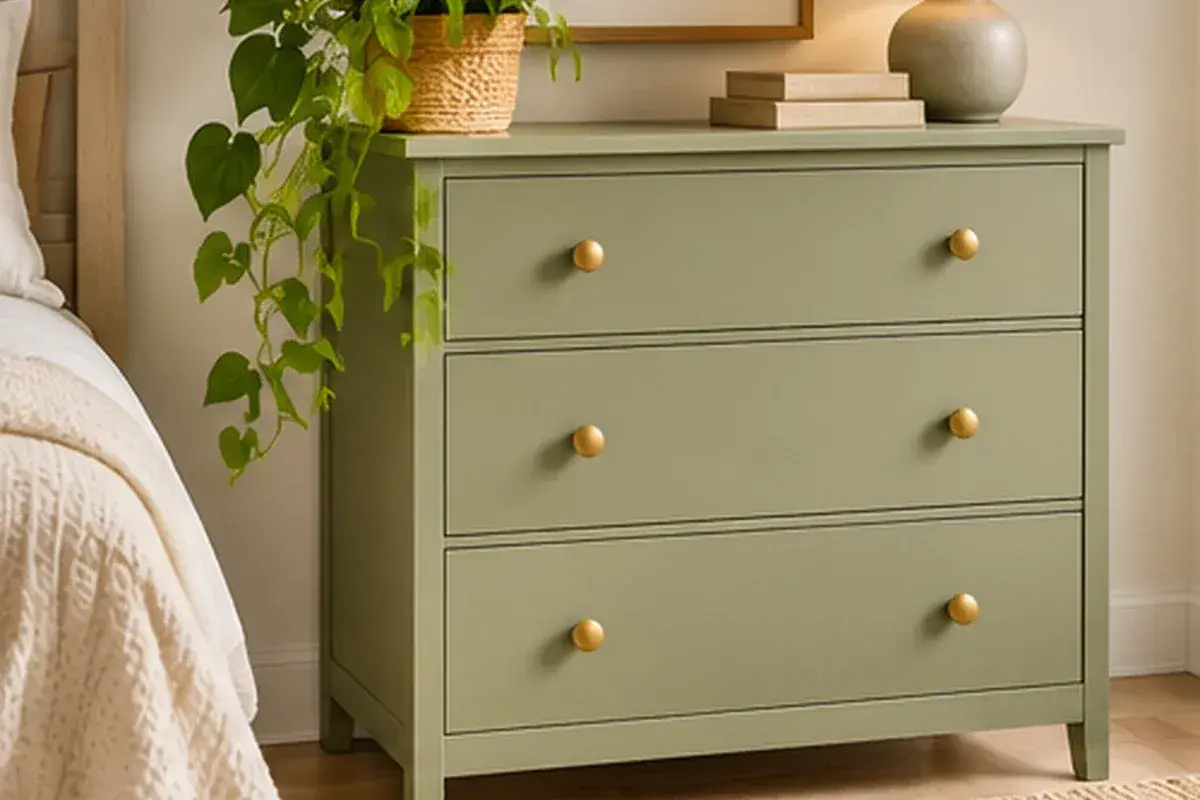
Muted sage painted dresser with brass knobs.
2. Two-tone cream and warm taupe drawers
Use cream on the dresser frame and a warm taupe on the drawer fronts to create subtle depth. This is a useful hack when the room already mixes white walls with beige textiles or natural wood. Keep the contrast modest so the piece feels designed rather than visually divided into unrelated parts. Matching drawer knobs can unify both colors.
Make it work: Remove drawers for painting and label their positions. Keep coatings off the side edges and runners so the drawers continue to slide freely.
3. Painted base with a natural-looking top
A darker base with a lighter top can make a simple dresser look more substantial. If the top is real wood, a compatible clear finish may preserve its grain; if it is foil or laminate, use a paint system designed for that surface instead of attempting to stain it. The visual contrast can still be created with a wood-look accessory or a carefully chosen top finish approved for the substrate.
Make it work: Do not assume a surface is real wood from its appearance. Identify the material first and use a finish specifically rated for it.
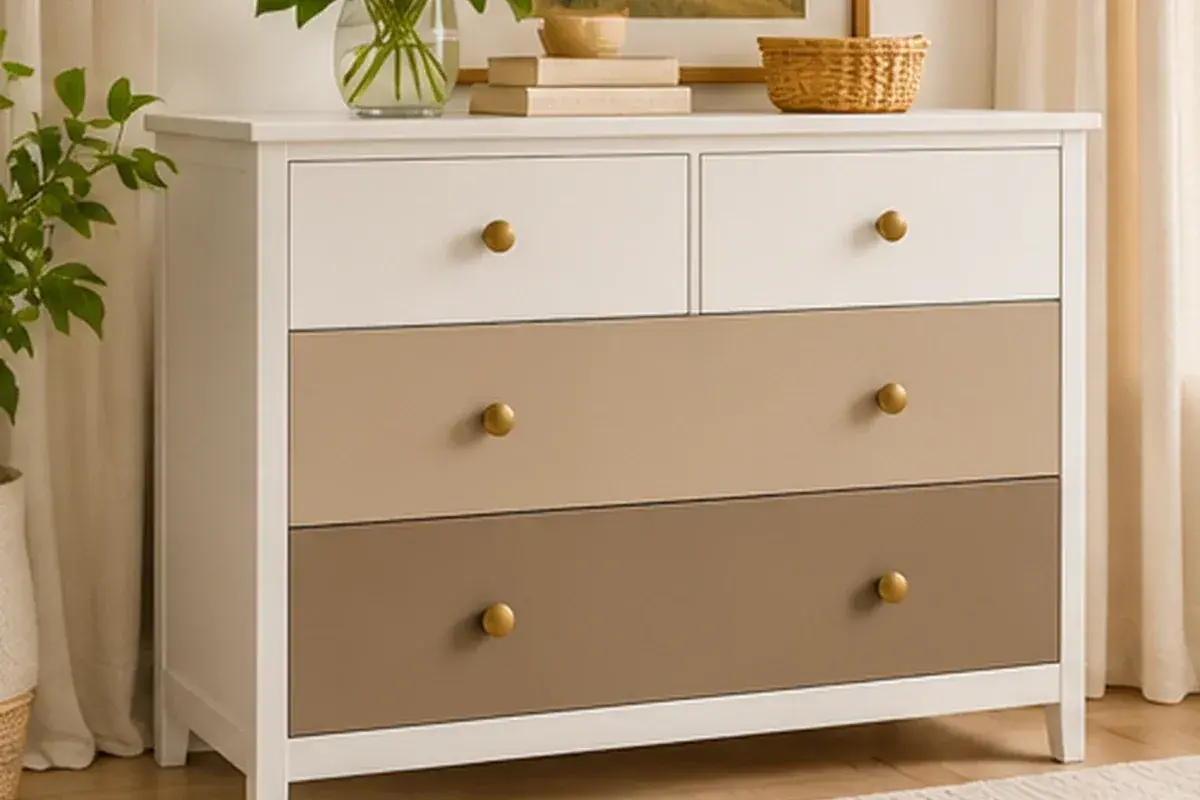
Two-tone cream and taupe drawer fronts.
4. Muted navy for a classic statement
Deep navy can turn a basic dresser into a strong anchor in a bedroom with white bedding, brass accents, and pale walls. Use a durable furniture or cabinet paint rather than an ordinary flat wall paint. A satin or low-sheen finish can be easier to wipe clean than a very flat coating, especially on drawer fronts that are handled often.
Make it work: Test the color in both daylight and evening light. Dark coatings can reveal dust and brush marks more easily than mid-tone finishes.
5. Warm white with updated brass knobs
A warm-white dresser with simple brass-tone knobs is an easy beginner makeover that refreshes the piece without changing its shape. Choose a white with enough warmth to sit comfortably beside wood floors and cream textiles. The hardware should be sized to existing holes where possible, so the update does not require unnecessary drilling or alteration.
Make it work: Check the hole spacing before buying replacement pulls. If new holes are required, use a suitable template or ask an experienced installer to help.
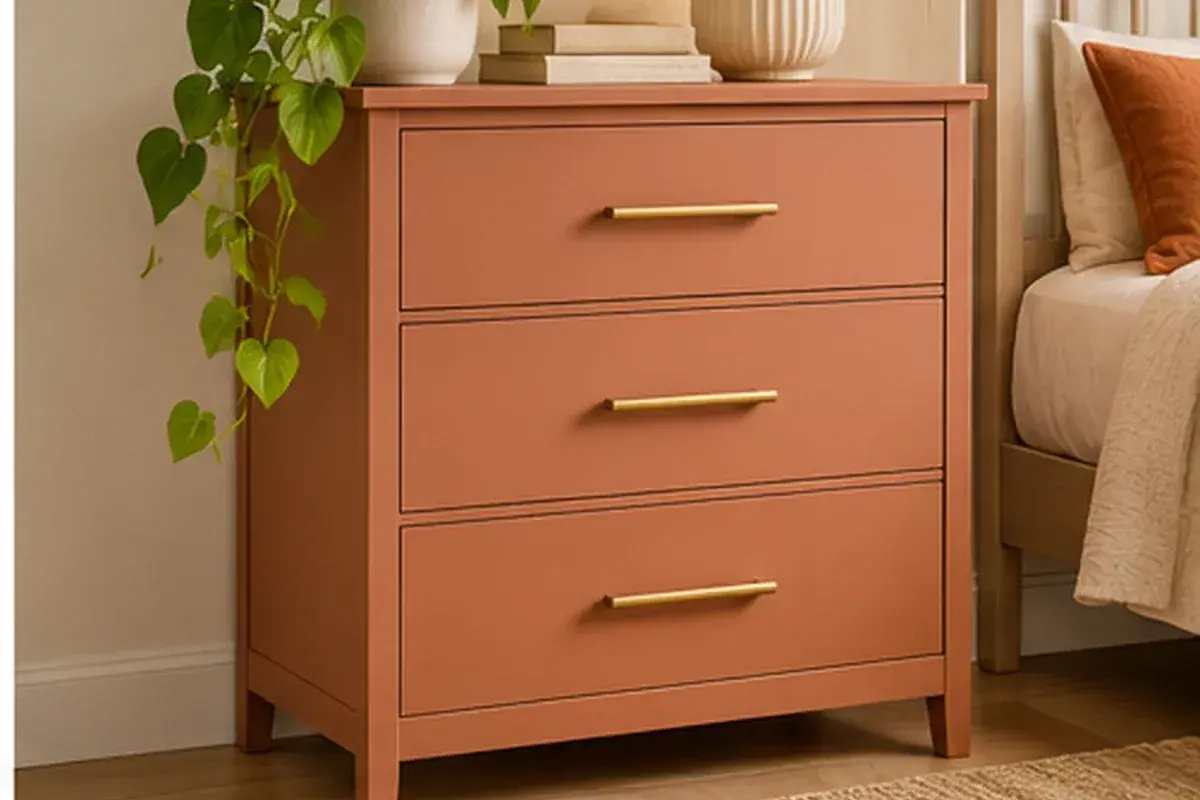
Terracotta painted dresser in a warm bedroom.
6. Color-blocked lower drawer
Paint only the bottom drawer or lowest pair in a contrasting shade while leaving the rest of the dresser neutral. This creates a small focal point and is easier to coordinate than a multicolor design across every drawer. It works well with sage, rust, navy, or charcoal accents elsewhere in the room.
Make it work: Keep color boundaries straight and plan the drawer order before painting. A drawer front should still match its original opening.
7. A soft ombré drawer sequence
A graduated sequence from pale cream to medium taupe or from light sage to deeper green gives a dresser a subtle custom look. Use colors from one coordinated paint family so the transition feels gradual. Apply each tone consistently and allow the finish to cure before the drawers are stacked or reinstalled.
Make it work: Photograph the drawer order before removal and label each piece on an unpainted hidden surface. This prevents the gradient from being reassembled out of sequence.

Deep navy dresser with simple metal pulls.
8. A simple geometric border
A narrow geometric line around the drawer fronts can add a modern detail without repainting the full piece in multiple colors. Use painter’s tape suitable for the chosen cured base coat and keep the graphic simple: a border, an inset rectangle, or a short corner detail. A restrained pattern can connect the dresser to artwork or a rug.
Make it work: Test tape on a hidden area and remove it according to the paint manufacturer’s instructions. Do not pull tape across a finish that has not dried sufficiently.
9. A fluted or reeded drawer-front effect
A fluted look adds texture and makes a basic dresser feel more architectural. Use a lightweight, furniture-rated decorative molding or a commercial panel system that is compatible with the drawer’s construction. Keep the added material thin and evenly spaced so the drawers remain usable and do not collide with neighboring fronts.
Make it work: Check added thickness, drawer clearance, and adhesive compatibility. Heavy additions can affect drawer movement and may require a professional to install securely.
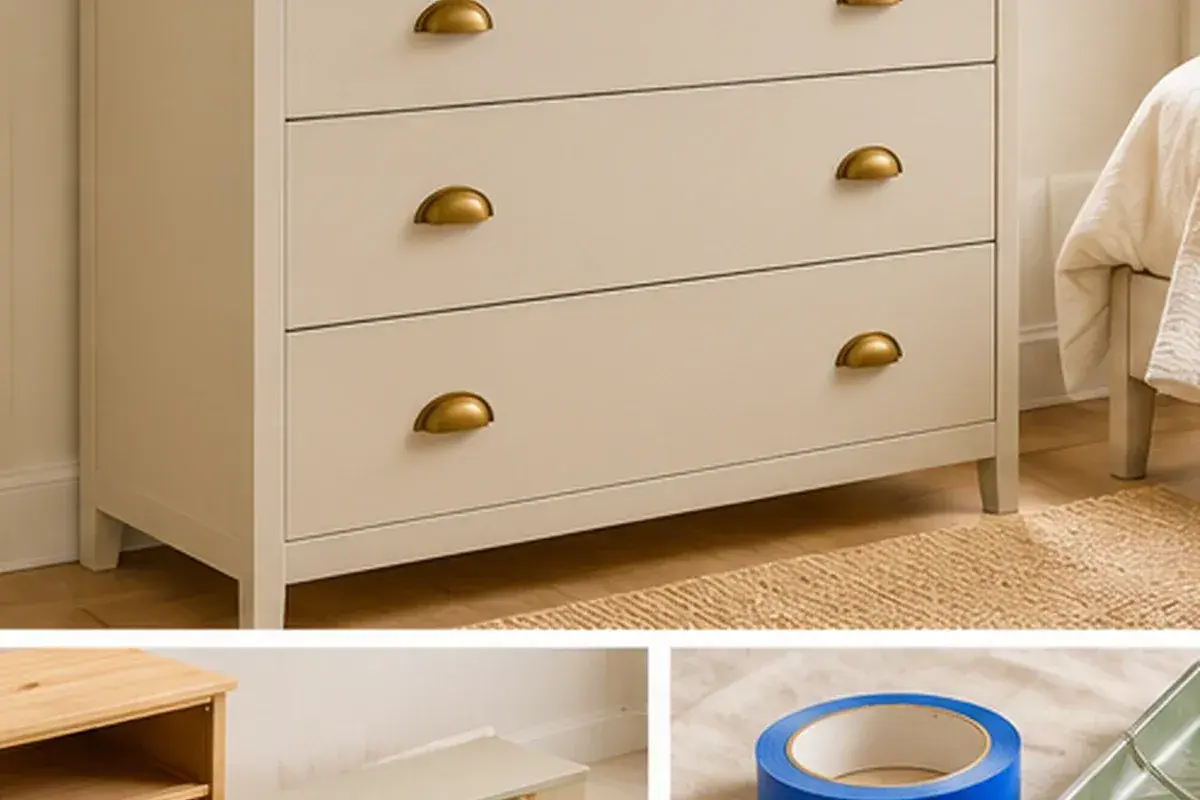
Warm white dresser with natural wood styling.
10. A warm terracotta finish
A muted terracotta or clay color can bring warmth to a neutral bedroom or guest room. Pair it with cream bedding, dark wood, and simple black or brass details. A single warm color is often enough; use a plant or framed landscape print rather than adding multiple competing patterns around the dresser.
Make it work: Use a sample board before painting the full piece. Warm colors can shift noticeably under different bulb temperatures.
11. A two-color frame and drawer contrast
Paint the frame a deep olive or charcoal and keep the drawer fronts a soft natural neutral, or reverse the combination for a lighter look. This treatment creates definition around each drawer and can make a flat-front dresser feel more tailored. Use a consistent sheen across both finishes so the piece still reads as one object.
Make it work: Do not coat the drawer interior, tracks, or contact surfaces unless the product instructions specifically allow it. Paint build-up in these areas can cause sticking.
12. Updated hardware with a painted backplate
New knobs or pulls can change the whole personality of a dresser. Use a simple metal finish for a contemporary feel or a ceramic knob for a softer vintage note. A contrasting painted area behind the hardware can emphasize the detail, but it should be aligned and proportioned to the existing drawer face.
Make it work: Check the pull’s fixing method and the dresser’s drawer-front thickness. Do not overtighten hardware into particleboard or damaged material.
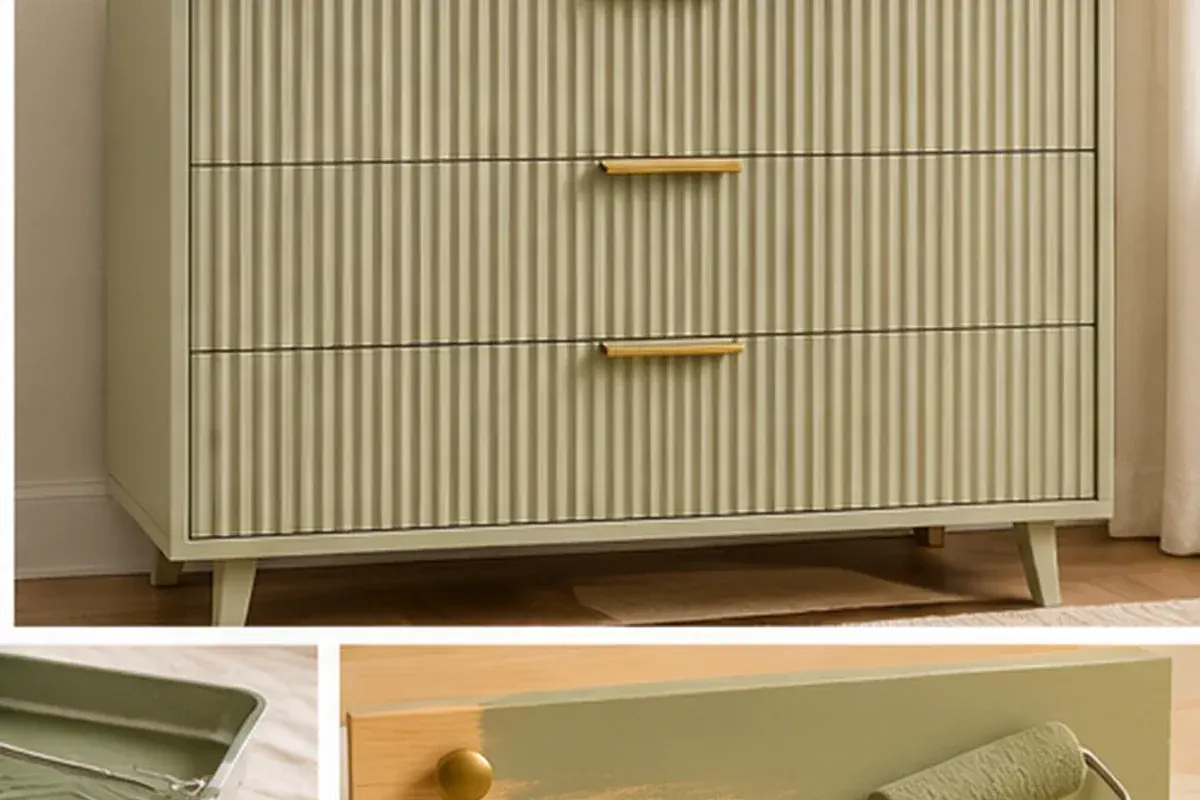
Fluted sage dresser with subtle vertical texture.
13. A subtle stencil on selected drawers
A small stencil on one or two drawer fronts can give a dresser a handcrafted feel. Choose a low-contrast motif and leave plenty of plain space around it. Botanical shapes, simple arches, or a restrained repeating line can work with neutral bedding and natural textures without making the dresser feel too themed.
Make it work: Use a stencil method and coating compatible with the base finish. Practice on a sample board first to prevent paint bleed and uneven registration.
14. A dark frame with light drawer fronts
A charcoal or black frame with warm-white drawer fronts gives a simple dresser a crisp contemporary outline. The contrast suits bedrooms with dark window frames, black lamps, or thin metal picture frames. Keep the styling above the dresser quiet so the strong outline remains the main visual detail.
Make it work: High contrast makes uneven lines and chips easier to see. Prepare the surface carefully and use a finish designed for furniture handling.
Identify the dresser material before buying supplies
Do not decide on a paint system from the model name alone. Look at the product page and the actual panels you plan to coat. A dresser can combine several substrates: a particleboard case, foil-wrapped sides, painted fiberboard drawer fronts, and a solid-wood top or legs. The RAST is listed as solid pine, while NORDLI and HAUGA product descriptions show foil and board combinations. The same technique may not be appropriate for every surface on one piece. [1] [2]
If the surface is laminate or foil, use a primer formulated to bond to smooth furniture surfaces and follow its preparation instructions. Benjamin Moore’s guide describes cleaning, light sanding, and a strong bonding primer for laminate furniture. That guidance does not replace the product label or IKEA’s care instructions. If a coating is peeling, the board is swollen, or the surface is damaged, repair or replacement may be better than painting over the problem. [3]
A beginner-friendly preparation and painting plan
Work in a clean, ventilated area and protect the floor. Empty the dresser, remove drawers and hardware, and label each drawer so it returns to its original opening. Clean according to the furniture care instructions, allow the surface to dry, and prepare only as the selected primer recommends. Avoid aggressive sanding on unknown finishes or older painted furniture. Apply thin coats rather than trying to cover everything in one heavy pass.
Let the primer and topcoat dry and cure for the full time stated on their labels. Reinstall the hardware only when the finish is ready, and keep paint away from runners, drawer edges that rub, and assembly points. A finish can feel dry to the touch before it has fully cured, so do not immediately load the drawers with heavy items or drag objects across the top.
Finish the makeover with stability and safe use
A dresser is more than a decorative surface. Check that it sits level, drawers open without binding, and the back panel is secure. Reattach the hardware firmly without damaging the drawer fronts. Follow the original assembly instructions if the furniture has been dismantled, and do not use a piece with loose joints or damaged supports until it has been repaired.
Install the anti-tip device as directed and anchor the dresser to a suitable wall structure. CPSC recommends securing dressers and other top-heavy furniture to reduce tip-over risk. Keep heavier items in lower drawers and avoid placing heavy objects at the front edge of the top. This is an important finishing step, not an optional styling detail. [4]
Troubleshooting common beginner paint problems
If paint beads or pulls away from a smooth surface, stop rather than applying thicker coats. The surface may not have been cleaned adequately, the primer may not be compatible, or the coating may not have had enough time to dry. Check the product instructions and test a small hidden section before continuing. A bonding primer is useful only when it is suitable for the specific material and applied as directed.
If the drawer sticks after painting, inspect the edges and runners for paint build-up. Do not force the drawer closed because that can damage the finish or the furniture. Remove the drawer, allow the coating to cure, and have any interference corrected without compromising the drawer’s structure. Keeping moving contact surfaces free of unnecessary paint is easier than repairing a jam later.
If the finished color looks stronger than expected, change the surrounding styling before repainting. A neutral lamp, lighter bedding, or simpler wall art may restore balance. A small sample board and a limited palette are the best ways to avoid expensive changes after the whole dresser has been coated.
Frequently asked questions
Can you paint an IKEA dresser?
Many IKEA dressers can be painted, but the correct preparation depends on the materials used in the exact model. Solid pine, painted fiberboard, paper foil, and plastic foil do not all behave the same way.
Do I need to sand an IKEA dresser before painting?
Follow the primer and paint system instructions for the actual surface. Some smooth finishes need light preparation and a bonding primer, but aggressive sanding can damage a foil or veneer layer.
Can I paint the inside of the drawers?
It is usually better to keep paint away from drawer sides, runners, and contact surfaces that rub. Paint build-up can cause drawers to stick.
How long should the dresser cure before use?
Use the cure time stated by the paint and primer manufacturers. Dry-to-touch does not always mean the coating is ready for regular handling or heavy objects.
Should I anchor a painted dresser to the wall?
Yes. A decorative makeover does not change the need to install the supplied anti-tip hardware according to the furniture instructions.
Sources and further reading
[1] IKEA: RAST 6-Drawer Dresser, Materials and Care
[2] IKEA: NORDLI 6-Drawer Dresser, Materials and Care
[3] Benjamin Moore: A DIY Guide to Painting Laminate Furniture
Sources
- IKEA: RAST 6-Drawer Dresser, Materials and Care. Checked November 4, 2026
- IKEA: NORDLI 6-Drawer Dresser, Materials and Care. Checked November 4, 2026
- Benjamin Moore: A DIY Guide to Painting Laminate Furniture. Checked November 4, 2026
- CPSC: Anchor It! Furniture Tip-Over Prevention. Checked November 4, 2026
- U.S. EPA: Lead-Safe Renovations for DIYers. Checked November 4, 2026
Share this article
Get new guides by email
Practical home articles and free resources. No spam, and you can unsubscribe at any time.
Keep reading

7 Genius Ways to Upcycle Thrift Store Furniture into a Modern Look
Explore upcycle thrift store furniture modern with practical design ideas, planning advice, safe installation notes, and helpful tips for your US home.
November 2026, 10 min read

13 Best Narrow Entryway Bench With Storage DIY Layouts
Explore narrow entryway bench with storage DIY layouts with practical design ideas, planning advice, safe installation notes, and helpful tips for your US home.
November 2026, 10 min read

11 Small Corner Reading Nook Chair Ideas for Cozy Setups
Explore small corner reading nook chair ideas cozy setups with practical design ideas, planning advice, safe installation notes, and helpful tips for your US home.
November 2026, 10 min read