14 Functional Built-In Microwave Drawer Kitchen Island Configurations
Explore 14 functional built-in microwave drawer kitchen island configurations. Compare illustrated concepts, practical layout tips, and planning checks.
By Home Crane Editors. . 5 min read.
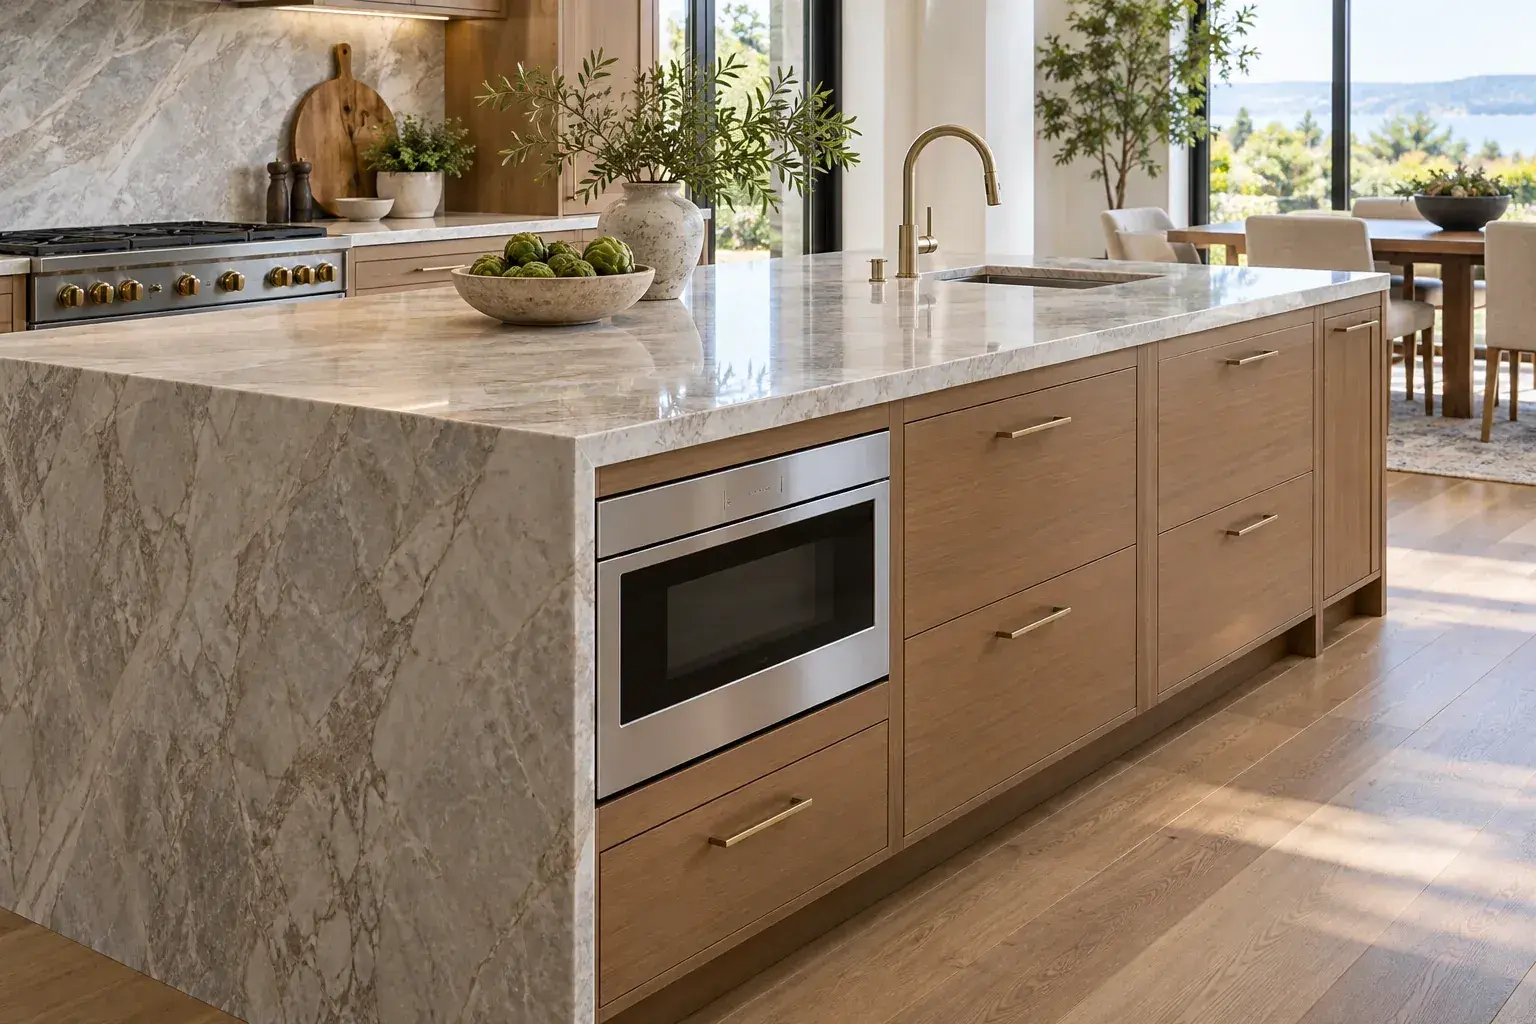
A microwave drawer can free countertop space, but its location should be chosen around the way the island is used. The drawer needs an unobstructed operating area, a nearby place for hot dishes and an installation designed for that exact appliance. These 14 configurations explore useful positions without treating every island as a suitable enclosure.
AI-generated design concept for visual inspiration; not a photograph of a completed project.
Before choosing a layout
Use an appliance expressly designed for the intended built-in installation. Sharp distinguishes a microwave drawer from a countertop microwave whose vents may be obstructed inside cabinetry. [1] The selected drawer's manual controls the opening, support, clearances, grounding and anti-tip provisions. [2] These are layout illustrations, not model-specific cabinet plans. Keep the open drawer away from habitual walking routes and seating positions, and check how someone will lift a hot container to the counter. Have the cabinetmaker and qualified installer review the same current manual.
1. Drawer on the main preparation face
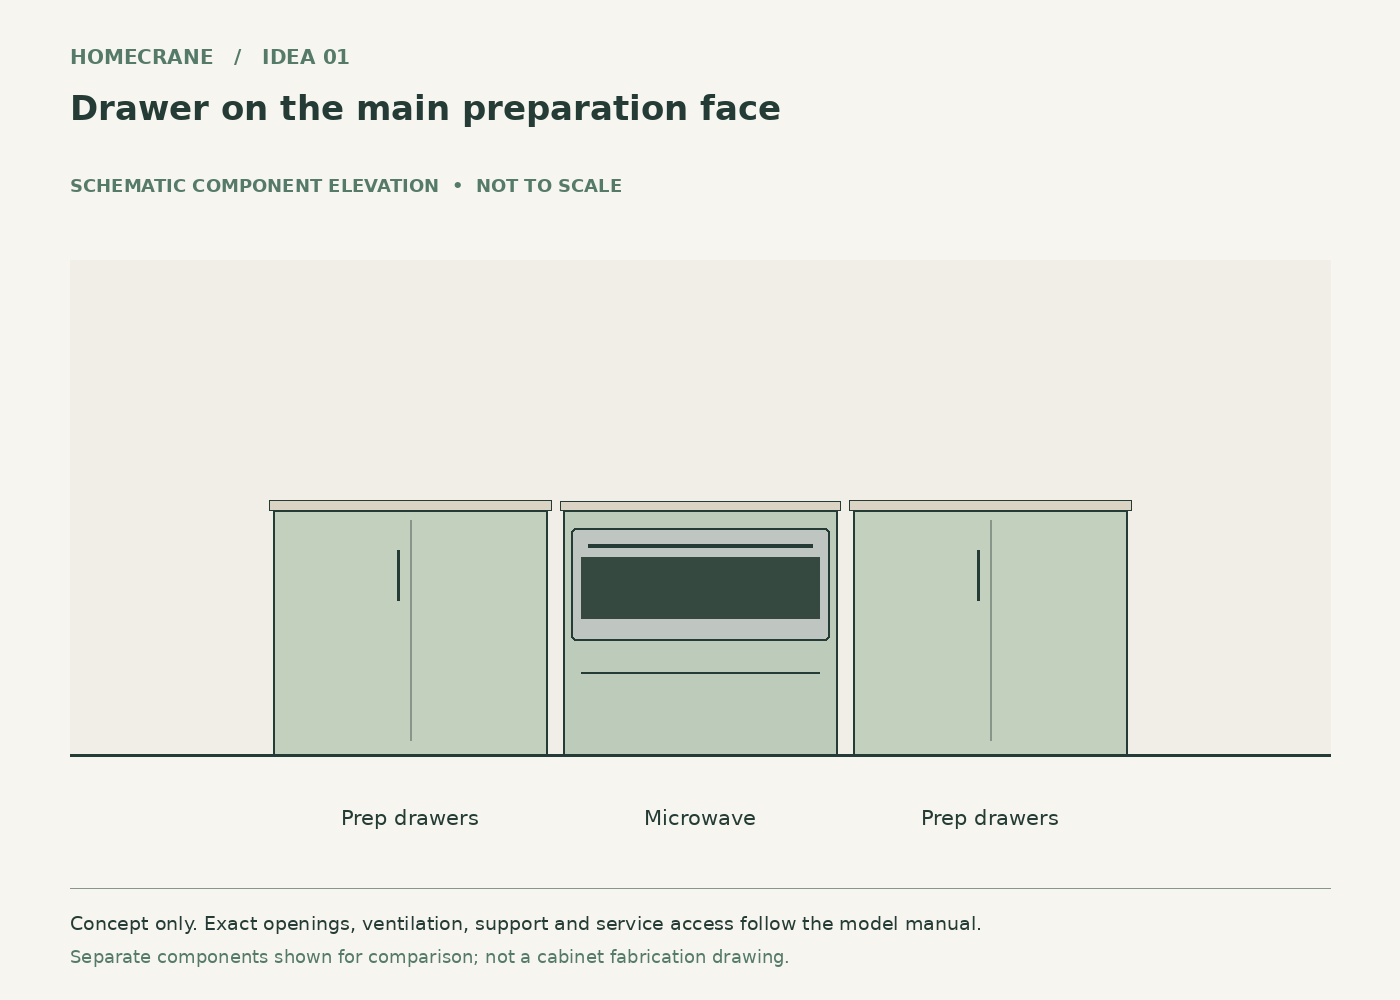
Concept 1: Drawer on the main preparation face. Original schematic, not to scale; see the accompanying design checks.
Put the microwave in the island face used for food preparation, with open countertop above.
The person reheating food stays within the working side of the kitchen.
Plan for this: An open drawer must not collide with the range, dishwasher or cabinet doors across the aisle.
2. Drawer toward the refrigerator end
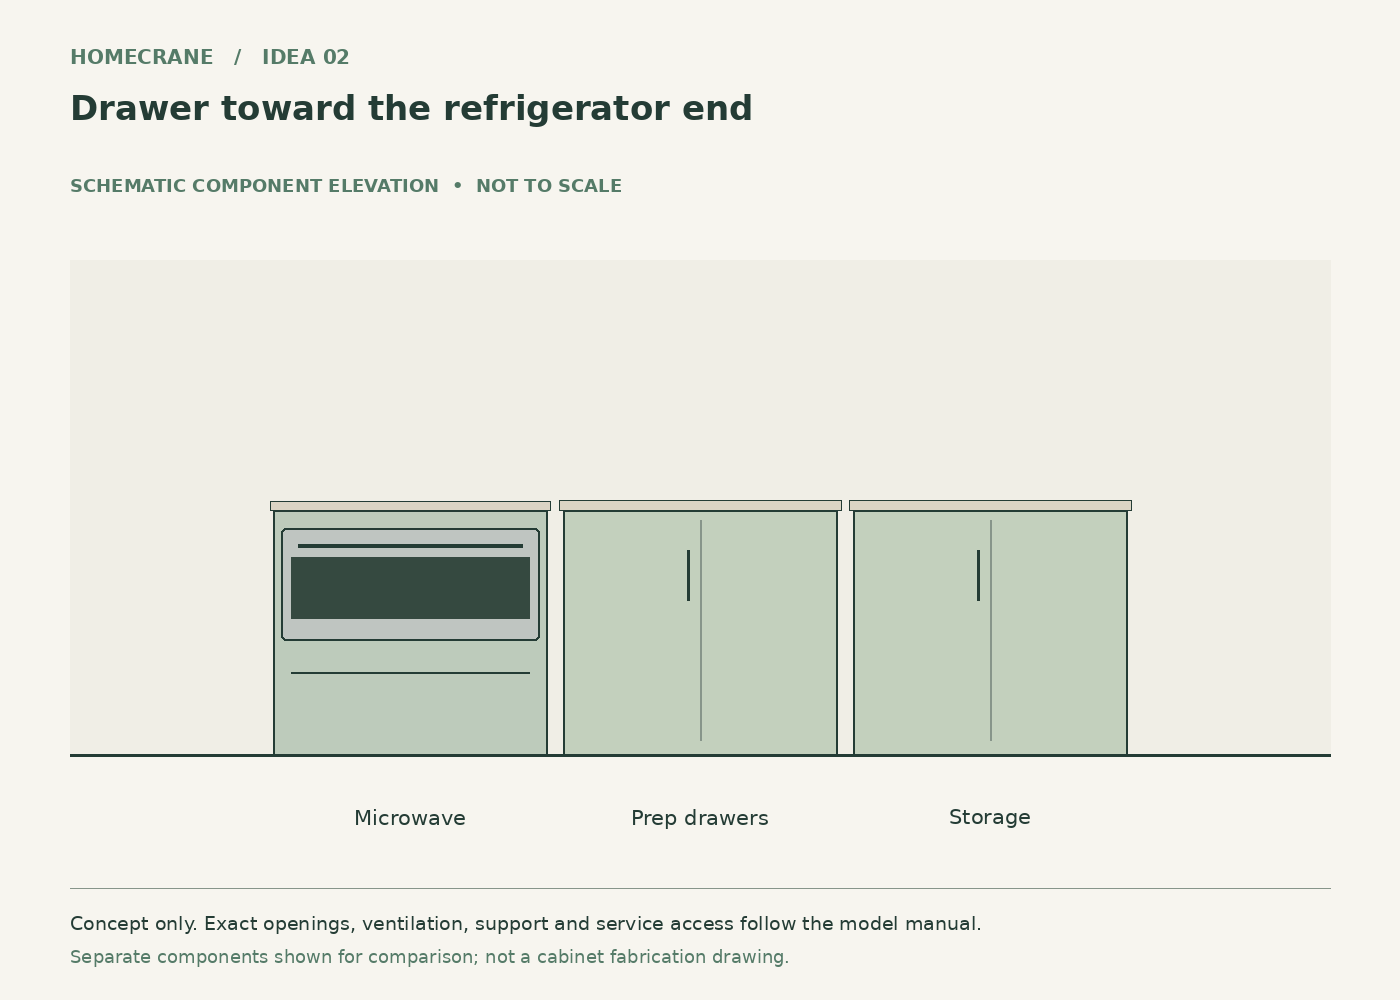
Concept 2: Drawer toward the refrigerator end. Original schematic, not to scale; see the accompanying design checks.
Locate the appliance toward the island end nearest the refrigerator.
Cold ingredients can move to the microwave and then to a nearby landing area in a short sequence.
Plan for this: Check that refrigerator traffic does not converge on the open drawer.
3. Drawer near the dining end
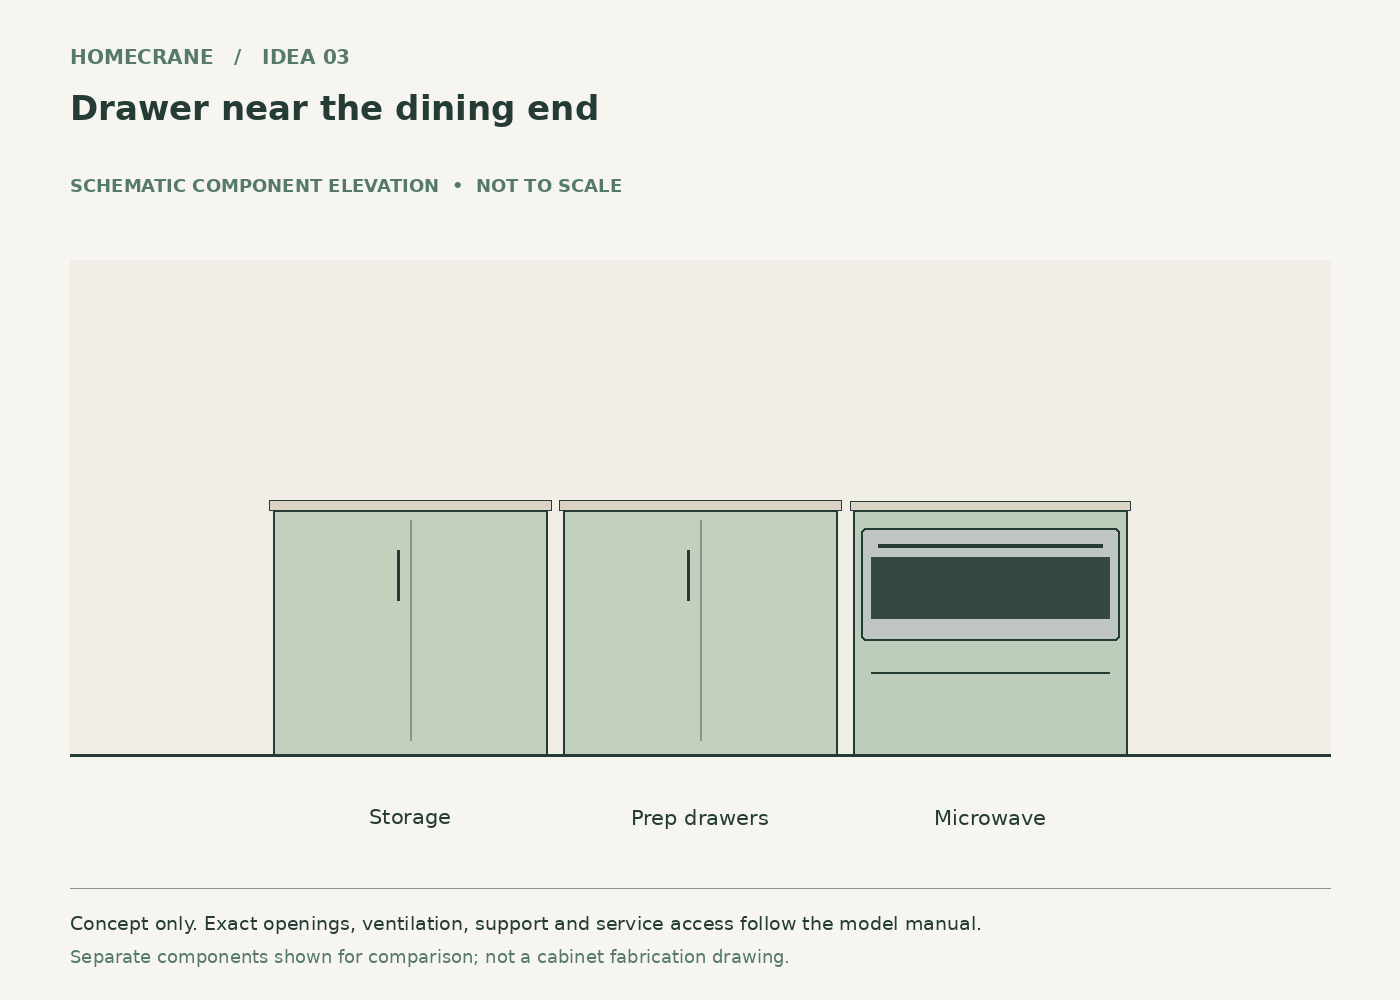
Concept 3: Drawer near the dining end. Original schematic, not to scale; see the accompanying design checks.
Place the microwave toward the dining side while keeping its opening on a clear working face.
Reheating can happen without crossing the primary cooking position.
Plan for this: Do not let the drawer project into the route between dining chairs and the kitchen.
4. Drawer with a dedicated landing zone above
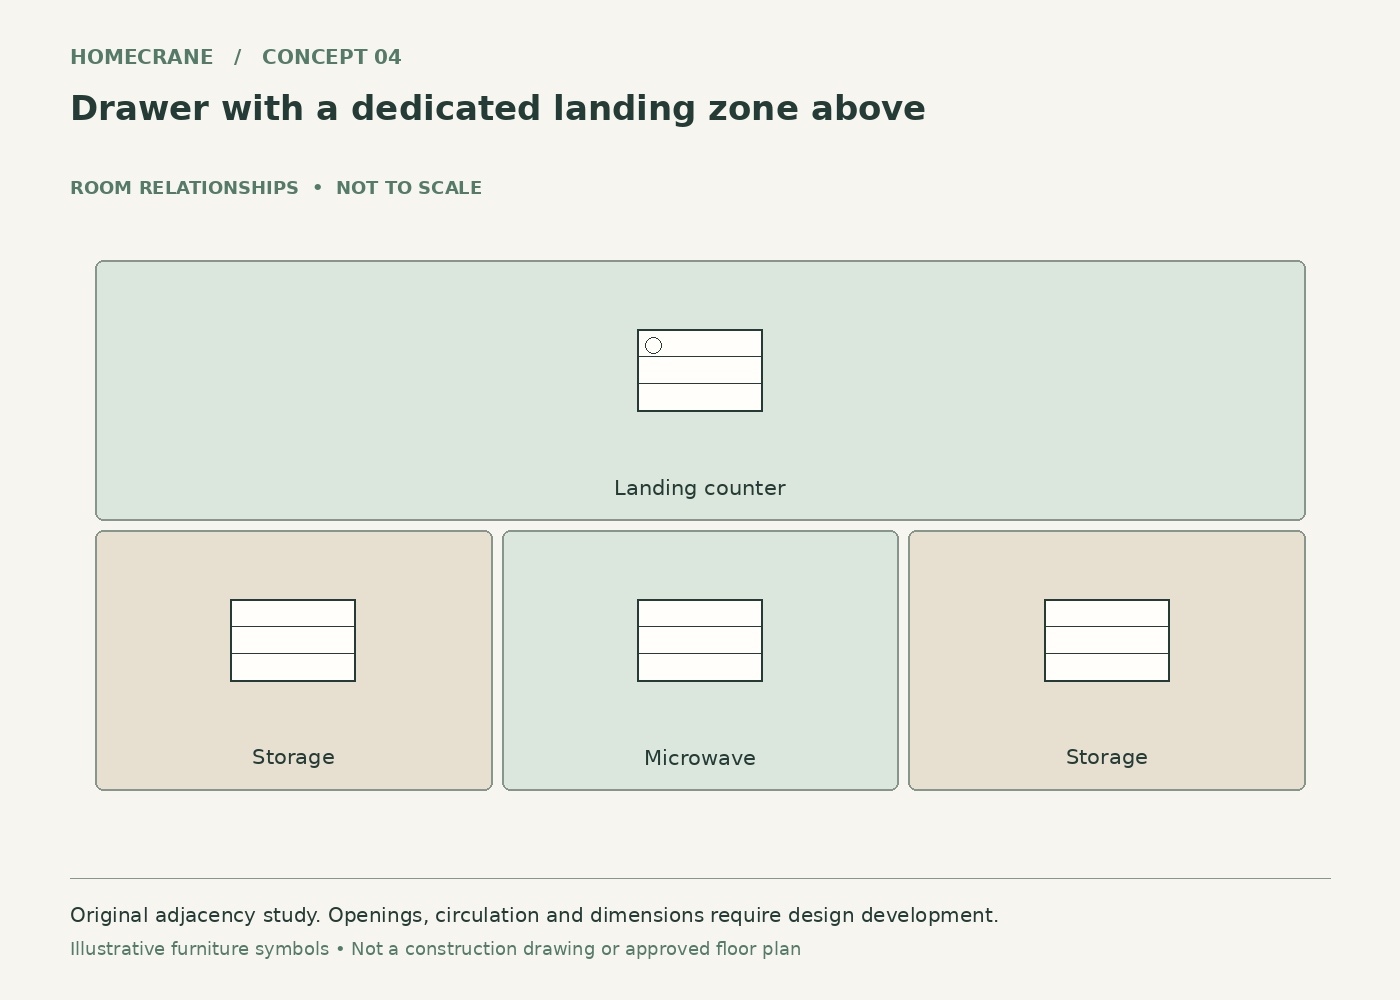
Concept 4: Drawer with a dedicated landing zone above. Original schematic, not to scale; see the accompanying design checks.
Reserve the countertop directly above and beside the microwave for handling dishes.
A clear landing area makes the appliance easier to use than a location beneath permanent decor.
Plan for this: The landing zone should remain usable in daily life. Avoid filling it with a coffee machine or knife block.
5. Drawer paired with dish storage
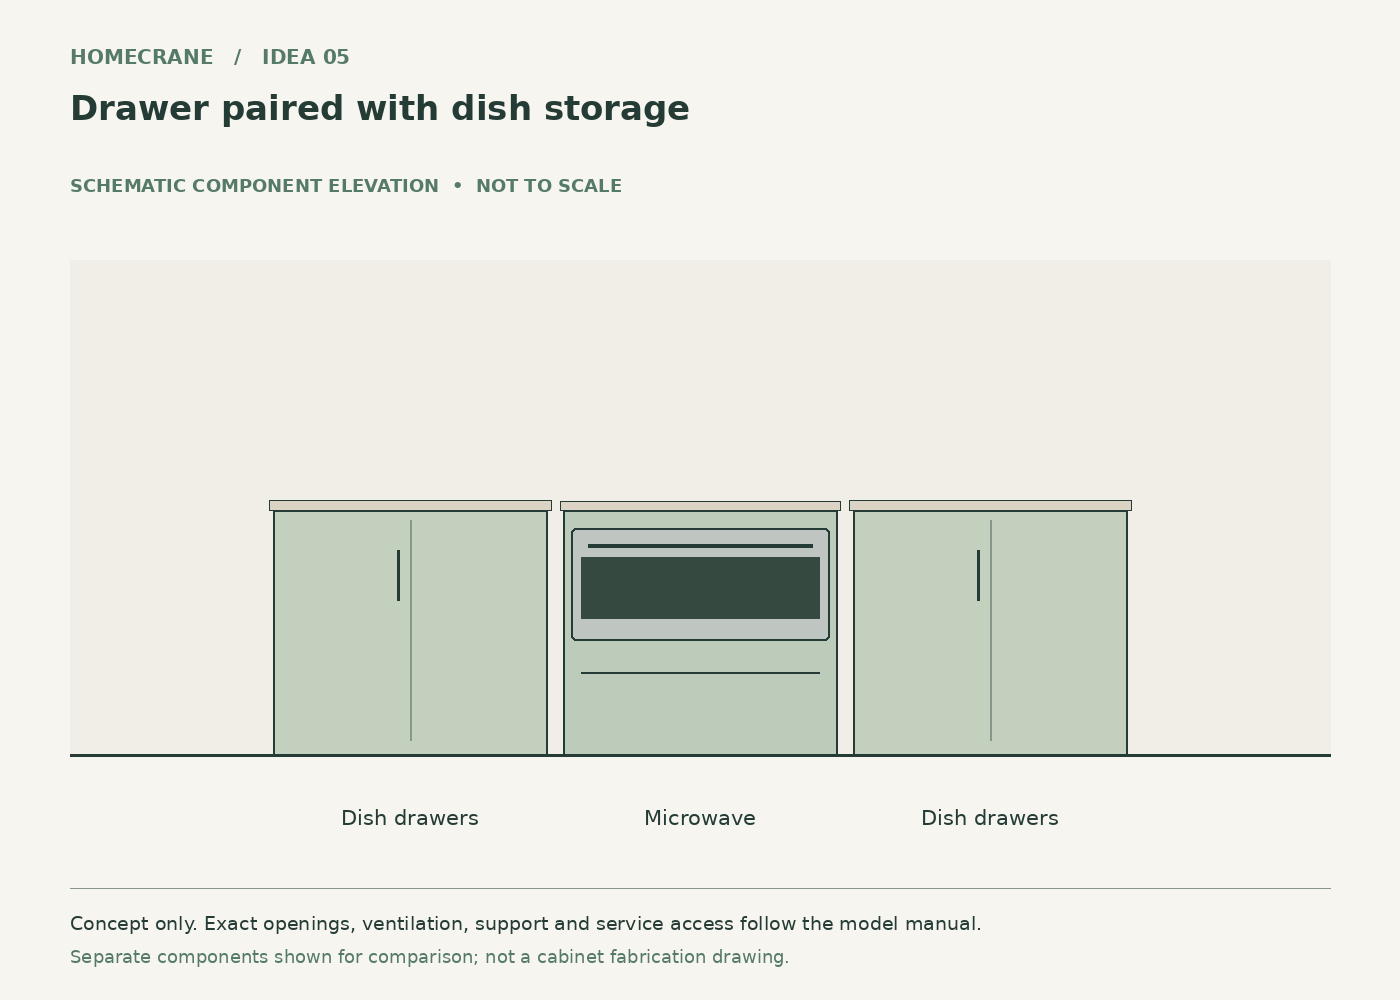
Concept 5: Drawer paired with dish storage. Original schematic, not to scale; see the accompanying design checks.
Put everyday bowls and microwave-safe containers in adjacent drawers.
The items used for reheating are close to the appliance.
Plan for this: Confirm that the adjacent drawer fronts can open independently and that heavy dish storage has appropriate hardware.
6. Drawer in a no-seating work island
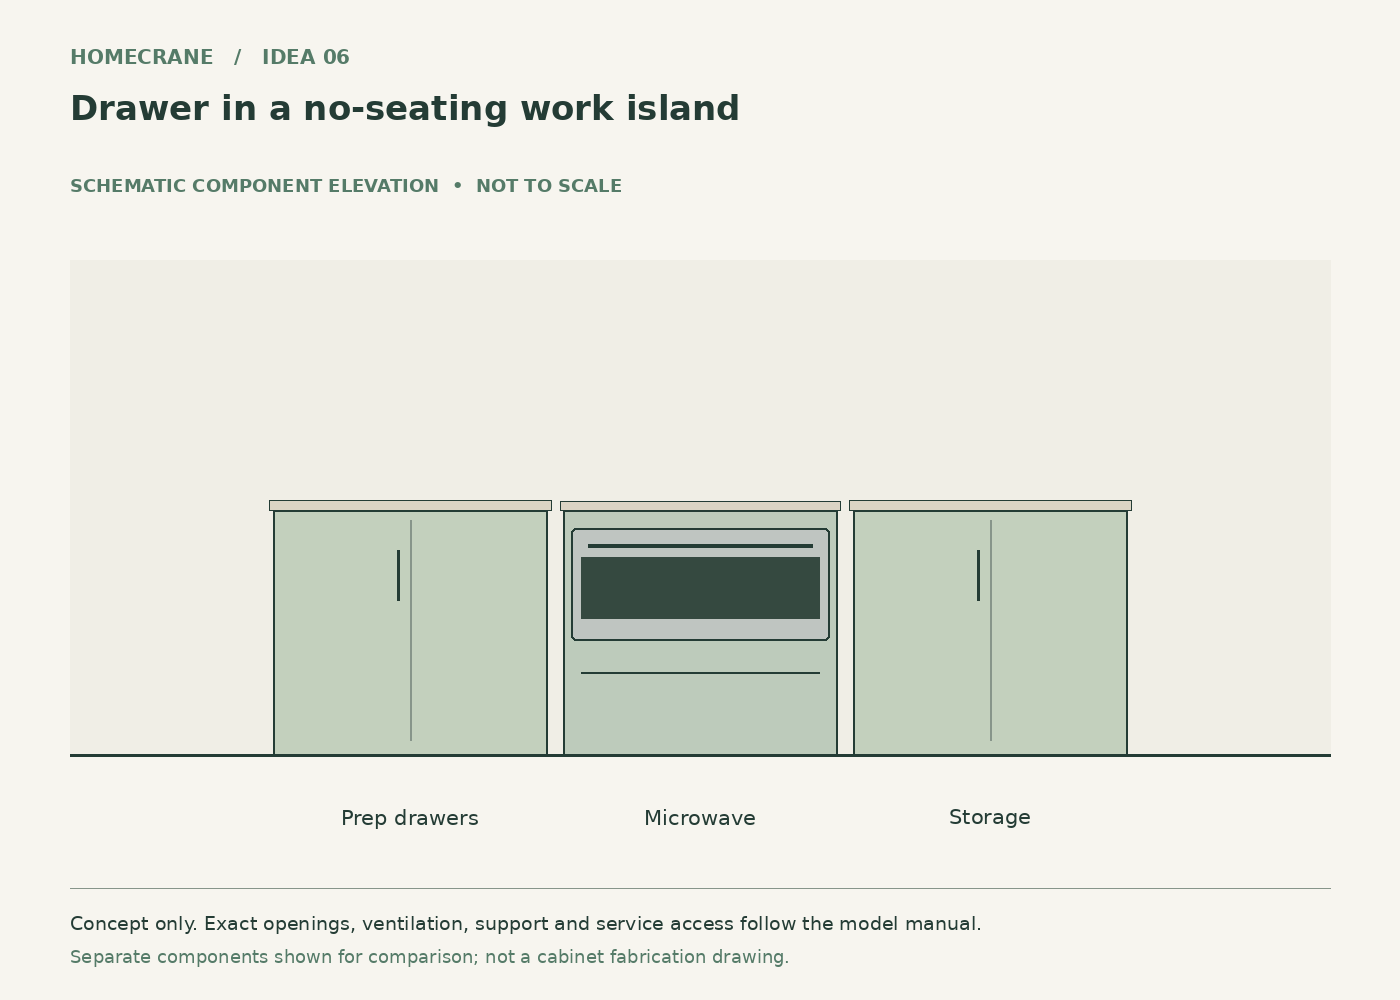
Concept 6: Drawer in a no-seating work island. Original schematic, not to scale; see the accompanying design checks.
Use the appliance in an island dedicated to preparation and storage, with dining elsewhere.
Removing stools from the island makes it easier to protect the appliance's operating area.
Plan for this: A work island still needs adequate circulation. Do not enlarge it until the surrounding aisles become uncomfortable.
7. Drawer on an island end with a clear approach
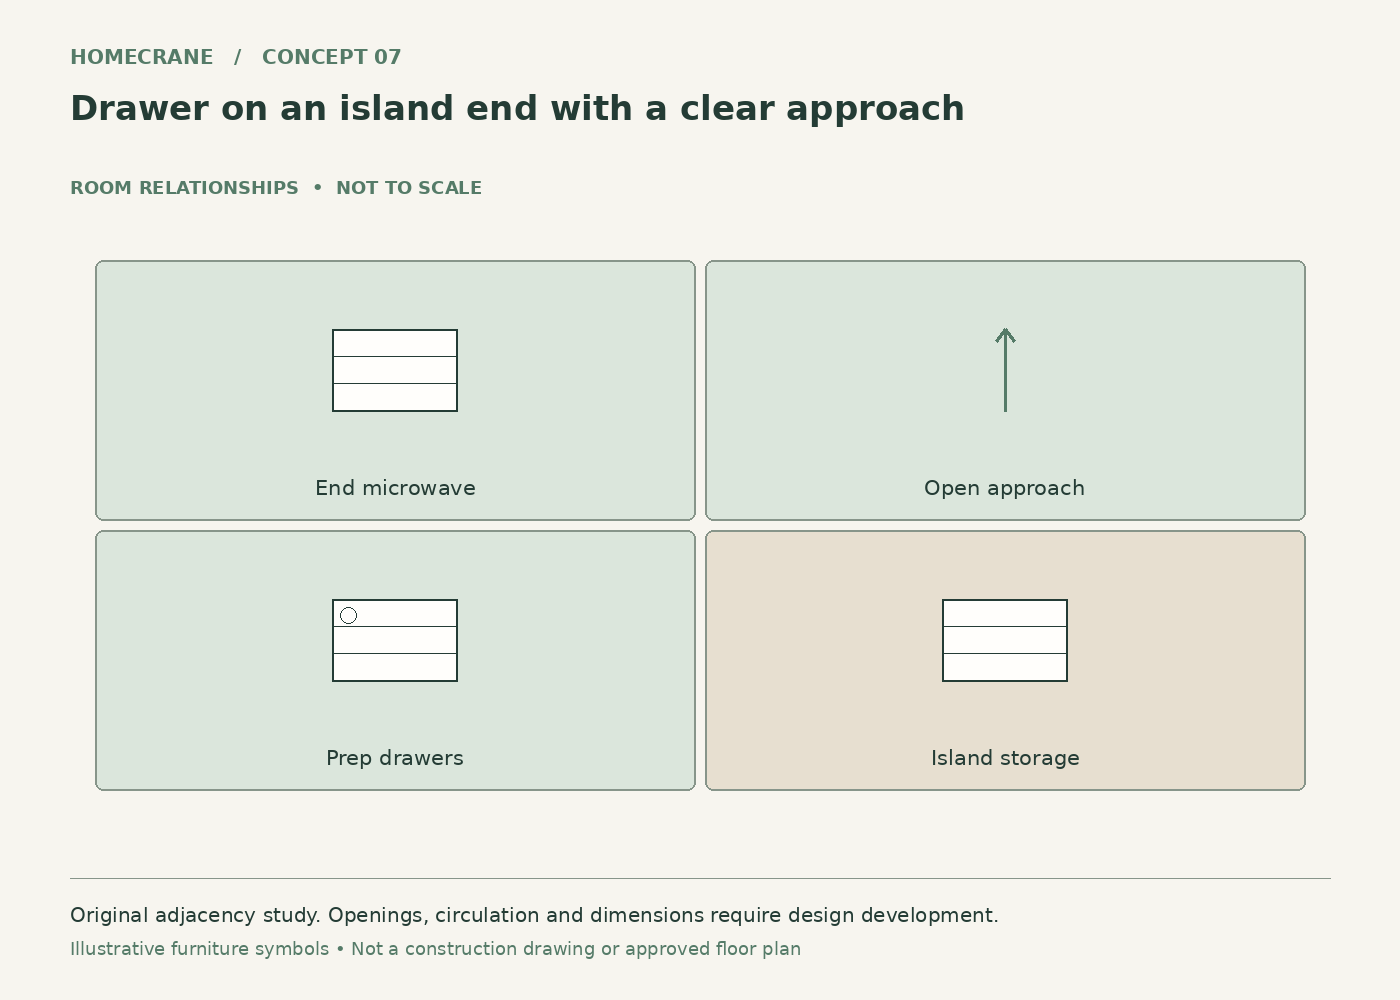
Concept 7: Drawer on an island end with a clear approach. Original schematic, not to scale; see the accompanying design checks.
Place the appliance on the short end only when the room provides a generous unobstructed approach.
The main long faces can remain available for prep drawers and seating.
Plan for this: This position can expose the open drawer to cross-traffic. Test the route from every nearby doorway.
8. Drawer away from the sink cabinet
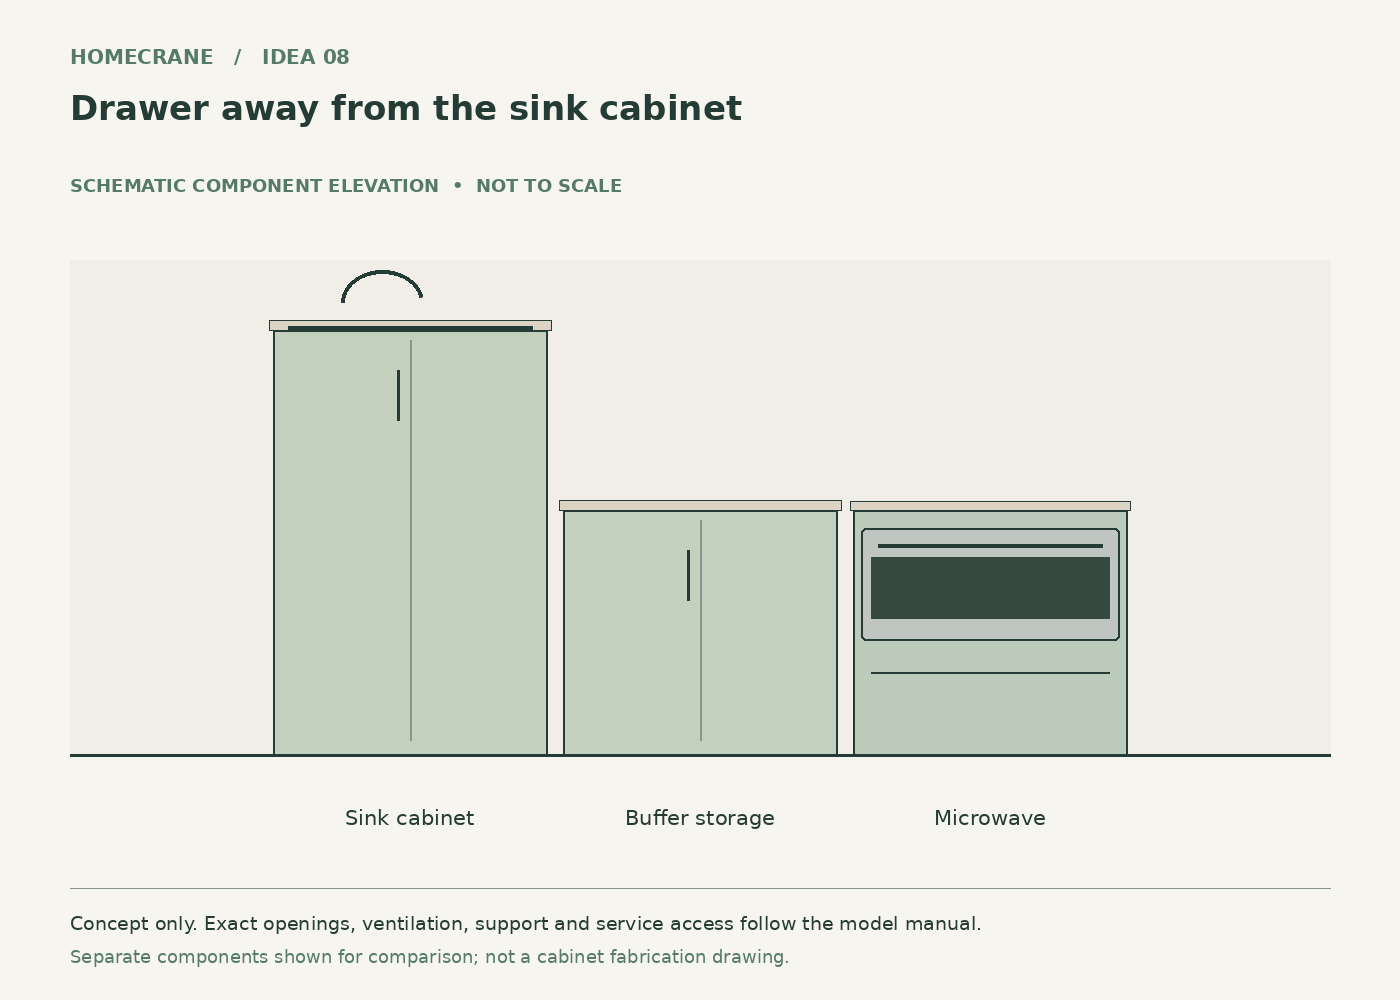
Concept 8: Drawer away from the sink cabinet. Original schematic, not to scale; see the accompanying design checks.
Put the microwave in a dry island section, separated from the sink's plumbing cabinet.
The appliance and plumbing have distinct installation spaces.
Plan for this: Separation by appearance is not enough. Coordinate electrical requirements, leaks, cabinet support and appliance access.
9. Drawer beside a baking station
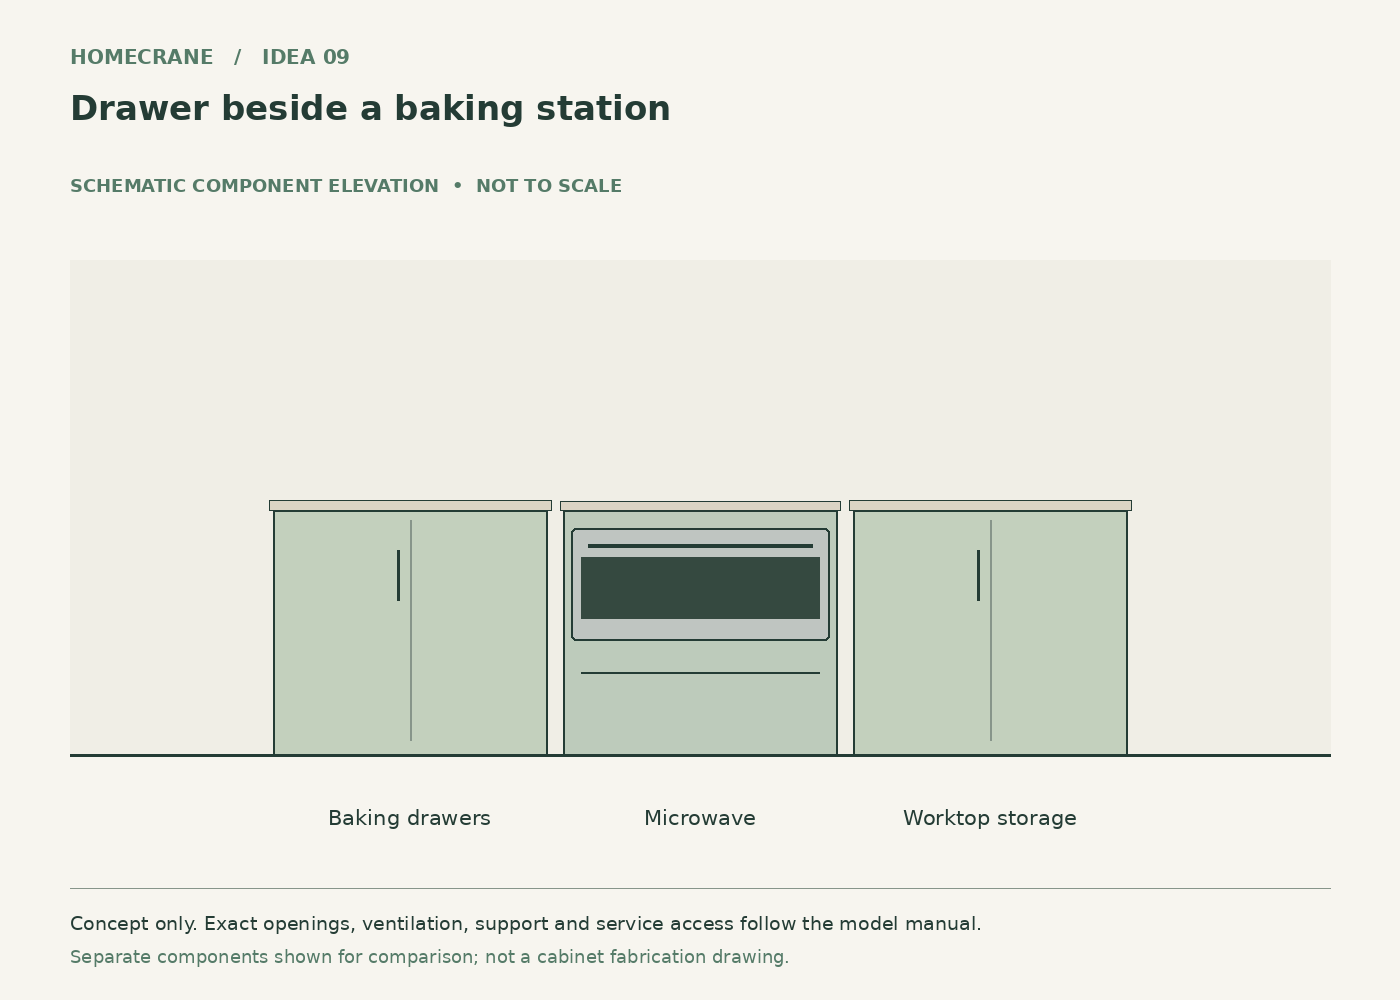
Concept 9: Drawer beside a baking station. Original schematic, not to scale; see the accompanying design checks.
Locate mixing-bowl storage and an uncluttered counter beside the microwave.
Softening ingredients and warming small quantities can fit into the baking workflow.
Plan for this: Keep the countertop usable for hot containers rather than covering the whole area with a mixer.
10. Drawer in a compact two-function island
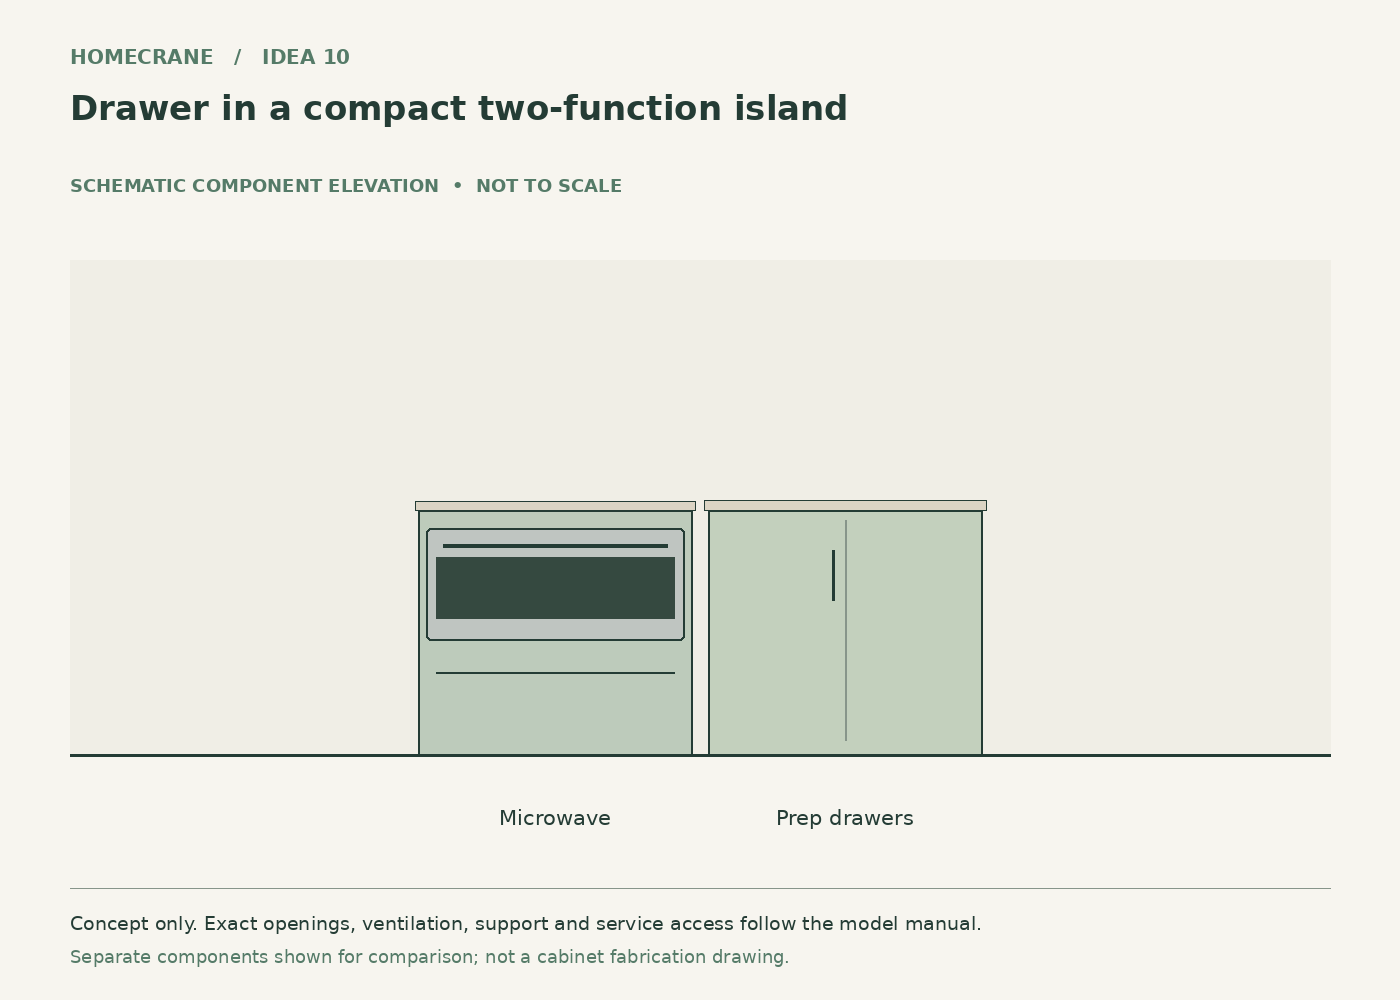
Concept 10: Drawer in a compact two-function island. Original schematic, not to scale; see the accompanying design checks.
Combine microwave storage with a modest preparation surface and omit extra functions that do not fit.
A small island stays useful without trying to hold a sink, cooktop, seating and appliance simultaneously.
Plan for this: If the required opening and circulation cannot fit, choose a different location rather than shrinking required clearances.
11. Drawer offset from island seating
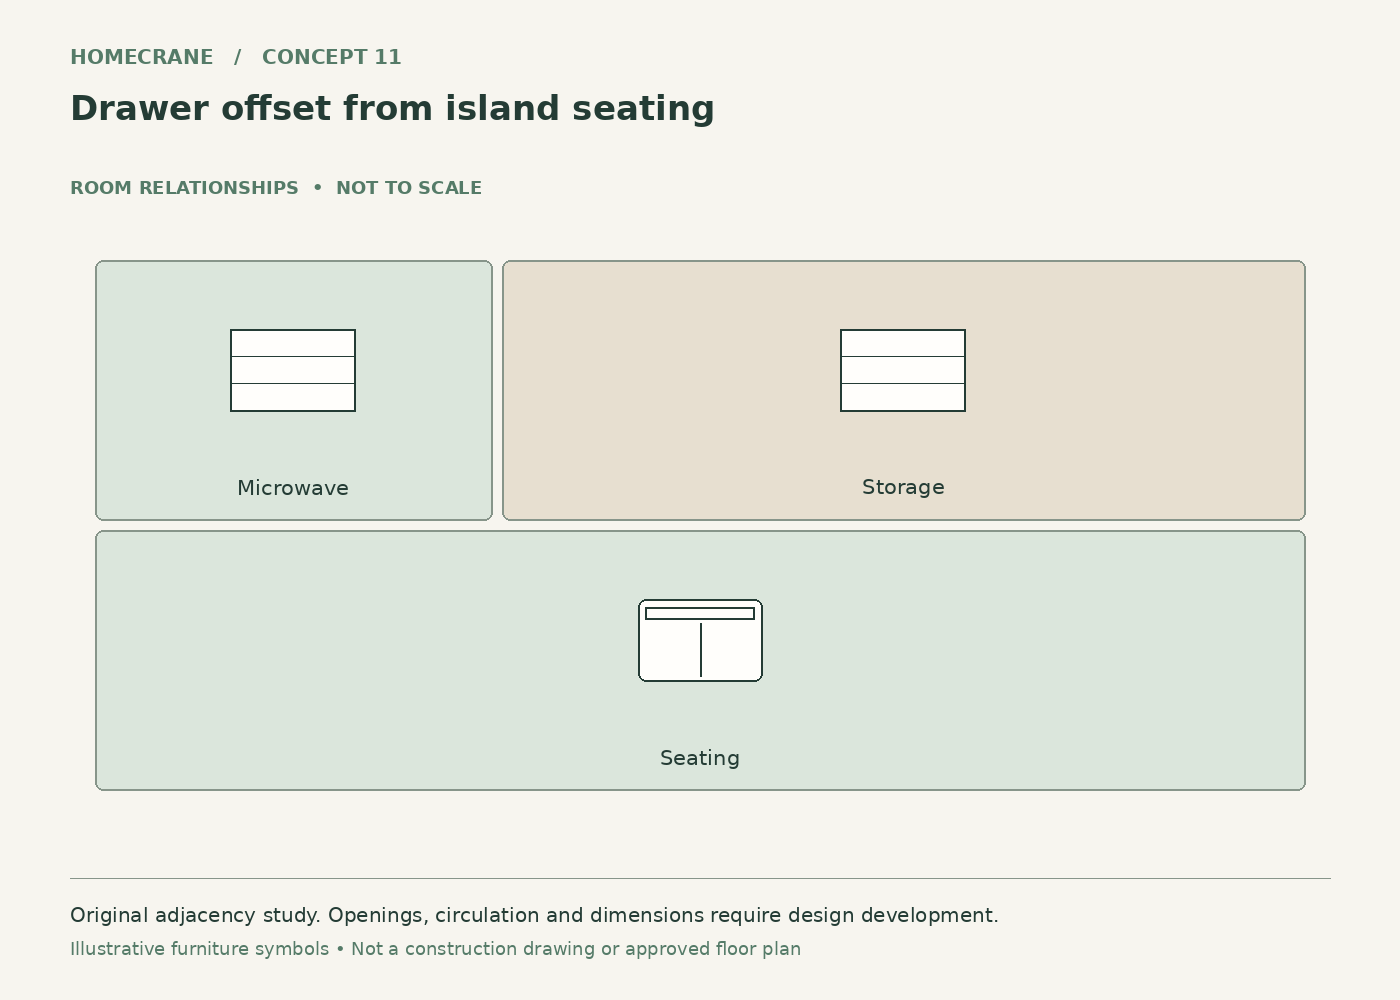
Concept 11: Drawer offset from island seating. Original schematic, not to scale; see the accompanying design checks.
Keep stools on the opposite long side and shift the microwave away from the busiest seating approach.
The kitchen can offer seating while giving the appliance its own working position.
Plan for this: A countertop overhang does not guarantee isolation. Check chair movement and traffic around both island ends.
12. Drawer in a secondary serving island
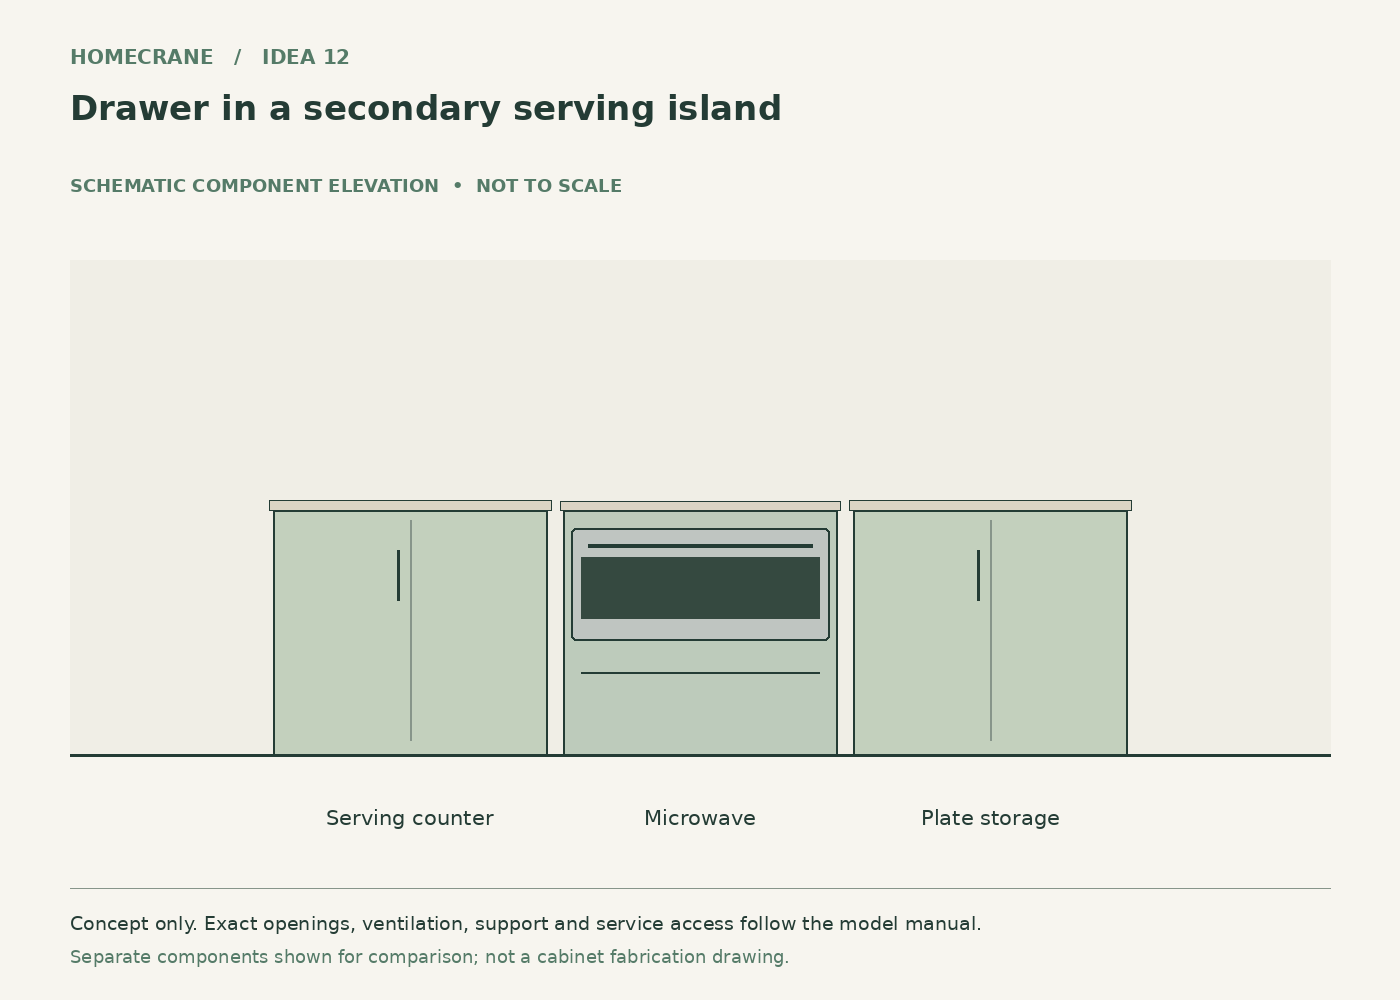
Concept 12: Drawer in a secondary serving island. Original schematic, not to scale; see the accompanying design checks.
Use the microwave in an island primarily intended for serving and reheating rather than raw-food preparation.
The main cooking area can remain focused on its own tasks.
Plan for this: The second island should solve a real traffic problem. Two large islands can make a room less convenient.
13. Drawer with a removable service strategy
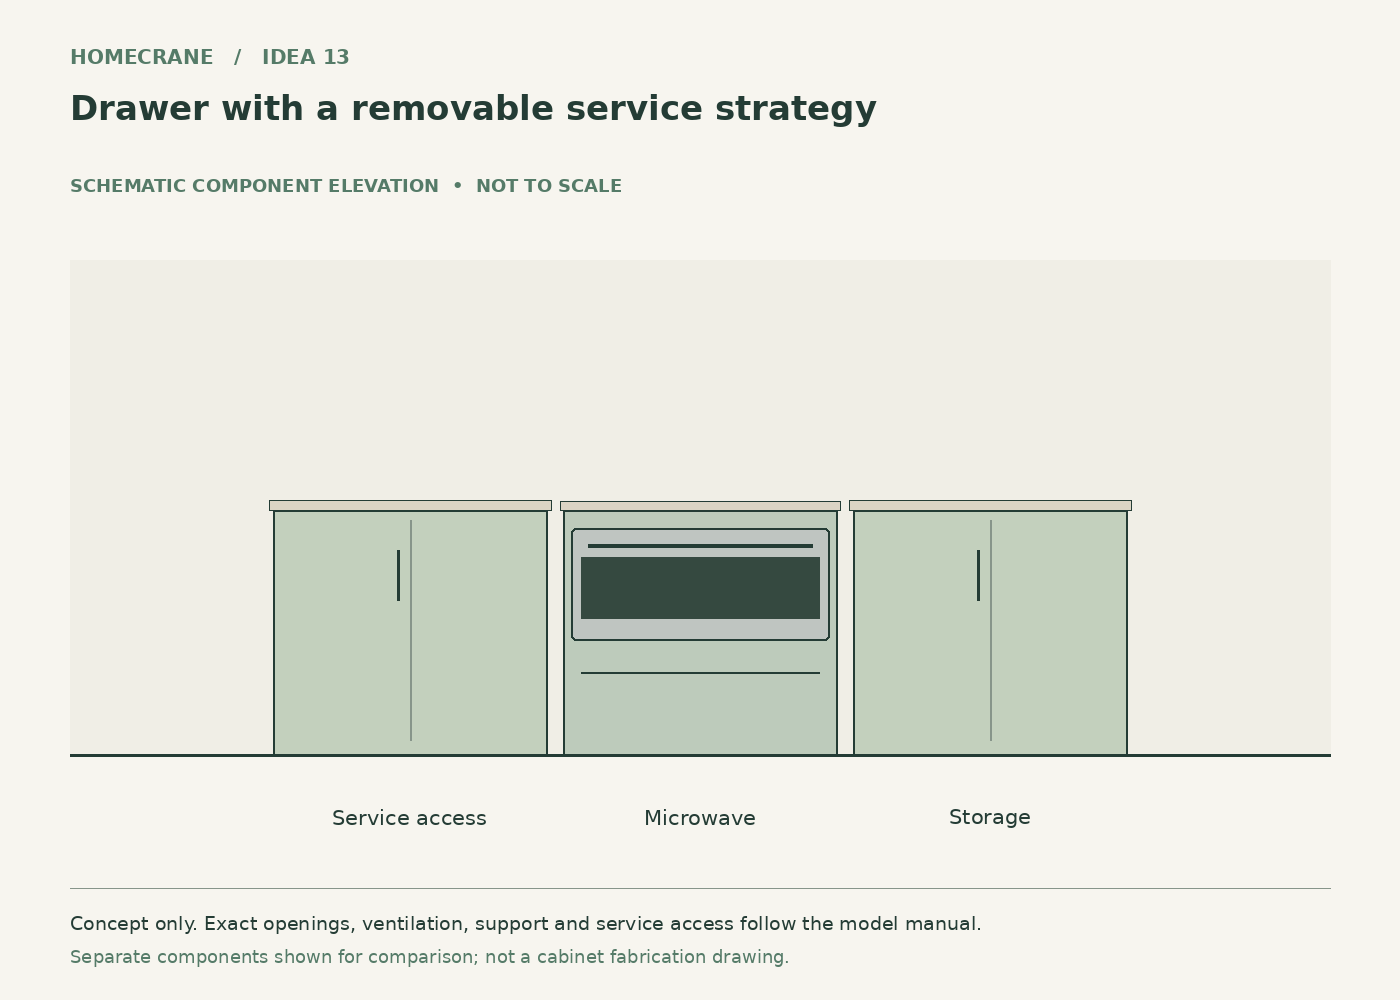
Concept 13: Drawer with a removable service strategy. Original schematic, not to scale; see the accompanying design checks.
Design adjacent finish pieces and access points so the appliance can be serviced according to its instructions.
The island can retain a polished appearance while allowing future repair.
Plan for this: Do not improvise removable structural supports or anti-tip components. Follow the manufacturer-approved removal sequence.
14. Drawer integrated into a furniture-style island
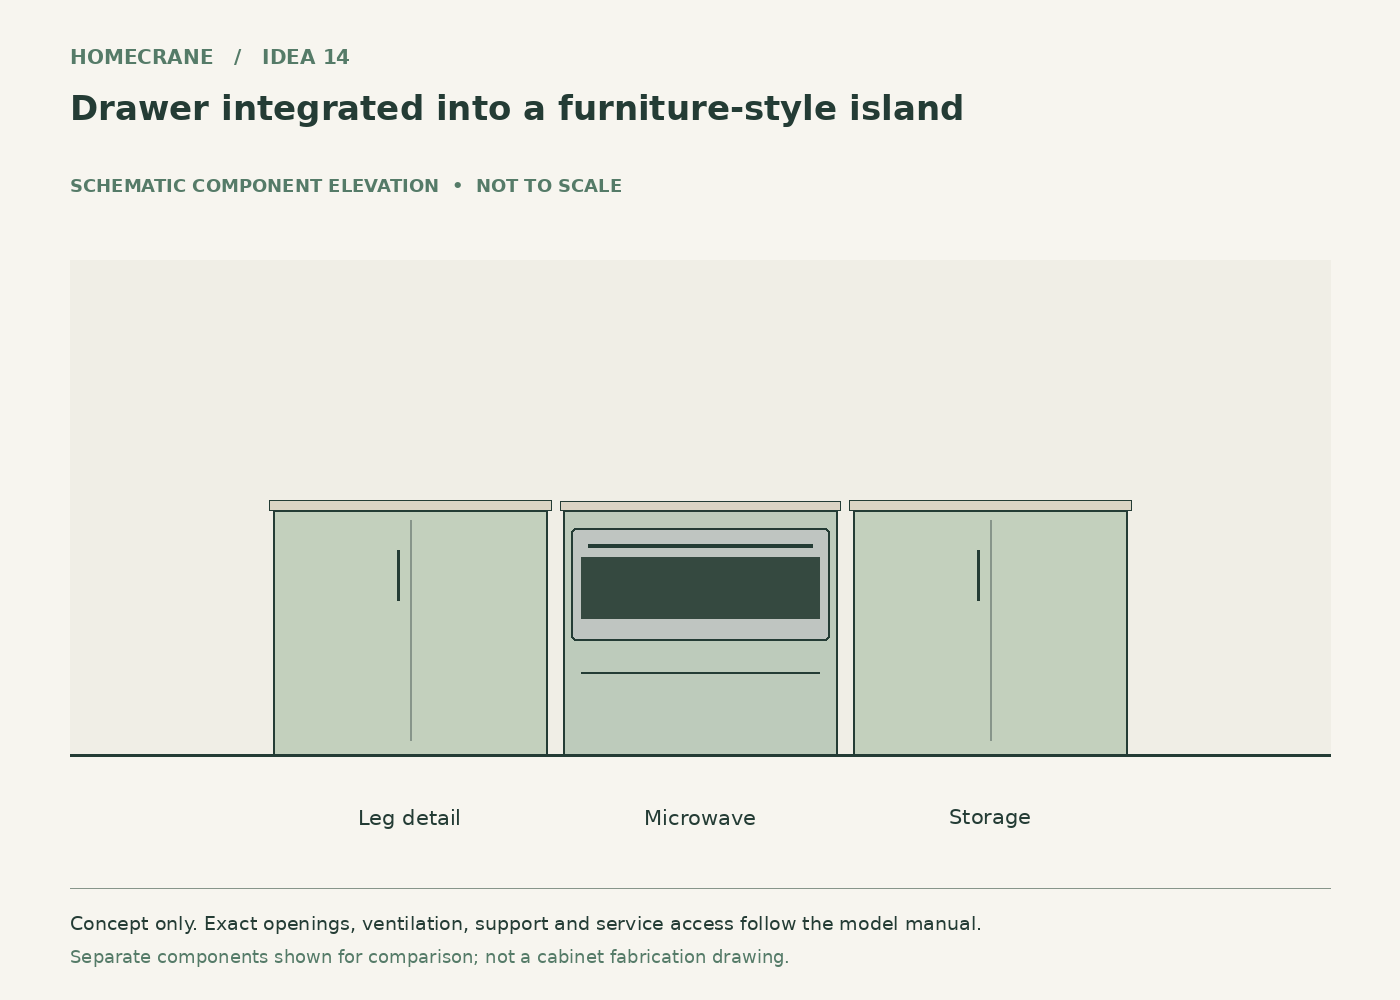
Concept 14: Drawer integrated into a furniture-style island. Original schematic, not to scale; see the accompanying design checks.
Use a restrained furniture-inspired frame around the cabinet run while keeping the microwave opening properly detailed.
The island can suit a softer interior style without leaving the appliance on the counter.
Plan for this: Decorative rails, feet and moldings must not obstruct required ventilation, operation or support.
Compare your shortlist
| Feature | Main benefit | Check first |
|---|---|---|
| 1. Drawer on the main preparation face | The person reheating food stays within the working side of the kitchen. | An open drawer must not collide with the range, dishwasher or cabinet doors across the aisle. |
| 8. Drawer away from the sink cabinet | The appliance and plumbing have distinct installation spaces. | Separation by appearance is not enough. Coordinate electrical requirements, leaks, cabinet support and appliance access. |
| 14. Drawer integrated into a furniture-style island | The island can suit a softer interior style without leaving the appliance on the counter. | Decorative rails, feet and moldings must not obstruct required ventilation, operation or support. |
Common questions
Can a countertop microwave go into any island cabinet?
No. Choose a model and installation method explicitly permitted by its manufacturer. Do not conceal vents or improvise a built-in enclosure.
Where should hot dishes go?
Reserve a stable, unobstructed counter surface near the appliance and test the lifting movement. The best-looking position is not useful if handling hot food is awkward.
Turn the idea into a practical brief
Choose one primary concept, record the dimensions and constraints of your actual space, and keep a short list of the details you want to borrow from the others. A clear brief will be more useful than combining every attractive feature into a single crowded layout.
Sources and technical references
Sources
- Sharp: Microwave Installation in an Island. Checked October 12, 2026
- Sharp SMD2480CS: Installation Manual. Checked October 12, 2026
Share this article
Get new guides by email
Practical home articles and free resources. No spam, and you can unsubscribe at any time.
Keep reading

9 Easy DIY Washer and Dryer Decal Makeover Ideas
Explore DIY washer and dryer decal makeover ideas with practical design ideas, planning advice, safe installation notes, and helpful tips for your US home.
November 2026, 10 min read

13 Best Vintage Countertop Toaster Oven Aesthetic Looks
Explore vintage countertop toaster oven aesthetic with practical design ideas, planning advice, safe installation notes, and helpful tips for your US home.
November 2026, 10 min read
10 Clever Ways to Hide Small Kitchen Appliances on the Counter
Explore ways to hide small kitchen appliances on counter with practical design ideas, planning advice, safe installation notes, and helpful tips for your US home.
November 2026, 10 min read