15 Smart Small Laundry Room Stackable Washer Dryer Ideas
Explore 15 smart small laundry room stackable washer dryer ideas. Compare illustrated concepts, practical layout tips, and planning checks.
By Home Crane Editors. . 6 min read.
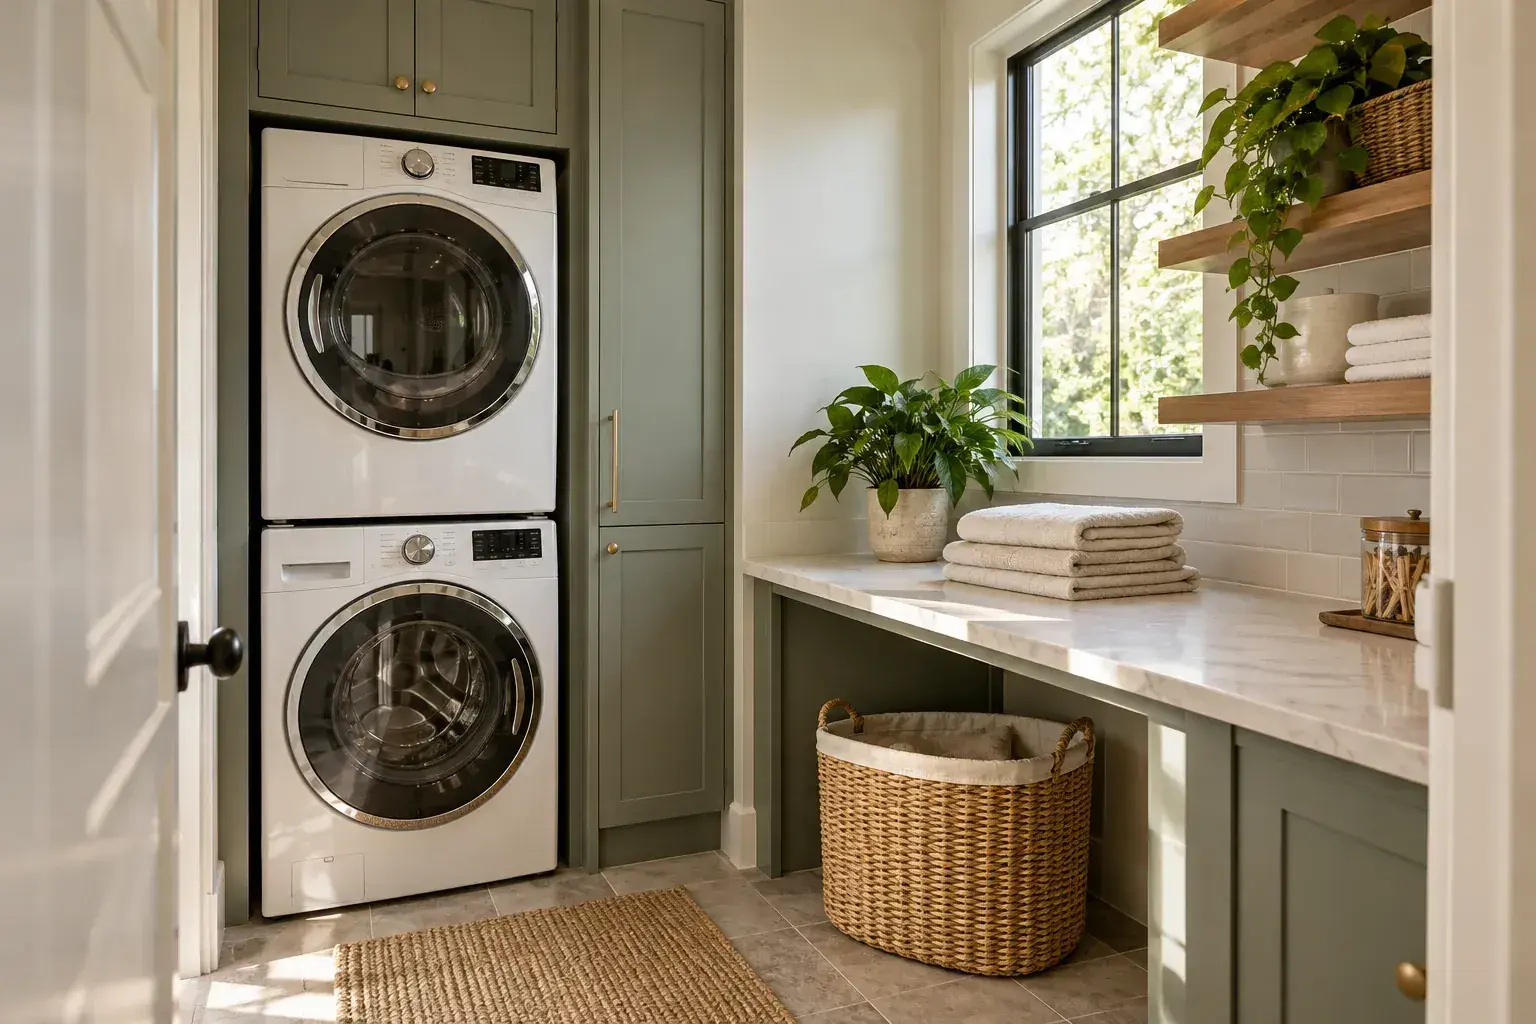
Stacking the washer and dryer can free a useful strip of floor, but the gain only matters if the room remains easy to operate and service. Think about where wet laundry moves, where a basket sits and how a technician will reach the connections. These 15 laundry-room arrangements pair a stacked appliance position with a practical second function.
AI-generated design concept for visual inspiration; not a photograph of a completed project.
Before choosing a layout
Start with a compatible washer, dryer and manufacturer-approved stacking system. LG's stacking instructions place the dryer above the washer and call for experienced personnel to perform the installation. [1] Use the exact US model manuals to determine cabinet openings, ventilation, ducting, utilities and service clearances. The illustrations are planning elevations, not cabinetry cut lists. An attractive enclosure must not trap heat or make the shutoffs inaccessible. A ventless dryer still has model-specific power, drainage, air and maintenance requirements. Keep liquid laundry products safely stored and follow their labels.
1. Stack beside a folding counter
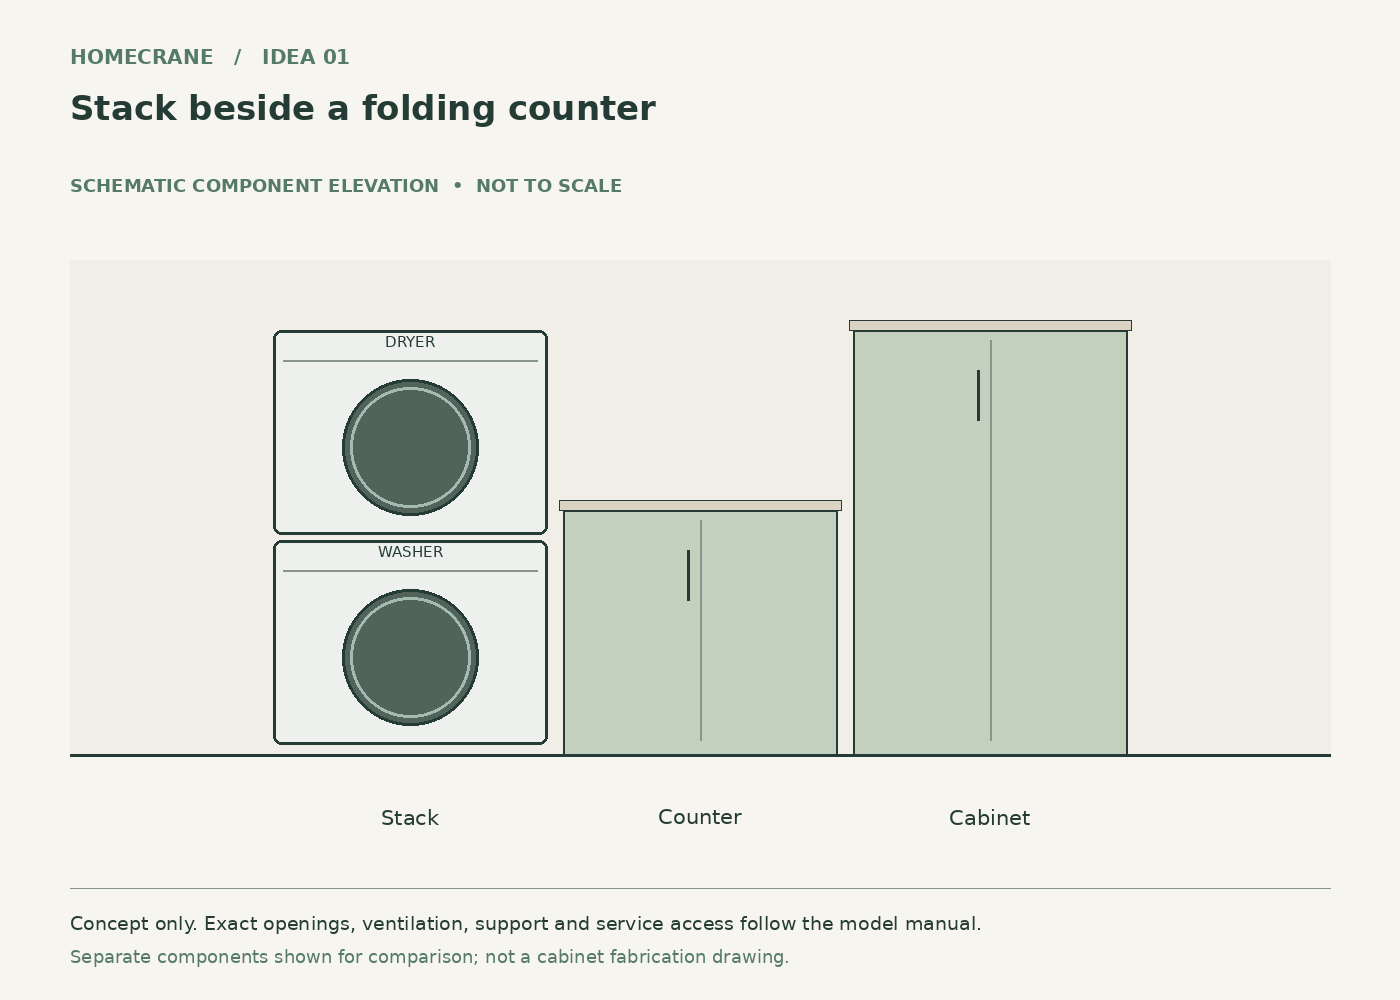
Concept 1: Stack beside a folding counter. Original schematic, not to scale; see the accompanying design checks.
Place the appliance stack at one end of the room and run a counter over storage beside it.
Clothes can move directly from the dryer to a clear folding surface.
Plan for this: Leave an appliance removal path. A countertop should not bridge across the stack in a way that traps either machine.
2. Add a slim supply cabinet
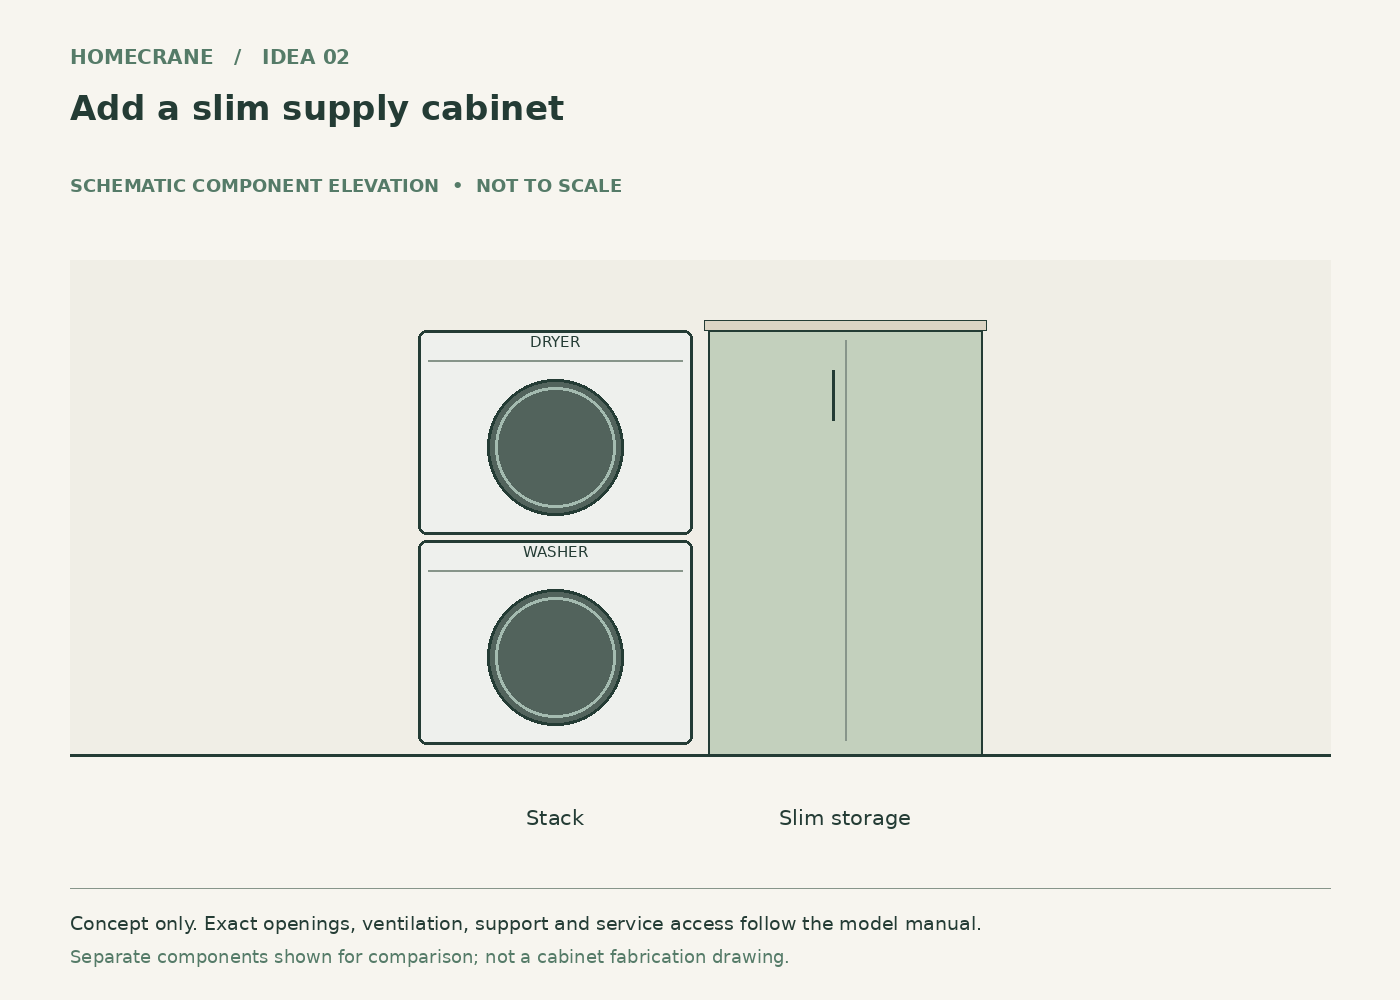
Concept 2: Add a slim supply cabinet. Original schematic, not to scale; see the accompanying design checks.
Use the remaining narrow strip beside the stack for a tall cabinet with adjustable shelves.
Detergent and cleaning supplies gain a dedicated home without occupying the folding surface.
Plan for this: Keep the cabinet outside the required machine clearances and store products according to their labels.
3. Use the opposite wall for shallow shelving
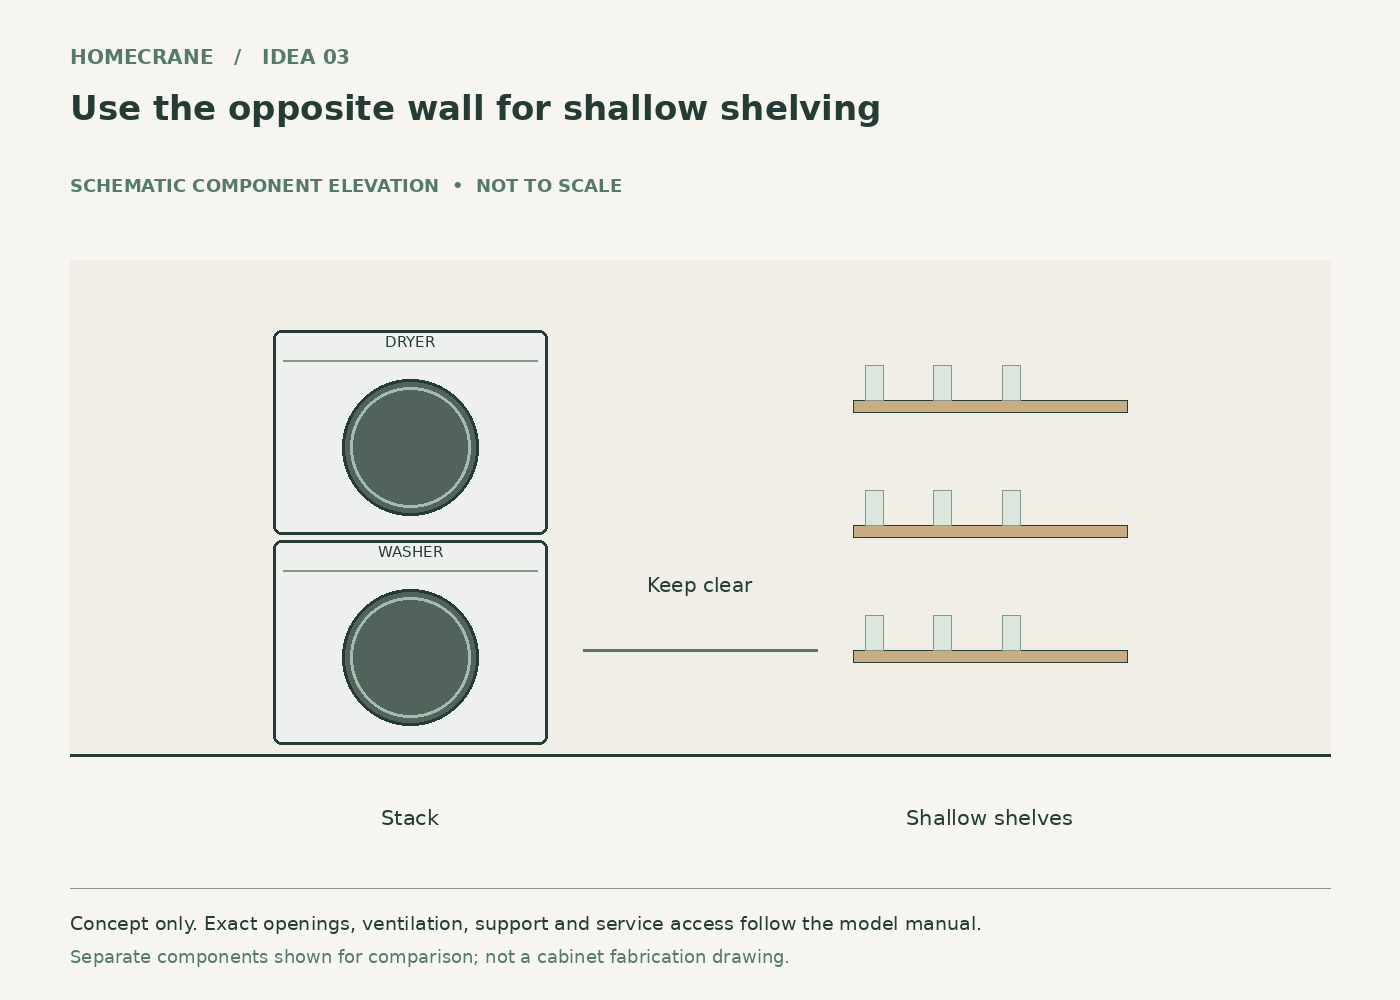
Concept 3: Use the opposite wall for shallow shelving. Original schematic, not to scale; see the accompanying design checks.
Leave the machines on one wall and install shallow shelves on the wall across the aisle.
A small room gains storage without adding another deep base cabinet.
Plan for this: Check the occupied aisle with appliance doors open. Shelves should not project into the loading position.
4. Build a basket parking bay
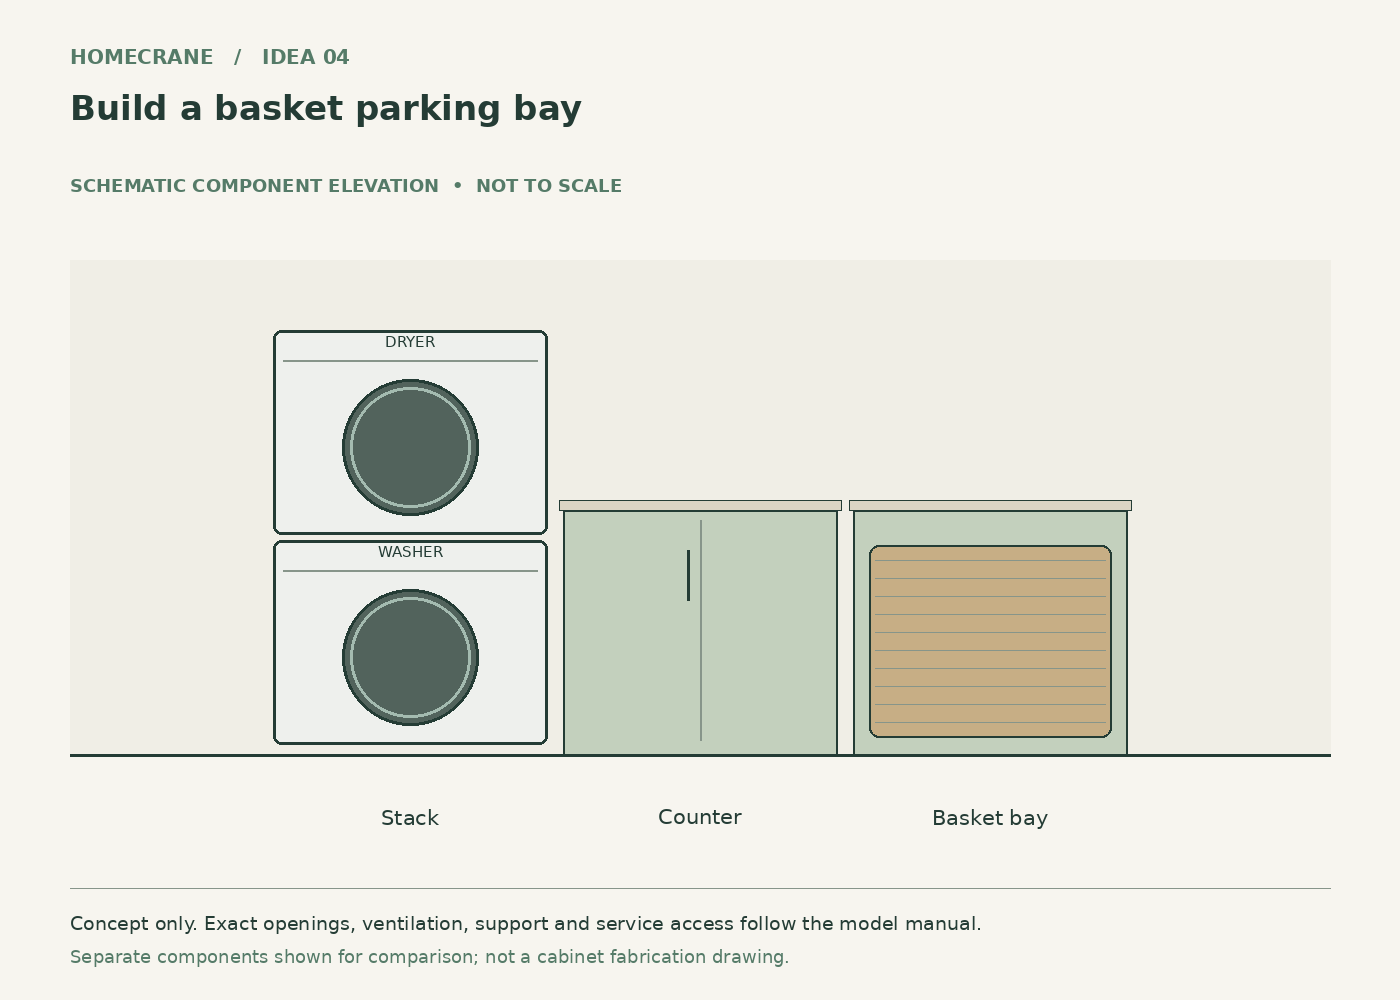
Concept 4: Build a basket parking bay. Original schematic, not to scale; see the accompanying design checks.
Reserve an open cubby under the adjacent counter for a removable laundry basket.
The basket stops becoming an obstacle in front of the washer.
Plan for this: Size the bay around the actual basket and provide a way to clean lint from behind it.
5. Place a utility sink alongside the stack
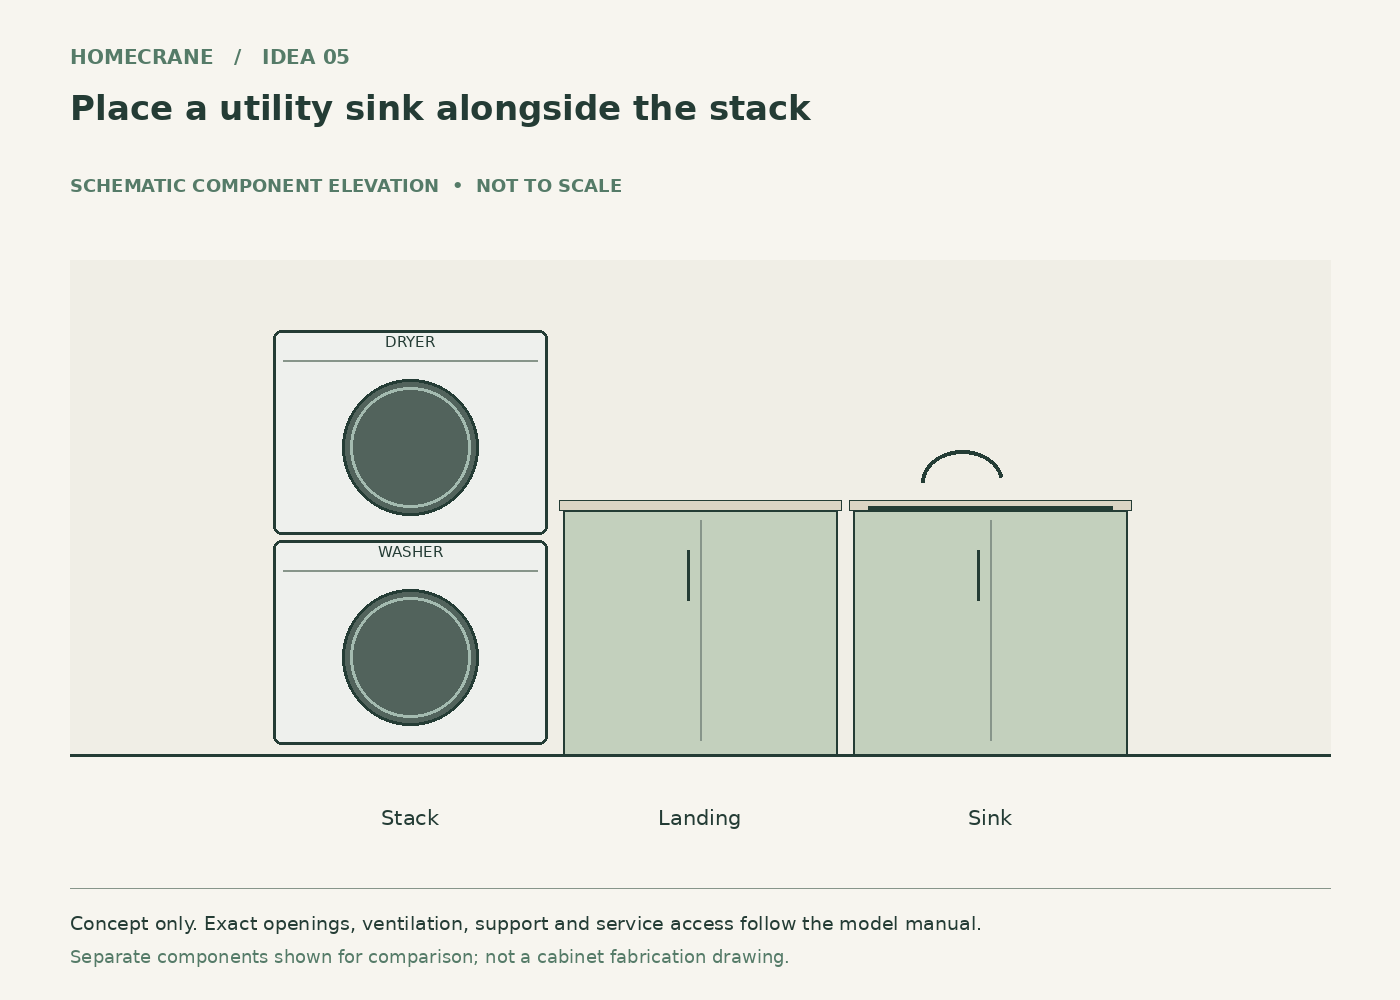
Concept 5: Place a utility sink alongside the stack. Original schematic, not to scale; see the accompanying design checks.
Put a small sink beside the machines, with a short counter between the basin and appliance if space permits.
Handwashing and stain treatment stay within the laundry zone.
Plan for this: The plumbing, splash protection and electrical arrangement need coordinated installation. A small sink should still accept the items you wash.
6. Use ventilated closet doors where required
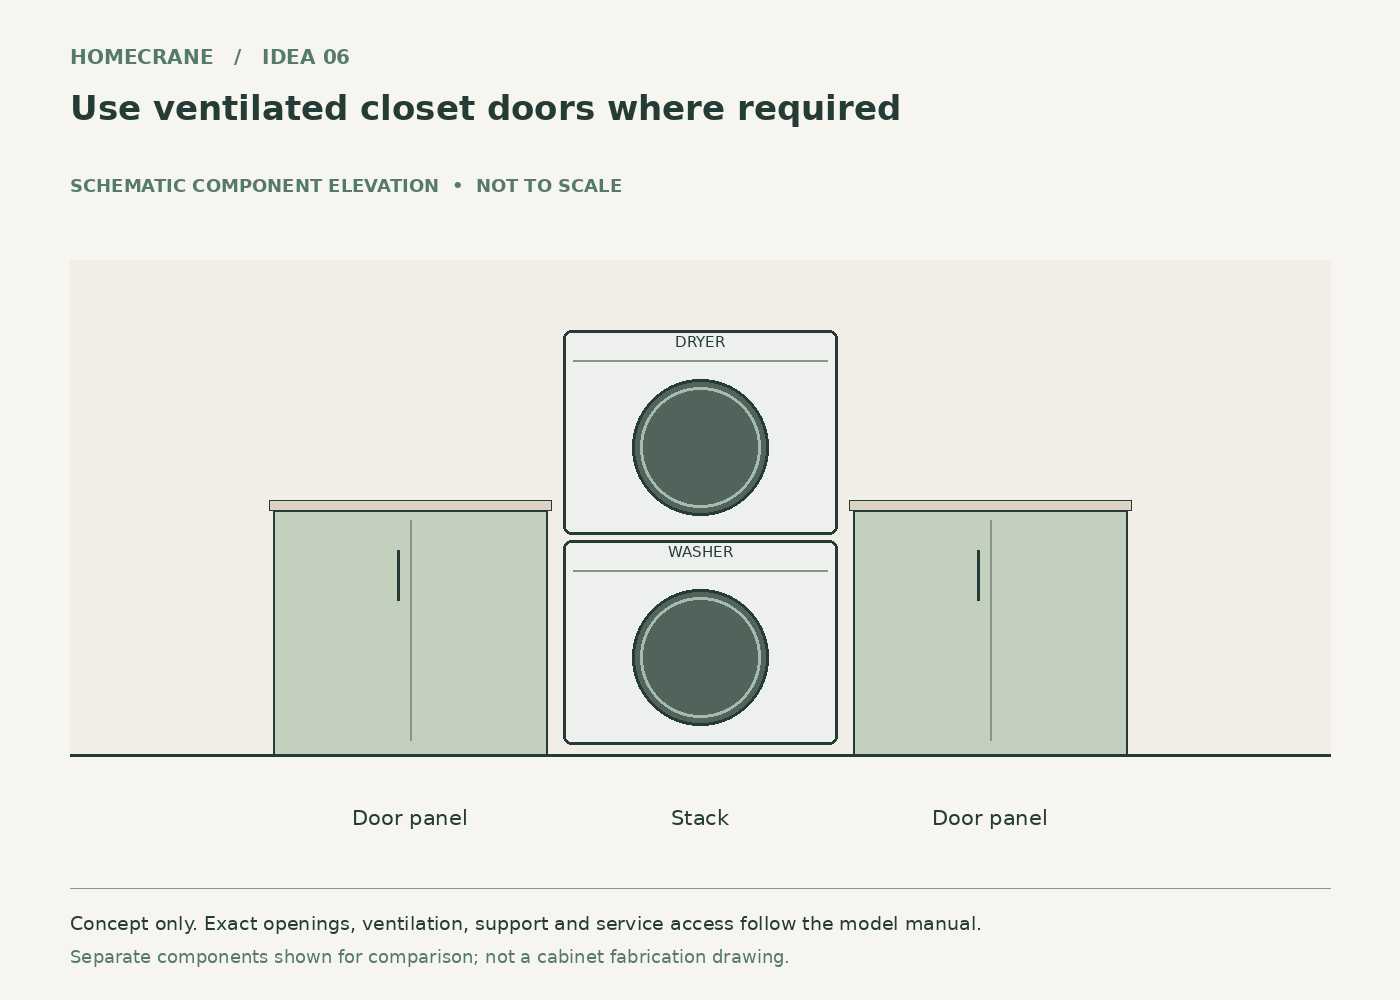
Concept 6: Use ventilated closet doors where required. Original schematic, not to scale; see the accompanying design checks.
Hide the stack behind a door system selected around the appliances' ventilation instructions.
The laundry can blend into a hall or multipurpose room while remaining accessible.
Plan for this: Do not assume decorative louvers provide the required free area. Confirm opening sizes and service access from the manuals.
7. Create a rail for air-drying
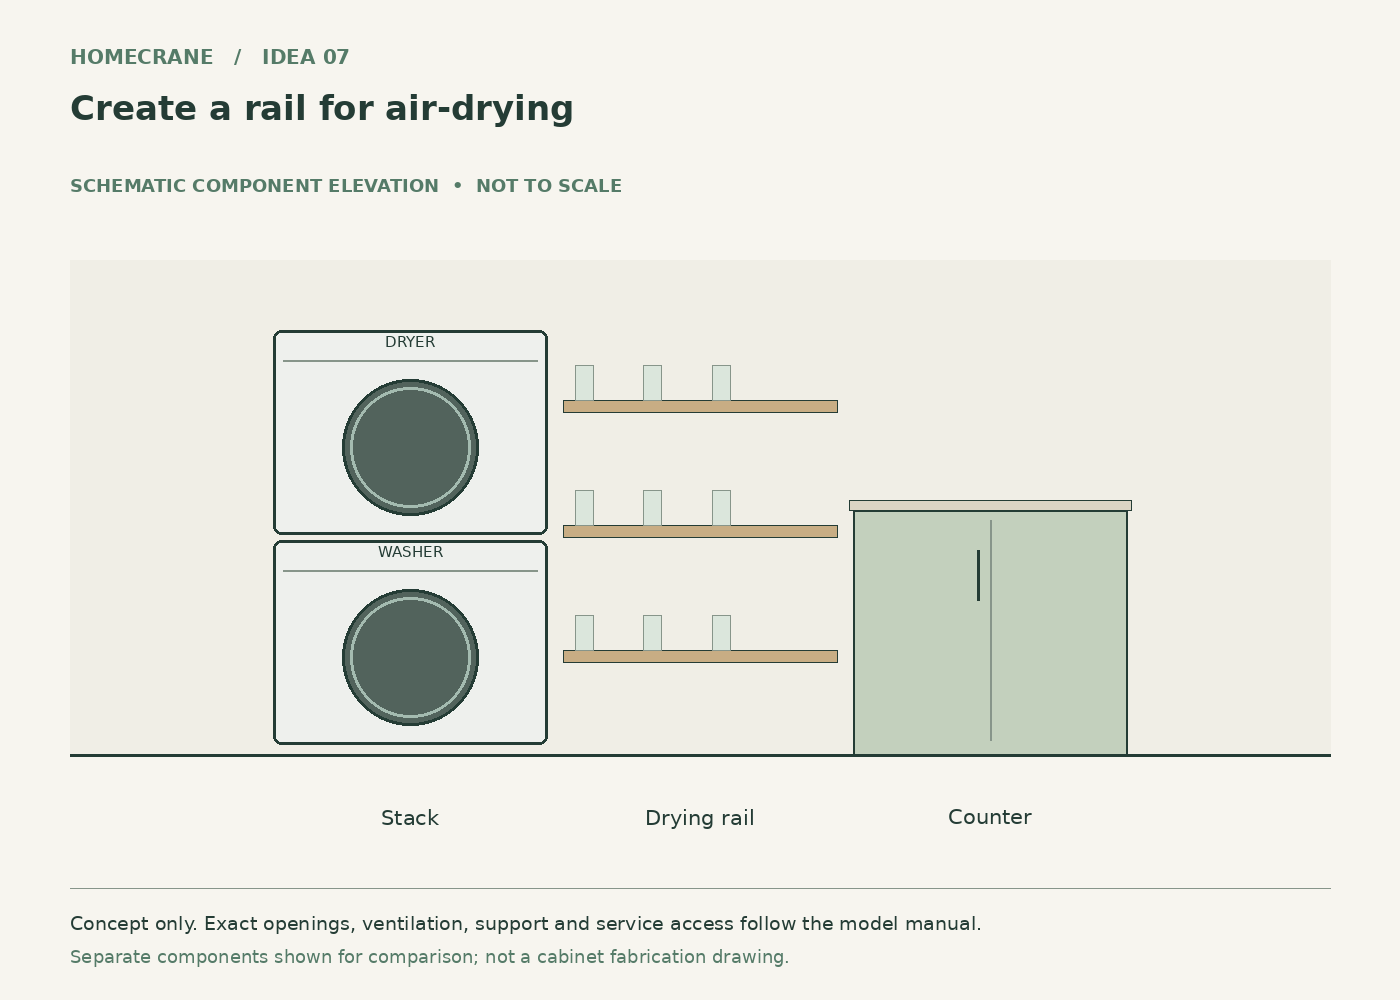
Concept 7: Create a rail for air-drying. Original schematic, not to scale; see the accompanying design checks.
Fit a drying rail above the adjacent counter rather than directly in front of the appliance controls.
Delicate items gain a temporary hanging spot without a freestanding rack in the aisle.
Plan for this: Plan for moisture and drips, and keep the rail clear of doors, lights and ventilation openings.
8. Add a fold-down work surface
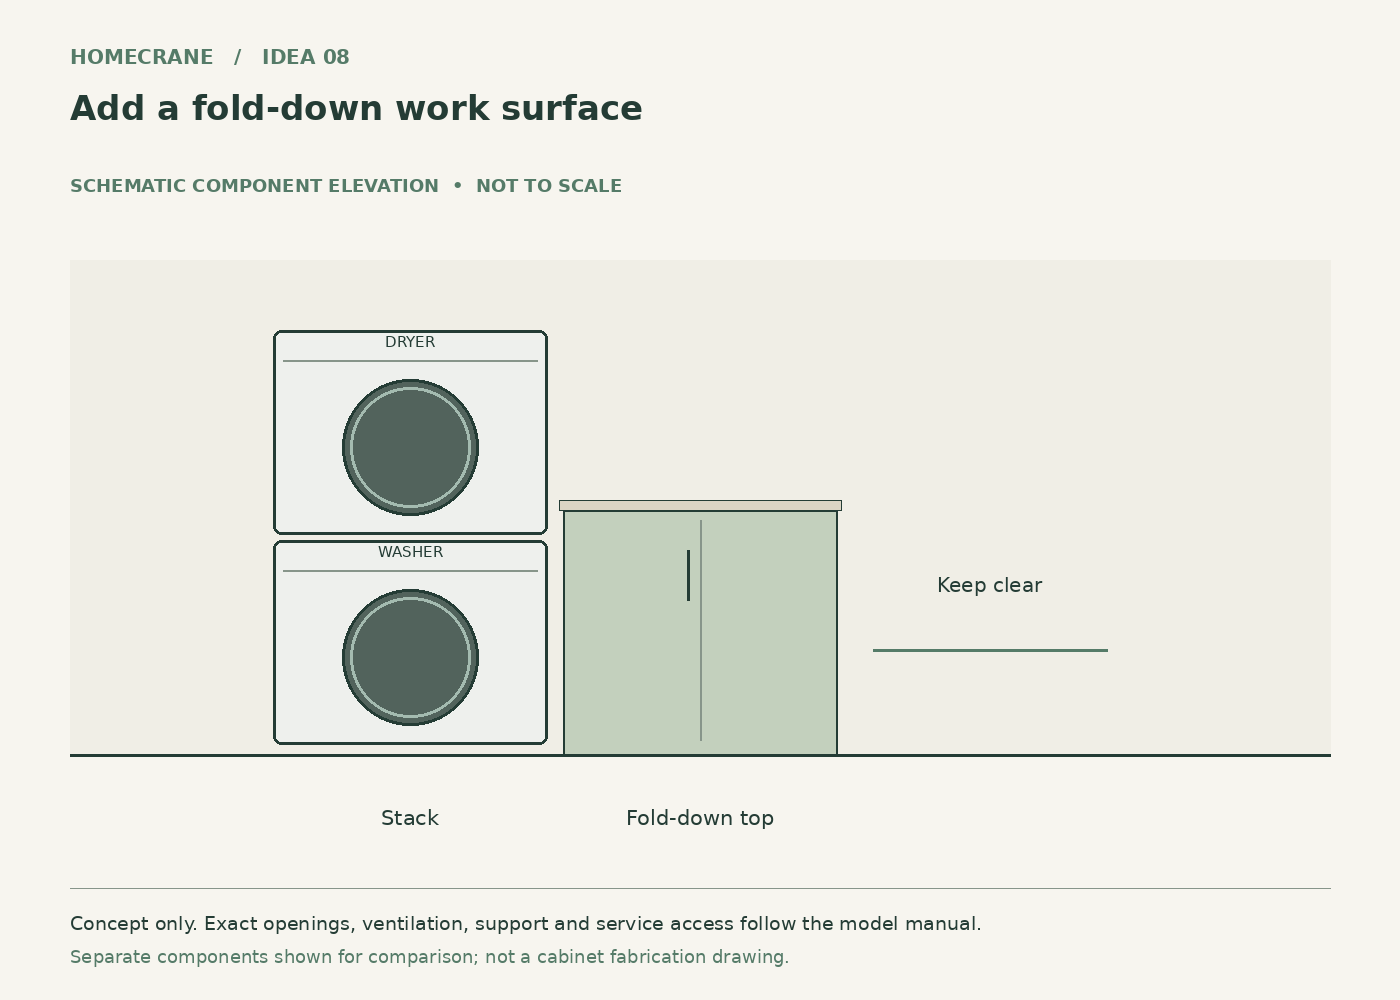
Concept 8: Add a fold-down work surface. Original schematic, not to scale; see the accompanying design checks.
Use a properly supported folding counter on the side wall when a permanent counter would narrow the room.
The surface provides occasional folding space and can close when the room needs more circulation.
Plan for this: Check that it cannot drop onto appliance controls or trap someone in the room. Follow the hardware's mounting and load instructions.
9. Turn a corner into linen storage
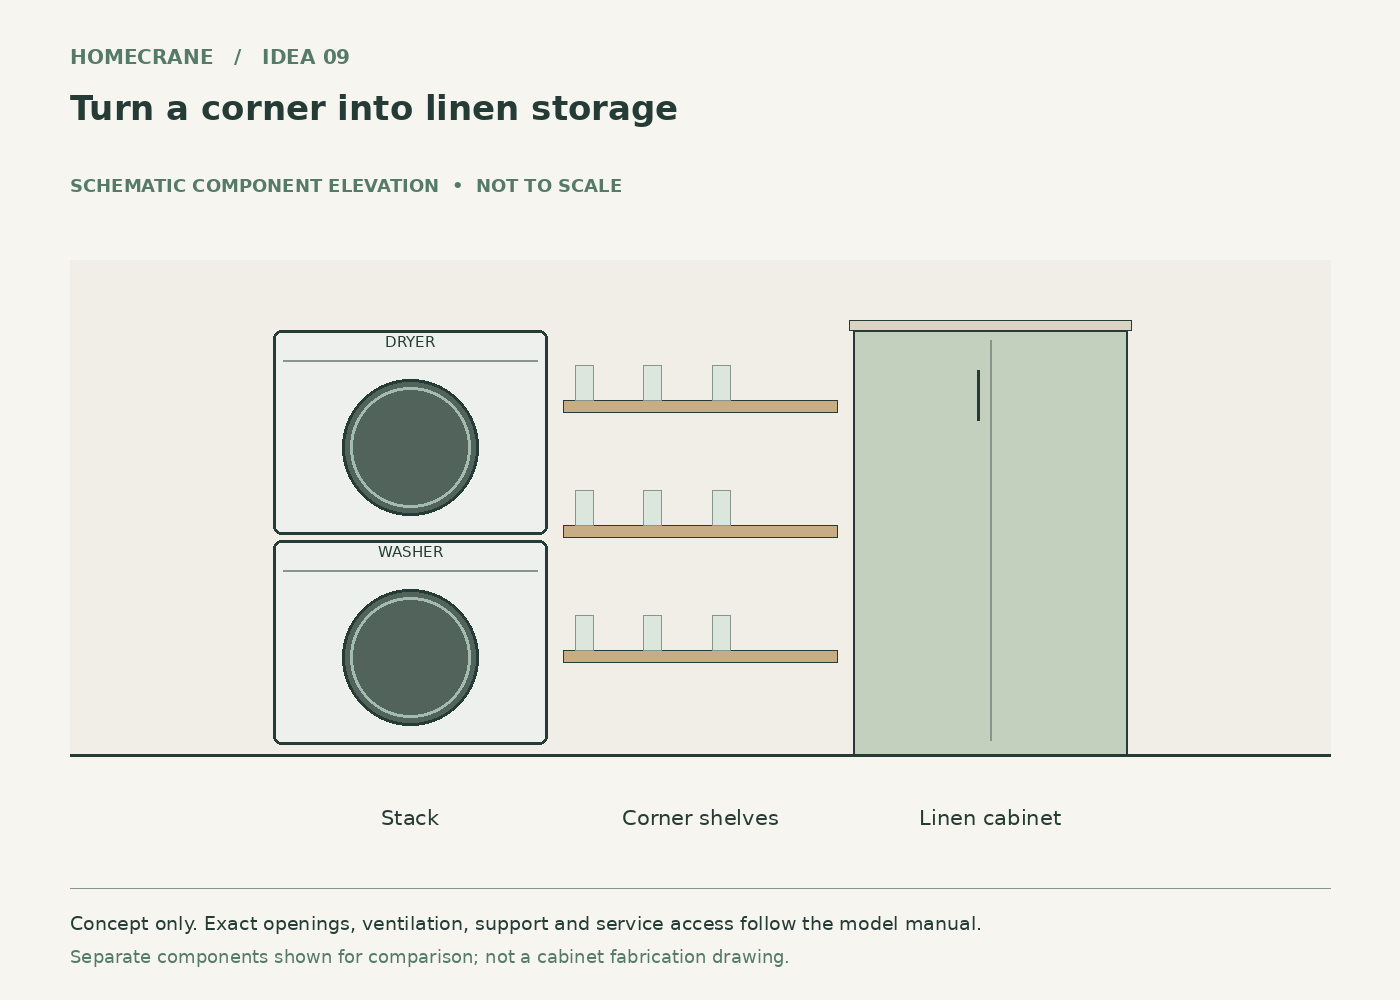
Concept 9: Turn a corner into linen storage. Original schematic, not to scale; see the accompanying design checks.
Place the stack near the entry side and use a rear corner for folded towels and bedding.
Laundry and clean-linen storage become one efficient stop.
Plan for this: Keep shelves reachable and separate clean textiles from damp items waiting to dry.
10. Choose an open stack niche
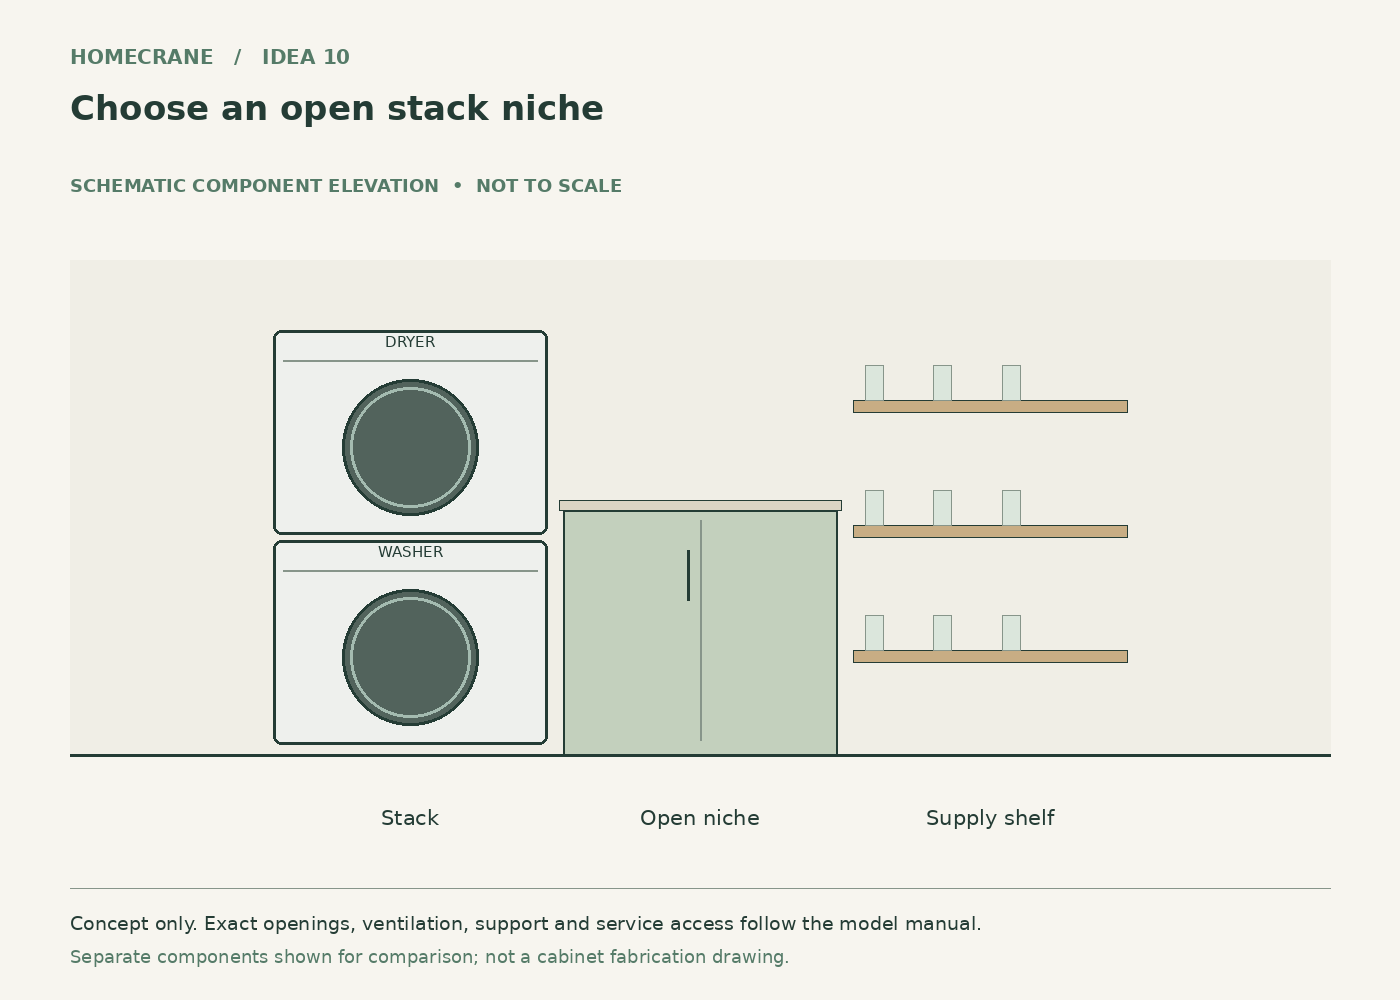
Concept 10: Choose an open stack niche. Original schematic, not to scale; see the accompanying design checks.
Frame a simple appliance alcove without decorative doors, with a supply shelf on the adjacent wall.
The machines remain easy to access and the room avoids another pair of door swings.
Plan for this: An open niche still needs the specified clearances and appropriate wall and floor finishes.
11. Put a tall broom cabinet at the end
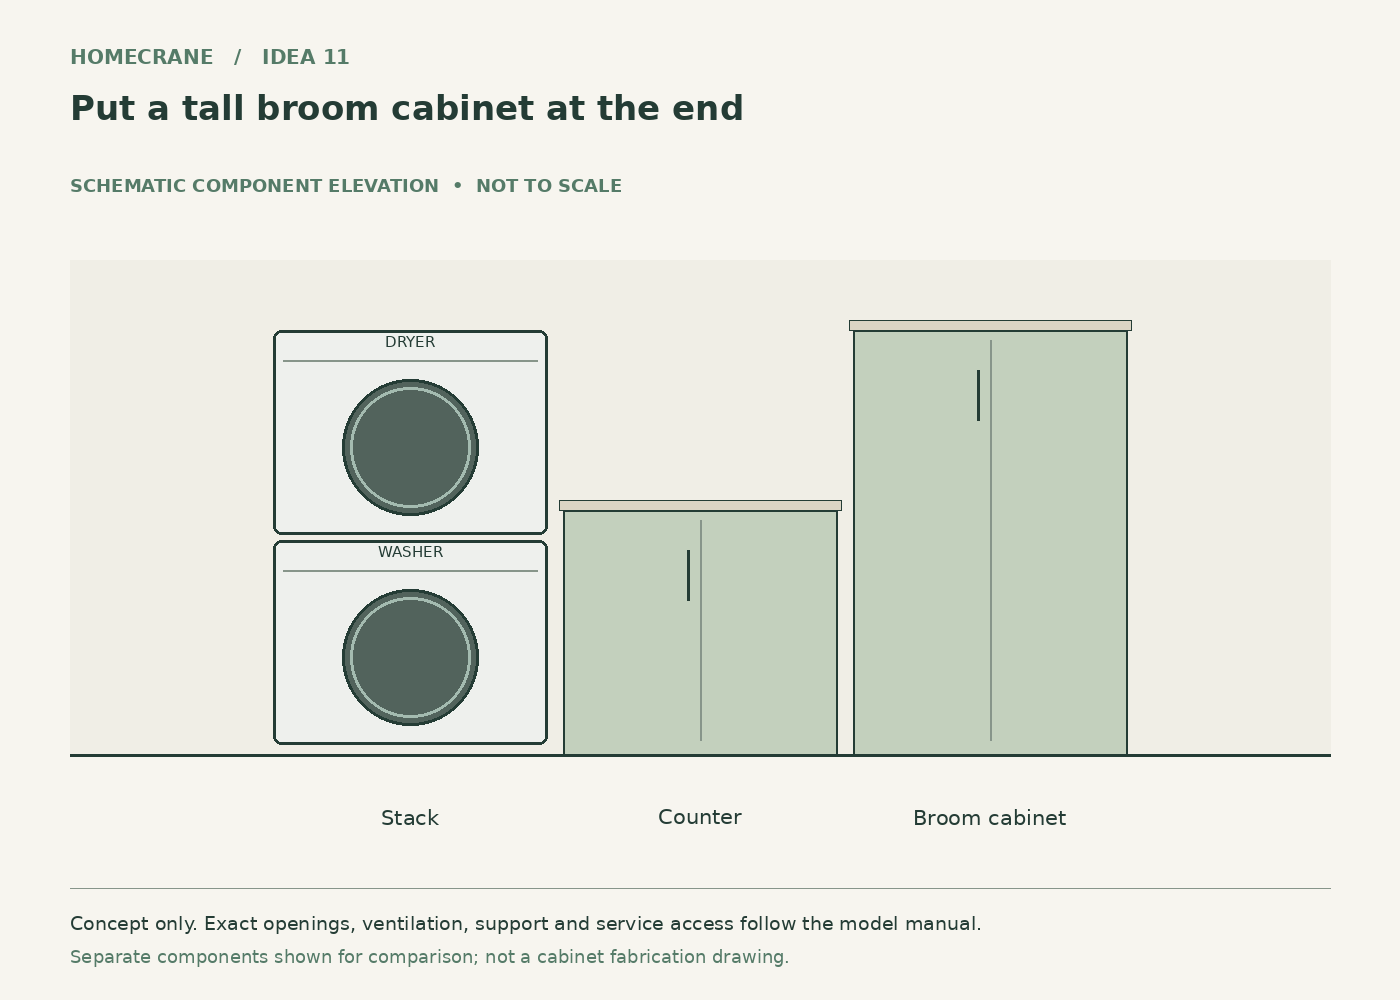
Concept 11: Put a tall broom cabinet at the end. Original schematic, not to scale; see the accompanying design checks.
Use an end cabinet for a mop, broom and compact cleaning tools instead of leaving them in the aisle.
Long items have a stable storage position without consuming the folding area.
Plan for this: Let damp cleaning tools dry appropriately and avoid routing hoses or vents through usable storage space.
12. Use a light cabinet finish in a narrow room
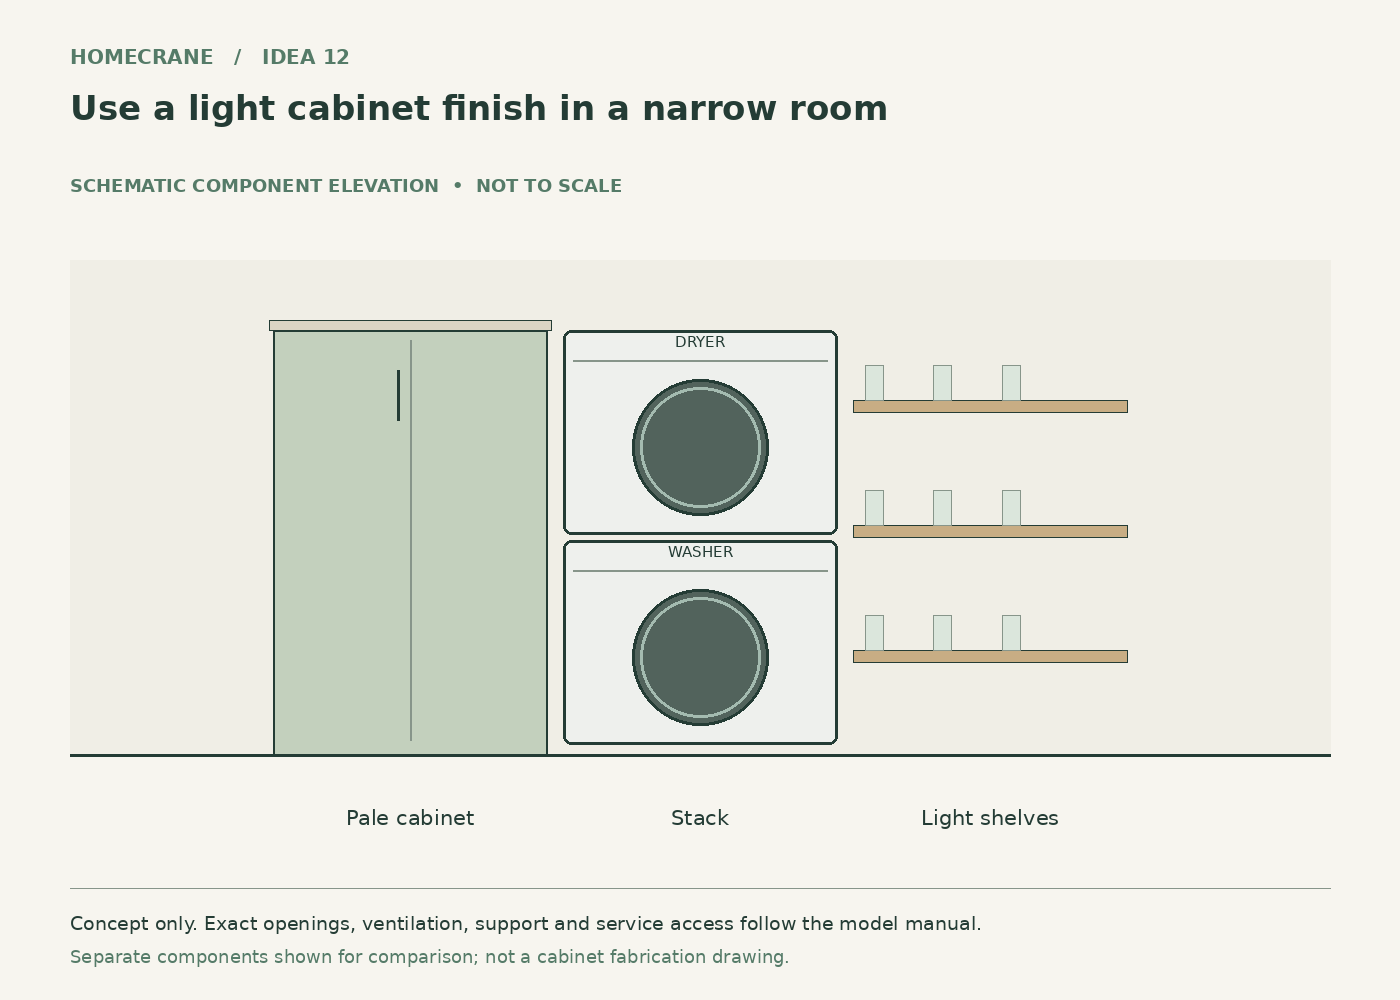
Concept 12: Use a light cabinet finish in a narrow room. Original schematic, not to scale; see the accompanying design checks.
Keep the enclosure and adjacent storage in one pale color, with a modest darker counter for contrast.
A continuous finish makes the small room feel less chopped up.
Plan for this: A color choice cannot fix insufficient space. Confirm the physical layout before ordering matching panels.
13. Add a sorting pullout beside the washer
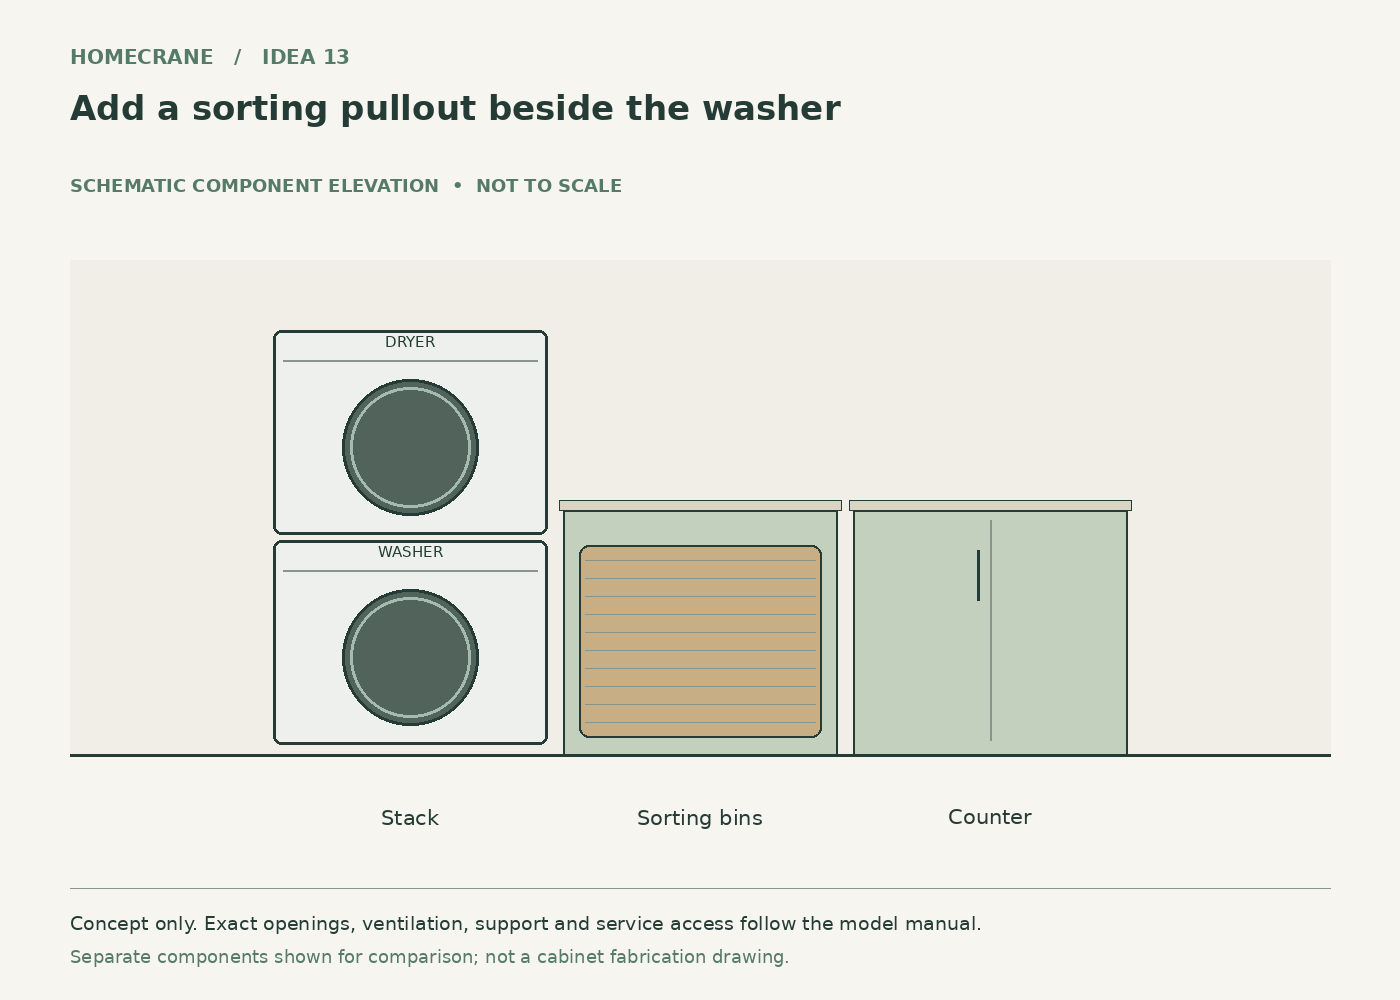
Concept 13: Add a sorting pullout beside the washer. Original schematic, not to scale; see the accompanying design checks.
Install removable sorting bins in an adjacent base cabinet, close to the washer door.
Laundry can be sorted without a line of freestanding hampers.
Plan for this: Ventilate the storage appropriately and avoid leaving damp fabrics enclosed for long periods.
14. Create a service-friendly removable side panel
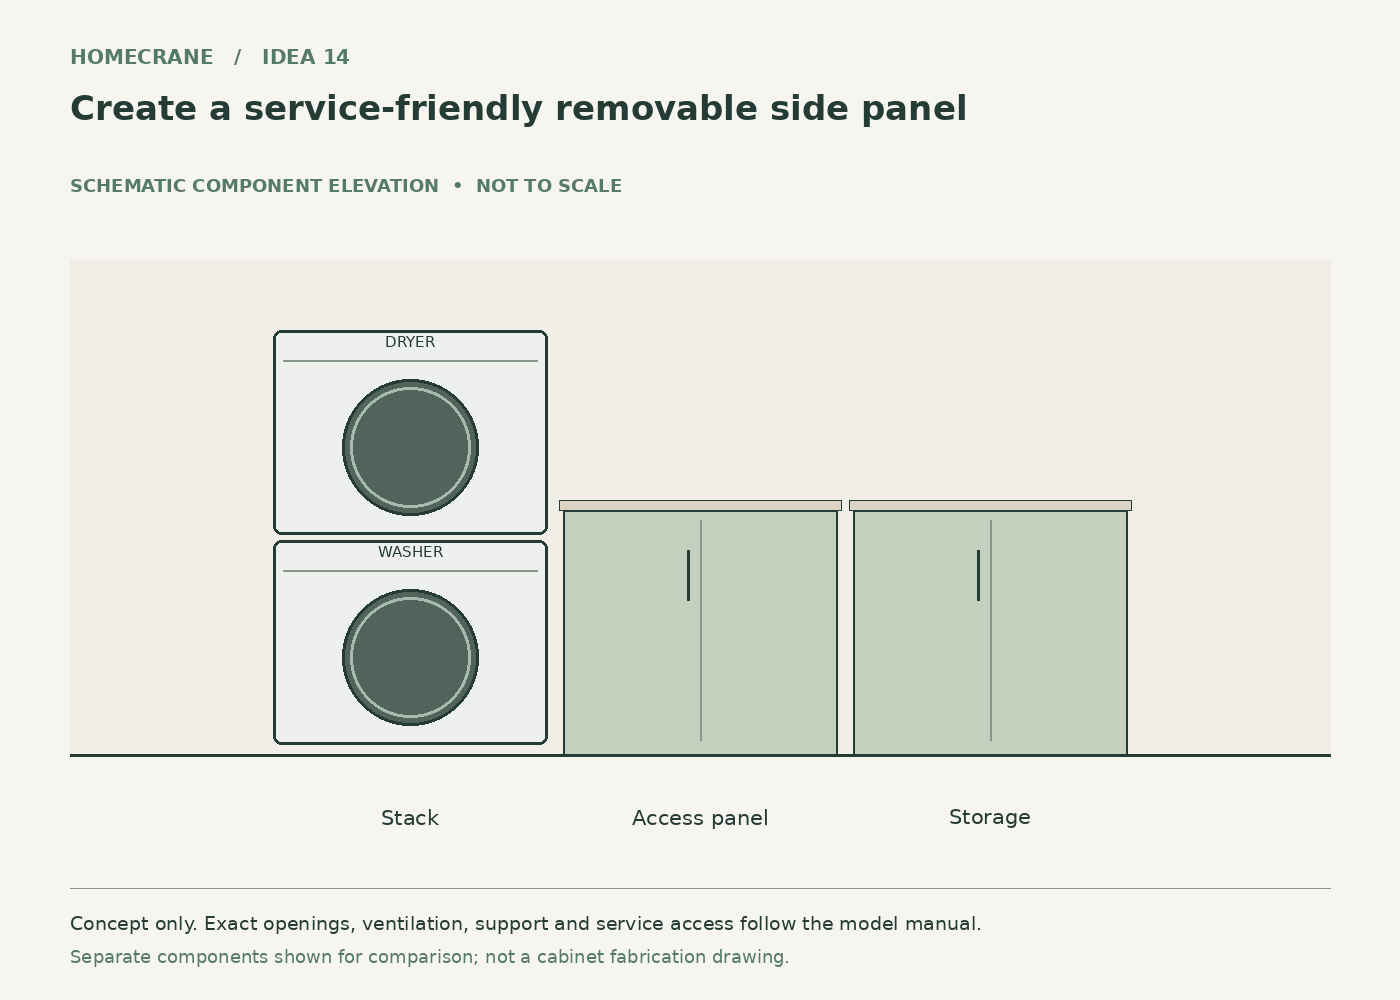
Concept 14: Create a service-friendly removable side panel. Original schematic, not to scale; see the accompanying design checks.
Use a cabinet design with planned access to the connections and a removable finish panel where appropriate.
The room can look integrated without making routine repair unnecessarily destructive.
Plan for this: Ask the installer to show the service sequence. A removable panel cannot replace required working space or accessible shutoffs.
15. Combine laundry and a small household station
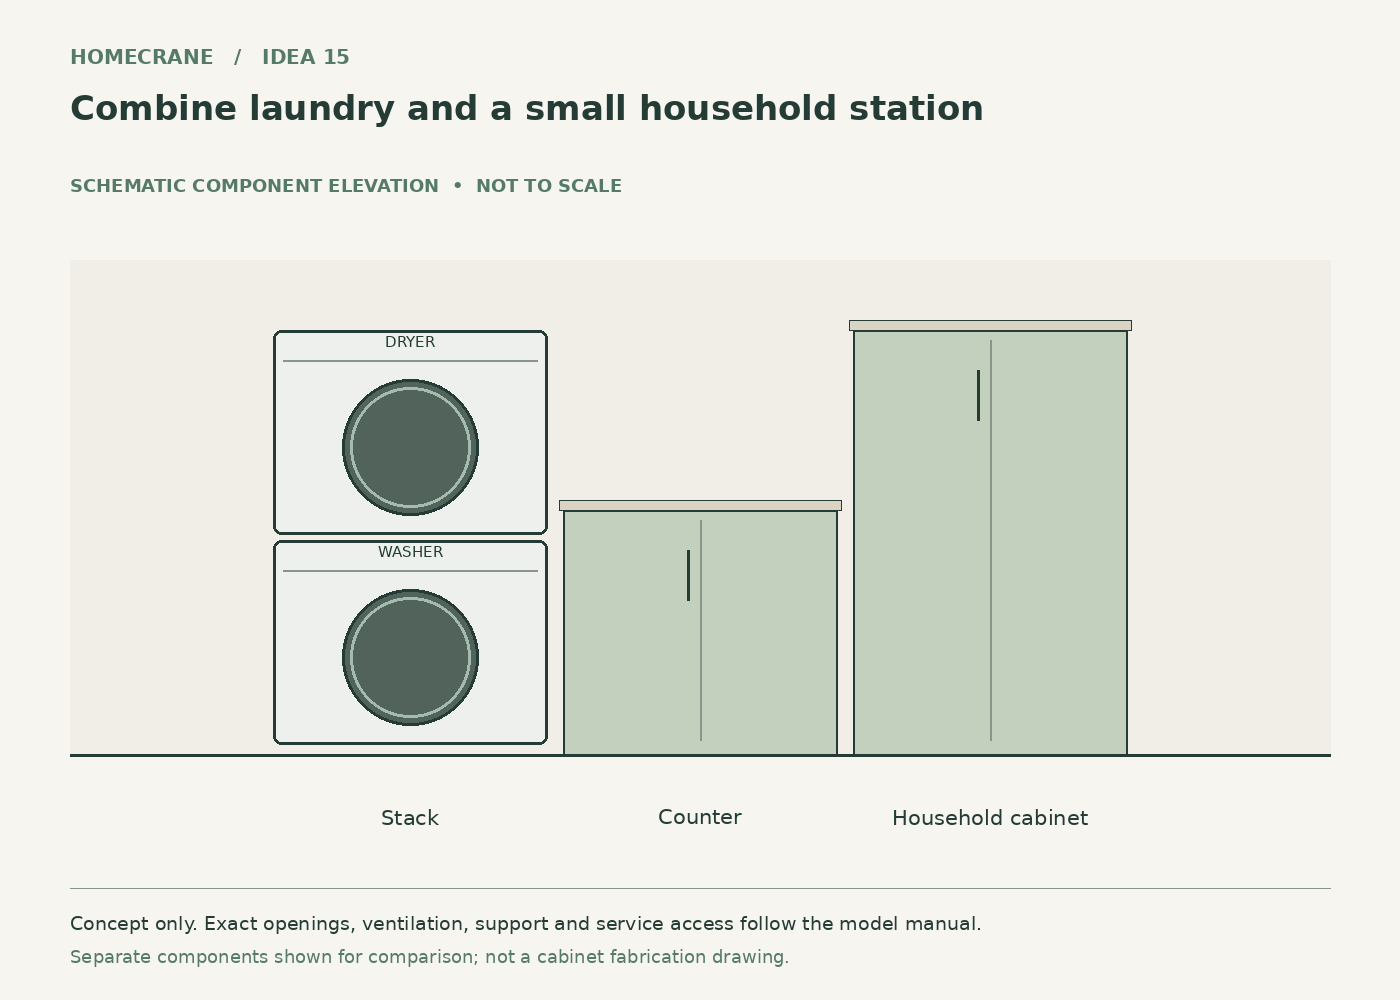
Concept 15: Combine laundry and a small household station. Original schematic, not to scale; see the accompanying design checks.
Keep the stack at one end and place a narrow mail or household-supply cabinet at the other.
The room supports a second daily function without expanding its footprint.
Plan for this: Keep paper and delicate items away from splashes and avoid turning the counter into permanent clutter.
Compare your shortlist
| Feature | Main benefit | Check first |
|---|---|---|
| 1. Stack beside a folding counter | Clothes can move directly from the dryer to a clear folding surface. | Leave an appliance removal path. A countertop should not bridge across the stack in a way that traps either machine. |
| 8. Add a fold-down work surface | The surface provides occasional folding space and can close when the room needs more circulation. | Check that it cannot drop onto appliance controls or trap someone in the room. Follow the hardware's mounting and load instructions. |
| 15. Combine laundry and a small household station | The room supports a second daily function without expanding its footprint. | Keep paper and delicate items away from splashes and avoid turning the counter into permanent clutter. |
Common questions
Can I stack any front-load washer and dryer?
No. Verify the precise pairing and approved stacking system with the manufacturer. Similar widths or matching colors do not establish compatibility.
Can cabinetry fit tightly around the machines?
Only within the exact installation requirements. Allow for operating clearance, ventilation, hose and duct routing, controls and eventual appliance removal.
Turn the idea into a practical brief
Choose one primary concept, record the dimensions and constraints of your actual space, and keep a short list of the details you want to borrow from the others. A clear brief will be more useful than combining every attractive feature into a single crowded layout.
Sources and technical references
Sources
- LG USA: Stacking Kit Installation Instructions. Checked October 12, 2026
Share this article
Get new guides by email
Practical home articles and free resources. No spam, and you can unsubscribe at any time.
Keep reading
15 Icy Blue Bedroom Paint Ideas for 2026
Explore 15 icy blue bedroom paint ideas, from accent walls to blue ceilings, with warm pairings and practical sampling tips for 2026.
October 2026, 6 min read

Neo Deco Living Room Ideas: How to Get the Look on a Budget
Create a budget Neo Deco living room with curves, geometric patterns, metallic accents, jewel tones, and balanced furniture styling.
October 2026, 3 min read
10 Small Half Bath Makeover Ideas on a Tight Budget
Explore 10 small half bath makeover ideas on a tight budget, from paint and hardware to simple storage, with a sample budget and practical planning tips.
October 2026, 7 min read