7 Point Deep Cleaning Appliance Checklist for Homeowners
Explore deep cleaning appliance checklist for homeowners with practical US-focused advice, planning checks, and clear steps for a more comfortable, well-maintained home.
By Home Crane Editors. . 8 min read.
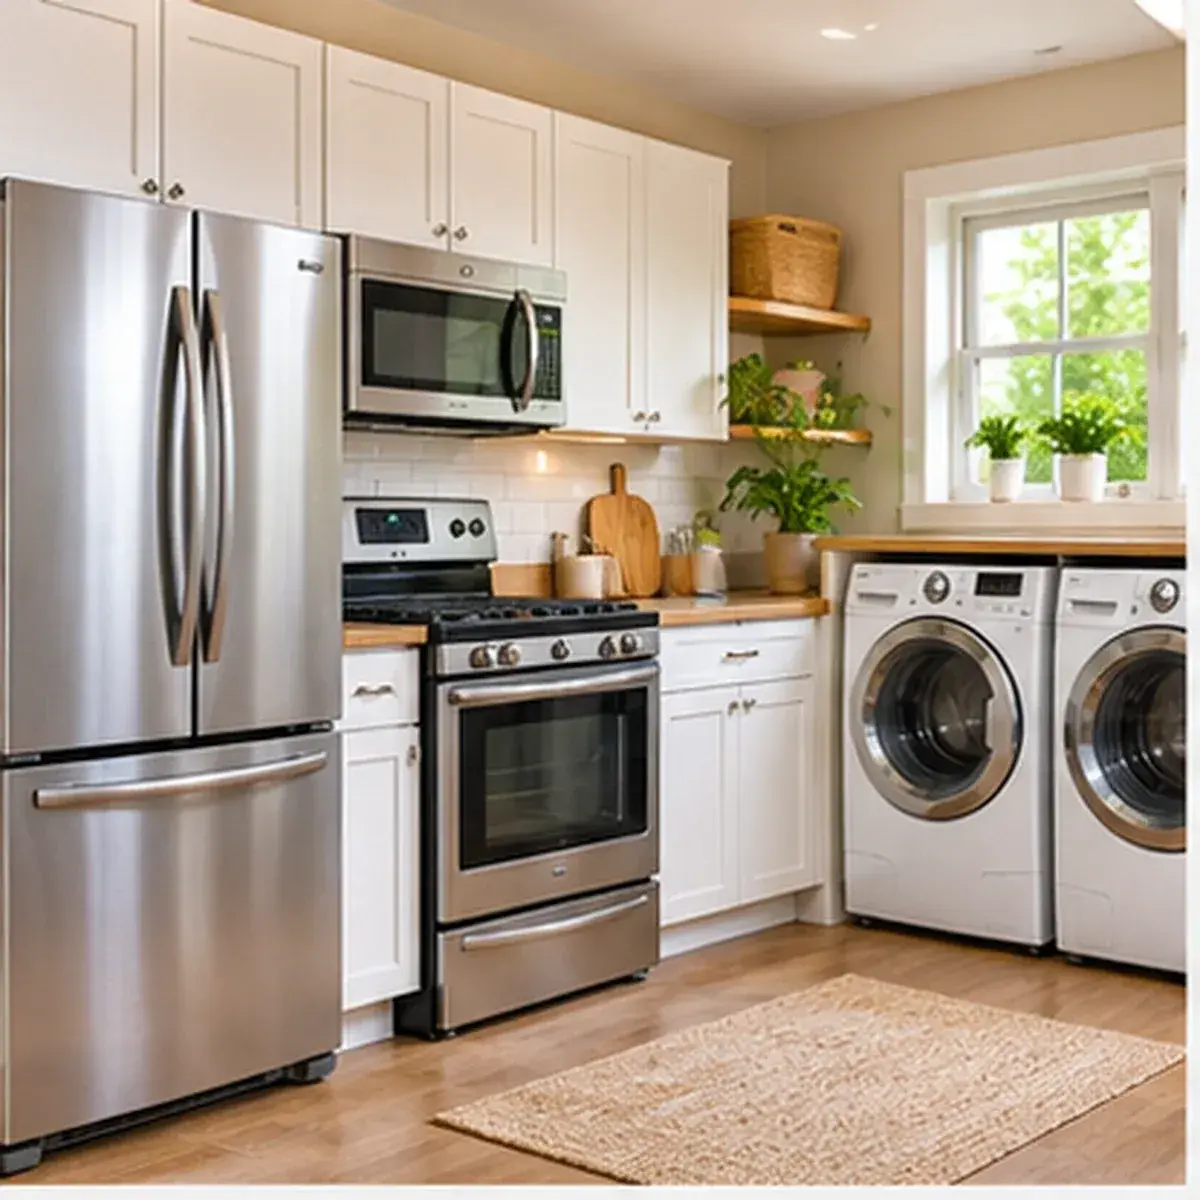
Appliances work better and stay easier to maintain when routine cleaning is done in the right places. A deep-cleaning day should not mean taking machines apart or using strong chemicals on every surface. The safest approach is to follow each manufacturer’s care instructions, disconnect power only when the manual says to, and clean removable filters and surfaces that are designed for owner maintenance. This seven-point checklist covers common kitchen and laundry appliances and explains when a service call is more appropriate than a do-it-yourself repair.
AI-generated editorial concept image. Individual details are illustrative; confirm product, lease, and safety requirements before making changes.
Before cleaning: power, products, and the appliance manual
Collect the model numbers and manuals before starting. The same appliance category can have different filter locations, removable parts, cleaning cycles, and approved products. A cleaner that is safe for one may damage another. Use mild products only when the manual allows them, and do not mix cleaning chemicals. Keep children and pets away from wet floors and cleaning supplies.
Let hot appliances cool completely. Do not spray liquid into controls, vents, motors, electrical connections, or openings. If the manual requires an appliance to be unplugged, use the plug rather than pulling the cord. If a plug is inaccessible or the appliance is hardwired, do not improvise; arrange appropriate service.
Cleaning is not a substitute for repair. Burning smells, damaged cords, gas odors, unusual vibration, leaks near electrical parts, and repeated error codes require the correct professional or utility response. Keep the work area dry and use the manufacturer’s instructions for every removable component.
Explore the ideas
- Clean refrigerator shelves, door seals, and accessible condenser coils
- Wash the dishwasher filter and inspect the spray arms
- Wipe the washer gasket, detergent drawer, and drum
- Clean the dryer lint screen and inspect the accessible lint area
- Clean the oven interior and cooktop using approved methods
- Degrease the range hood filter and exterior
- Refresh the microwave and small countertop appliances
1. Clean refrigerator shelves, door seals, and accessible condenser coils
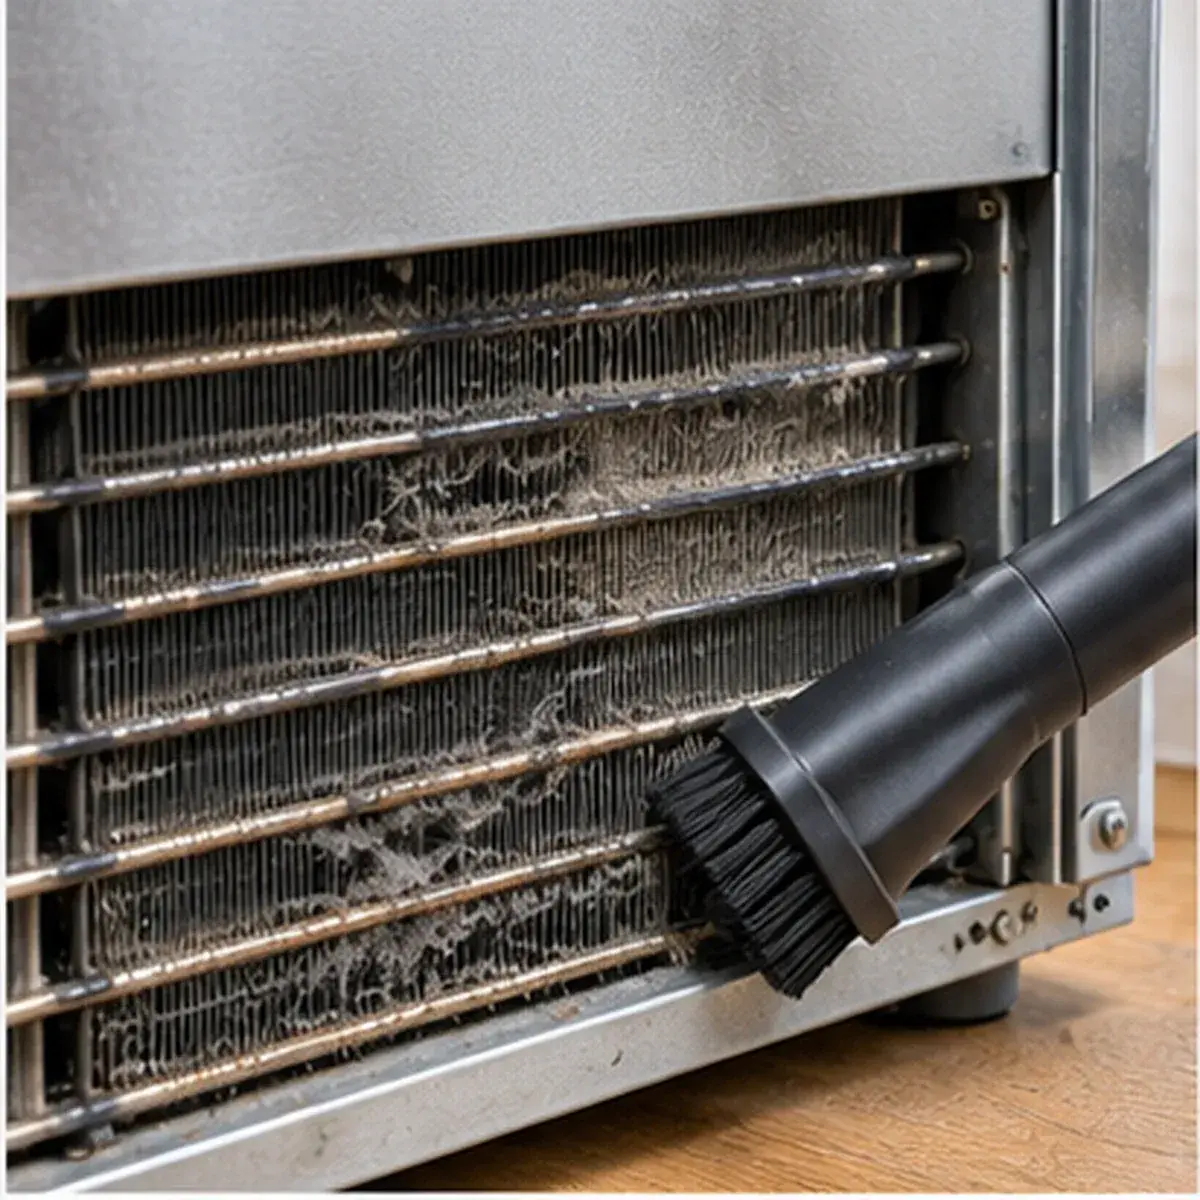
Clean refrigerator shelves, door seals, and accessible condenser coils. Start with the refrigerator interior: remove food, take out removable shelves and bins, and wash them as the manual allows. Wipe spills from door gaskets because crumbs and sticky residue can interfere with the seal. Accessible condenser coils may need dust removal on models where the manufacturer permits owner cleaning.
Use a soft cloth and a cleaner approved for food-contact surfaces, then dry removable parts fully before replacing them. For coils, locate the correct panel in the manual and use the specified brush or vacuum method without bending fins or touching wiring.
Check before you do it: Some models have sealed or difficult-to-access components. Do not remove panels or work near wiring and refrigerant lines. Call a technician if the refrigerator is not cooling.
2. Wash the dishwasher filter and inspect the spray arms
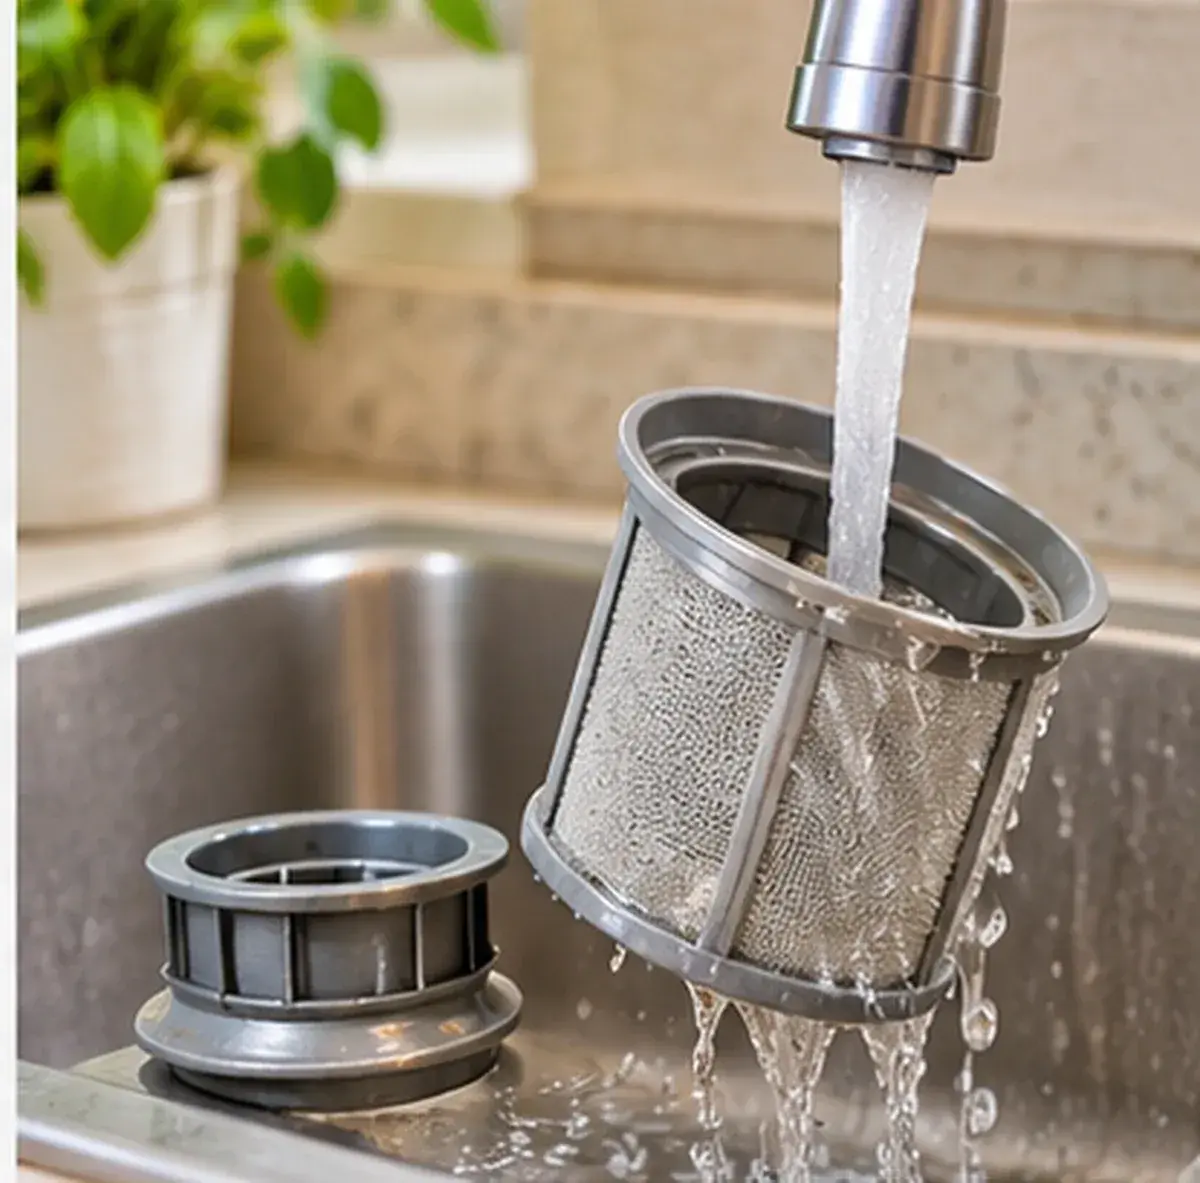
Wash the dishwasher filter and inspect the spray arms. A dishwasher filter can trap food particles and grease, which may cause odor or poor cleaning. Many models have a removable filter designed for routine owner cleaning.
Remove the filter only as the manual shows, rinse it with the recommended method, and check spray-arm openings for visible debris. Do not force a part that will not release. Refit the filter securely before running a cycle.
Check before you do it: Do not use sharp objects to clear spray-arm holes or pour unapproved chemicals into the machine. Replace damaged seals or ask for service if water leaks.
3. Wipe the washer gasket, detergent drawer, and drum
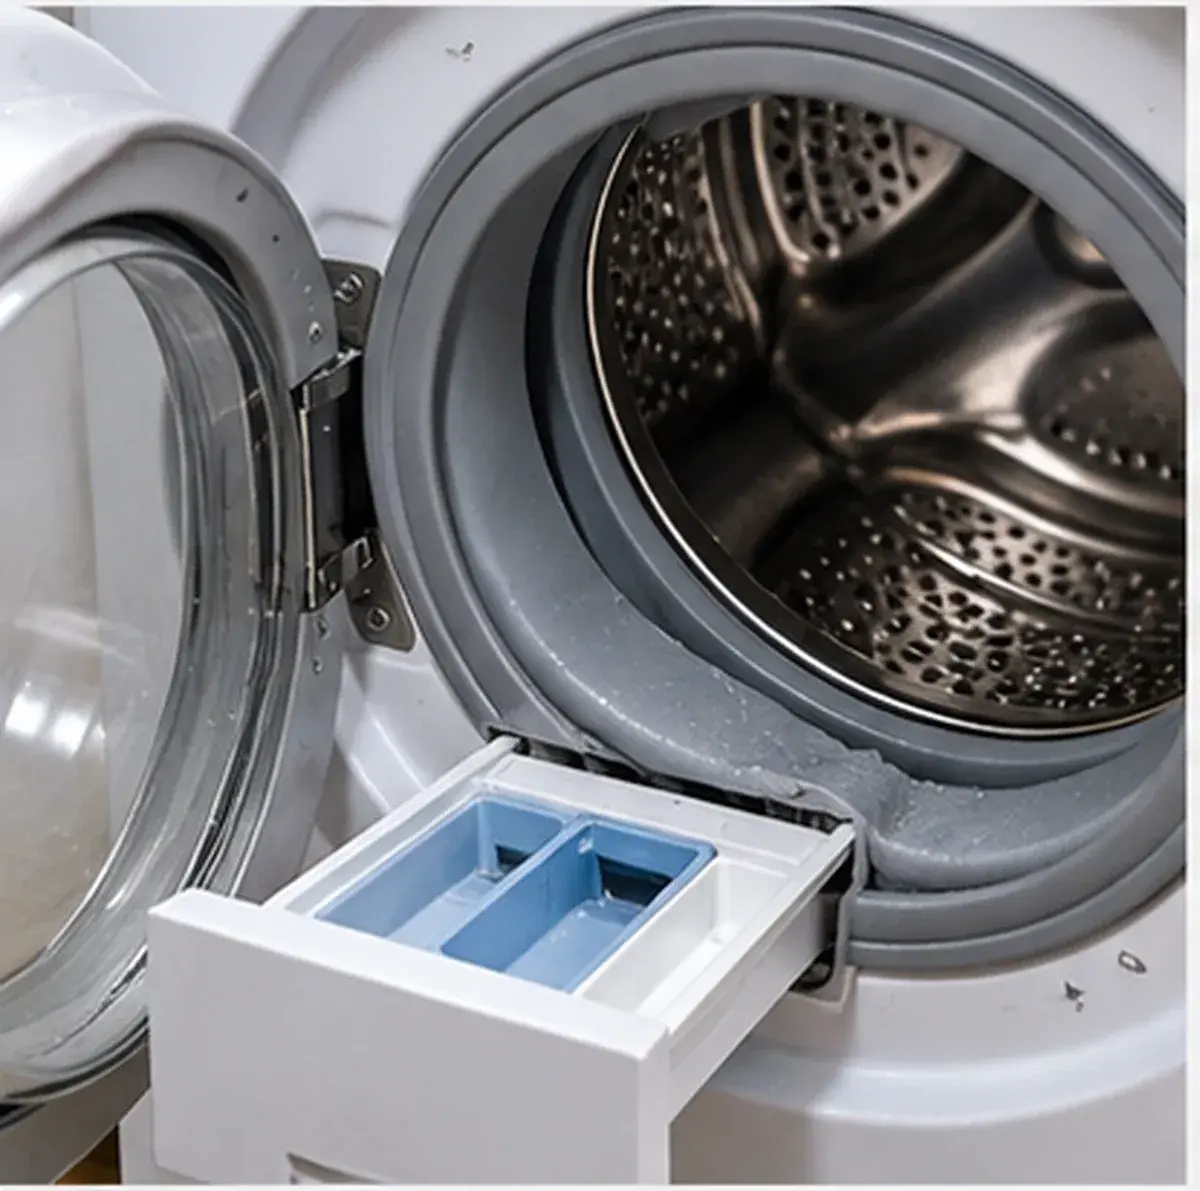
Wipe the washer gasket, detergent drawer, and drum. Front-load washers can collect moisture and residue around the door gasket and dispenser. A regular wipe-down and correct cleaning cycle help reduce buildup and odor.
Remove the dispenser if the manual allows it, rinse residue, and dry the gasket folds with a soft cloth. Run the manufacturer’s drum-cleaning cycle with the specified product or settings, then leave the door or lid open as recommended for drying.
Check before you do it: Do not use excess bleach, acids, or mixed cleaners. Avoid pulling or stretching the door gasket; a torn seal needs repair.
4. Clean the dryer lint screen and inspect the accessible lint area
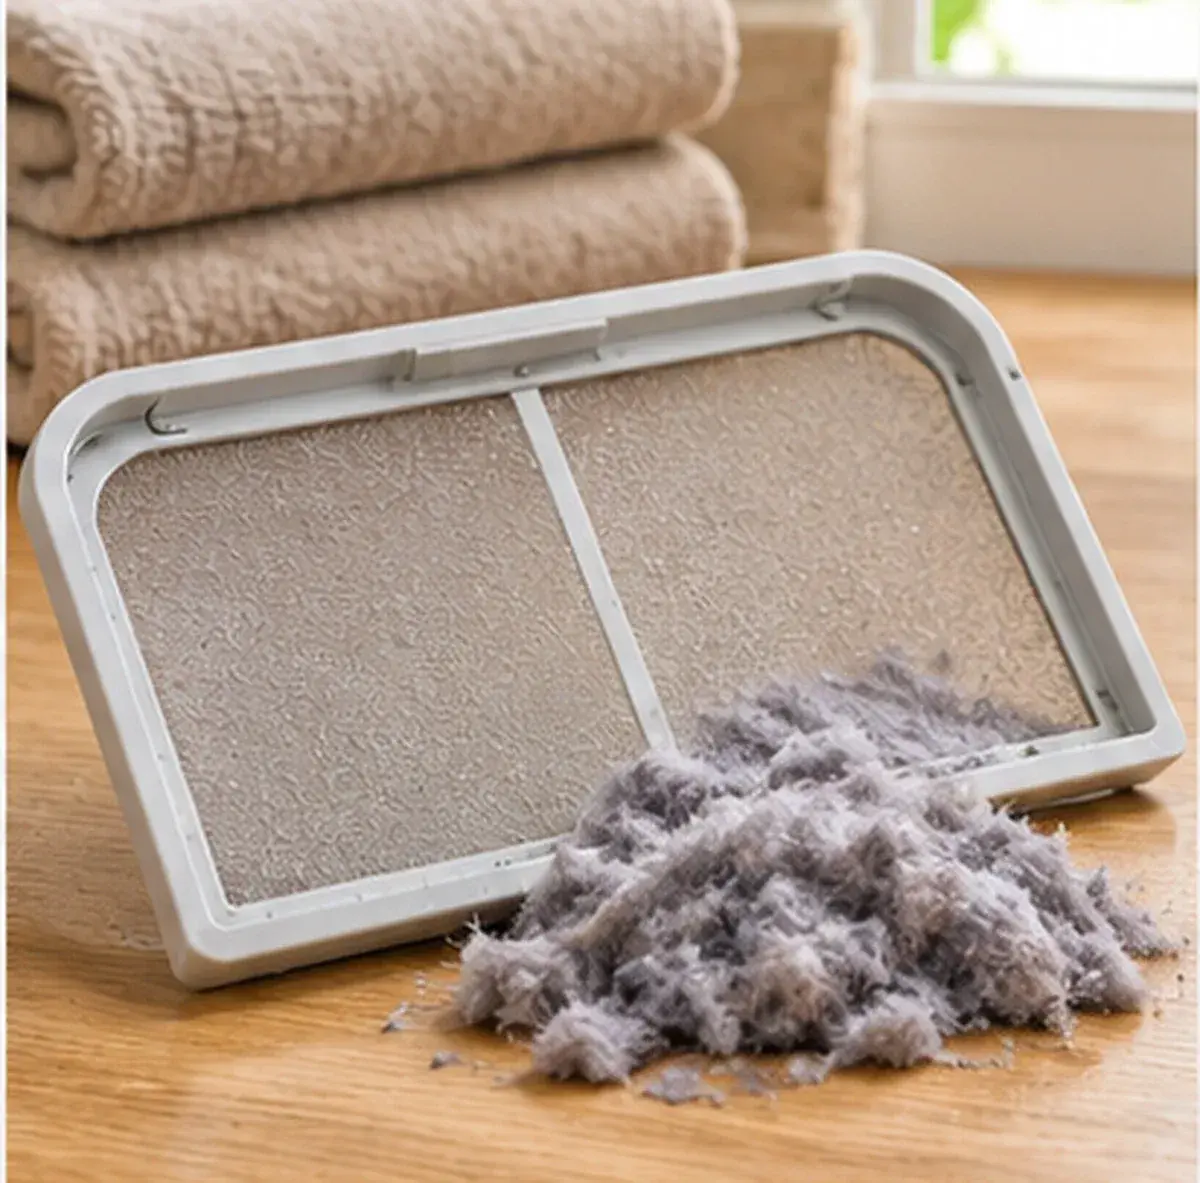
Clean the dryer lint screen and inspect the accessible lint area. The lint screen should be cleaned according to the dryer manual, often after each load. Periodic attention to the accessible lint screen housing helps reduce lint buildup, but the full exhaust duct may need professional cleaning.
Remove lint by hand or with an approved soft brush, wash the screen only if the manufacturer allows it, and let it dry completely before reinstalling. If airflow is weak, clothes take unusually long to dry, or the dryer overheats, stop using it and arrange inspection.
Check before you do it: Do not insert objects into unfamiliar ductwork or disassemble the dryer. Gas dryer connections and internal components should be handled by qualified service personnel.
5. Clean the oven interior and cooktop using approved methods
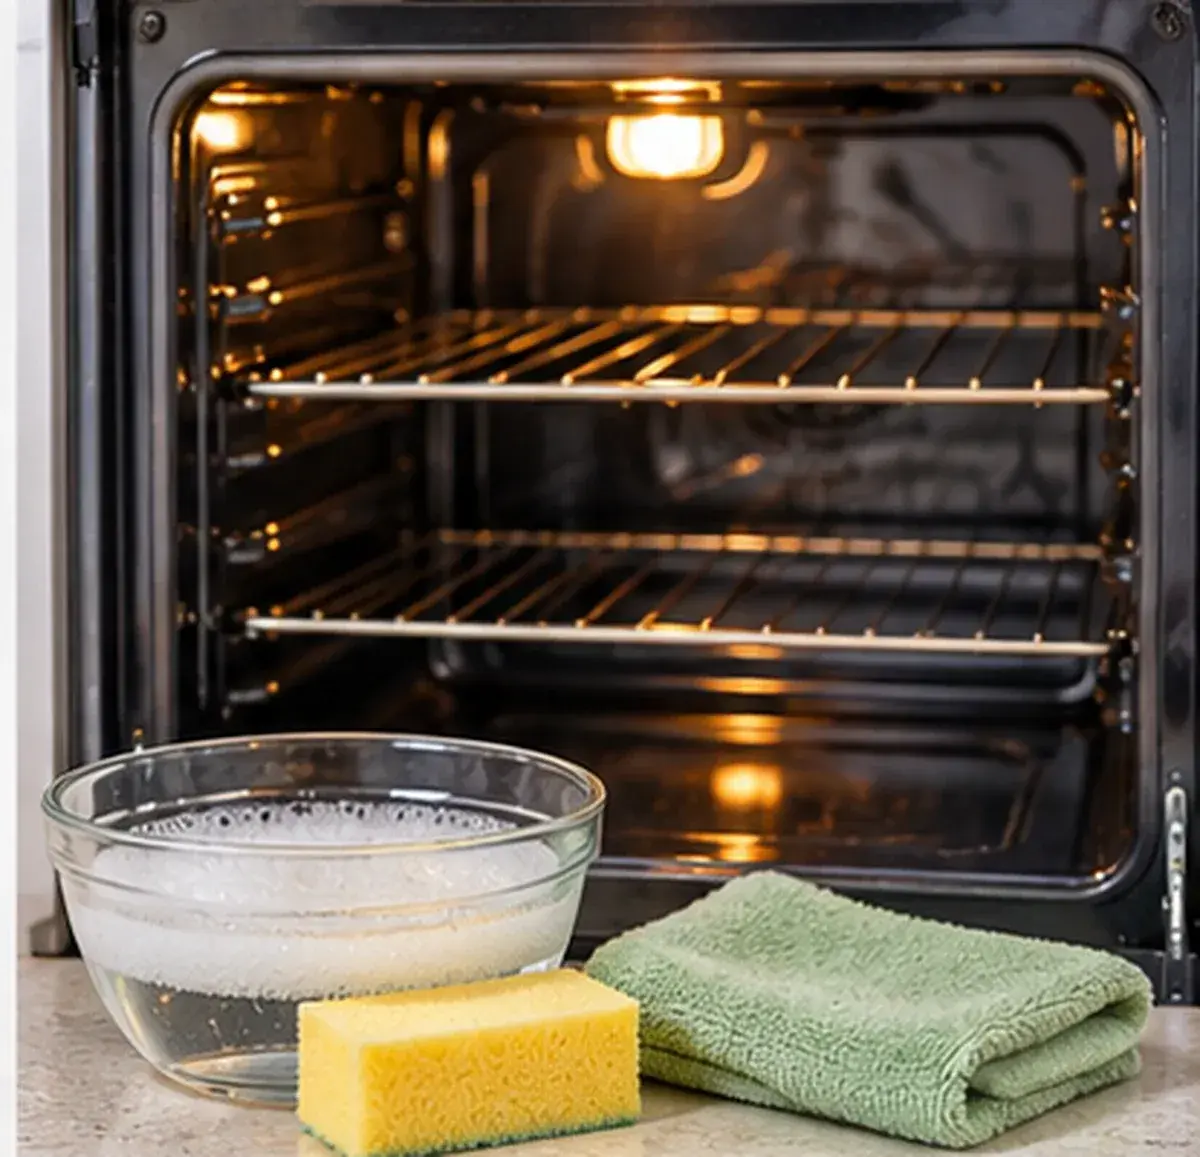
Clean the oven interior and cooktop using approved methods. Food spills and grease can build up inside ovens and around cooktops. The correct cleaning process depends on the oven’s lining, self-clean feature, racks, and cooktop material.
Wait until the appliance is completely cool. Remove racks only as the manual permits and use a product approved for the surface. Wipe cooktop spills without scratching glass or damaging burner components. If using a self-clean function, review the manual’s safety precautions first.
Check before you do it: Do not combine oven cleaners with other chemicals or use them on surfaces the manufacturer excludes. Leave gas burner or electrical repairs to a technician.
6. Degrease the range hood filter and exterior
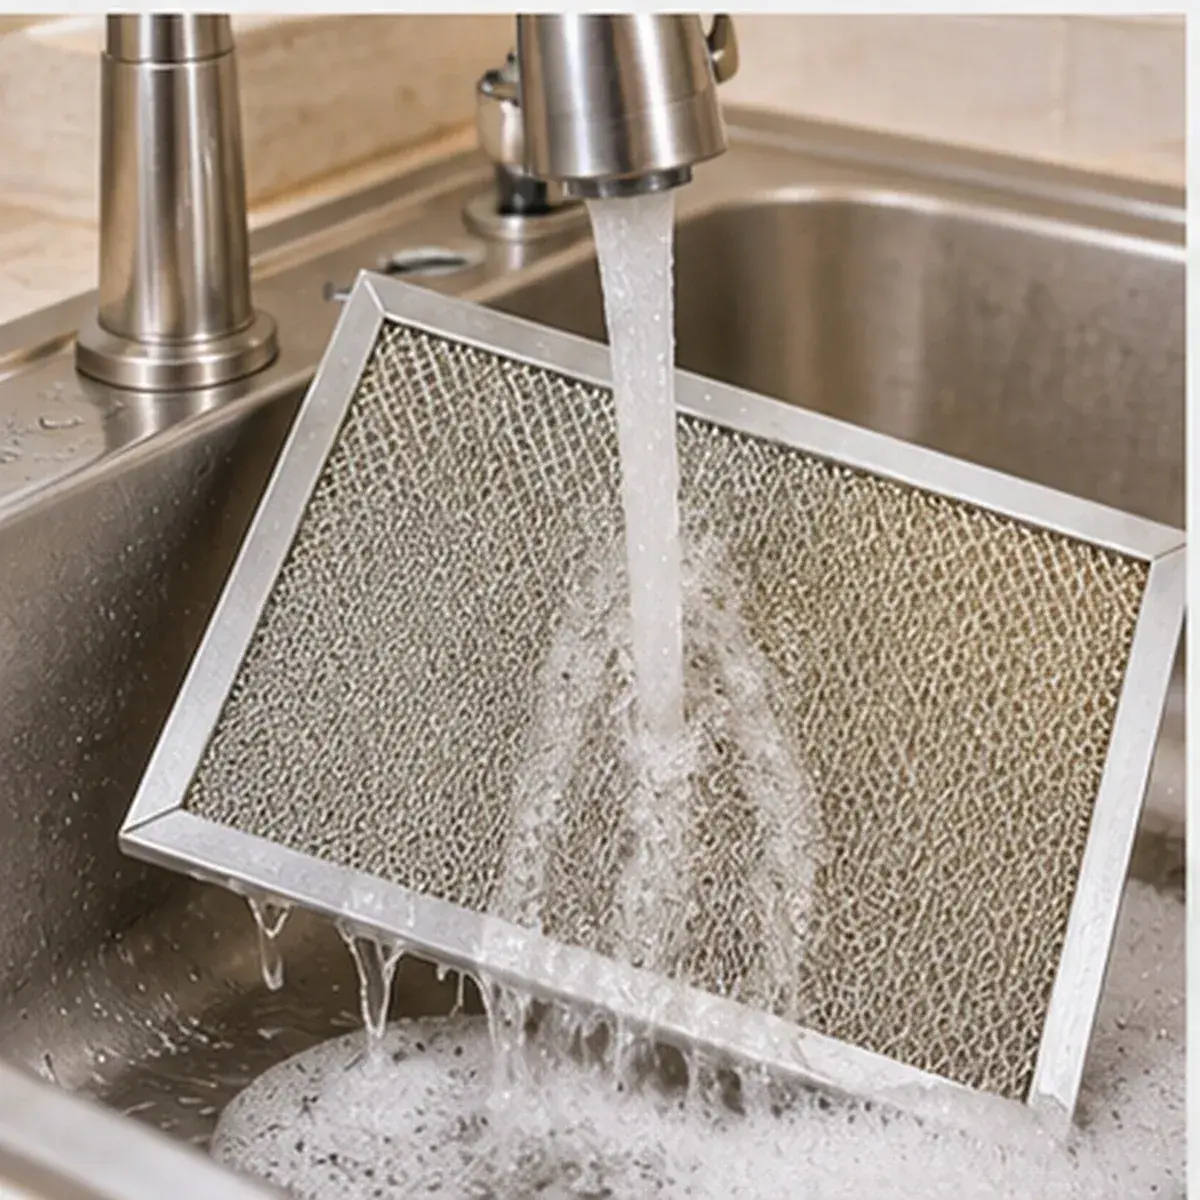
Degrease the range hood filter and exterior. A range hood filter collects grease and dust. Cleaning it helps keep the hood easier to maintain and can support normal airflow.
Remove the filter only as the manual describes. Wash it using the specified method and dry it fully before reinstalling. Wipe the exterior with a surface-appropriate cleaner and keep liquid away from switches and lights.
Check before you do it: Do not operate the hood without its required filter. If the fan is noisy, damaged, or not exhausting properly, arrange service.
7. Refresh the microwave and small countertop appliances
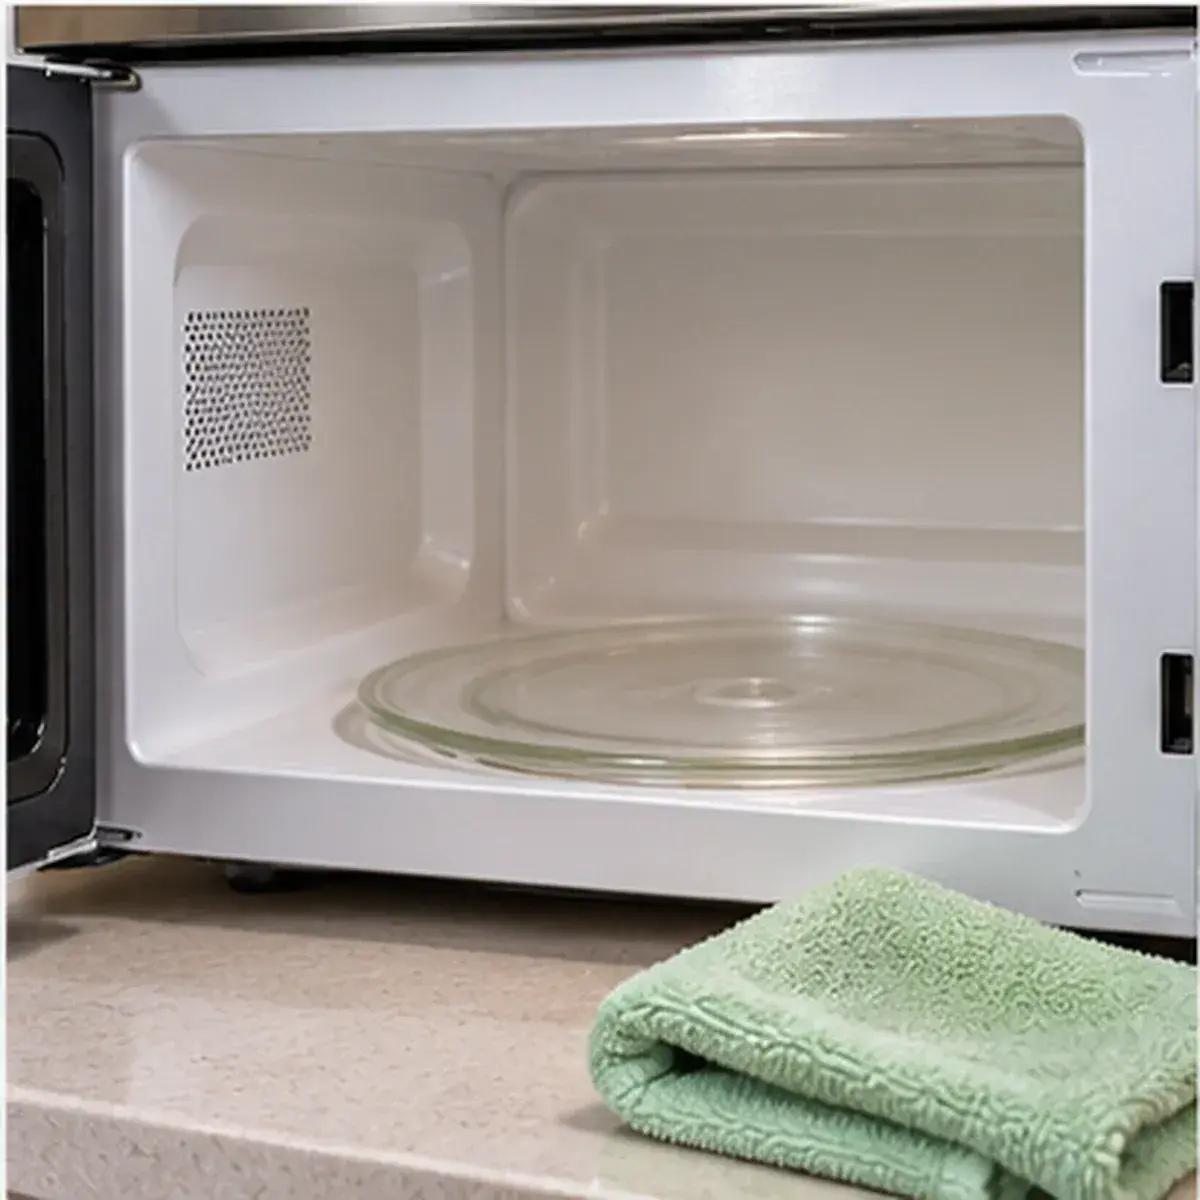
Refresh the microwave and small countertop appliances. Microwave splatters, coffee residue, and crumbs around countertop appliances can make a kitchen feel unclean even when larger appliances are tidy. Use a gentle, manufacturer-approved routine for each appliance.
For a microwave, soften dried food residue using the method in the manual and wipe the cavity, turntable, and door edges. Clean coffee makers and other small appliances with their approved descaling or filter procedure. Unplug small appliances before wiping exterior surfaces when the manual directs.
Check before you do it: Never immerse an electrical appliance or its cord unless the manufacturer explicitly designs it for that. Keep liquid away from vents, plugs, and controls.
A sensible order for a deep-cleaning session
Begin with the appliances that need cool-down or drying time, then move to removable filters and small surfaces. Keep clean parts separate from dirty ones, use dedicated cloths for food-contact areas and floors, and finish by checking that every removable component is properly seated. Do not run a machine if a filter, rack, gasket, or cover has been left out. A written checklist helps prevent missed parts and repeat work.
Products and tools to keep simple
A few soft microfiber cloths, a small soft brush approved for the appliance, warm water, and the manufacturer-recommended cleaner are often enough for routine upkeep. Avoid abrasive pads, concentrated solvents, and mixtures of cleaners. Read product labels and keep cleaning liquids in their original containers. If you are uncertain whether a product is approved for stainless steel, glass, enamel, or a food-contact surface, check the manual before using it.
How often should appliances be deep cleaned?
Follow the manual rather than applying one schedule to every model. The dryer lint screen may need attention after every load, while washer drum-cleaning cycles, dishwasher filter cleaning, refrigerator coil checks, and range hood cleaning vary by use and manufacturer recommendations. More frequent cleaning may be needed in a busy household, but over-cleaning with the wrong chemical can cause damage.
Separate routine cleaning from repairs
A routine cleaning task is one the manufacturer identifies for the owner, such as wiping a gasket, rinsing a removable filter, or cleaning an accessible surface. A repair is different. It may involve removing electrical covers, handling refrigerant, adjusting gas components, replacing internal wiring, or opening a sealed mechanical assembly. Do not treat a cleaning checklist as permission to dismantle an appliance. When the manual does not show the part as owner-removable, leave it in place and ask an authorized service provider.
Keep a simple appliance-care record
Write down the appliance model, date of the last cleaning, parts cleaned, and any unusual change you noticed. A note that the dishwasher filter was cleaned or the dryer began taking longer to finish a load can help you spot a pattern. Keep receipts and service reports with the manual. If a machine develops a leak, burning odor, repeated error, or unusual noise, stop using it when appropriate and share the record with the technician. A short log is more useful than relying on memory, especially in a busy household.
Separate food-contact areas from general cleaning
Use a clean cloth for refrigerator interiors and other food-contact surfaces, and do not reuse a cloth that has been used on floors, greasy filters, or the exterior of a range. Rinse and dry removable shelves completely before returning food. Keep cleaning products in their original labeled containers and follow dilution instructions where a product requires them. Never mix household cleaners, especially products that contain bleach, ammonia, acids, or other reactive ingredients. If a cleaner leaves an odor or residue, follow the appliance manual for rinsing and ventilation before using the machine again.
Finish with a careful restart and visual inspection
Before restoring an appliance to service, check that all removable filters, trays, racks, shelves, covers, and gaskets are correctly seated. Make sure doors close normally and that no cloth, brush, or cleaning container has been left behind. Dry the floor and the surrounding counter so nobody slips. Restore power only as the manual directs, and run a short check cycle only when the manufacturer recommends it. If a new noise, leak, odor, or warning indicator appears, stop and arrange qualified service instead of repeating the cycle.
Frequently asked questions
What appliance should homeowners clean most often?
The dryer lint screen generally needs frequent attention, often after each load. Other filters and surfaces follow the specific appliance manual.
Can I use vinegar to clean every appliance?
No. Some manufacturers prohibit vinegar or acidic cleaners on particular materials and components. Use only products approved for your model.
Should I unplug appliances before cleaning?
Follow the manual. Let hot appliances cool, keep water away from electrical parts, and unplug only where it can be done safely and the instructions call for it.
When should I call an appliance technician?
Call for damaged cords, unusual smells, leaks near electrical parts, repeated errors, weak dryer airflow, poor cooling, or any repair that requires opening electrical, gas, or sealed systems.
Sources and further reading
[1] Freddie Mac: Printable Home Maintenance Checklist. https://myhome.freddiemac.com/docs/home_maintenance.pdf
[2] Whirlpool Product Help: How and When to Safely Clean Refrigerator Condenser Coils. https://producthelp.whirlpool.com/Refrigeration/Full-Size_Refrigerators/Product_Info/Cleaning_and_Care/How_and_When_to_Safely_Clean_the_Condenser_Coils
[3] GE Appliances: Cleaning and Care Resources. https://www.geappliances.com/ge/service-and-support/
[4] Freddie Mac: Home Maintenance Checklist. https://myhome.freddiemac.com/resources/home-maintenance-checklist
Sources
- Freddie Mac: Printable Home Maintenance Checklist. Checked November 5, 2026
- Whirlpool Product Help: How and When to Safely Clean Refrigerator Condenser Coils. Checked November 5, 2026
- GE Appliances: Cleaning and Care Resources. Checked November 5, 2026
- Freddie Mac: Home Maintenance Checklist. Checked November 5, 2026
Share this article
Get new guides by email
Practical home articles and free resources. No spam, and you can unsubscribe at any time.
Keep reading

10 Essential DIY Home Tool Kit Items for Beginners
Explore essential DIY home tool kit items for beginners with practical US-focused advice, planning checks, and clear steps for a more comfortable, well-maintained home.
November 2026, 8 min read

12 Steps How To Winterize An Old House Cheap DIY
Explore winterize an old house cheap DIY with practical US-focused advice, planning checks, and clear steps for a more comfortable, well-maintained home.
November 2026, 9 min read

First Time Homeowner Maintenance Checklist
Explore first time homeowner maintenance checklist with practical US-focused advice, planning checks, and clear steps for a more comfortable, well-maintained home.
November 2026, 9 min read