How to Build a Cheap DIY Outdoor Fire Pit Seating Area
Plan a budget seating area around a manufactured fire pit with suitable clearances, a stable surface, drainage, and practical maintenance.
By Home Crane Editors. . 3 min read.
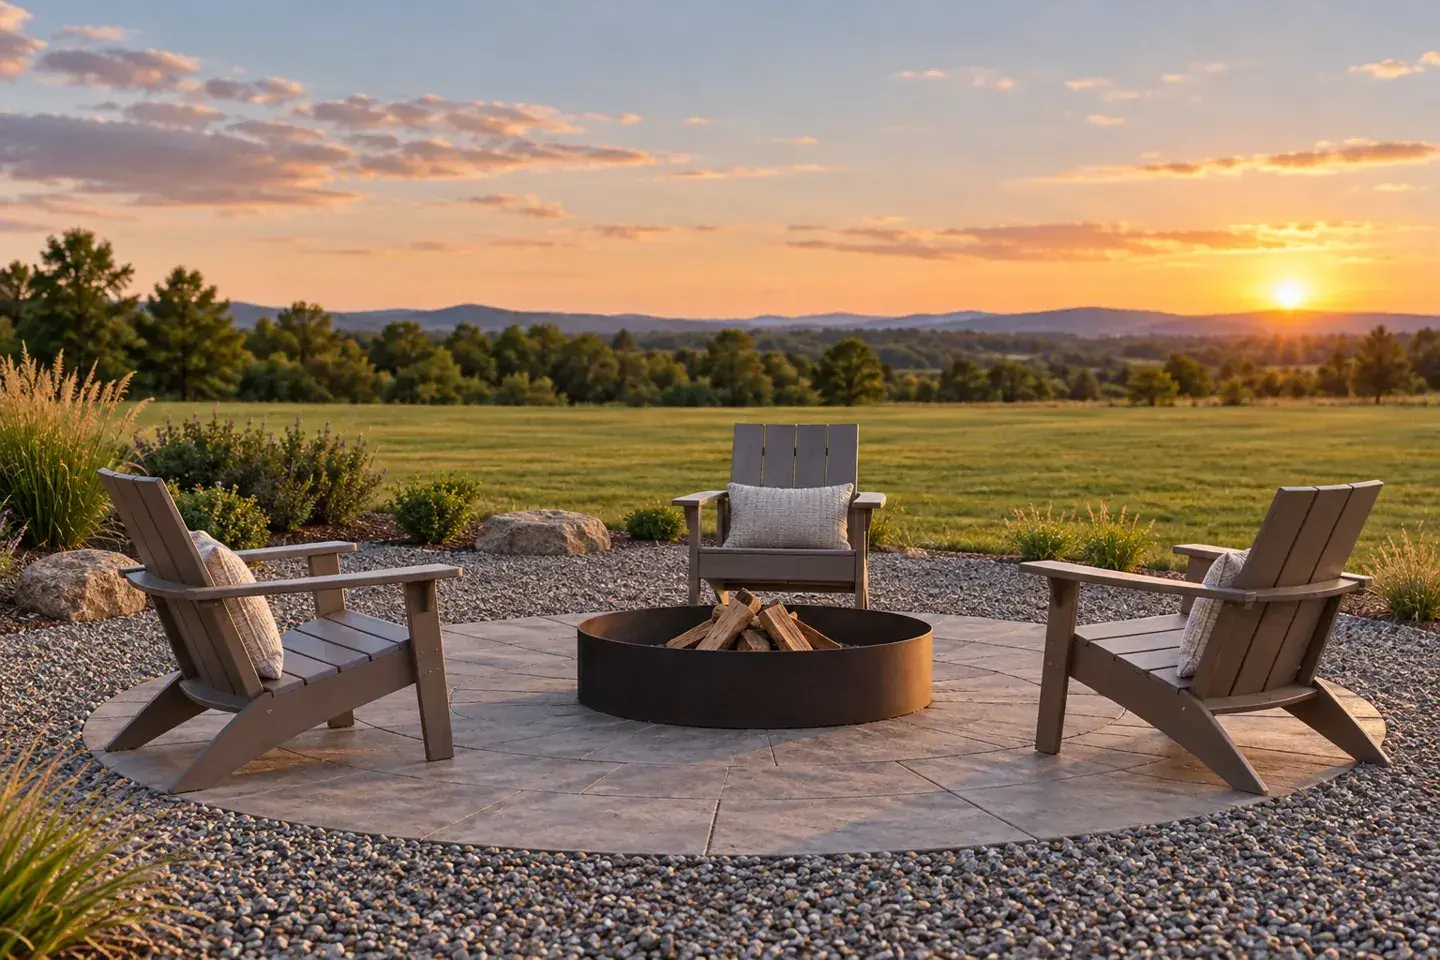
The simplest budget fire-pit project is often the seating area around a suitable manufactured appliance. Keeping the fire vessel and its fuel system out of the DIY scope lets you focus on layout, a stable ground surface, and comfortable seating.
Begin with local rules and the exact fire pit's instructions. A compact picture online does not establish safe distances for your appliance, fuel, yard, or weather conditions. If your space cannot meet all applicable requirements, create a seating area without a fire pit.
Before you start
Check local fire restrictions, permits, burn bans, and HOA rules before planning. Read the appliance's requirements for surfaces, horizontal and overhead clearance, fuel, extinguishing, and use. NFPA's campfire guidance emphasizes separation from combustibles, supervision, and weather awareness; it is not a universal installation manual for every manufactured pit. [1]
Measure the yard, identify buried services before excavation through the appropriate local utility-locate process, and include private lines in the assessment. Price aggregate, edging, base preparation, delivery, seating, and the appliance together. Delivery and disposal can matter as much as the visible materials.
1. Mark the permitted footprint
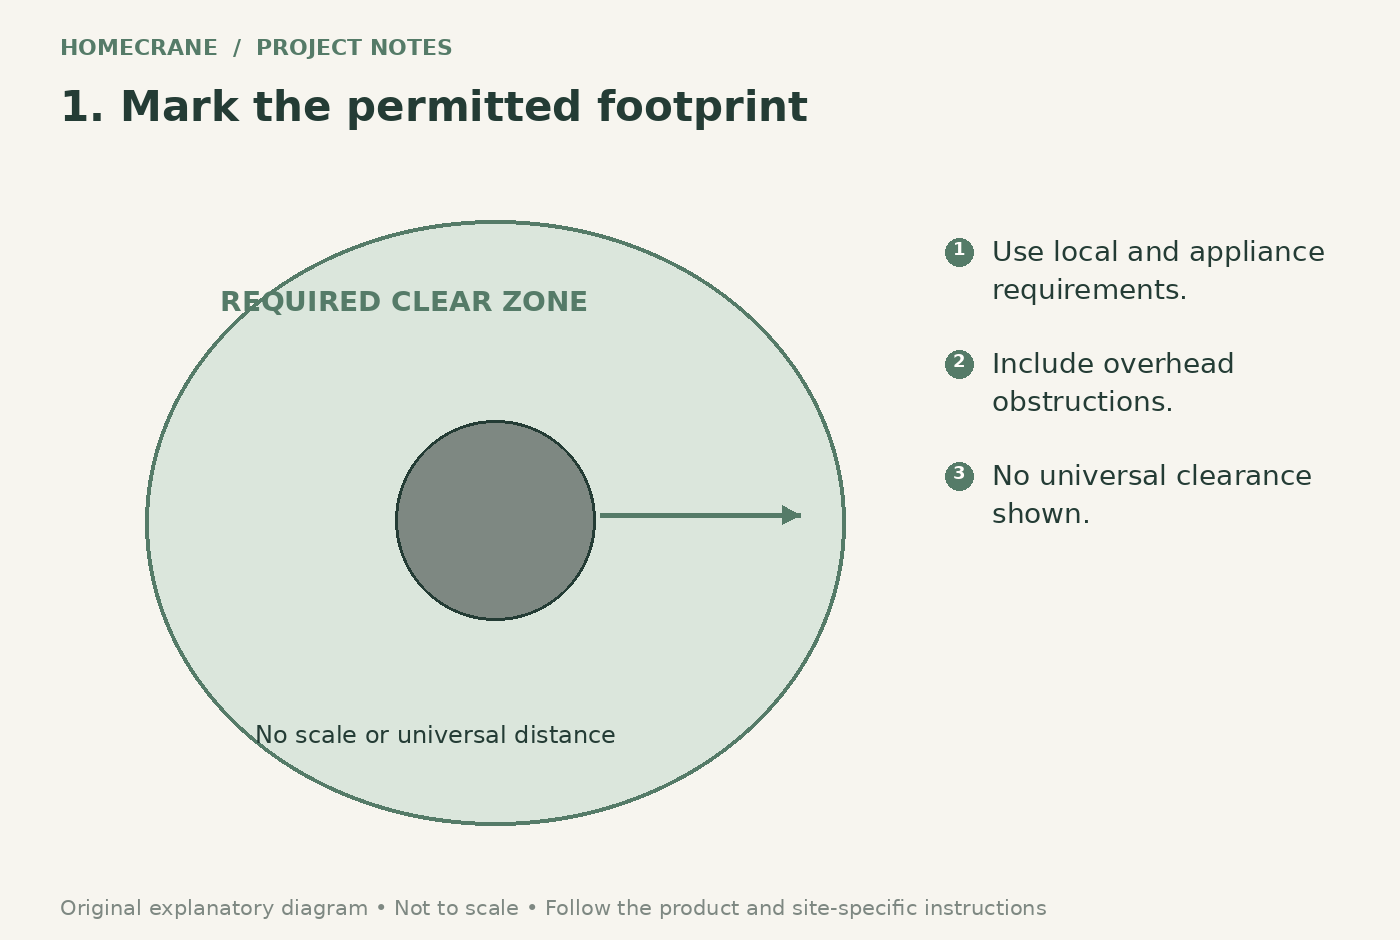
Choose a location that satisfies the stricter applicable requirements from the appliance instructions and local authority. Include nearby structures, fences, vegetation, overhangs, and furniture. Plan for the appliance in use, not merely the diameter of its metal bowl.
Mark the proposed seating positions and a clear route back to the house. Move chairs through the layout before digging. Keep combustible furniture and cushions outside the required zones. If the compliant footprint is larger than the yard allows, do not shrink clearances to preserve the design.
2. Choose a stable surface and drainage approach
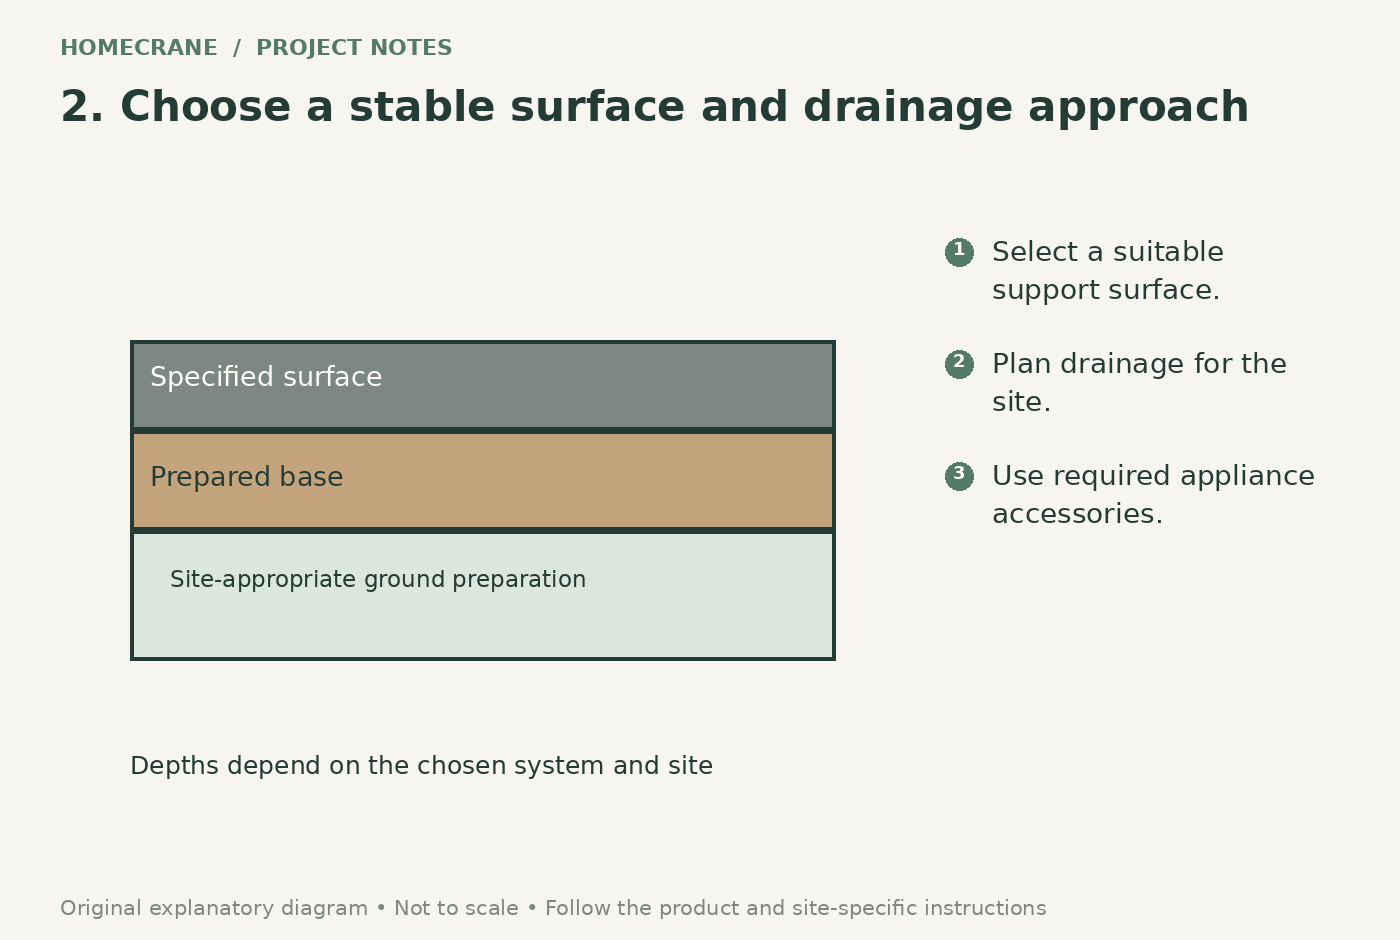
A ground-level aggregate area can be economical where soil, slope, and drainage make it suitable. The pit itself needs the support surface and any stand or heat protection required by its manufacturer. Solo Stove's guidance, for example, distinguishes among surfaces and accessories. [2]
Do not assume gravel alone makes every appliance installation acceptable. Plan drainage away from buildings without creating a problem for neighbors. If the site has poor drainage, a steep slope, or uncertain ground conditions, get local advice before building a surface that will settle or collect water.
3. Prepare and contain the seating area
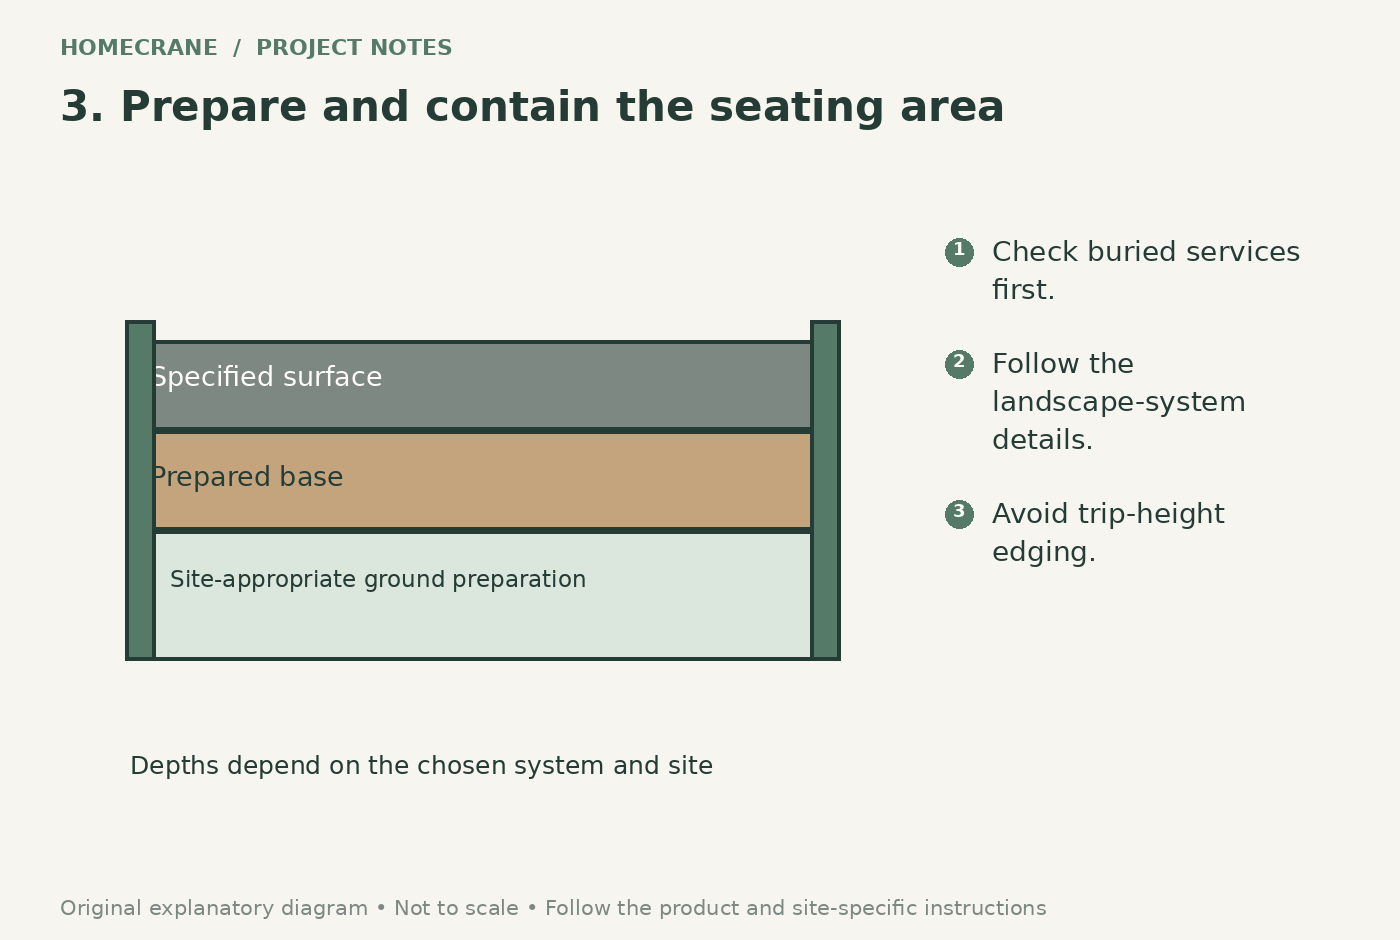
After required utility checks, remove unsuitable surface material and prepare the base for the selected landscape system. Follow the aggregate supplier's or paving system's instructions for depth, compaction, edging, and any separation layer appropriate to the site.
Keep edging secure and low enough to avoid creating a trip hazard. Measure quantities from the actual area and specified compacted depths rather than ordering an arbitrary number of bags. Do not build an improvised burn chamber from random landscape blocks, river rocks, or unverified materials as part of this seating project.
4. Add only the seats you can fit comfortably
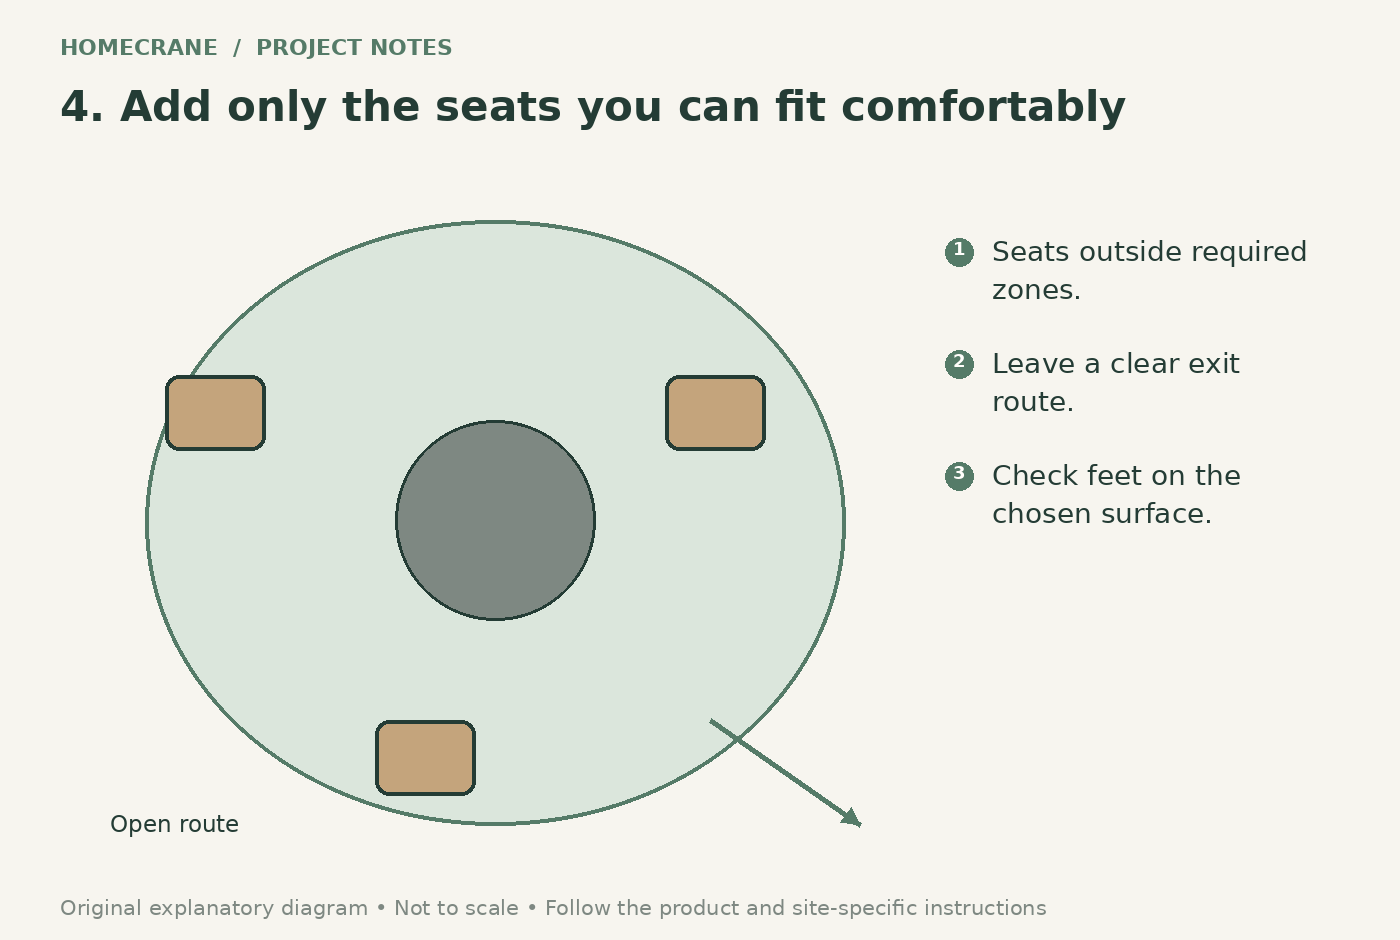
Start with a few stable outdoor chairs instead of a large permanent bench. Place them outside the appliance's required clearances and leave space to stand up and move away without crossing another person's seat.
Check chair feet on the finished surface. Small feet can sink into loose aggregate, so choose furniture and surfacing that work together. Keep combustible decor, rugs, and stored firewood out of the required clear zones. A modest side table can be useful, but it should not narrow the exit route.
5. Use and maintain the area as a system
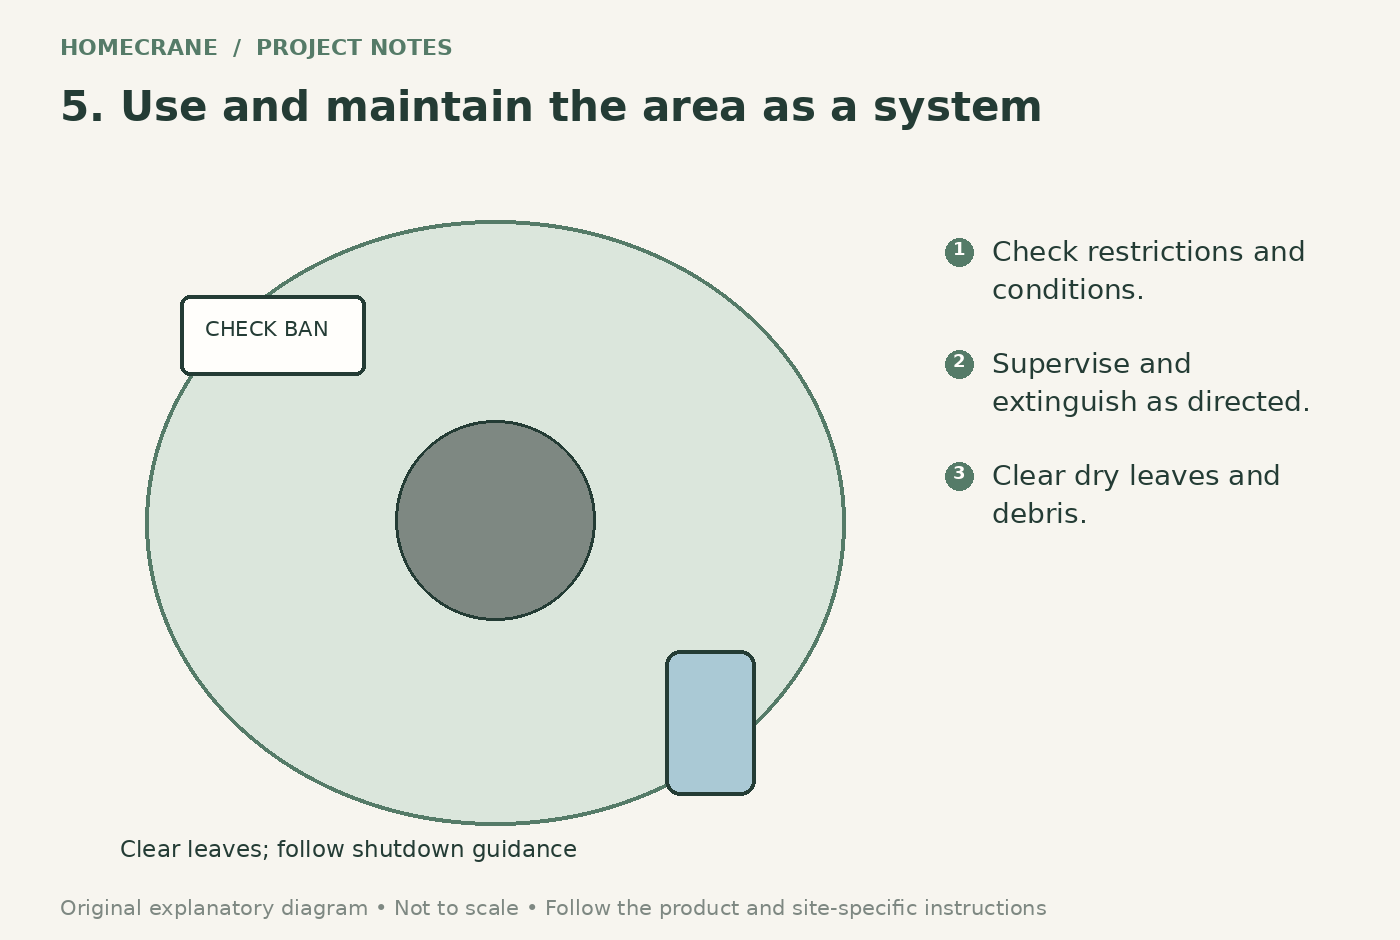
Before each use, check restrictions, wind, dry vegetation, and the appliance's condition. Keep appropriate extinguishing equipment available as directed and supervise the fire continuously. Follow the manufacturer's shutdown and ash-disposal instructions; an apparently quiet pit can still contain heat.
Inspect settlement, loose edging, weeds, and accumulated leaves regularly. Store cushions and loose accessories when not in use. Never use the appliance indoors, in a garage, or under an unapproved enclosure. A good-looking seating area remains successful only if its use and maintenance preserve the original safety plan.
Common questions and next steps
What is the cheapest useful upgrade? Reuse suitable outdoor chairs and keep the footprint simple. Spend first on a compliant location and stable surface, not decorative extras.
Can you use it on a deck? That is a separate appliance- and deck-specific decision. This guide describes a ground-level area and does not approve deck installation.
Should you build a gas burner yourself? No. Use a suitable manufactured system and qualified installation where required. This tutorial covers seating and landscape preparation, not fuel-system construction.
Sources and further reading
Research reviewed October 12, 2026.
Sources
- NFPA: campfire safety tips. Checked October 12, 2026
- Solo Stove: appliance support and surface considerations. Checked October 12, 2026
Share this article
Get new guides by email
Practical home articles and free resources. No spam, and you can unsubscribe at any time.
Keep reading
DIY Backyard Movie Theater Setup for a Small Patio
Turn a small patio into a cozy backyard movie theater with a compact projector, portable screen, space-saving seating, smart lighting, and safe setup tips.
November 2026, 12 min read
Budget DIY Outdoor Kitchen Ideas and Setup: Build a Stylish Cooking Space for Less
Explore budget DIY outdoor kitchen ideas, from grill carts and cinder block counters to affordable storage, lighting, shade, layout tips, and safety essentials.
November 2026, 12 min read
How to Hang Backyard String Lights: A Modern, Step-by-Step Guide
Learn how to hang backyard string lights with modern layouts, secure anchors, support cables, outdoor-rated hardware, and practical safety tips.
November 2026, 9 min read