How to Hang Backyard String Lights: A Modern, Step-by-Step Guide
Learn how to hang backyard string lights with modern layouts, secure anchors, support cables, outdoor-rated hardware, and practical safety tips.
By Home Crane Editors. . 9 min read.
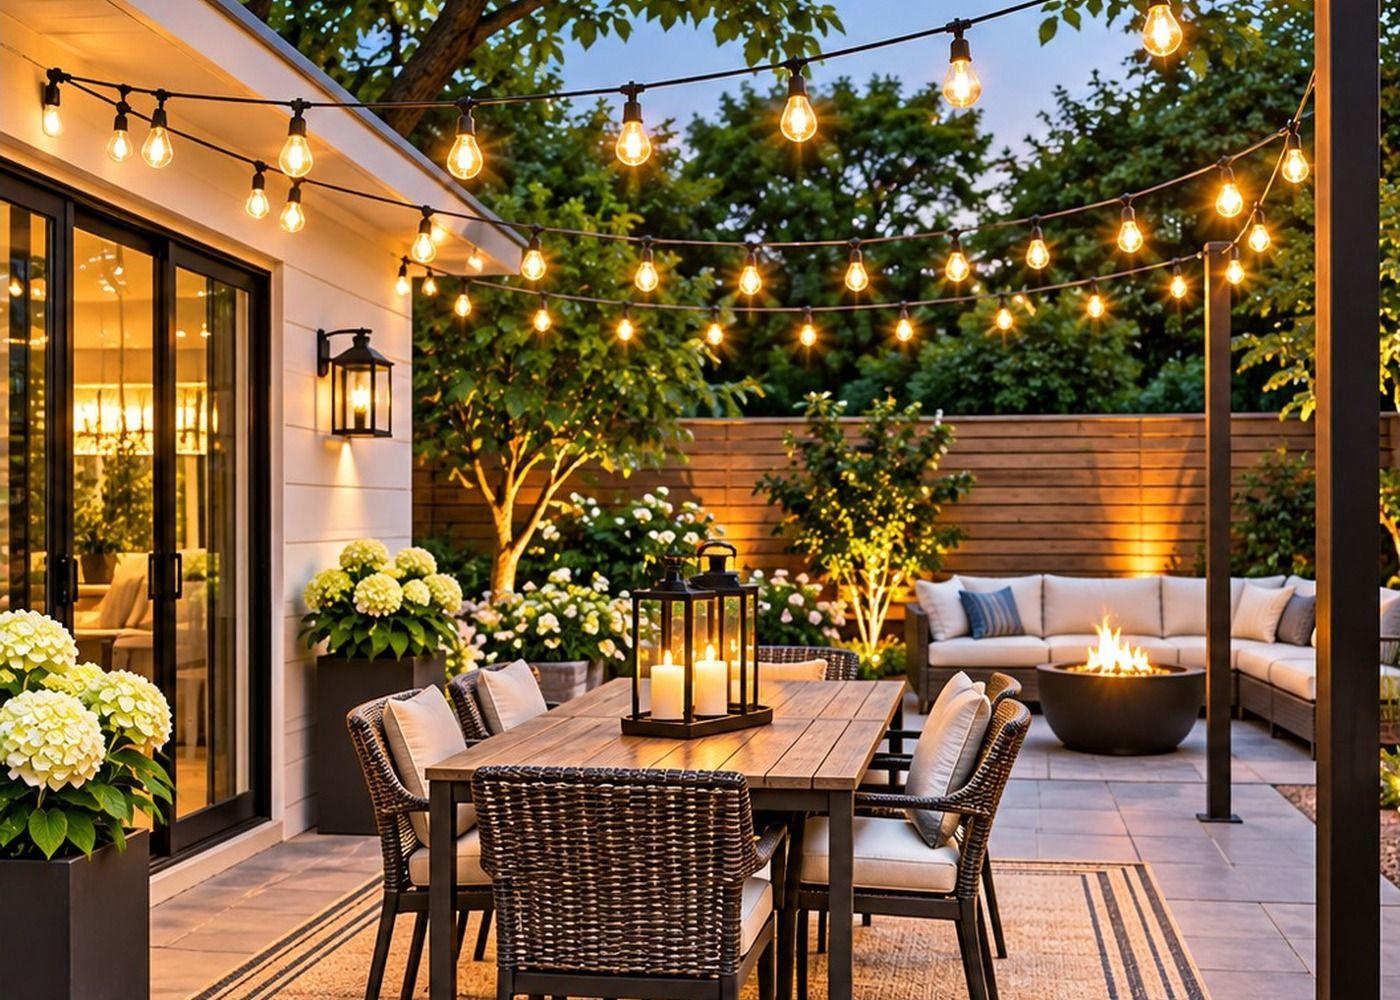
Backyard string lights can make an ordinary patio feel like an outdoor room. A clean run of warm bulbs above a dining table, a neat zigzag across a seating area, or a simple line along a pergola adds atmosphere without requiring a major landscape renovation. The secret to a modern result is planning the layout, choosing secure anchor points, supporting the cable properly, and keeping the installation tidy.
If you are wondering how to hang backyard string lights, start by measuring the space and deciding where the lights should go. Then select outdoor-rated lights and hardware, install anchors into suitable structural supports, add a guide wire when needed, and hang the light strand with enough slack to create a gentle, even curve.
1. Choose a Modern String Light Layout
The layout has a bigger effect on the final look than the number of bulbs. Sketch the patio and mark the house, posts, trees, pergola, fence, seating area, and power source before buying supplies.
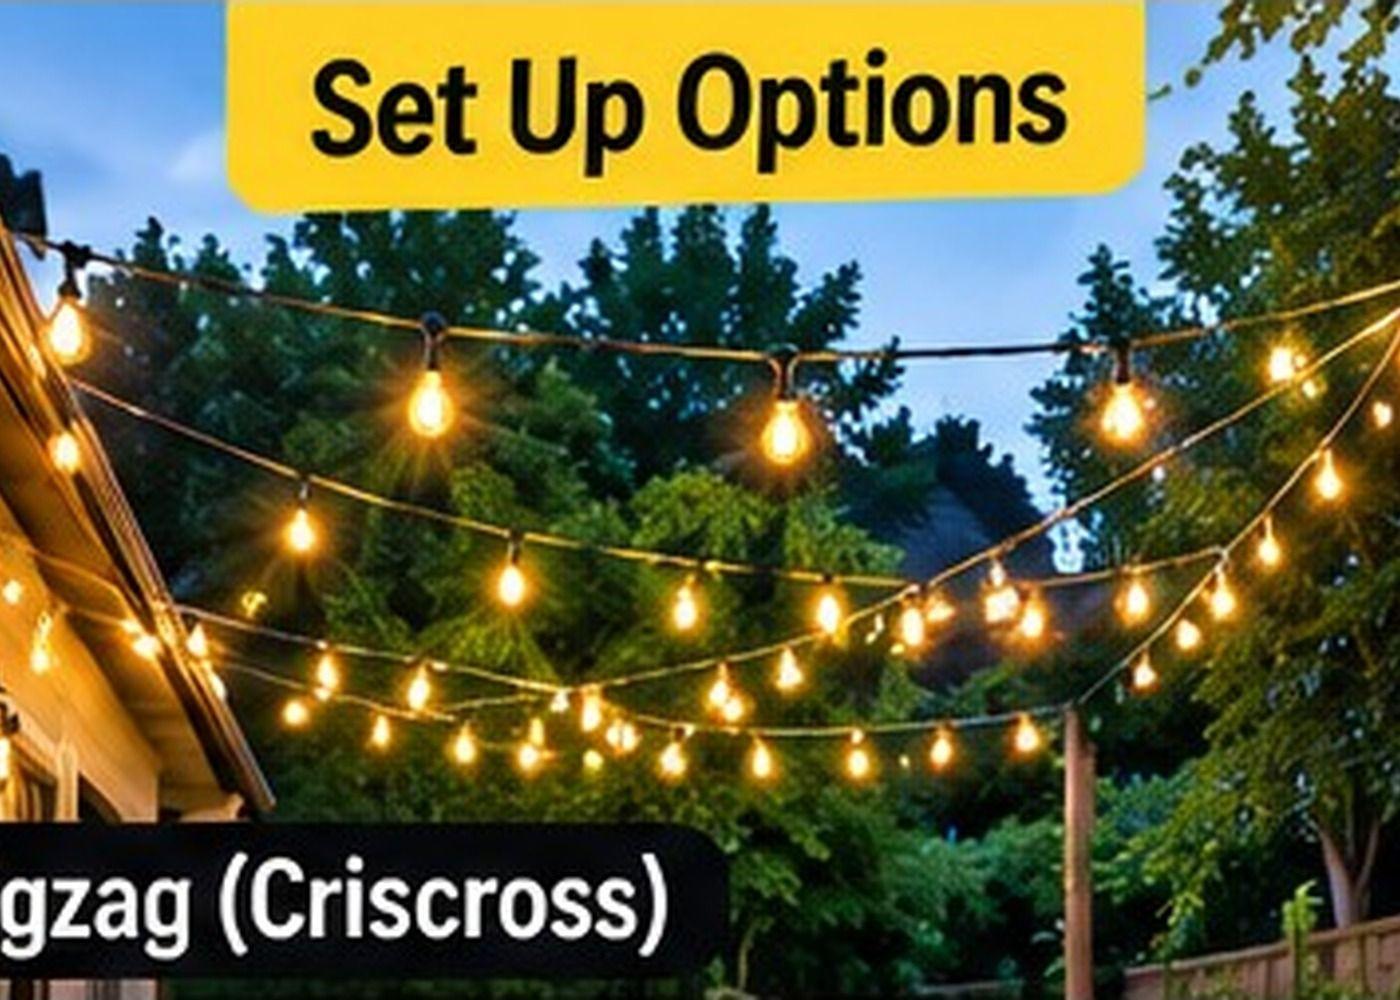
Zigzag or crisscross layout
A zigzag pattern runs the strand back and forth between anchor points. It works well over a rectangular patio because it spreads light across the space. Keep the turns consistent and avoid crossing the same point so many times that the ceiling of lights feels crowded.
Best for: patios with usable anchor points on opposite sides.
Parallel lines
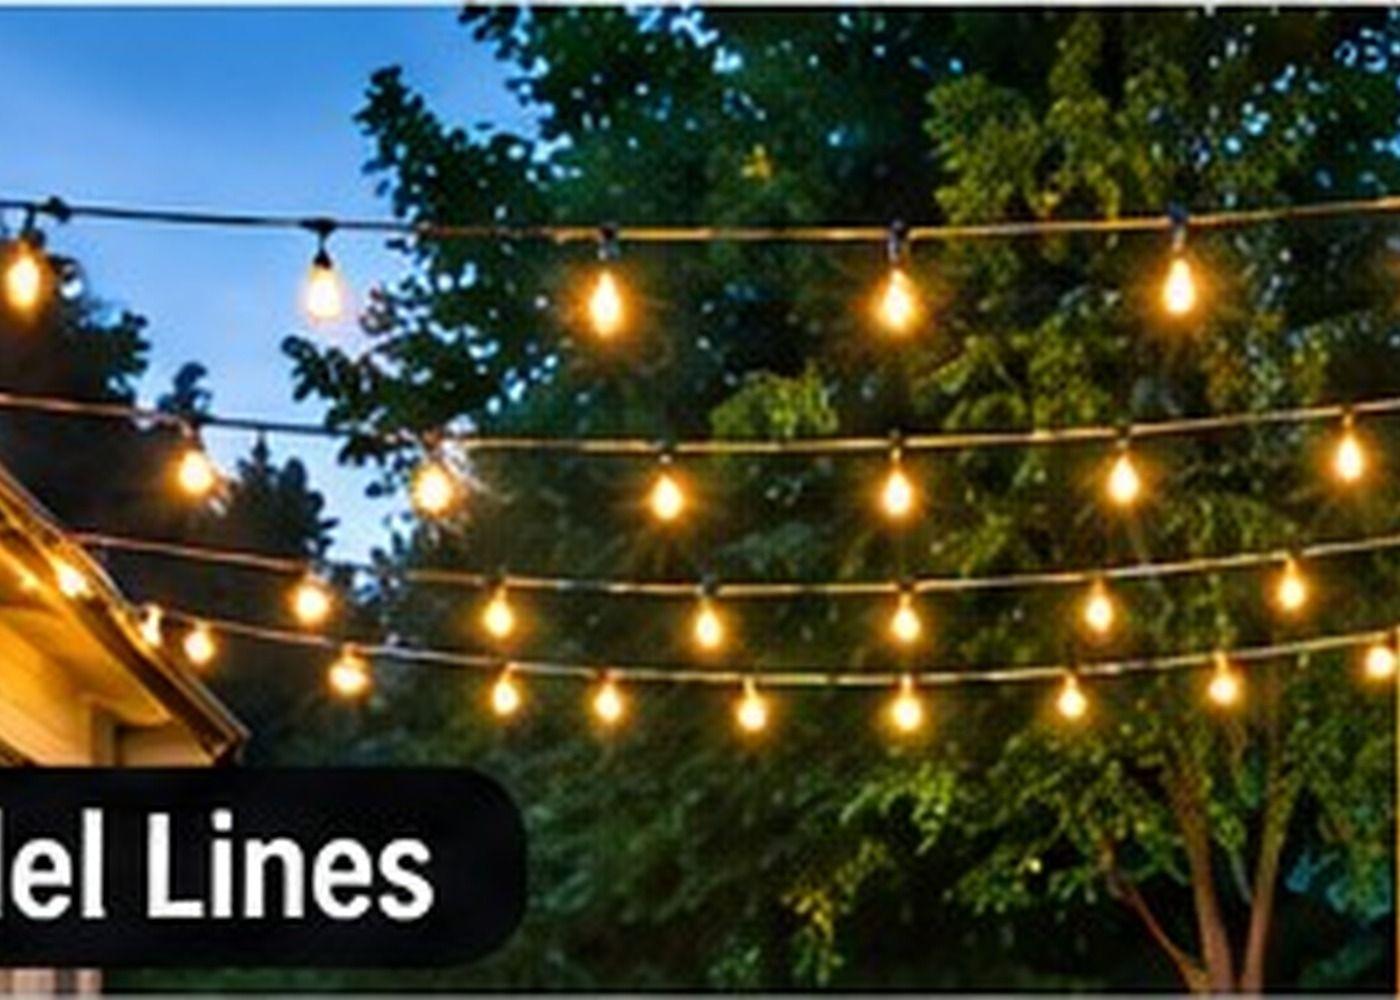
Parallel rows create a structured, contemporary look. They are effective above a long dining table, narrow patio, or outdoor kitchen. Keep the rows evenly spaced and use matching attachment heights.
Best for: modern homes, long patios, and pergolas.
Canopy or tent-style layout
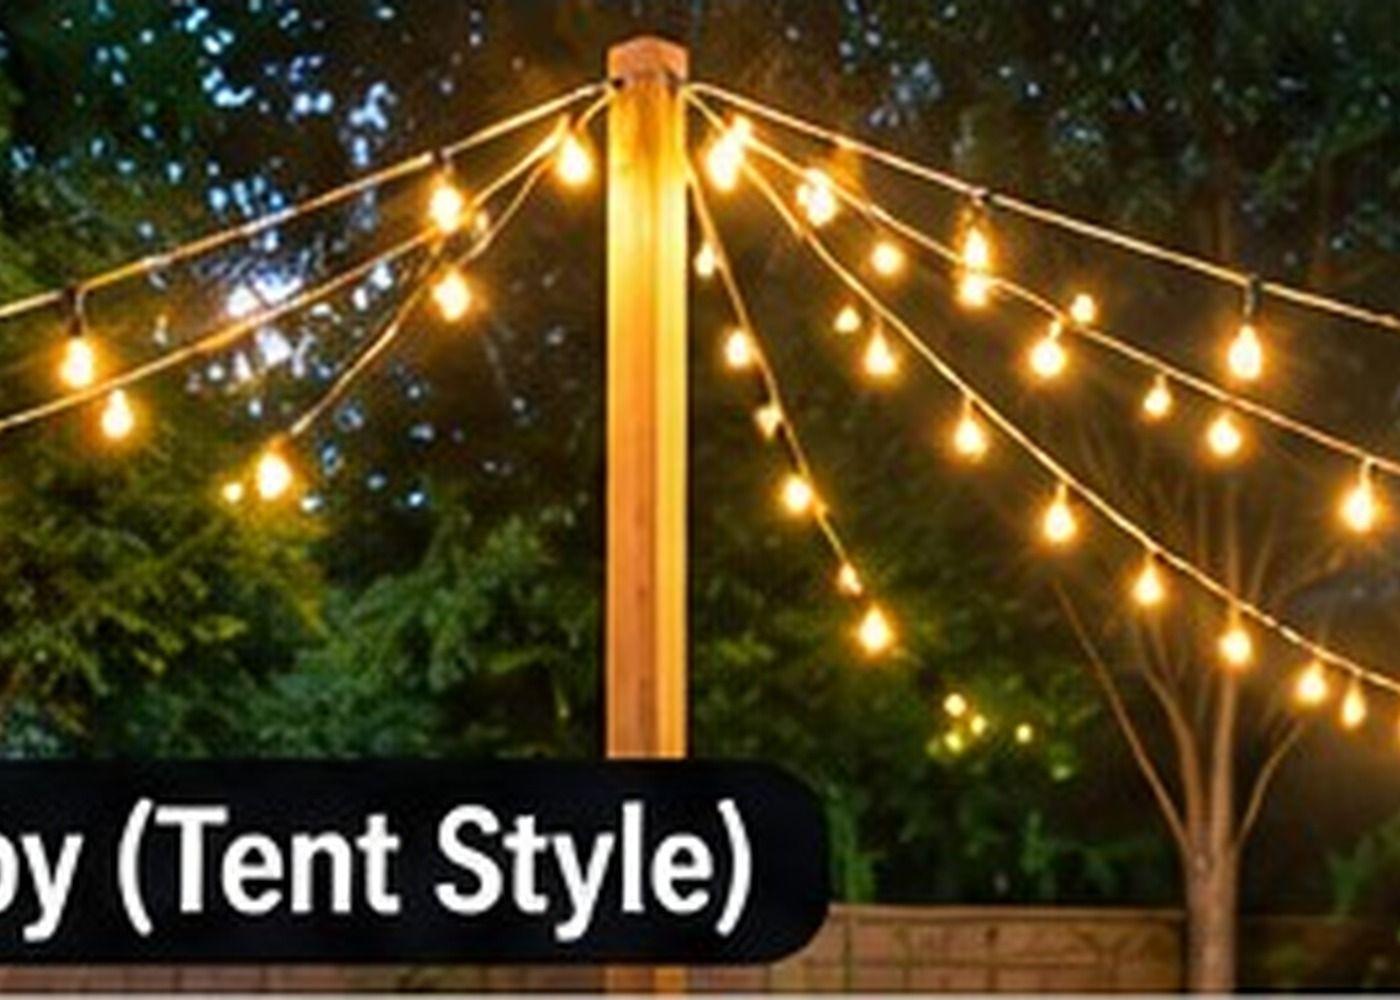
A canopy arrangement sends several strands from a central point toward the perimeter. It creates a festive ceiling effect and can define a lounge zone. The central support must be strong enough for the combined load, and no low point should hang over a walkway.
Best for: a defined lounge or dining zone with a suitable central support.
Perimeter outline
A simple perimeter run follows the edge of a fence, pergola, or patio roof. It is often the least visually busy option and suits smaller yards.
Best for: minimal outdoor designs and narrow yards.
2. Measure Before You Buy
Measure the route each strand will follow, not just the straight-line distance between two points. A zigzag or canopy uses more cable than one straight run.
Record the distance between anchor points, the number of passes, the location of the outdoor-rated power source, the lowest point of each strand, and any doors, gates, grills, or overhead obstacles. Add a little length for curves and routing, but do not buy a strand that must be stretched tightly to reach the final anchor.
Check the manufacturer's maximum connectable strand count and electrical limits before connecting multiple sets. For a larger yard, mark the proposed route with temporary string before installing hardware.
3. Choose Outdoor-Rated String Lights
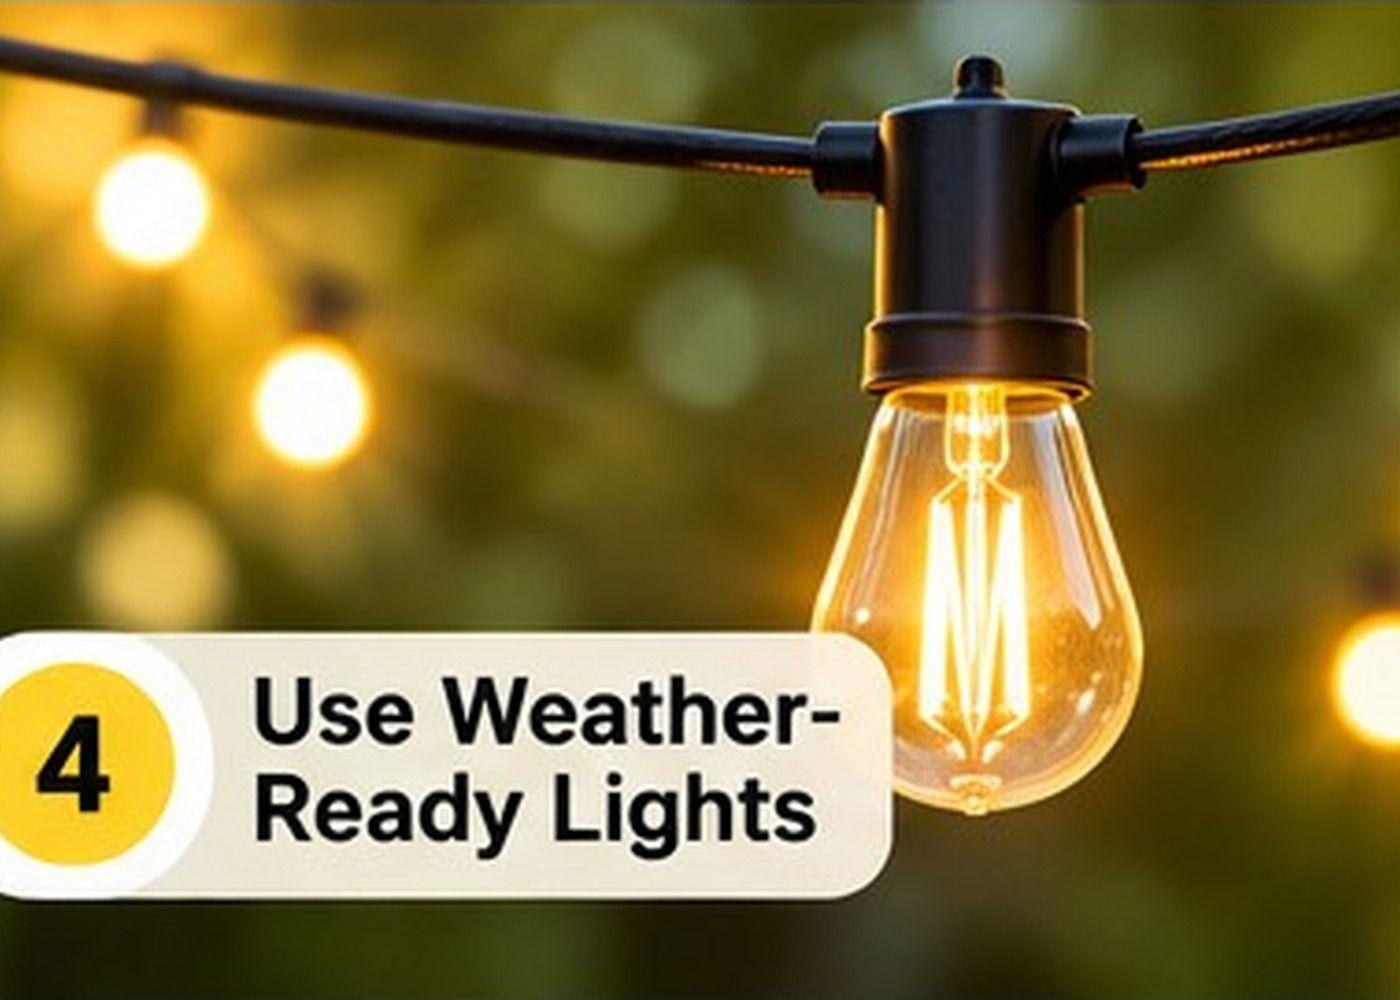
Choose lights specifically marked for outdoor use. Read the manufacturer's weather-resistance information, temperature range, and instructions for permanent or seasonal installation. An IP rating, when provided, describes protection under defined test conditions; it does not mean a product can be submerged or used in every weather condition.
Pick a bulb style
- Exposed bulbs: a familiar café or bistro look.
- Small globe bulbs: subtle and contemporary.
- Edison-style LED bulbs: vintage appearance with LED efficiency.
- Compact integrated LED strands: a minimal profile.
Warm white light is a comfortable starting point for a relaxing patio. Check the color temperature on the packaging; many people prefer approximately 2200K to 2700K for a cozy evening atmosphere. Cooler white light can feel more functional.
Compare cable material, socket construction, bulb replacement availability, stated lifespan, warranty, and whether the strand is dimmable. Use only a dimmer approved for the specific light set.
4. Gather the Materials and Tools
| Feature | Purpose | |
|---|---|---|
| Outdoor-rated string lights | Decorative lighting | |
| Outdoor support cable or guide wire | Carries tension when required | |
| Rated eye screws or mounting hardware | Secure anchor points | |
| Turnbuckles and compatible fittings | Adjust support-cable tension | |
| Cable clips or rated connectors | Secure the cable | |
| Outdoor-rated extension cord, if permitted | Reaches a suitable receptacle | |
| Measuring tape and pencil | Plans spacing | |
| Drill and appropriate bits | Installs compatible anchors | |
| Properly rated ladder | Accesses high mounting points |
Use hardware compatible with the actual support material. A screw designed for solid timber is not automatically suitable for masonry, hollow siding, thin fascia, or a tree. Identify framing and hidden services before drilling. If you are unsure what is behind a surface, consult a qualified installer.
5. Plan Strong Anchor Points
A neat installation begins with reliable supports. Common anchor locations include structural wood posts, pergola beams, properly framed eaves, and purpose-installed poles. Supports must carry the weight of the lights and forces created by wind and cable tension.
Attach to structural framing
For a house-side attachment, use a suitable structural member rather than thin trim, gutters, or unsupported decorative boards. Check for hidden wiring, plumbing, and other services before drilling. Use fasteners rated for the material and installation.
Use dedicated poles in open yards
A freestanding pole system can create a lighting zone where there are no natural supports. Choose poles and bases designed for outdoor string lights and install them according to their instructions. A lightweight decorative stake may not be adequate for a long, tensioned cable.
Be cautious with trees
Avoid driving screws or nails into a living tree without appropriate arboricultural guidance. Tree growth can change the tension and position of the installation. A purpose-built pole or structural post is often a better long-term solution.
Keep lights clear of hazards
Do not route strings where they can contact overhead power lines, block exits, interfere with gates, or hang over a grill or fire feature. Maintain required clearance from electrical service conductors and follow local electrical and building requirements. If the route approaches utility lines, stop and contact the utility or a qualified professional.
6. Install a Support Cable for Longer Runs
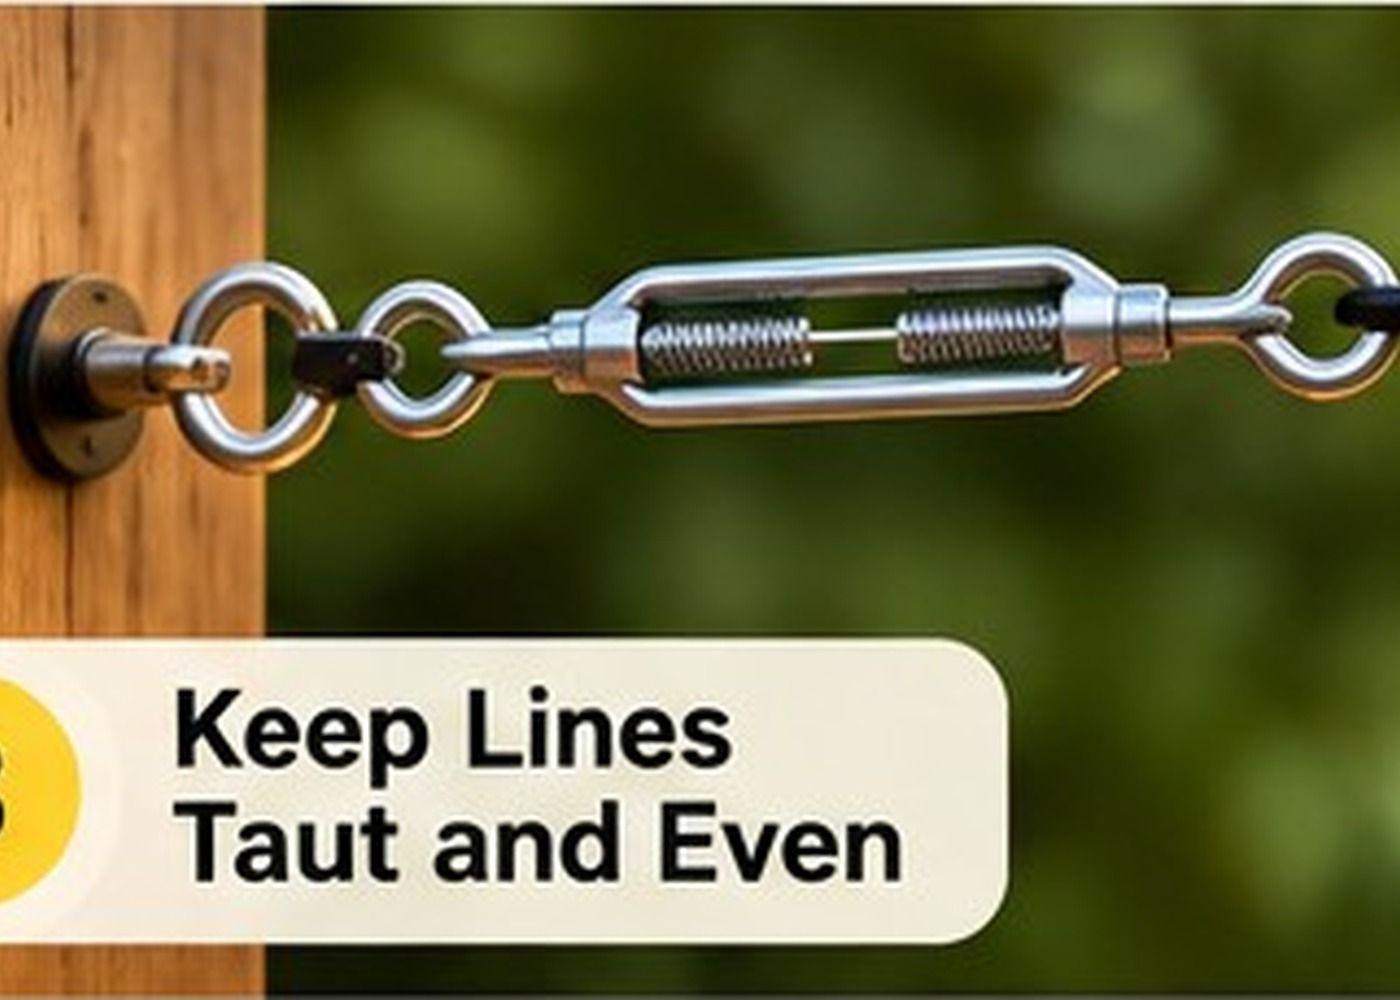
For a long span or a layout that needs tension, a separate support cable can carry the load instead of making the light cord act as the structural line. This is useful when the light manufacturer recommends a guide wire.
A typical system uses properly rated wire rope, compatible eye attachments, cable fittings, and a tensioning device such as a turnbuckle. Components must be matched to the span, support material, and expected load.
- Mark anchor positions and confirm that each support is structurally suitable.
- Install compatible anchors according to their instructions.
- Attach the support cable using the specified fittings.
- Adjust the cable to remove excessive sag without over-tensioning the anchors.
- Check connections and clearance before attaching the light strand.
Do not improvise with craft wire, zip ties, or hardware without a suitable load rating. Do not pull a cable so tight that it places unnecessary force on a post or wall. For long spans, strong wind exposure, or installations above areas where failure could injure someone, have the support system designed or installed by a qualified professional.
7. Hang the String Lights
Attach the lights using the clips, loops, or fittings specified by the manufacturer. Work from a stable ladder on firm, level ground, and have another adult assist with ladder safety where appropriate.
Keep a gentle, consistent curve in each span. A little sag can look intentional and avoids the temptation to stretch the strand tight. The right amount depends on the product and span, so follow the manufacturer's guidance.
For a modern look, keep bulb spacing visually consistent, align parallel rows, place the first and last bulbs deliberately, keep the lowest point out of walking routes, and route the power lead discreetly. Avoid twisting or sharply bending the cable around corners.
Do not use light sockets or thin electrical cord as a substitute for structural cable support when the manufacturer calls for a guide wire.
8. Protect Electrical Connections
Install and connect outdoor lighting according to product instructions and applicable electrical rules. Use an outdoor-rated receptacle and any required ground-fault circuit-interrupter (GFCI) protection. In the United States, outdoor receptacle and GFCI requirements are addressed by the National Electrical Code and local adoption; requirements vary by installation and jurisdiction.
Keep plugs and connections out of standing water and protect them using the weatherproof covers or connection methods specified by the manufacturer. Do not wrap a connection in a way that traps moisture or conflicts with the product instructions. Use an extension cord only if it is outdoor-rated and suitable for the load and length.
Avoid overloading receptacles, daisy-chaining unapproved extension cords, or connecting more strands than the manufacturer permits. If a receptacle needs to be added, wiring needs modification, or the installation is near a pool or other special location, hire a licensed electrician familiar with local code.
9. Style the Lights for a Modern Backyard
A modern look comes from restraint and consistency. The lights should complement the architecture rather than compete with every other feature in the yard.
Repeat one bulb shape
Choose one bulb style across the main patio. Mixing several shapes can make a small yard feel visually busy. A consistent warm glow creates a calmer ceiling line.
Coordinate cable and hardware
Black cable and dark hardware can recede against a shadowed background, while stainless hardware can suit contemporary metal structures. Match the finish to the pergola, fence, or furniture where practical.
Layer with existing lighting
String lights are ambient lighting, not necessarily task lighting. Combine them with low path lights, wall sconces, or a focused fixture where people cook, read, or prepare food. Balance the brightness so the bulbs do not overwhelm the seating area.
Make the seating zone the focal point
Run the main pattern over the table or lounge area rather than covering every corner. This makes the arrangement feel purposeful and preserves darker areas around planting beds and property edges.
10. Common Mistakes to Avoid
- Hanging from weak trim, gutters, or decorative boards.
- Stretching the strand too tightly and overloading anchors.
- Ignoring wind exposure and the forces on poles and support cables.
- Using indoor-only lights outdoors.
- Leaving electrical connections exposed to water.
- Blocking walkways with low-hanging strands.
- Connecting more strands than the manufacturer permits.
- Skipping inspections after storms or seasonal changes.
11. Maintain the Installation
Inspect the installation at the beginning of each outdoor season and after severe weather. Look for loose anchors, corrosion, frayed cable, cracked sockets, damaged insulation, and bulbs that have collected water or debris. Switch off and unplug the system before handling or servicing it, following product instructions.
If a storm, heavy snow, or high wind is expected, follow the manufacturer's guidance for removing or securing the lights. Some seasonal installations are best taken down during harsh weather. Replace damaged components with parts approved for the product rather than making improvised repairs.
Keep spare bulbs and compatible replacement parts in a dry location. Clean bulbs only as directed by the manufacturer and never spray electrical connections with a hose.
Frequently Asked Questions
How high should backyard string lights be hung?
There is no single height for every yard. The lowest point should provide comfortable clearance for people walking, standing, and carrying items, while still creating the intended atmosphere. Measure the finished clearance from the walking surface and account for cable sag. Keep strands away from doors and gates.
Do I need a guide wire for outdoor string lights?
Not always. Short installations may be designed to hang directly from suitable supports, but longer spans or tensioned layouts often benefit from a separate support cable. Follow the light manufacturer's instructions and use a support system rated for the span and conditions.
Can I attach string lights to a wooden fence?
Only if the fence post or attachment point is structurally suitable for the load and wind forces. A thin fence picket or decorative panel may not be strong enough. Consider dedicated poles if the fence is not designed to carry the installation.
What is the best pattern for a small backyard?
A simple perimeter run or two neat parallel rows usually works well. A dense canopy can feel crowded and create too many low points. Keep the pattern over the main seating zone.
Can outdoor string lights stay up all year?
That depends on the product rating, installation, and local weather. Check the manufacturer's instructions for permanent outdoor use and seasonal removal. Inspect hardware and wiring regularly, especially after storms.
Are LED string lights better for a backyard?
LEDs generally use less energy than comparable incandescent bulbs and produce less heat. Compare brightness, color temperature, dimmer compatibility, weather rating, and replaceability before buying.
Can I plug backyard string lights into an extension cord?
Use an extension cord only when the manufacturer permits it and the cord is rated for outdoor use and the electrical load. Keep connections protected as directed. For a permanent outdoor receptacle, consult a licensed electrician.
Final Thoughts
The best way to hang backyard string lights is to plan the pattern around the space, use outdoor-rated products, and support each span with hardware suited to the structure. Zigzags add a relaxed café feel, parallel lines create a crisp modern ceiling, and a canopy can define a lounge area.
Measure before buying, avoid weak anchor points, keep strands clear of walkways and overhead hazards, and follow the manufacturer's electrical and installation instructions. With a simple layout and careful support, backyard string lights can make an outdoor space feel welcoming without making it look cluttered.
Sources
- U.S. Consumer Product Safety Commission: Holiday and Decorative Lighting Safety. Checked November 7, 2026
- Electrical Safety Foundation International. Checked November 7, 2026
- National Fire Protection Association: Electrical Safety. Checked November 7, 2026
- U.S. Department of Energy: LED Lighting. Checked November 7, 2026
- OSHA: Ladder Safety. Checked November 7, 2026
- NFPA 70: National Electrical Code. Checked November 7, 2026
Share this article
Get new guides by email
Practical home articles and free resources. No spam, and you can unsubscribe at any time.
Keep reading
DIY Backyard Movie Theater Setup for a Small Patio
Turn a small patio into a cozy backyard movie theater with a compact projector, portable screen, space-saving seating, smart lighting, and safe setup tips.
November 2026, 12 min read
Budget DIY Outdoor Kitchen Ideas and Setup: Build a Stylish Cooking Space for Less
Explore budget DIY outdoor kitchen ideas, from grill carts and cinder block counters to affordable storage, lighting, shade, layout tips, and safety essentials.
November 2026, 12 min read
How to Build a Cheap DIY Outdoor Fire Pit Seating Area
Plan a budget seating area around a manufactured fire pit with suitable clearances, a stable surface, drainage, and practical maintenance.
October 2026, 3 min read