DIY Backyard Movie Theater Setup for a Small Patio
Turn a small patio into a cozy backyard movie theater with a compact projector, portable screen, space-saving seating, smart lighting, and safe setup tips.
By Home Crane Editors. . 12 min read.
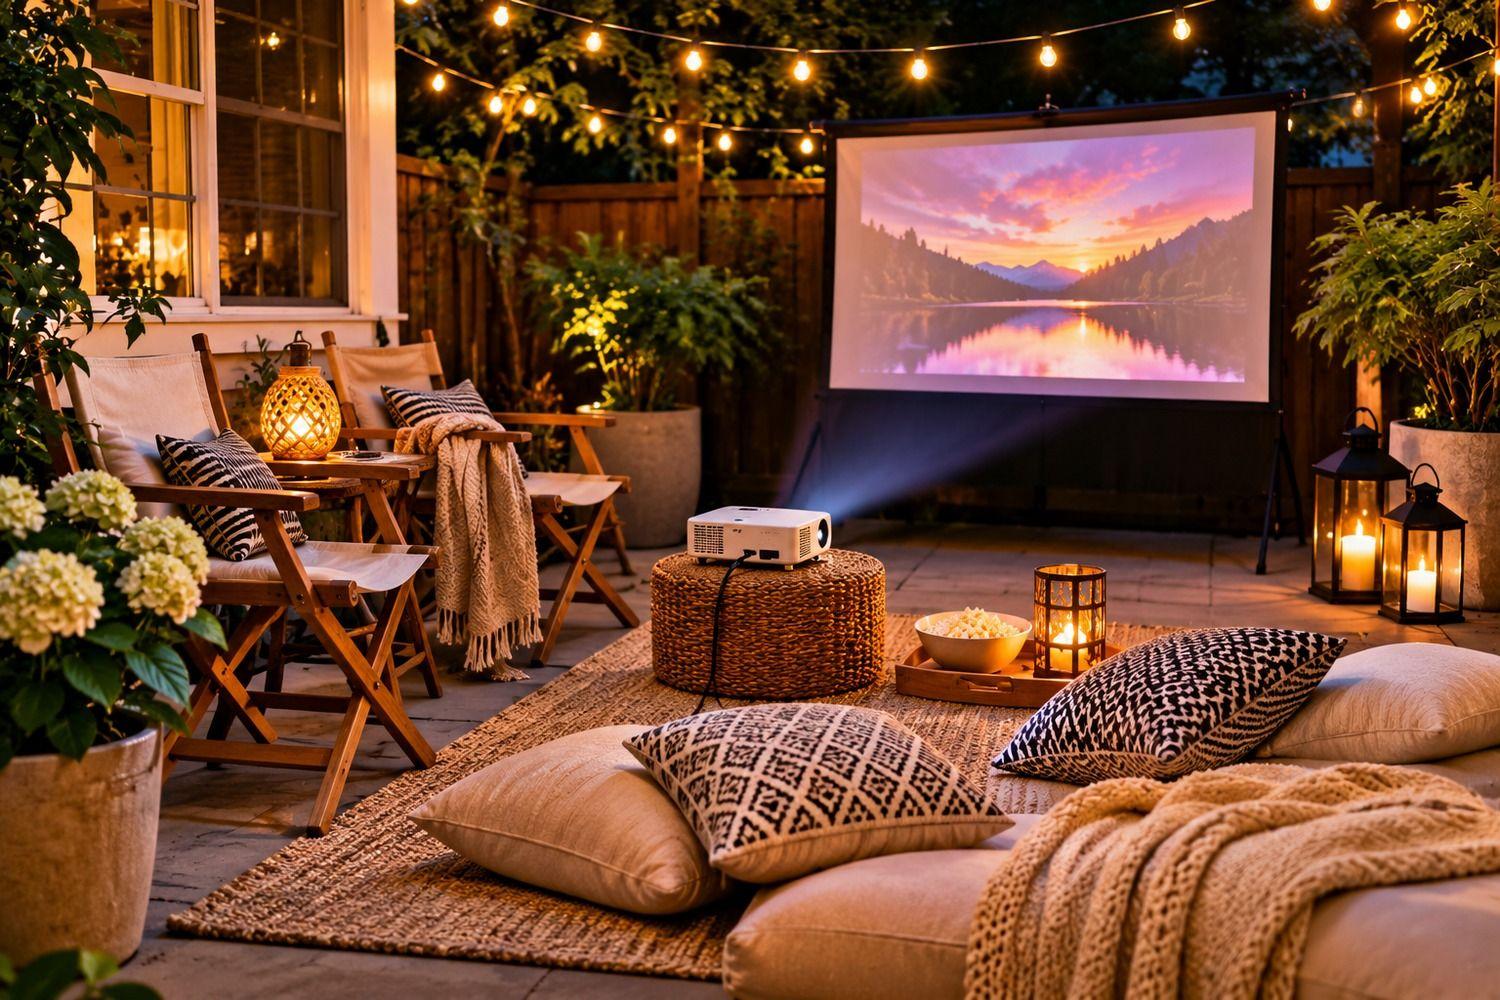
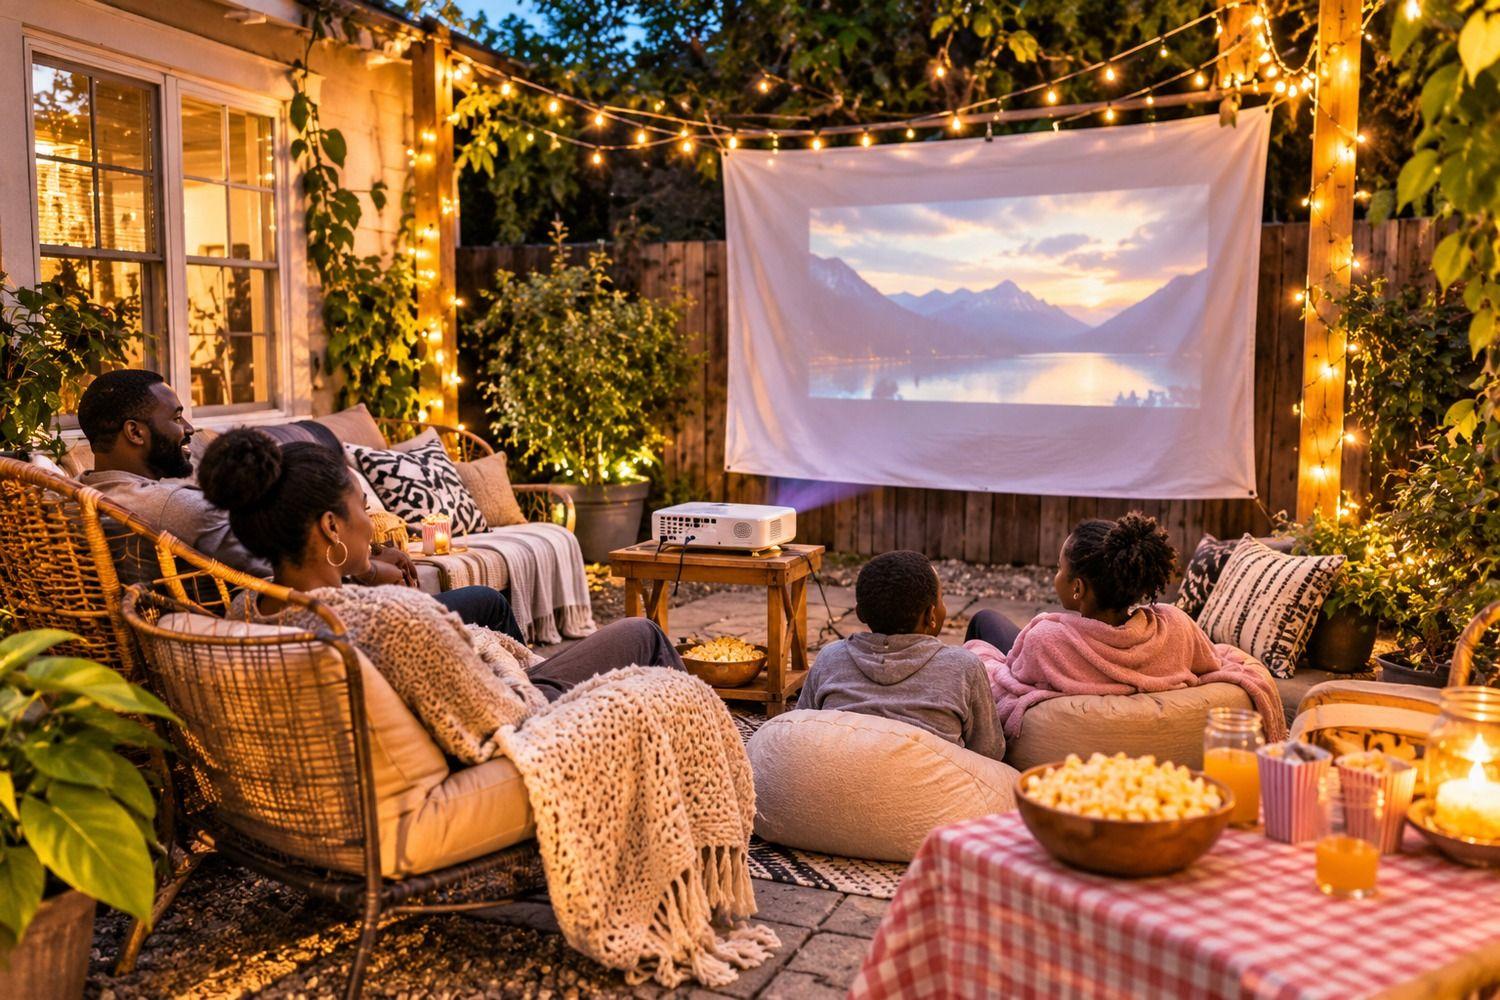
A small patio can become a surprisingly inviting outdoor movie theater without a permanent screen, bulky furniture, or a complicated renovation. The secret is to keep the setup compact: choose a screen that suits the viewing distance, place the projector where people will not trip over it, use flexible seating, and control light so the picture stays clear.
You do not need a huge backyard to create a memorable movie night. A narrow townhouse patio, apartment terrace, or modest paved courtyard can work with a portable screen, a short-throw projector if space is tight, and a few comfortable seats. The best setup is one you can assemble in minutes and put away when the patio needs to return to everyday use.
This guide walks through a practical DIY backyard movie theater setup for a small patio, from choosing equipment to arranging seating, lighting, sound, storage, and weather protection.
1. Measure the Patio Before Buying Anything
Start with a tape measure rather than a shopping cart. Record the usable width and depth, then note doors, steps, railings, planters, outdoor outlets, and the path people use to move through the space. The goal is to create three simple zones: the screen, the viewing area, and a clear circulation route.
A compact patio often works best when the screen sits against the shortest solid boundary and the seats face it lengthwise. This can preserve a walkway along one side. If the patio is almost square, place the screen against the wall with the fewest windows or lights shining toward it.
Measure the distance from the likely projector position to the screen. Projectors have different throw ratios, so the distance needed for a particular image size varies by model. Check the manufacturer’s throw-distance calculator or manual before settling on a screen size. A 60- to 80-inch diagonal image may be more comfortable than a giant screen if viewers will sit only a few feet away. Epson’s projector guidance emphasizes matching screen size to the room and viewing distance rather than choosing the largest possible image.
Make a quick floor plan using masking tape or cardboard to mark the screen footprint, chair positions, and projector table. This inexpensive test can reveal whether the layout feels cramped before you buy equipment.
2. Choose a Screen That Fits the Space
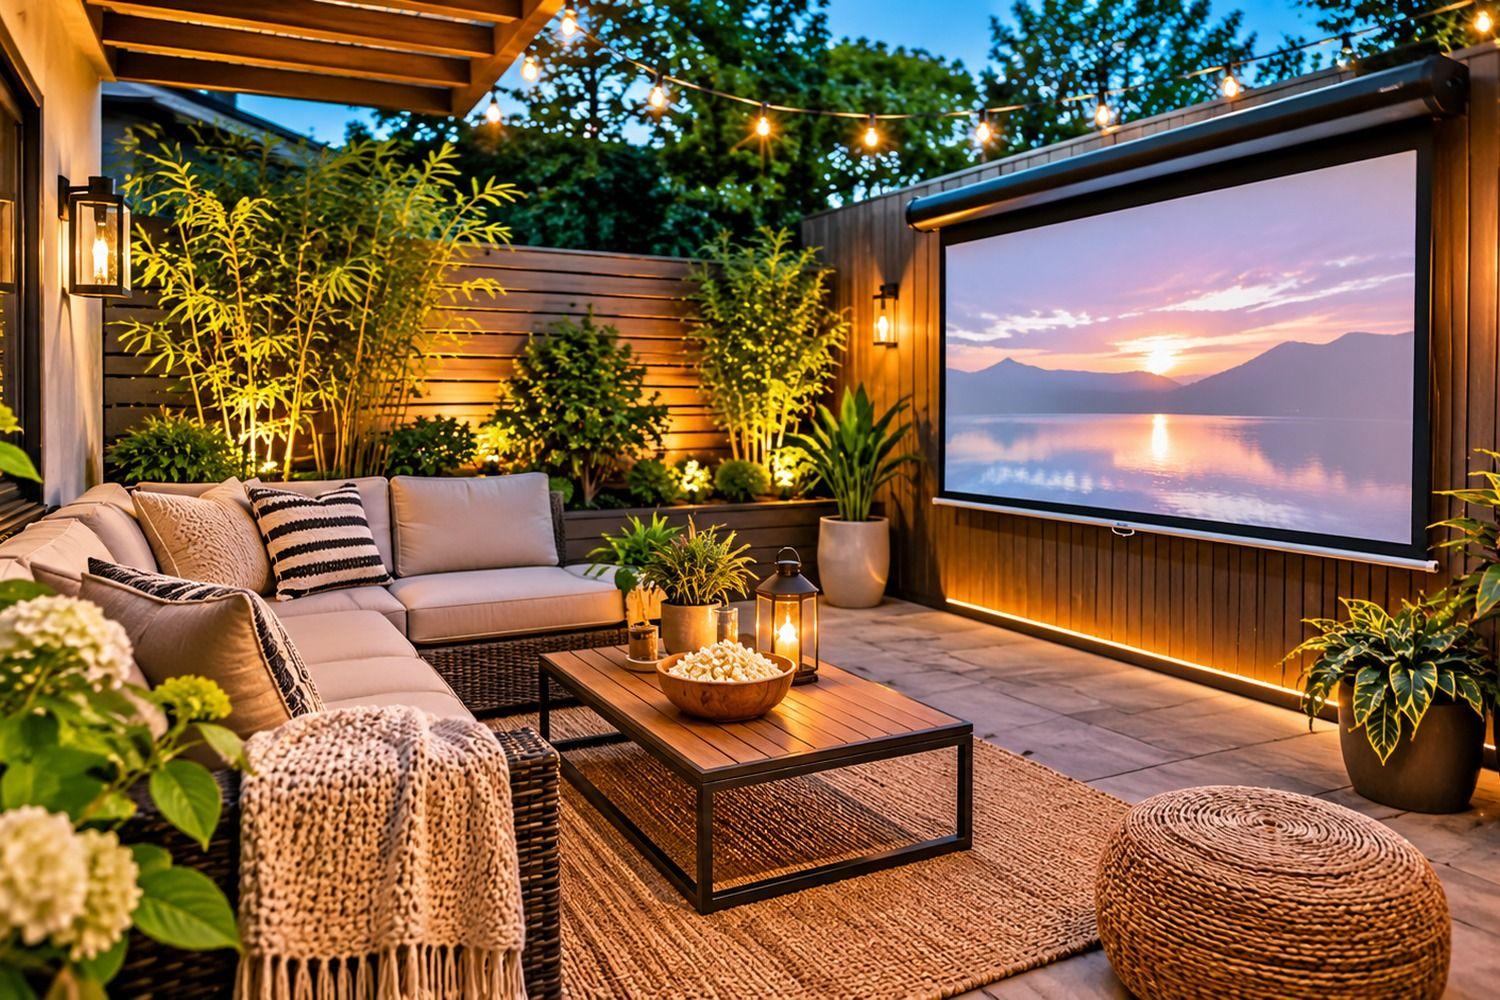
A portable folding screen is convenient because it can be stored indoors after each movie night. Look for a stable frame, a taut viewing surface, and a footprint that leaves room for seating. For a very small patio, a compact tripod screen or a tabletop screen may be enough.
A tensioned fabric screen generally gives a cleaner picture than a loose sheet because wrinkles and folds can distort the image. If you want a low-cost DIY option, use a smooth, matte-white projection fabric or a clean, tightly stretched white sheet on a simple frame. Secure it evenly so it does not sag. Avoid glossy white plastic, which can create distracting reflections.
A blank exterior wall can also work if it is smooth, pale, and free of strong texture. Test it before relying on it: stucco, brick, siding grooves, and uneven paint can all show through the image. A wall is convenient, but a portable screen is easier to position and remove.
For renters, freestanding equipment is usually the most flexible choice. Avoid drilling into exterior walls, fences, or shared structures unless you have permission. Use weighted bases or manufacturer-approved anchors rather than improvised hooks that could damage property.
3. Pick a Projector for Outdoor Viewing
The projector is the heart of the setup, but the most expensive model is not automatically the best choice for a small patio. Consider four things: brightness, resolution, throw distance, and the connections you need.
Brightness: Outdoor viewing is affected by every nearby light source. A porch light, streetlamp, illuminated window, or string light aimed toward the screen can wash out the picture. Plan to start after sunset and choose a projector with a brightness rating appropriate for your screen size and conditions. Compare standardized ANSI or ISO lumen specifications where available; be cautious about vague “LED lumens” or marketing claims that are not directly comparable.
Resolution: Full HD (1080p) is a sensible starting point for many casual movie nights. Higher resolution can look sharper on a larger screen, but it will not compensate for a dim image, poor focus, or a wrinkled screen.
Throw distance: Standard-throw models need more room between the lens and screen. A short-throw model can create a larger image from a closer position, which may be useful on a shallow patio. Check the exact model’s throw ratio and lens-placement instructions. Do not assume that every mini projector can create a large image from a few feet away.
Connections: Decide how you will play the movie. Options include a streaming stick, laptop, media player, or a projector with built-in streaming. Test the Wi-Fi signal at the patio before movie night. If the signal is weak, download permitted content in advance or use a wired connection where supported.
Place the projector on a stable, level table or stand. Keep the lens clear, leave ventilation space around the unit, and protect it from dew and accidental splashes. Most home projectors are not weatherproof; bring the equipment indoors after use.
4. Arrange the Screen and Projector for a Clean Picture
Set up the screen first, then position the projector according to its manual. Aim the lens squarely at the center of the screen and use optical zoom or lens shift when available. Digital keystone correction can help with small alignment errors, but heavy correction may reduce usable image detail.
Keep the projector out of the main walking path. A low side table near the back of the seating area can work, provided the beam is unobstructed and the unit is far enough away to create the chosen image size. If the projector must sit in front of the seats, mark the location clearly and route cables along the patio edge.
Do a focus and framing check while there is still enough light to see the equipment. Then repeat the test after dark. Turn off nearby lights that shine directly onto the screen, but keep low-level path lighting for safe movement. The screen should be visible without making the patio completely hazardous to navigate.
5. Use Space-Saving Seating
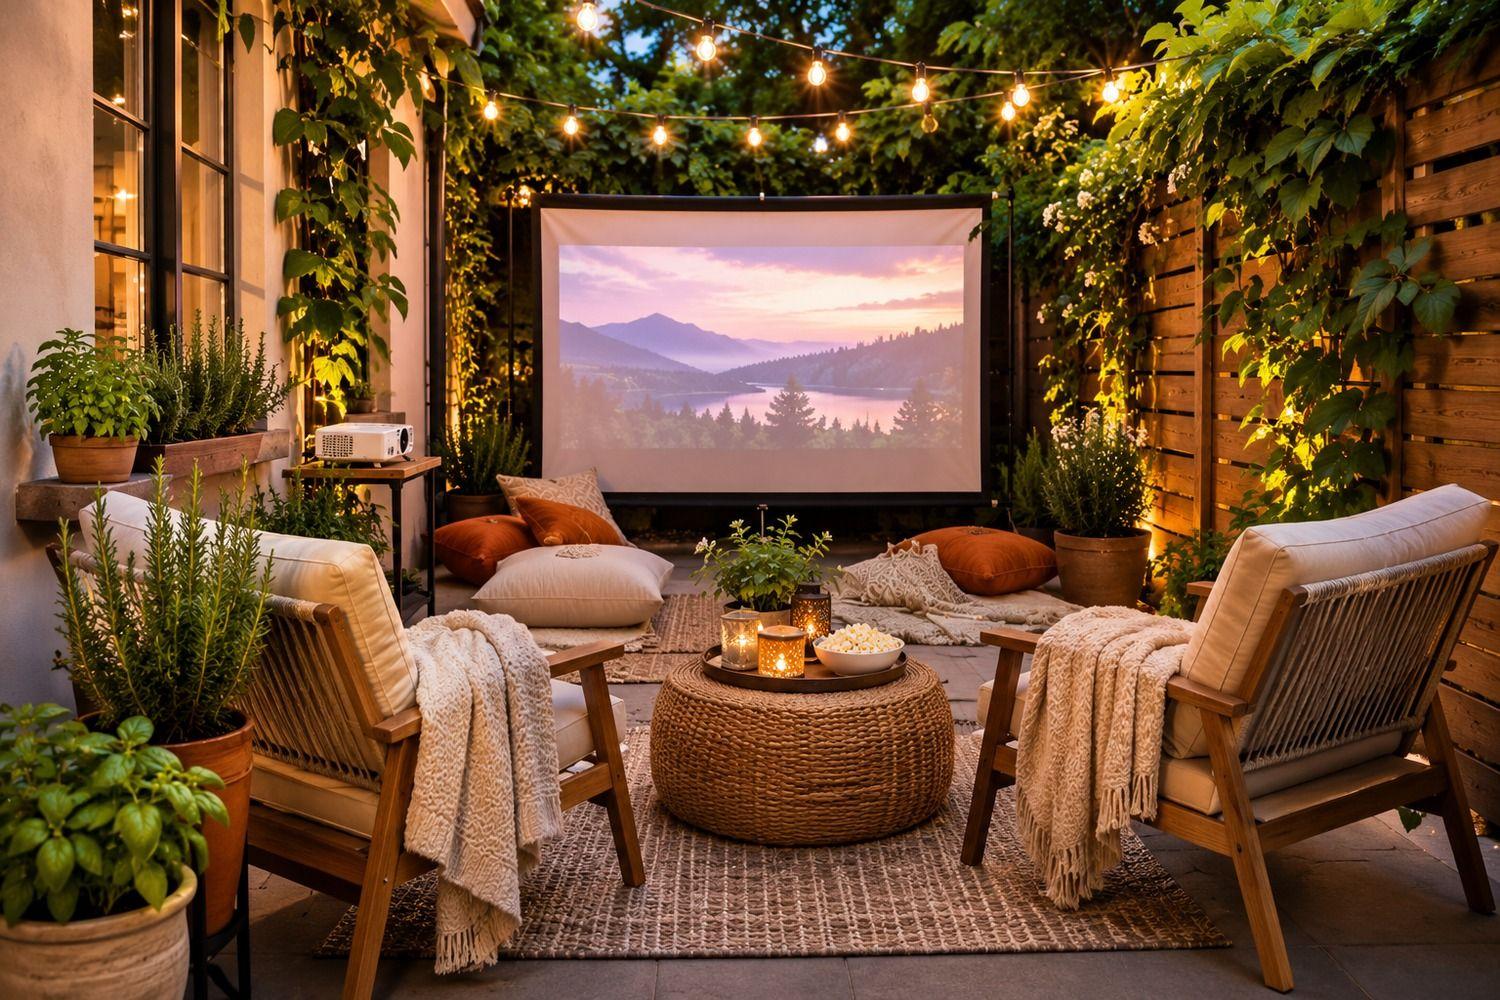
A small patio rarely has room for a full outdoor sectional and a separate row of chairs. Choose seating that can serve more than one purpose.
- Folding director chairs: Lightweight, easy to store, and simple to arrange in a row.
- Low lounge chairs: Comfortable for longer films and visually unobtrusive.
- Floor cushions and poufs: Useful for children or extra guests, provided the floor is dry and clean.
- A compact outdoor loveseat: Works well when the patio already has a permanent seating wall or bench.
- Storage benches: Provide seating and a place to keep cushions, blankets, and small accessories.
Keep the front row low enough that it does not block the view from seats behind it. Leave enough space to stand up and move around without stepping over people. On a narrow patio, two comfortable seats and a couple of floor cushions may be better than squeezing in six chairs.
Add washable outdoor cushions and a lightweight throw for cooler evenings. Store soft furnishings indoors or in a weather-resistant deck box when they are not in use.
6. Add Lighting Without Washing Out the Screen
Lighting creates the atmosphere, but it needs to be placed thoughtfully. String lights look lovely overhead, especially when they run along a fence or pergola behind the seating area. Choose warm, low-output lighting and avoid hanging bright bulbs directly above or beside the screen.
Use shielded lanterns, low pathway lights, or battery-operated table lamps to illuminate steps and edges. Keep decorative lighting behind the audience or off to the sides, not aimed at the projection surface. If your patio is very small, a few low-glow lanterns may be enough.
For a polished look, repeat one finish across the lighting and accessories. Black metal lanterns, warm wood, woven textures, and neutral cushions create a relaxed modern patio. For a softer look, combine cream textiles, natural wicker, and greenery. Keep the palette simple so the screen remains the visual focus.
Never leave open flames unattended near cushions, fabric screens, or dry plants. Battery-operated candles provide a similar glow with fewer risks.
7. Improve the Sound in a Small Outdoor Space
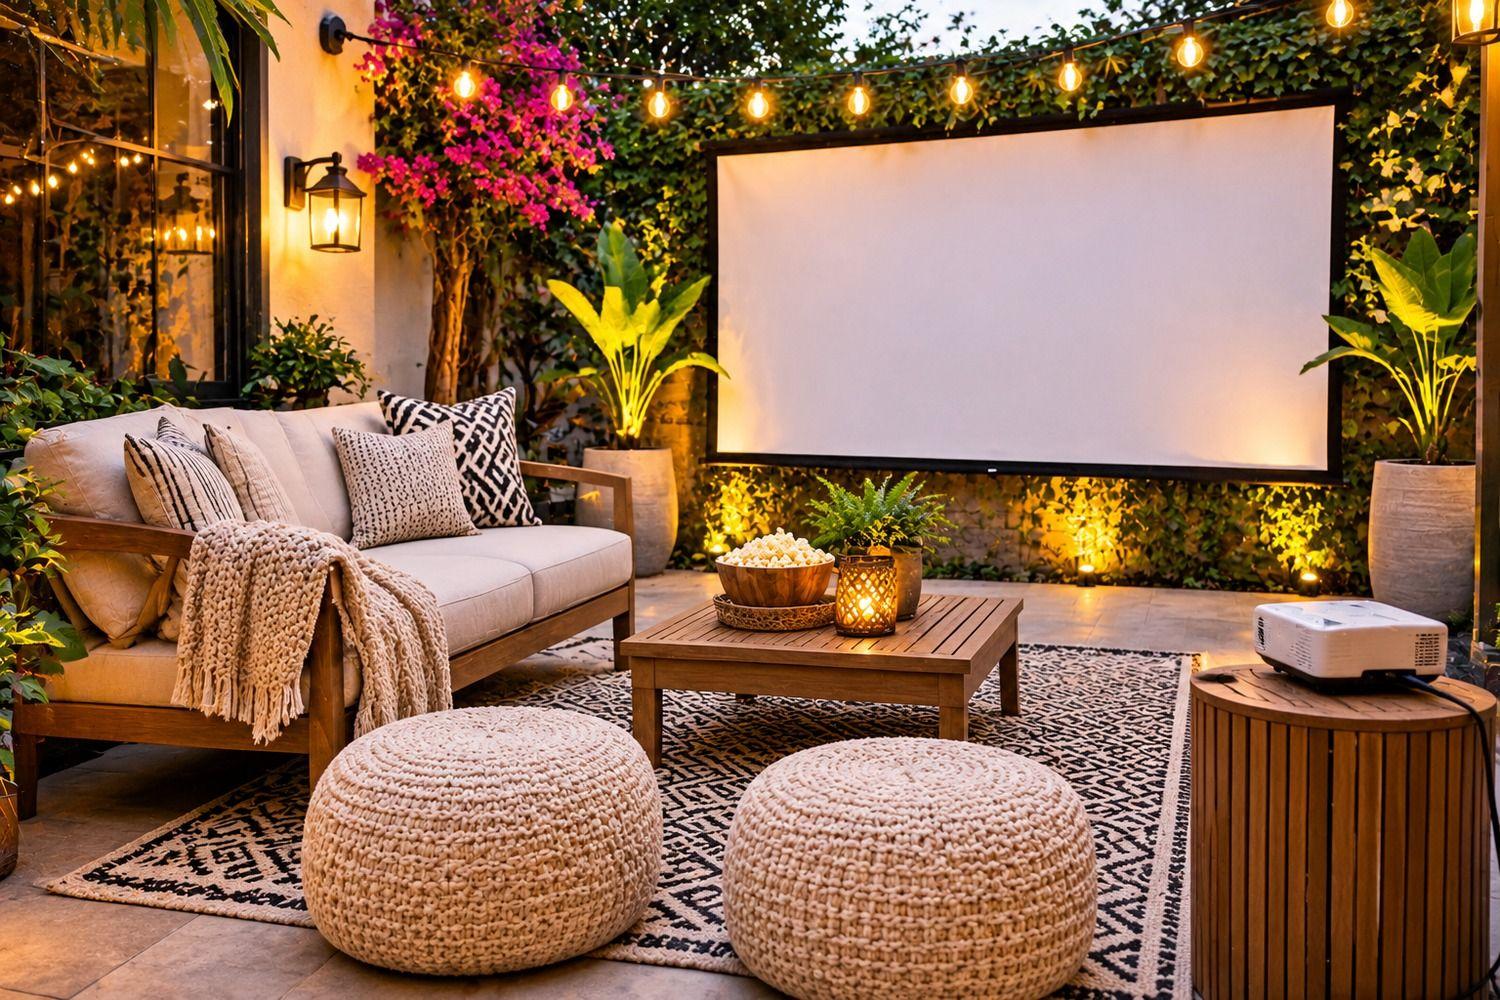
Projector speakers are convenient for a quick test, but they may sound thin outdoors. Open air does not contain sound the way an indoor room does, and nearby traffic or neighborhood activity can compete with quiet dialogue.
A compact Bluetooth speaker can be enough for a small patio. Place it near the seating area, ideally at ear level, and keep it out of the weather. If you use a pair of speakers, check that they can connect reliably to your source and that the audio remains synchronized with the picture.
A small powered speaker connected by cable may offer more dependable sound than Bluetooth, but it adds another cable to manage. Keep volume moderate, especially in closely spaced neighborhoods. Check local noise rules, homeowners association requirements, and apartment quiet hours before hosting a late screening.
You do not need a subwoofer for a small patio. Clear dialogue is more useful than excessive bass that travels through nearby walls.
8. Create a Compact Snack and Drink Station
Avoid a large buffet table that blocks the walkway. A narrow side table, nesting table, or rolling cart can hold popcorn, napkins, drinks, and a small waste container. Put the station near the house door so guests can reach it without crossing the projector beam.
Use lidded cups to reduce spills near electronics. Keep food away from the projector, power strips, and speaker connections. If you are serving several people, portion snacks into individual bowls before the movie begins.
A simple setup often looks better than elaborate decorations. A tray, a bowl of popcorn, reusable cups, and one small lantern are enough to make the space feel intentional.
9. Protect the Equipment From Weather and Moisture
Outdoor movie equipment should be treated as portable indoor electronics, unless the manufacturer explicitly rates it for outdoor exposure. Check the forecast before setting up. Do not operate a projector, speaker, extension cord, or power strip in rain, heavy mist, or wet conditions.
Use outdoor-rated extension cords when they are necessary, and follow the manufacturer’s instructions for the cord and connected equipment. The U.S. Consumer Product Safety Commission warns that outdoor extension cords need an appropriate jacket and that outdoor receptacles should have suitable weather protection and GFCI protection. Do not daisy-chain extension cords or overload a circuit. Keep connections elevated and away from puddles, sprinklers, and foot traffic.
If you need power outdoors regularly, ask a qualified electrician to assess the outlet and protection. Do not run permanent wiring yourself as a shortcut. Unplug and bring electronics indoors when the screening ends, and allow equipment to cool according to its manual before storing it.
Wind matters too. A freestanding screen can act like a sail. Follow the screen maker’s anchoring instructions and take it down if conditions become gusty. Do not rely on a light tripod screen in an exposed, windy location.
10. Make the Setup Easy to Store
A patio theater is most practical when it does not take over the patio all week. Give every item a storage location before the first movie night.
Keep the projector, streaming device, cables, remote, and speaker in a labeled indoor bin. Store the screen in its carry bag or a dry closet. Put cushions and throws in a deck box only if it is designed to keep moisture out; otherwise, store them indoors. Use hook-and-loop cable ties to keep cords neat and prevent tangles.
Choose folding furniture and lightweight accessories that one person can move. If you host often, keep a small “movie night” tote ready with HDMI cables, batteries, a power-rated extension cord, microfiber cloth, remote, and spare napkins. This makes setup faster and reduces the chance of forgetting an essential connection.
11. A Simple Small-Patio Layout That Works
For a narrow rectangular patio, place the screen against the far short wall. Put the projector on a low, stable table near the back, aligned with the screen. Arrange a compact loveseat or two folding chairs in the center, with one or two floor cushions in front if space allows. Keep a clear route along one side from the door to the yard or gate.
For a square patio, use one corner for the screen and angle the seating slightly toward it. Put a slim snack table beside the seating rather than in the middle. If a railing or wall blocks the best viewing angle, test the layout before buying a screen stand.
For a balcony or apartment terrace, confirm building rules before attaching anything to railings or shared walls. Avoid projecting toward neighboring windows, and make sure the screen and furniture cannot be blown or pushed over the edge. A small tabletop screen and two chairs may be the safest, neatest solution.
12. Test Everything Before Guests Arrive
Run a complete rehearsal at least once. Check the screen stability, projector focus, streaming connection, speaker pairing, power supply, cable route, and seating positions. Play a few minutes of the actual movie rather than relying only on a home-screen menu.
Test again after dark because ambient light changes the picture. If the image looks washed out, reduce nearby light, wait until it is darker, or make the projected image smaller. If the sound is difficult to hear, move the speaker closer to the audience before turning the volume up.
Check the patio floor for moisture, loose rugs, toys, and cables. Make sure guests can reach the door and exit without walking through the projector beam. A little preparation makes the evening feel effortless.
Budget-Friendly DIY Backyard Movie Theater Checklist
| Feature | Practical starting choice | What to prioritize |
|---|---|---|
| Projector | Portable 1080p model | Verified brightness, throw distance, ventilation |
| Screen | 60- to 80-inch portable screen | Stable frame and taut matte surface |
| Audio | One compact speaker | Clear dialogue and reliable connection |
| Seating | Two folding chairs plus cushions | Comfort, storage, clear walkway |
| Lighting | Warm string lights or battery lanterns | Low glare and safe path visibility |
| Power | Suitable outdoor outlet and cord if needed | GFCI protection, outdoor rating, dry connections |
| Storage | Indoor equipment tote | Dry, organized, easy to carry |
Costs vary widely by equipment quality and what you already own. Start with the essentials and upgrade only after you have tested the layout. A clean screen, well-positioned projector, comfortable seats, and clear audio will usually matter more than expensive decorative extras.
Frequently Asked Questions
Can I set up a backyard movie theater on a very small patio?
Yes. Use a modest screen, compact seating, and a projector whose throw distance suits the available depth. A small patio may be more comfortable with two or three viewers rather than trying to fit a large group.
Can I use a white sheet instead of a projector screen?
You can, provided the sheet is clean, smooth, matte, and stretched tightly. A purpose-made screen usually provides a flatter surface and more predictable results, but a carefully mounted sheet can be a low-cost temporary option.
How do I make the picture brighter outside?
Wait until after sunset, turn off lights that shine toward the screen, reduce the image size if necessary, and check the projector’s brightness rating using comparable ANSI or ISO specifications. A brighter projector cannot fully overcome strong ambient light.
Where should the projector go?
Place it on a stable, level surface at the distance specified by the manufacturer. Keep the lens aligned with the screen, leave ventilation space, and route power and signal cables away from walking paths.
Do I need outdoor-rated electronics?
Only use equipment outdoors if the manufacturer says it is suitable for the conditions. Many projectors and speakers are not weatherproof. Keep them dry, bring them inside after use, and never operate them in rain or wet conditions.
How can I keep the neighbors happy?
Keep the volume moderate, point speakers toward your seating area, finish at a reasonable hour, and check applicable local or community noise rules. Let nearby neighbors know if you are planning an occasional gathering.
Final Thoughts
A DIY backyard movie theater setup for a small patio is less about buying a lot of equipment and more about making smart use of the space. Measure first, choose a screen and projector that fit, keep the seating flexible, and use lighting that adds atmosphere without competing with the picture. Protect electronics from moisture, manage cables carefully, and make sure the walkway stays clear.
With a compact screen, a dependable projector, comfortable seating, and a little preparation, even a modest patio can become a welcoming place for movie nights. Start simple, test the arrangement, and add upgrades only when you know what your space actually needs.
Sources
- U.S. Consumer Product Safety Commission: Extension Cords. Checked November 7, 2026
- U.S. Consumer Product Safety Commission: Home Electrical Safety Checklist. Checked November 7, 2026
- Epson: Projector Buying Guide. Checked November 7, 2026
- Epson: Projector Screen Size and Viewing Distance. Checked November 7, 2026
- Verizon: Tips for the Perfect Backyard Movie Night. Checked November 7, 2026
- Crutchfield: How to Create the Perfect Backyard Movie Theater. Checked November 7, 2026
Share this article
Get new guides by email
Practical home articles and free resources. No spam, and you can unsubscribe at any time.
Keep reading
Budget DIY Outdoor Kitchen Ideas and Setup: Build a Stylish Cooking Space for Less
Explore budget DIY outdoor kitchen ideas, from grill carts and cinder block counters to affordable storage, lighting, shade, layout tips, and safety essentials.
November 2026, 12 min read
How to Hang Backyard String Lights: A Modern, Step-by-Step Guide
Learn how to hang backyard string lights with modern layouts, secure anchors, support cables, outdoor-rated hardware, and practical safety tips.
November 2026, 9 min read
How to Build a Cheap DIY Outdoor Fire Pit Seating Area
Plan a budget seating area around a manufactured fire pit with suitable clearances, a stable surface, drainage, and practical maintenance.
October 2026, 3 min read