9 Cheap Gravel Driveway Edging Ideas DIY
Explore nine cheap DIY gravel driveway edging ideas using natural stone, concrete blocks, timber, metal, brick, river rock, recycled plastic, and more.
By Home Crane Editors. . 13 min read.
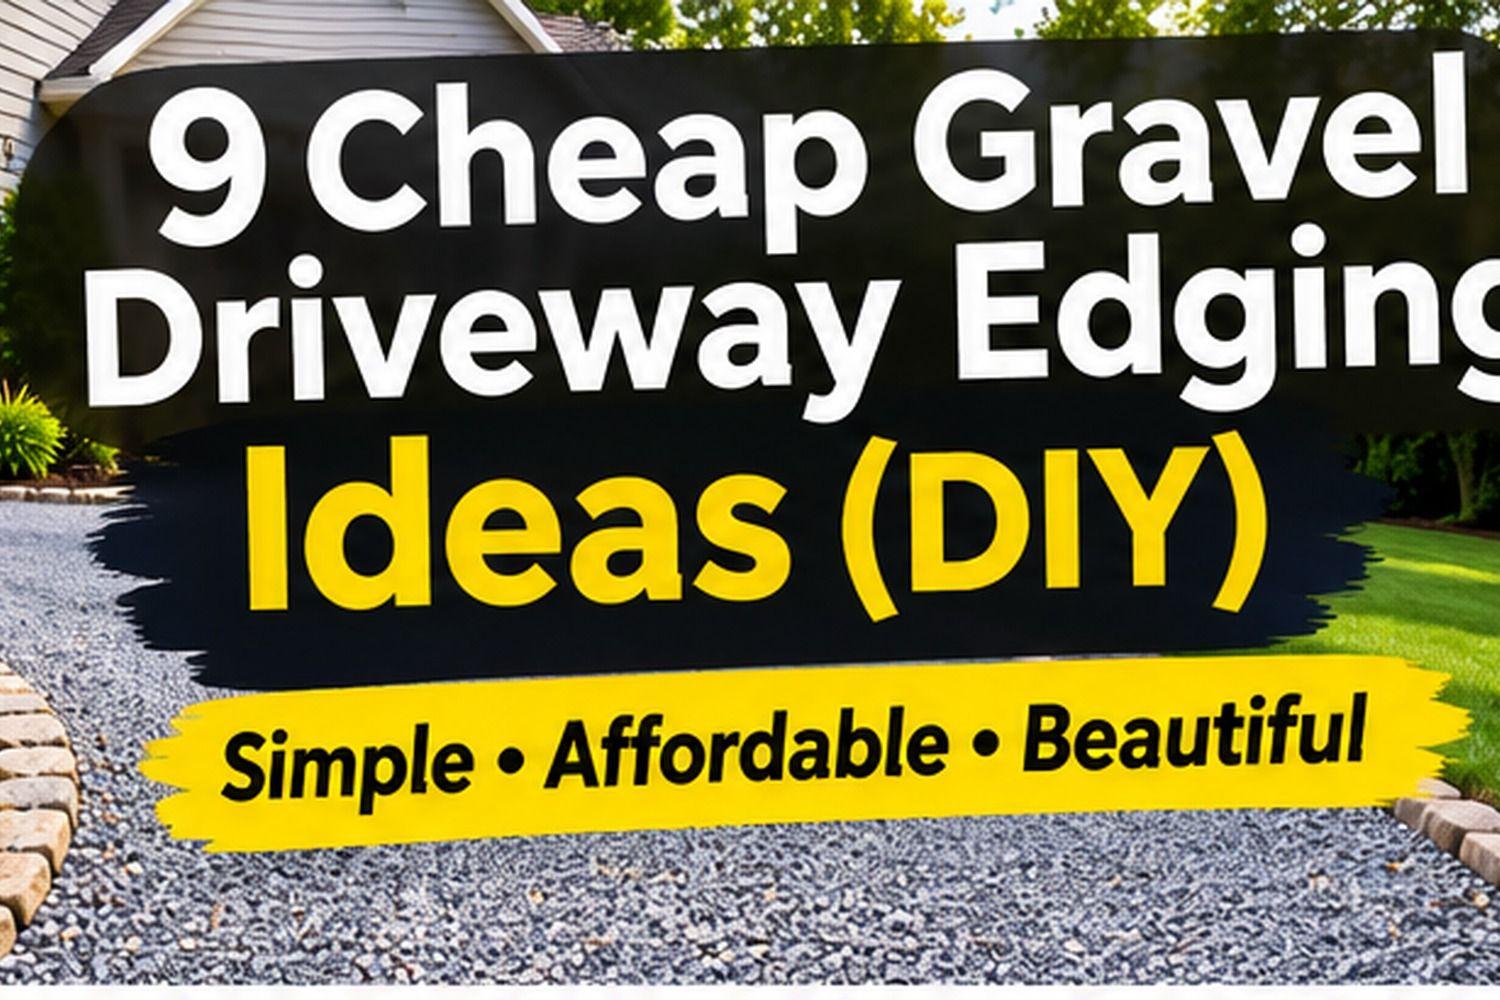
A gravel driveway can be one of the most affordable ways to create a practical parking area, but loose stone has a habit of migrating into lawns, garden beds, and walkways. A simple border helps keep the gravel in place, gives the driveway a cleaner outline, and makes the whole front yard look more finished.
The good news is that driveway edging does not have to be expensive. You can use materials you may already have, shop for inexpensive landscape supplies, or build a straightforward border over a weekend. The right option depends on the driveway's shape, how much gravel needs containing, the weight of vehicles using it, and the look you want.
Below are nine budget-friendly ideas, plus practical advice for choosing materials and installing an edge that will last.
1. Line the Driveway With Natural Stone
Natural stone is an attractive way to create a relaxed, rustic edge. Larger fieldstones, reclaimed rocks, or locally available landscape stone can form a low boundary between gravel and grass or planting beds. The irregular shapes look especially good with cottage gardens, country homes, and informal landscapes.
To keep the cost down, look for stone sold by the pallet or by the ton at local landscape yards. You may also be able to reuse suitable rocks already on your property. Choose pieces that are large enough to stay in place and relatively consistent in height if you want a neat line.
DIY approach: Mark the driveway edge with a hose or marking paint. Remove grass and loose soil along the line, then create a shallow, level trench. Add a compacted layer of crushed stone or suitable base material, set the larger rocks firmly, and backfill around them. Burying part of each stone helps prevent rolling and movement.
Avoid stacking unstable stones where people walk or vehicles might strike them. A loose, irregular stone border is decorative rather than a retaining wall. If the driveway sits on a slope or needs to hold back a significant amount of soil, use an engineered retaining solution instead.
Best for: Rustic landscapes, curved driveways, and homeowners with access to inexpensive local stone.
2. Use Concrete Blocks for a Clean, Straight Edge
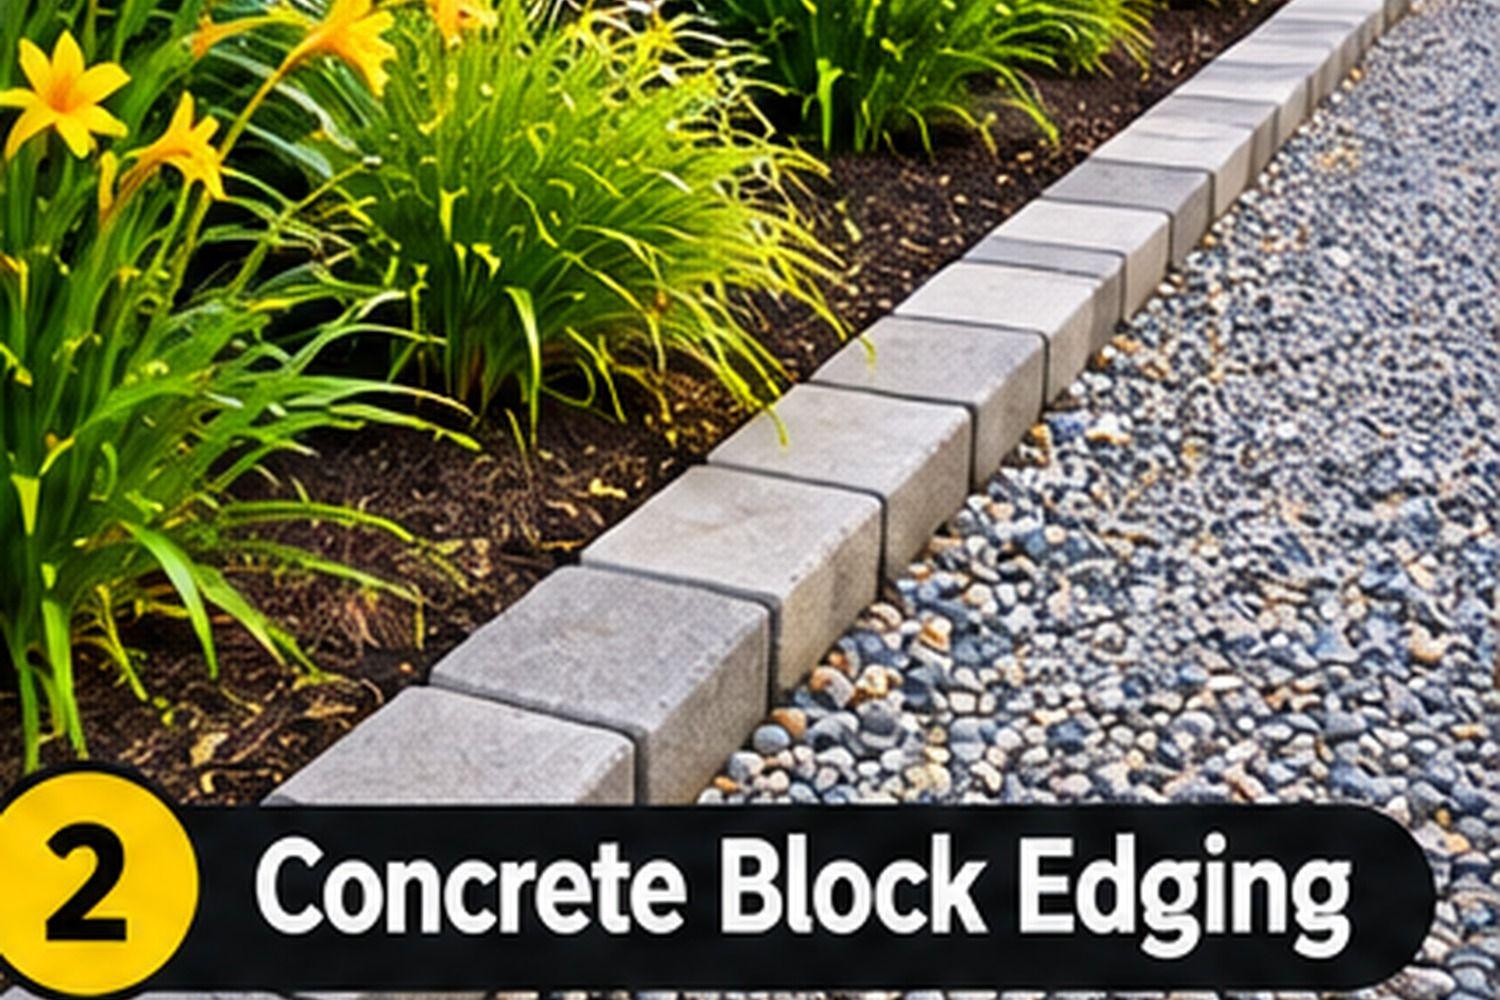
Basic concrete landscape blocks are a practical choice when you want a more uniform border. Their rectangular shape creates a tidy line, and the neutral gray color works with most gravel shades. Some blocks have smooth faces, while others have split or textured surfaces that add a little character.
You do not need decorative, premium blocks to get a good result. Standard concrete edging blocks or small landscape units can be enough for a low border. Compare prices by the linear foot, not just by the individual block, and account for delivery if you need a large quantity.
DIY approach: Lay out the edge and excavate a shallow trench wide enough for the blocks and base. Compact a thin layer of crushed aggregate or bedding material, set the blocks at a consistent height, and check the line with a string and level. Backfill the outside edge so the blocks cannot tip outward.
For a driveway used by cars, do not assume small garden blocks can withstand tire impact. Keep the edging outside the normal wheel path and select products designed for the intended application. If vehicles may cross the border, check the manufacturer's load guidance and install the base and restraint accordingly.
Best for: Straight driveway edges, modern yards, and a neat, low-maintenance appearance.
3. Build a Simple Timber Border
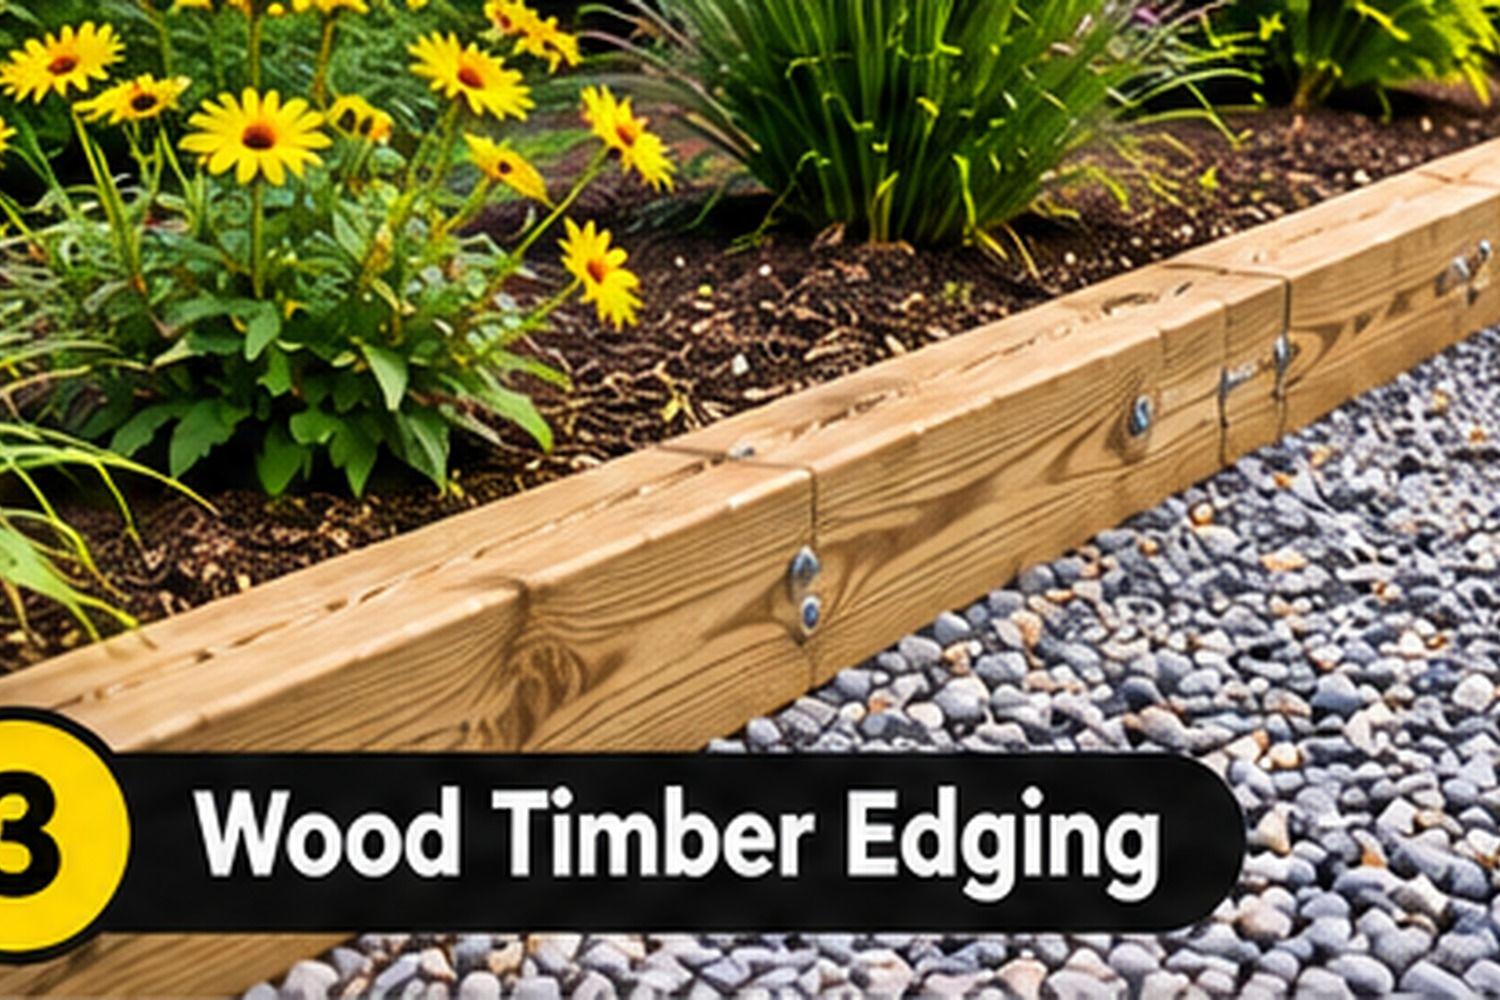
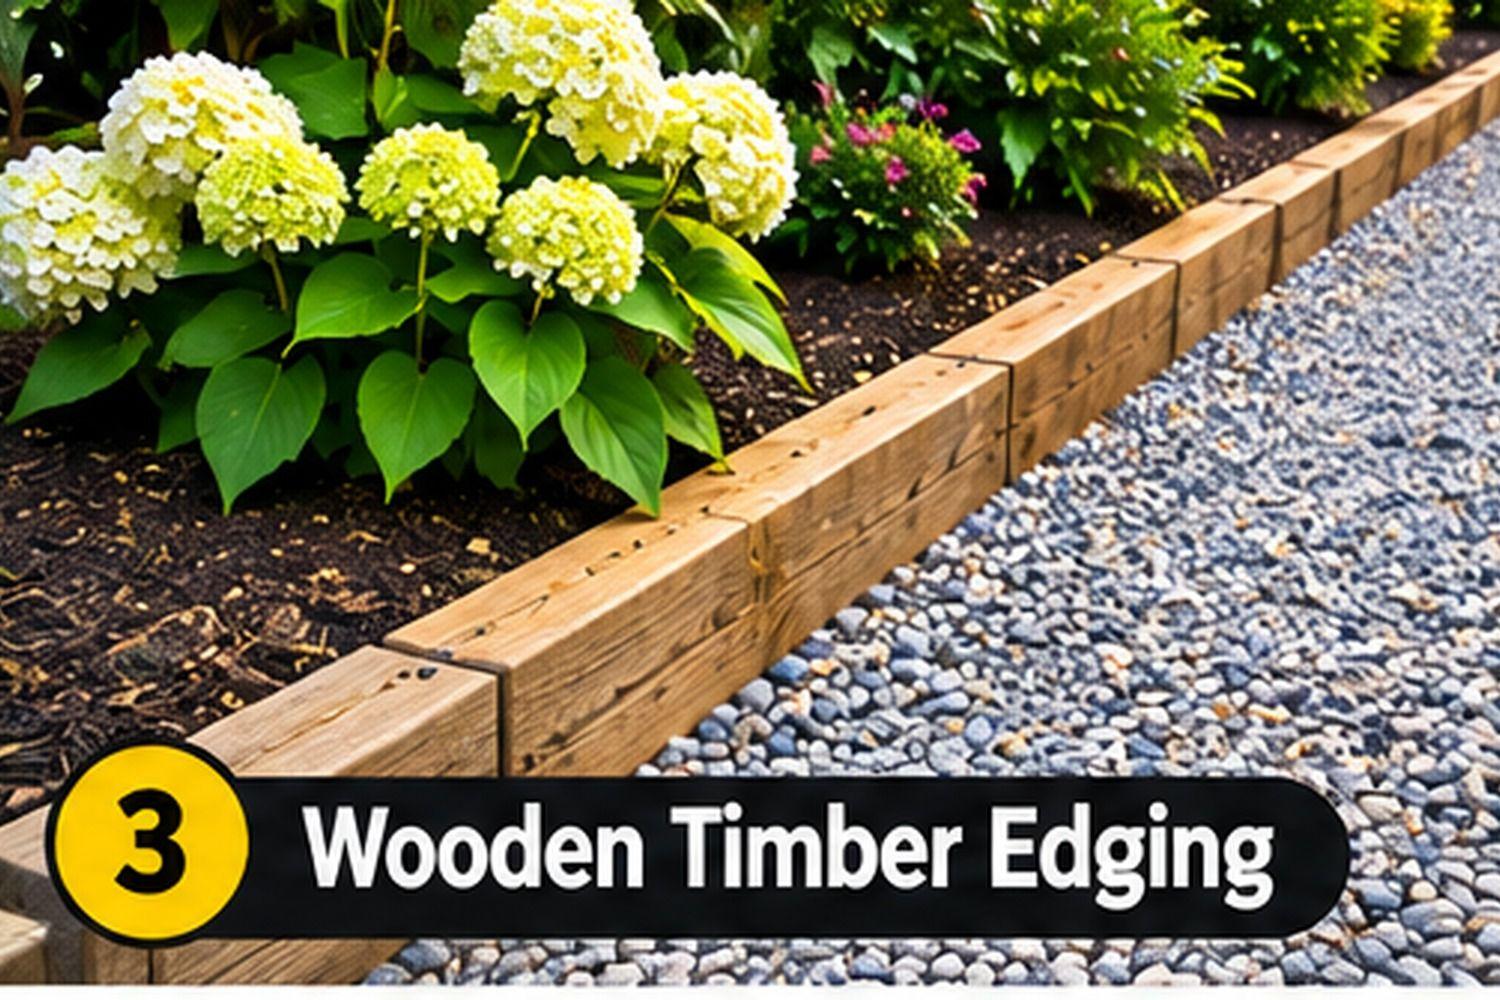
Pressure-treated landscape timbers or rot-resistant wood can create a warm, understated border along a gravel driveway. Timber is easy to cut, relatively simple to install, and often less expensive than decorative masonry. It works particularly well with farmhouse, woodland, and casual country landscaping.
Use wood that is rated for ground contact when it will sit against soil. Untreated lumber can decay quickly in damp conditions. A squared timber gives a crisp line, while rounded landscape logs create a softer, more natural look.
DIY approach: Set a straight line with stakes and string, then dig a shallow trench so the timber sits partly below grade. Prepare a firm, level base and position the wood. Depending on the design and local conditions, secure it with suitable stakes, pins, or rebar designed for landscape edging. Pre-drill where needed to reduce splitting, and keep fasteners appropriate for treated lumber.
Wood can move, warp, or decay over time, especially where water collects. Do not use timber as a substitute for a structural retaining wall. Avoid placing sharp metal stakes where they could create a hazard, and check for underground utilities before driving anything into the ground.
Best for: Budget projects, straight runs, and yards where a warm natural material suits the home.
4. Install Flexible Metal Landscape Edging
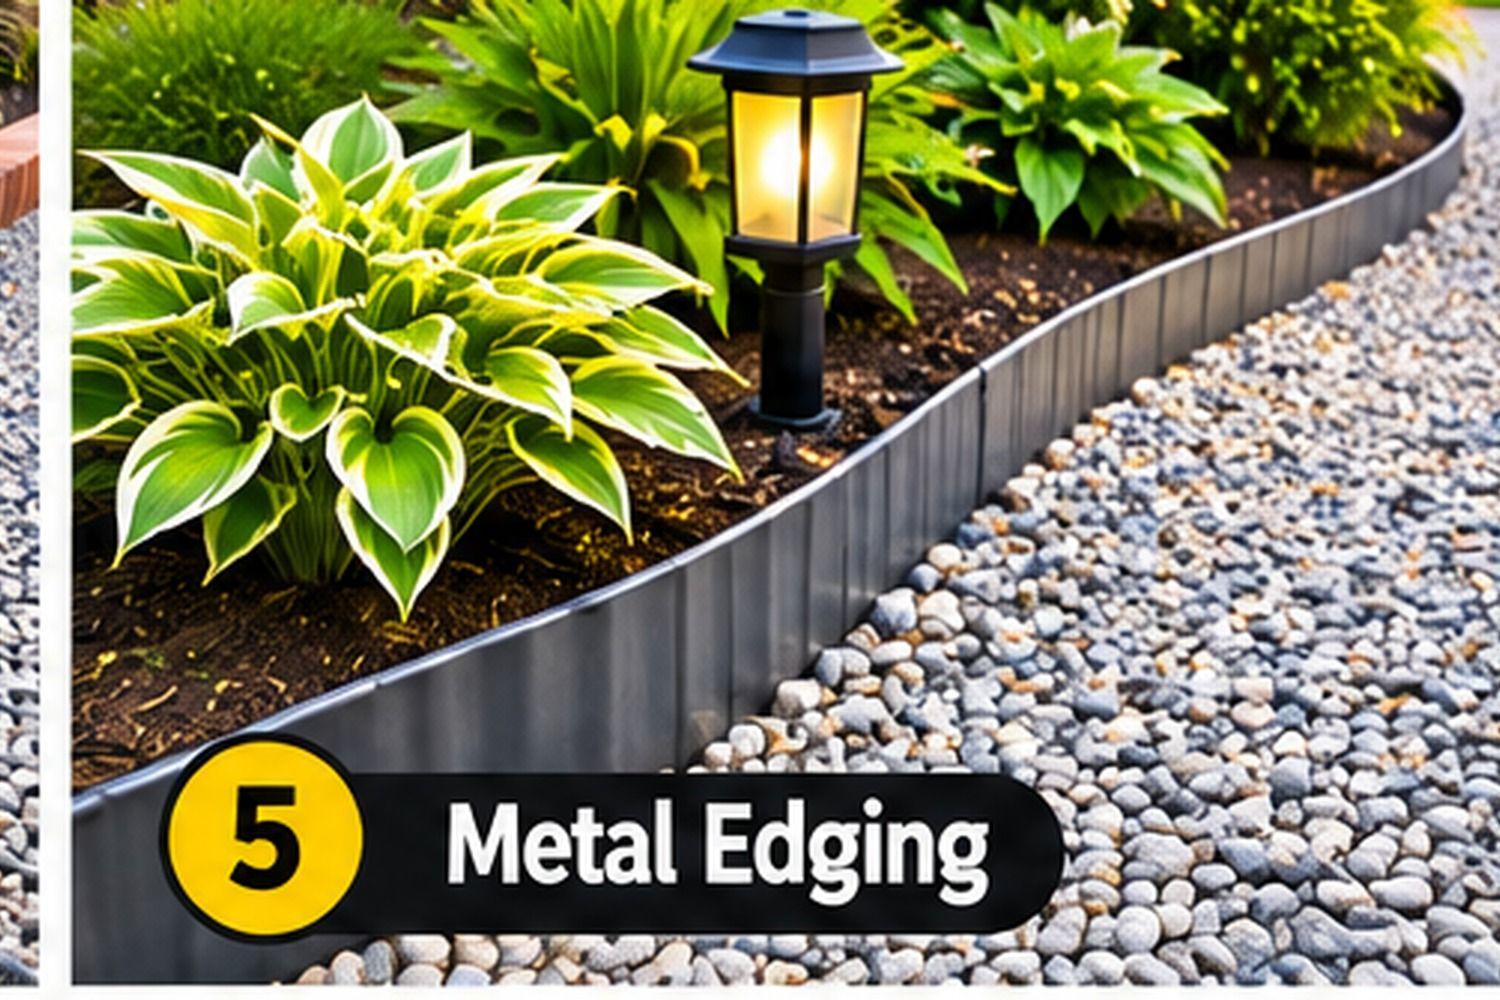
Metal edging creates a slim, modern line without taking up much space. Steel and aluminum products are available in different heights and finishes. The narrow profile is useful when you want to separate gravel from lawn or mulch without introducing a bulky border.
Metal edging can be more expensive per foot than basic timber or loose stone, but it often uses less material and can follow gentle curves. Compare the thickness, height, finish, and included stakes. Thin decorative edging may not be suitable for a driveway that experiences regular vehicle pressure.
DIY approach: Mark the route, prepare a narrow trench, and install the edging according to the manufacturer's instructions. Join sections with the supplied connectors and secure them with the recommended stakes. Set the top edge at a consistent height, while making sure it does not become a trip hazard or create a sharp exposed edge.
Use gloves and eye protection when cutting or handling metal. Cut edges can be sharp, so fit the manufacturer's end caps or finish the ends safely. Keep the edging outside the tire path unless the product is specifically designed for that use.
Best for: Contemporary homes, narrow planting borders, and gentle curves.
5. Reuse Brick for a Traditional Driveway Edge
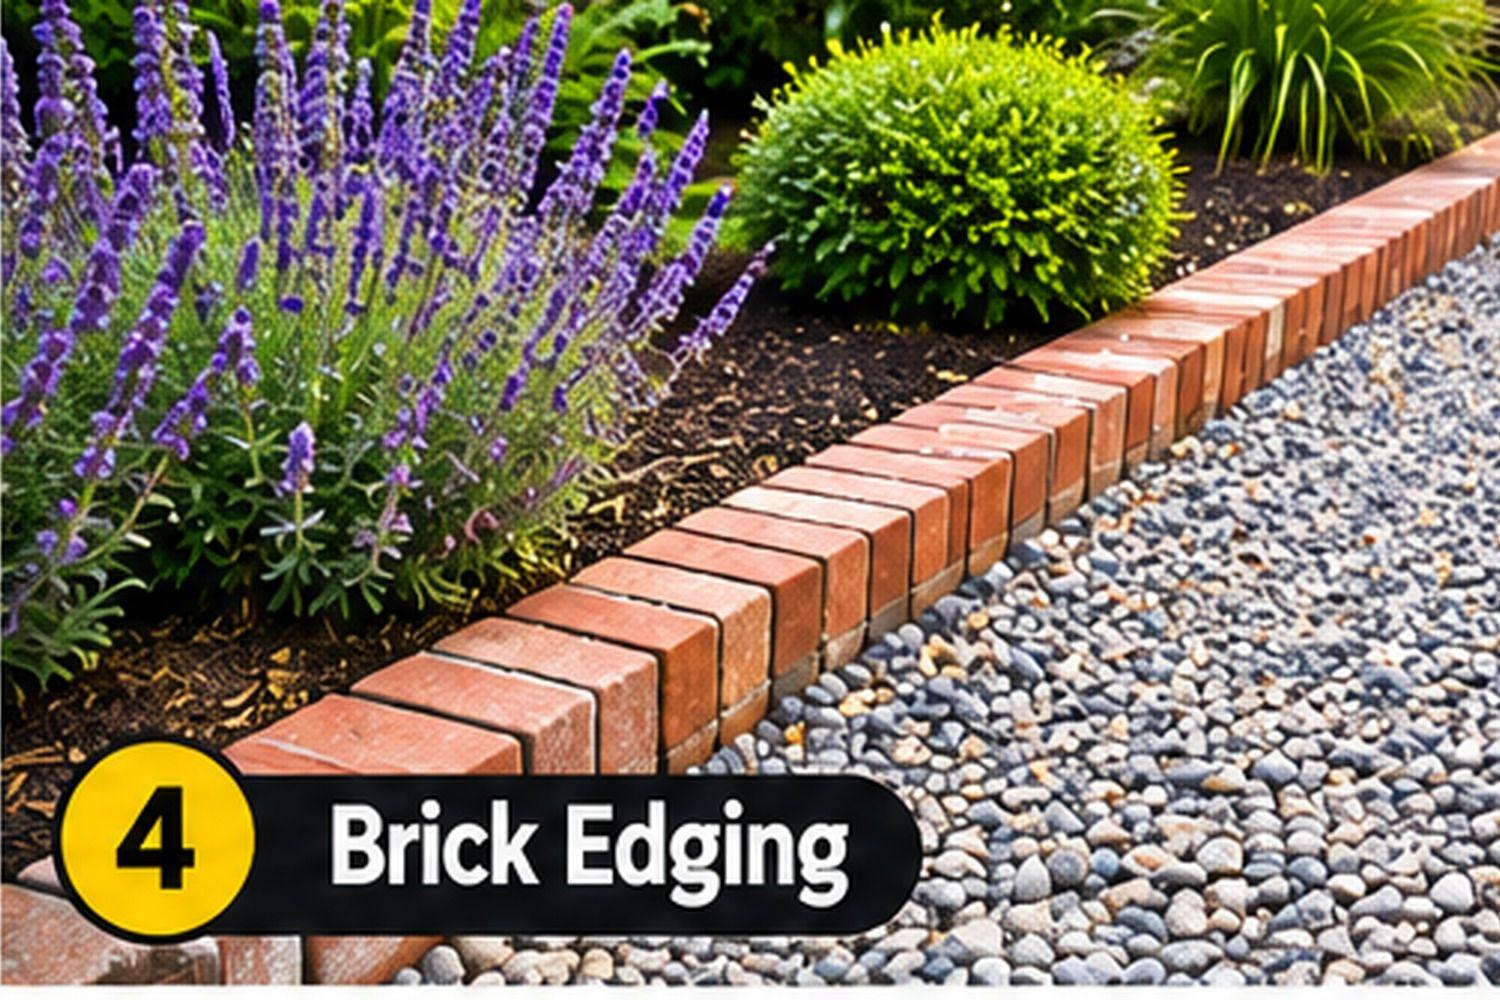
Reclaimed or leftover bricks can make an attractive gravel driveway border at a low cost. Their warm red, brown, or weathered tones contrast with gray or tan gravel and can tie the driveway to a brick house, walkway, or garden wall.
You can lay bricks in a single row, set them on edge for a more visible line, or create a short double-width band. Reclaimed bricks are often inexpensive, but inspect them before use. Avoid pieces that are badly cracked, crumbling, or unsuitable for outdoor exposure.
DIY approach: Excavate a shallow trench, prepare and compact a stable base, and arrange the bricks in the chosen pattern. Keep the top heights consistent and use a suitable edge restraint so the row does not spread. Fill gaps according to the chosen installation method and sweep away loose material.
A brick border is not automatically vehicle-rated because the bricks look solid. If cars will drive over it, use pavers intended for that purpose and a base designed for vehicle loading. Avoid creating a raised lip where tires turn or pedestrians cross.
Best for: Traditional homes, reclaimed-material projects, and adding color without a wide border.
6. Create a River Rock Border
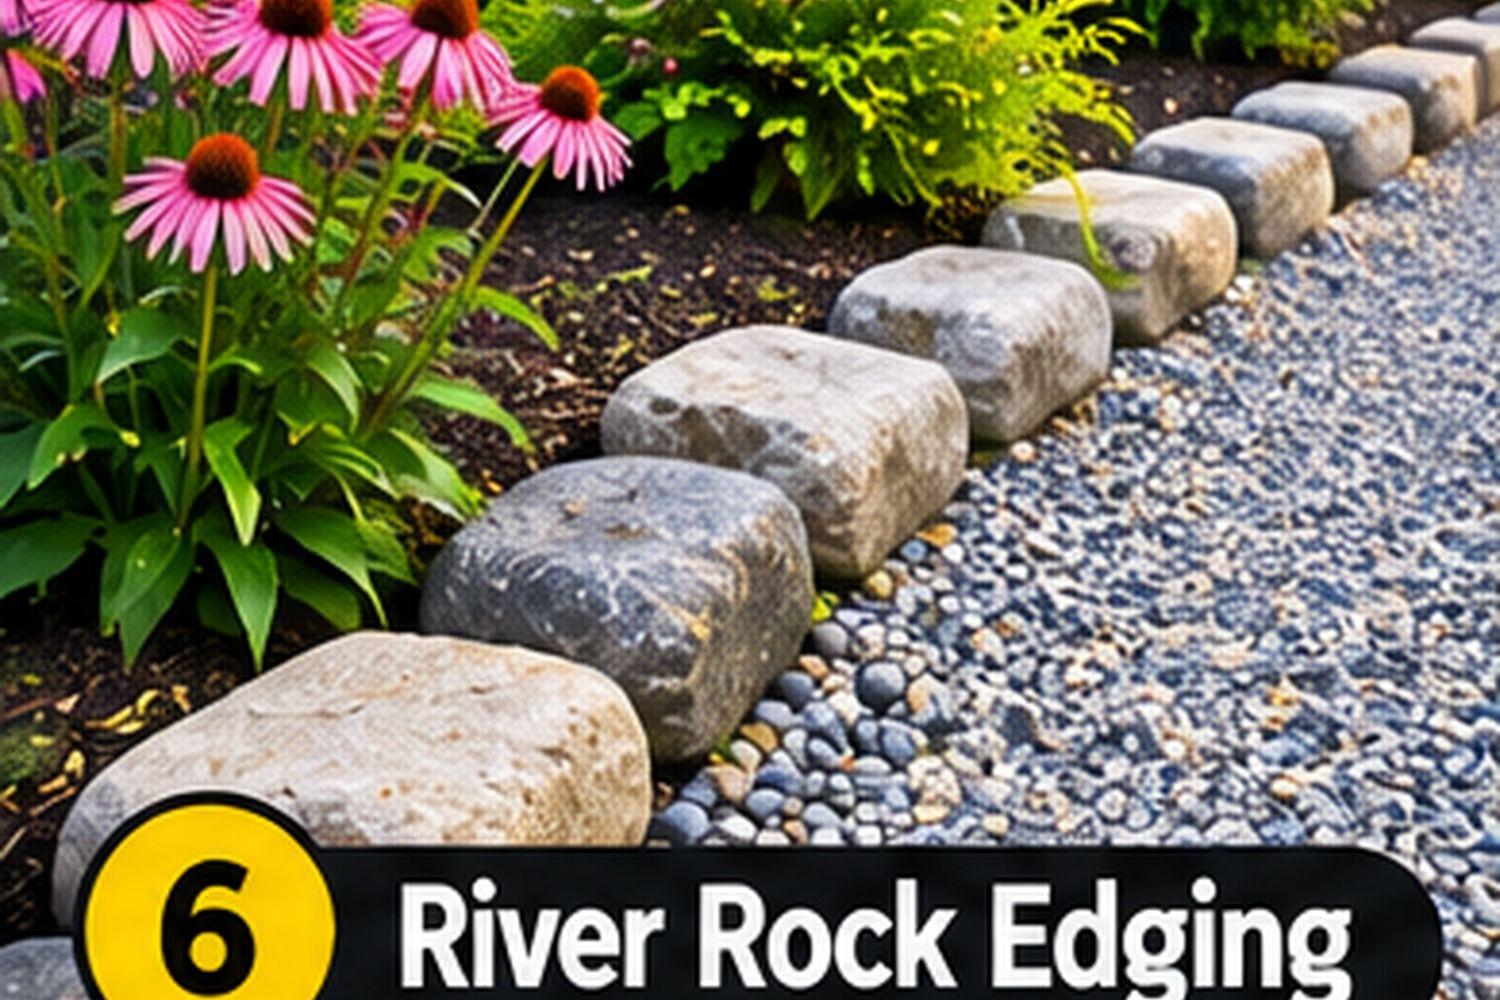
River rocks offer a softer, rounded look and can create a visible transition between gravel and planting beds. They are available in many sizes and colors, from pale cream and gray to mixed earth tones. A narrow band of larger river rocks can look especially effective beside a dark gravel driveway.
This idea is often inexpensive if you can buy locally in bulk. Smaller decorative pebbles can scatter easily, so choose larger stones for the outer edge. Keep the rock color related to the driveway gravel or house exterior for a coordinated appearance.
DIY approach: Excavate a shallow channel along the driveway. Install a suitable permeable landscape fabric only if appropriate for the site and material, then add a compacted base where needed. Place larger stones along the outside line and fill the band with smaller river rock. Keep the surface low enough that rocks do not roll into the driveway.
River rock is decorative and does not lock together like angular crushed stone. It is not a good choice where tires will regularly cross the border or where steep slopes could cause stones to migrate. Use a more stable edging material to contain it.
Best for: Decorative garden edges, informal curves, and low-traffic areas beside the driveway.
7. Use Short Log Rounds for a Rustic Border
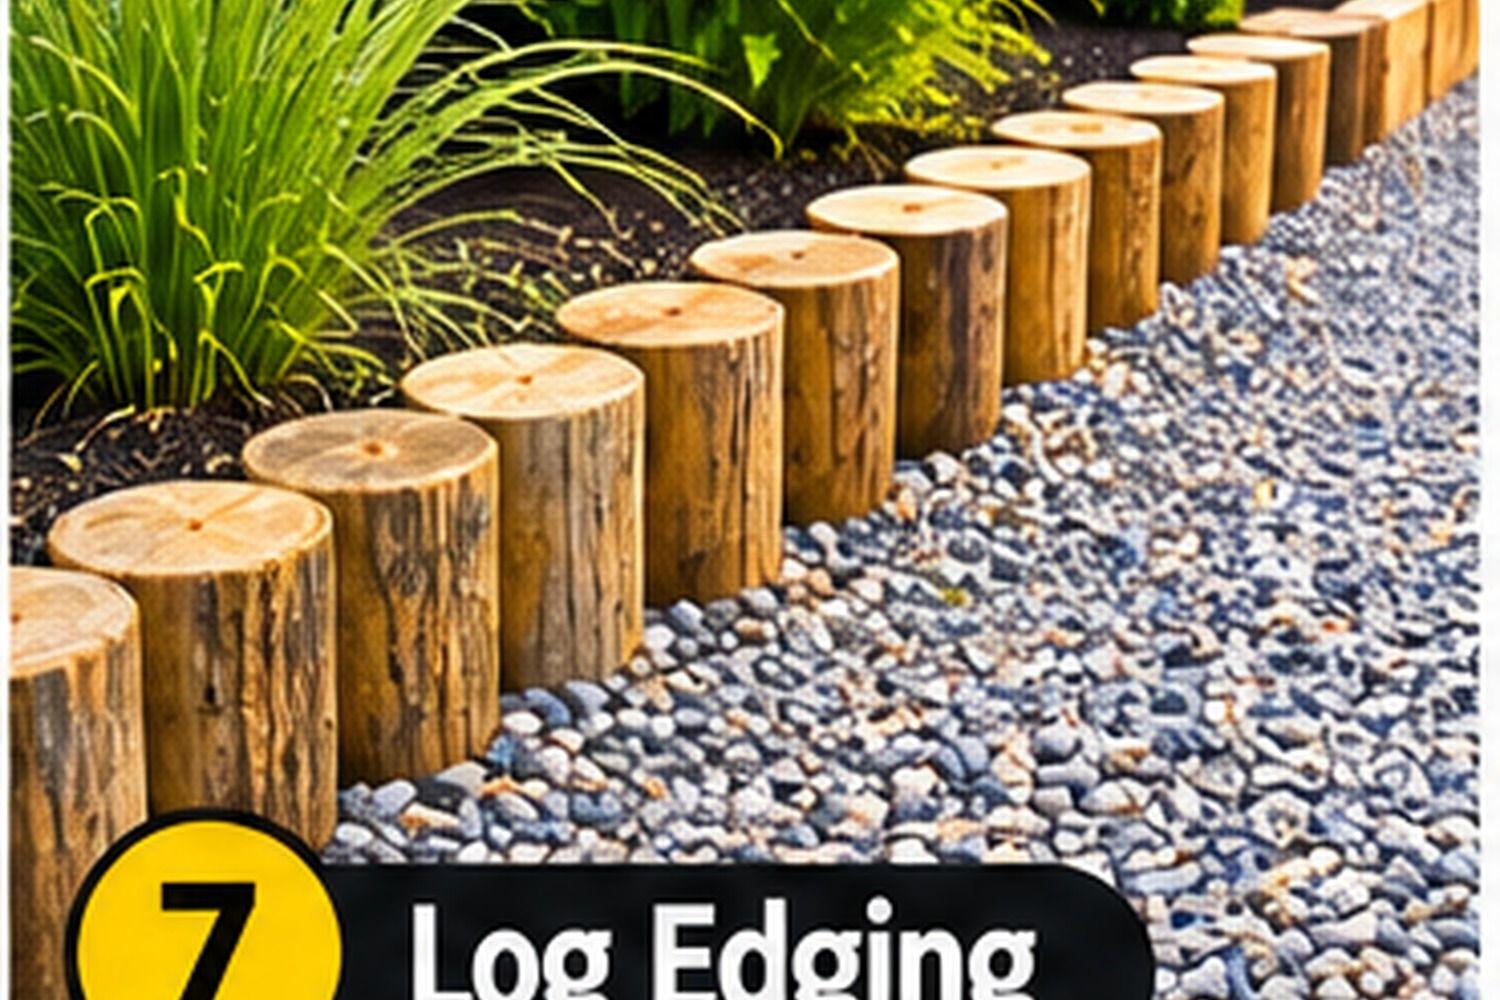
Short sections of logs or thick branches can create a distinctive natural edge. Set vertically in a shallow trench, log rounds resemble a low wooden fence and can be an inexpensive way to reuse timber from pruning or a permitted tree-removal project.
Choose sound wood with a similar diameter so the finished line looks intentional. Avoid rotten, insect-damaged, or chemically treated scrap wood. Naturally durable species may last longer outdoors than softer woods, but every untreated log in contact with soil will eventually break down.
DIY approach: Cut the logs to similar lengths and remove loose bark if desired. Dig a narrow trench and set each piece vertically, keeping the tops aligned. Backfill and tamp the soil firmly around the rounds. For a more secure installation, use a suitable concealed support system that will not create a hazard.
This is a decorative, temporary-to-medium-term solution rather than a permanent driveway restraint. Inspect the logs for rot, movement, and sharp splinters. Keep them away from the tire path and replace individual pieces as they deteriorate.
Best for: Woodland and rustic landscapes, reclaimed materials, and homeowners who do not mind periodic replacement.
8. Choose Recycled Plastic Landscape Edging
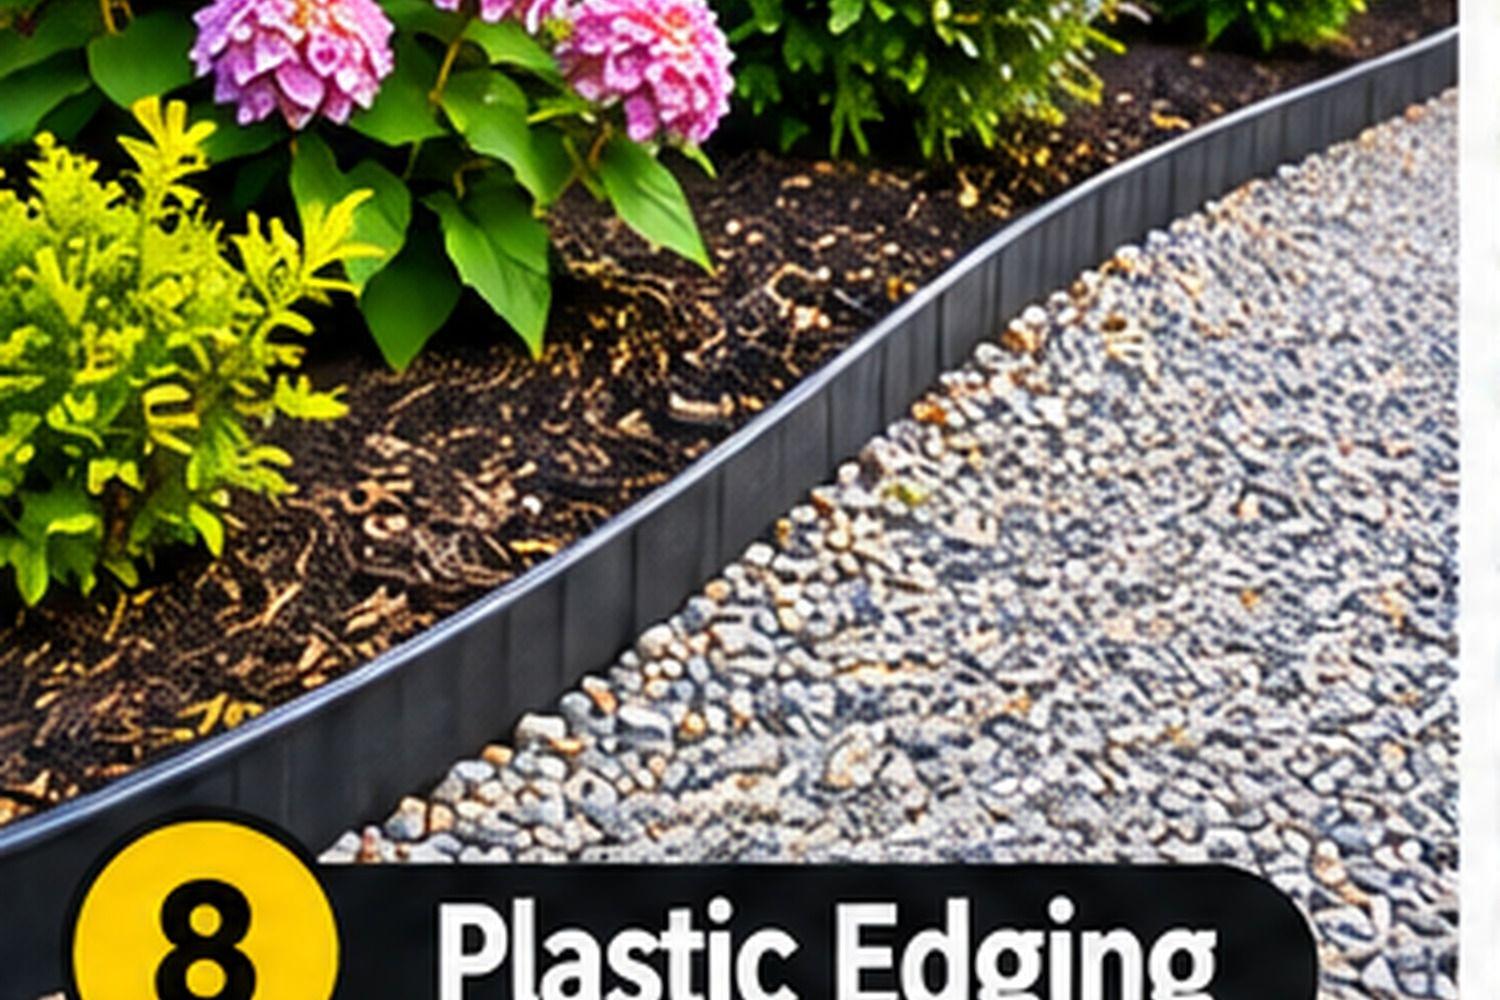
Recycled plastic edging is lightweight, easy to handle, and often available in long flexible sections. It can create a discreet boundary between gravel and lawn without competing visually with the landscaping. Some products are made from recycled plastic, while others are standard polymer edging, so check the product description.
Plastic edging is usually easiest to install on gentle curves and low borders. It is not always rigid enough to hold back deep gravel or resist vehicle impact. Select a product with enough height and stiffness for the intended use, and follow the recommended stake spacing.
DIY approach: Mark the edge, cut a narrow trench, and position the edging with the top at the desired finished level. Join the lengths using the supplied connectors, then secure the strip with compatible stakes. Backfill both sides carefully and compact the soil without bending the edging.
Do not expose a tall, unsupported section of plastic to lawn equipment or vehicle tires. Heat, sunlight, and cold can affect some products over time. A UV-resistant product with a suitable warranty may be worth the small extra cost.
Best for: Simple DIY installation, gentle curves, and a low-profile border between gravel and grass.
9. Build a Small Gabion-Style Rock Edge
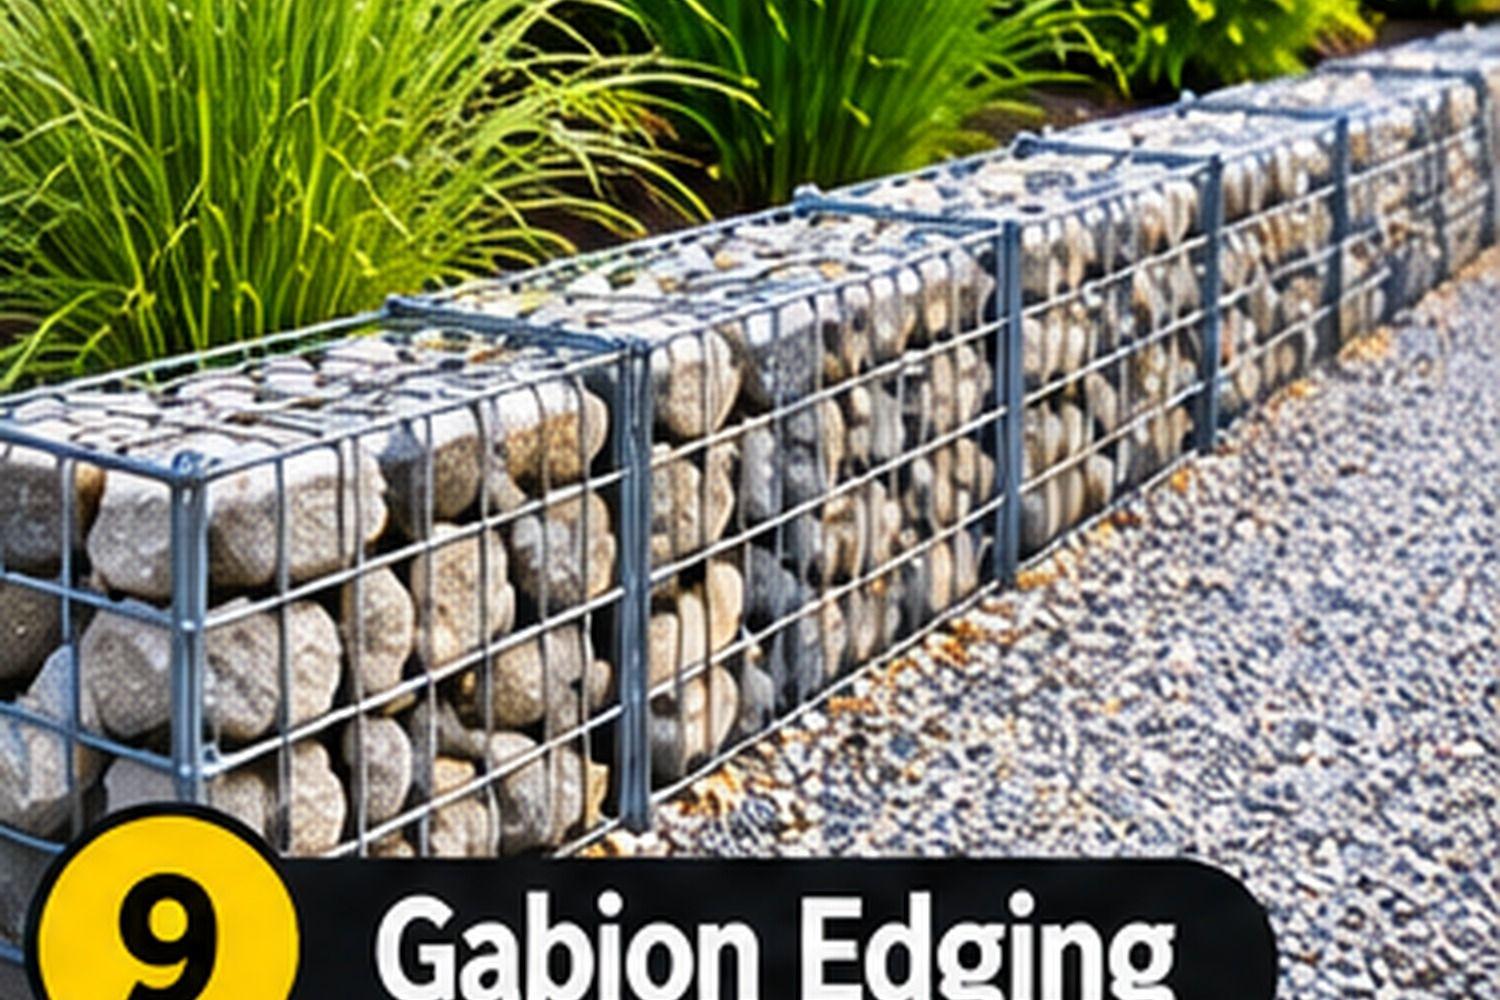
A gabion uses stones held inside a wire mesh cage. A small, low gabion border can create a bold modern-industrial look while making use of inexpensive stone. It pairs well with contemporary homes, gravel drives, and minimalist planting.
For a budget version, look for small landscape gabion baskets or modular wire cages designed for outdoor use. Do not improvise with thin chicken wire or fencing mesh that is not designed to contain stone. The wire must be durable enough for the stone size and outdoor conditions.
DIY approach: Prepare a level, stable base and assemble the basket according to its instructions. Use stones that fit the mesh openings and pack them carefully to reduce large voids. Close and secure the lid with the specified connectors. Keep the gabion low and outside the area where vehicles could strike it.
A gabion can be heavy, and a taller or retaining application needs proper design and foundation. Do not assume a small DIY basket can safely hold back a slope or support driveway loads. For structural use, consult a qualified professional.
Best for: Modern landscapes, stone-rich sites, and homeowners who want a distinctive, durable-looking edge.
How to Choose the Cheapest Gravel Driveway Edging
The lowest purchase price is not always the lowest total cost. A cheap material that shifts, rots, or needs replacing every year may cost more over time than a slightly more durable option. Compare the full project cost, including base material, stakes or restraints, delivery, tools, and future maintenance.
Use these factors to narrow the choices:
- For the lowest upfront cost: Reuse suitable stone, bricks, or sound timber already available on your property.
- For a clean modern look: Consider simple concrete blocks or metal edging designed for landscape use.
- For curved edges: Flexible metal or plastic edging can be easier to shape than rigid blocks.
- For a rustic yard: Natural stone or log rounds can blend with informal planting.
- For a more substantial visual feature: A low gabion or a wider paver band may create a stronger boundary.
- For regular vehicle traffic: Prioritize a product and installation system designed for the expected loads, rather than choosing on appearance alone.
DIY Installation Tips for a Gravel Driveway Border
A good edge begins with a clear layout and a stable base. Before digging, call 811 in the United States or use the applicable local utility-location service to identify buried lines. Never assume the driveway edge is free of cables, irrigation, drainage, or other services.
1. Mark the finished line
Use a garden hose for curves and stakes with string for straight runs. View the line from the road and from the house. A smooth, consistent edge usually looks more professional than a series of small direction changes.
2. Remove grass and loose material
Clear the strip where the edging will sit. Remove roots, weeds, and soft soil that could cause settling. Keep excavation within the planned area and avoid undermining an existing driveway, walkway, or retaining feature.
3. Prepare a firm base
The base depends on the edging material and site conditions. A shallow decorative border may need only a compacted bedding layer, while blocks or pavers may need a more substantial compacted aggregate base. Follow the manufacturer's installation instructions and account for soil type, drainage, and frost conditions.
4. Set the edging at a consistent height
Use a string line and level to maintain a clean top edge. The border should contain the gravel without creating an unnecessary obstacle. Keep it low enough to avoid catching tires, snow equipment, or feet, but high enough to perform its intended job.
5. Refill and compact the gravel
After the border is installed, rake the gravel back into place and replenish areas that are low. Compact the driveway surface in suitable lifts using equipment appropriate for the material and project. Keep the gravel slightly below the top of the edging so it does not spill over.
6. Check drainage
Edging should not create a dam that traps water against the driveway or sends runoff toward a garage, foundation, or neighbor's property. Maintain the intended driveway slope and provide a safe route for water to drain. If the area has persistent pooling or significant slope, get site-specific advice before installing a continuous barrier.
Common Mistakes to Avoid
Choosing edging that is too weak for the location. Decorative garden edging may not withstand tire pressure or the movement of deep gravel. Keep it outside wheel paths unless it is designed for vehicle loads.
Installing on loose soil. A soft base allows blocks and pavers to lean or settle. Prepare and compact the base before setting the border.
Making the border too high. A tall edge can become a trip hazard, interfere with snow removal, or catch vehicle tires. Plan the finished height carefully.
Ignoring water movement. A continuous edge can redirect runoff. Check the slope and drainage before digging.
Using untreated wood in wet ground. It may rot faster than expected. Choose ground-contact-rated timber or accept that a natural log border will need replacement.
Forgetting maintenance access. Leave room to mow, trim plants, clear leaves, and repair the driveway edge.
Frequently Asked Questions
What is the cheapest way to edge a gravel driveway?
Reusing suitable rocks, bricks, or timber you already have can be the cheapest option. If buying materials, compare total installed cost per linear foot, including base material, stakes, connectors, and delivery.
Does a gravel driveway need edging?
Not every gravel driveway needs a rigid border, but edging can reduce stone migration and give the driveway a more defined appearance. The best solution depends on driveway slope, gravel depth, soil, and how vehicles use the area.
How high should gravel driveway edging be?
There is no single correct height. It should contain the gravel while remaining safe for tires, walking, mowing, and snow removal. Set the gravel slightly below the top of the edge and follow the edging manufacturer's guidance.
Can I use landscape timbers for a gravel driveway border?
Yes, landscape timbers can work as a low decorative edge when they are rated for ground contact and installed securely. They are not a substitute for a structural retaining wall and should be kept out of the vehicle wheel path.
Is metal edging strong enough for a gravel driveway?
Some metal edging products are designed for landscape separation, while heavier products may be suitable for more demanding applications. Check the product's specifications and do not assume thin decorative strips can resist vehicle impact or hold back deep gravel.
How do I stop gravel from spilling onto the lawn?
A well-installed border helps, but it should be paired with appropriate gravel depth, a stable driveway surface, and periodic raking. Keep the gravel below the top of the edging and repair low spots before they become larger.
Final Thoughts
A neat border can make a gravel driveway look more intentional while helping keep loose stone where it belongs. Natural stone, concrete blocks, timber, metal, brick, river rock, log rounds, recycled plastic, and small gabion baskets all offer different combinations of cost, appearance, and durability.
For the best value, choose an edging material that suits the driveway's shape and traffic, prepare a stable base, and plan for water to drain properly. Reusing materials can reduce the budget, but safe installation and suitable restraint matter more than choosing the cheapest item on the shelf.
Sources
- 811: Call Before You Dig. Checked November 7, 2026
- Federal Highway Administration: Gravel Roads Construction and Maintenance Guide. Checked November 7, 2026
- USDA Forest Service: Gravel Roads. Checked November 7, 2026
- Concrete Masonry & Hardscapes Association. Checked November 7, 2026
- American Wood Protection Association. Checked November 7, 2026
Share this article
Get new guides by email
Practical home articles and free resources. No spam, and you can unsubscribe at any time.
Keep reading
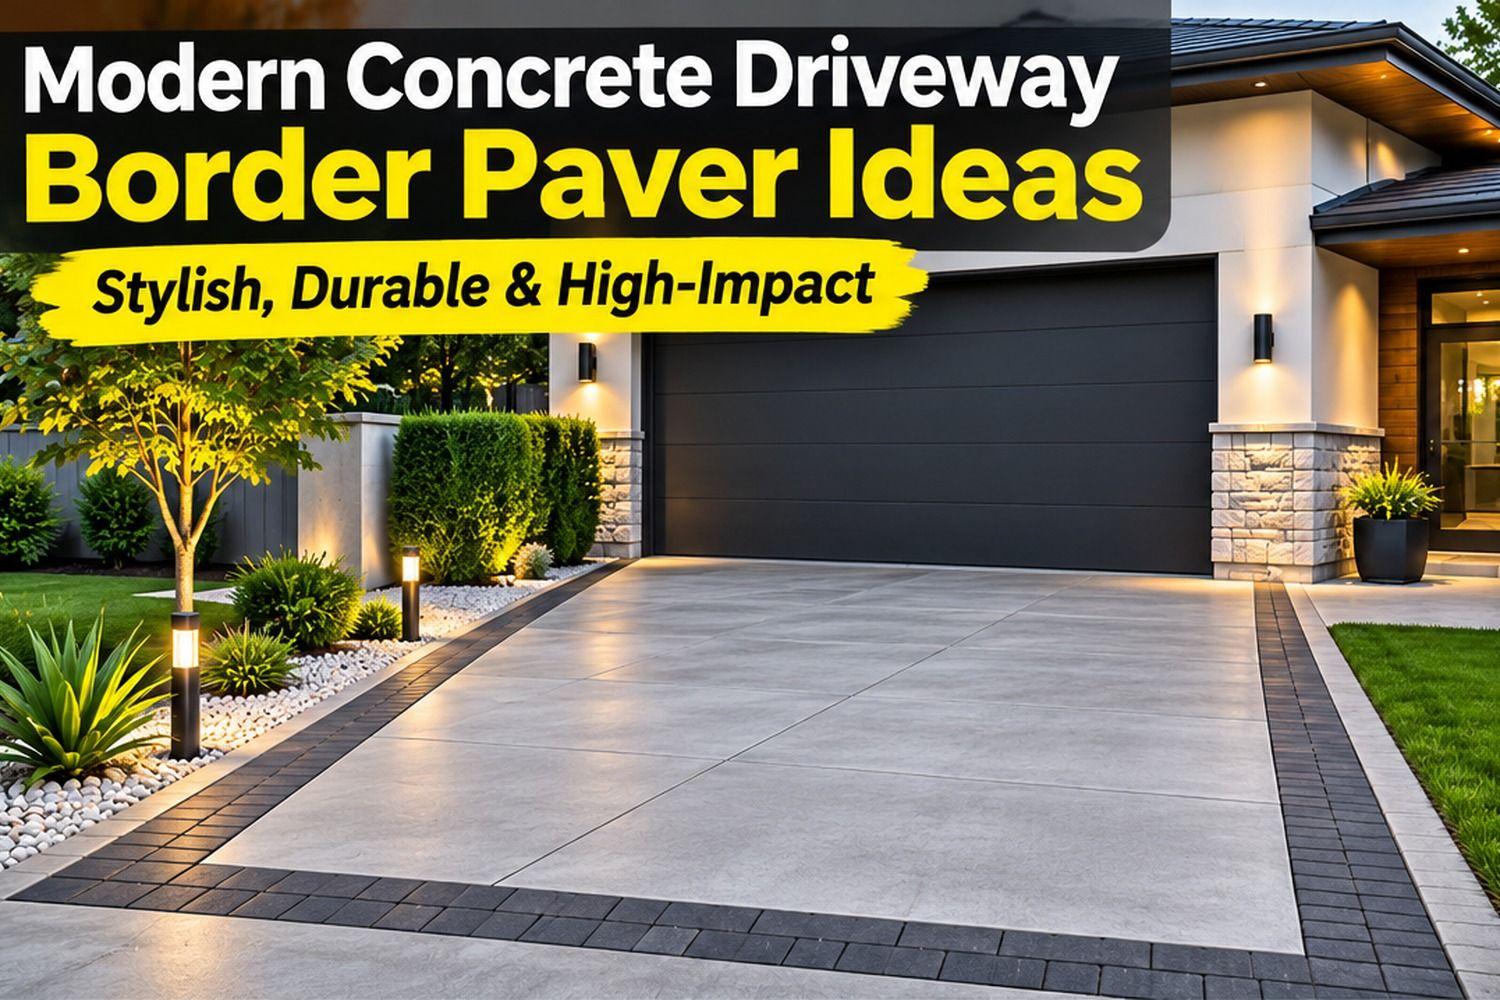
7 Modern Concrete Driveway Border Paver Ideas
Explore modern concrete driveway border paver ideas, including brick, double-row, contrasting-color, patterned, natural stone, square, and cobblestone designs.
November 2026, 11 min read
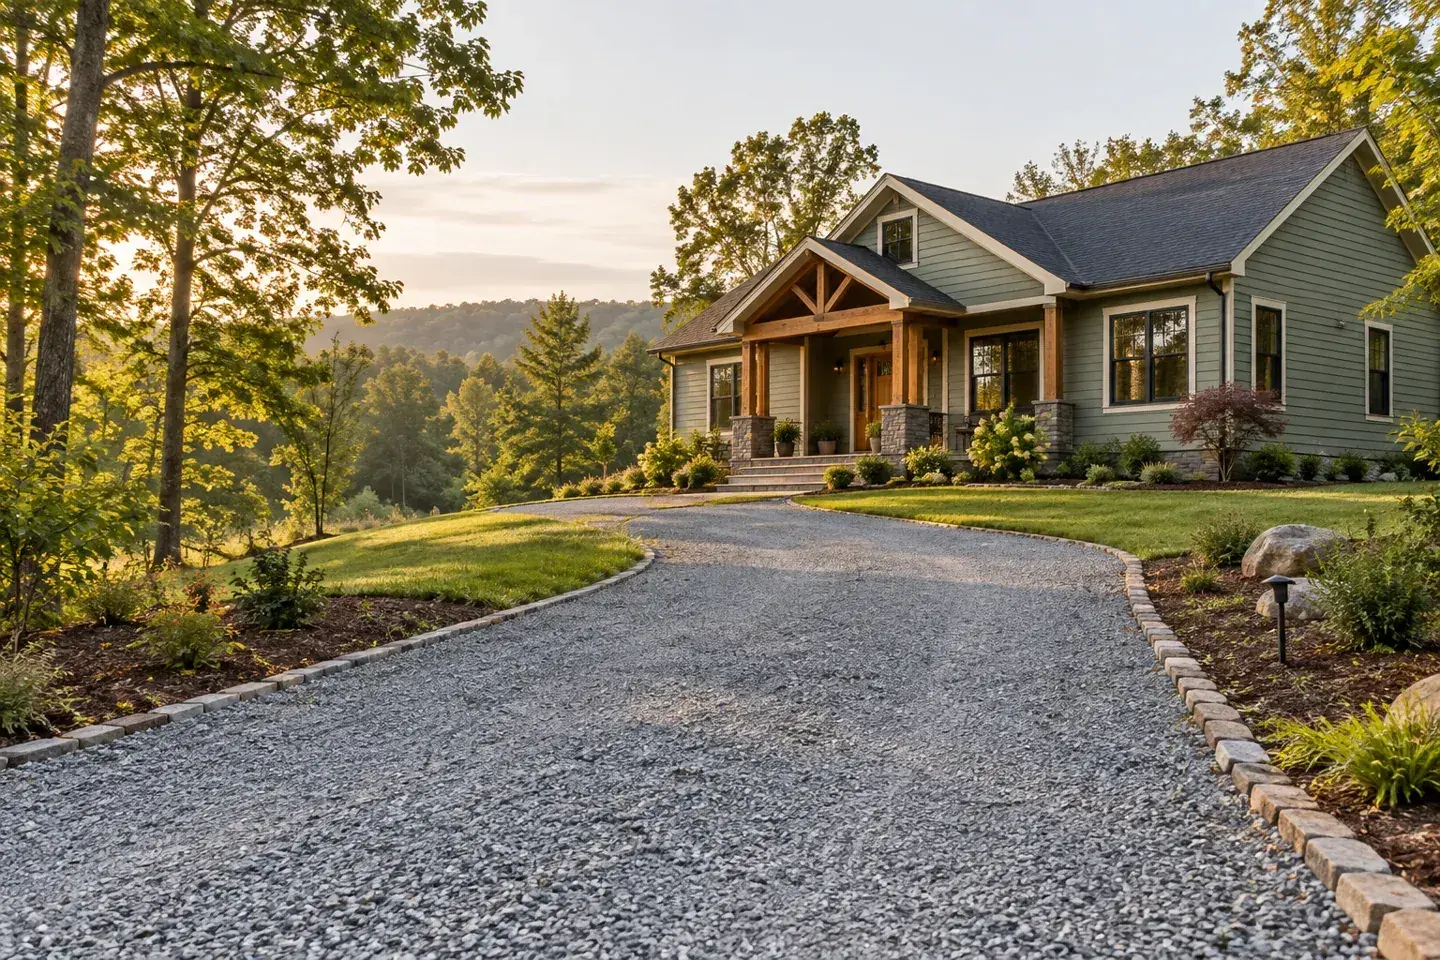
What Is the Cheapest Way to Surface a Dirt Driveway?
Compare low-cost dirt-driveway surfacing with drainage, local aggregate, delivery, preparation and a transparent sample budget before choosing.
October 2026, 4 min read
Driveway Materials and Drainage: What Happens to the Rain
A driveway is one of the largest hard surfaces on most residential lots, which makes its drainage worth planning. Here is how solid and permeable driveway materials compare, using EPA and state stormwater guidance.
September 2026, 3 min read