How to Build Aesthetic Dog Crate Furniture: A DIY Console Tutorial
Plan an attractive open console around a commercial dog crate while preserving ventilation, door access, and room for comfortable use.
By Home Crane Editors. . 3 min read.
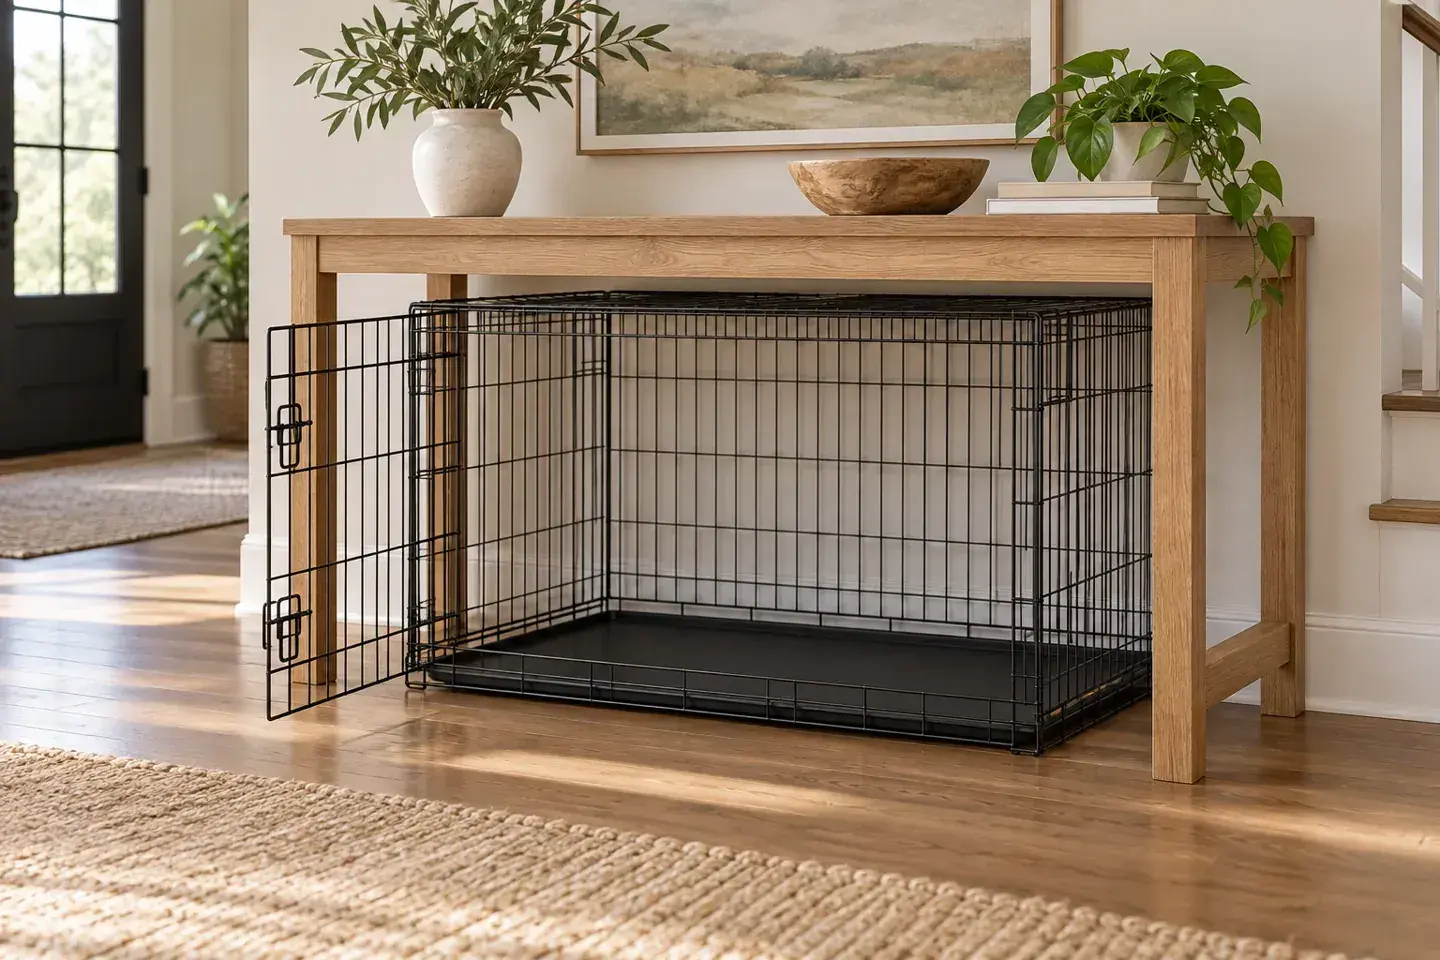
The most practical beginner version of dog crate furniture is an open console that stands independently around an appropriate commercial crate. The crate provides containment; the console gives you a coordinated furniture finish. Separating those jobs avoids guessing at homemade bar spacing, latches, or chew-resistant construction.
This tutorial explains the measuring and integration process. Use a tested console construction plan with stated dimensions and joinery, or assemble a suitable furniture kit. The illustrations are layout concepts, not load-rated construction drawings. An attractive surround must never make the crate harder to enter, clean, or ventilate.
Before you start
Start with a crate appropriate for the individual dog. Humane-society guidance says the dog should be able to stand, turn around, sit, and lie down comfortably. [1] Furniture dimensions come afterward.
You will need a tape measure, square, paper template, the tools and fasteners specified by the console plan, sandpaper, a suitable furniture finish, and any required anti-tip hardware. Choose materials that can be cleaned, and keep decorative items away from the crate opening.
1. Measure the crate in use
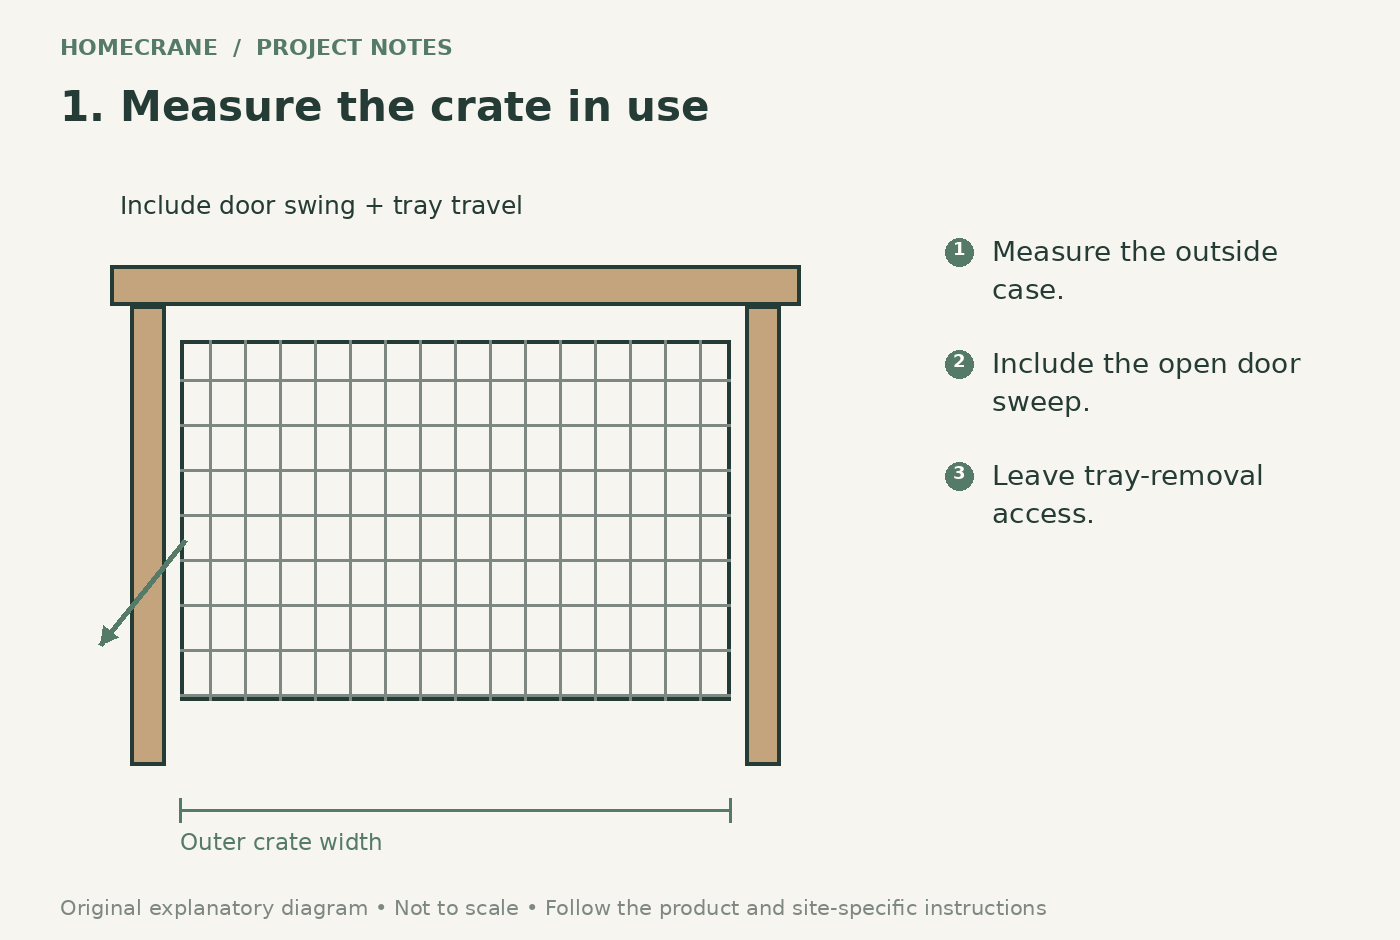
Record the outer width, depth, and height, including projecting hinges, handles, and feet. Open the door fully and measure its sweep into the room. Check how the bottom tray slides out and whether the crate needs lifting or folding for cleaning.
Use painter's tape on the floor to mark the crate, door swing, and planned console legs. Test the route past it with furniture in place. A console that fits the closed crate but traps its tray or door is the wrong size. Photograph the arrangement before ordering lumber or selecting a kit.
2. Choose an independent open console plan
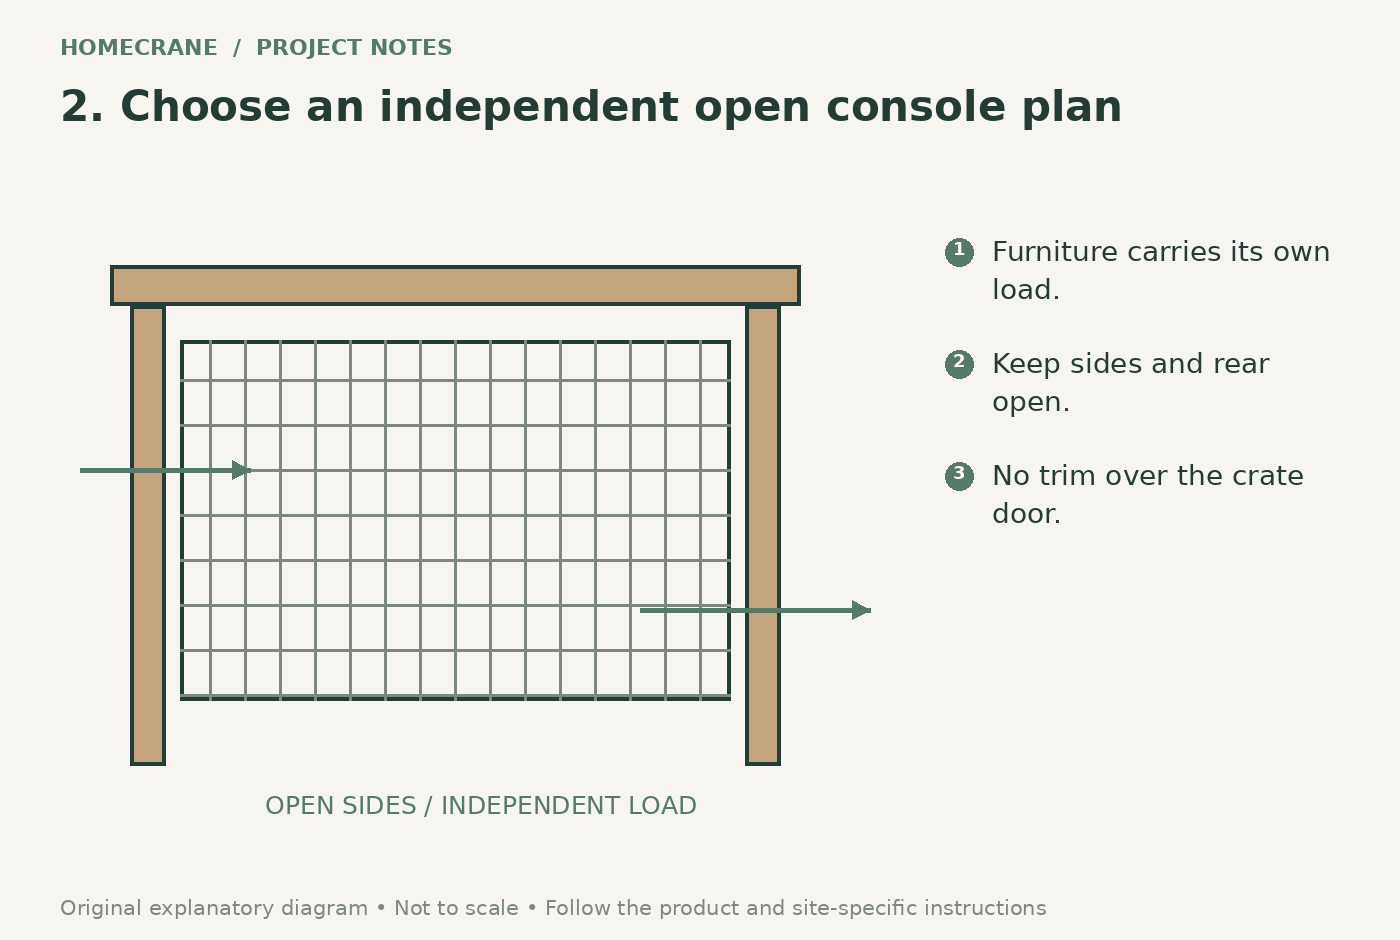
Look for a design with its own legs, stable joinery, and an open underside. The tabletop must not rest on the wire crate. Cross-braces required by the furniture plan must also stay clear of the crate; do not delete them to force a fit.
Allow accessible open space around the crate instead of boxing it into a tight cabinet. If the dog can reach and chew the console, the arrangement is unsuitable without a different layout. Avoid enclosed backs, decorative slats over the crate door, and fabric skirts. A competent carpenter can adapt a tested plan when available dimensions do not work.
3. Build and finish the console separately
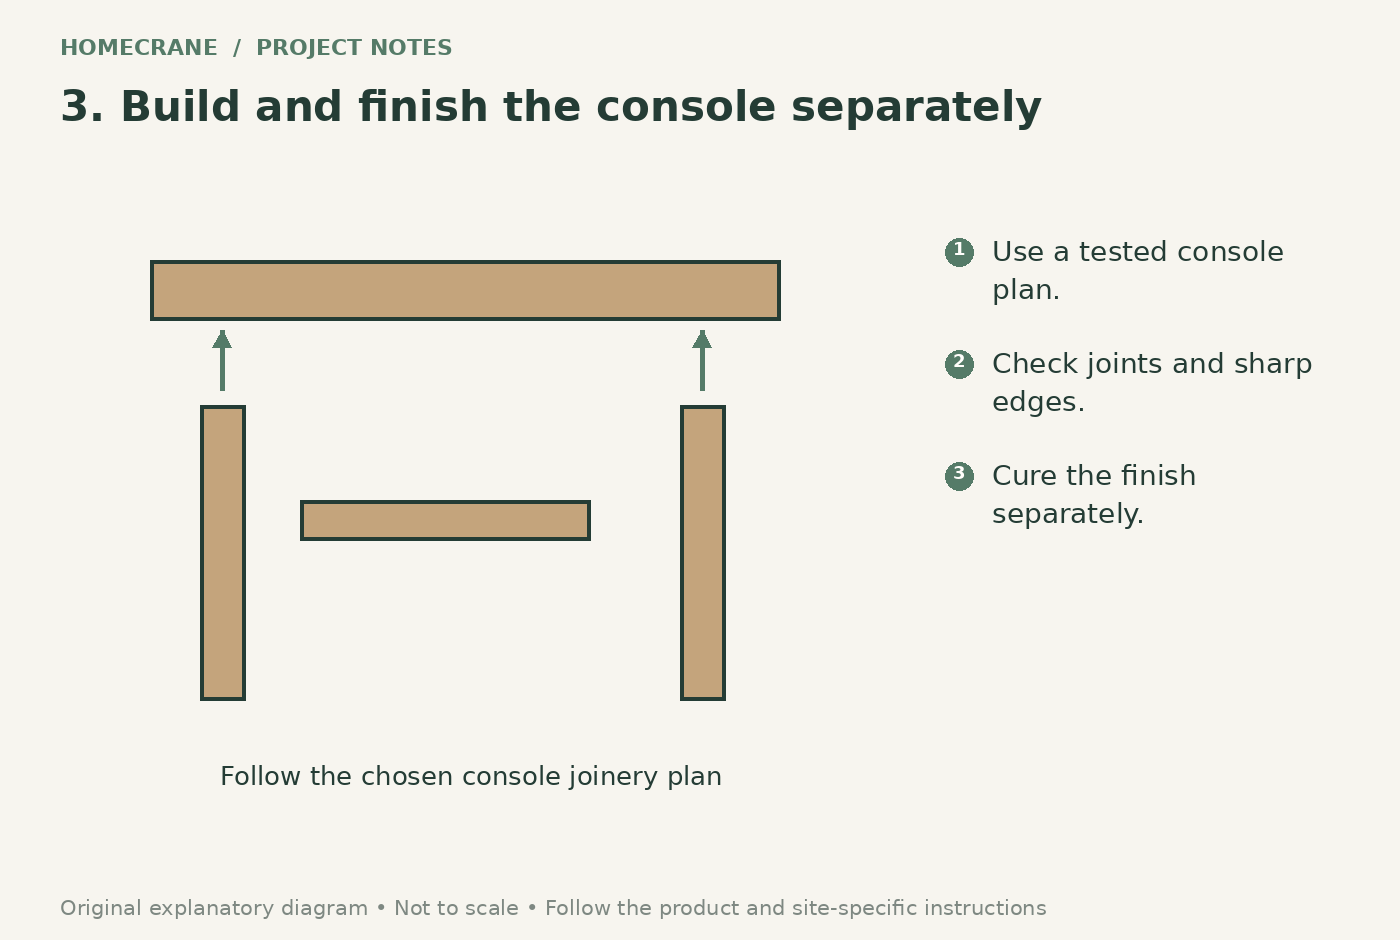
Follow the chosen plan's cut list, joint details, and fastener specifications. Dry-fit the console and check it for square before final assembly. Remove splinters and sharp corners, and verify that screw points cannot protrude into the crate area.
Apply the selected finish away from the crate and allow its full specified cure before introducing it to the room. Dry to the touch is not a reliable substitute for the manufacturer's cure instructions. Inspect the underside as carefully as the top: hidden rough edges and unsecured hardware are still reachable from below.
4. Install without blocking access
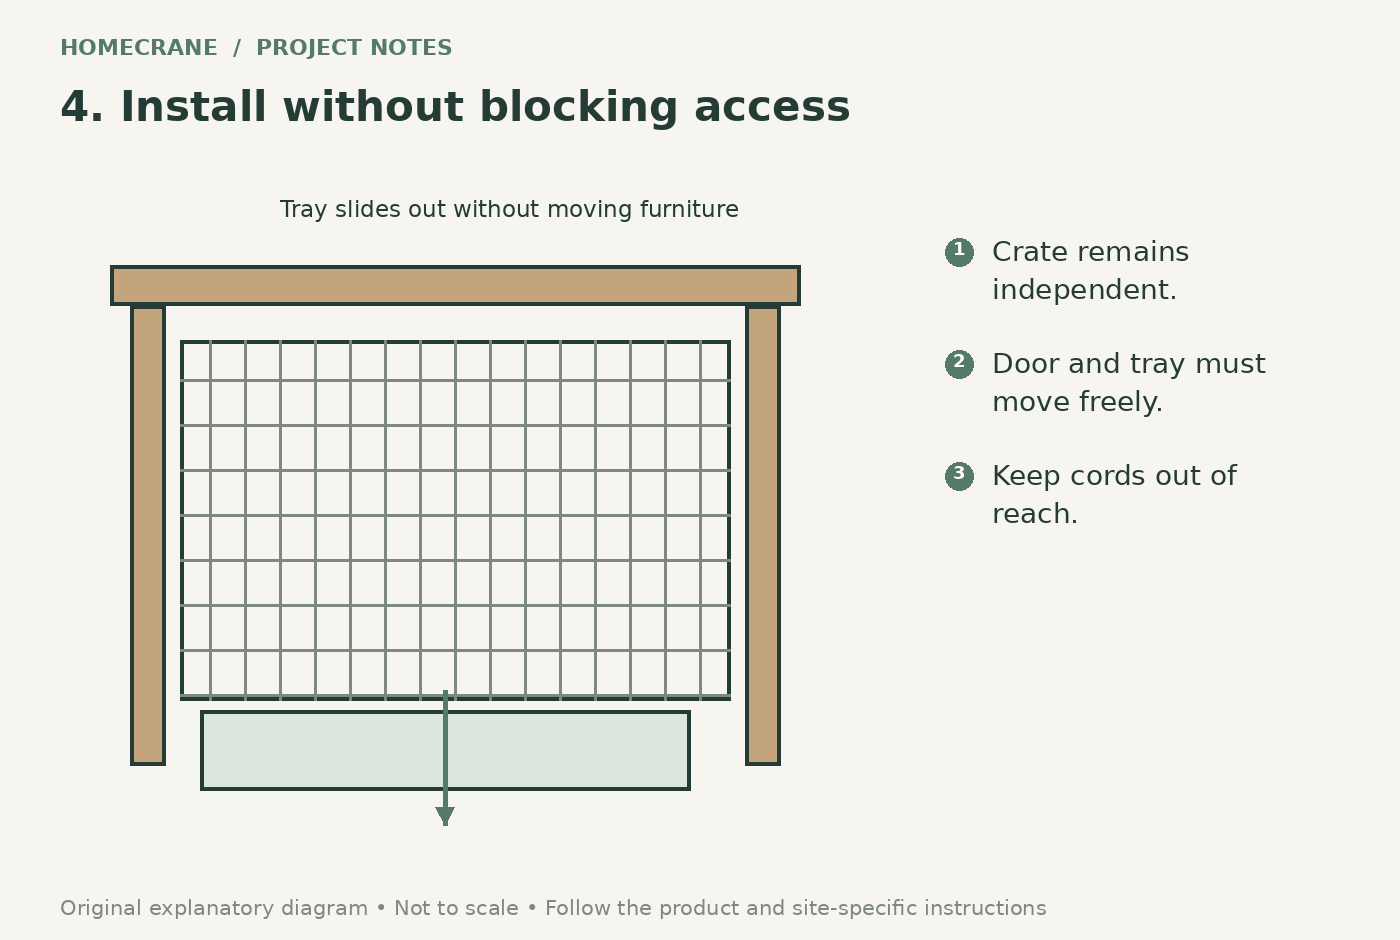
Place the completed console on a stable, level surface and secure any anti-tip restraint required by its design. Keep the crate mechanically independent. Do not screw into the crate, tie its door to the furniture, or modify its latch to suit the aesthetic.
Slide out the tray, open the door, and practice removing the crate before calling the installation complete. Keep plugs, lamp cords, and loose decorations out of reach. The tabletop is for modest loads within the furniture plan's rating, not a seat or climbing platform.
5. Check comfort and maintain the setup
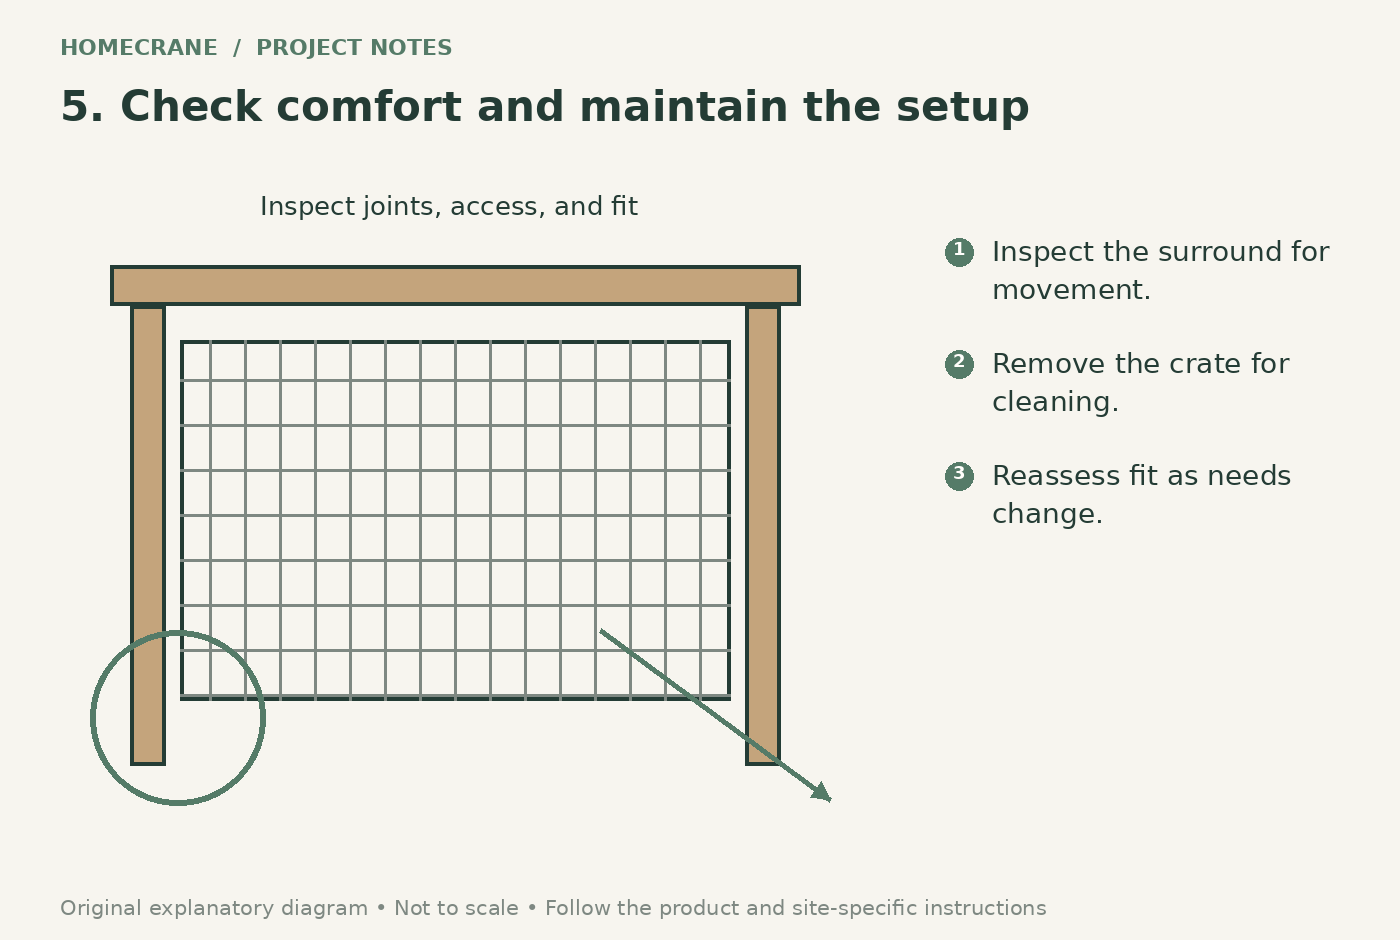
Introduce the arrangement gradually using appropriate crate-training guidance. [1] Watch for contact with the surround, chewing, escape attempts, distress, or restricted air movement. If the furniture causes any of these problems, remove the surround and reassess; appearance is secondary to the dog's needs.
Inspect joints and fasteners periodically, clean beneath and behind the crate, and keep the door route clear. A growing dog's crate requirements can change. Re-measure before replacing the crate rather than trying to squeeze a larger one into the original furniture.
Common questions and next steps
Can you build the containment crate itself from decorative wood? That requires a design suited to the dog's size and behavior, not a generic decorative cabinet plan. This project intentionally uses a commercial crate for containment.
Can the console be a bench? Only if its actual plan and construction are designed for seating loads. A console is not automatically a bench.
What makes it look integrated? Match the wood tone to nearby furniture and leave the top mostly clear. A simple, well-proportioned surround looks more convincing than extra trim that interferes with the crate.
Sources and further reading
Research reviewed October 12, 2026.
Sources
- Nebraska Humane Society: crate training and appropriate crate size. Checked October 12, 2026
Share this article
Get new guides by email
Practical home articles and free resources. No spam, and you can unsubscribe at any time.
Keep reading
14 Easy IKEA Dresser Paint Hack Ideas for Beginners
Explore IKEA dresser paint hack ideas for beginners with practical design ideas, planning advice, safe installation notes, and helpful tips for your US home.
November 2026, 10 min read
7 Genius Ways to Upcycle Thrift Store Furniture into a Modern Look
Explore upcycle thrift store furniture modern with practical design ideas, planning advice, safe installation notes, and helpful tips for your US home.
November 2026, 10 min read
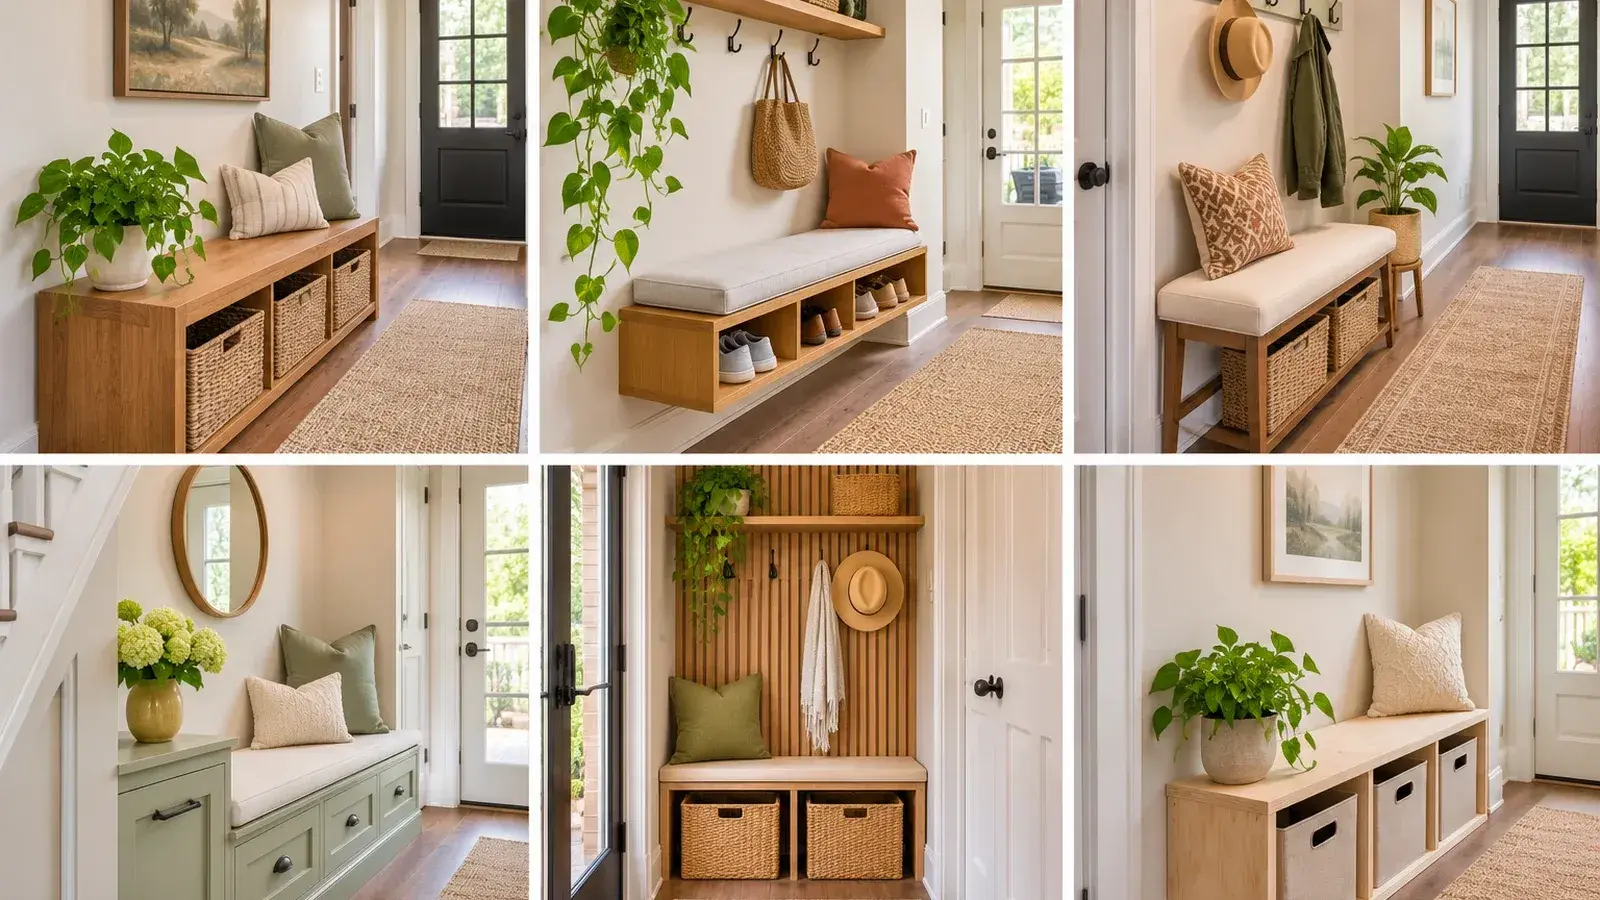
13 Best Narrow Entryway Bench With Storage DIY Layouts
Explore narrow entryway bench with storage DIY layouts with practical design ideas, planning advice, safe installation notes, and helpful tips for your US home.
November 2026, 10 min read