DIY Kitchen Island Makeover Using Pole Wrap for a Fluted Wood Look
Fluted wood can give a plain kitchen island a more detailed finish without replacing its cabinets or countertop. Flexible pole-wrap material is popular.
By Home Crane Editors. . 3 min read.
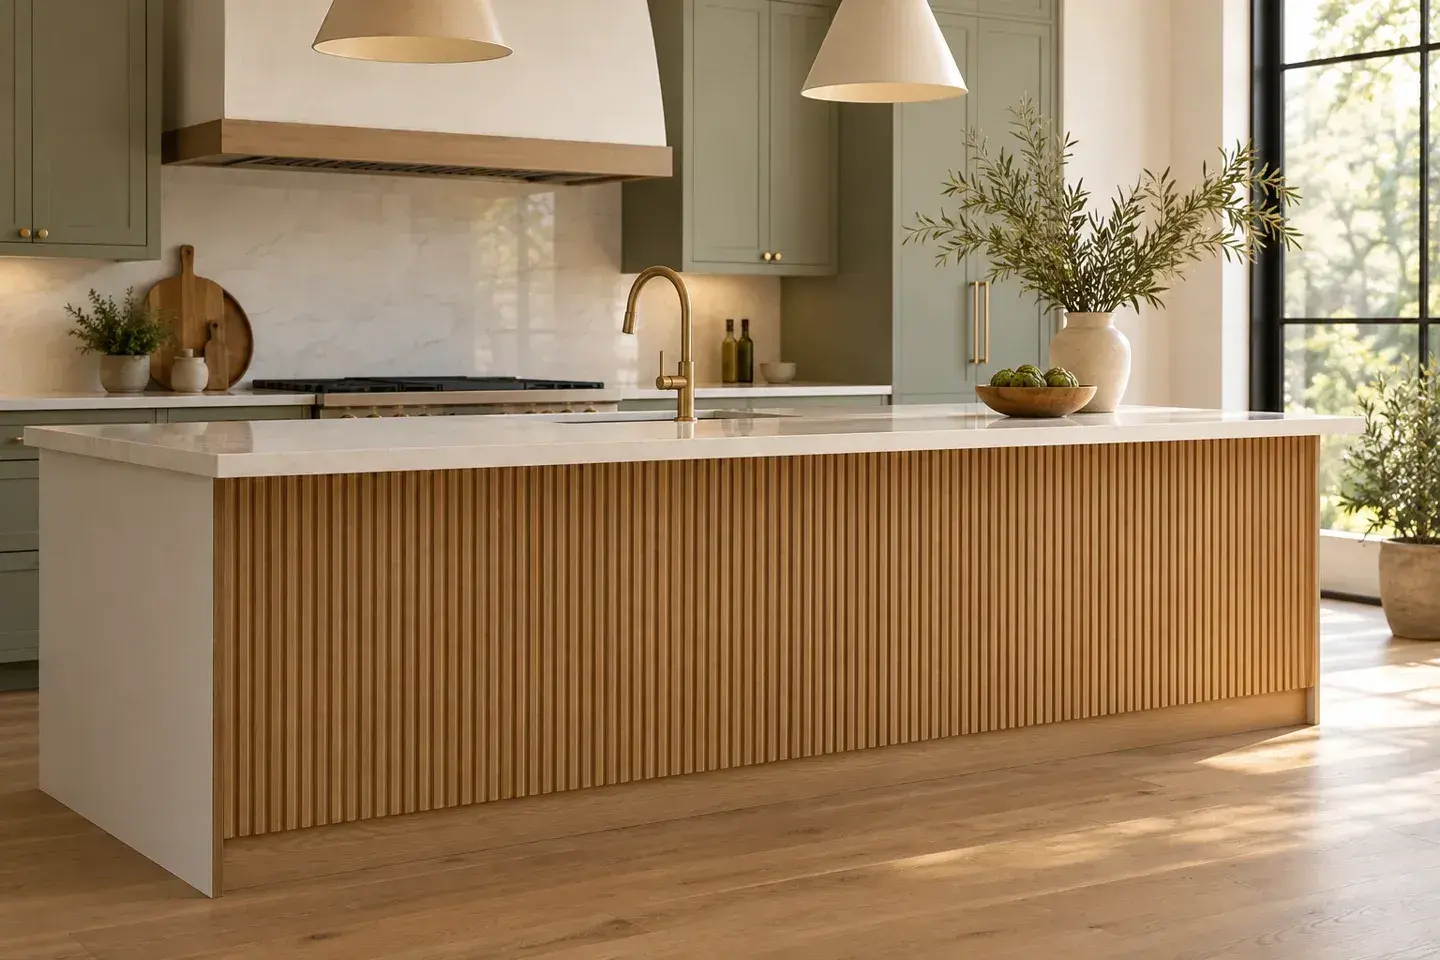
Fluted wood can give a plain kitchen island a more detailed finish without replacing its cabinets or countertop. Flexible pole-wrap material is popular for this look, but a product designed to cover a column is not automatically approved for every flat kitchen surface.
Treat the island application as a decorative adaptation. Confirm the material, backing, adhesive, finish, heat exposure, and warranty implications with the manufacturer before starting. The wrap does not strengthen the island or replace a damaged end panel.
1. Inspect the island and map the visible faces
Check that the existing panels are secure, dry, and free from swelling or loose decorative film. Identify removable service panels, outlets, vents, toe kicks, and doors. Keep these functional features accessible.
Measure each face independently, including the height from the finished lower edge to the underside of the countertop. The island may not be perfectly square. Decide whether the flutes will end at a deliberate trim strip or continue around an outside corner.
Photograph the existing details before covering anything. A decorative treatment should not conceal an unresolved leak, loose electrical fitting, or a panel that needs future removal for appliance access.
2. Choose the wrap, backing, and adhesive together
Pole-Wrap's installation page describes its material as a flexible decorative sheet attached to an existing column. That confirms its original purpose; it does not by itself establish a complete island installation system.
Ask about bonding to the actual island surface, whether painted wood, laminate, or another finish. The adhesive must be compatible with both materials and with the room's conditions. A strong adhesive can still fail if the old paint or laminate underneath releases.
Compare the intended finish on a sample. Hardwood and MDF versions can require different preparation, and stain does not behave like paint. Keep the full sample, including adhesive and finish, so you can judge color and bond before treating the entire island.
3. Plan the flute rhythm and cut carefully
Lay out the sheets so the visible grooves align across joints. Put seams where they will look deliberate and avoid ending a face with an awkward sliver. A small adjustment in trim width can make the pattern more balanced.
Cut using the product's instructions and suitable supported tools. Protect the visible face from splintering and keep fingers clear of narrow offcuts. Make a test cut first, particularly across the flutes where the material may behave differently from a solid board.
Dry-fit all pieces before adhesive. Check corners, counter overhang, stool clearance, and toe-kick depth. Do not cover an outlet or use decorative material to extend its box; have that electrical detail addressed appropriately if the added thickness affects it.
4. Attach the decorative panels without blocking access
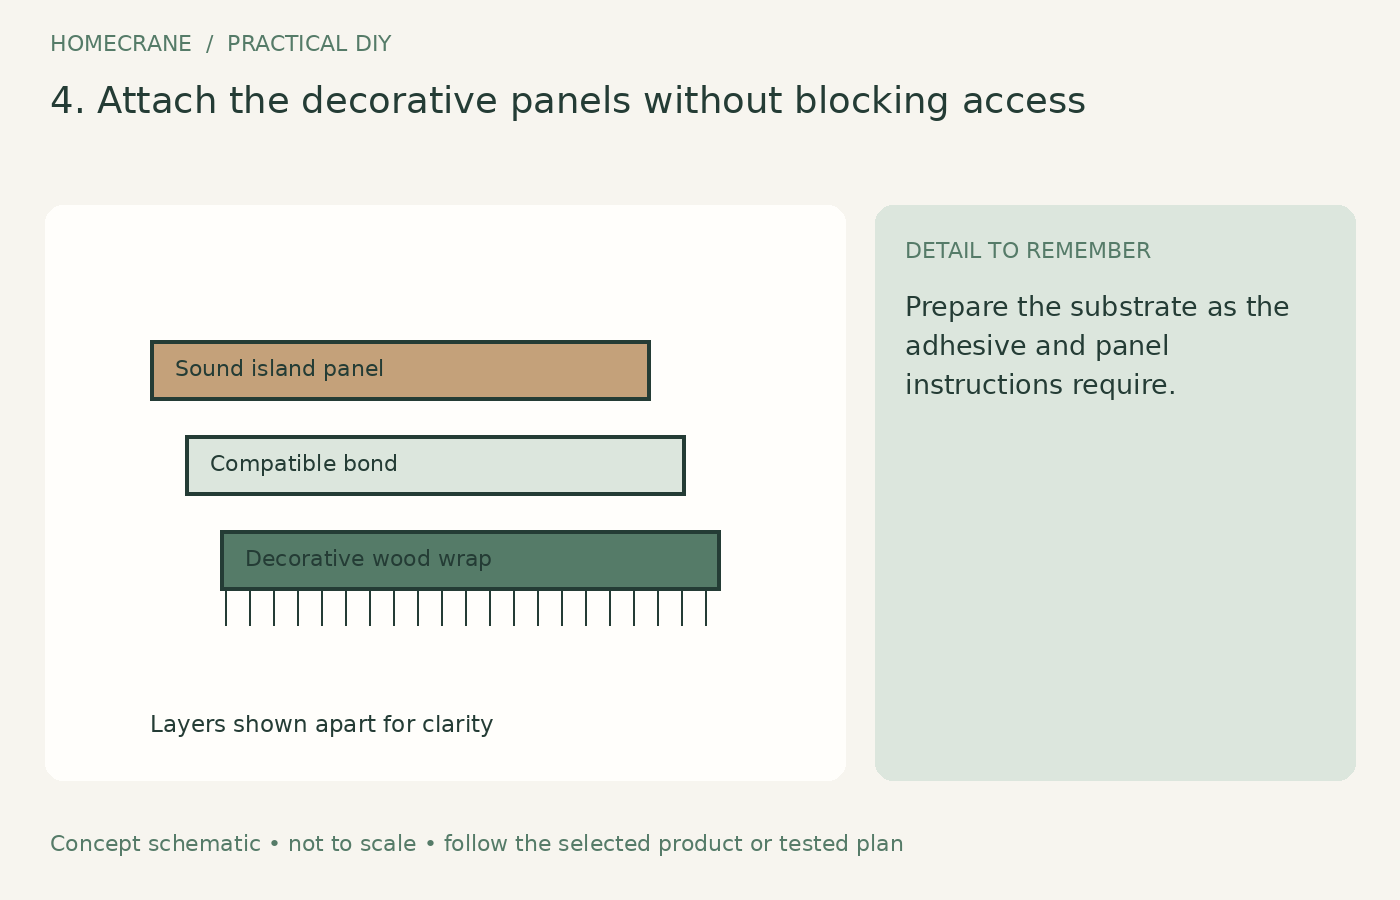
Prepare the substrate as the adhesive and panel instructions require. Apply the approved adhesive in the specified amount and pattern, then position the material carefully. Excess adhesive can squeeze into grooves and create difficult finishing defects.
Use temporary support or clamping only as permitted, protecting the fluted face from dents. Do not add random fasteners through thin material simply because the adhesive has not set immediately. Follow the required working and curing times.
Keep service panels removable. Where the design needs a detachable section, use an appropriate planned mounting method instead of gluing it permanently and hoping access will never be needed. Check every door and drawer before the adhesive cures.
5. Finish the edges and protect the surface
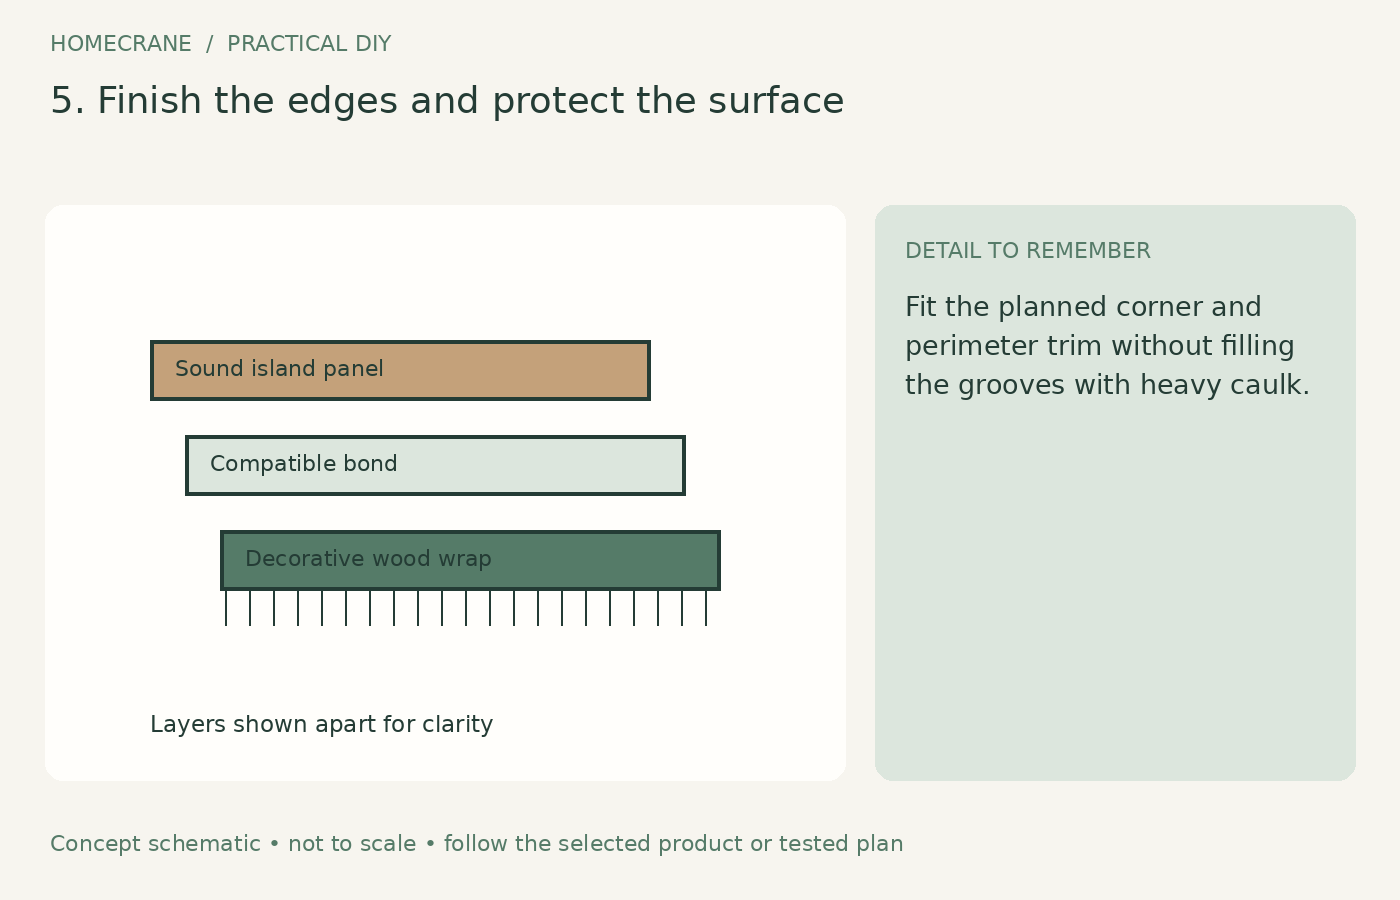
Fit the planned corner and perimeter trim without filling the grooves with heavy caulk. Seal or finish exposed edges as appropriate for the product, especially where cleaning or occasional splashes could reach them.
Use a finish suitable for the material and location, following the manufacturer's finishing guidance. Allow the finish and adhesive to cure before regular contact. Do not assume an attractive clear coat makes the assembly waterproof or suitable beside a hot appliance.
Clean grooves gently using a compatible method. Protect high-contact corners from repeated stool impacts through layout, not just more finish. If a panel loosens, repair the bond and investigate the cause rather than covering the edge with additional trim.
Compare the complete project cost
| Feature | Include in the estimate | |
|---|---|---|
| Decorative wrap | Usable sheet area and cutting waste | |
| Adhesive | Correct product and required quantity | |
| Trim | Corners, top, and bottom details | |
| Finish | Sample, preparation, and coats | |
| Access details | Removable panels and electrical adjustments |
The visible island area is only part of the calculation. Grooves, offcuts, and edge returns can increase material use. Buy after drawing the cut layout so you know whether a second sheet is necessary.
Questions homeowners ask
Is pole wrap the same as structural fluted paneling?
No. Decorative material should not be assumed to carry loads or stiffen a failing cabinet. The underlying island must already be sound.
Is this renter-friendly?
Permanent adhesive can damage the existing finish during removal. Obtain written approval for the actual material and attachment method, and do not describe the project as reversible unless that has been established for the full assembly.
Sources
- Pole-Wrap's installation page. Checked October 11, 2026
- PoleWrap: Installation and finishing guidance. Checked October 11, 2026
Share this article
Get new guides by email
Practical home articles and free resources. No spam, and you can unsubscribe at any time.
Keep reading
DIY Fluted Headboard Made Out of Pool Noodles
Plan a decorative fluted headboard using covered foam channels, a stable backer, careful material checks, and secure independent mounting.
October 2026, 3 min read

4 Renter-Friendly Ways to Hang Curtains Without Drilling
Compare tension rods, adhesive curtain hooks, magnetic rods, and floor-to-ceiling systems for curtains in a rental without drilling.
October 2026, 3 min read
Genius Under-Stairs Pull-Out Storage Ideas You Can DIY
Explore five under-stairs storage approaches with practical guidance on access, drawer hardware, stability, and existing openings.
October 2026, 3 min read