DIY Fluted Headboard Made Out of Pool Noodles
Plan a decorative fluted headboard using covered foam channels, a stable backer, careful material checks, and secure independent mounting.
By Home Crane Editors. . 3 min read.
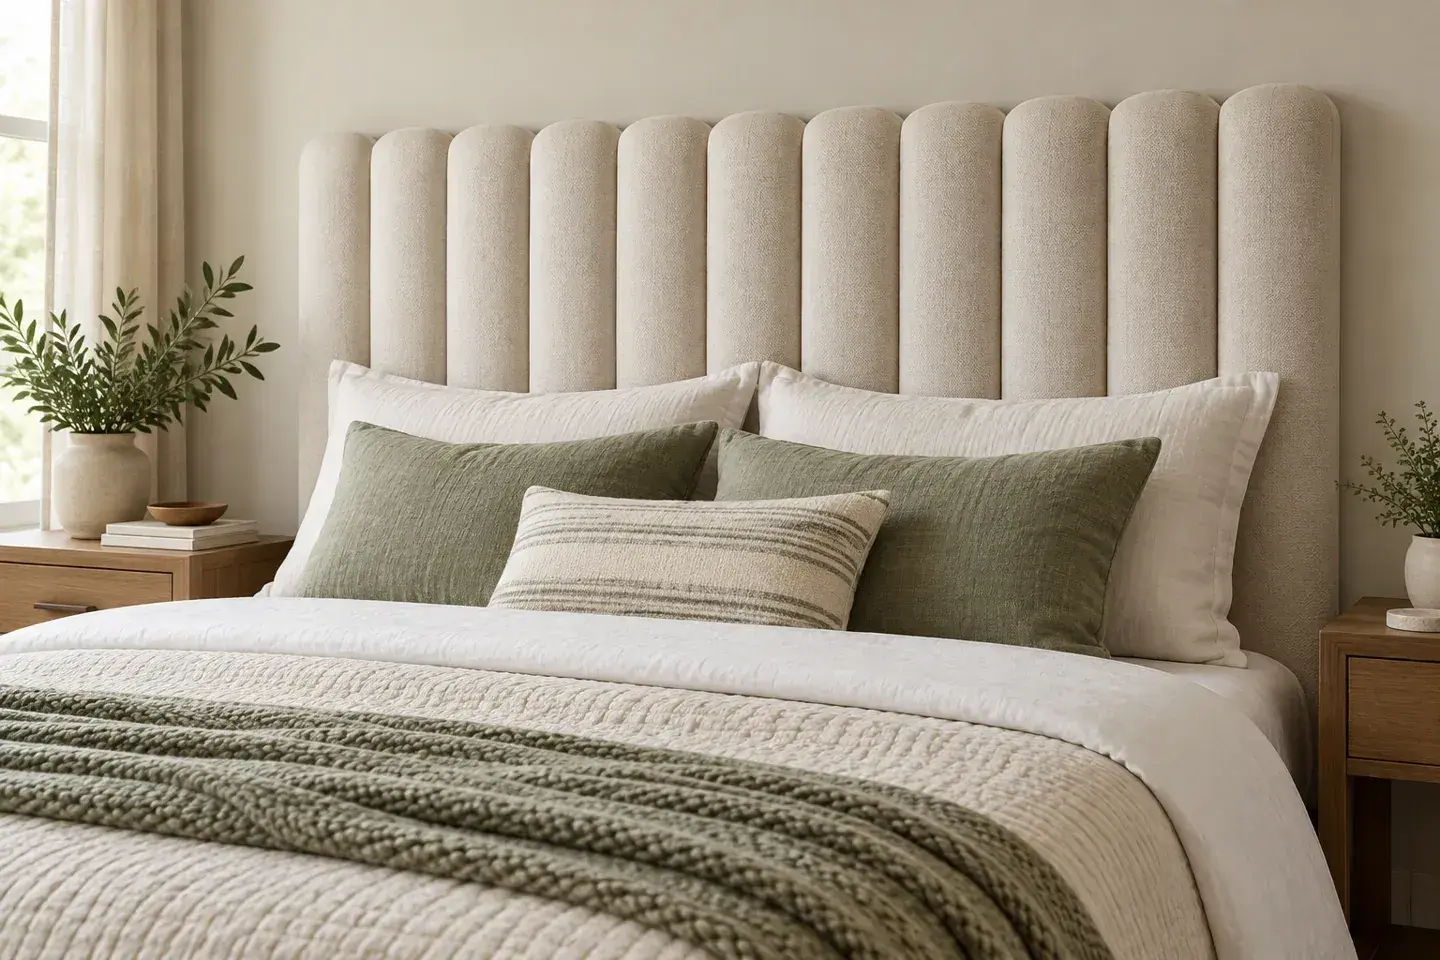
The pool-noodle headboard idea uses rounded foam profiles to suggest upholstered vertical channels. It is a craft approach to a decorative panel, not a tested substitute for commercial upholstered furniture. The finished look depends on consistent spacing, smooth fabric, and a properly supported backer.
Pool noodles vary in material and are not automatically suitable upholstery components. Confirm the material and any relevant use restrictions with the supplier. If you cannot establish suitability for the intended bedroom use, choose purpose-made upholstery components and a tested headboard plan instead.
Before you start
Plan a decorative adult-bedroom panel that mounts securely behind the bed, separate from the mattress and bed structure. It is not for a crib, toddler sleep space, or a guardrail. Keep it away from heat sources, electrical fittings, and flames; fabric covering does not establish fire performance.
Gather a tested backer-and-mounting plan, suitable sheet material, fabric, a staple tool with fasteners that cannot protrude through the backer, measuring tools, and the selected fill. Do not assume generic foam adhesive works: Loctite PL 300, for example, specifically excludes polyethylene and polypropylene. [1]
1. Lay out the channels at full size
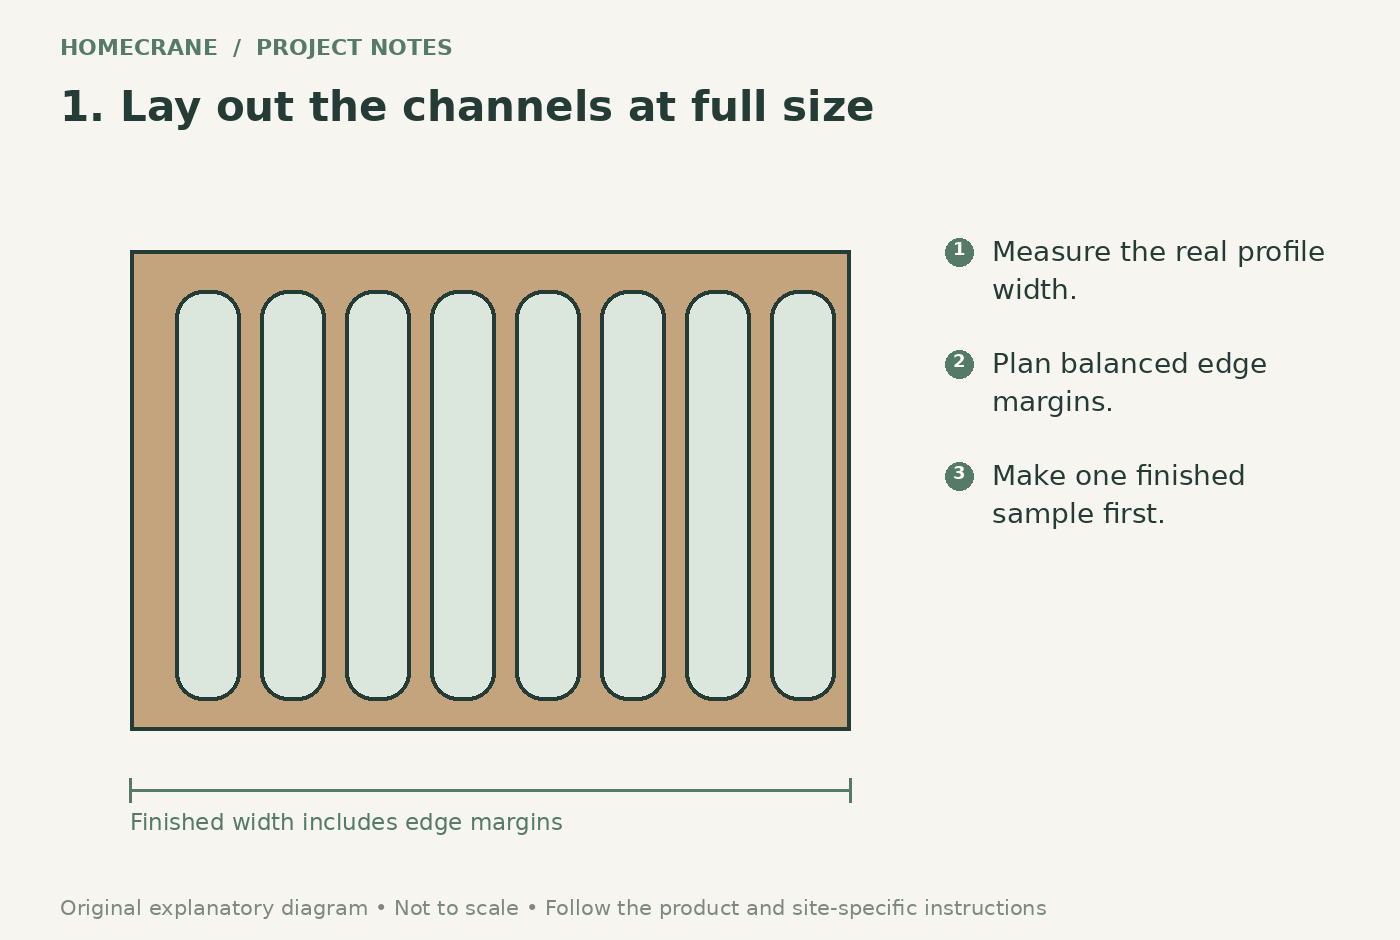
Measure the desired finished width and height, then draw the backer and bed together. Keep the panel within a location that allows secure mounting and does not interfere with outlets, switches, windows, or ventilation.
Measure the actual foam profile rather than relying on a nominal noodle diameter. Lay several pieces side by side with the intended fabric allowance to see how many channels fit. A balanced pair of edge margins usually looks more deliberate than a final narrow channel squeezed into one corner. Make one complete sample channel before cutting all the materials.
2. Prepare a smooth, stable backer
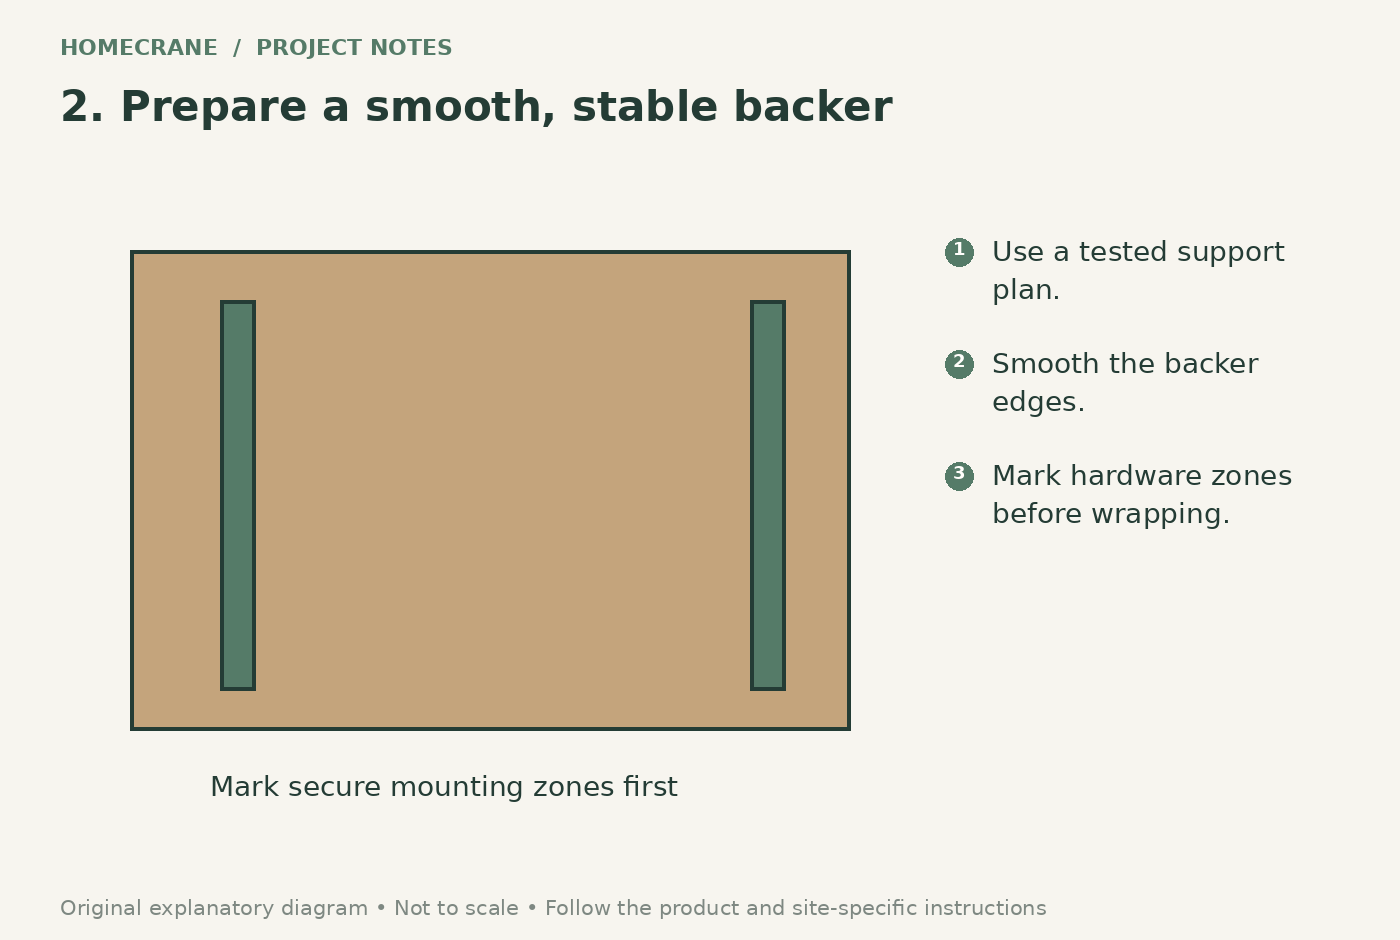
Use the backer thickness, joints, and support method from a suitable tested headboard plan. Have large sheet material cut accurately if you do not have the equipment to support it safely. Ease rough edges and remove splinters before adding fabric.
Mark the channel positions and the mounting-hardware locations. Keep fastening zones accessible so you do not later drive hardware blindly through the upholstery. A large thin panel can bow; adding foam does not make it structurally stronger. Resolve stability before decorating the front.
3. Make consistent foam profiles
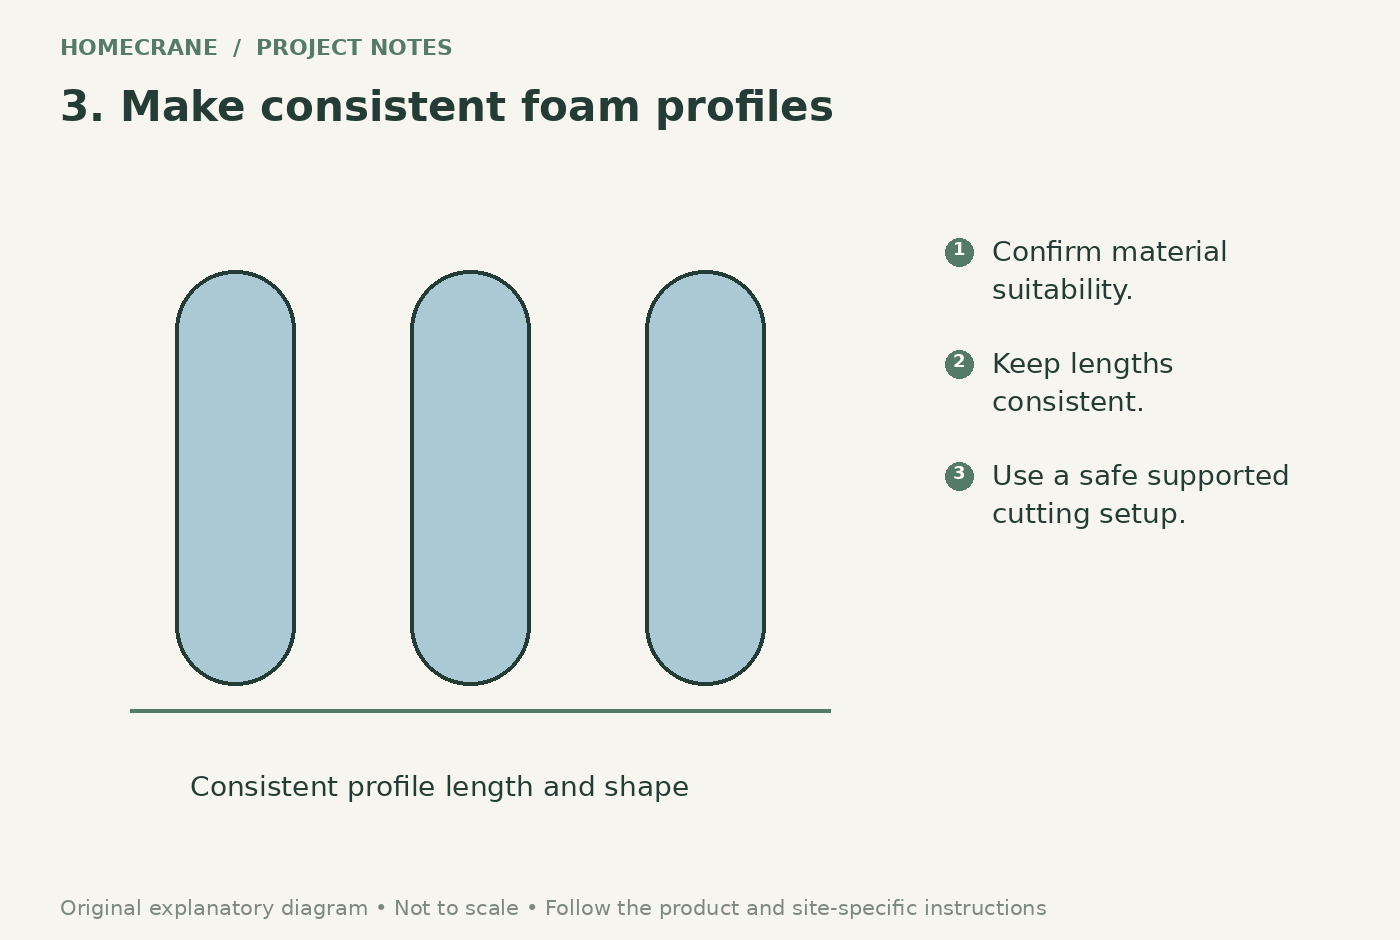
If the confirmed suitable material needs splitting, secure it in a safe cutting setup and follow the cutting-tool instructions. Do not hold a rolling cylinder in one hand while cutting toward the other. Ready-shaped upholstery profiles can simplify this stage.
Cut pieces to a consistent length and check them against the marked layout. Dry-fit the whole face, including the edge treatment. Discard crumbling or damaged material. Do not use hot tools or an unverified adhesive to force a poor fit; a neat craft finish begins with predictable components.
4. Wrap and secure the fabric evenly
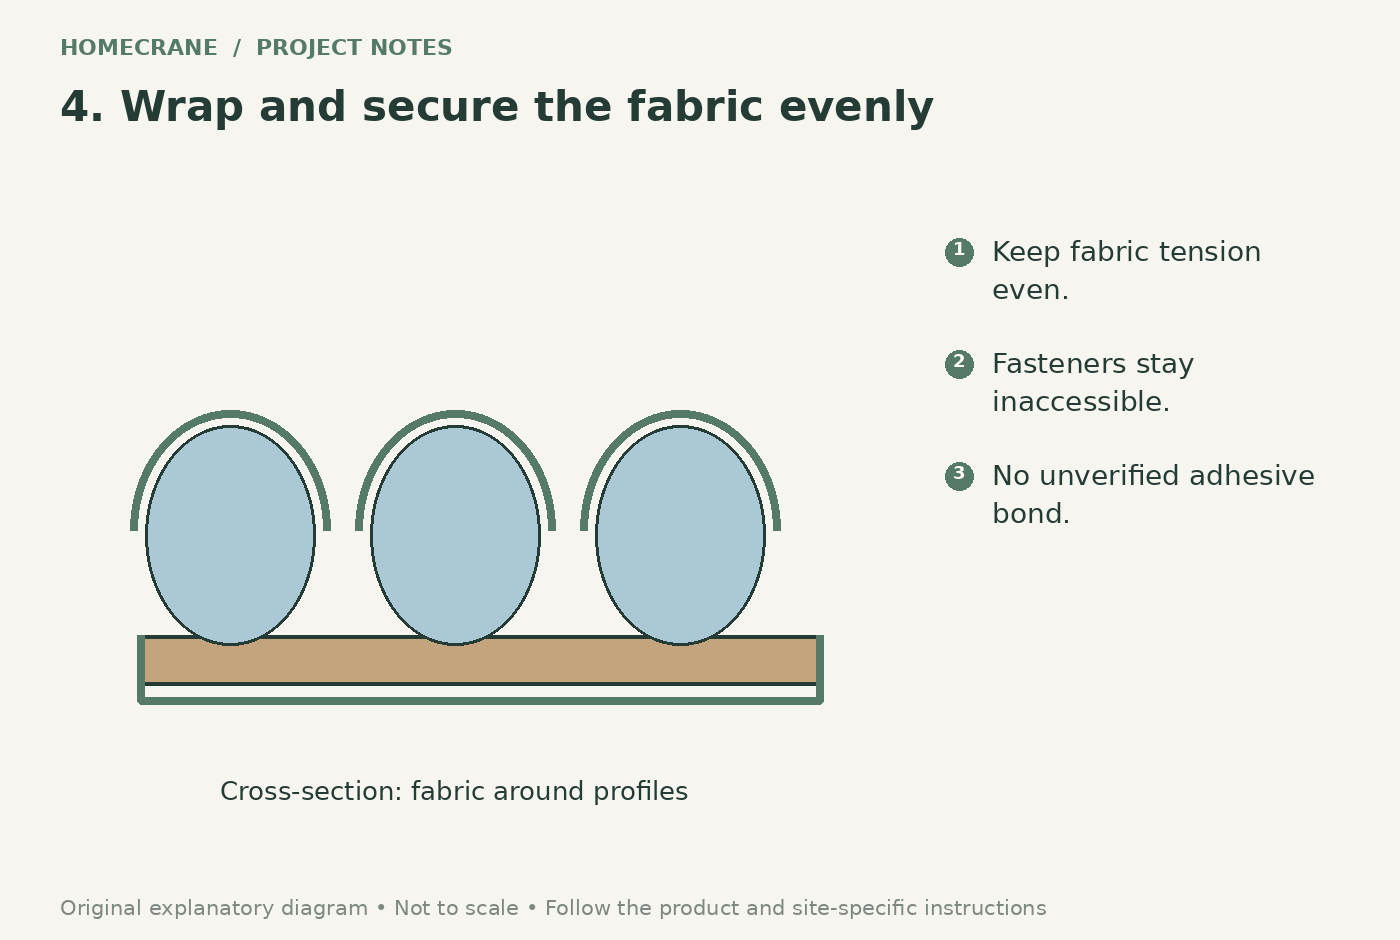
Test the fabric over the sample profile. A plain, moderately forgiving textile makes uneven tension less obvious than a large stripe that must align perfectly. Work from the center outward and keep the channel spacing consistent.
Use a fastening method appropriate to the chosen plan, with any staples secured into the backer and inaccessible in the finished piece. Mechanical fabric sleeves or wrapping can avoid relying on an unverified adhesive bond, but the completed panel must still hold every component securely. Trim loose fabric and inspect both faces for sharp points.
5. Mount securely and inspect the finished panel
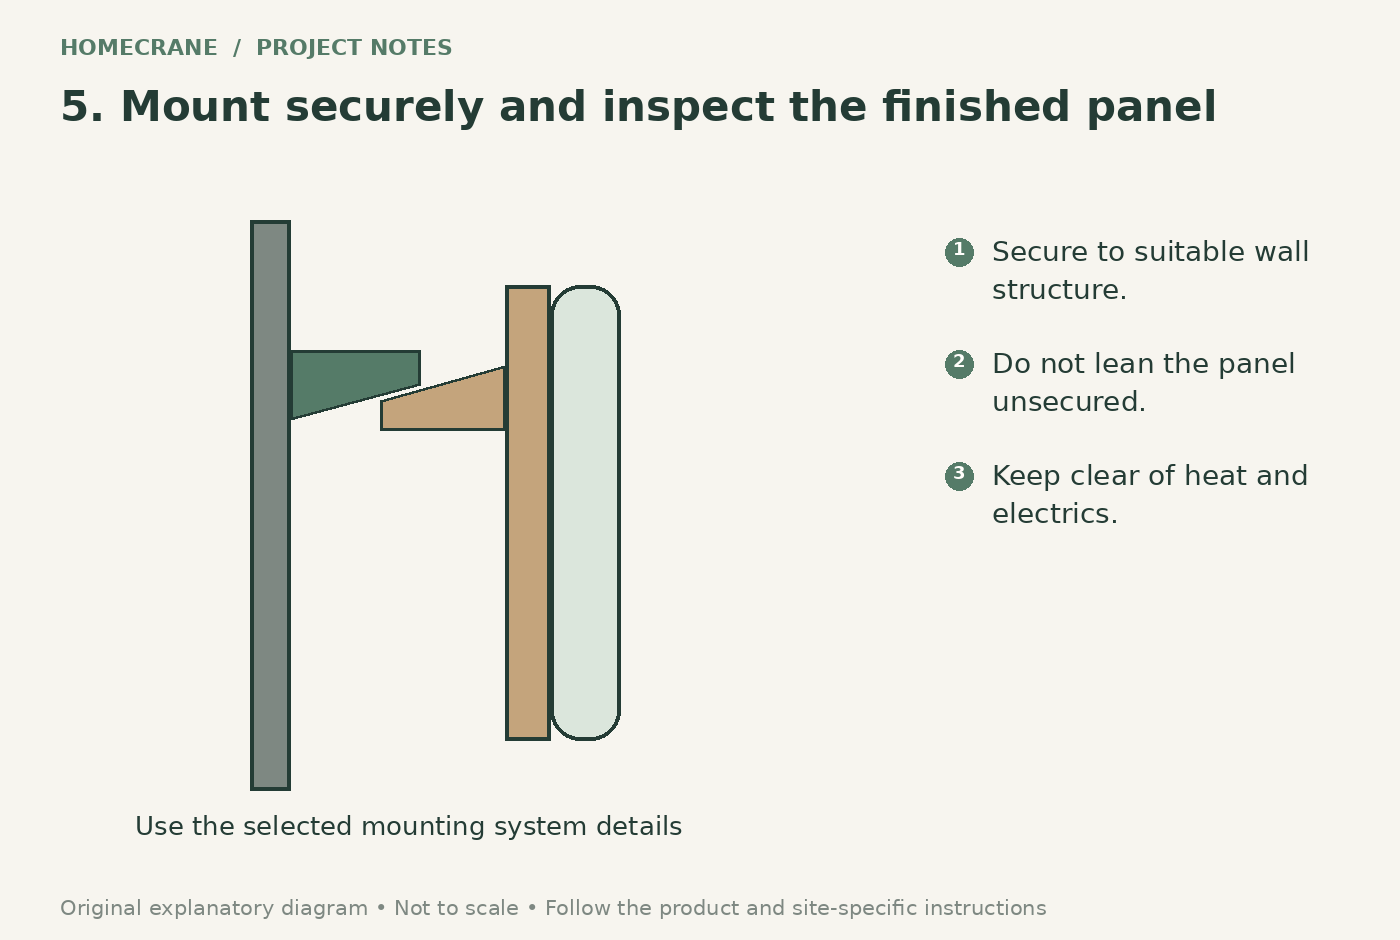
Follow the selected mounting system's wall, fastener, and load requirements. Attach to suitable structure as directed, check for concealed utilities before drilling, and use help to position a large panel. Do not leave it leaning unsecured behind the bed.
Inspect for movement, exposed fasteners, loose foam, or fabric that can pull free. Keep cleaning compatible with the materials and remove the panel if it deteriorates. The illustration shows the intended visual effect; it does not certify material suitability, fire behavior, or structural performance.
Common questions and next steps
Is this always cheaper than buying a headboard? No. Fabric, a backer, mounting hardware, tools, and replacement materials can exceed the apparent cost of the noodles. Price the whole project first.
Can any foam glue be used? No. Compatibility depends on the foam chemistry and adhesive. Read the actual technical sheet; the word “foam” on a label is not enough.
What is the easier alternative? Use a tested upholstered headboard plan with purpose-made materials, or choose a ready-made headboard with documented installation instructions. You can still get a fluted look without improvising every component.
Sources and further reading
Research reviewed October 12, 2026.
Sources
- Loctite: PL 300 technical data and excluded plastics. Checked October 12, 2026
Share this article
Get new guides by email
Practical home articles and free resources. No spam, and you can unsubscribe at any time.
Keep reading

4 Renter-Friendly Ways to Hang Curtains Without Drilling
Compare tension rods, adhesive curtain hooks, magnetic rods, and floor-to-ceiling systems for curtains in a rental without drilling.
October 2026, 3 min read
Genius Under-Stairs Pull-Out Storage Ideas You Can DIY
Explore five under-stairs storage approaches with practical guidance on access, drawer hardware, stability, and existing openings.
October 2026, 3 min read

How to Create a Stunning DIY Indoor Plant Wall
Build a manageable indoor plant wall with removable pots, suitable light, secure shelves, and a watering routine that protects the wall.
October 2026, 3 min read