DIY Mudroom Bench Built from Cheap Kitchen Cabinets
Create a mudroom storage bench using kitchen cabinets within a separately supported seat structure. Plan dimensions, assembly, and the full budget.
By Home Crane Editors. . 4 min read.
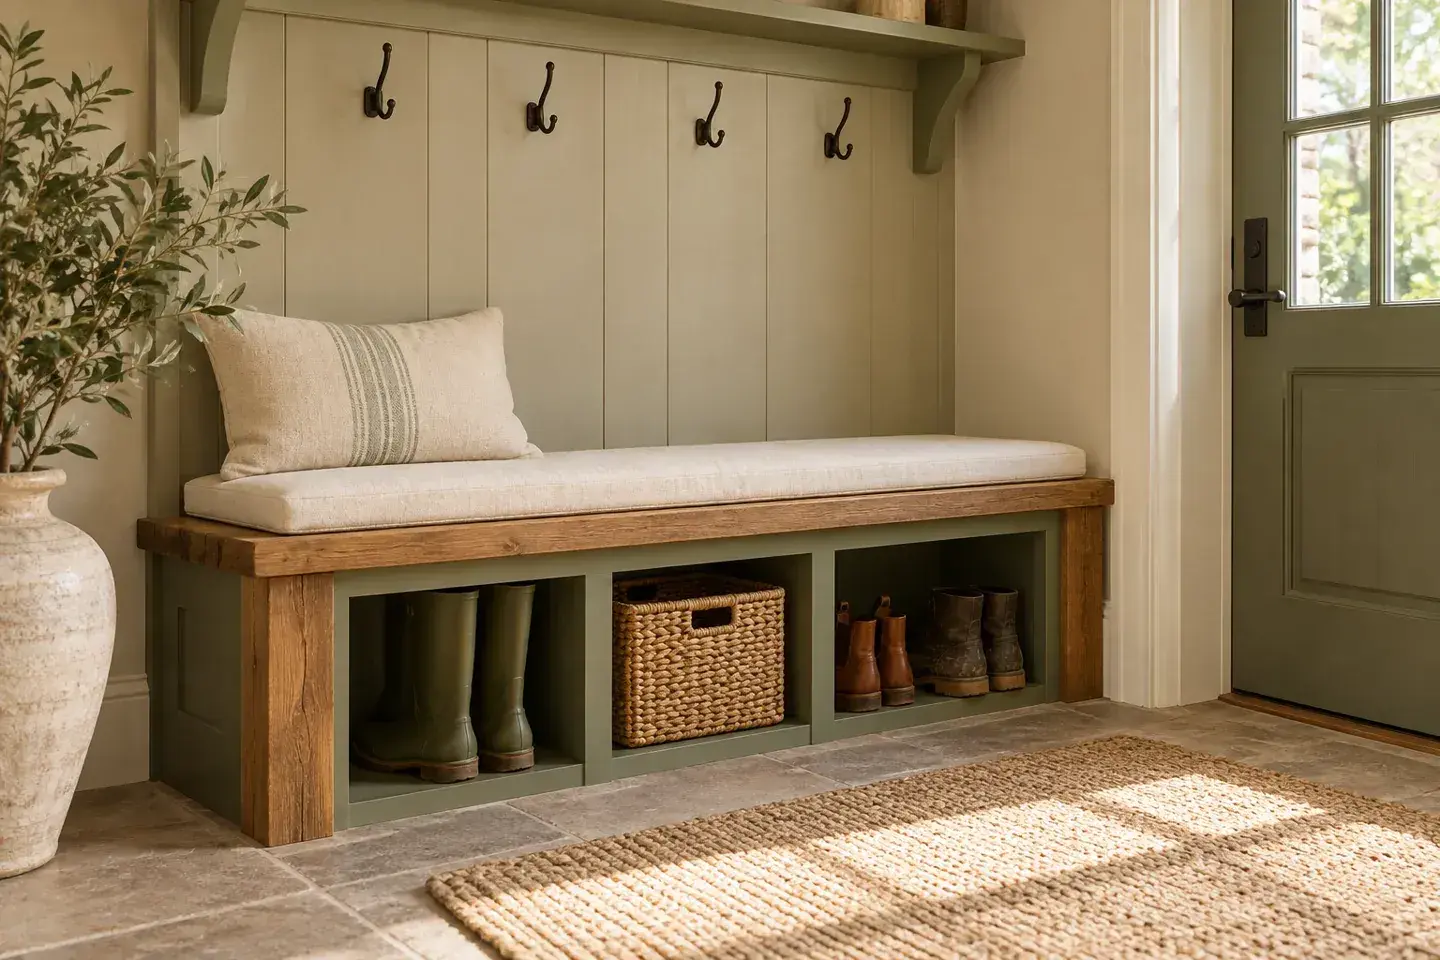
Kitchen cabinets can provide affordable enclosed storage for a mudroom bench, but ordinary cabinets should not be assumed to carry seated people. The reliable approach is to use suitable cabinets as storage within a separately designed, floor-supported seating structure, or use a cabinet system explicitly approved by its manufacturer for seating.
This project guide explains the planning and assembly sequence for the first approach. It is not a load-rated structural plan or universal lumber cut list. Have the seat frame, connections, spans, and support locations specified for your dimensions and intended users by a qualified carpenter before construction.
1. Measure the space and choose cabinets that fit
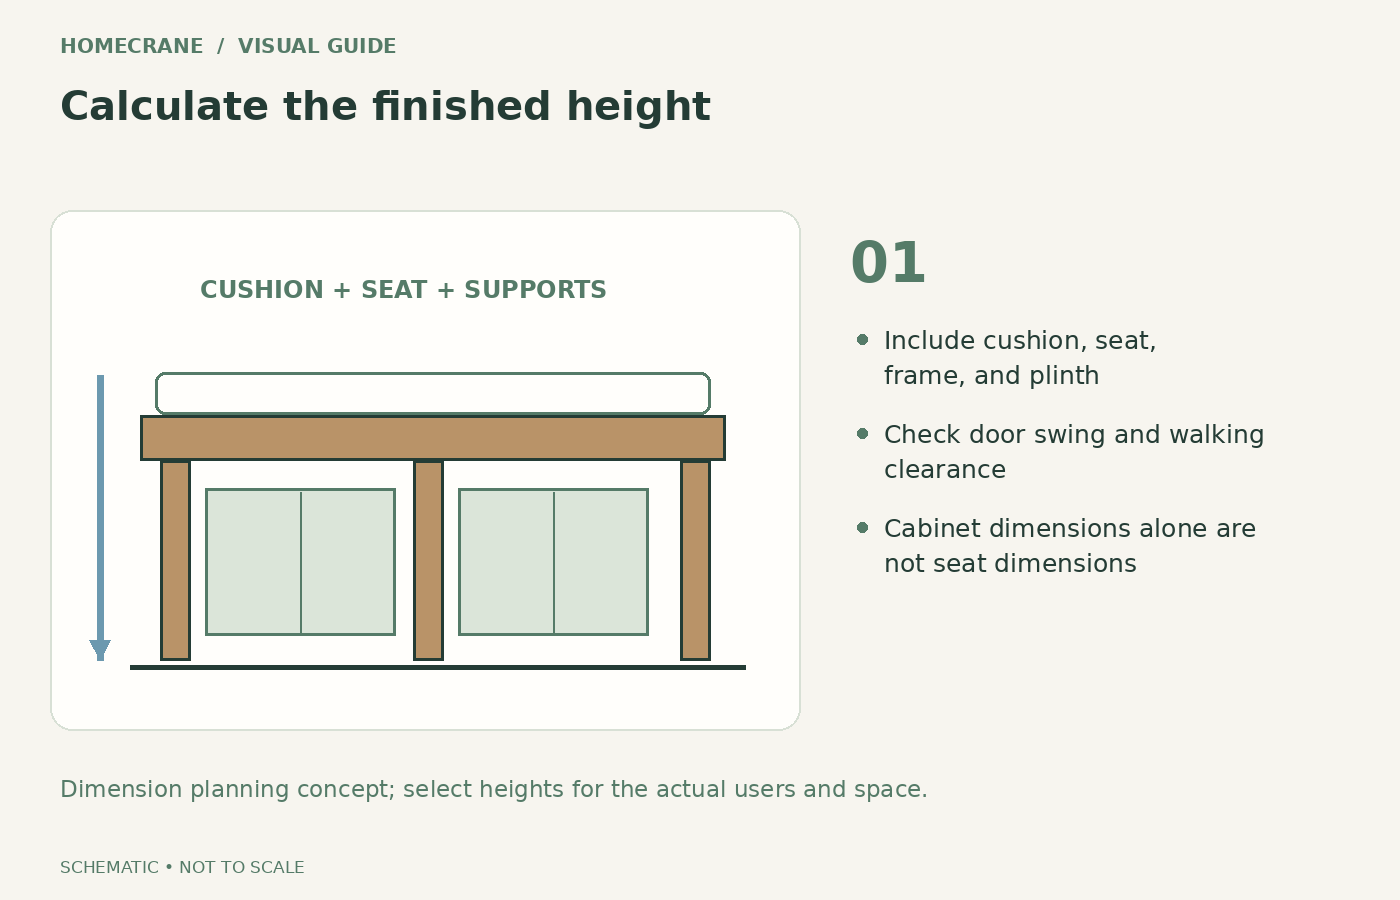
Measure the wall in several places, check the floor for unevenness, and mark doors, outlets, vents, trim, and walking routes. Allow room for cabinet doors to open without blocking the entrance. Keep required access to electrical equipment and ventilation.
Ordinary kitchen base cabinets are typically too tall for a comfortable sitting bench without substantial redesign. Short upper cabinets may offer useful storage dimensions, but their construction does not automatically make them seats. Check the actual product dimensions instead of shopping by photographs.
Determine your target finished seat height and depth with a comfortable existing chair as a reference. Include the cushion, seat panel, support structure, and any plinth in the total. A cabinet that fits the wall width can still make the finished bench too tall once those layers are added.
2. Design a continuous load path to the floor
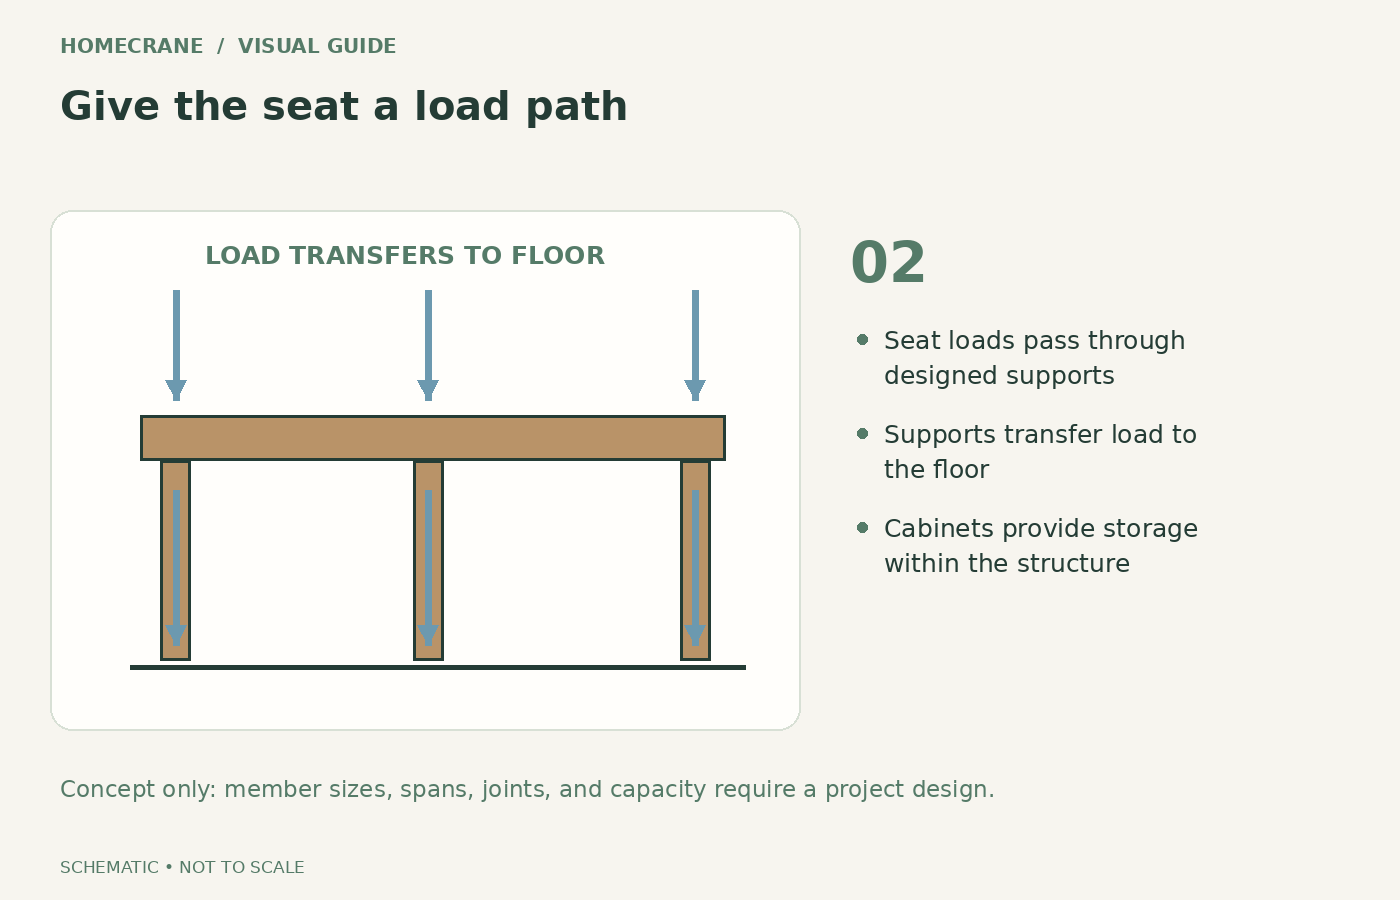
The seat should transfer its load through a suitable frame or supporting panels to the floor. The cabinet boxes occupy the storage openings; they should not become an accidental structural link because a beam was omitted or a gap was packed with trim.
Ask the carpenter to define the seat material, unsupported spans, intermediate supports, joints, fasteners, and lateral stability. A long front edge and a deep seat create different demands from a short, shallow bench. Dynamic loads from sitting down also make a bench different from a shelf holding stationary objects.
Wall anchoring can help prevent tipping and movement, but it is not a substitute for the intended vertical supports. The CPSC's Anchor It guidance reinforces the importance of securing appropriate furniture according to its instructions. Keep the structural design and anti-tip connection as related but distinct requirements.
3. Build and level the specified support structure
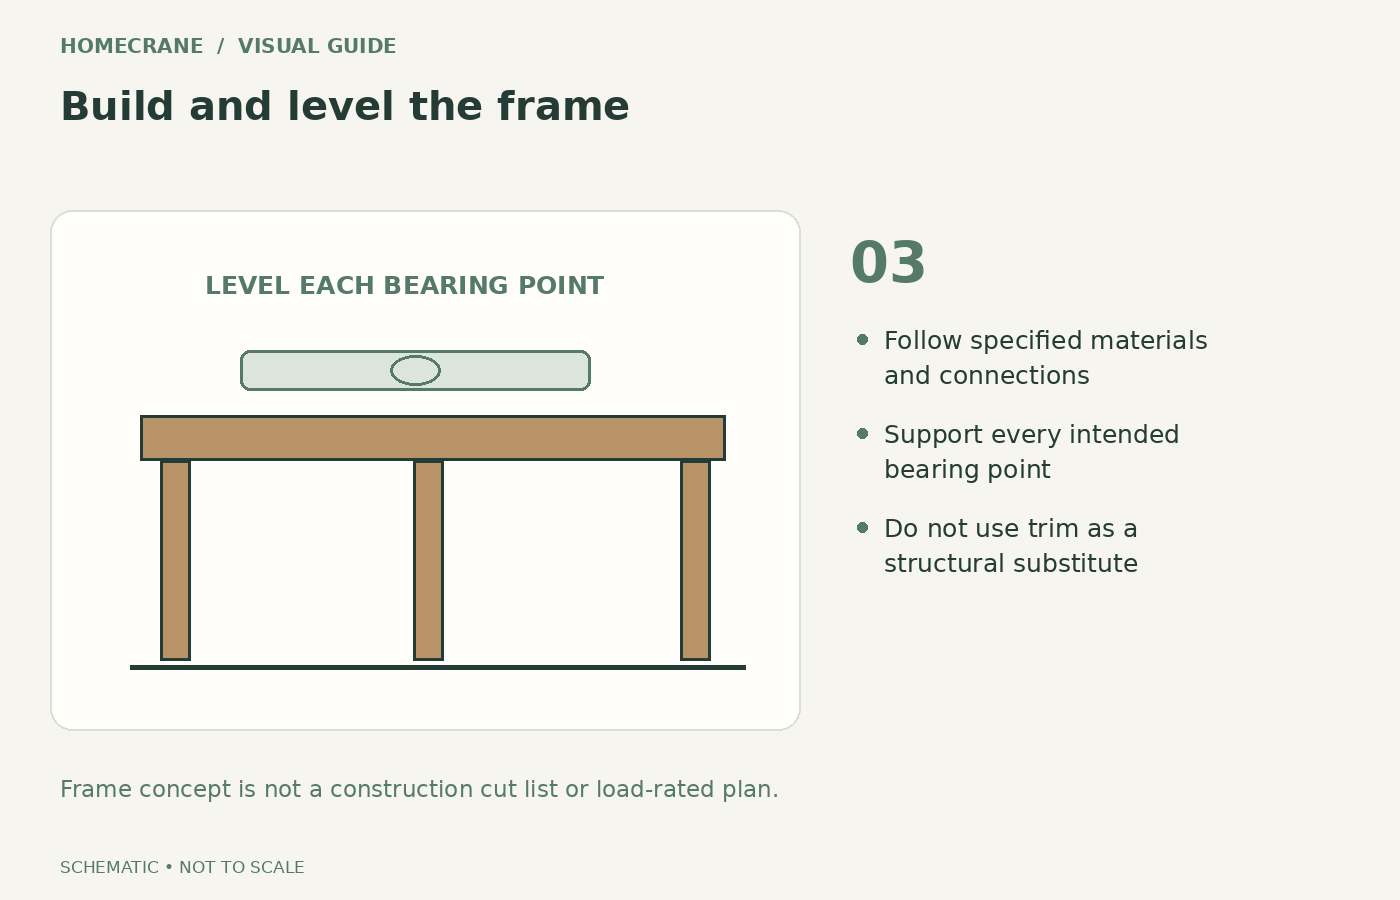
Cut and assemble the frame according to the approved project dimensions and connection details. Use the specified structural materials and fasteners. Decorative trim, thin cabinet backs, and general-purpose drywall screws are not substitutes for those components.
Dry-fit the structure before installing the cabinet infill. Check level, square, support contact, and clearance. Correct an uneven floor with appropriate durable support beneath the intended bearing points; do not leave a loaded leg hanging above the floor or rely on a soft packing material.
Secure the structure as designed, checking for hidden services before drilling. If the installation encounters unexpected wall construction, damaged flooring, or an obstructed support location, pause and revise the design. Moving a structural support to make a door fit can change the assembly's performance.
4. Fit the cabinets and attach the seat
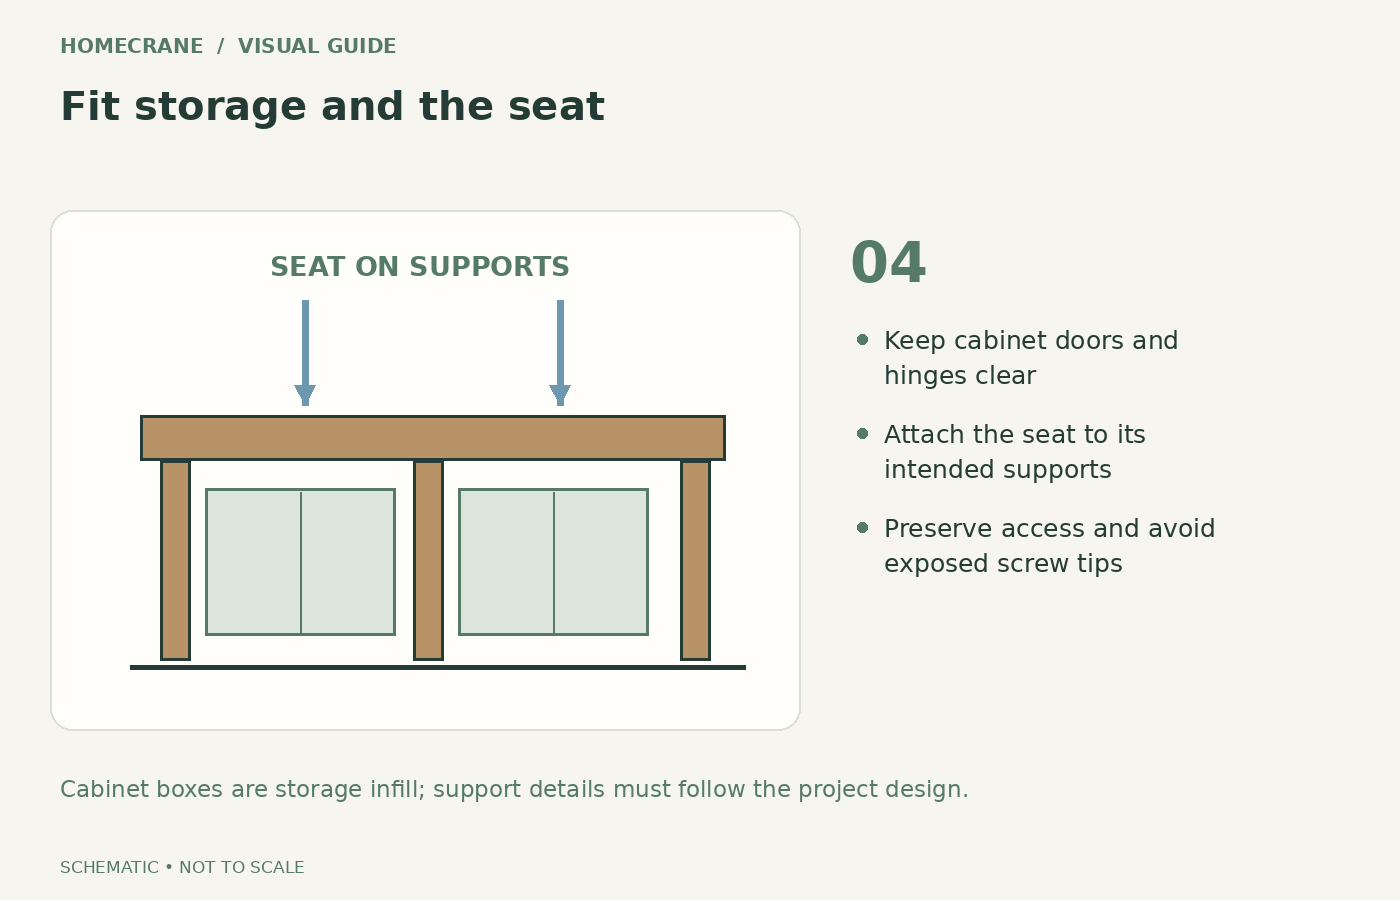
Install the cabinet boxes within the prepared openings using their applicable assembly and fixing instructions. Leave the clearances needed for doors, hinges, and any planned side fillers. Do not remove a cabinet's structural parts simply to squeeze it into a space it was not designed to fit.
Fit the seat panel to its supports and attach it using the specified method. The panel needs appropriate support across its depth and at its joints. A thicker-looking edge made with decorative trim does not increase the strength of a thin unsupported center.
Round or ease exposed sharp edges and check that fastener tips cannot enter the storage area. Keep service access available where necessary. Before adding cosmetic covers, photograph the support arrangement and save the dimensions and hardware information for future repair or inspection.
5. Finish, anchor, and check the completed bench
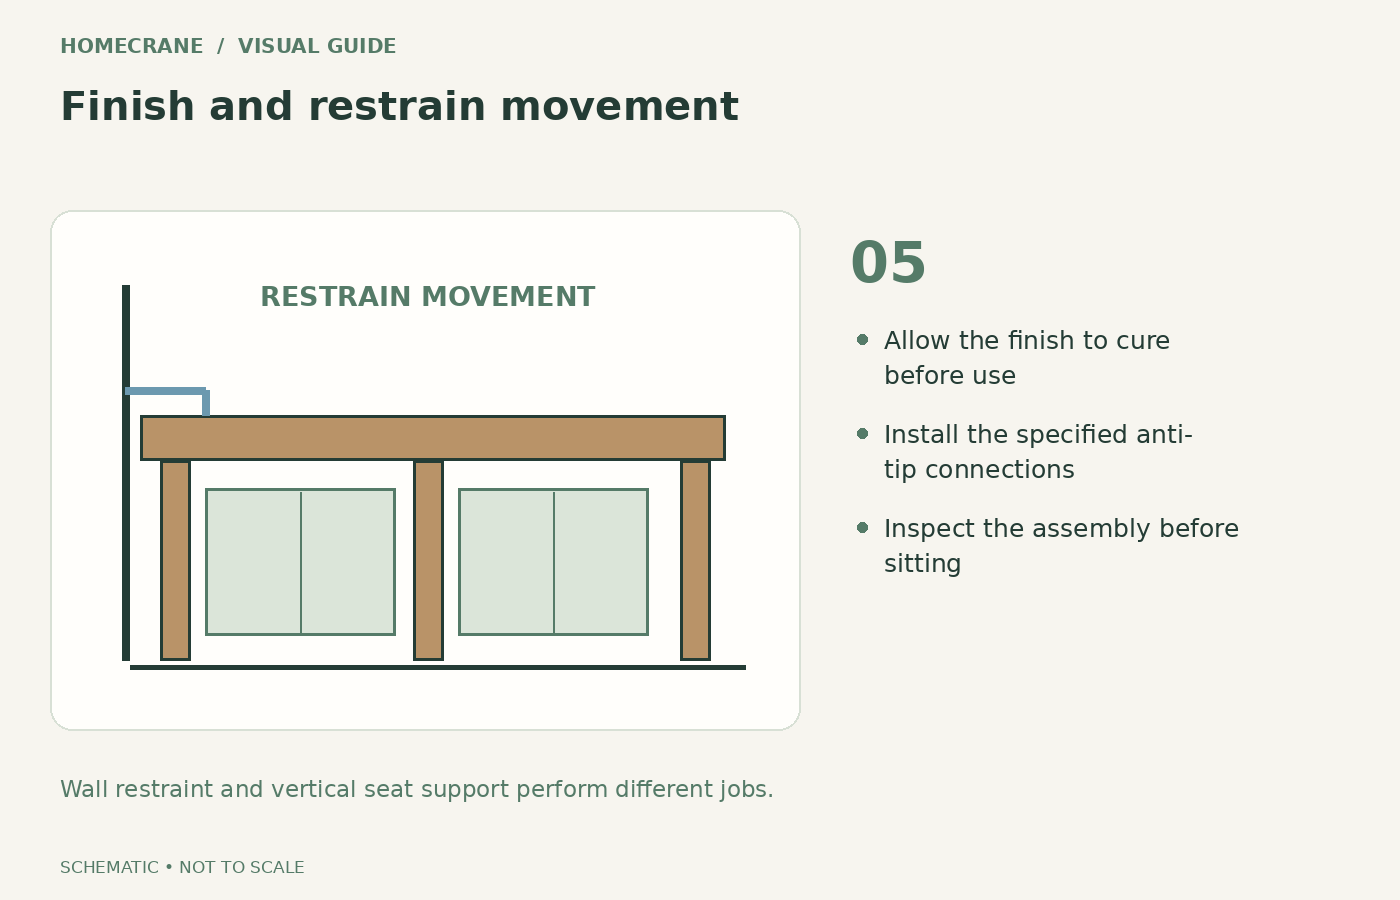
Apply a finish suitable for the materials and allow its required cure time before regular use. Install the specified anti-tip or movement restraints into appropriate structure. Keep hooks and overhead storage independently supported for their own loads rather than relying on decorative paneling.
Fit a cushion that stays in place without covering important access points. Add practical shoe storage, but avoid trapping wet footwear against moisture-sensitive cabinet panels. A removable tray can make cleanup easier if it fits without obstructing doors.
Have the completed structural work checked against the design before using the bench. Do not test it by jumping or exceeding its intended occupancy. If it rocks, joints open, or the seat bends unexpectedly, take it out of use until the problem is corrected. An attractive finished photograph is not evidence of load capacity.
Build the budget around all the parts
| Feature | Include in the quote | |
|---|---|---|
| Cabinets | Boxes, doors, hinges, and delivery | |
| Seating structure | Design, lumber or panels, and connectors | |
| Seat | Suitable material and machining | |
| Installation | Leveling, anchoring, and wall adjustments | |
| Finishing | Paint, trim, cushion, and shoe protection |
Compare the complete total with a ready-made bench designed for seating. Discount cabinets can be excellent value, but a low purchase price does not guarantee the cheapest finished project. Salvaged cabinets may also need repairs, missing hardware, or finish assessment before reuse.
For a quote, provide a dimensioned sketch showing overall width, finished height, seat depth, cabinet openings, and nearby obstructions. Ask the installer to state the intended use and support arrangement. This makes different quotes easier to compare than a request for “a cabinet bench like this picture.”
Questions homeowners ask
Can I just add plywood across two wall cabinets?
Only if a documented design establishes that the complete assembly is suitable for seating. Plywood alone does not establish the capacity of cabinet sides, joints, unsupported spans, or floor connections.
Is this a beginner project?
Finishing and fitting storage can be manageable for a careful beginner. Designing an unrated seating structure is a different task. A practical division is to have a carpenter specify or build the support structure while you handle painting, hardware, and organization.
Sources
- CPSC's Anchor It guidance. Checked October 11, 2026
Share this article
Get new guides by email
Practical home articles and free resources. No spam, and you can unsubscribe at any time.
Keep reading
DIY Fluted Headboard Made Out of Pool Noodles
Plan a decorative fluted headboard using covered foam channels, a stable backer, careful material checks, and secure independent mounting.
October 2026, 3 min read
4 Renter-Friendly Ways to Hang Curtains Without Drilling
Compare tension rods, adhesive curtain hooks, magnetic rods, and floor-to-ceiling systems for curtains in a rental without drilling.
October 2026, 3 min read
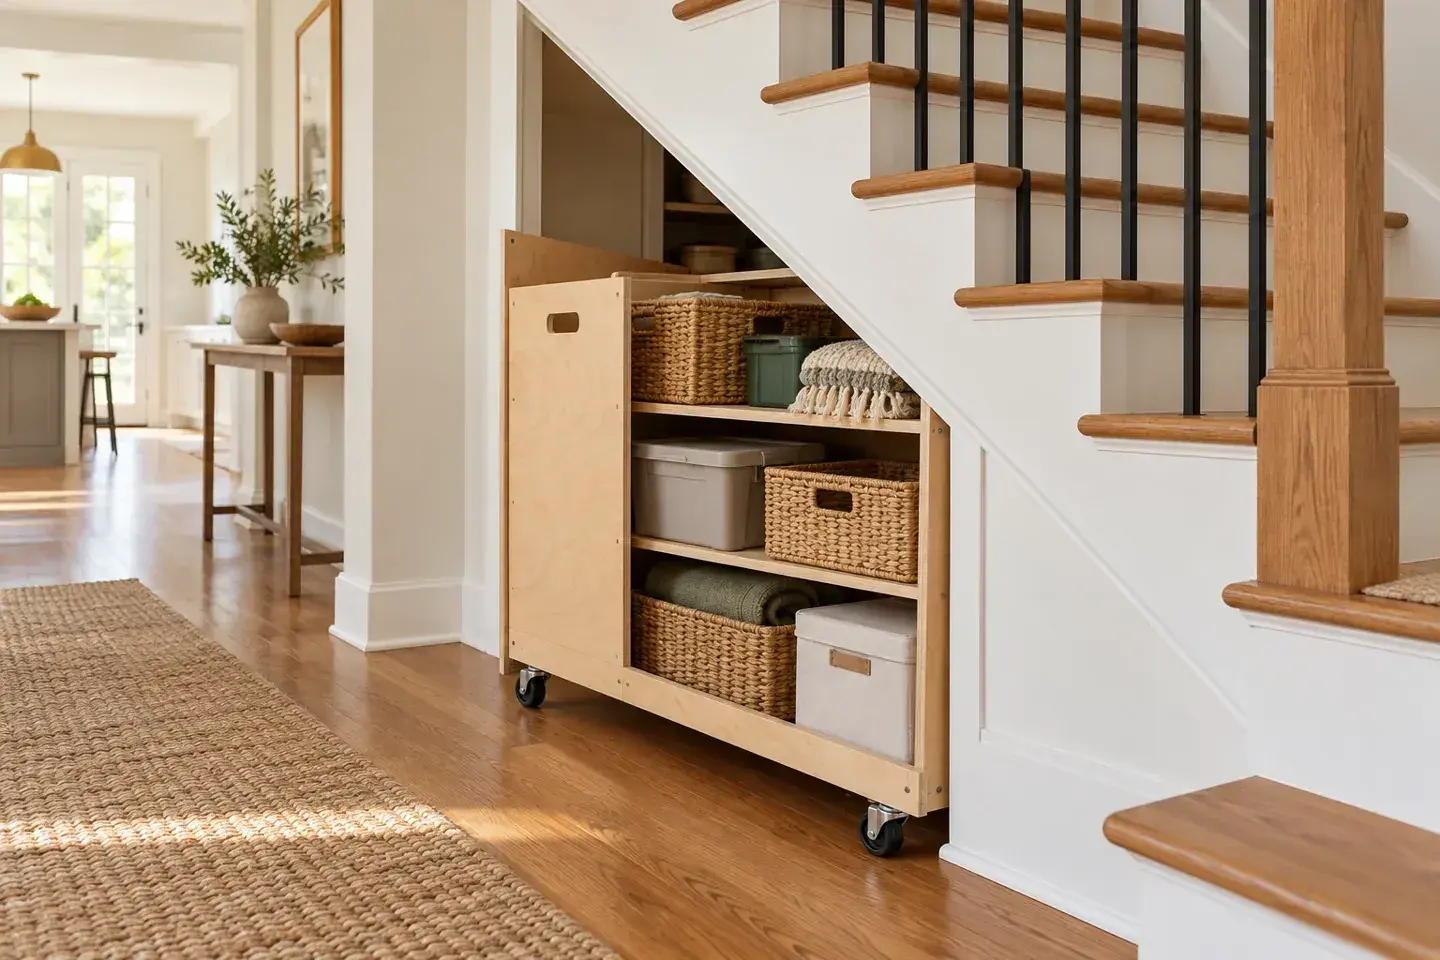
Genius Under-Stairs Pull-Out Storage Ideas You Can DIY
Explore five under-stairs storage approaches with practical guidance on access, drawer hardware, stability, and existing openings.
October 2026, 3 min read