DIY Painted Stair Runner: A Before-and-After Design Guide
A painted stair runner creates the look of a centered strip without installing carpet. It can be an attractive cosmetic project on suitable, sound stairs,.
By Home Crane Editors. . 3 min read.
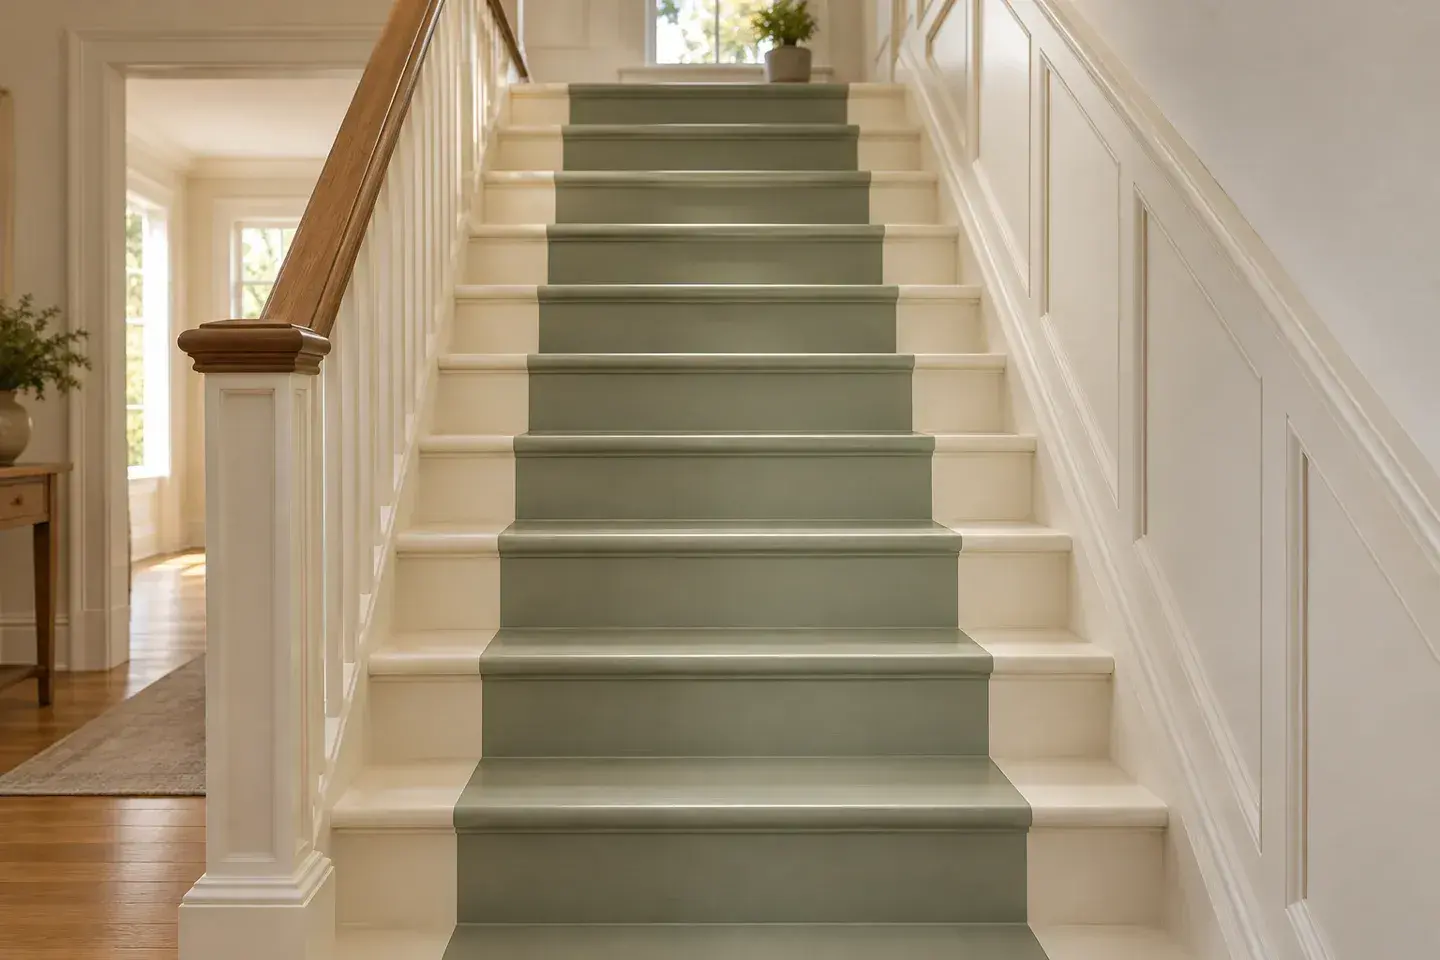
A painted stair runner creates the look of a centered strip without installing carpet. It can be an attractive cosmetic project on suitable, sound stairs, but paint does not provide carpet's cushioning or traction. The finish must be appropriate for stair treads and the household's use.
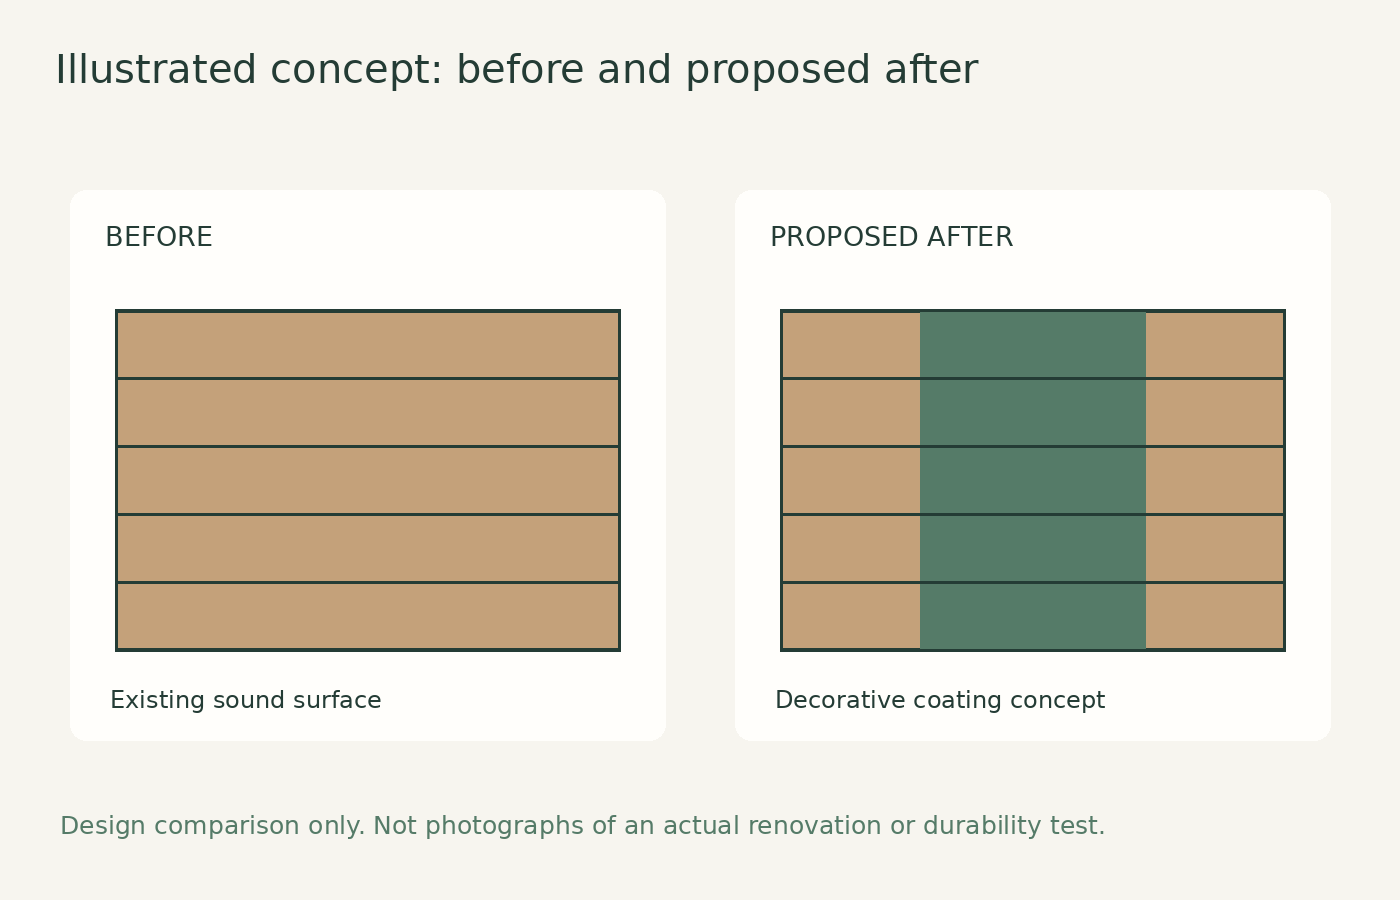
This is an illustrated design and preparation guide, not a documented HomeCrane renovation reveal. The proposed “after” uses a muted runner color against a lighter stair finish. Existing defects, slippery surfaces, and access needs must be resolved before appearance becomes the priority.
1. Assess the stairs and plan a safe work schedule
Check for loose treads, damaged nosings, insecure handrails, and movement. Repair structural or attachment problems before coating. A painted stripe will not make worn or unstable stairs safe.
Identify the existing finish and determine the appropriate preparation. In an older home, review the EPA's lead-safe renovation guidance before disturbing old paint. Avoid uncontrolled sanding of an unknown coating.
Plan another safe route between floors while the finish dries and cures. Do not rely on stepping over wet treads or asking family members to use every other step. If the stairs are the only essential route, discuss a workable phased approach with a qualified professional before starting.
2. Choose a floor coating and traction approach
Select a coating whose manufacturer explicitly permits your stair material and use. Ordinary wall paint is not a substitute for a tread finish. Ask about slip resistance, cleaning, wear, and compatibility with any primer or previous coating.
Behr's textured floor-coating page illustrates a product category designed for foot traffic and improved traction, but confirm current stair suitability and system details directly for your project. Do not add an unrelated clear topcoat that changes the surface behavior.
Keep stair edges visually understandable. A complex pattern can disguise the nosing or make depth harder to judge. Test the proposed colors under both daylight and nighttime lighting before painting the full flight.
3. Measure a centered runner on every tread
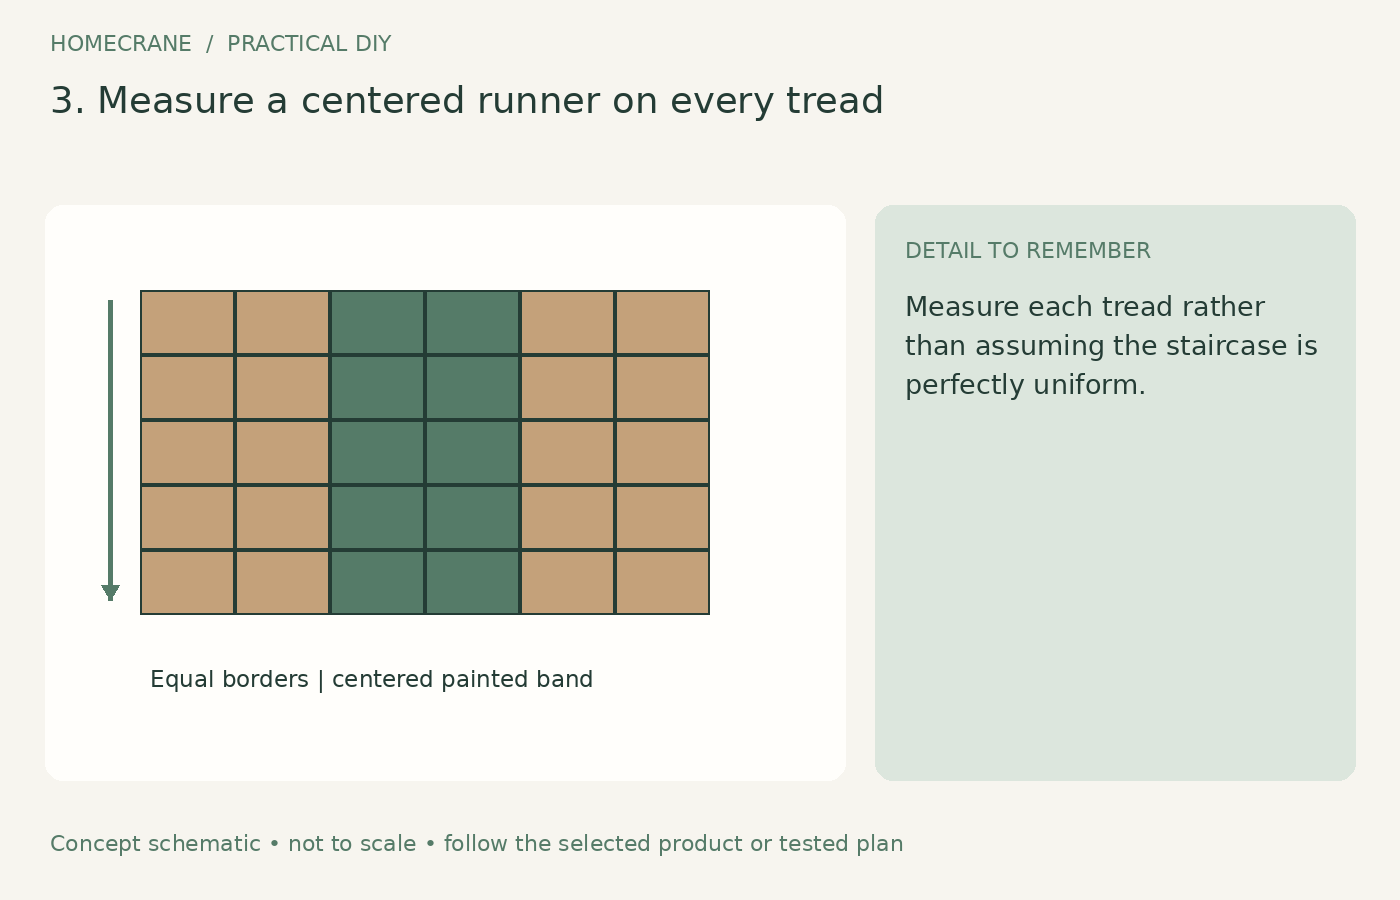
Measure each tread rather than assuming the staircase is perfectly uniform. Mark a centerline and the intended stripe edges. For a 36-inch tread with a 24-inch runner, the planned side borders are 6 inches each. That is a layout example, not a required dimension.
Check the pattern from the bottom and top of the flight. Decide how it continues across risers and landings. Small differences in the stair geometry can make a mathematically centered stripe appear uneven, so dry-layout tape helps identify the issue.
Use tape compatible with the coating and remove it according to its instructions. Tape is a guide, not a reason to skip accurate marking. Press edges appropriately without damaging a fragile existing finish.
4. Prepare and apply the coating in thin layers
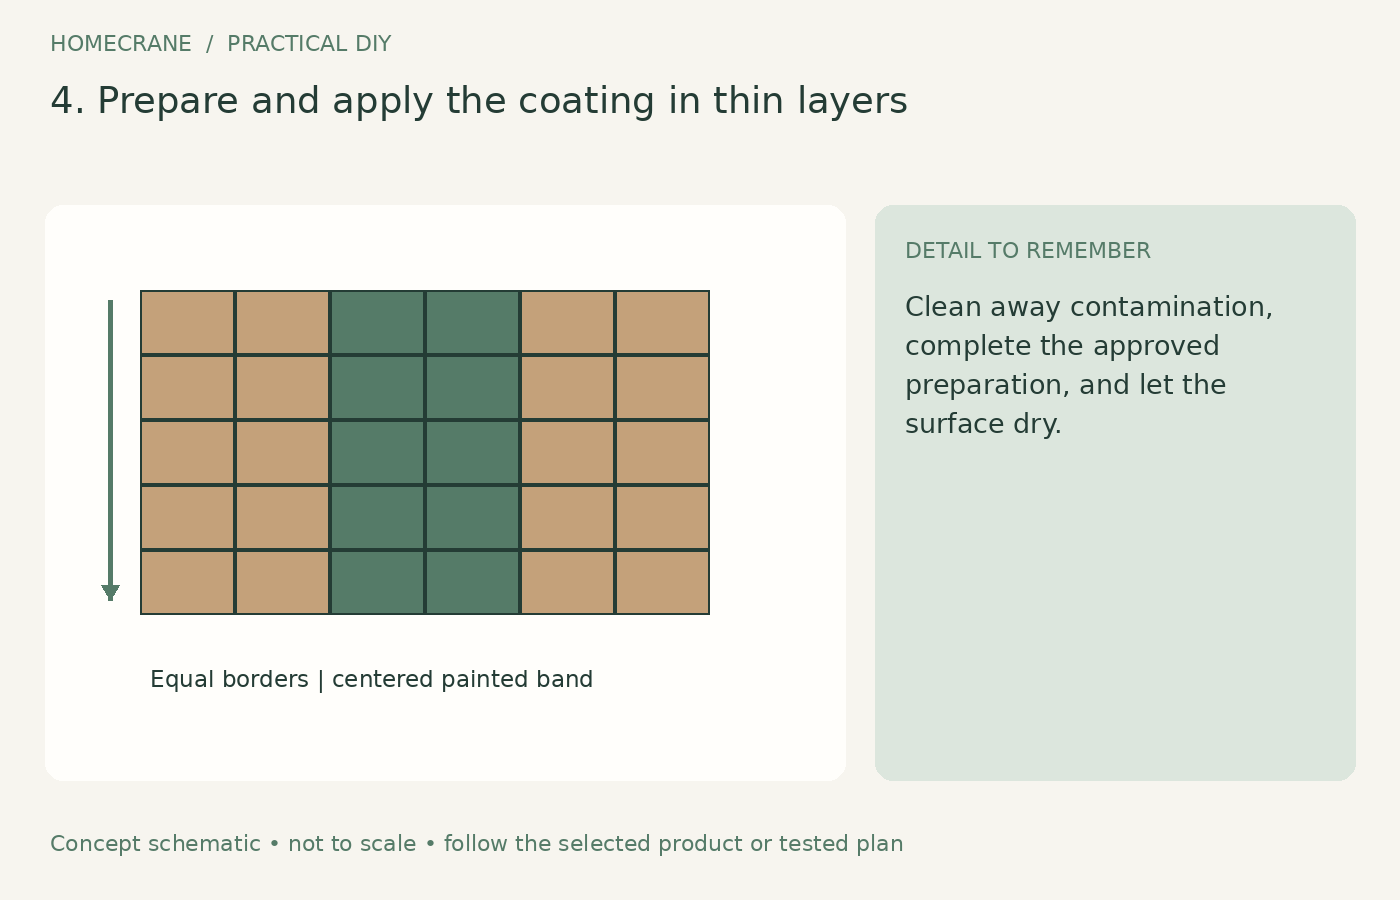
Clean away contamination, complete the approved preparation, and let the surface dry. Apply primer if the selected system requires it. Protect adjacent walls and the handrail while keeping the work area safely closed to use.
Apply the base and runner colors in the specified sequence and recoat window. Avoid thick buildup at the nosing or tape edge. Maintain traction across the walking surface rather than treating it as a purely decorative panel.
Use the tools and coverage recommended for the coating. If the finish drags or shows poor adhesion in the test area, resolve that before proceeding. Adding more paint over an incompatible base usually makes the eventual repair larger.
5. Cure fully, inspect, and establish a care routine
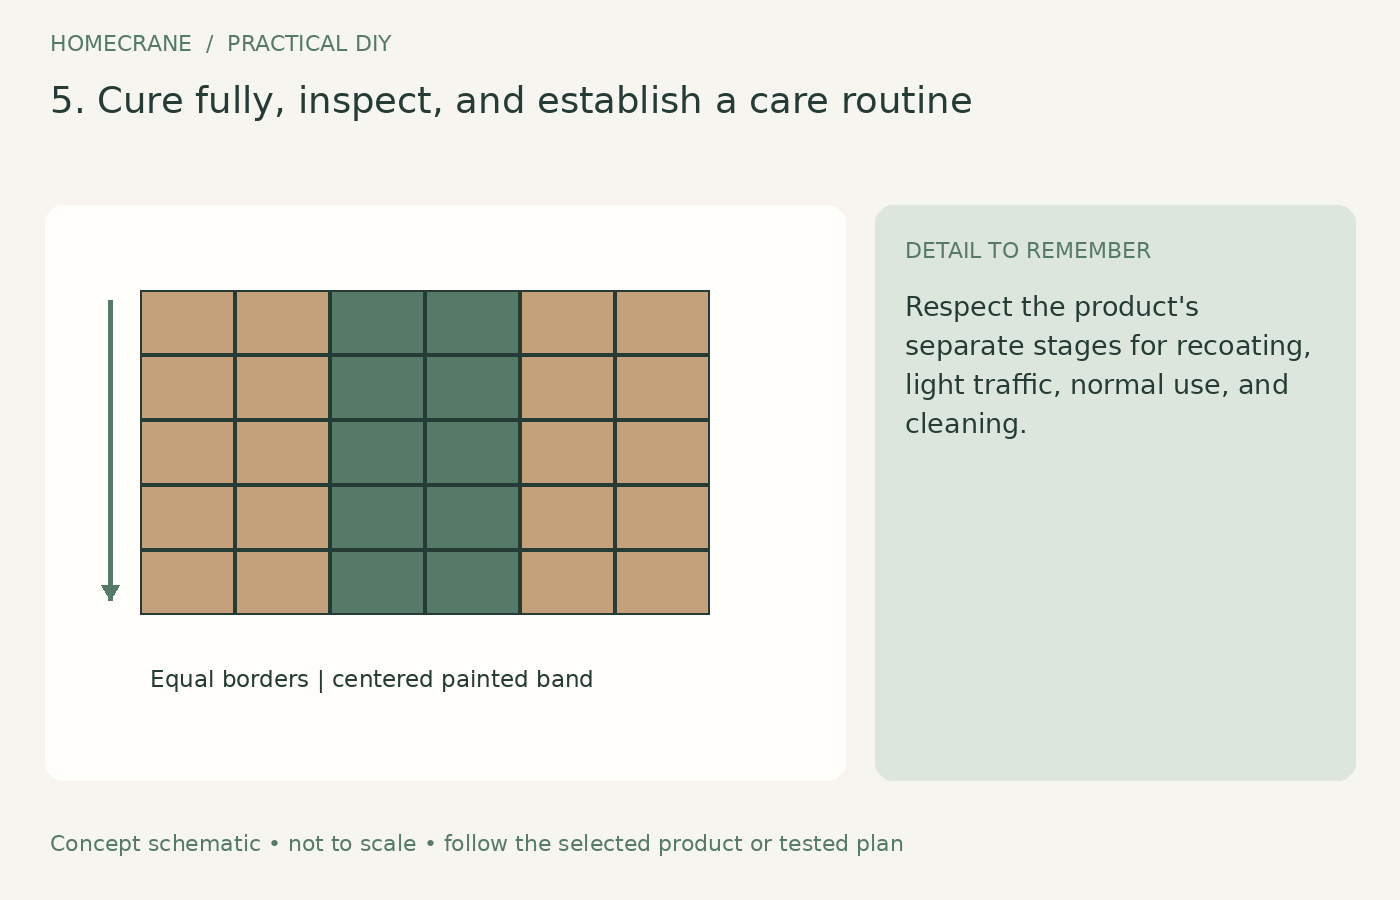
Respect the product's separate stages for recoating, light traffic, normal use, and cleaning. Dry-to-touch is not a reliable signal that the stairs can return to service. Remove barriers only when the full route is ready for its intended use.
Inspect for loose edges, sharp paint ridges, missed areas, and confusing contrasts. Confirm handrails and lighting remain effective. Never describe the result as slip-proof, and address any traction concern before regular use.
Clean using the approved method and monitor the nosings, where wear may appear first. Keep product details for touch-ups. A painted runner is a maintained surface; it should not be sold as a permanent, maintenance-free replacement for every other stair finish.
What the design changes, and what it does not
| Feature | What remains important | |
|---|---|---|
| Centered color band | Clear visibility of tread edges | |
| Coordinated risers and trim | Sound stair construction | |
| Fresh floor coating | Appropriate traction | |
| Consistent visual route | Lighting and secure handrails |
Choose a restrained palette that works with the surrounding floor. A bright stripe may look striking online but become tiring when it is the first thing visible from the entrance. Make a large sample before committing.
Questions homeowners ask
Is a painted runner cheaper than carpet?
It can be on stairs that need little repair, but preparation, specialty coatings, tools, and lost access add costs. Compare complete installed options rather than paint price alone.
Can I add adhesive tread pads later?
Only if the coating and pad manufacturers permit the combination after the required cure. Adhesive pads can alter traction, leave residue, or lift paint during removal. Plan the full surface system before starting.
Sources
- EPA's lead-safe renovation guidance. Checked October 11, 2026
- Behr's textured floor-coating page. Checked October 11, 2026
Share this article
Get new guides by email
Practical home articles and free resources. No spam, and you can unsubscribe at any time.
Keep reading

DIY Fluted Headboard Made Out of Pool Noodles
Plan a decorative fluted headboard using covered foam channels, a stable backer, careful material checks, and secure independent mounting.
October 2026, 3 min read

4 Renter-Friendly Ways to Hang Curtains Without Drilling
Compare tension rods, adhesive curtain hooks, magnetic rods, and floor-to-ceiling systems for curtains in a rental without drilling.
October 2026, 3 min read
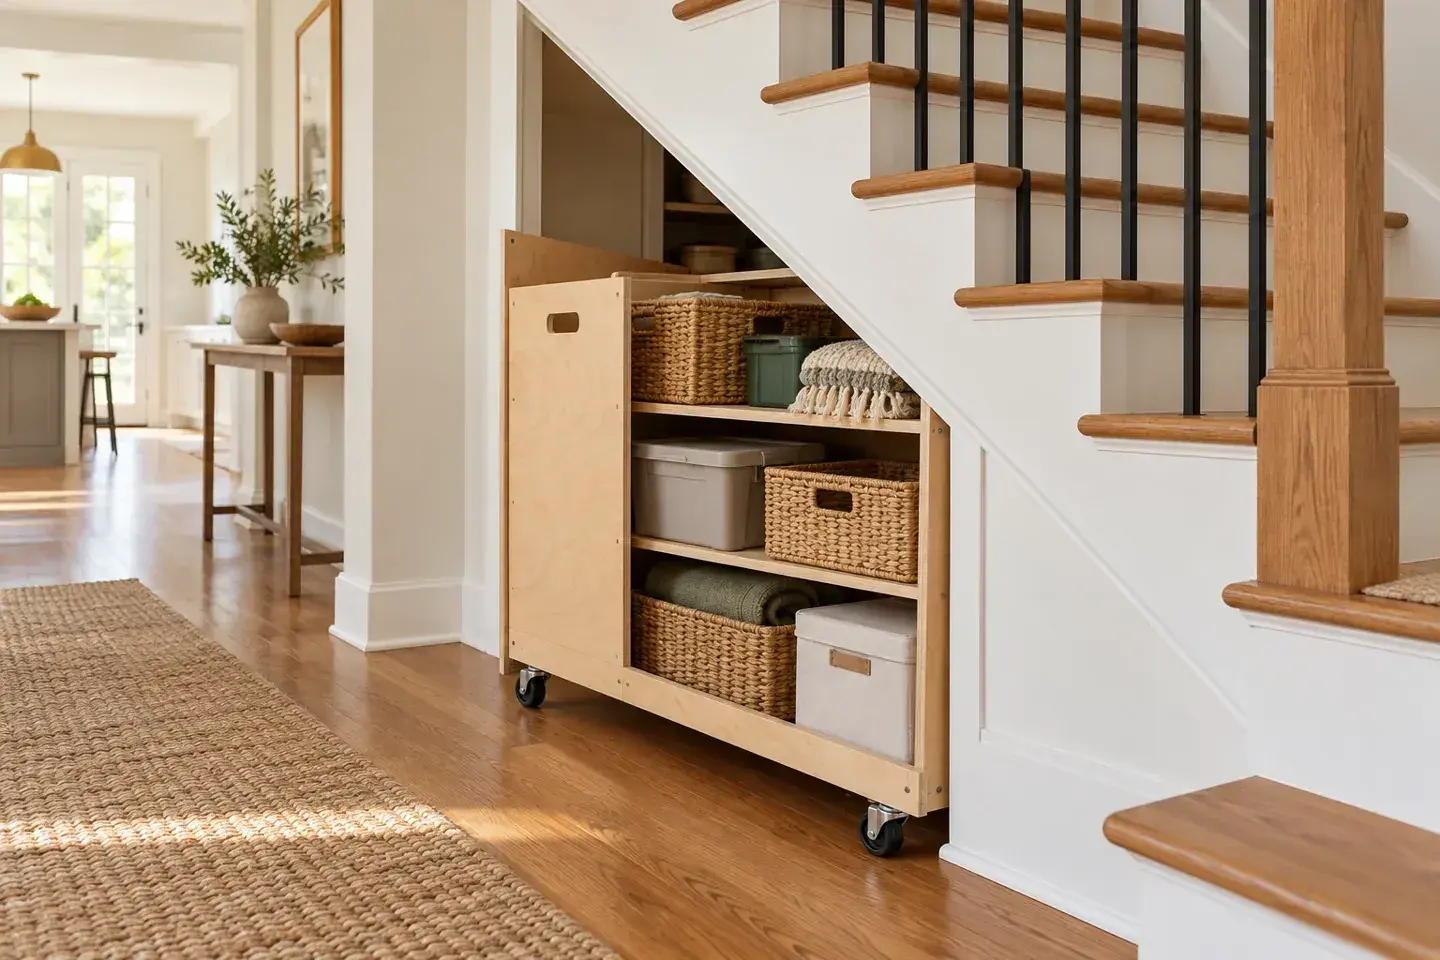
Genius Under-Stairs Pull-Out Storage Ideas You Can DIY
Explore five under-stairs storage approaches with practical guidance on access, drawer hardware, stability, and existing openings.
October 2026, 3 min read