How to Do a DIY Roman Clay Accent Wall for a Textured Look
Learn how to plan a Roman clay accent wall, prepare the surface, practice the finish, and avoid common texture mistakes before starting.
By Home Crane Editors. . 3 min read.
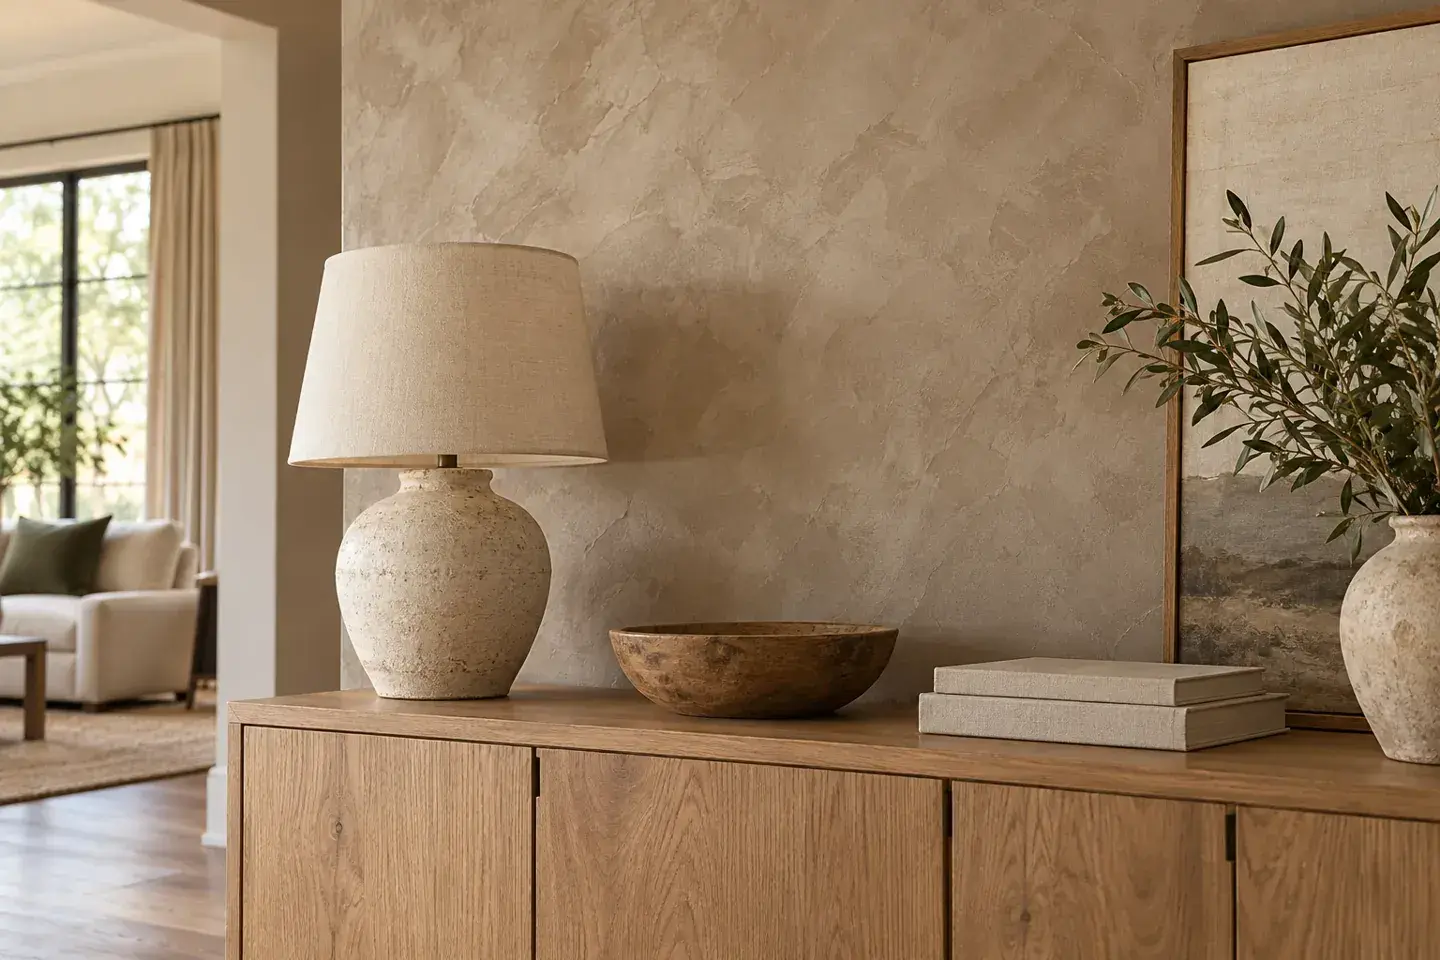
A Roman clay accent wall gets its character from shallow, overlapping movement rather than thick ridges. Light slides across the surface and makes one color look quietly varied. The effect suits a bedroom, dining nook, or living room where the wall itself can be the focal point.
The best beginner project is a modest, uninterrupted interior wall. Start with a sample board and a smooth, sound substrate. This guide uses Portola Roman Clay as its product example; another decorative finish may require a different primer, technique, or drying schedule.
Before you start
Gather the chosen finish, its specified primer, a broad application knife, a smaller knife, protective coverings, painter's tape, a practice board, and the cleaning and protective equipment required by the product instructions. Measure width times height in feet and subtract large openings before consulting the manufacturer's coverage information.
Plan separate sessions for preparation, application, and drying. A wall that needs repairs is a different project from a wall ready for a decorative coating. For pre-1978 painted surfaces, review EPA lead-safe guidance before disturbing them.
1. Choose the wall and test the look
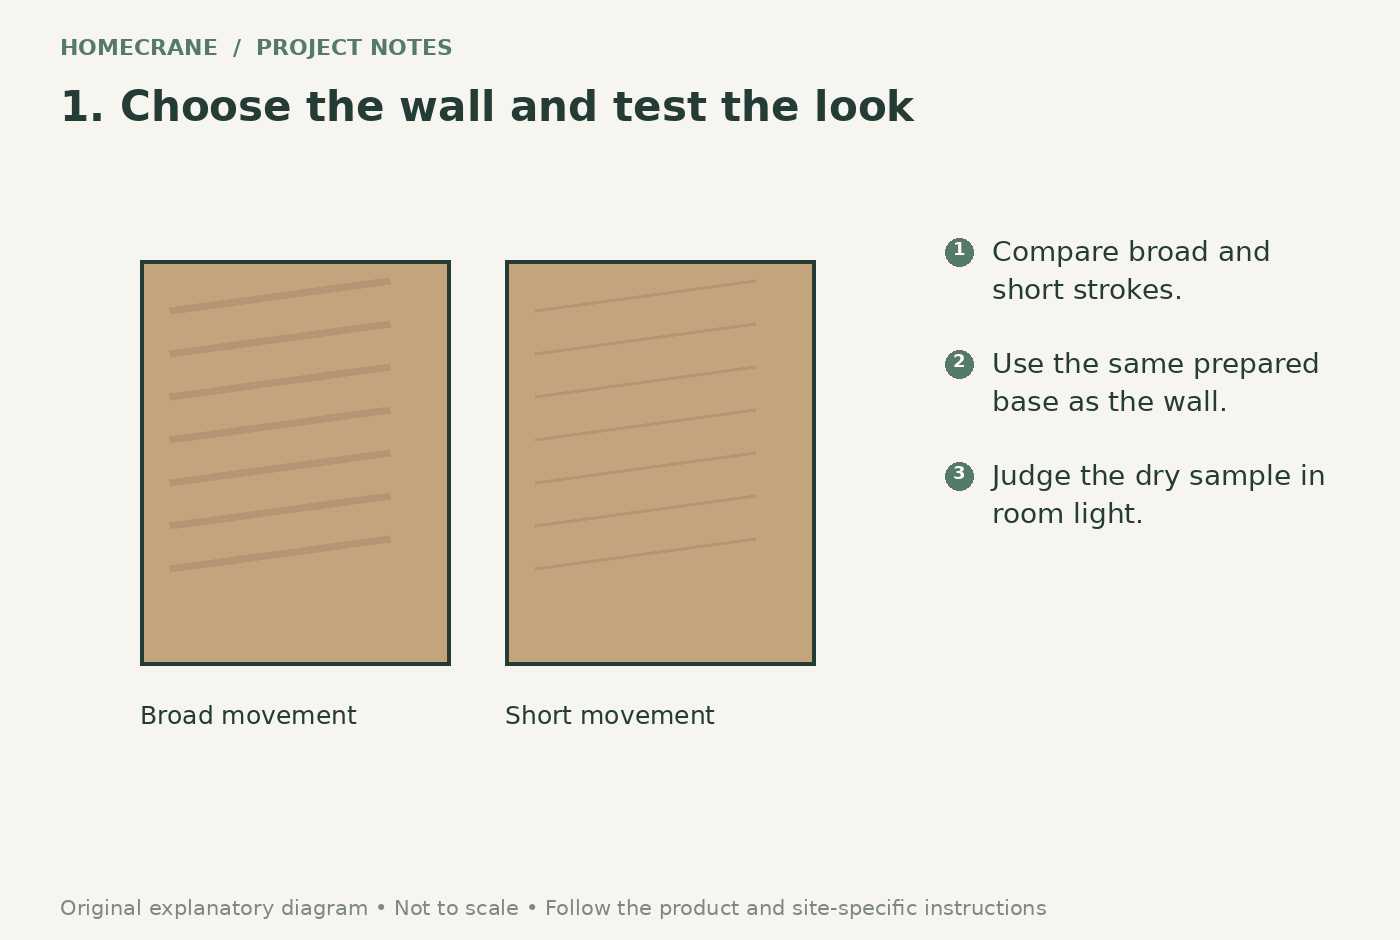
Choose a dry room and inspect the wall with a lamp held at an angle. That reveals dents, raised patch edges, and texture that ordinary daylight hides. Move furniture out of the working zone and photograph the wall in morning and evening light so you can judge the finish later under comparable conditions.
Make a generous sample on a board prepared like the wall. Try a calm, broad pattern beside a more active, shorter-stroke pattern. Let it dry fully before choosing. Wet material is a poor color reference. Portola specifies smooth interior drywall and excludes shower interiors and exterior use. [1]
2. Repair and prepare a smooth base
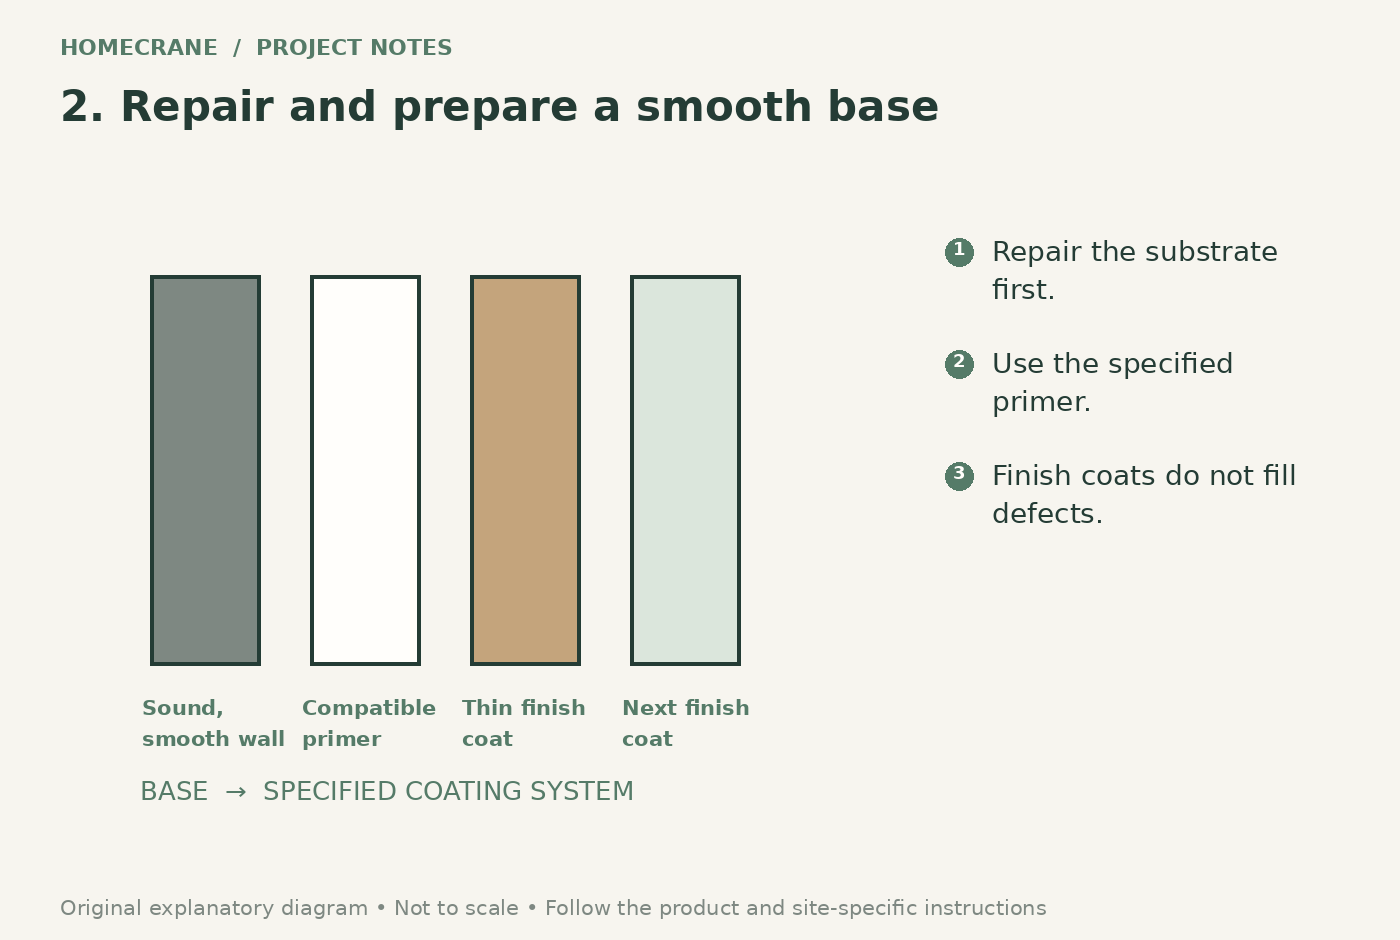
Address loose material, holes, stains, and moisture problems before decorating. Roman clay is a finish, not a substitute for patching compound. A rough orange-peel wall may need professional smoothing before it can produce the understated look in the illustration.
Protect adjacent trim and floors, complete compatible repairs, remove dust, and apply the specified primer. Portola recommends an appropriate stain-blocking primer and warns that existing wall texture complicates application. [1] Give this stage its own time allowance. A beautifully applied finish will still reveal a poorly blended repair under grazing light.
3. Apply a thin first coat
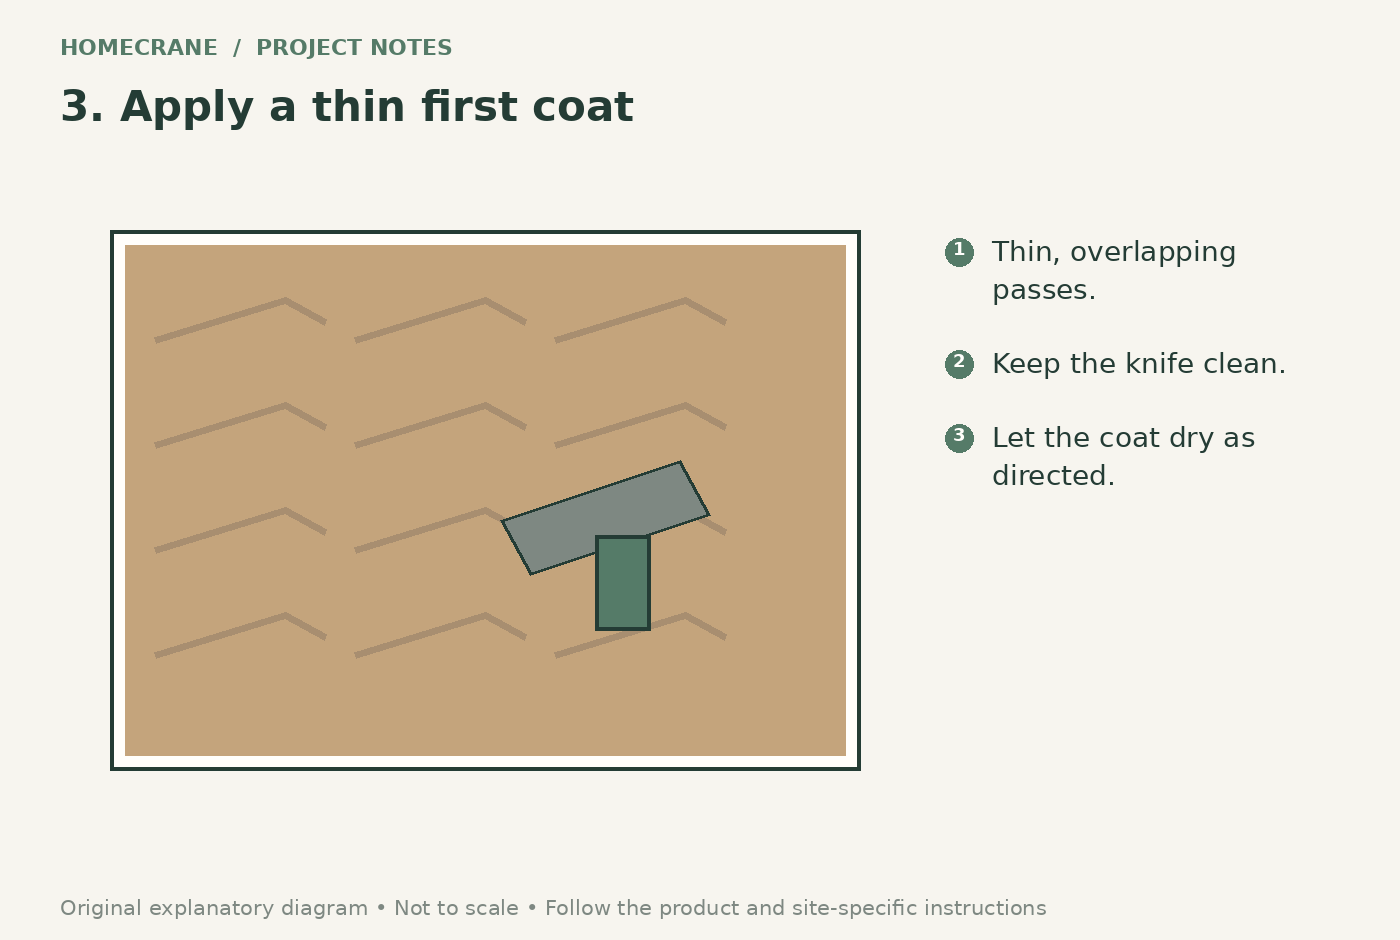
Stir and handle the material as directed, then work in a reachable section. Keep the knife clean and use thin overlapping passes. Avoid depositing a thick mound and trying to sculpt it into place. Stand back periodically: a repeated fan shape can look more obvious across a whole wall than it does close up.
The first coat establishes coverage and movement, not the final polished appearance. Let it dry for the product's stated interval before proceeding. Do not keep working an area simply because a drying patch looks different from fresh material. [1]
4. Refine the second coat
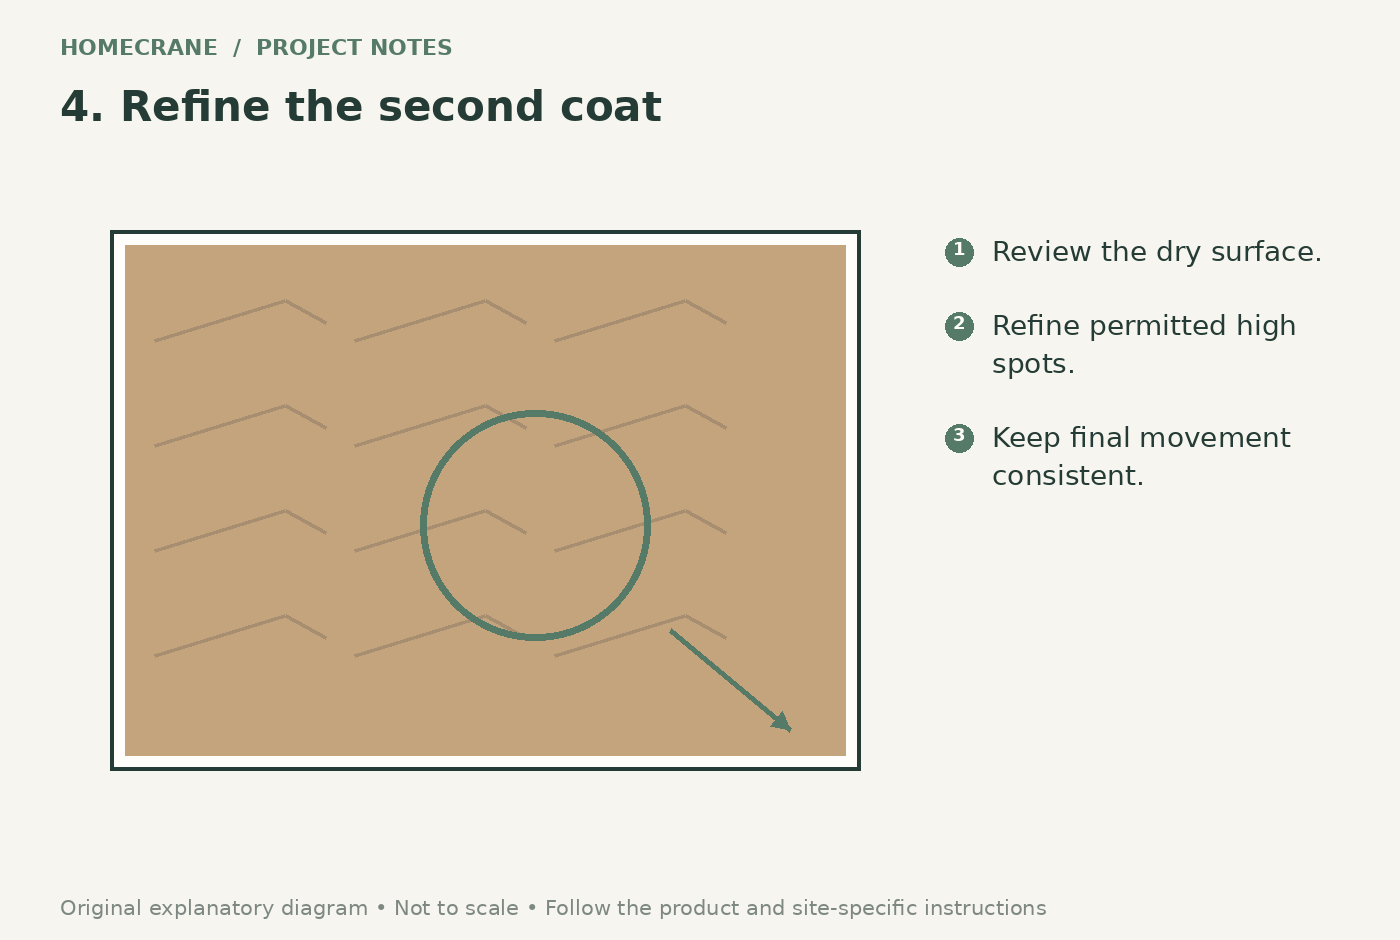
Review the dry surface in the same light used for the sample. Remove only the high spots permitted by the product instructions, collect the dust, and apply the next thin coat. The goal is a coherent pattern with occasional variation, not identical repeated marks.
Portola's instructions use smaller, tighter strokes for the final coat. [1] If a section looks too busy, stop and compare it with the approved sample before adding more material. Continually changing technique halfway across the wall can make two adjoining areas look unrelated. Finish at a natural boundary whenever possible.
5. Protect the finish and plan its care
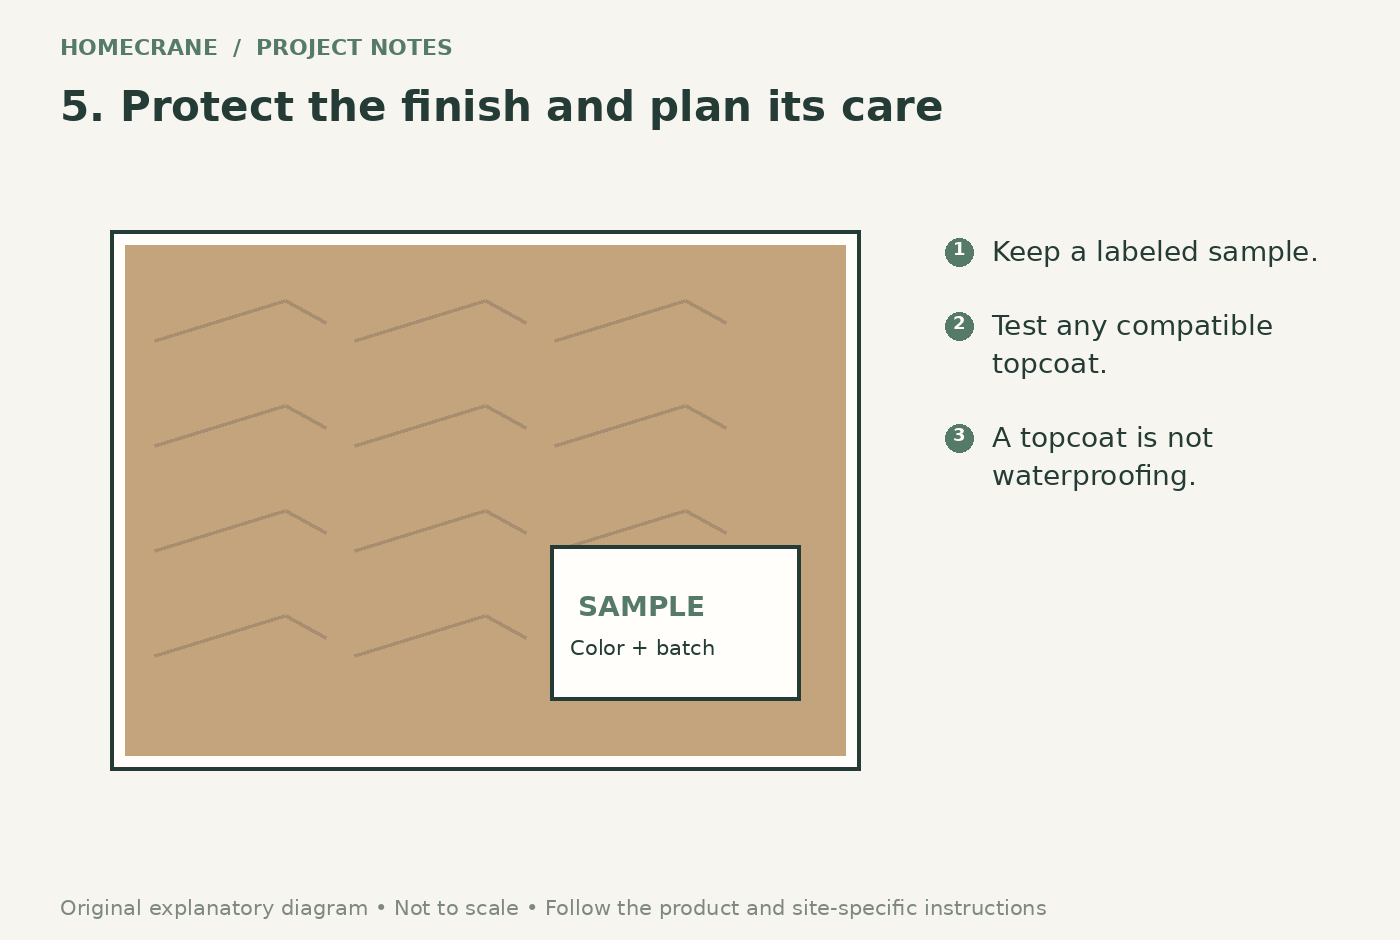
Let the completed surface dry as directed before returning furniture or attaching anything to it. Examine it from the doorway as well as up close. The overall balance matters more than eliminating every hand-applied variation.
If you want a protective topcoat, test the compatible product on the sample first; it can change appearance. Portola says its topcoat does not make Roman Clay waterproof or stainproof. [1] Keep a labeled record of the color, batch, tools, and sample. That record is more useful for later touch-ups than relying on a photograph alone.
Common questions and next steps
Can Roman clay cover a heavily textured wall? Do not expect it to erase texture. Preparation determines the result; budget for smoothing if your chosen product requires it.
Is the whole project a one-day job? Application may be quick on a small prepared wall, but repairs, primer, and coat drying can extend the schedule. Follow the actual product conditions rather than a social-media timetable.
Where should you spend first? On a good sample and sound preparation. Reducing decorative accessories around the finished wall is often enough to let its texture stand out.
Sources and further reading
Research reviewed October 12, 2026.
Sources
- Portola Paints: Roman Clay application and limitations. Checked October 12, 2026
- EPA: lead-safe renovations for DIYers. Checked October 12, 2026
Share this article
Get new guides by email
Practical home articles and free resources. No spam, and you can unsubscribe at any time.
Keep reading
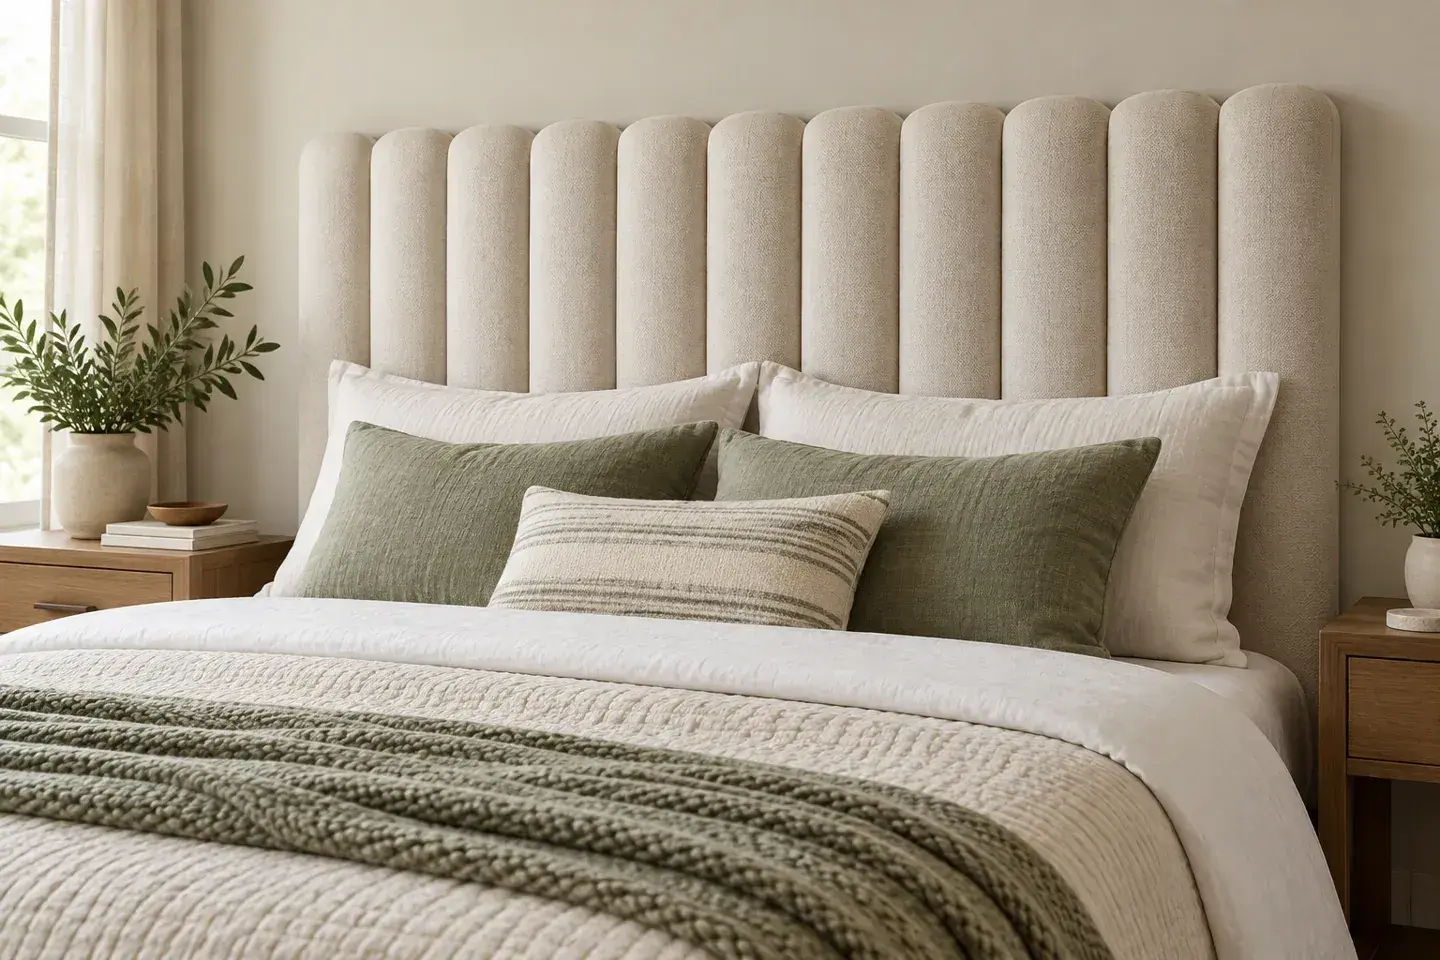
DIY Fluted Headboard Made Out of Pool Noodles
Plan a decorative fluted headboard using covered foam channels, a stable backer, careful material checks, and secure independent mounting.
October 2026, 3 min read

4 Renter-Friendly Ways to Hang Curtains Without Drilling
Compare tension rods, adhesive curtain hooks, magnetic rods, and floor-to-ceiling systems for curtains in a rental without drilling.
October 2026, 3 min read
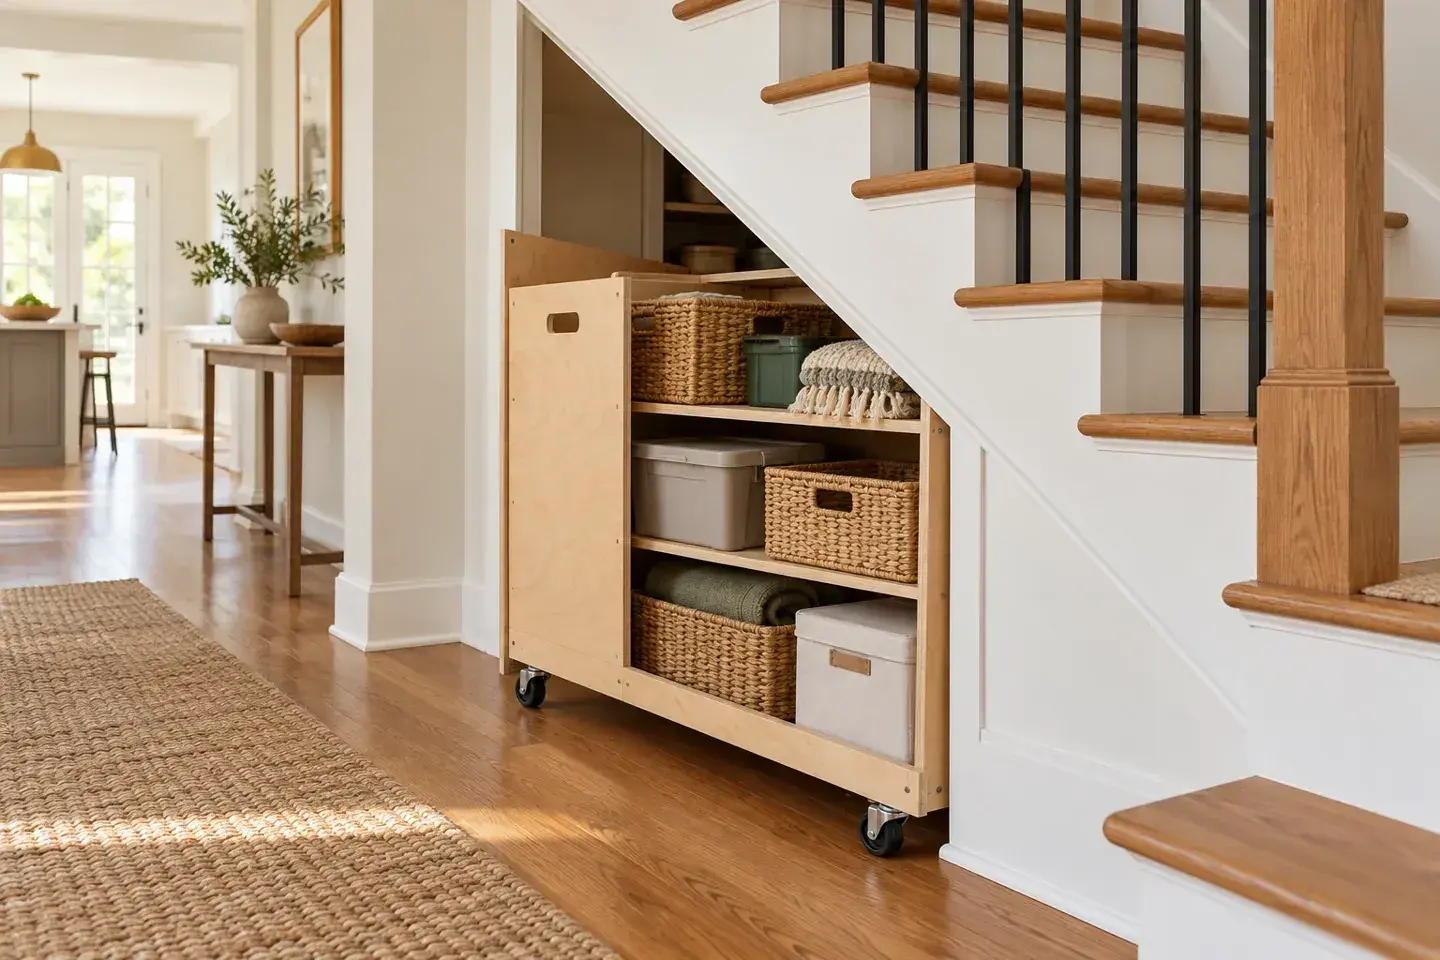
Genius Under-Stairs Pull-Out Storage Ideas You Can DIY
Explore five under-stairs storage approaches with practical guidance on access, drawer hardware, stability, and existing openings.
October 2026, 3 min read