DIY Small Deck Privacy Screen Plant Wall: A Space-Smart Guide
Create a more private small deck with a DIY plant wall. Explore 7 screen ideas, plant choices, materials, build steps, drainage, and safety tips.
By Home Crane Editors. . 12 min read.
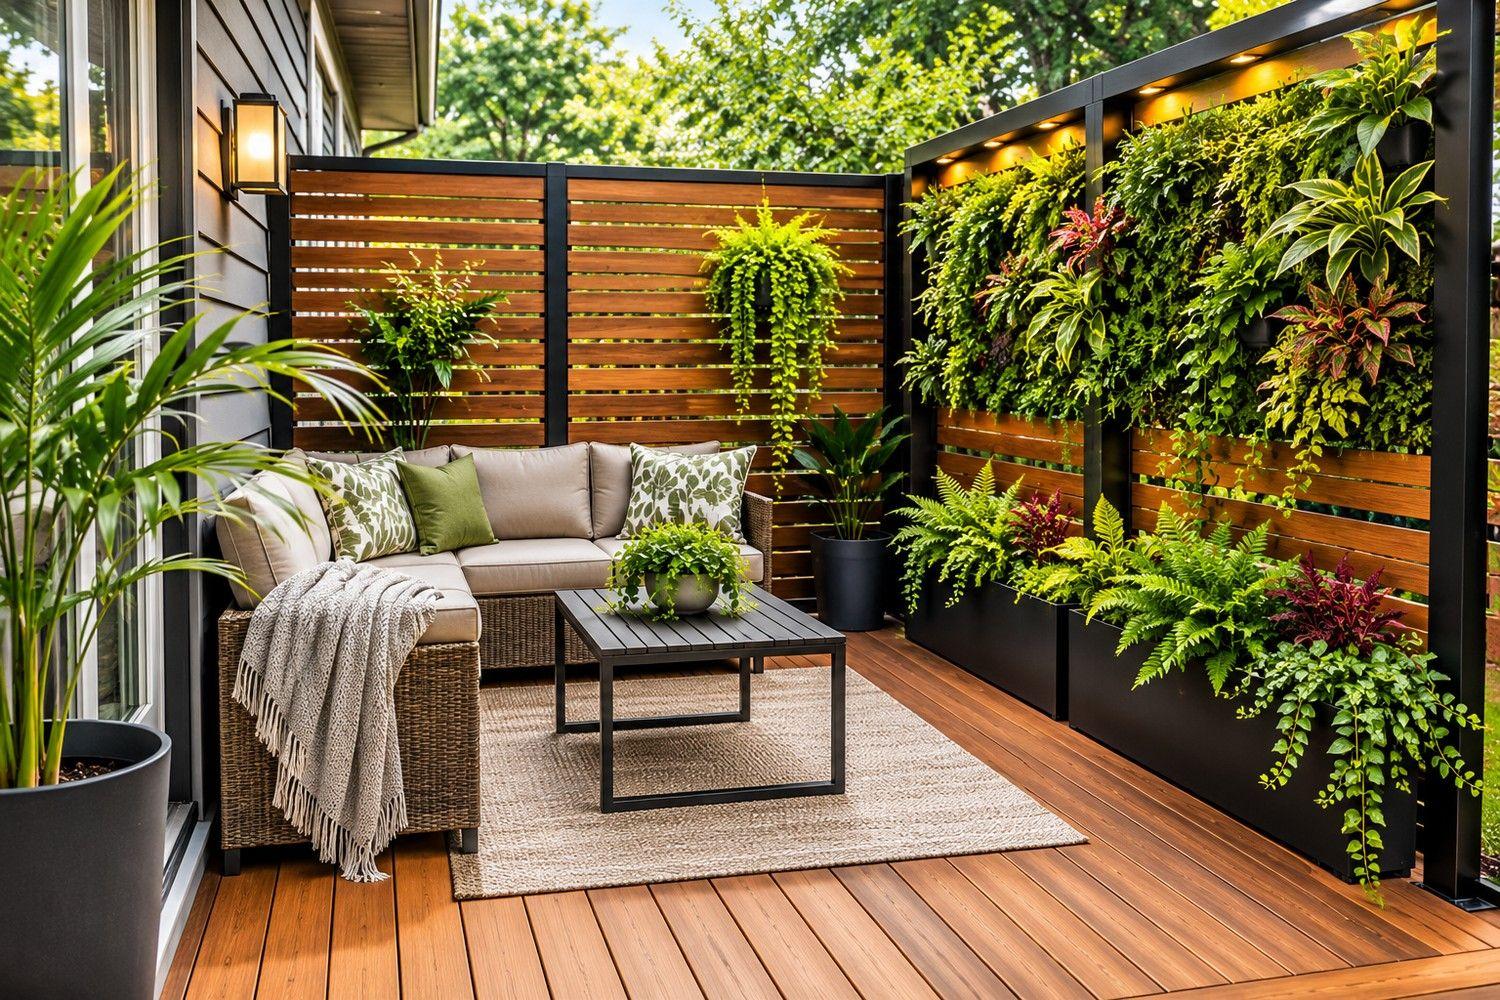
A small deck can feel exposed even when it is only a few steps from the back door. Neighbors may look directly into the seating area, nearby windows can overlook the space, and an open railing rarely provides the sense of shelter that makes an outdoor room comfortable. A privacy screen combined with a plant wall solves two problems at once: it creates a visual boundary and brings greenery into an area where floor space is limited.
The best design is not necessarily the tallest or most elaborate one. On a compact deck, a carefully positioned screen, a few well-chosen containers, and a climbing or trailing plant can create a private-feeling corner without making the deck difficult to use. This guide explains practical layouts, materials, plant choices, construction steps, drainage, maintenance, and important safety checks before you build.
What Is a Deck Privacy Screen Plant Wall?
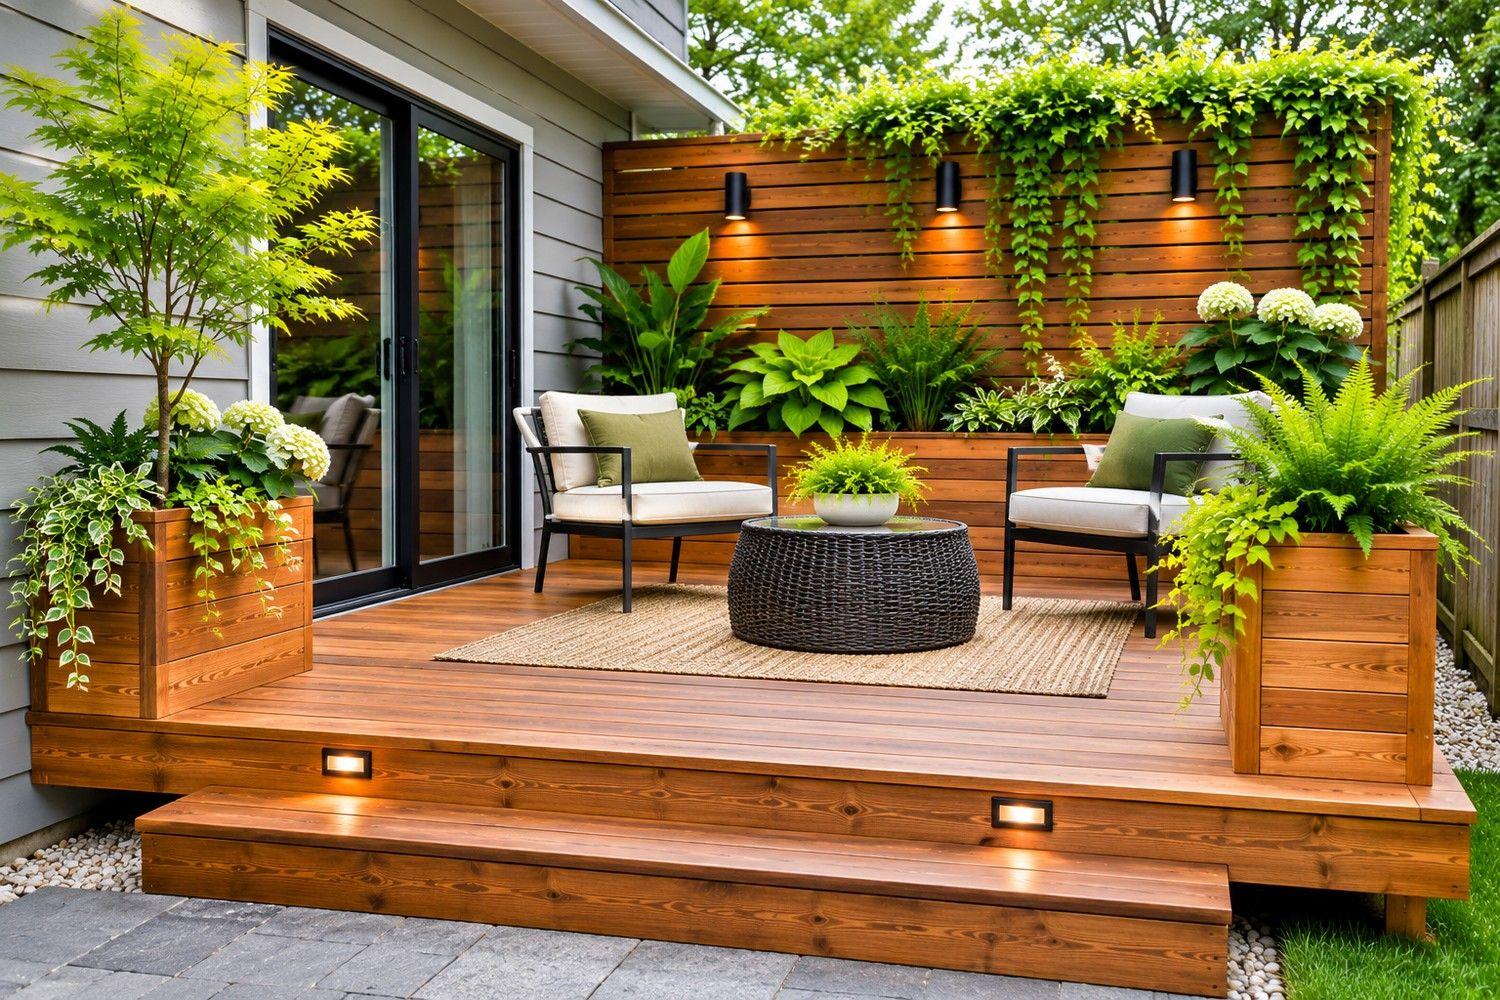
A deck privacy screen plant wall is a vertical feature that combines a solid or semi-open screen with plants. The screen may be made from horizontal wood slats, lattice, a metal grid, or a freestanding trellis. Plants can sit in boxes at the base, hang from hooks, grow in wall-mounted containers, or climb the frame.
There are two distinct jobs in the design. The screen provides immediate visual coverage, while the plants soften the structure and add seasonal texture. Relying only on young plants for privacy can be disappointing because vines and shrubs need time to fill in. A screen with controlled gaps gives useful coverage from day one, and the greenery can gradually become the focal point.
For a small deck, think in terms of a privacy zone rather than enclosing the entire perimeter. Screening one exposed side or the view behind a loveseat often gives enough separation while preserving daylight, airflow, and an open outlook.
7 DIY Small Deck Privacy Screen Plant Wall Ideas
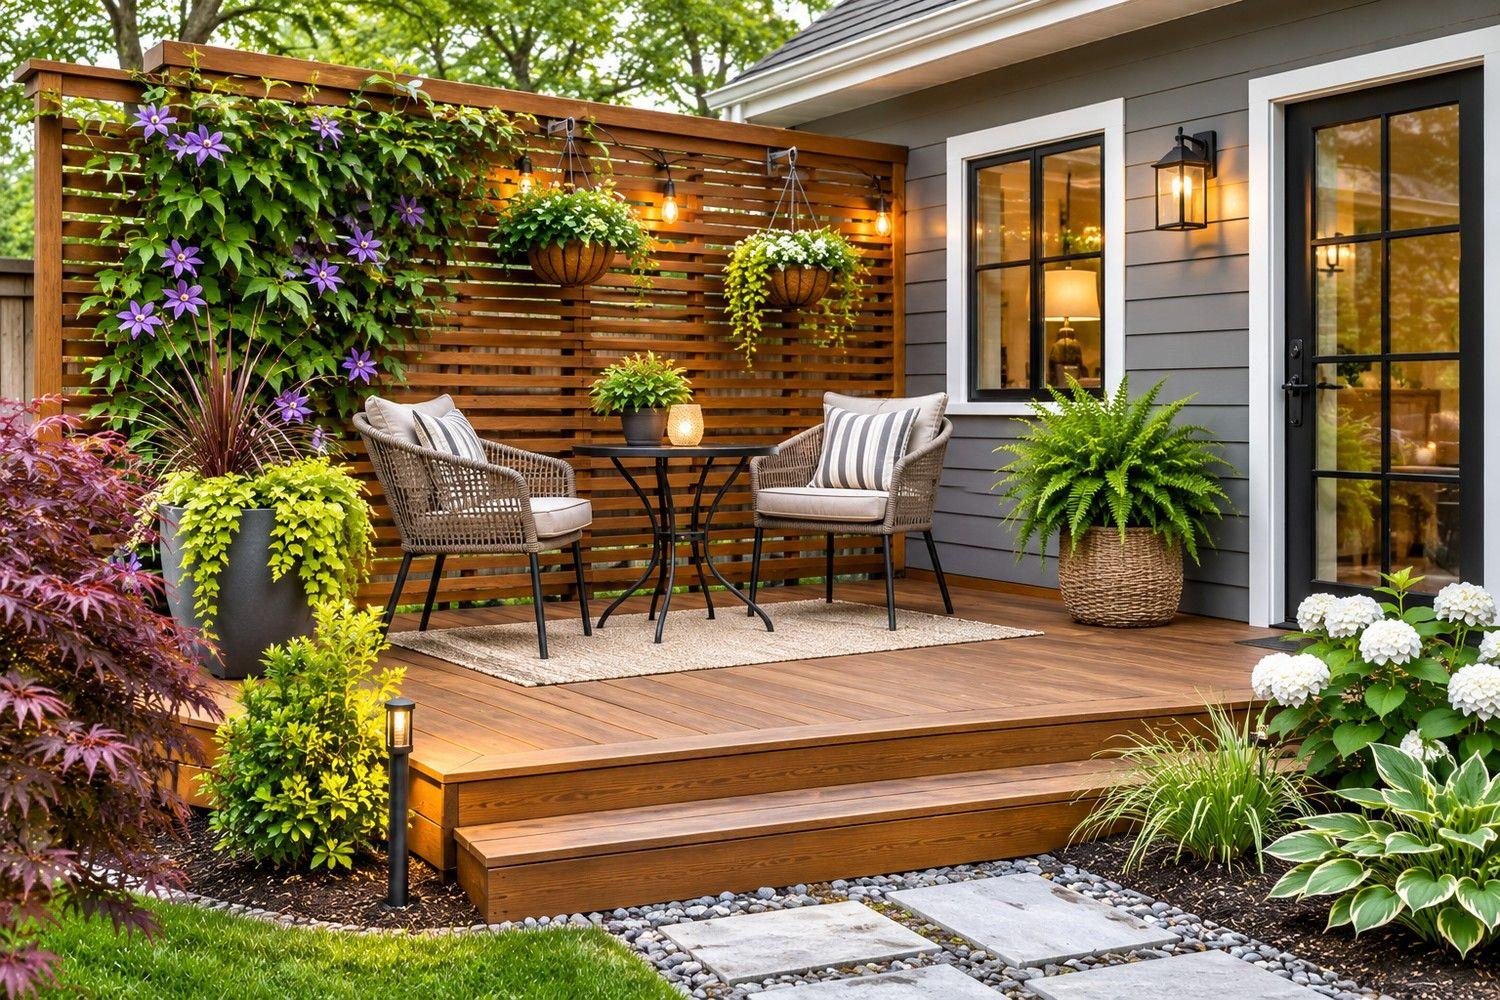
1. Horizontal Cedar Slats With a Narrow Planter
A horizontal slat screen gives a compact deck a clean architectural look. Use exterior-rated cedar or another suitable outdoor lumber, with consistent spacing between boards. A narrow trough planter at the bottom can hold compact grasses, ferns, or seasonal color.
This is a good option when you want a defined backdrop behind a bench or loveseat. The slats provide visual separation while small gaps prevent the wall from looking too heavy. Choose a finish that complements the deck boards rather than introducing another competing wood tone.
2. Freestanding Trellis With Climbing Vines
A trellis is one of the simplest ways to add height without building a completely solid wall. A framed wood trellis or a rigid metal panel can support suitable climbing plants in containers at the base. The structure should be braced and secured against movement; do not assume a lightweight planter alone will safely support a tall panel in wind.
Select vines according to your climate, sun exposure, and willingness to prune. Annual climbers can provide seasonal coverage, while perennial vines may create a longer-term screen but need more careful management. Keep growth away from gutters, siding, railings, and neighboring property.
3. Vertical Herb Garden on a Privacy Panel
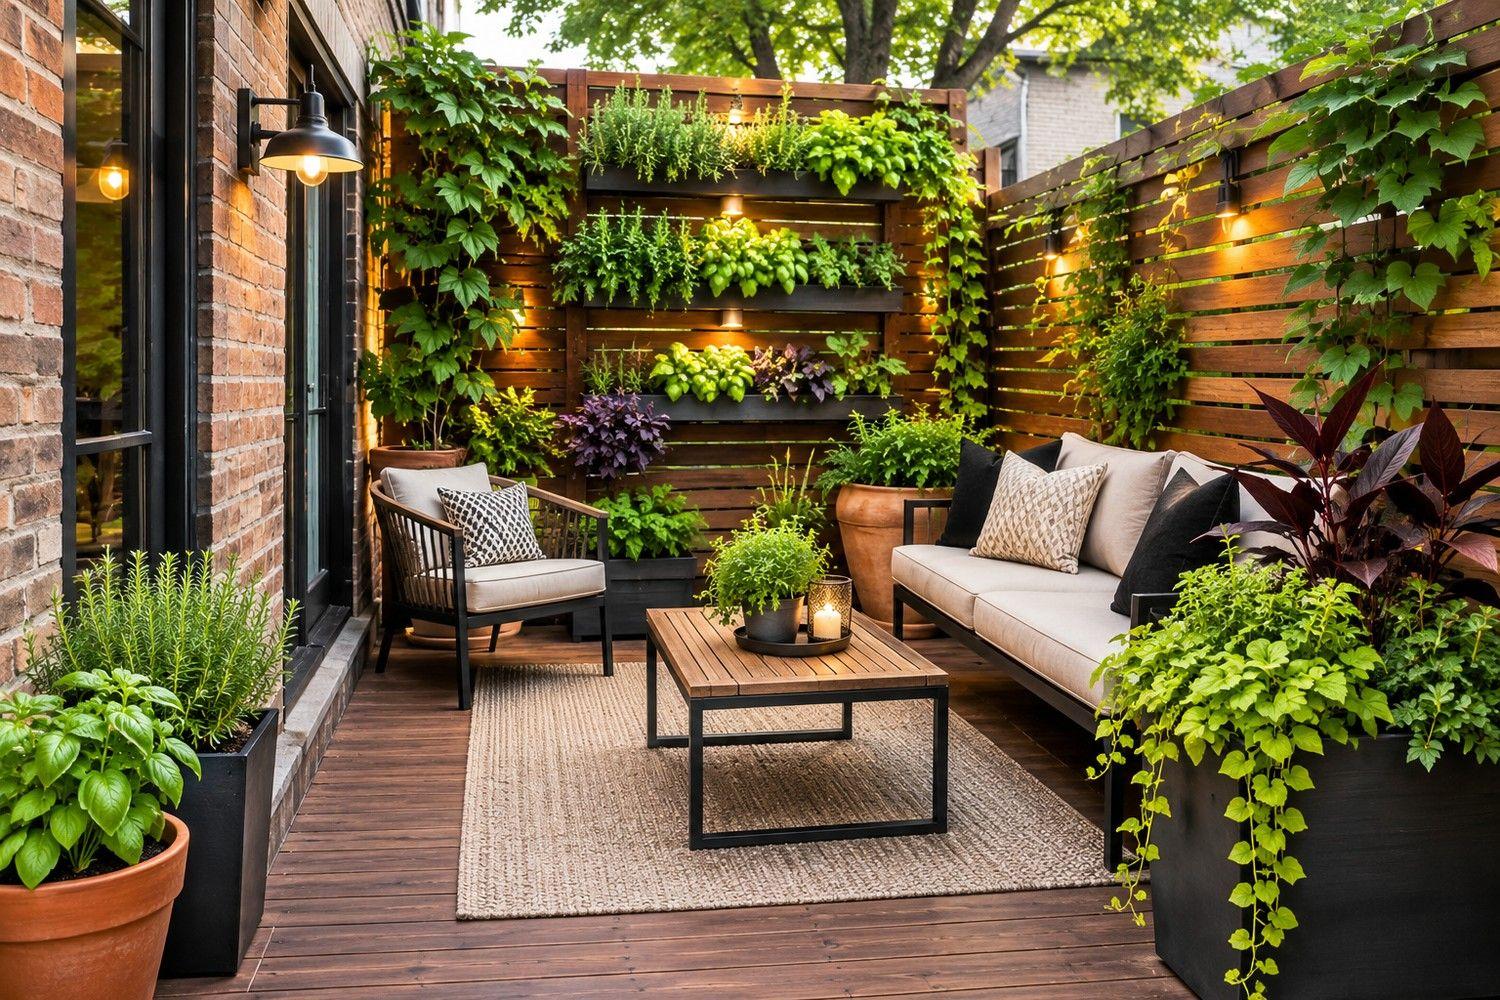
A vertical herb wall makes a small deck useful as well as attractive. Attach purpose-made planter pockets or individual containers to a sturdy frame, keeping heavier pots lower and leaving enough space to water each one. Basil, thyme, oregano, parsley, and chives can work in suitable light and temperature conditions.
Herbs generally need more sun than many foliage plants, so check the light before choosing this arrangement. A wall that receives only a short period of direct sun may be better suited to shade-tolerant foliage than to a full herb collection.
4. Lattice Screen With Hanging Baskets
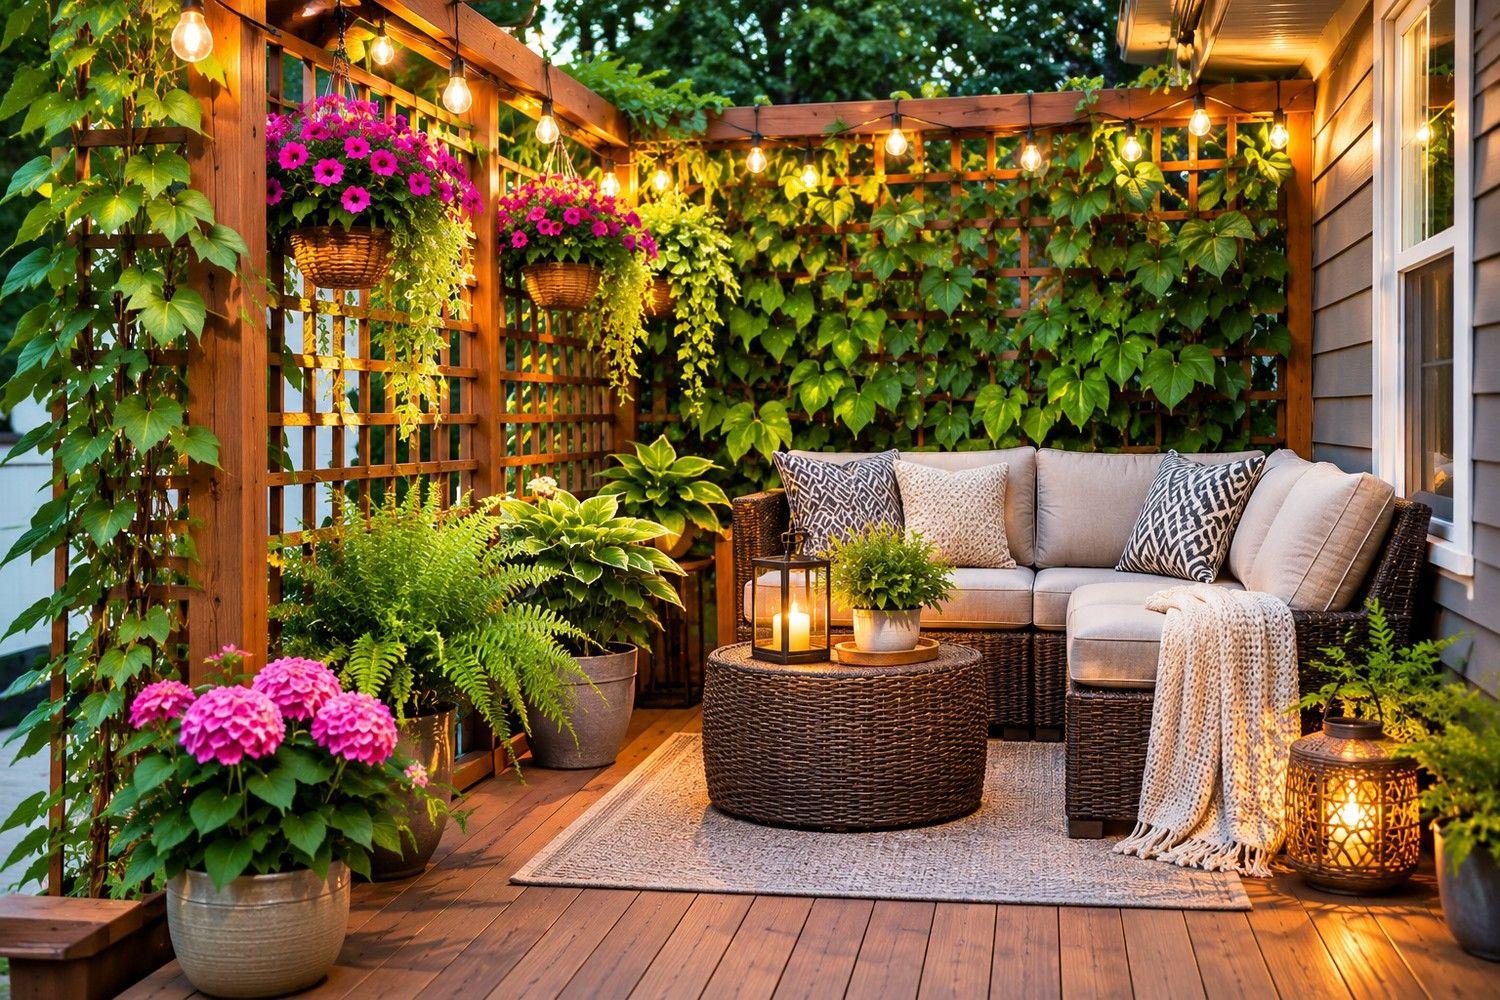
Traditional lattice creates a softer, cottage-style look and gives trailing plants room to spread. Hang baskets at staggered heights, but avoid placing every container at the same level. A varied arrangement looks more natural and can help block specific sightlines.
Use hooks and fasteners rated for the actual load, including the weight of wet potting mix. Keep baskets clear of walking routes and doors. If the deck is elevated, make sure nothing can fall through or off the railing.
5. Modular Planter Boxes With a Slatted Backdrop
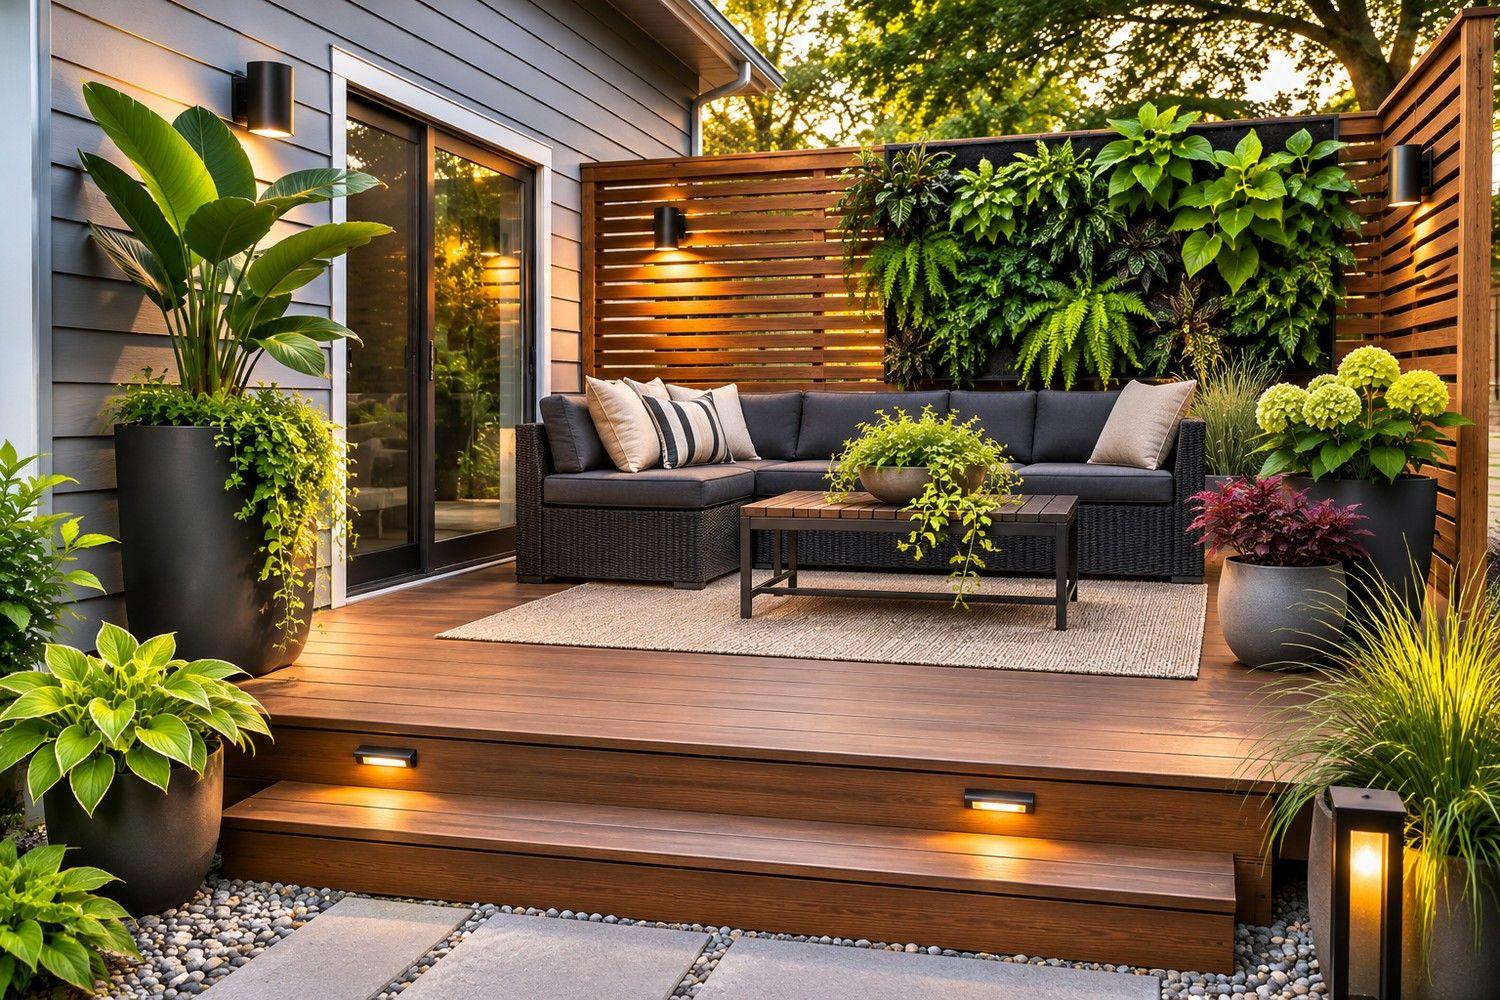
A row of modular planters can create a green boundary without permanently enclosing the deck. Place two or three boxes along the exposed edge and add a low slatted panel or trellis behind them. This approach is useful for renters or homeowners who prefer a layout that can be rearranged, provided the containers remain stable and the deck can safely support their weight.
Use containers with drainage openings and feet or spacers that allow water to escape beneath them. A planter that sits in trapped water can stain or damage the deck surface and may shorten the life of the container.
6. Black Metal Grid With Clip-On Pots
A black metal grid creates a light, contemporary backdrop. Small pots can be attached with compatible hooks or brackets, and the dark frame makes green foliage stand out. This option works particularly well on narrow decks because the visual structure is relatively open.
Check the grid's outdoor finish and corrosion resistance. Use attachment hardware designed for the panel, and do not overload it with large wet containers. A few larger foliage plants at the base can balance the smaller pots above.
7. Corner Plant Wall Behind a Small Seating Area
Instead of screening the whole deck, build an L-shaped privacy feature around one corner. A short slatted panel on the exposed side and a vertical plant frame behind the seating can create a sheltered nook while leaving the rest of the deck open.
This is often the most space-efficient solution. It focuses materials where privacy matters most and avoids turning a small deck into a narrow corridor. Keep enough clear space to move chairs, open doors, and reach stairs or exits.
How to Plan the Screen Before Building
Start by identifying the exact view you want to block. Sit in the main chair and look toward neighboring windows, yards, or walkways. Mark the sightline rather than guessing from the deck edge. A screen may need to be positioned at an angle or placed behind the seating area to be effective.
Measure the available width and height, then sketch the proposed structure. Include the depth of planter boxes, the mature spread of plants, and the space needed to reach containers for watering. A screen that looks slim on paper can consume a surprising amount of usable floor area once the planters are added.
Consider sunlight and wind. A dense screen can reduce airflow and catch substantial wind, particularly when it is tall or mounted above a railing. A freestanding panel may need a broad, engineered base or secure anchorage. Deck framing, posts, and railings are not automatically designed to carry the added wind load of a privacy wall.
Before attaching anything, inspect the deck and confirm the condition of its boards, joists, posts, and railing. Do not fasten a heavy screen only to thin decking boards or a decorative railing component. For elevated decks, balconies, rooftop decks, or any large/tall fixed screen, consult a qualified deck contractor or structural professional about attachment and load capacity.
Materials and Tools
A straightforward slatted screen with a small planter may require:
- Exterior-rated lumber such as cedar or appropriately treated wood
- Structural-rated exterior screws and compatible brackets
- A framed trellis, lattice panel, or outdoor metal grid
- Planter boxes with drainage openings
- Exterior finish suitable for the selected wood, if desired
- Potting mix matched to the plants
- Lightweight containers, saucers, and plant supports
- Tape measure, level, drill/driver, bits, saw, clamps, and safety glasses
Choose fasteners for the materials and exposure conditions. Ordinary interior screws can corrode outdoors, and incompatible metals can contribute to corrosion. Follow the lumber and hardware manufacturers' installation instructions. If cutting treated wood, follow the product's safety guidance and wear appropriate protective equipment.
Step-by-Step: Build a Compact Slatted Screen With a Plant Wall
Step 1: Choose a manageable screen size
For a small deck, begin with a single panel sized to the privacy problem. A modest panel behind a seating area is easier to stabilize and maintain than a long continuous wall. Do not use a generic height or post spacing as a substitute for a design suited to your deck, wind exposure, and local requirements.
Step 2: Select the support method
Decide whether the screen will be freestanding, attached to verified structural framing, or integrated into a purpose-built planter structure. Freestanding units need a stable footprint and may still require restraint against tipping. Attached screens need appropriate structural connections, not just short screws into deck boards.
If you are unsure what the existing deck can support, stop before drilling and get it assessed. This is especially important for elevated structures and screens that present a broad surface to the wind.
Step 3: Assemble the frame on a flat surface
Cut the frame members to the planned dimensions and assemble them square on a level work surface. Pre-drill near board ends where appropriate to reduce splitting. Use exterior-rated connectors and fasteners suited to the lumber. Add bracing where the design requires it.
Step 4: Install the slats or trellis panel
Lay out slats with consistent gaps and check alignment as you work. Smaller gaps provide more visual coverage but can make the screen heavier and more wind-resistant. Wider gaps allow more airflow and light. If using lattice or metal grid, secure the panel around its perimeter with compatible fasteners and avoid sharp exposed edges.
Step 5: Add planters without blocking drainage
Place planters where they can be reached easily. Use containers with drainage holes and elevate them slightly on suitable feet or spacers so water can escape. Do not allow soil or standing water to remain against deck boards, siding, or structural posts. If using a liner, make sure it does not seal the bottom and trap water.
Step 6: Position plants by mature size
Put taller plants where they block the target sightline, medium plants in the middle, and trailing plants near the edges or top. Leave room for mature growth and air circulation. Avoid placing heavy wet containers high on a screen unless the mounting system is specifically designed for that load.
Step 7: Secure, inspect, and water
Check every connection, brace, hook, and planter support. Confirm that the screen does not wobble and that no part obstructs stairs, gates, doors, or the required guardrail. Water plants slowly and check where runoff goes. Recheck the structure after strong winds and periodically as plants grow.
Best Plants for a Small Deck Privacy Wall
The right plants depend on your USDA hardiness zone, local climate, sun exposure, container size, and maintenance preferences. A plant that thrives in a garden bed may struggle in a shallow pot, where roots experience faster temperature and moisture changes.
- Ornamental grasses: Compact clumping varieties can add height and movement. Choose a variety whose mature size suits the container and local climate.
- Ferns: Useful for shaded or partly shaded decks, provided the chosen species suits local conditions and the potting mix stays appropriately moist.
- Trailing foliage plants: Suitable trailing plants can soften the screen edges and cover parts of a trellis. Confirm whether they are appropriate outdoors in your climate.
- Herbs: Thyme, oregano, chives, parsley, and basil can be useful in containers when light, temperature, and watering are suitable.
- Compact evergreen shrubs: Dwarf varieties can provide more consistent year-round structure, but need sufficiently large containers and protection appropriate to the climate.
- Seasonal flowering plants: Annuals can add color and fill gaps quickly, though they need seasonal replacement.
For edible plants, use clean containers and potting mix intended for container growing. Avoid using soil from an unknown source, and follow product labels for fertilizers and pest treatments. If pets or children use the deck, check plant toxicity before buying.
Make the Plant Wall Work on a Very Small Deck
A compact deck needs visual height without unnecessary bulk. Use a narrow planter rather than a deep trough, and choose a screen that occupies only the exposed side. Wall-mounted containers can save floor space, but they must be attached to a suitable structural surface and should not damage siding or block vents.
Repeat two or three plant types rather than collecting many unrelated varieties. Repetition makes a small wall feel intentional and reduces the number of different watering needs. Keep the largest containers near the strongest support points and avoid clustering all the weight at one corner.
Choose furniture with a small footprint. A slim bench, folding bistro set, or two compact chairs may leave enough room for the plant wall without crowding the walking route. Keep rugs and cushions away from drainage outlets and allow the deck surface to dry.
Cost-Saving Tips
The most economical approach is to build one targeted screen instead of enclosing the entire deck. Standard lumber lengths, a simple rectangular frame, and a few repeatable slats can reduce offcuts. Reuse sound outdoor containers where possible, but check for cracks, blocked drainage, and UV damage.
Start with a modest number of plants and add more as you learn how much sun and water the deck receives. Propagating suitable plants can reduce costs, although it takes time to create a dense display. Avoid saving money on structural fasteners, anchorage, or professional assessment where safety is involved.
Common Mistakes to Avoid
- Making the screen too tall or too solid: A large panel can catch wind and place unexpected loads on the deck.
- Using the railing as an assumed anchor: Decorative rails and balusters may not be designed for added screen loads.
- Overfilling the planters: Wet soil and mature plants can become heavy. Check the deck's capacity before adding multiple large containers.
- Blocking drainage: Standing water can damage the deck and encourage rot.
- Choosing plants before checking sunlight: Match species to the actual conditions rather than the appearance of the inspiration photo.
- Ignoring mature plant size: Crowded plants need more pruning and may lose airflow.
- Blocking access: Keep stairs, doors, gates, and required guardrails unobstructed.
Frequently Asked Questions
How do I add privacy to a small deck without making it feel closed in?
Screen only the exposed sightline, use slats or an open trellis, and soften the structure with plants. Keeping the other sides open preserves daylight and makes the deck feel larger.
Can I attach a privacy screen to an existing deck railing?
Only if the railing and its supporting posts are suitable for the additional loads and the attachment is designed correctly. A privacy screen can catch wind, so do not assume that a railing can support it. Ask a qualified professional to assess an elevated deck or substantial screen.
What plants grow well in a deck privacy wall?
It depends on climate, sun, container depth, and watering. Compact ornamental grasses, ferns, herbs, trailing foliage plants, and dwarf shrubs are common options. Check mature size and local suitability before planting.
Do planter boxes need drainage holes?
Yes. Most outdoor container plants need excess water to drain. Use drainage holes and raise containers slightly where needed so runoff does not remain trapped against the deck.
How can I make a plant wall private all year?
Combine a fixed slatted or lattice screen with plants. Evergreen container plants may add year-round greenery in suitable climates, but the screen provides more dependable visual coverage when plants are dormant or newly planted.
Is a DIY privacy screen suitable for an elevated deck?
It may be, but elevated decks need extra care. Added planter weight and wind load can affect the structure. Have a qualified deck professional or structural engineer assess the deck and proposed attachment before building.
Final Thoughts
A DIY small deck privacy screen plant wall can make an exposed outdoor space feel more comfortable without sacrificing every inch of floor area. The most successful designs combine a stable screen, carefully placed containers, plants suited to the light, and a layout that keeps access and drainage clear.
Start with the view you want to block, build only as large as the space needs, and treat structural support as the first priority. A simple slatted panel with a few healthy plants can be more useful and attractive than an oversized wall that crowds the deck.
Sources
- HGTV: How to Make a Combination Outdoor Planter and Privacy Screen. Checked November 7, 2026
- HGTV: How to Build an Outdoor Plant and Privacy Wall. Checked November 7, 2026
- Lowe's: Trellis Planter Box. Checked November 7, 2026
- Dunn Lumber: DIY Deck Privacy Screen. Checked November 7, 2026
- USDA: Plant Hardiness Zone Map. Checked November 7, 2026
- University of Minnesota Extension: Container Gardening. Checked November 7, 2026
Share this article
Get new guides by email
Practical home articles and free resources. No spam, and you can unsubscribe at any time.
Keep reading
Modern Composite Deck Color Ideas for a Gray House: 12 Stylish Combinations
Explore modern composite deck color ideas for a gray house, including teak, charcoal, greige, weathered gray, walnut, and two-tone combinations.
November 2026, 10 min read
How to Stain a Weathered Deck for Beginners
Learn how to stain a weathered deck for beginners. Get practical steps for cleaning, sanding, choosing deck stain, applying even coats, and avoiding mistakes.
November 2026, 11 min read
How to Build a Floating Deck at Ground Level: A Practical DIY Guide
Learn how to build a ground-level floating deck, from site preparation and foundations to framing, decking boards, drainage, permits, and safety.
November 2026, 12 min read