How to Build a Floating Deck at Ground Level: A Practical DIY Guide
Learn how to build a ground-level floating deck, from site preparation and foundations to framing, decking boards, drainage, permits, and safety.
By Home Crane Editors. . 12 min read.
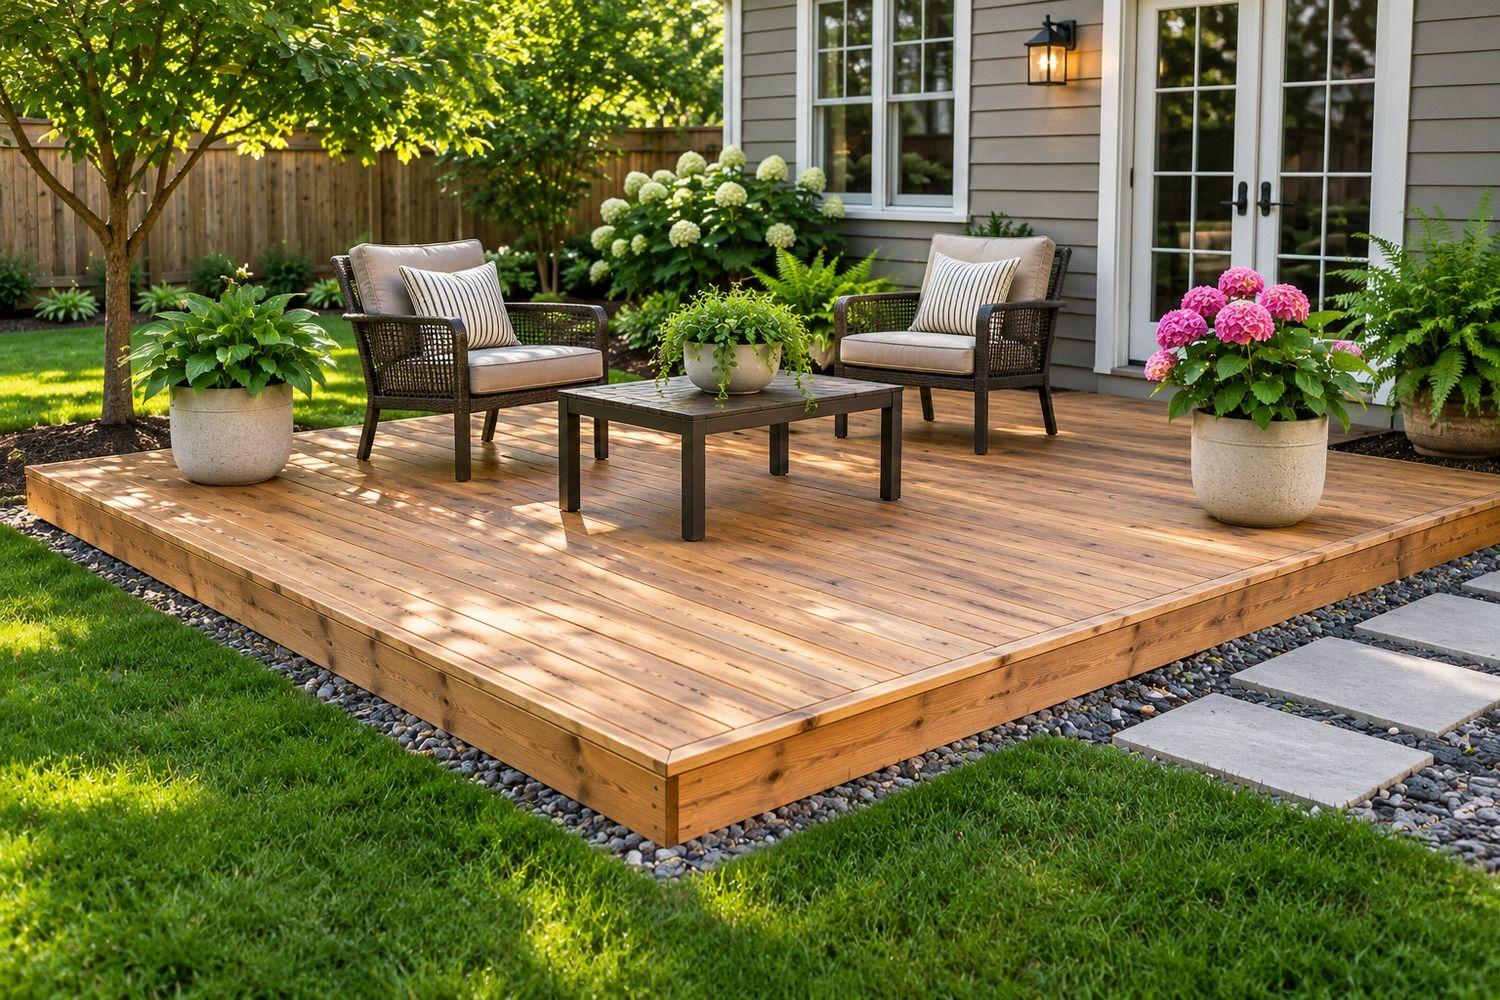
A ground-level floating deck can turn an underused patch of lawn into a comfortable place for outdoor dining, reading, or relaxing. Because this type of deck is freestanding rather than attached to the house with a ledger board, the layout can be flexible and the construction may be simpler than a raised deck. But “floating” does not mean that the deck can simply sit on grass or loose soil.
A long-lasting low deck needs a stable foundation, a properly designed frame, suitable outdoor materials, and a plan for water to drain away. The exact support system depends on soil, climate, deck dimensions, local building rules, and the height of the finished surface.
This guide explains how to plan and build a basic rectangular floating deck, what materials to consider, how to avoid common mistakes, and when to bring in a professional. It is written for homeowners using typical North American deck-building materials; always follow the locally adopted building code and the instructions supplied with your decking and hardware.
What Is a Floating Ground-Level Deck?
A floating deck is a freestanding platform that is not structurally attached to the house. It is usually close to the ground and supported by deck blocks, adjustable pedestals, concrete piers, or another approved foundation system. It may sit beside a house, in the middle of a yard, around a garden, or near a pool where local rules permit.
The term can be confusing. A floating deck is not literally floating, and it should not wobble or shift. Some low decks can use surface-supported systems where local code allows them, while other locations require frost-depth footings or engineered foundations. Decks.com explains that foundation selection depends on local conditions and that ground-level framing still needs proper support, drainage, and ventilation.
A floating deck is also different from a patio. A patio is generally built from pavers, concrete, or stone directly over a prepared base. A deck uses a structural frame and decking boards. The deck frame must be designed for the loads and spans it will carry.
1. Plan the Deck Size, Location, and Layout
Begin by deciding how the deck will be used. A small 8-by-10-foot platform may fit two lounge chairs and a side table, while a larger 10-by-12-foot deck can accommodate a dining set. These are examples, not structural standards; choose dimensions based on the site and the span limits of the framing and decking products.
Measure the area and mark the proposed corners with stakes. Run mason’s line between the stakes to outline the perimeter. Measure both diagonals: if they are equal, the rectangle is square. Adjust the stakes until the layout is accurate.
Look for underground utilities before digging or driving stakes. In the United States, contact 811 before excavation and follow the local utility-marking process. Also identify irrigation lines, drainage pipes, septic components, and any access covers that must remain reachable.
Check the proposed location for:
- Surface water flowing toward the house or pooling after rain.
- Tree roots, low branches, and areas with persistent shade or dampness.
- Door swings, window wells, hose bibs, vents, and utility access.
- Property boundaries, easements, and required setbacks.
- Space for steps, furniture, and a clear route through the yard.
A freestanding deck should not block foundation drains, cover utility access, or trap water against the house. If it is close to the home, leave an appropriate drainage gap and do not fasten it to the house unless the design has specifically been changed to an attached deck with a code-compliant ledger connection.
2. Check Permits and Local Building Requirements
Before purchasing lumber, contact your local building department. Permit exemptions vary by jurisdiction. Some authorities use deck height, total area, attachment, stairs, guards, and intended use to determine whether a permit is needed. A deck that is low in one city may still require approval in another.
Do not rely on a general internet rule such as “under 200 square feet never needs a permit.” That may be true in one location and false in another. Ask whether your project needs a permit, inspection, footing review, or a site plan. Homeowners associations and property managers may have separate requirements.
Climate also matters. In regions with freezing winters, shallow supports can move as soil freezes and thaws. A local authority may require footings below frost depth even for a freestanding deck, or it may allow a limited low-deck exception. In other regions, expansive clay, loose fill, high groundwater, or slope may require a different foundation solution.
If the deck will support a roof, hot tub, masonry feature, heavy planter, or other unusual load, do not use a simple generic plan. Have the design reviewed by a qualified professional.

3. Choose the Right Foundation System
The foundation transfers the weight of the deck, furniture, and people to the ground. It also helps keep the frame level and prevents uneven settling.
Common options include:
- Precast concrete deck blocks: Often used for low freestanding decks where permitted. They need firm, level bearing surfaces and correct spacing for the frame design.
- Adjustable deck supports or pedestals: Useful for fine height adjustments and some patio or hardscape installations. Confirm the product is rated for the loads and outdoor conditions.
- Concrete piers or footings: Provide a more permanent support system. Required depth and dimensions depend on soil, frost depth, loads, and local code.
- Helical piles or engineered supports: May be appropriate for difficult soils, slopes, or projects needing a specialized foundation.
Do not choose a support system only because it is inexpensive or easy to install. Each support must be located under a beam or framing member that is designed to carry the load. A few blocks placed only at the corners will not adequately support a typical deck frame.
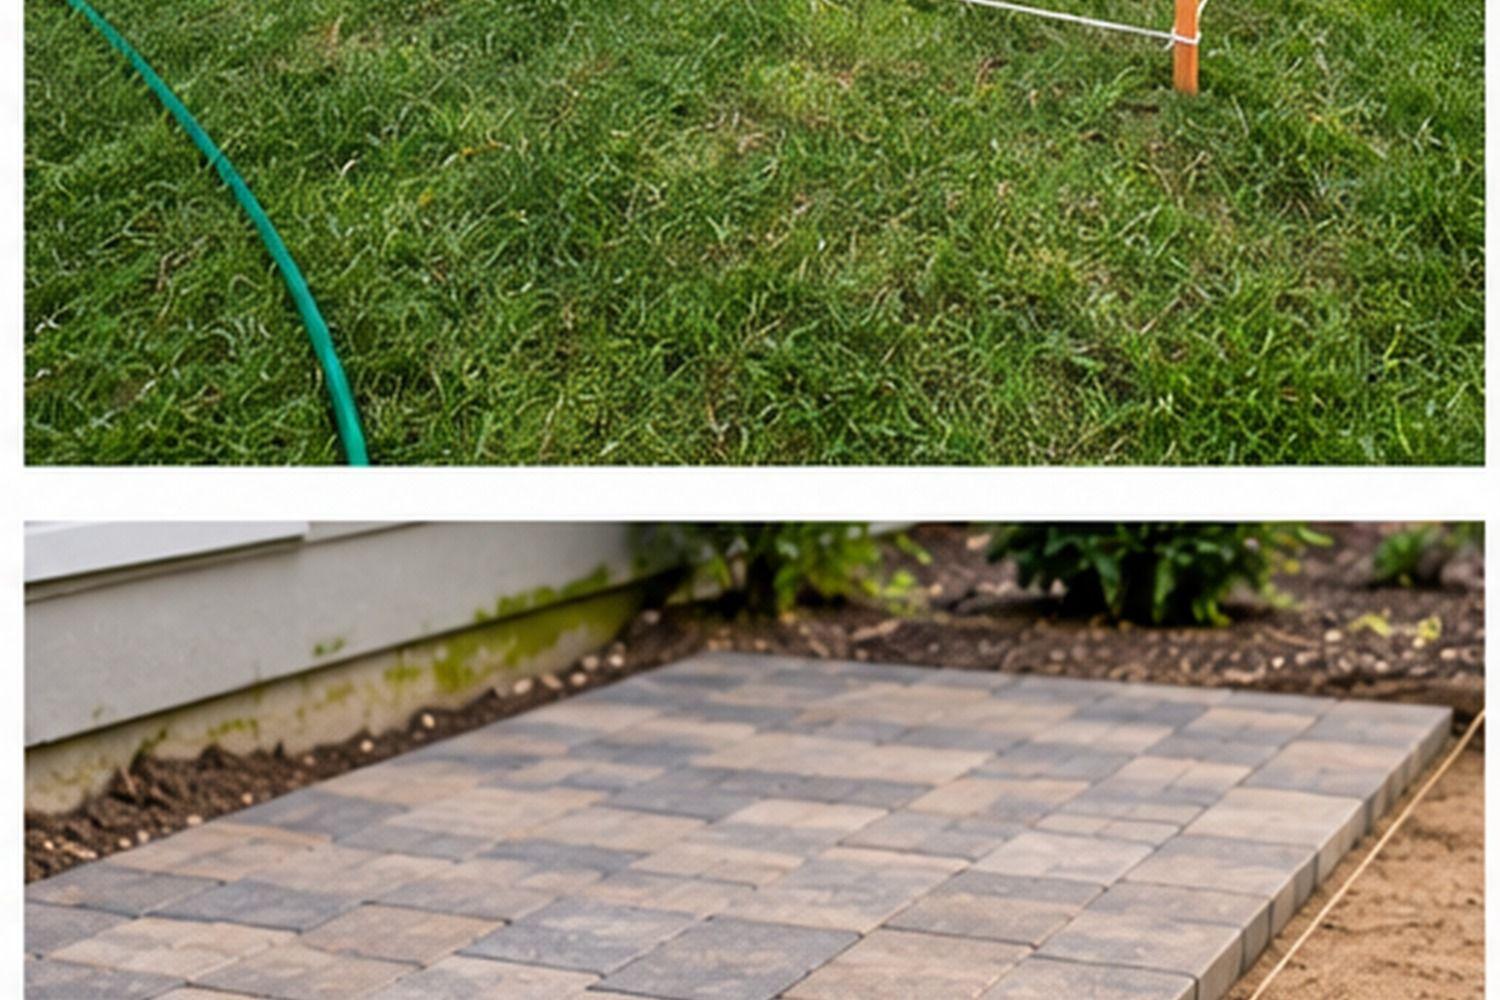
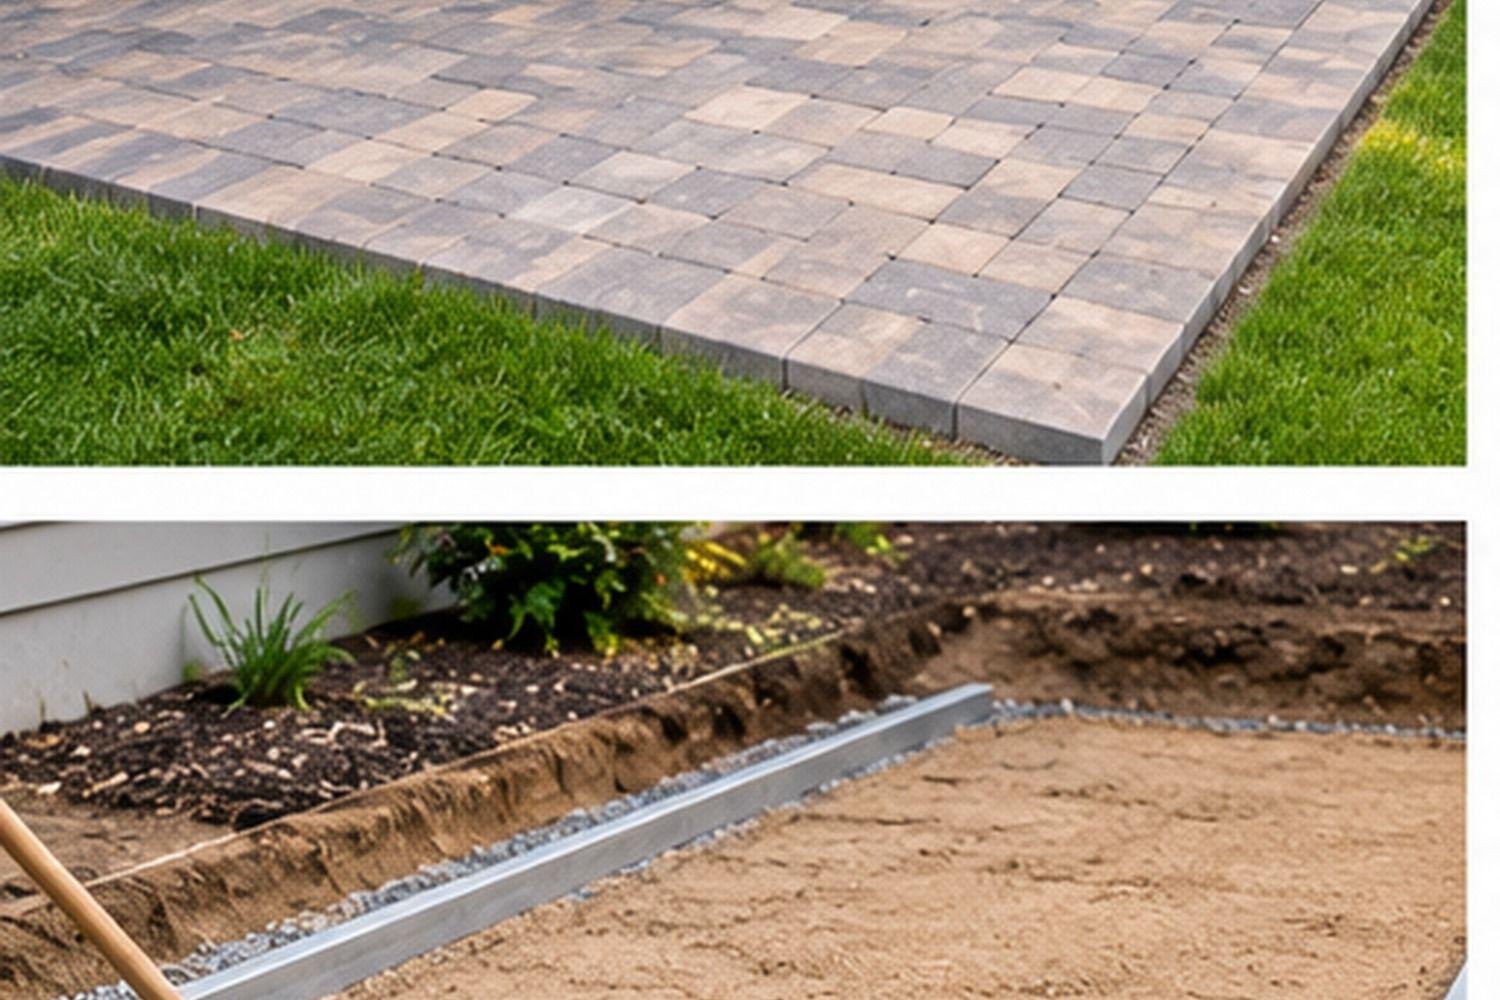
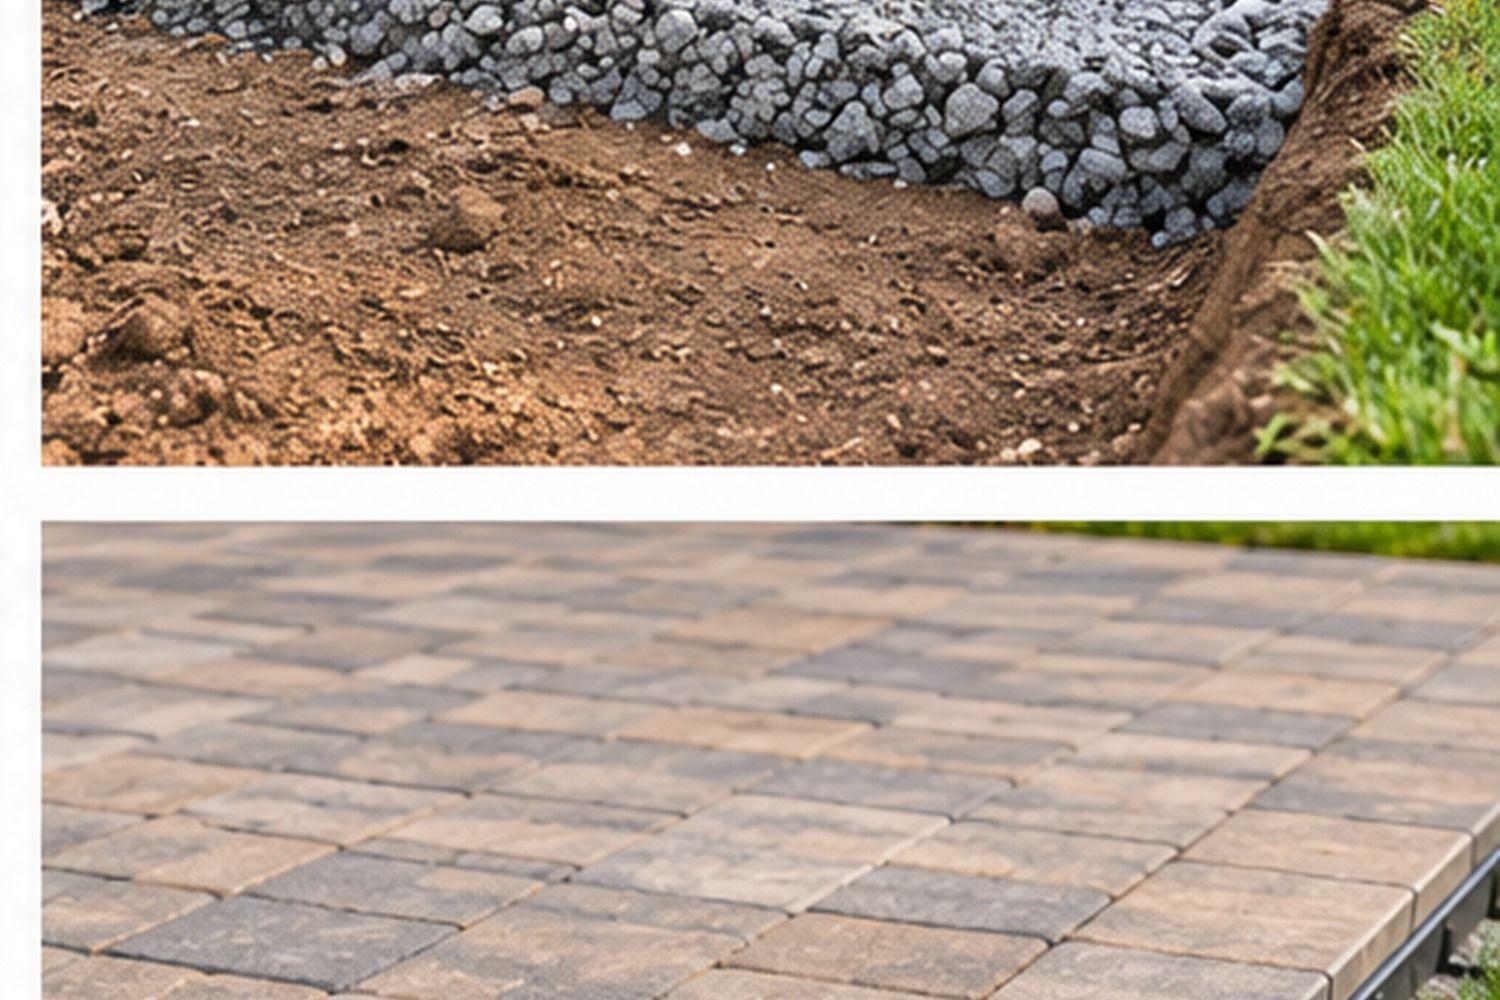
Remove sod and organic topsoil from the support locations. Prepare a compacted, stable base as required by the support manufacturer and local code. Use a level and string line to keep supports aligned and at the intended elevation. Do not stack loose pavers, bricks, or scraps of wood to make up height differences.
4. Prepare the Ground for Drainage
Water management is one of the most important parts of a ground-level deck. Soil beneath a low deck can remain damp after rain, especially in shaded yards or where the deck blocks airflow.
Remove grass, roots, and soft organic material from the footprint. Shape the ground so surface water drains away from buildings and does not collect beneath the deck. A layer of compacted, free-draining gravel can help manage moisture and discourage weeds when installed as part of an appropriate base.
Landscape fabric may be used beneath the deck to reduce weed growth, with gravel or another suitable covering to hold it down. It is not a substitute for drainage or a structural foundation. Do not create a low basin under the deck that collects runoff.
Keep the area beneath the frame accessible enough to inspect where practical. If the deck is extremely close to grade, there may be little room for airflow. In that case, use materials and construction details suitable for low-clearance conditions and avoid solid skirting that traps moisture.
5. Select Outdoor-Rated Lumber and Decking
For a traditional wood deck, use pressure-treated lumber rated for the intended exposure. Ground-contact-rated treated lumber may be required where framing is close to soil or subject to persistent moisture. Check the treatment label and local requirements rather than assuming all pressure-treated lumber is suitable for every location.
Other options include naturally durable wood species and composite decking. Each has different costs, installation requirements, fastening systems, and maintenance needs.
Choose decking boards before finalizing the frame. Board manufacturers specify joist spacing, fastening methods, end gaps, and expansion allowances. Composite products may require closer joist spacing or specific clips and screws. Follow the product instructions rather than copying spacing from a different deck.
Use exterior-rated structural screws, bolts, joist hangers, and connectors that are compatible with the lumber treatment and local exposure conditions. Ordinary interior screws and drywall fasteners are not suitable structural deck connectors.
6. Build a Square, Level Frame
The frame usually consists of a perimeter rim and interior joists, supported by beams or an approved support arrangement. The framing plan must be based on the deck dimensions, lumber species and grade, joist spans, support spacing, and local code.
Lay the perimeter boards on a flat work area. Fasten the corners with approved structural fasteners or connectors. Measure the two diagonals to confirm the frame is square. Adjust before installing the interior joists.
Install joists at the spacing required by the decking manufacturer and the structural design. Common layouts use 12 or 16 inches on center, but those numbers are not universal. Heavier loads, diagonal decking, composite products, and longer spans may require closer spacing or larger framing members.
Add blocking between joists where needed to stiffen the frame, support board ends, and reduce twisting. Keep the tops of the joists in one plane so the finished deck surface is even. Use a long straightedge or string line to identify high and low points.
7. Set the Frame on the Supports
Once the frame is assembled, position it over the prepared support system. Ensure every beam or bearing point lands where the design expects it to. Check level in both directions and confirm the frame remains square.
Use only approved structural shims or adjustable support products for fine corrections. Do not use loose cedar shims, random scraps, or stacked masonry pieces as permanent structural packing. Secure the frame to supports with connectors where the support system requires them.
A low deck may have a small amount of clearance, but the framing should not rest directly on soil unless a specific code-compliant design permits that construction and uses the required ground-contact materials. In most ordinary backyard situations, direct soil contact creates moisture and durability problems.
8. Install the Decking Boards
Before fastening boards, check the frame one more time. Confirm joist spacing, straightness, and the location of blocking. If using wood, inspect each board and place the best-looking face upward. Follow the board supplier’s guidance for spacing, moisture content, and end joints.
Start at a straight outside edge. Use the recommended deck screws or hidden fastening system. Keep fasteners the correct distance from board ends to reduce splitting, and predrill where the manufacturer recommends it.
Leave the required gaps between boards for drainage, expansion, and ventilation. The correct gap depends on board material, moisture, temperature, and product instructions. Composite boards can expand and contract differently from wood, so do not assume the same spacing works for both.
Stagger butt joints where the design calls for them and ensure every board end is supported by framing. Do not leave a cut end hanging between joists. Trim the outside edge after the boards are installed if that produces a cleaner, more consistent perimeter.
9. Finish the Edges and Add Steps if Needed
A picture-frame border can give the deck a finished appearance, but it requires additional blocking and careful planning. A simple straight edge is less expensive and often easier for a first-time builder.
If the deck sits slightly above the surrounding yard, a broad, low step can make access more comfortable. Build steps to the applicable code and ensure they are stable, even, and well supported. Do not assume that a single low step is automatically exempt from all requirements.
Avoid installing a skirt that seals the entire perimeter. If you want to hide the underside, use a design that preserves drainage and ventilation and can be removed for inspection. Keep access to any utility covers or drainage points.
10. Protect and Maintain the Deck
Follow the lumber or decking manufacturer’s guidance for cleaning, sealing, staining, and maintenance. Pressure-treated wood may need time to dry before applying a finish, depending on the treatment and product instructions. Composite decking often has its own cleaning requirements and should not be treated like wood.
Inspect the deck at least seasonally and after severe weather. Look for:
- Loose fasteners or boards that have lifted.
- Movement or settling at support points.
- Soft, discolored, or decaying wood.
- Standing water and blocked drainage.
- Corroded connectors or damaged flashing near structures.
- Splinters, sharp edges, and trip hazards.
Keep leaves and debris from accumulating beneath the deck. Trim plants so they do not hold moisture against the frame. If the deck begins to move, sag, or separate at connections, stop using the affected area until the cause is assessed and repaired.
Tools and Materials Checklist
| Feature | Typical items | |
|---|---|---|
| Layout | Tape measure, stakes, mason’s line, carpenter’s square, marking paint | |
| Ground preparation | Shovel, rake, tamper or plate compactor, wheelbarrow, gravel | |
| Foundation | Approved deck blocks, pedestals, piers or other designed supports | |
| Framing | Exterior-rated treated lumber, joist hangers, structural screws or bolts | |
| Decking | Deck boards, manufacturer-approved fasteners or clips | |
| Measuring | Long level, string level, straightedge, chalk line | |
| Cutting and fastening | Circular or miter saw, drill/driver, bits, saw horses | |
| Safety | Safety glasses, hearing protection, gloves, dust mask as appropriate |
Quantities cannot be determined accurately without the deck dimensions, board direction, framing plan, joist spacing, and support layout. Create a scaled plan and material takeoff before ordering. Include extra boards for cuts and defects, but avoid guessing at structural lumber sizes or support spacing.
Common Floating Deck Mistakes to Avoid
Building directly on grass. Sod and topsoil retain moisture and can settle. Remove organic material and prepare a stable base.
Using too few supports. The frame must be supported at the spans and bearing points specified by the structural design. Corner blocks alone are not enough for most deck frames.
Ignoring drainage. Water trapped beneath a low deck can accelerate decay and cause soil movement. Grade the site and keep water moving away from the house.
Using the wrong fasteners. Treated lumber can corrode incompatible metal connectors. Use hardware approved for the treatment type and outdoor exposure.
Blocking all airflow with skirting. A sealed perimeter can trap damp air. Preserve ventilation and access.
Assuming every floating deck is permit-free. Requirements differ by municipality and can depend on height, size, attachment, stairs, location, and intended loads.
Attaching it casually to the house. A ledger connection is a structural detail that requires proper flashing, fasteners, and load transfer. If the deck is intended to be freestanding, keep it structurally independent and provide an appropriate drainage gap.
Frequently Asked Questions
Can I build a floating deck directly on the ground?
Usually, a conventional wood deck should not simply rest on grass or loose soil. It needs a designed support system and materials suited to the exposure. Some local codes allow limited ground-bearing construction under specific conditions, but those exceptions are not a general rule.
Do floating decks need footings?
Sometimes. The required foundation depends on the local code, climate, soil, deck size, height, and loads. Some jurisdictions allow surface-supported blocks or pedestals for certain low decks; others require frost-depth footings or engineered supports.
How high should a ground-level deck be?
There is no single correct height. The finished elevation should provide the necessary framing depth, support, drainage, and clearance while meeting the applicable code. More clearance can improve inspection and airflow, but may require a step or guard depending on height and local rules.
How far apart should deck joists be?
The spacing depends on the joist size and span, decking material, board orientation, and manufacturer instructions. Twelve or sixteen inches on center are common in some designs, but do not use either value without checking the product and structural requirements.
Can a floating deck be built next to a house?
Yes, if it is designed as a freestanding structure and does not interfere with siding, foundation drainage, vents, or utility access. Maintain a suitable gap and direct water away from the building. Do not fasten it to the house unless you are building a properly designed attached deck.
Is composite decking suitable for a ground-level deck?
It can be, provided the frame and ventilation meet the composite manufacturer’s requirements. Some products require specific joist spacing, fastening clips, and minimum clearance. Read the installation guide before building the frame.
Final Thoughts
A ground-level floating deck can be a rewarding DIY project when the site is suitable and the structure is planned carefully. Start with accurate measurements, check local permit and footing rules, prepare a stable drainage-friendly base, and select a support system that matches the soil and climate.
Build the frame to the actual span and fastening requirements, install decking according to the product instructions, and keep the underside from becoming a damp, inaccessible space. The result can be a simple, useful outdoor platform that makes a backyard feel more finished without the height or complexity of a large raised deck.
Sources
- Decks.com: How to Build a Deck on the Ground. Checked November 7, 2026
- Decks.com: How to Build a Floating Deck. Checked November 7, 2026
- Lowe’s: Planning a Floating Deck. Checked November 7, 2026
- Timber Decking Handbook: Decking Installation. Checked November 7, 2026
- City of Edmonton: Uncovered Deck Design Guide. Checked November 7, 2026
- U.S. Common Ground Alliance: Call 811 Before You Dig. Checked November 7, 2026
Share this article
Get new guides by email
Practical home articles and free resources. No spam, and you can unsubscribe at any time.
Keep reading
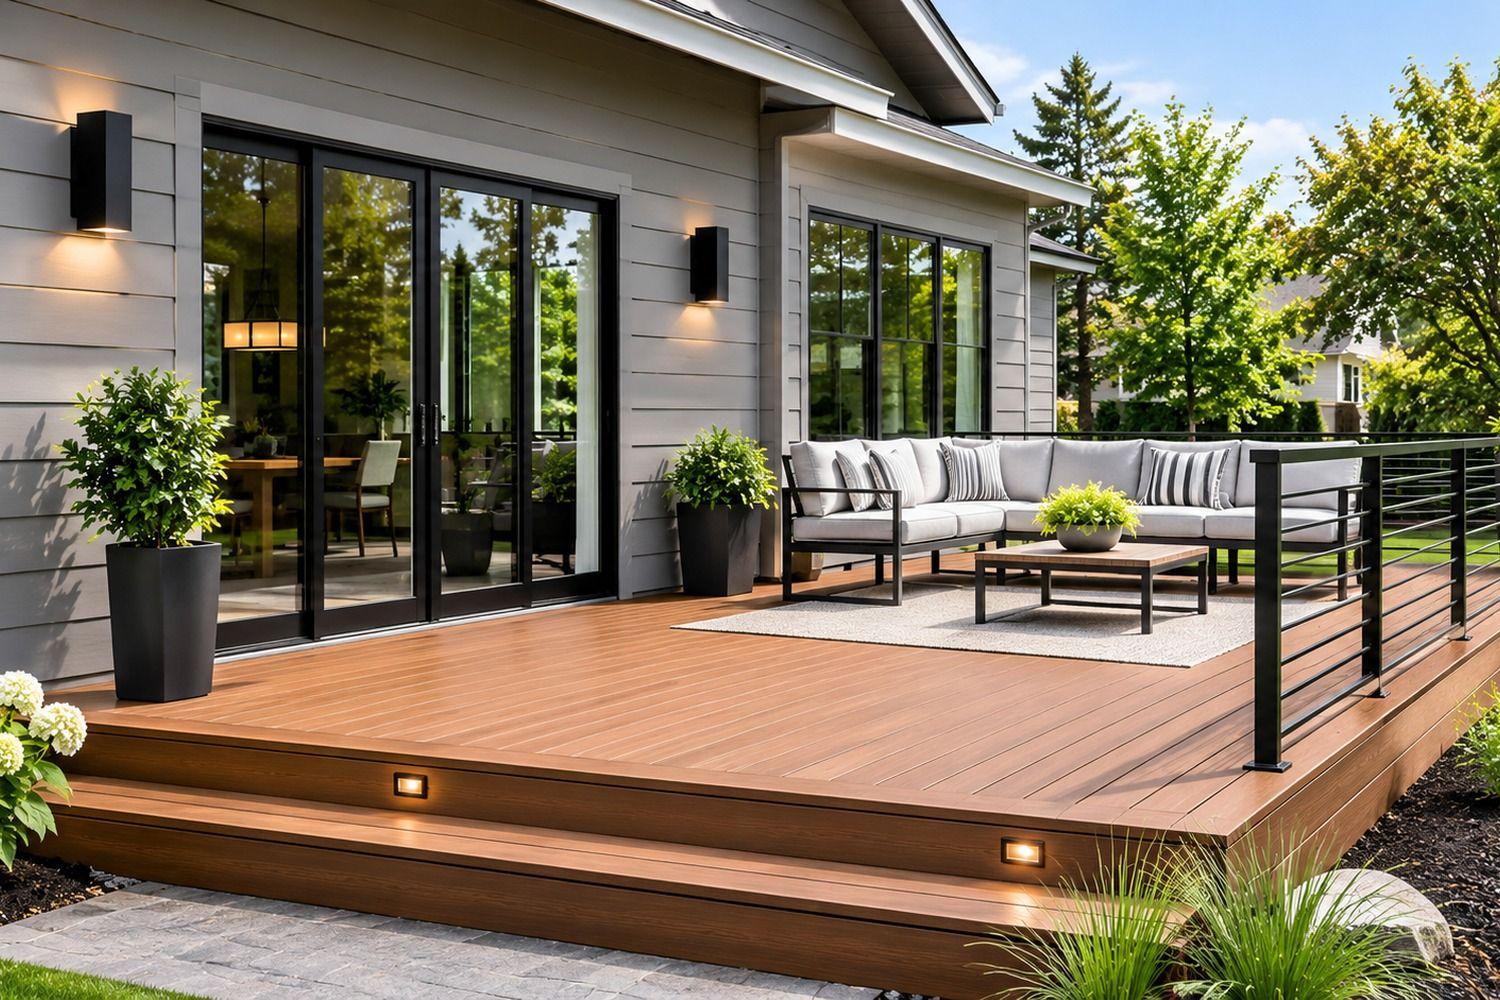
Modern Composite Deck Color Ideas for a Gray House: 12 Stylish Combinations
Explore modern composite deck color ideas for a gray house, including teak, charcoal, greige, weathered gray, walnut, and two-tone combinations.
November 2026, 10 min read
How to Stain a Weathered Deck for Beginners
Learn how to stain a weathered deck for beginners. Get practical steps for cleaning, sanding, choosing deck stain, applying even coats, and avoiding mistakes.
November 2026, 11 min read
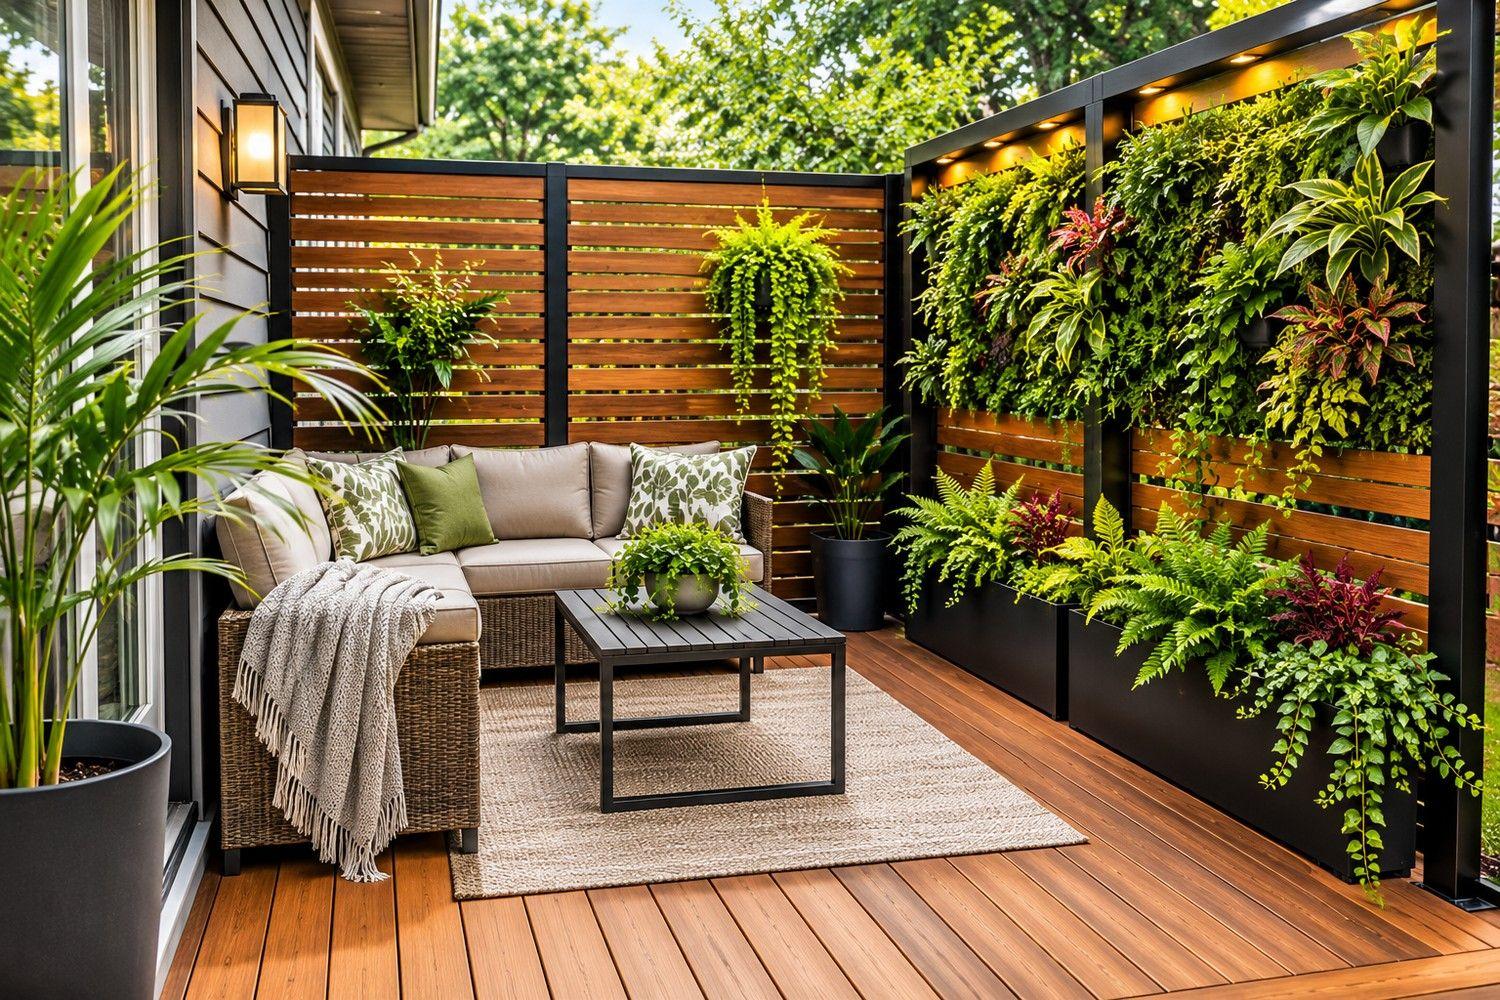
DIY Small Deck Privacy Screen Plant Wall: A Space-Smart Guide
Create a more private small deck with a DIY plant wall. Explore 7 screen ideas, plant choices, materials, build steps, drainage, and safety tips.
November 2026, 12 min read