How to Stain a Weathered Deck for Beginners
Learn how to stain a weathered deck for beginners. Get practical steps for cleaning, sanding, choosing deck stain, applying even coats, and avoiding mistakes.
By Home Crane Editors. . 11 min read.
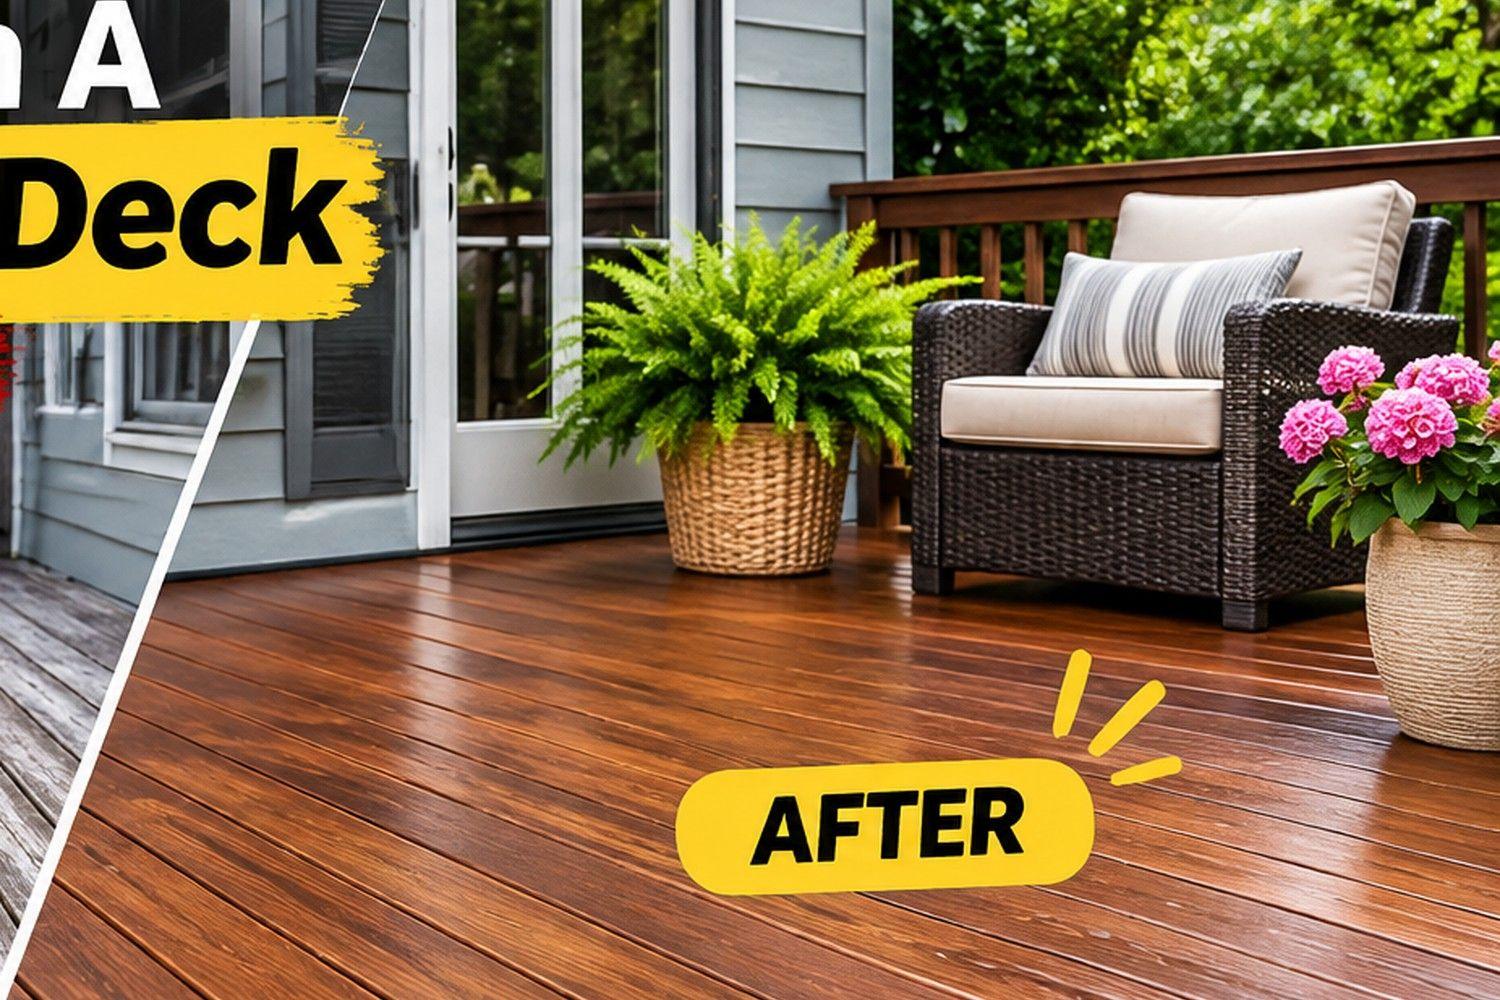
A weathered deck can make an otherwise inviting backyard look tired. Sunlight fades the finish, rain leaves water marks, and foot traffic gradually wears away the color. If the boards are still structurally sound, applying a fresh coat of deck stain can improve their appearance and help protect the wood from moisture and ultraviolet exposure.
The process is manageable for many first-time DIYers, but the result depends much more on preparation than on the final brush or roller stroke. Stain will not hide rotten boards, repair loose fasteners, or make a failing deck safe. Before opening a can, inspect the structure, identify the existing finish, clean the surface correctly, and allow the wood to dry as directed by the product manufacturer.
This beginner-friendly guide explains how to assess a weathered deck, choose a compatible stain, prepare the boards, apply an even finish, and avoid common mistakes.
Can You Stain a Weathered Deck?
In many cases, yes. A deck with faded color, light surface graying, or a worn transparent finish may be a good candidate for cleaning and restaining. The wood should be sound, reasonably smooth, and able to absorb the selected product.
A deck with peeling solid stain, heavy mildew, deep splintering, soft or rotten boards, or failing railings needs more attention first. Stain is a finish, not a structural repair. Replace damaged boards and address loose stairs, posts, joists, and connections before treating the surface. If you find widespread rot or movement, have the deck assessed by a qualified professional.
Also identify the material. This guide is for exterior wood decking. Composite decking, PVC decking, and capped composite products generally have different care requirements; do not apply ordinary wood stain unless the decking manufacturer explicitly approves that product.
Tools and Materials You May Need
Gather the supplies before starting so the deck can be cleaned and coated without unnecessary delays.
- Deck cleaner formulated for the wood and existing finish
- Wood brightener, if recommended by the cleaner or stain system
- Stiff-bristle deck brush and extension handle
- Garden hose or pressure washer with adjustable, low-pressure control
- Plastic sheeting and painter's tape for nearby surfaces
- Paint scraper for loose, failing finish
- Random-orbit sander and suitable sandpaper, if sanding is needed
- Broom, shop vacuum, or leaf blower for dust removal
- Exterior deck stain suitable for the wood and existing coating
- Stain pad, brush, or roller recommended by the product label
- Paint tray, extension pole, and clean rags
- Chemical-resistant gloves, eye protection, and any label-required protective equipment
Read the labels and technical data sheets for the cleaner, brightener, and stain. Products from different systems are not always interchangeable. Follow the manufacturer's instructions for dilution, application temperature, drying time, coverage, and cleanup.
Step 1: Inspect the Deck Before You Start
Move furniture, rugs, planters, and grills off the deck. Sweep away leaves and debris so you can see the boards clearly. Look for raised nails or screws, loose fasteners, splinters, cracks, soft spots, and boards that move underfoot.
Pay particular attention to the areas where water tends to collect: around posts, stairs, ledger connections, planters, and the ends of boards. Probe suspicious soft areas carefully with a screwdriver. Wood that is persistently soft, crumbling, or deeply decayed should not simply be covered with stain.
Check railings, stairs, and structural connections as well as the walking surface. Tighten or replace appropriate fasteners and repair defects using methods suitable for the deck's construction. If you are unsure whether a defect is cosmetic or structural, pause and seek professional advice.
Step 2: Identify the Existing Finish
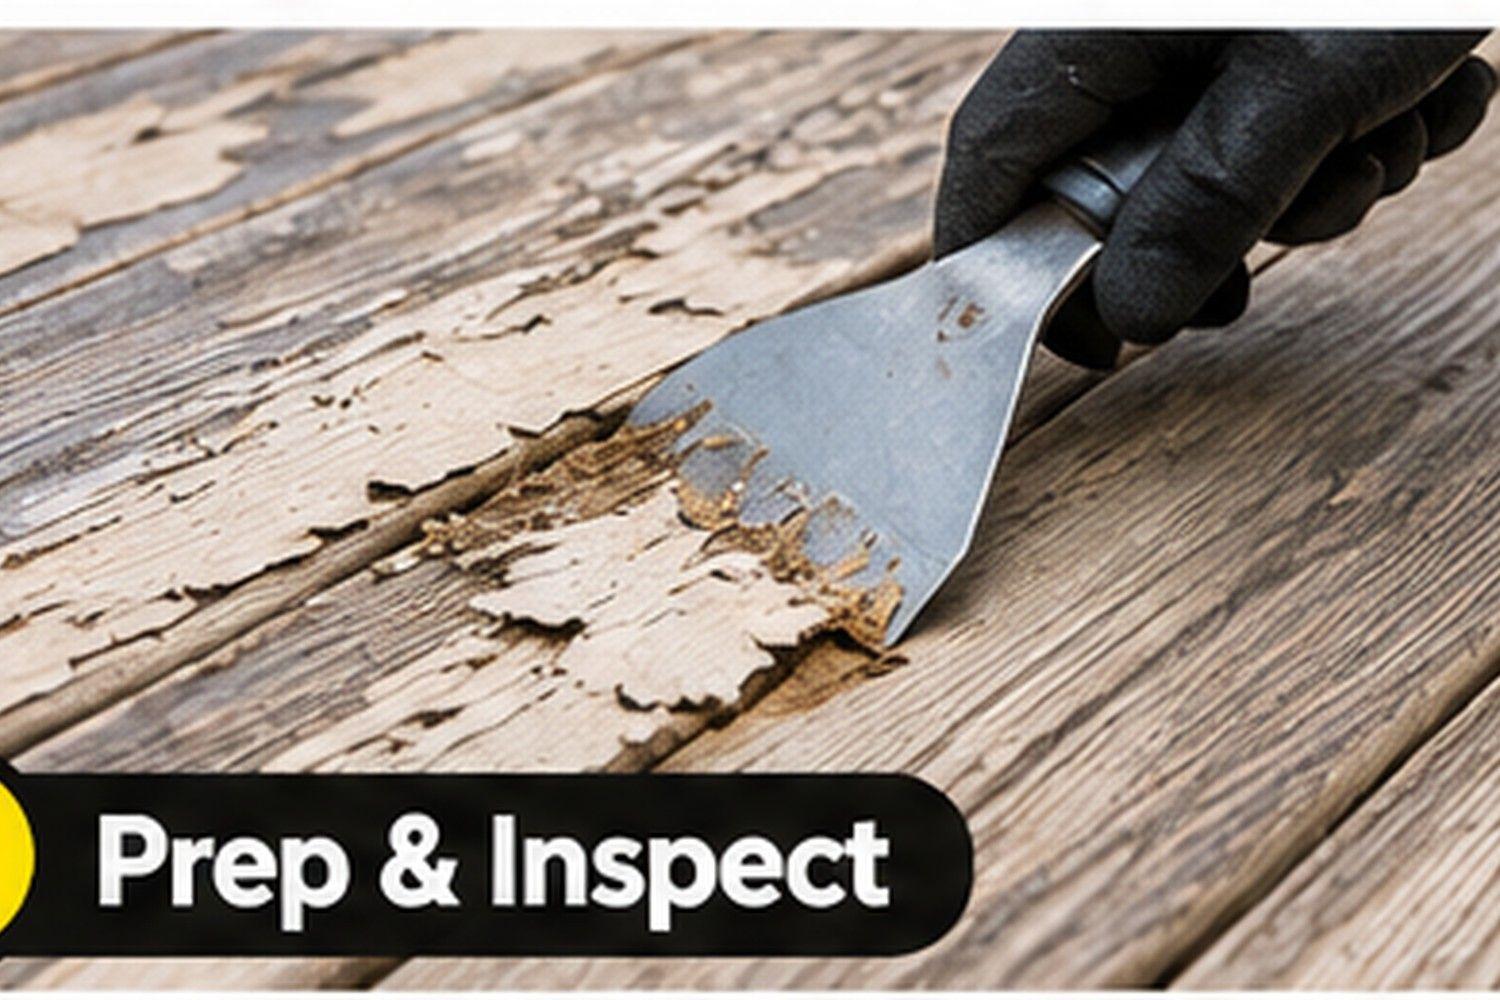
The existing coating affects which preparation method and stain will work. A transparent or semi-transparent finish may fade gradually, while a solid-color stain can form a more visible film that peels as it fails.
Look for the original product information if available. Check old paint cans, receipts, maintenance notes, or the previous owner's records. If you cannot identify the finish, test a small, inconspicuous area using the cleaner and preparation method recommended by the stain manufacturer.
Do not assume that a new stain can go directly over an old one. A different product may not bond properly, and a solid coating can prevent a penetrating stain from soaking into the wood. The product manufacturer may require stripping, sanding, or a compatible maintenance coat.
Step 3: Clean the Weathered Deck
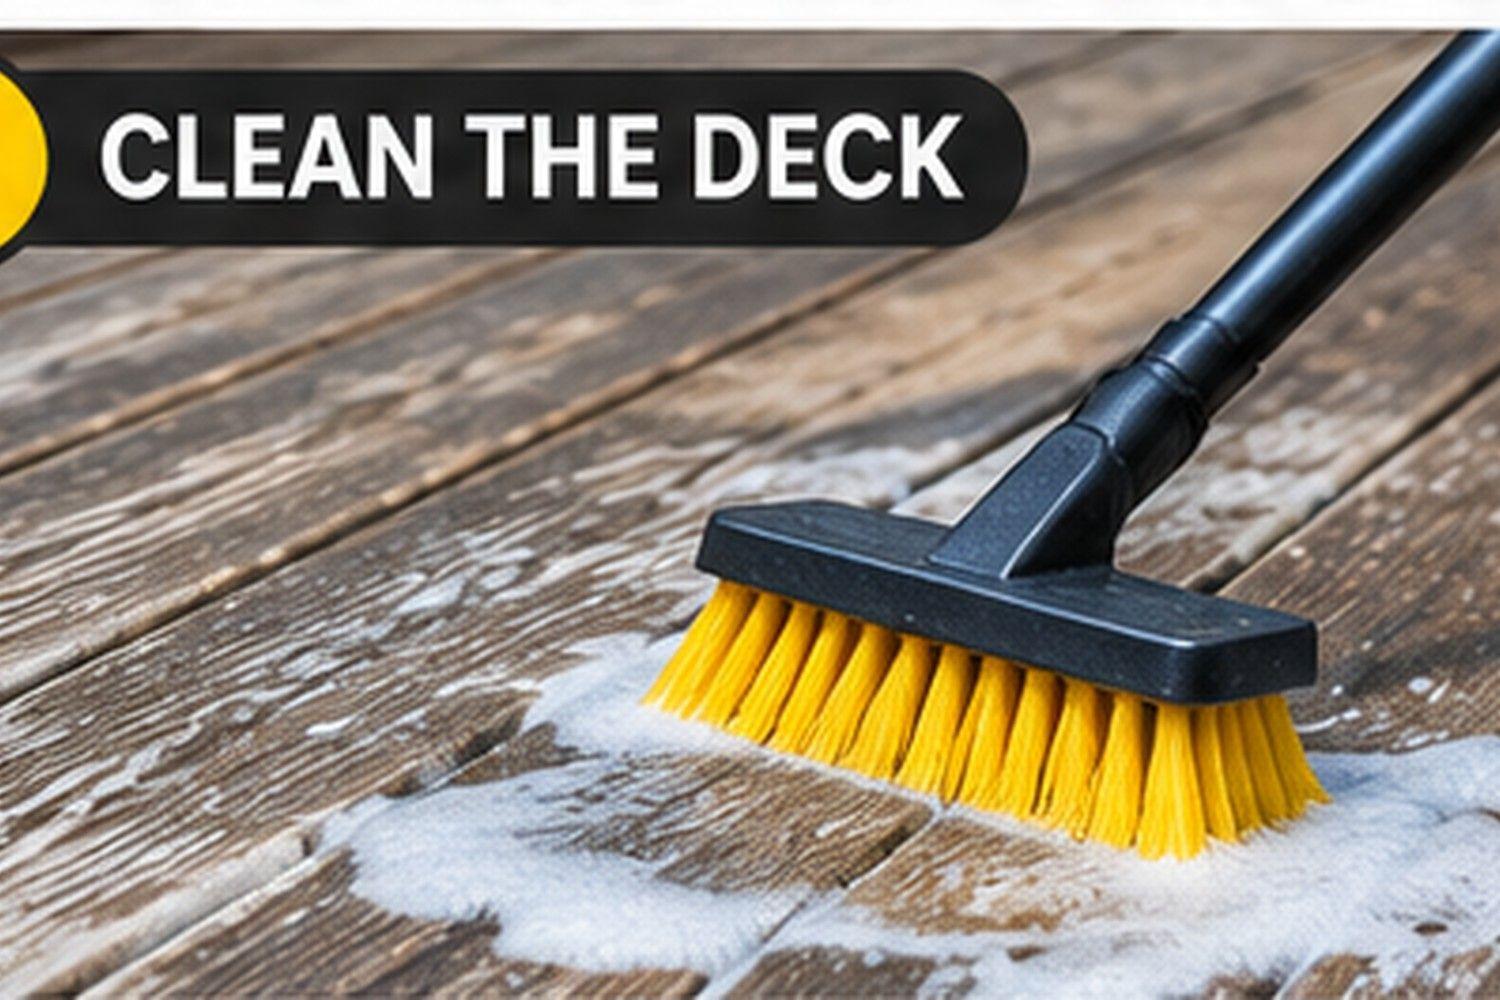
Cleaning removes dirt, pollen, mildew, and surface contaminants that can interfere with adhesion and appearance. Choose a deck cleaner labeled for your decking species and finish condition. Follow the stated dilution and dwell time; stronger is not automatically better.
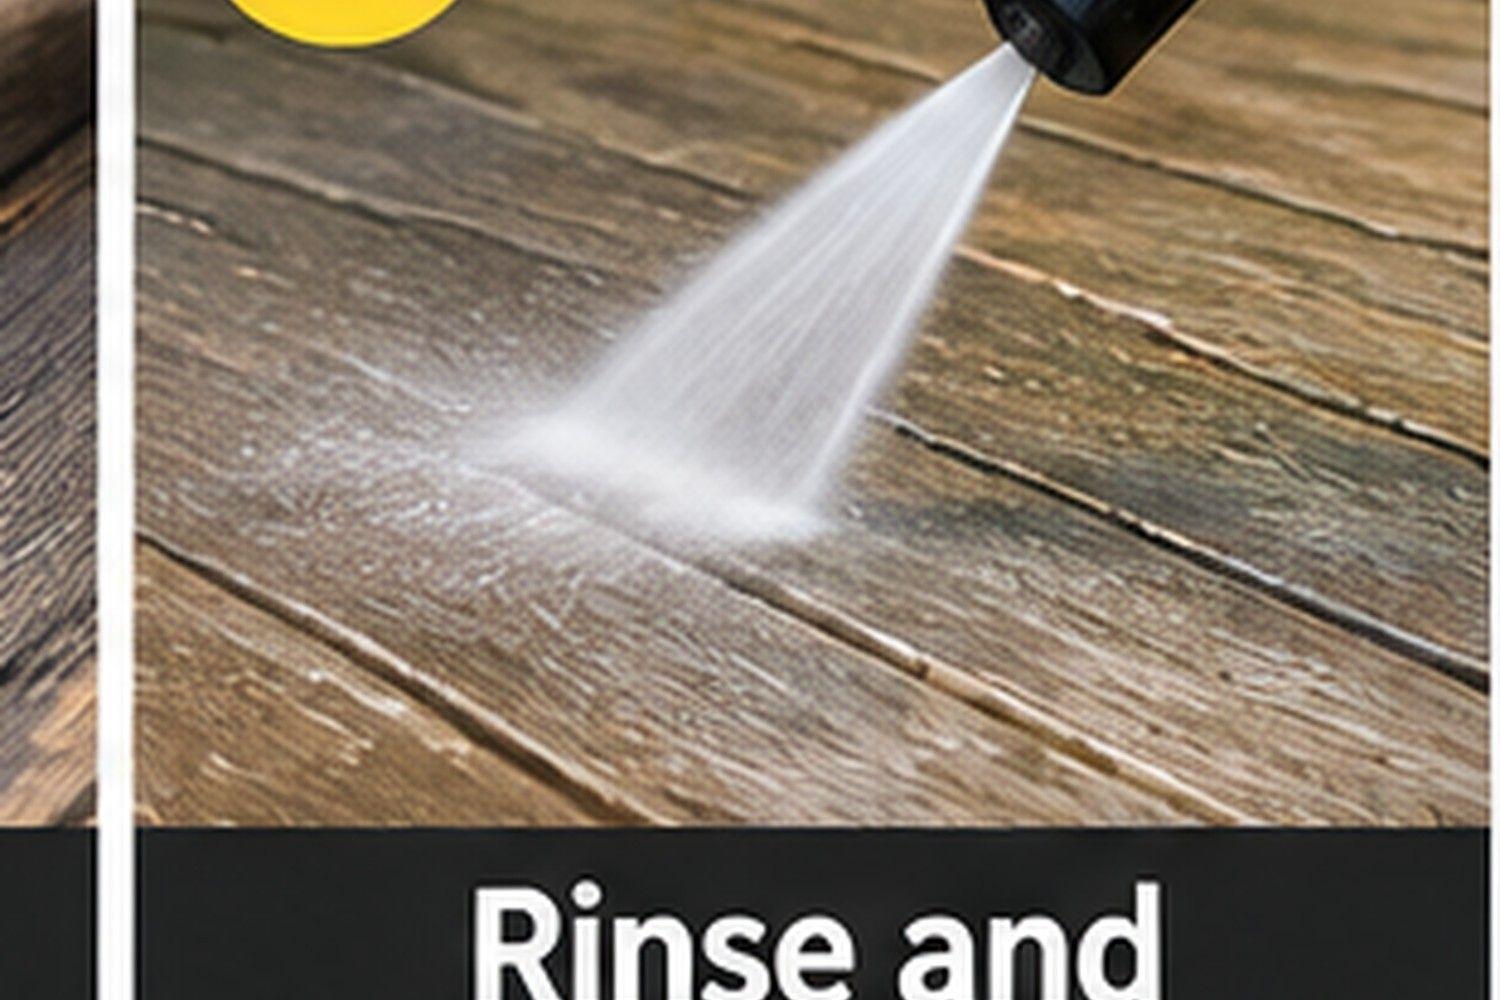
Wet nearby plants and protect them as directed by the cleaner label. Cover metal hardware, glass, siding, and other sensitive surfaces when the instructions call for it. Apply the cleaner evenly, work it into the boards with a stiff-bristle brush where needed, and rinse thoroughly.
A pressure washer can damage wood if the pressure is too high, the nozzle is too close, or the spray is held in one place. Beginners may find a garden hose and deck brush easier to control. If using a pressure washer, follow the wood and equipment manufacturers' guidance, use a suitable fan tip, keep the nozzle moving, and test a hidden area first.
Never mix deck cleaners with bleach, ammonia, acids, or other chemicals unless the product label explicitly instructs you to do so. Mixing household chemicals can create dangerous reactions.
Step 4: Use a Wood Brightener if Needed
After cleaning, some weathered boards may look dark, uneven, or slightly raised in grain. A wood brightener may help restore a more even appearance and prepare the surface for the selected stain system. It is not required for every deck.
Use a brightener only when the cleaner or stain manufacturer recommends it. Apply it according to the label, observe the specified dwell time, and rinse or neutralize as directed. Do not improvise with household acids or unmeasured chemical mixtures.
Step 5: Let the Deck Dry Completely
This step is easy to rush and can make or break the project. Stain applied to damp wood may not penetrate or cure as intended. The required drying period depends on the wood, weather, shade, humidity, airflow, and product.
Do not rely on a fixed 24-hour rule. Check the stain label for its moisture and drying requirements. Some products specify a maximum wood-moisture content; a moisture meter can help confirm whether the boards are ready. If the deck is shaded or the weather is humid, it may take longer.
Check the forecast before cleaning and staining. Allow enough time for the surface to dry before application and for the stain to remain protected from rain or dew during the manufacturer's stated curing window. Avoid coating a hot deck in direct midday sun unless the product specifically permits those conditions.
Step 6: Scrape and Sand Where Necessary
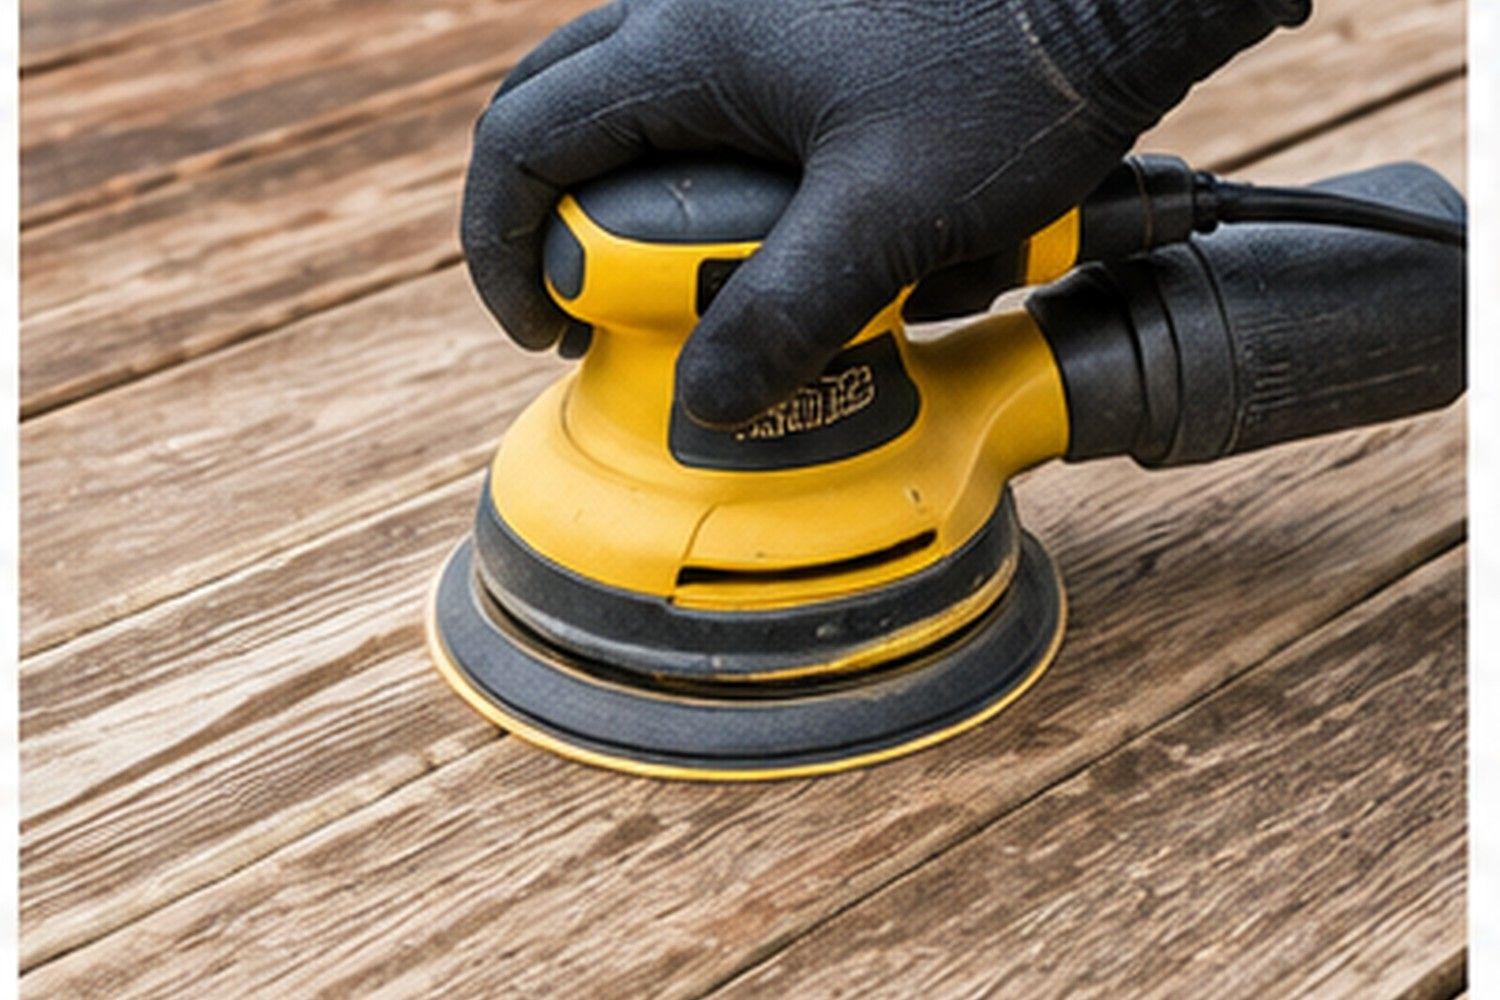
Once the deck is dry, inspect it again. Scrape away loose, peeling finish and remove splinters or rough edges. Sanding may be needed where the grain has lifted, the surface is uneven, or the old coating must be removed.
Use a suitable exterior-wood sanding grit and avoid over-sanding. The goal is to create a clean, sound surface, not to polish the boards until they cannot absorb a penetrating stain. Follow the stain manufacturer's preparation instructions because some products require a particular surface profile.
Wear eye protection and a properly selected dust mask or respirator for the sanding conditions. Keep dust away from open doors and windows, and vacuum or sweep it off the deck before staining. If the existing coating may contain lead or another hazardous material, do not sand it until it has been assessed and handled using appropriate lead-safe procedures.
Step 7: Choose the Right Deck Stain
Deck stains are commonly described by how much of the wood grain they show and how much pigment they contain. Product names and performance vary by manufacturer, so compare the label and technical data sheet rather than relying only on the category name.
Transparent stain
Transparent products show the most natural wood grain and color variation. They generally provide less pigment and may need more frequent maintenance in exposed locations. They are best when the boards are in good condition and the owner wants a natural appearance.
Semi-transparent stain
Semi-transparent stain adds more color while allowing much of the grain to remain visible. It can be a useful middle ground for weathered but sound boards, provided the old finish is compatible and the wood can absorb the product.
Semi-solid stain
Semi-solid products provide stronger color and conceal more variation while retaining some texture. They can be useful when boards have uneven color but are still structurally sound. Confirm whether the product is penetrating or film-forming and what preparation it requires.
Solid-color deck stain
Solid stain gives the most uniform color and hides much of the natural grain. It can refresh an older-looking deck, but a failing or peeling coating may require extensive removal before recoating. Use a product specifically intended for horizontal deck surfaces; a coating designed for siding or vertical trim may not be suitable under foot traffic.
Choose a color by testing a sample on an inconspicuous section of the actual deck. The same stain can look different on new and old boards, in shade and direct sun, and over different previous finishes.
Step 8: Protect the Surrounding Area
Check the product label for surfaces that need protection. Cover siding, doors, concrete, plants, outdoor furniture, and metal hardware as appropriate. Remove or mask items that could be stained by drips or splashes.
Keep pets and children away from the work area. Place tools and containers where they cannot tip over or block an exit. If the deck is above a lower patio, protect the area beneath it from drips.
Stain can be slippery while wet. Plan a route that lets you finish at an exit without walking across freshly coated boards.
Step 9: Apply the Stain in Thin, Even Coats
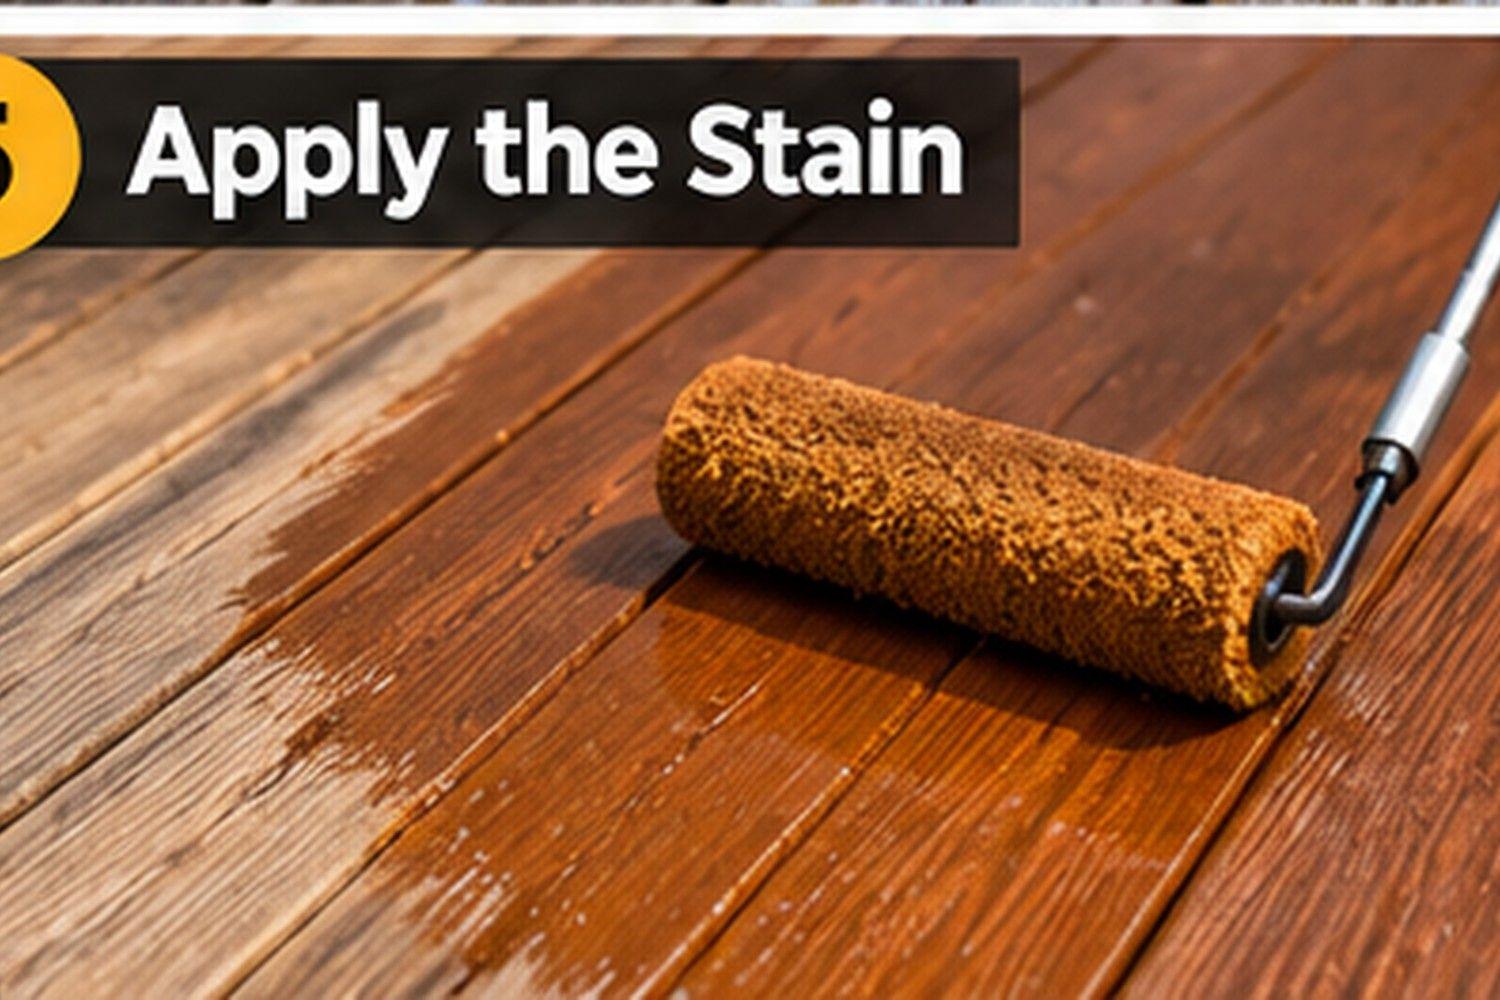
Stir the stain thoroughly before use and periodically during the job, following the label. Do not shake it unless the manufacturer recommends shaking, because bubbles can affect application.
Use the applicator specified for the product. A stain pad or brush gives good control along edges and between boards; a roller can help cover larger areas, but may need back-brushing to distribute the stain evenly. Work in manageable sections and follow the board length to reduce lap marks.
Apply a thin, consistent coat. Avoid leaving puddles, heavy overlaps, or thick glossy patches. Penetrating stains are not usually improved by applying more product than the wood can absorb. Wipe or brush out excess material as the label directs.
For a large deck, work from one end toward the exit and keep a wet edge where possible. Stopping in the middle of a board can leave a visible line. Coat board ends and exposed edges only as directed by the product instructions.
Some stains require one coat, while others allow or require a second coat under specific conditions. Do not automatically apply two coats. Follow the label's recoat window and coverage guidance.
Step 10: Allow the Finish to Dry and Cure
Keep foot traffic, furniture, pets, and planters off the deck until the product permits use. Dry-to-touch time is not always the same as full cure time. Cool temperatures, high humidity, shade, and poor airflow can extend drying.
Wait for the stated period before replacing furniture or outdoor rugs. Do not drag heavy items across a fresh finish. If the deck receives rain before the coating has cured, follow the stain manufacturer's advice rather than immediately applying another coat.
Common Mistakes Beginners Should Avoid
- Staining over dirt: Dust, mildew, and residue can prevent an even finish.
- Skipping the dry-time check: Damp boards can interfere with penetration and curing.
- Using too much pressure when washing: Aggressive pressure can gouge wood and raise the grain.
- Applying a thick coat: Excess stain may remain tacky, shiny, or uneven.
- Ignoring the old finish: Incompatible coatings can peel or fail.
- Working in unsuitable weather: Hot boards, direct sun, rain, dew, or cold temperatures can affect application.
- Skipping a test patch: A sample reveals color and absorption differences before the whole deck is coated.
- Covering damaged wood: Stain cannot repair rot, loose framing, or unsafe stairs and railings.
How Much Deck Stain Do You Need?
Measure the deck's length and width and multiply them to estimate the surface area. Add the areas of stairs, built-in benches, railings, and other surfaces only if the selected product is approved for them. Check the coverage rate on the product label, which can vary with wood species, porosity, texture, and application method.
For example, a simple 12-by-16-foot deck has 192 square feet of floor area. If the product label lists coverage of 150 to 200 square feet per gallon on the relevant wood, one gallon may cover the floor for one coat, but rough or thirsty boards can use more. Treat the label's coverage as an estimate and allow for the actual condition of the deck.
How Often Should You Restain a Deck?
There is no universal schedule. Sun exposure, rainfall, foot traffic, wood species, stain type, preparation quality, and maintenance all affect service life. Inspect the deck periodically and follow the coating manufacturer's maintenance guidance.
Signs that maintenance may be due include fading, water no longer beading where the product is designed to repel it, uneven color, or areas where the finish has worn away. Do not apply a new coat simply because a calendar date has arrived. Clean and prepare the surface as required, and confirm compatibility with the existing finish.
Frequently Asked Questions
Can I stain a deck without sanding it?
Sometimes. If the existing finish is sound and the boards are clean and smooth, the product may not require sanding. Peeling finish, splinters, raised grain, or incompatible coatings can make scraping or sanding necessary. Follow the stain manufacturer's preparation instructions.
How long should a deck dry after washing?
There is no single drying time that works for every deck. Weather, shade, humidity, airflow, wood species, and board thickness all matter. Use the moisture requirements and drying guidance on the stain label, and use a moisture meter when the product specifies a maximum moisture level.
Should I use a brush or roller to apply deck stain?
Either may work if approved by the product manufacturer. A brush or stain pad offers control around edges and between boards. A roller can speed up coverage on open areas, but back-brushing may be needed to even out the finish and work stain into the surface.
Can I stain a gray, weathered deck?
Yes, if the wood is sound and the old finish can be properly prepared. Gray surface weathering is not the same as rot. Clean the boards, remove failing coatings, assess damage, and test the chosen stain before coating the entire deck.
What is the best stain color for an old deck?
The best color depends on the wood, the house exterior, the surrounding landscape, and how much of the grain you want to show. Natural cedar, warm brown, and medium walnut are popular looks, but always test a sample on the actual boards because existing color and absorption change the result.
Can I stain a deck if rain is expected?
Do not apply stain if rain is expected within the product's required rain-free window. Check the label and local forecast, including the chance of overnight dew. If rain arrives before the coating has cured, consult the manufacturer's instructions.
Final Thoughts
Staining a weathered deck is a realistic beginner project when the structure is sound and the existing finish is understood. The most important steps are inspecting the deck, cleaning it thoroughly, allowing it to dry, preparing rough or peeling areas, and applying the right product in controlled coats.
Take your time with the test patch and the drying window. A careful preparation day often matters more than trying to finish the job quickly. If the deck has structural damage, an unknown hazardous coating, or a difficult old finish, get the right assessment before proceeding.
Sources
- U.S. Environmental Protection Agency: Lead Renovation, Repair and Painting Program. Checked November 7, 2026
- U.S. Consumer Product Safety Commission: Power Washer Safety. Checked November 7, 2026
- Benjamin Moore: Deck Stain and Exterior Wood Care. Checked November 7, 2026
- Behr: Deck Stain and Wood Finishes. Checked November 7, 2026
- Sherwin-Williams: Exterior Wood Stains. Checked November 7, 2026
- USDA Forest Products Laboratory: Wood Handbook. Checked November 7, 2026
Share this article
Get new guides by email
Practical home articles and free resources. No spam, and you can unsubscribe at any time.
Keep reading

Modern Composite Deck Color Ideas for a Gray House: 12 Stylish Combinations
Explore modern composite deck color ideas for a gray house, including teak, charcoal, greige, weathered gray, walnut, and two-tone combinations.
November 2026, 10 min read
How to Build a Floating Deck at Ground Level: A Practical DIY Guide
Learn how to build a ground-level floating deck, from site preparation and foundations to framing, decking boards, drainage, permits, and safety.
November 2026, 12 min read

DIY Small Deck Privacy Screen Plant Wall: A Space-Smart Guide
Create a more private small deck with a DIY plant wall. Explore 7 screen ideas, plant choices, materials, build steps, drainage, and safety tips.
November 2026, 12 min read