Easy DIY Board and Batten Accent Wall for Beginners
A beginner-friendly board and batten accent wall starts with a measured layout, straight trim, and a wall that is already sound. For most indoor.
By Home Crane Editors. . 4 min read.

A beginner-friendly board and batten accent wall starts with a measured layout, straight trim, and a wall that is already sound. For most indoor makeovers, the simplest version uses vertical battens over smooth drywall, with a horizontal rail at the top. The drywall becomes the visible background between the strips.
Choose one uninterrupted wall for your first attempt. Corners, outlets, windows, and uneven baseboards add decisions that can make a small project surprisingly slow. This guide describes decorative interior trim, not structural framing or exterior siding. Allow time for preparation, adhesive, primer, and paint to dry instead of promising a finished room in one afternoon.
1. Choose the height and draw the layout
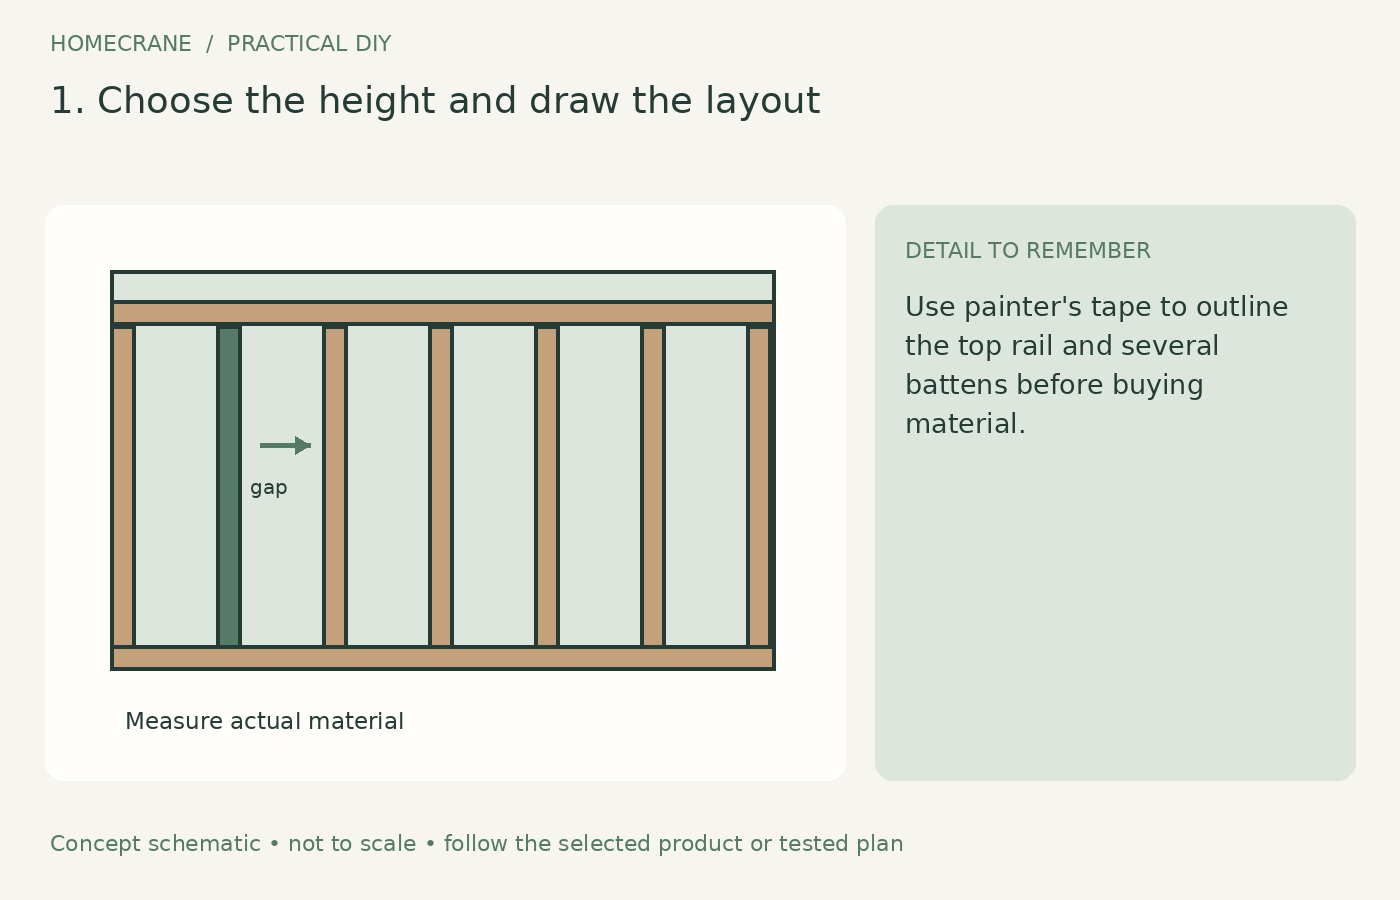
Use painter's tape to outline the top rail and several battens before buying material. Stand at the doorway and check how the pattern relates to furniture, switches, and the ceiling. A visually balanced arrangement matters more than copying someone else's batten spacing.
For a layout with a batten at each end, subtract the combined width of all battens from the wall width, then divide by the number of gaps. For example, a 120-inch wall with seven battens, each 2.5 inches wide, leaves 102.5 inches for six gaps. Each gap is about 17.08 inches. This example assumes the end battens occupy the edges; side margins require a different calculation.
Mark actual board widths, which may differ from nominal lumber sizes. Check the layout around outlets before deciding it is final.
2. Select trim and prepare the wall
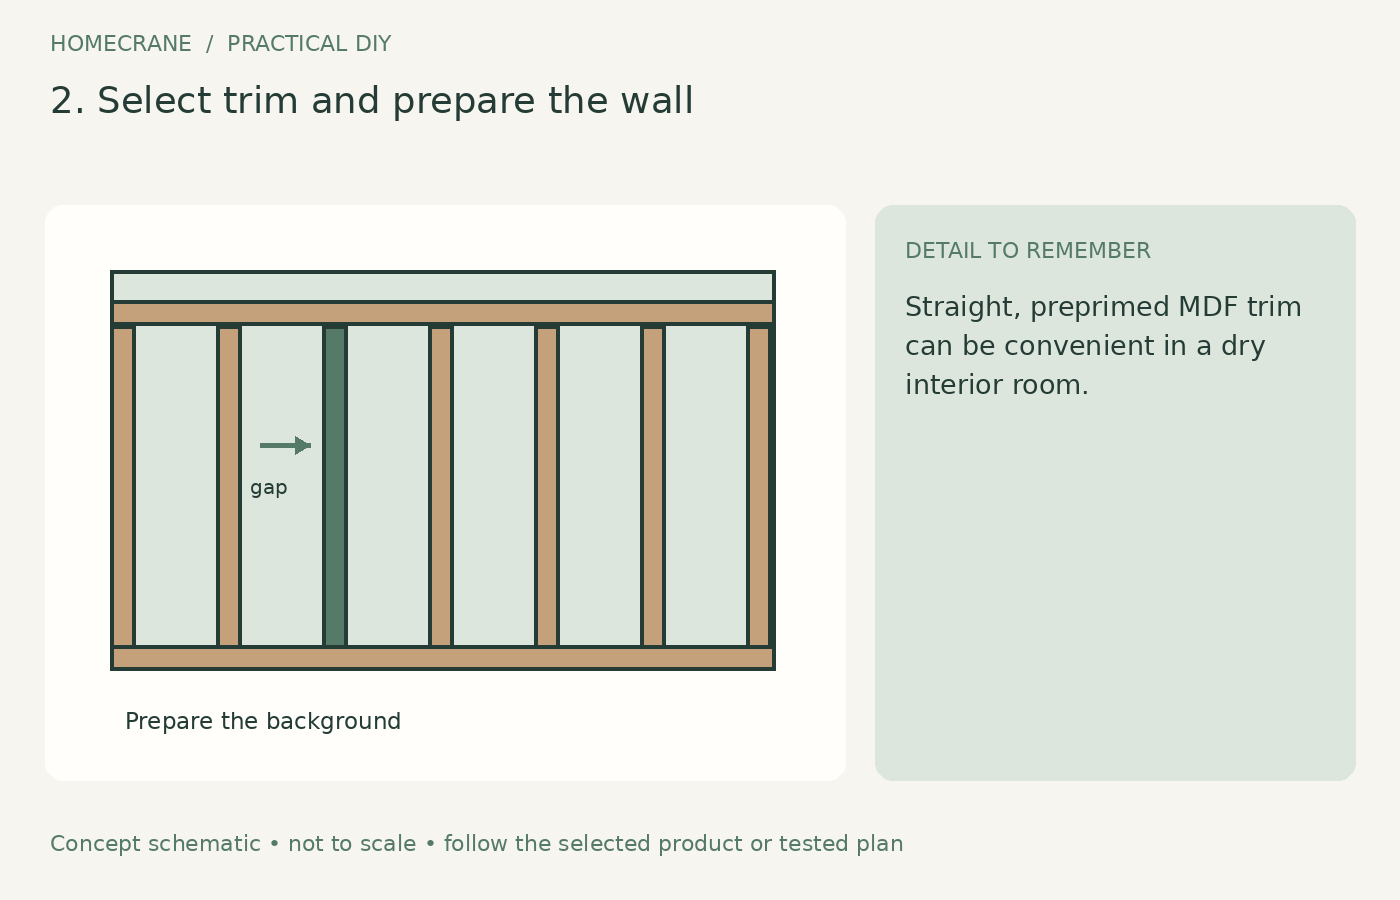
Straight, preprimed MDF trim can be convenient in a dry interior room. Solid wood is another option, especially where durability or moisture exposure affects material choice. Neither should cover an unresolved leak or a crumbling wall.
The Home Depot board and batten guide illustrates the general decorative-trim approach. Decide how your battens meet the baseboard: use compatible thicknesses, replace the baseboard where appropriate, or design a deliberate transition. An accidental overhang at every batten end usually looks unfinished.
Clean and repair the background. If you plan to disturb old paint in a pre-1978 home, follow the EPA's lead-safe renovation guidance before sanding or removing trim. Do not bury a problem under new paneling.
3. Cut and dry-fit the horizontal rails
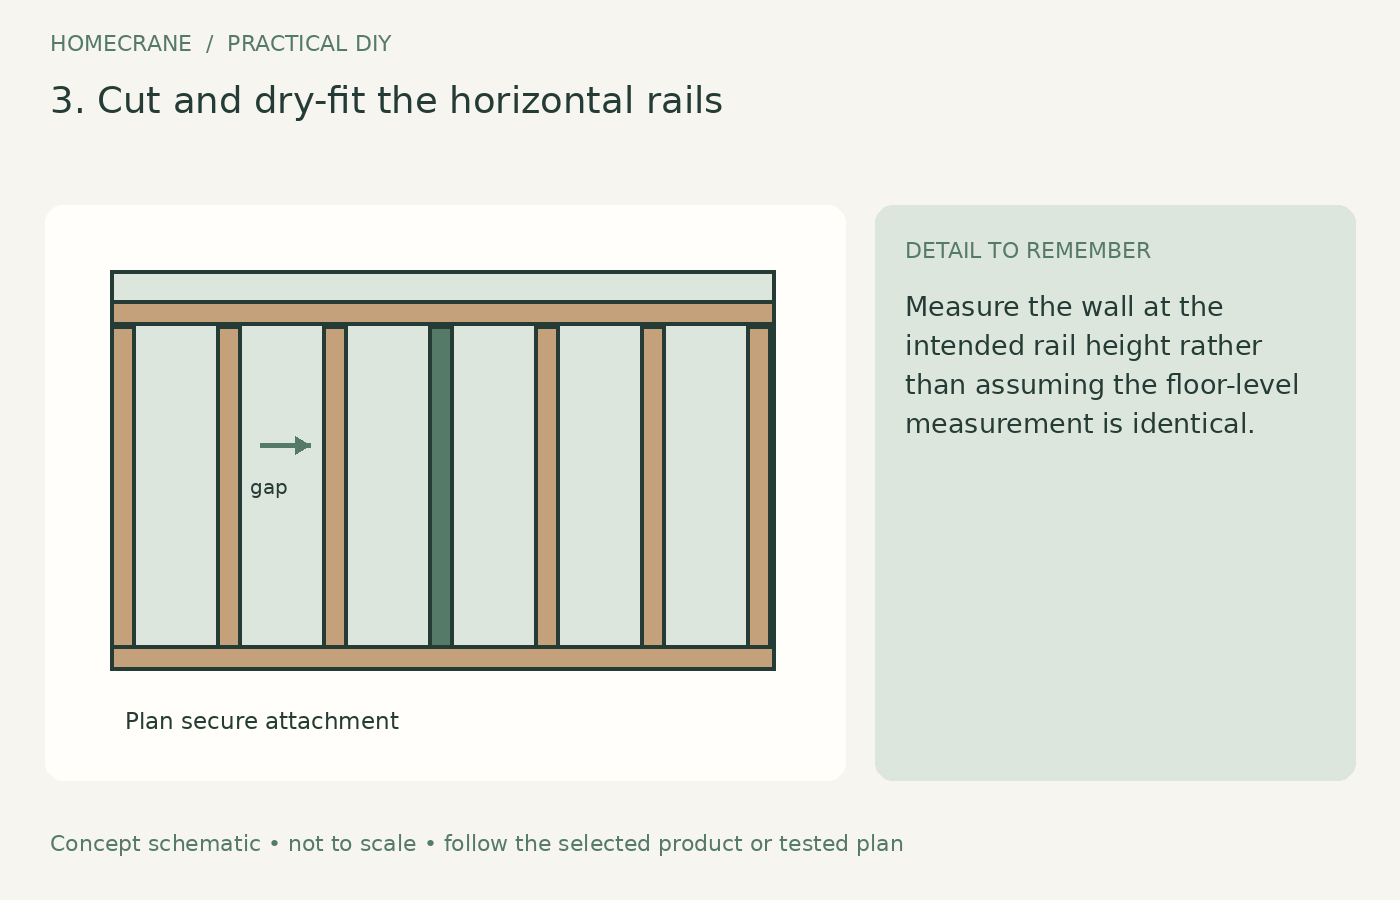
Measure the wall at the intended rail height rather than assuming the floor-level measurement is identical. Cut carefully, support the work, and use the tool manufacturer's protective equipment and dust-control instructions.
Hold the rail against your level reference line. A ceiling or baseboard may not be perfectly level, so decide which reference produces the best result across the whole wall. Small gaps can be addressed appropriately later, but caulk should not disguise a seriously crooked installation.
Dry-fit all rail pieces and identify suitable attachment points. Check for concealed wiring and plumbing before fastening. Where outlets would be recessed by an added backing panel, have the electrical detail addressed with appropriate listed components rather than burying the box behind trim.
4. Install the battens with a spacer
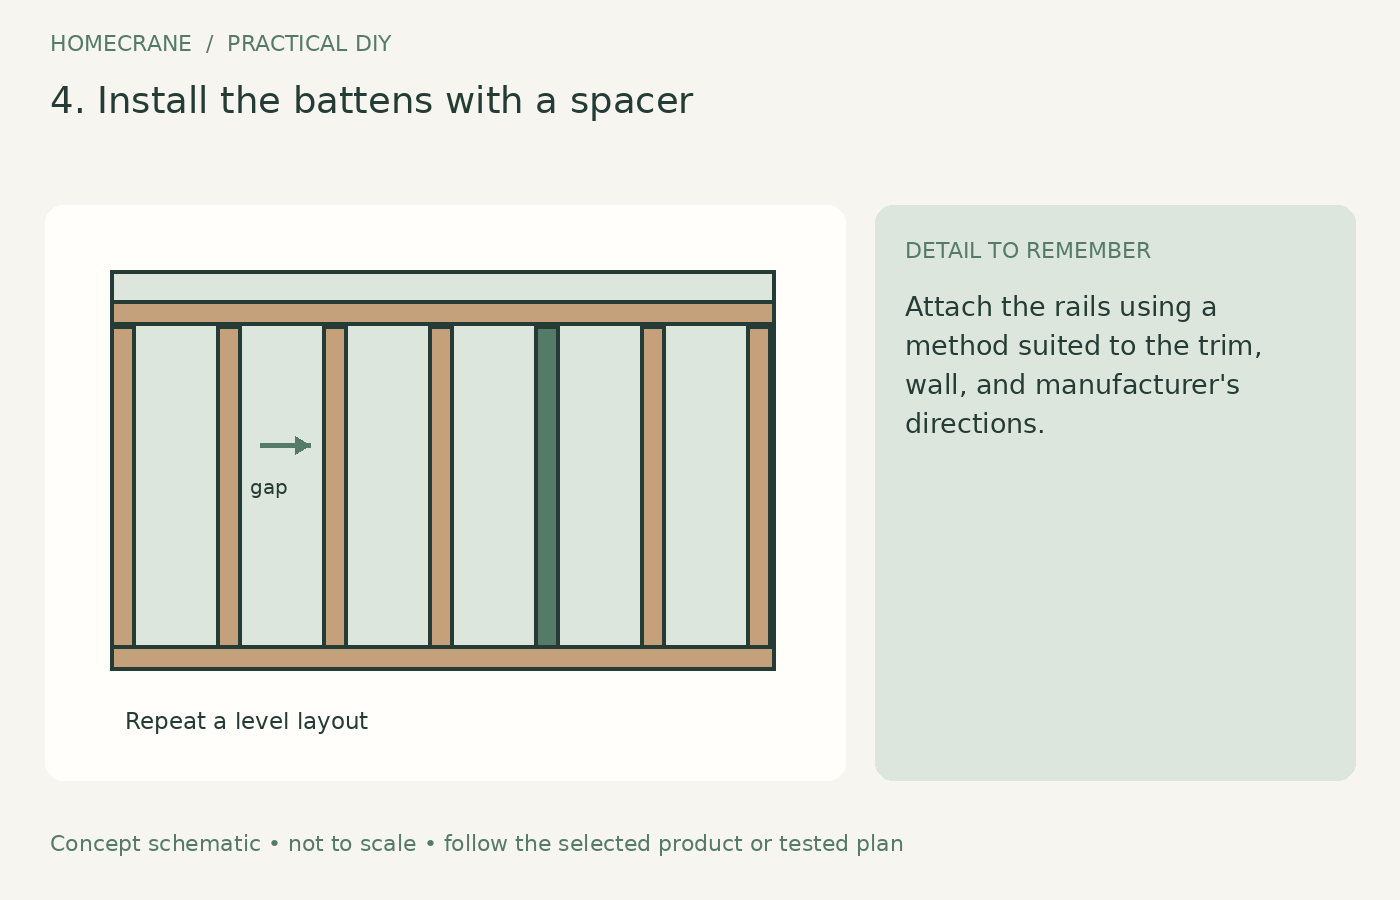
Attach the rails using a method suited to the trim, wall, and manufacturer's directions. An adhesive-and-fastener approach is common, but construction adhesive can damage drywall during removal. This is generally a permanent decorative treatment, not a damage-free rental project.
Measure each vertical position individually if the floor or rail varies. Cut a spacer matching the planned clear gap and use it as a repeatable check. Confirm each batten is plumb instead of assuming a correctly cut spacer will compensate for a tilted first board.
Dry-fit before applying adhesive. Fasteners should be appropriate for the substrate and should not be driven indiscriminately where services may be concealed. Stop periodically and inspect the full pattern from the doorway, where small cumulative errors become easier to see.
5. Fill, caulk, prime, and paint
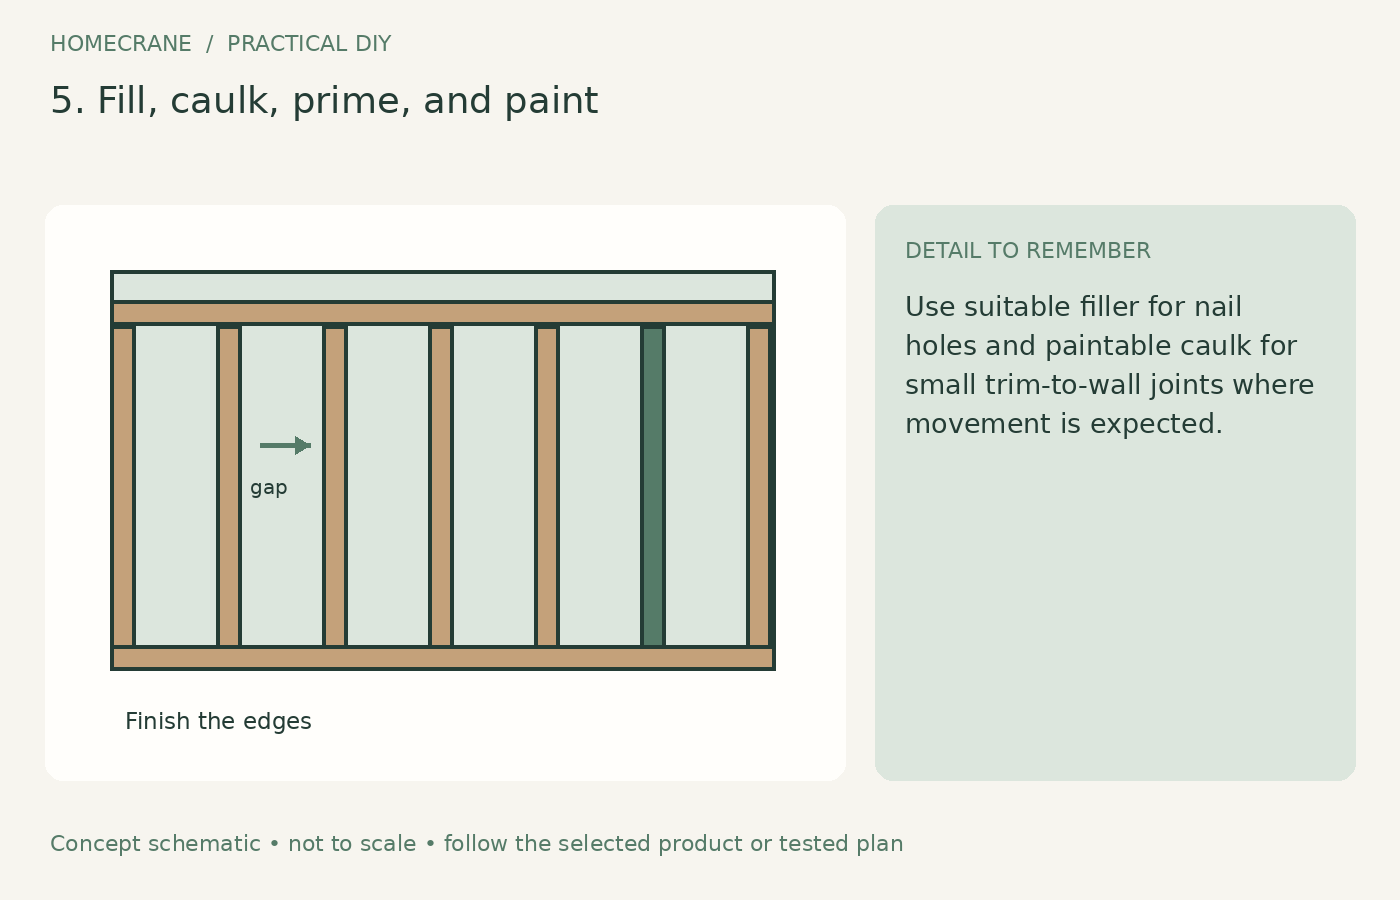
Use suitable filler for nail holes and paintable caulk for small trim-to-wall joints where movement is expected. Follow drying instructions, then prepare the surface as the products require. Keep filler and caulk from building up in thick ridges along the narrow trim.
Prime exposed material and repaired areas as needed. Paint recesses and edges with a brush, then use a suitable small roller on the broader surfaces. Work in manageable sections so the finish remains consistent across trim and background.
Choose a wall or trim coating appropriate for the intended use. A higher sheen makes cleaning easier in some formulations but can emphasize uneven joints. Let the coating develop its specified cure before pushing furniture against it or attaching hooks.
A shopping list that avoids duplicate purchases
| Feature | Check before buying | |
|---|---|---|
| Battens and rails | Actual width, thickness, and straightness | |
| Fasteners and adhesive | Compatibility with wall and trim | |
| Filler and caulk | Paintability and drying requirements | |
| Primer and paint | Coverage across trim and background | |
| Measuring tools | Level, tape, square, and spacer material |
Buy based on a cut plan, not only total linear footage. A collection of short offcuts may be useless if the remaining pieces must run continuously across the wall. Keep a little material for mistakes, especially if you are learning to cut accurately.
Questions beginners ask
Do I need a backing board?
Not necessarily on a smooth, sound wall. A backing panel changes thickness, outlet details, and material cost. It may help with the desired appearance, but should be a deliberate choice.
Can I use only adhesive?
Only if the selected system and substrate support that method. Do not assume any tube labeled “construction adhesive” will hold any trim in every condition. The wall's paint bond matters too.
Sources
- Home Depot board and batten guide. Checked October 11, 2026
- EPA's lead-safe renovation guidance. Checked October 11, 2026
Share this article
Get new guides by email
Practical home articles and free resources. No spam, and you can unsubscribe at any time.
Keep reading
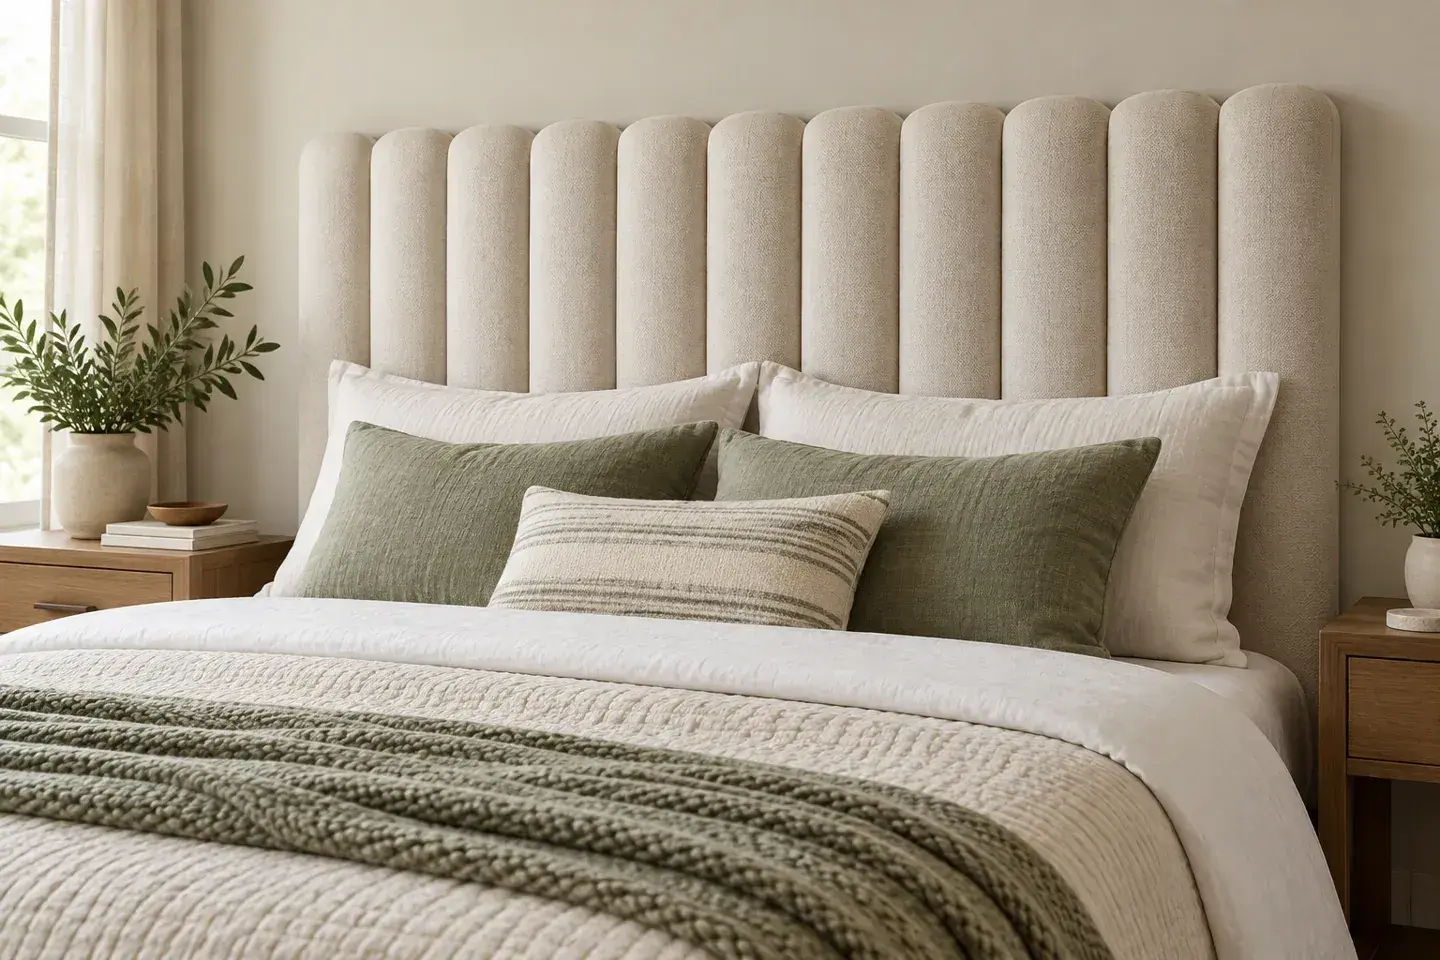
DIY Fluted Headboard Made Out of Pool Noodles
Plan a decorative fluted headboard using covered foam channels, a stable backer, careful material checks, and secure independent mounting.
October 2026, 3 min read

4 Renter-Friendly Ways to Hang Curtains Without Drilling
Compare tension rods, adhesive curtain hooks, magnetic rods, and floor-to-ceiling systems for curtains in a rental without drilling.
October 2026, 3 min read
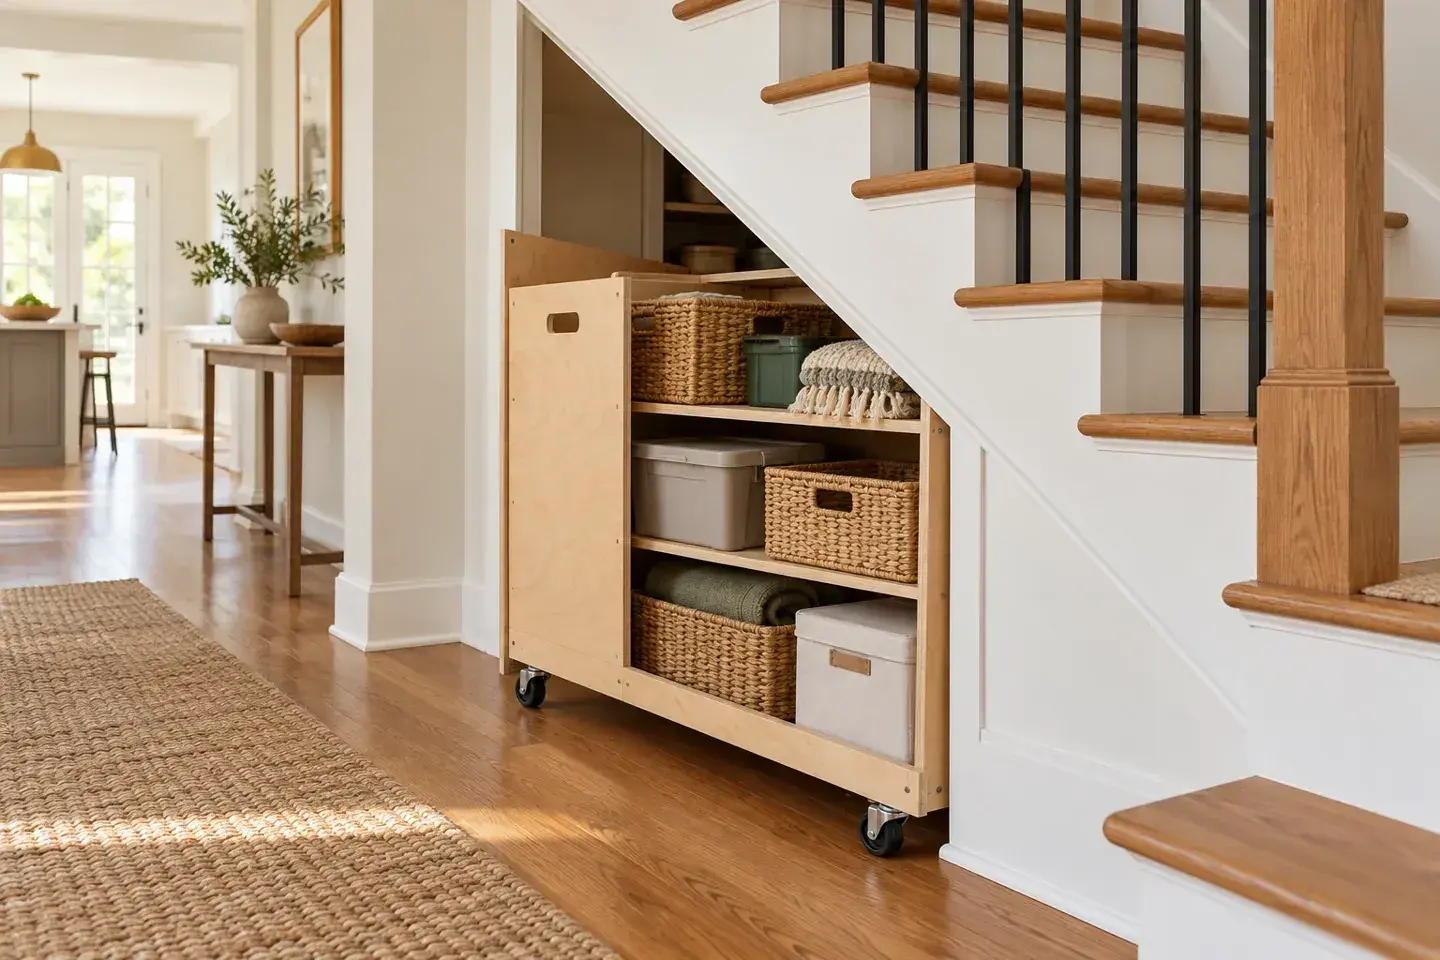
Genius Under-Stairs Pull-Out Storage Ideas You Can DIY
Explore five under-stairs storage approaches with practical guidance on access, drawer hardware, stability, and existing openings.
October 2026, 3 min read