Easy DIY Wainscoting Ideas for Your Dining Room
Explore five dining-room wainscoting ideas, each illustrated, plus an original panel-spacing example and practical advice for planning trim around a room.
By Home Crane Editors. . 5 min read.
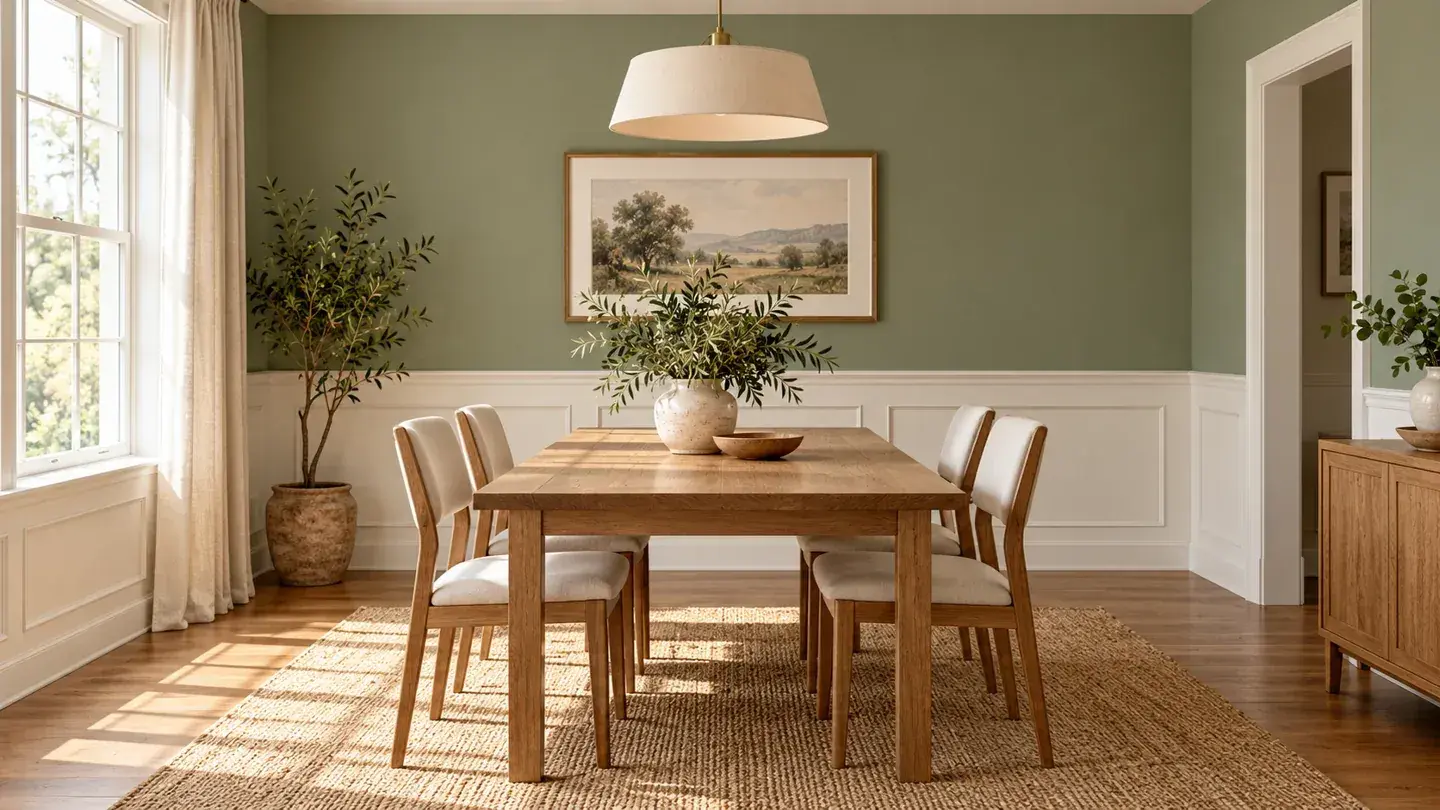
Simple picture-frame molding is a good first wainscoting project because it adds pattern without requiring a full paneled wall. Board-and-batten, beadboard, flat-panel framing, and a single feature wall offer different looks, but all benefit from the same first step: draw the layout before buying trim.
Wainscoting can help a plain dining room feel more deliberate. Its success depends less on elaborate profiles than on consistent spacing, sensible relationships with windows and doors, and a finish that suits the rest of the room.
The five ideas below are decorative approaches for sound interior walls. They are not a way to conceal dampness, damaged plaster, or an unresolved wall problem. The illustrations show styling concepts rather than measured installation plans.
Plan the Room Before the Panels
Measure each wall separately and record door casings, windows, receptacles, switches, baseboards, and heating equipment. Metrie's measuring guidance recommends sketching and measuring the room as part of planning trim quantities.
Next, decide where the upper edge should fall. There is no need to force one universal proportion onto every room. Use a temporary mock-up to compare the line with chair backs, window sills, and a sideboard.
Check the wall condition before cutting or fastening anything. If the home was built before 1978 and the work could disturb painted surfaces, follow EPA guidance on lead-safe renovation before sanding, scraping, or drilling. Do not cover up a hazard assessment with new molding.
1. Simple Picture-Frame Molding
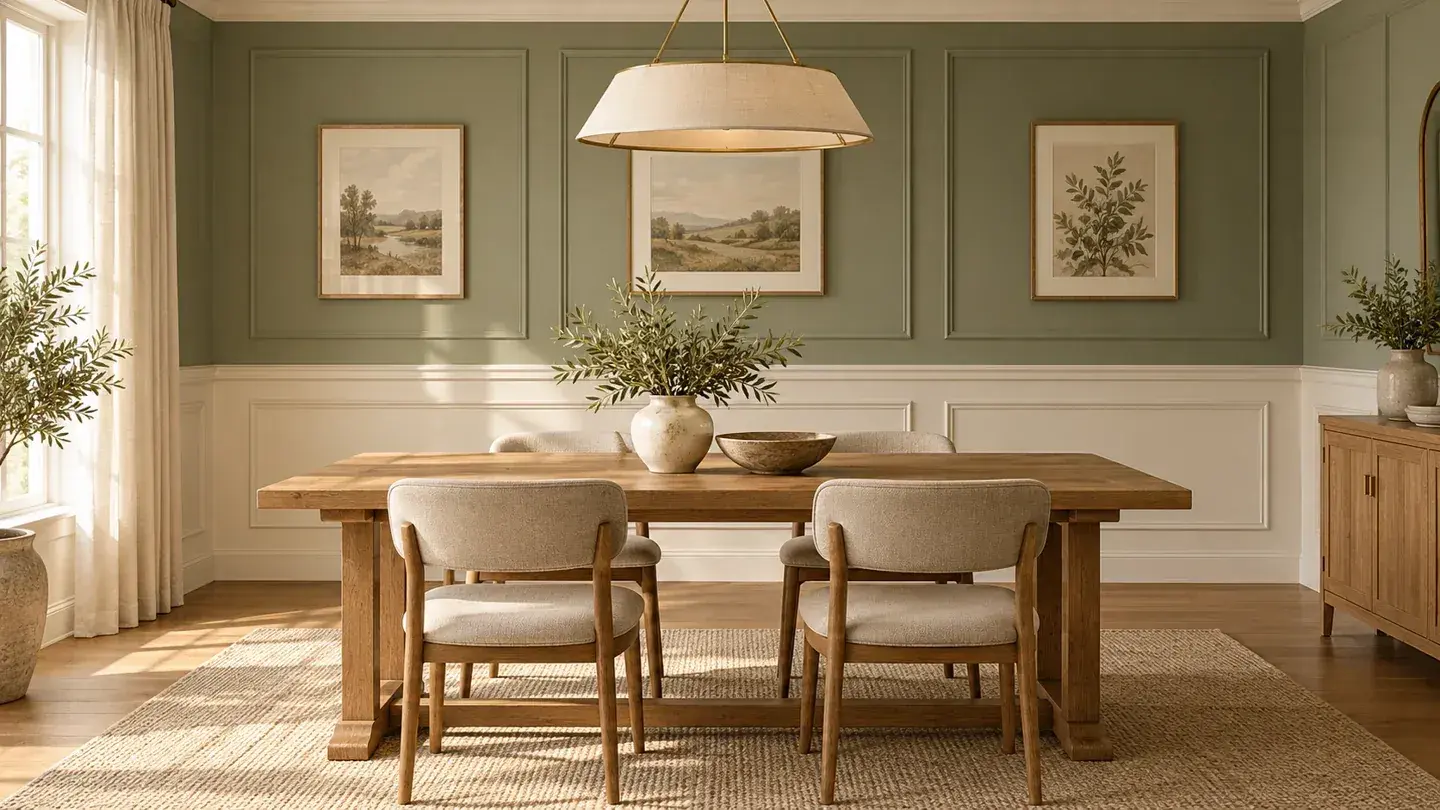
Picture-frame molding creates rectangles from relatively narrow trim applied over the wall. The existing wall remains the flat background, which can keep the project lighter in material and visual weight than a full panel system.
This look suits a dining room where you want subtle detail rather than a pronounced rustic texture. Painting the frames and the lower wall the same color makes the pattern quieter. A contrasting color creates a stronger graphic effect and makes irregular spacing easier to notice.
This Old House's decorative wainscoting guide provides an example of an applied-molding approach. Use the selected trim and adhesive or fastening instructions for your actual wall.
For a first project, keep the frame profile and layout simple. Several equally considered rectangles generally look better than many small boxes squeezed around every obstacle.
2. Low Board-and-Batten Wainscoting
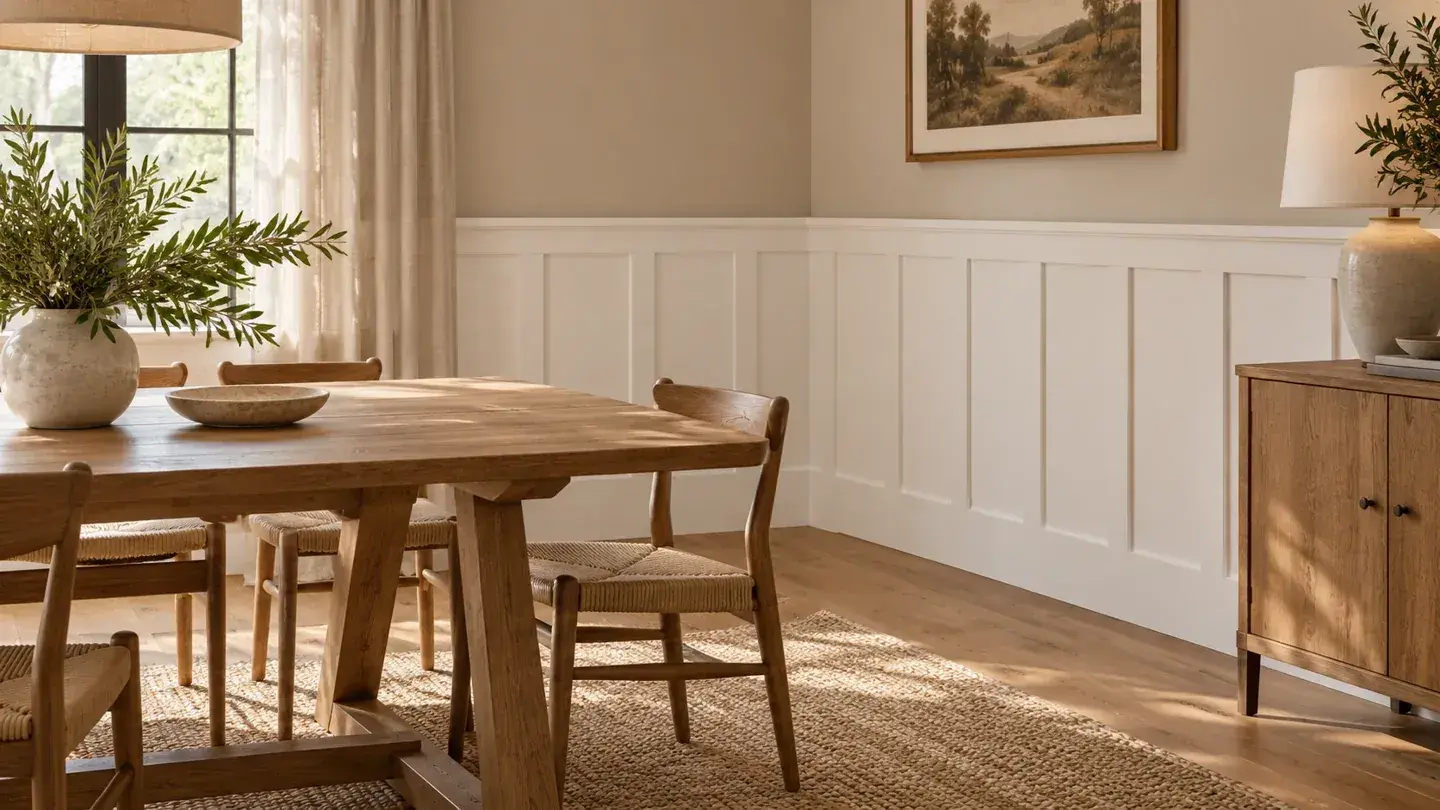
Board-and-batten styling uses vertical strips and horizontal boundaries to create a more substantial rhythm. A lower treatment can give a dining room definition while leaving plenty of open wall above.
On a smooth wall, some decorative versions use the wall itself as the background. On a textured wall, that choice leaves the texture visible between the strips. Decide whether you like that effect before purchasing materials; a smooth backing panel creates a different project and adds thickness.
Look closely at the baseboard junction. If the vertical strips project beyond an existing thin baseboard, the termination can look awkward. Choose a compatible detail rather than assuming caulk will disguise a mismatch.
This option works especially well with plain furniture and a restrained color palette. Let the vertical pattern provide interest instead of combining it with several competing trim profiles.
3. Beadboard for a Compact Dining Nook
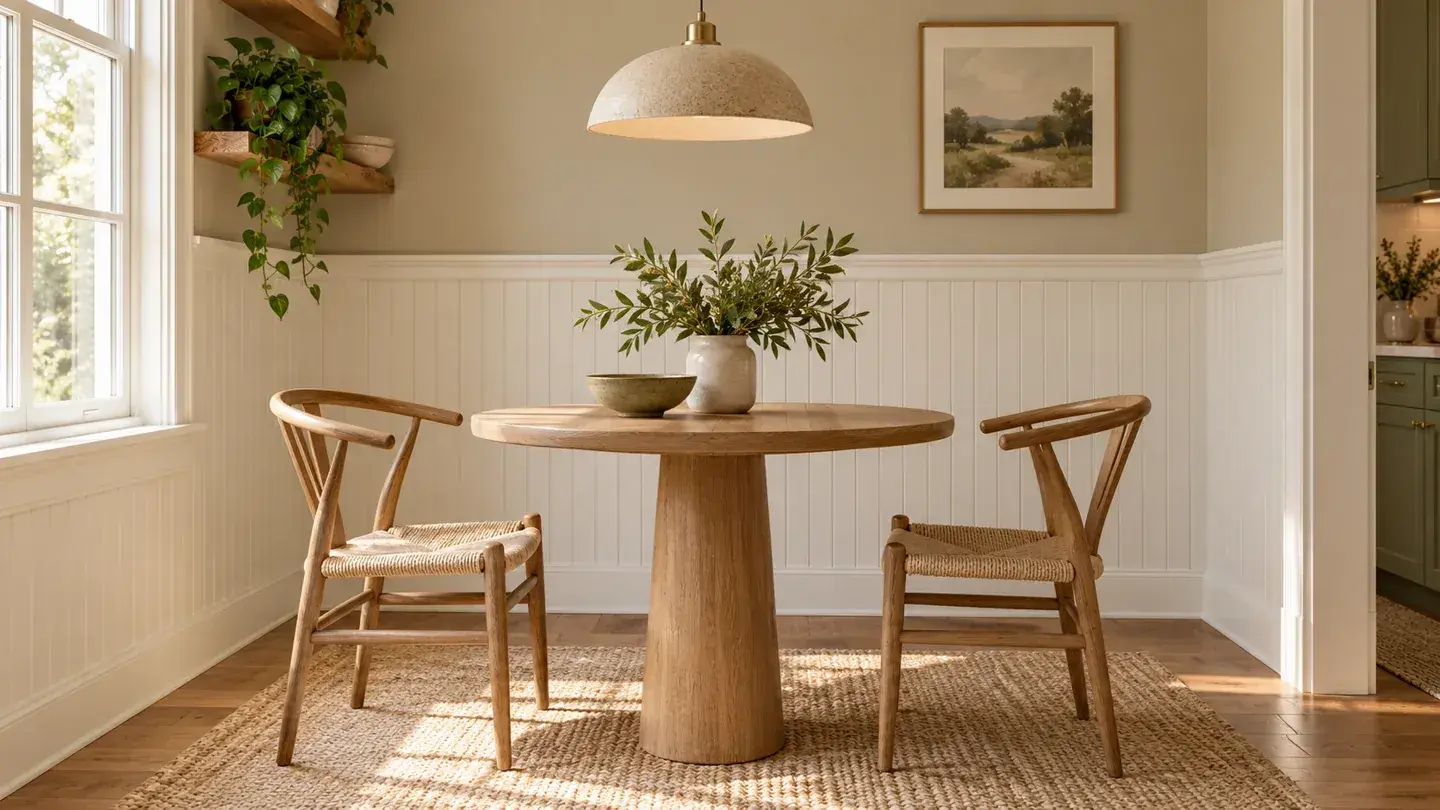
Beadboard adds closely spaced vertical grooves and can make a small breakfast nook feel cozy. It is a useful choice when the texture itself is the main decorative feature.
Panel products and individual boards are not identical to install. Check the manufacturer's instructions for the chosen material, including preparation, movement allowances, attachment, and finishing. Do not assume a thin sheet can bridge an uneven or damaged wall successfully.
Plan seams and visible end conditions before cutting. A panel joint hidden behind a bench in a photograph may be obvious in your own room. Consider the view from the doorway and from seated positions.
Keep the upper wall simple if the nook already contains patterned cushions or curtains. Cream beadboard with a muted upper-wall color can create enough contrast without making the small space visually busy.
4. Plain Flat-Panel Framing
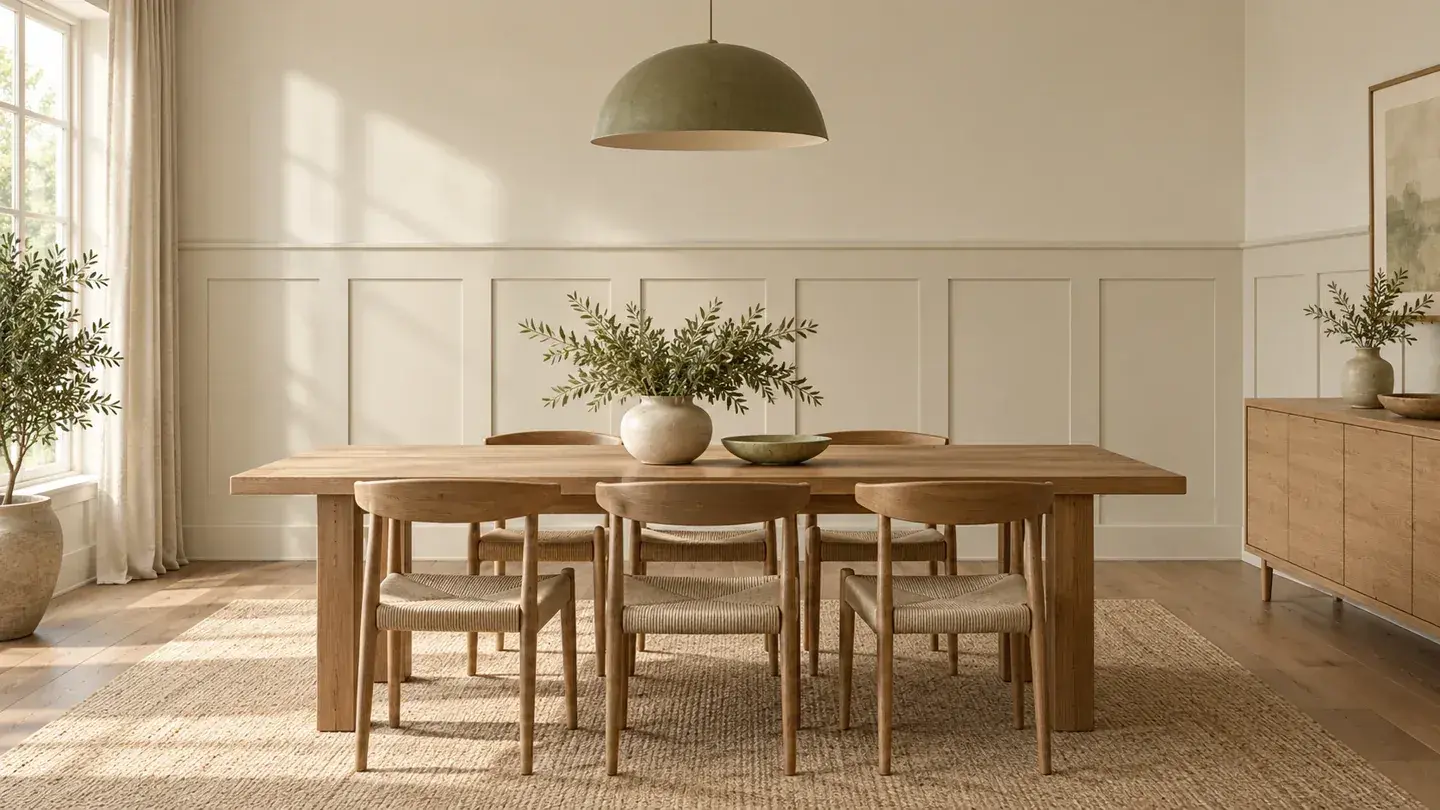
Flat-panel framing creates broader, calmer shapes than narrow picture frames. It can suit a dining room with clean-lined furniture and a more formal arrangement.
The main design challenge is proportion. Wide vertical members can make a short wall look crowded, while very narrow framing may disappear beside substantial door casing. Compare a full-size taped mock-up with the room's existing trim.
A complete panel system can simplify component selection, but verify its thickness and how it meets baseboards, corners, and openings. Receptacles and switches must remain properly accessible; have a qualified electrician handle changes that affect their installation.
Use a limited set of repeated dimensions where the room permits it. Small adjustments at an inside corner are often less visually disruptive than introducing a different panel width in the middle of the main wall.
5. One Carefully Planned Feature Wall
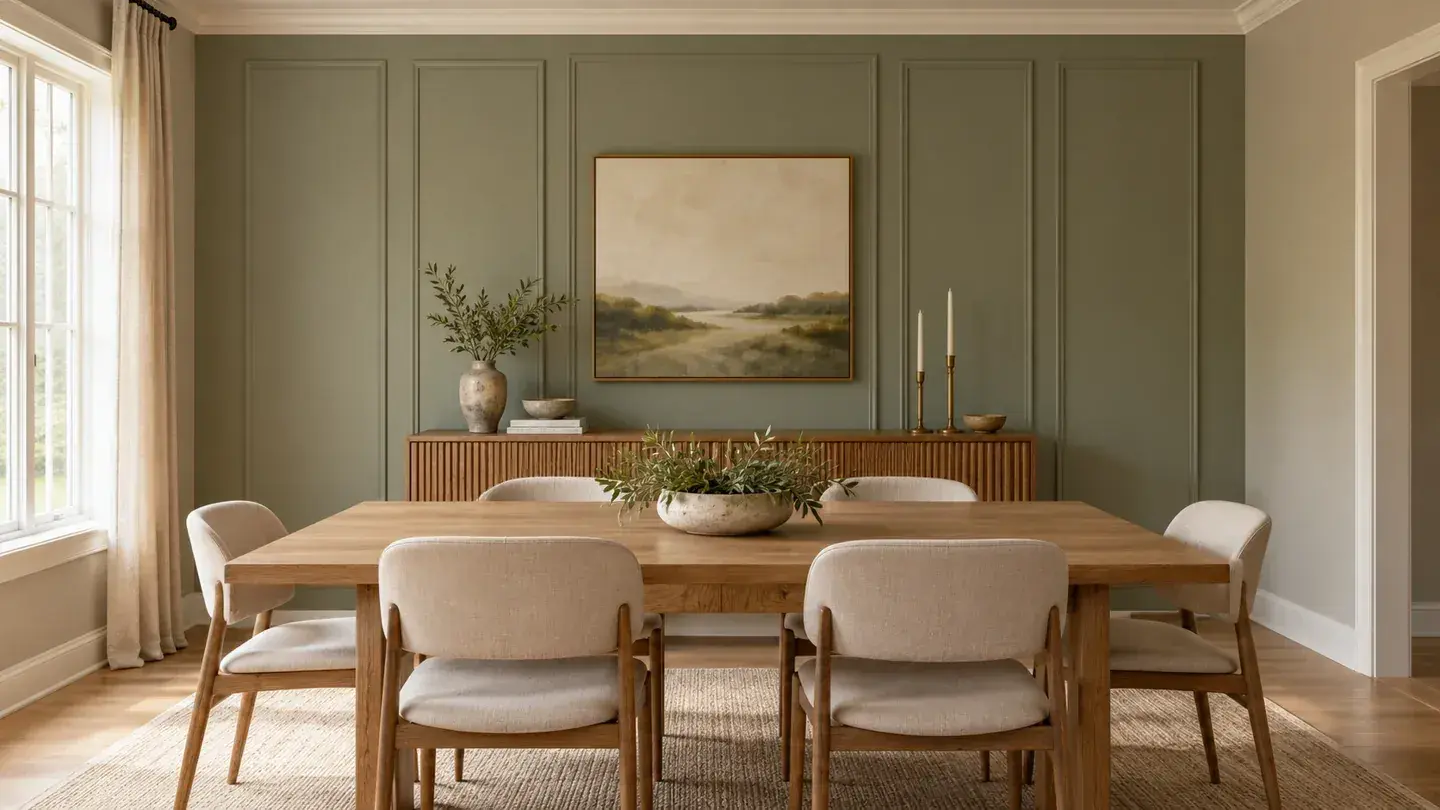
A single wall behind the dining table or sideboard can deliver much of the visual effect with less material. It is also a practical way to learn whether you enjoy detailed trim work before extending it around the room.
Choose a wall with manageable interruptions. A relatively clear surface is easier to plan than one crowded with doors, controls, and unusual corners. End the treatment deliberately at a natural boundary rather than stopping at an arbitrary point.
Repeat one color or trim relationship elsewhere in the room so the feature feels connected. For example, the feature-wall paint can coordinate with the sideboard or window trim without reproducing the entire panel pattern.
This approach is particularly useful when the budget is limited. Spend time on the most visible wall and keep the rest of the room simple rather than spreading rushed work across every surface.
An Original Panel-Spacing Example
Suppose a clear wall measures 120 inches wide and you want four equal picture frames with five equal gaps, including the two end gaps. If each gap is 4 inches, the gaps use 20 inches.
That leaves 100 inches for the four frames, or an outer frame width of 25 inches each. This example describes the outside width of each frame, not the clear opening inside it. The molding's face width will reduce that opening.
| Feature | Example | |
|---|---|---|
| Clear wall width | 120 inches | |
| Number of frames | 4 | |
| Five gaps at 4 inches | 20 inches | |
| Width remaining for frames | 100 inches | |
| Outer width per frame | 25 inches |
Adjust the layout around actual openings before making a cut list. Do not carry these numbers into a different wall without recalculating.
Make the Finish Look Intentional
Dry-fit and check visible relationships before permanent attachment, following the product's method. Use suitable preparation and coating products, and respect their drying and curing instructions.
A single-color finish can make a modest trim profile feel polished. Keep paint buildup out of fine details and address gaps using the appropriate method for the materials rather than relying on excessive filler.
For the easiest first project, choose picture-frame molding on one clear wall. If you prefer more texture, compare beadboard and board-and-batten using full-size samples. The best result begins with a layout that belongs to the room.
Sources
- Metrie: How Do I Measure. Checked October 5, 2026
- US Environmental Protection Agency: Lead Safe Renovations Diyers. Checked October 5, 2026
- This Old House: How to Install Easy DIY Wainscoting. Checked October 5, 2026
Share this article
Get new guides by email
Practical home articles and free resources. No spam, and you can unsubscribe at any time.
Keep reading
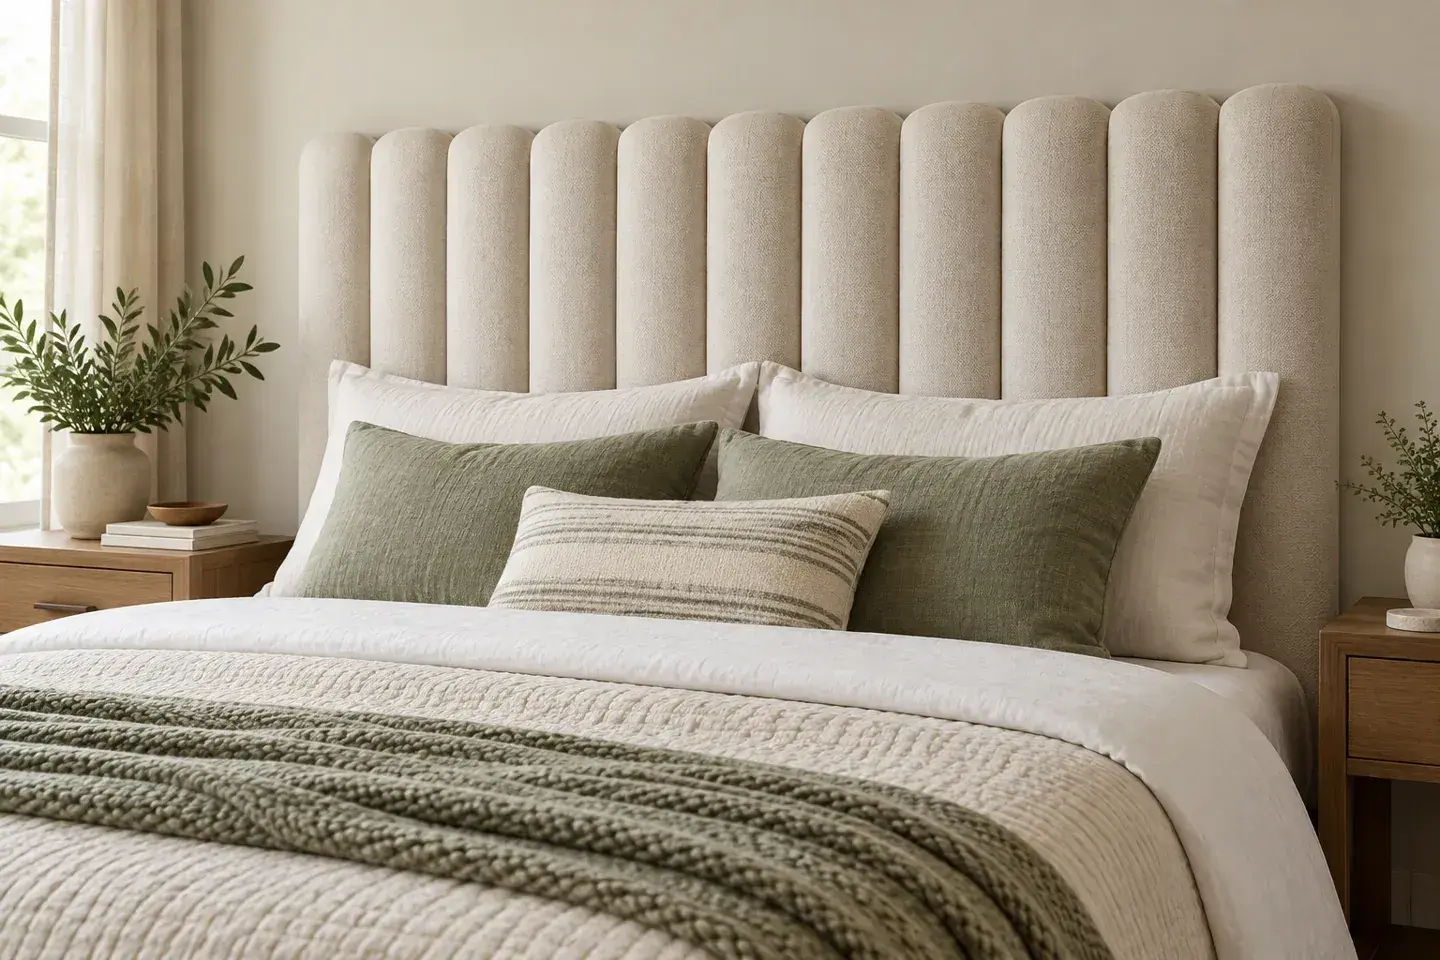
DIY Fluted Headboard Made Out of Pool Noodles
Plan a decorative fluted headboard using covered foam channels, a stable backer, careful material checks, and secure independent mounting.
October 2026, 3 min read
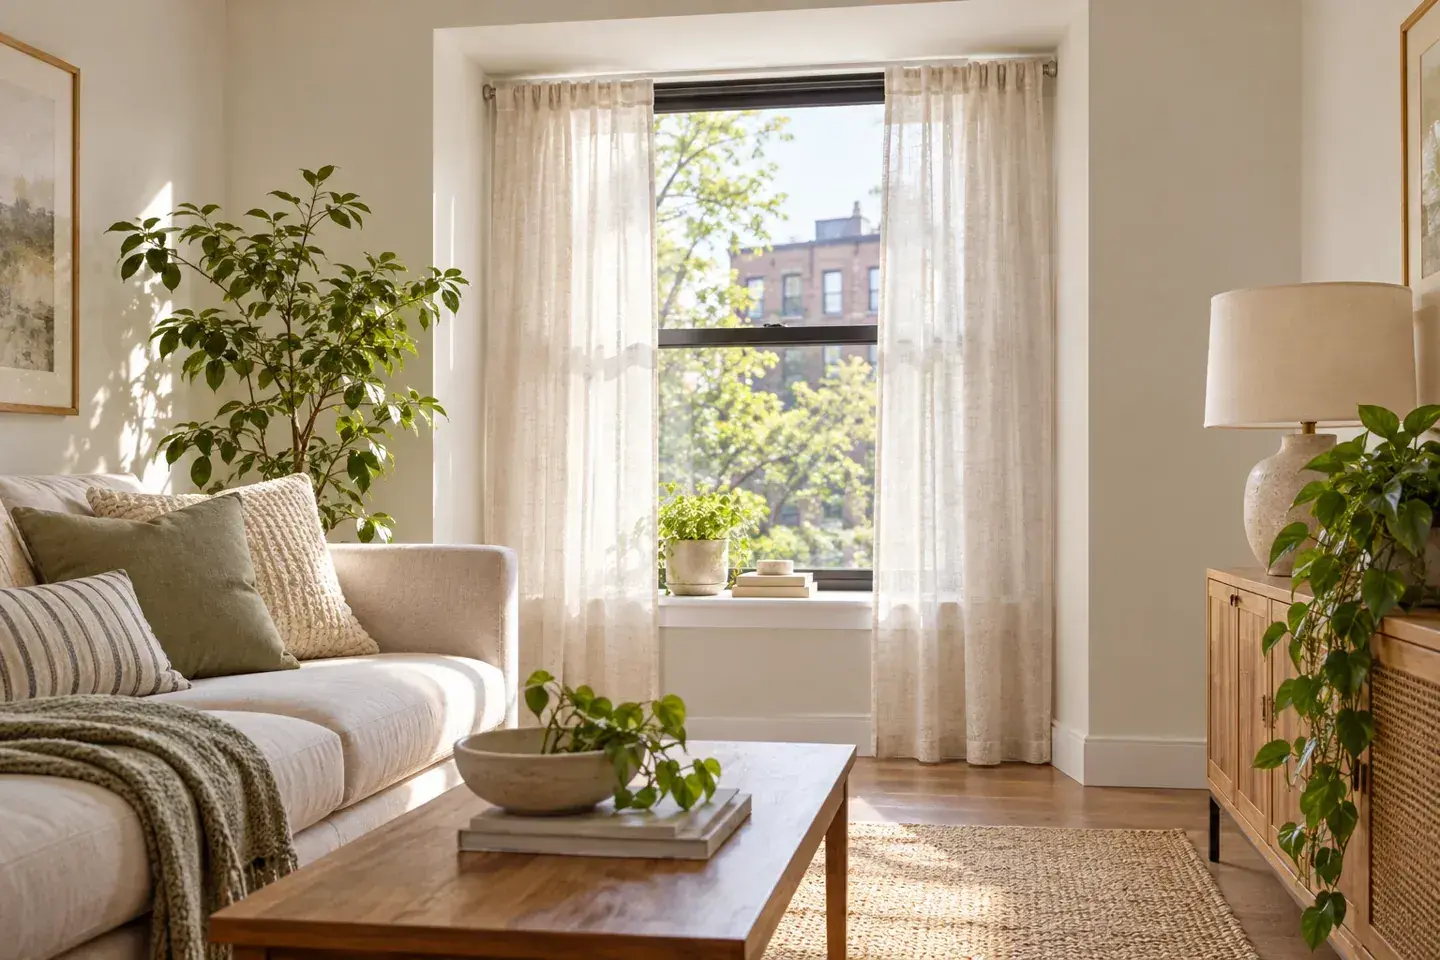
4 Renter-Friendly Ways to Hang Curtains Without Drilling
Compare tension rods, adhesive curtain hooks, magnetic rods, and floor-to-ceiling systems for curtains in a rental without drilling.
October 2026, 3 min read
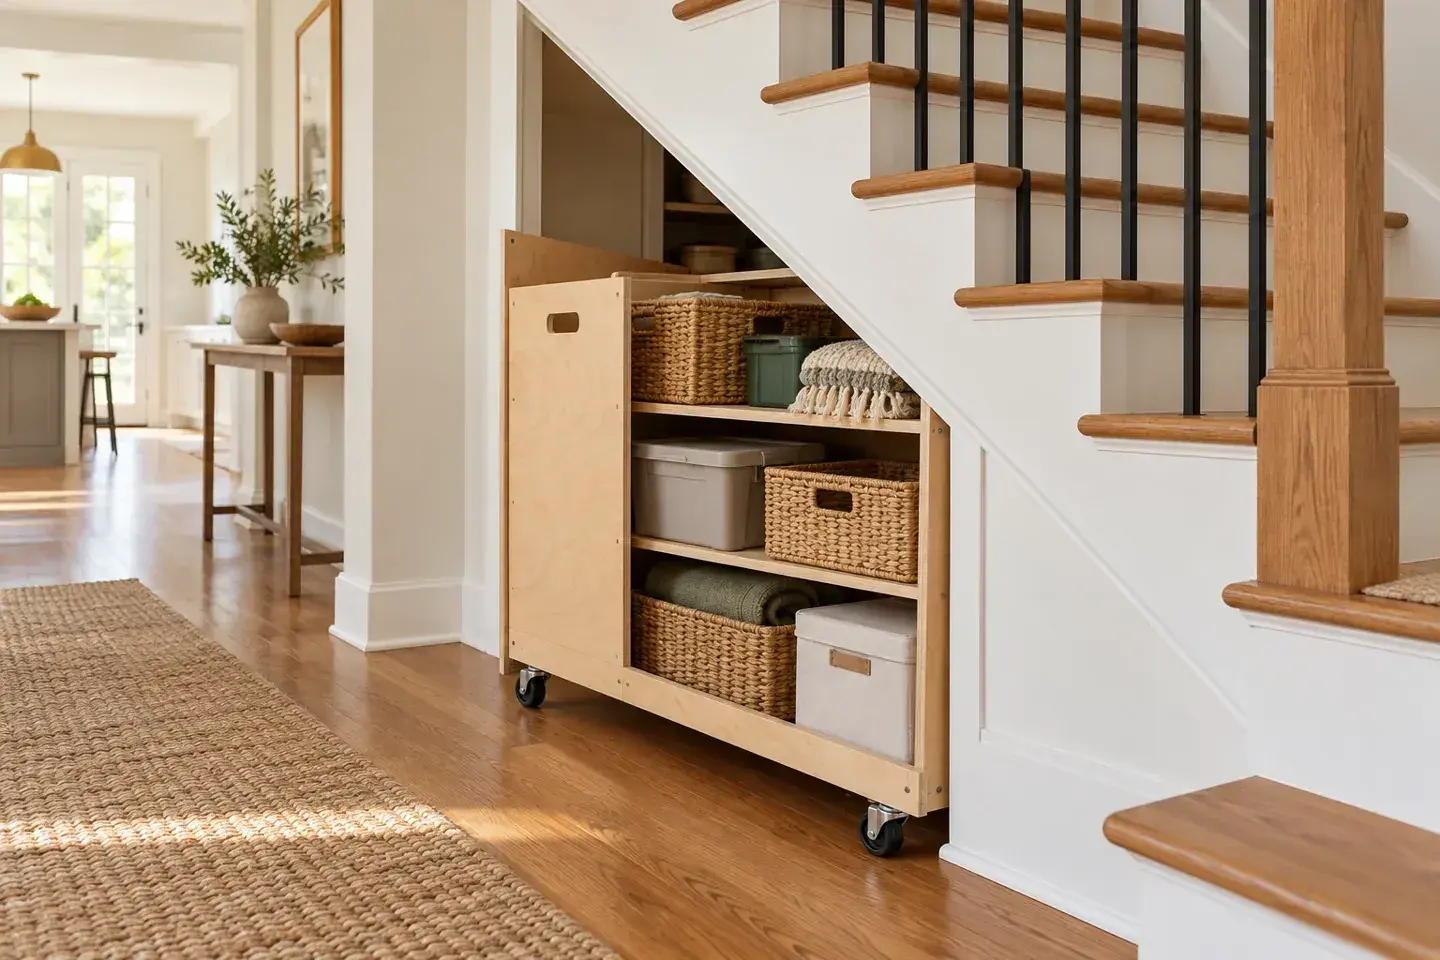
Genius Under-Stairs Pull-Out Storage Ideas You Can DIY
Explore five under-stairs storage approaches with practical guidance on access, drawer hardware, stability, and existing openings.
October 2026, 3 min read