How to Build a Cozy Window Seat with Hidden Storage
A window seat can add useful storage and a comfortable place to sit, but the bench must be designed for people, not merely assembled like a decorative.
By Home Crane Editors. . 4 min read.

A window seat can add useful storage and a comfortable place to sit, but the bench must be designed for people, not merely assembled like a decorative cabinet. The seat, supports, connections, floor, and wall restraint need to work together for the intended dimensions and use.
This guide explains the project sequence and design decisions. It is not a universal load-rated cut list. Use a tested seating plan that matches your materials and dimensions, or have a qualified carpenter specify the structure. Changing the span or removing a support changes the design.
1. Check the window and measure the finished space
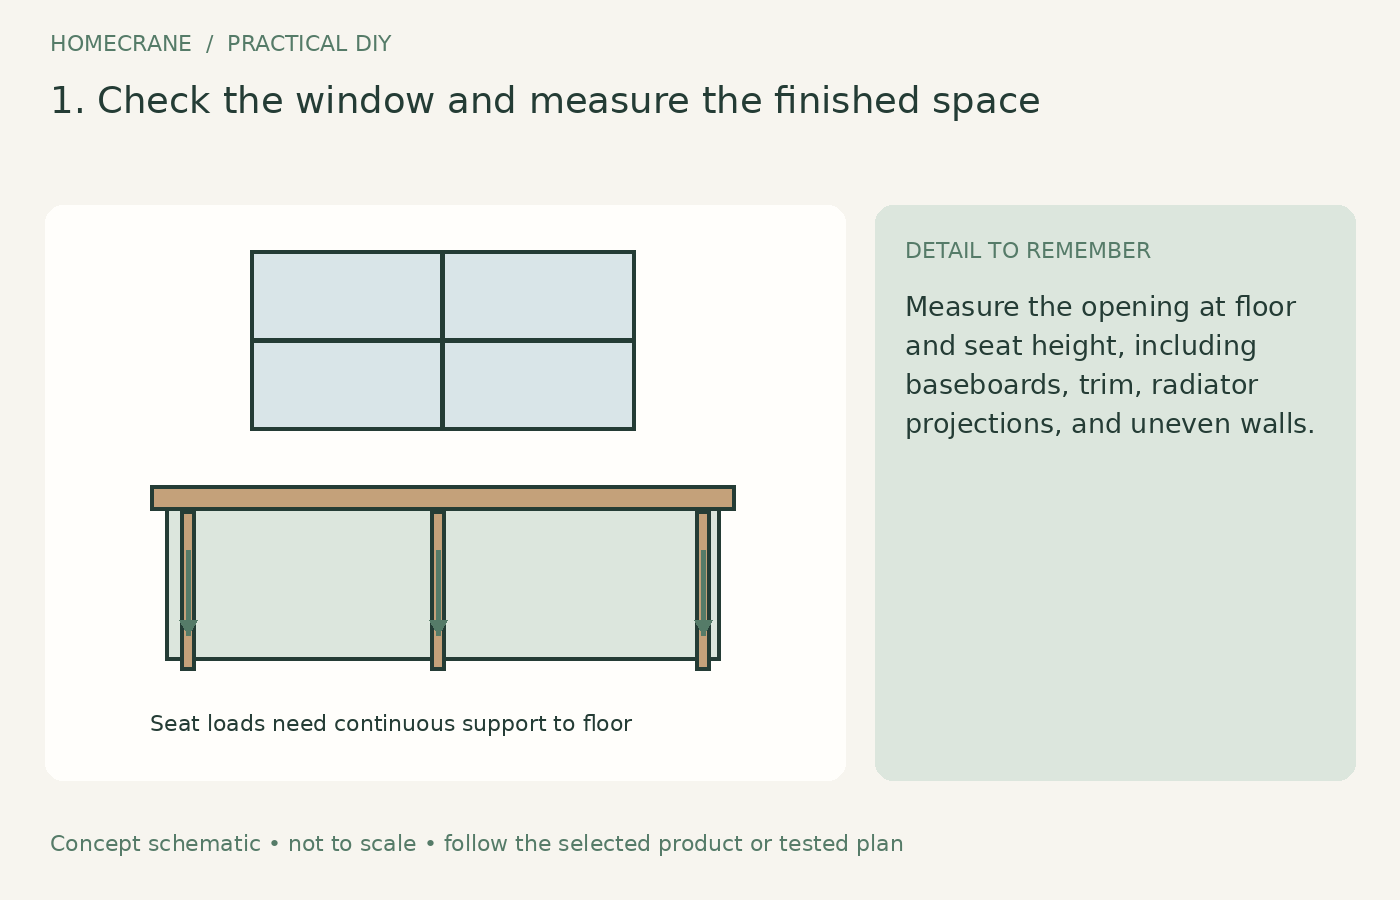
Measure the opening at floor and seat height, including baseboards, trim, radiator projections, and uneven walls. Decide how the seat relates to the sill and whether a cushion will affect the finished height.
Preserve required window operation, emergency escape access, ventilation, and access to heating equipment. A bench below a window can also create a climbing surface, so assess household safety and the window's protective features. Do not block a radiator or heating register to gain a cleaner-looking front.
Use a comfortable existing chair to help choose the intended height and depth, then account for the cushion and seat panel. A measurement that excludes the cushion can produce an unexpectedly high finished perch.
2. Choose the storage access and structural plan
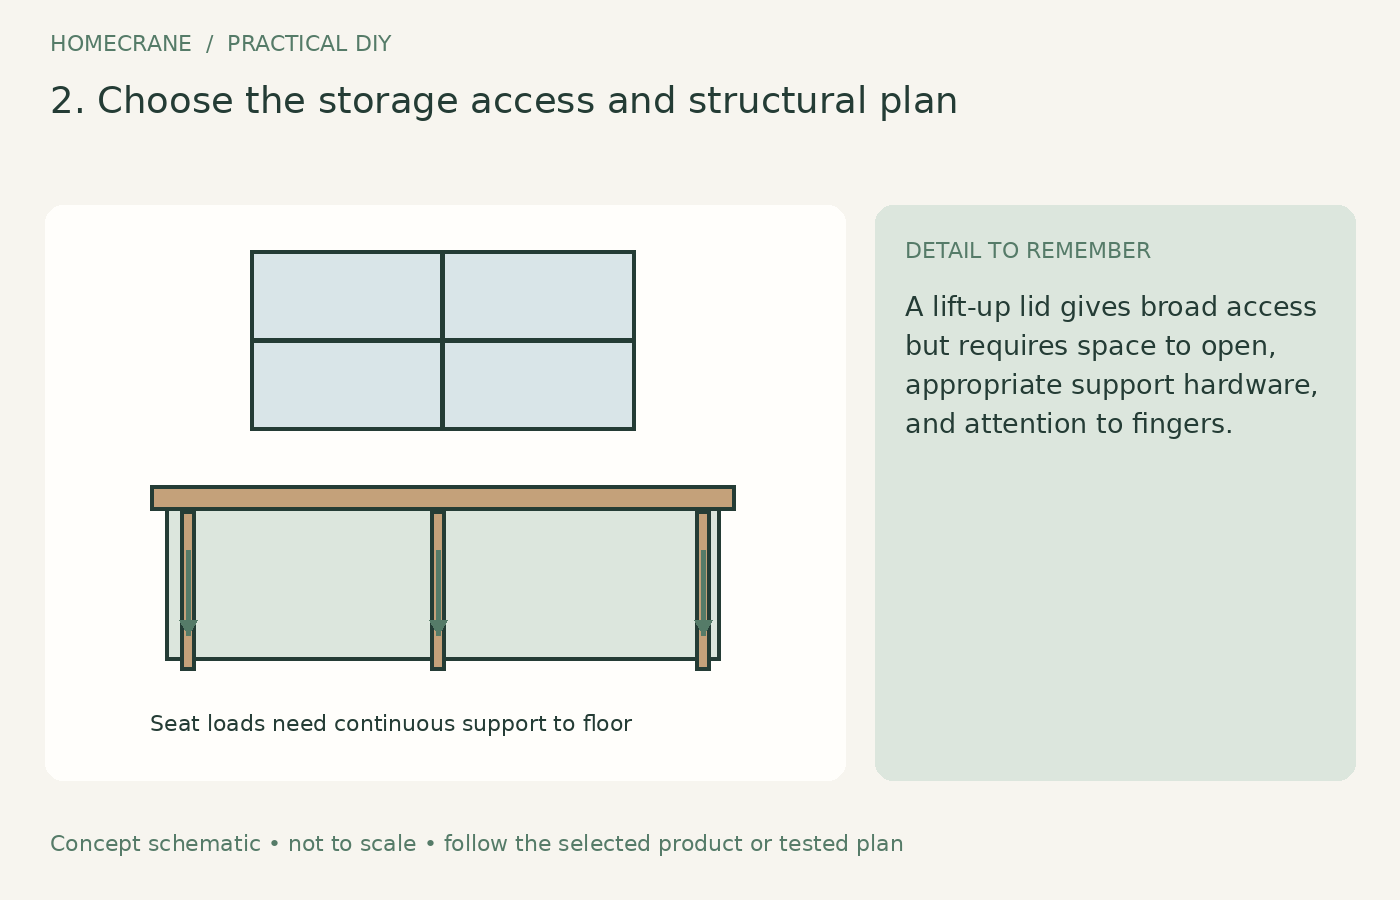
A lift-up lid gives broad access but requires space to open, appropriate support hardware, and attention to fingers. Drawers or doors can be easier to use under a permanent cushion, but require front clearance and their own hardware.
Choose the access method before finalizing the frame. The opening size affects where structural supports can go. Do not remove an intermediate support from a seating plan simply because you want one uninterrupted storage compartment.
For a hinged lid, select hardware using the actual lid dimensions and weight. Rockler's torsion-hinge guide explains that support selection depends on the lid's turning force, not just a generic “heavy-duty” label. Confirm the hinge system, fasteners, and mounting material together.
3. Build a level, floor-supported structure
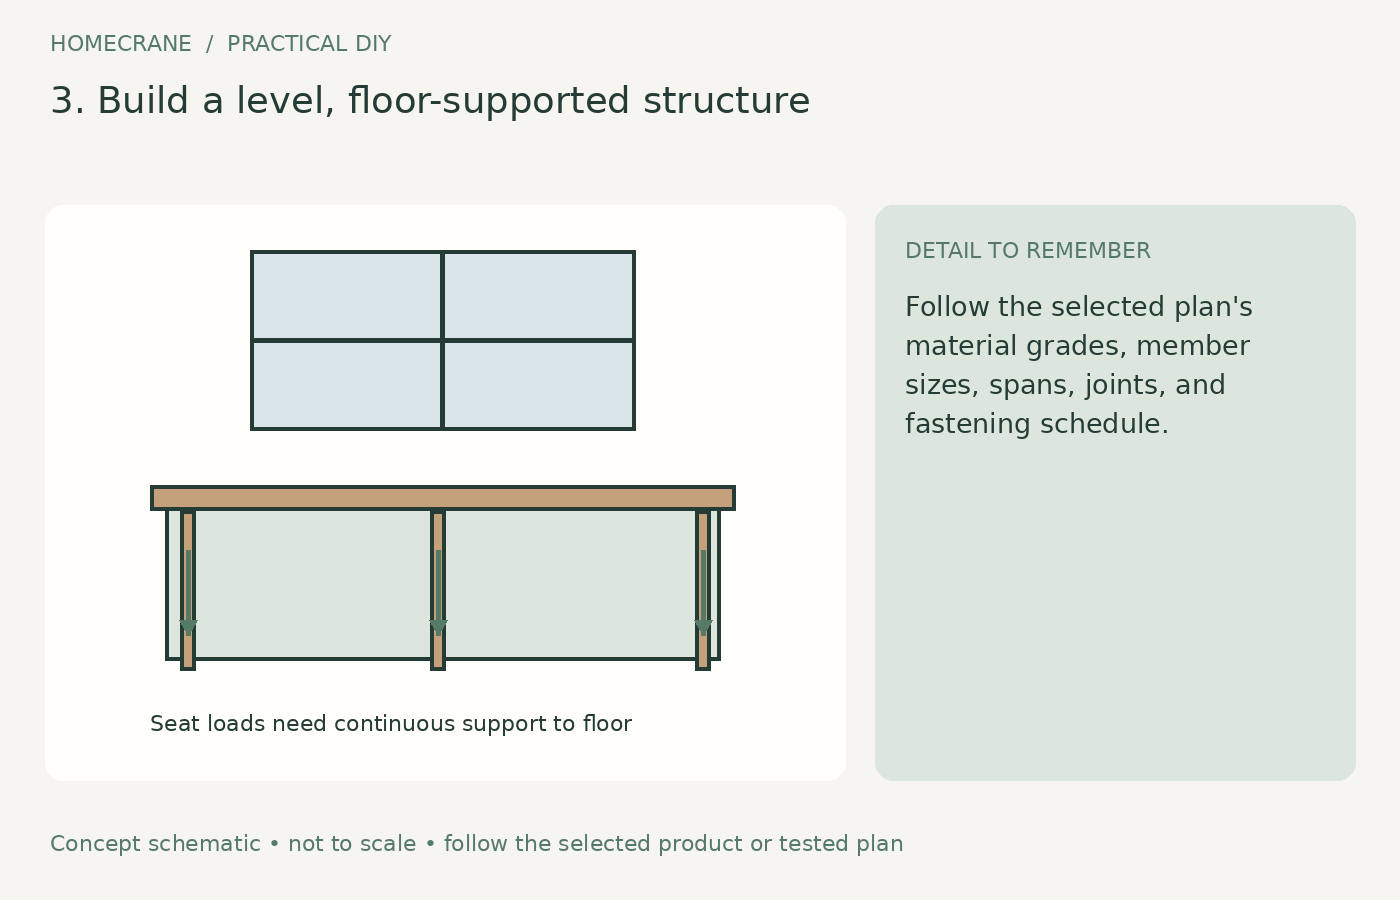
Follow the selected plan's material grades, member sizes, spans, joints, and fastening schedule. Cut and assemble on a stable work surface with suitable tool protection and dust control. Check square before the structure is fixed in place.
Level the base and support every intended bearing point using a durable, appropriate method. Do not leave a center support suspended above an uneven floor. Wall anchoring may restrain movement, but it does not replace the vertical load path unless the design specifically relies on a suitable wall connection.
Check for concealed services before drilling. If the actual wall or floor differs from the plan's assumptions, resolve that discrepancy before proceeding. Cosmetic trim should never become an improvised structural component.
4. Fit the storage panels, seat, and lid hardware
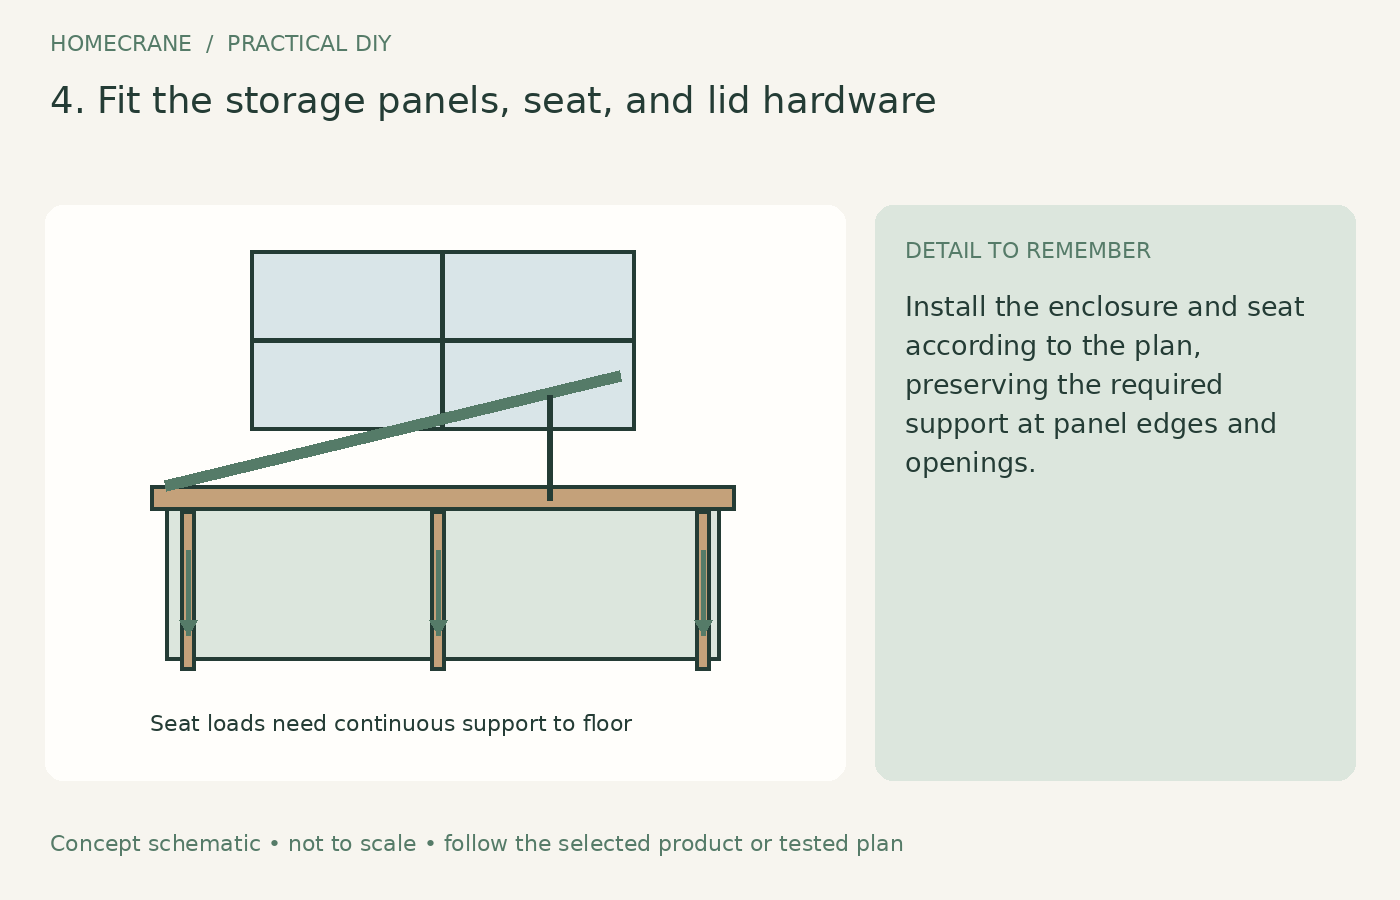
Install the enclosure and seat according to the plan, preserving the required support at panel edges and openings. Ease sharp exposed edges and check that screw tips cannot protrude into the storage area.
Fit lid supports using their actual template and instructions. A standard hinge alone does not stop a heavy lid from dropping. Verify the behavior across the opening range rather than assuming the lid is safe because it remains open at one position.
Avoid creating a locking enclosure or a place where a child could become trapped. For storage accessible to children, use an appropriate child-safe design and hardware guidance. Do not call a general-purpose window-seat box a toy chest without assessing those additional requirements.
5. Finish, cushion, and inspect before use
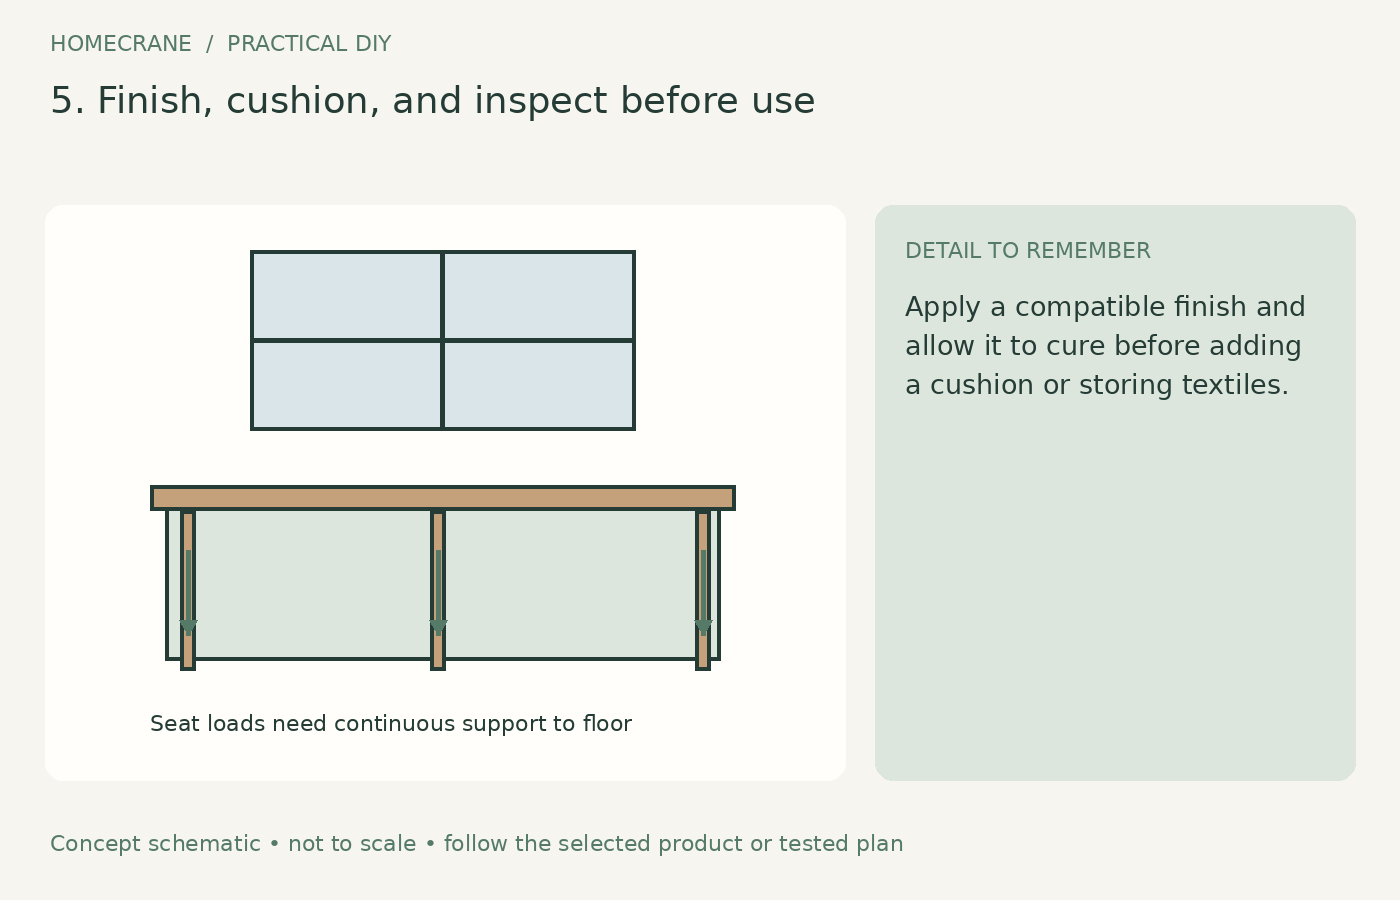
Apply a compatible finish and allow it to cure before adding a cushion or storing textiles. Choose a cushion that remains stable and does not interfere with the lid or window. Keep pull tabs or handles accessible without creating snagging points.
Check the complete assembly against the plan before seating anyone. Look for movement, loose fasteners, lid interference, and blocked access. Do not use jumping or overload as a proof test. Have uncertain structural work reviewed by a qualified carpenter.
Inspect periodically, especially where humidity or seasonal movement affects the fit. Keep stored items clear of hinge mechanisms and avoid overfilling the compartment so the lid must be forced closed.
Prepare a useful project worksheet
| Feature | Record before cutting | |
|---|---|---|
| Overall dimensions | Width, depth, finished seat height | |
| Seating structure | Plan, materials, spans, and supports | |
| Storage access | Lid, doors, or drawers | |
| Hardware | Exact model and required mounting | |
| Window constraints | Operation, escape, heating, and trim | |
| Finish | Coating and cushion thickness |
Include design help, lid hardware, finish, and cushion in the budget. A cheap sheet of plywood is not the complete project. If your priority is a quick beginner build, a ready-made storage bench designed for seating may be more predictable than creating a custom structure from scratch.
Questions homeowners ask
Can I build it from kitchen wall cabinets?
Only with a documented seating design or a separate structure that carries the seat loads. Cabinet storage capacity does not establish seating capacity.
Can the lid support hold a person?
Lid-support ratings concern controlling the moving lid, not necessarily supporting a seated person. The closed seat must bear on the structural supports specified by the bench design.
Sources
- Rockler's torsion-hinge guide. Checked October 11, 2026
Share this article
Get new guides by email
Practical home articles and free resources. No spam, and you can unsubscribe at any time.
Keep reading
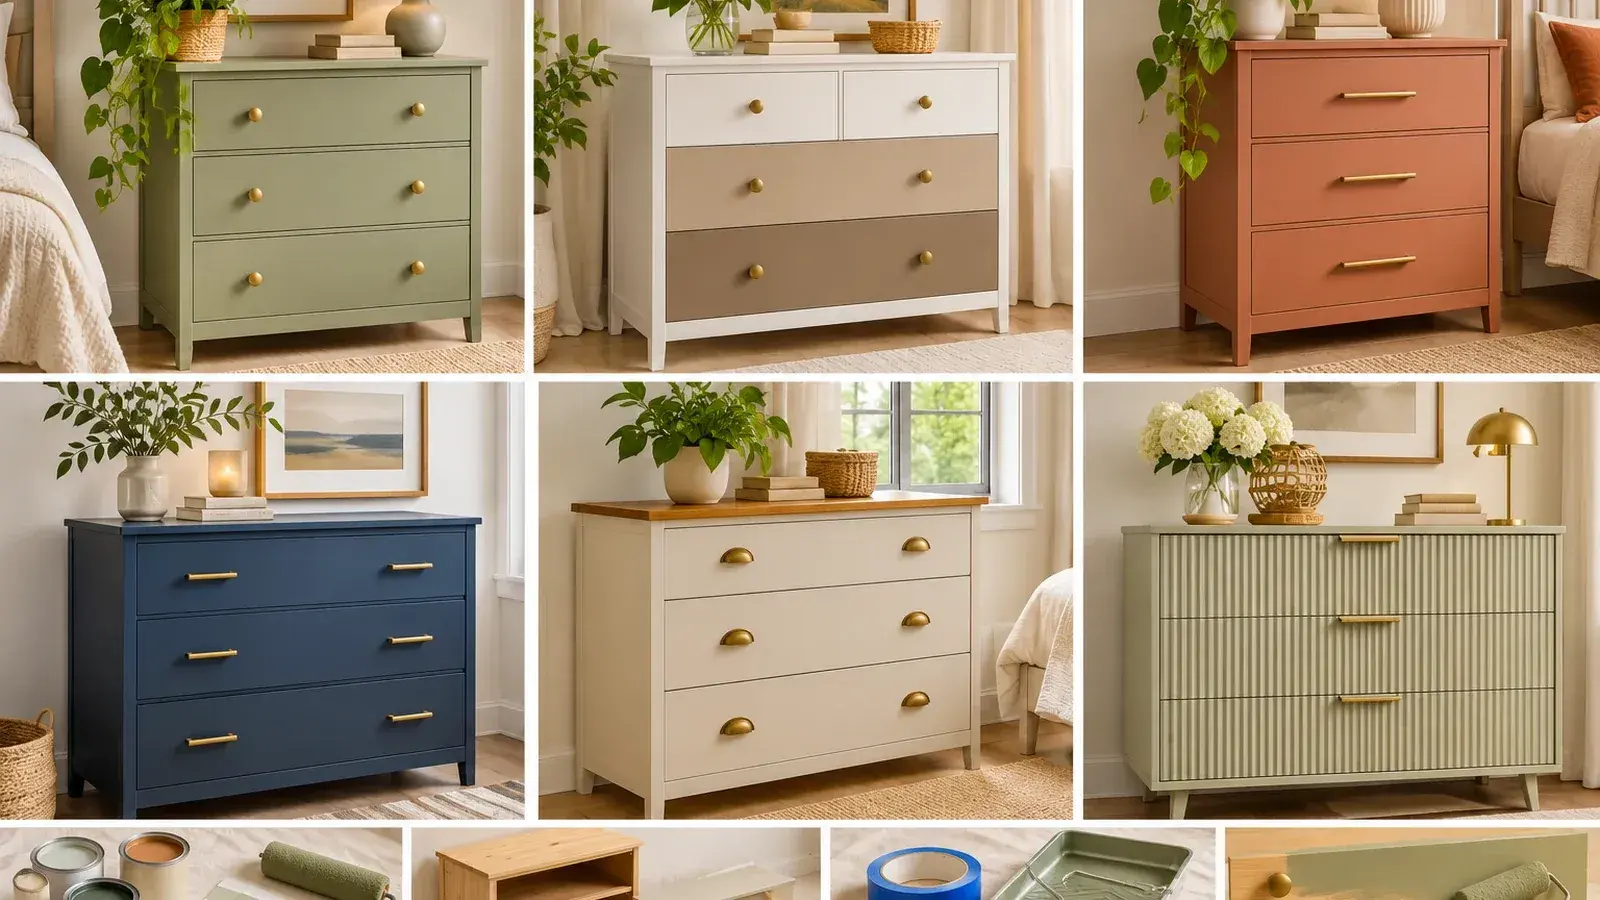
14 Easy IKEA Dresser Paint Hack Ideas for Beginners
Explore IKEA dresser paint hack ideas for beginners with practical design ideas, planning advice, safe installation notes, and helpful tips for your US home.
November 2026, 10 min read
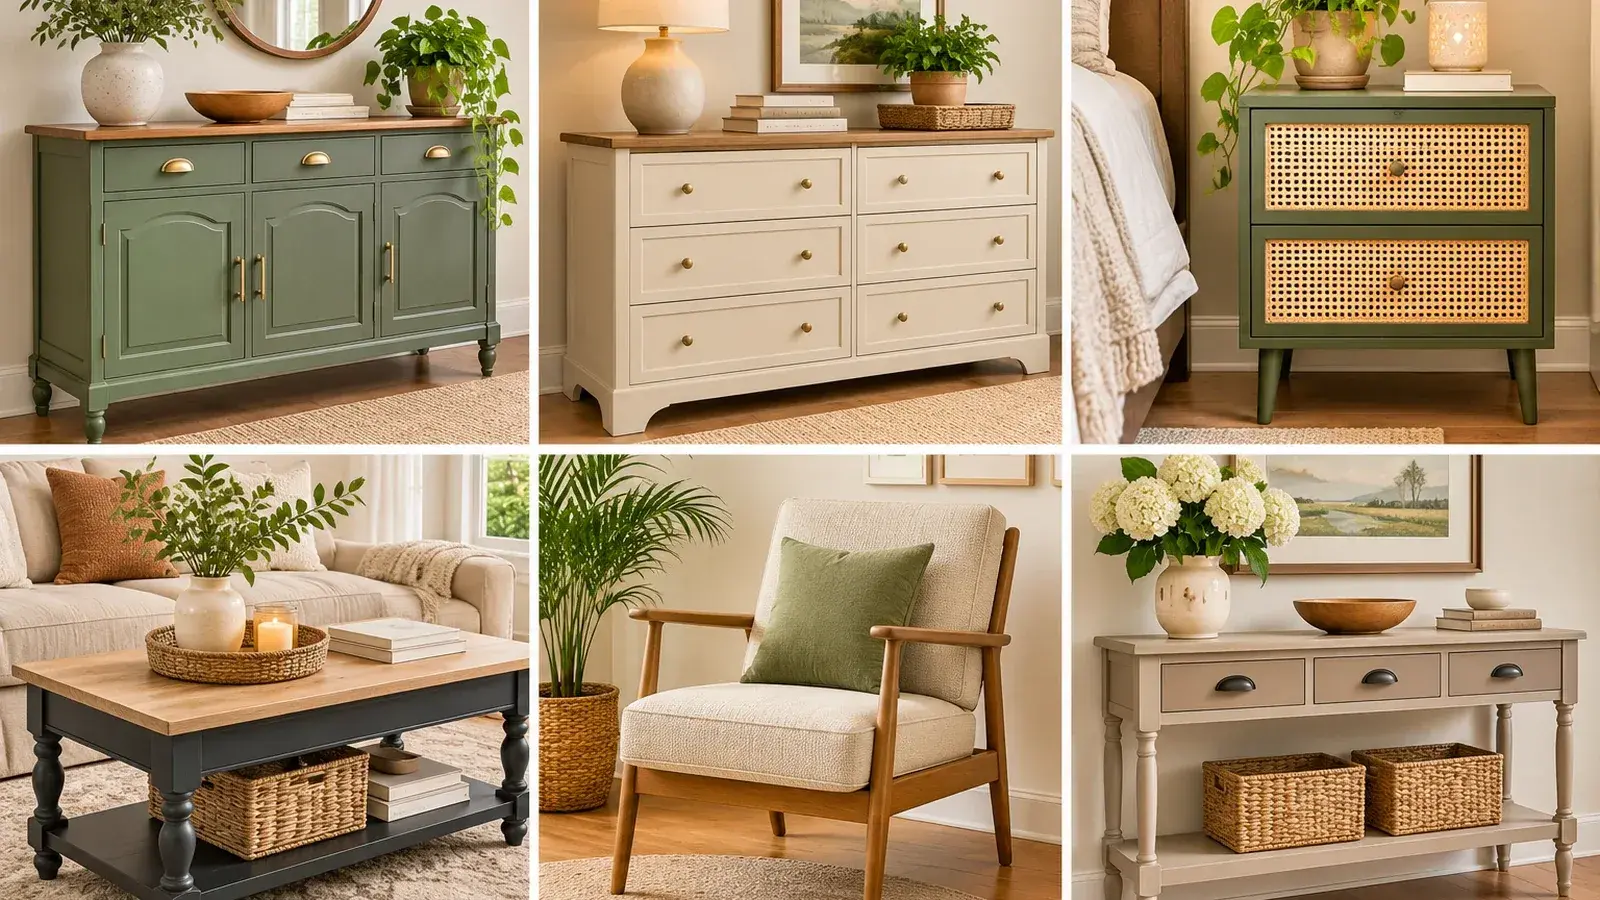
7 Genius Ways to Upcycle Thrift Store Furniture into a Modern Look
Explore upcycle thrift store furniture modern with practical design ideas, planning advice, safe installation notes, and helpful tips for your US home.
November 2026, 10 min read
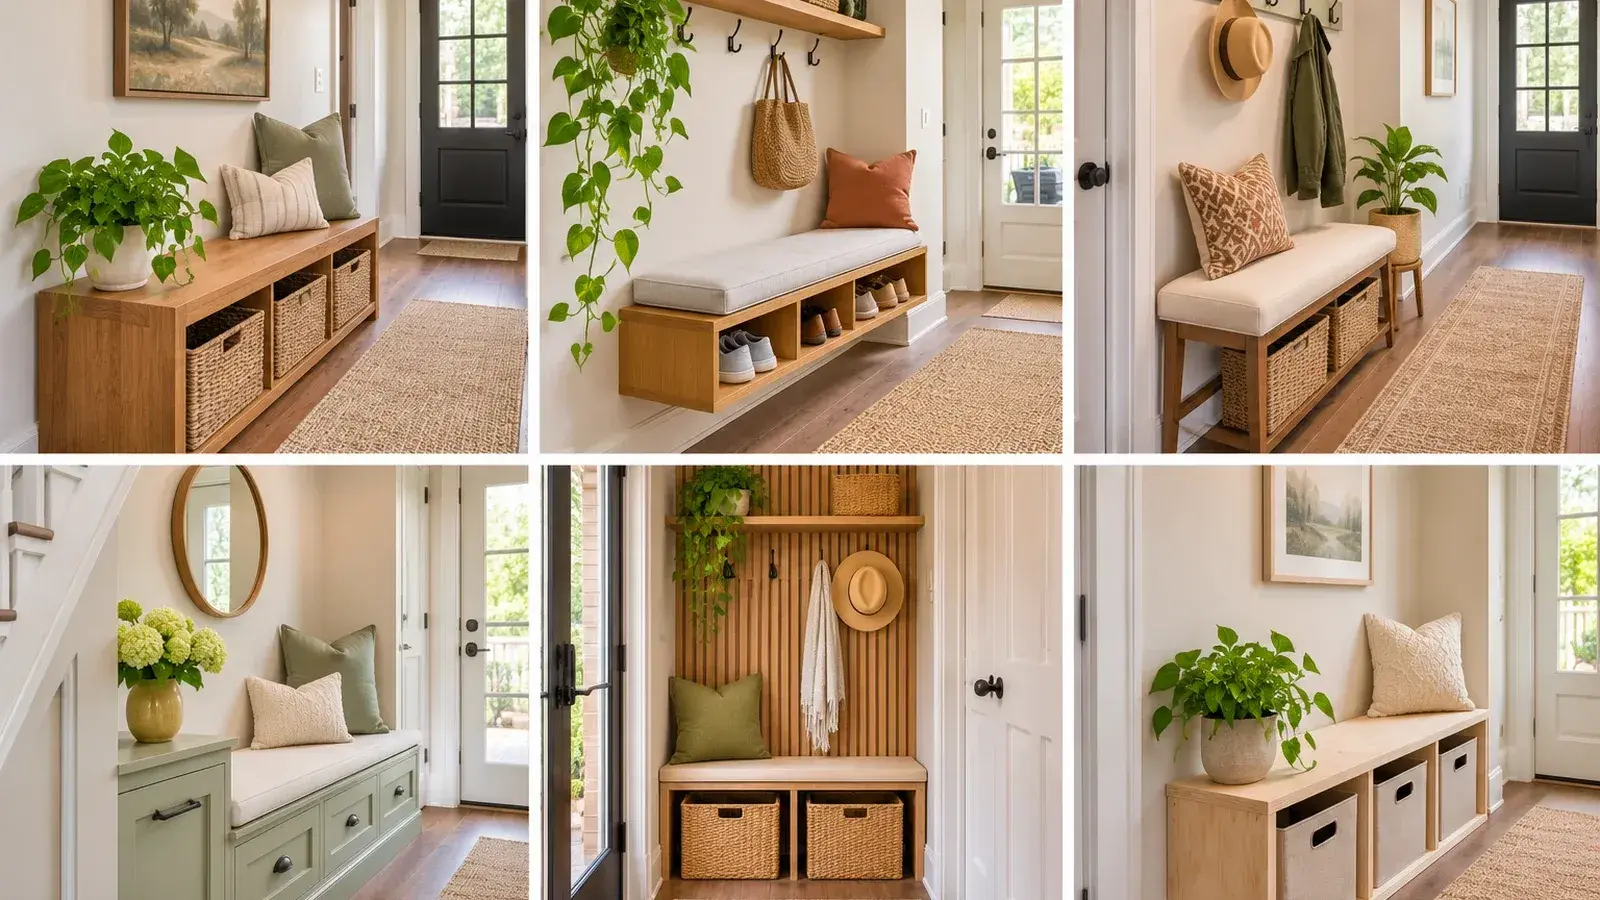
13 Best Narrow Entryway Bench With Storage DIY Layouts
Explore narrow entryway bench with storage DIY layouts with practical design ideas, planning advice, safe installation notes, and helpful tips for your US home.
November 2026, 10 min read