How to Build a DIY Garage Drop Zone for Family Coats and Shoes
A garage drop zone should make arrival easier without narrowing the route to the house or interfering with equipment. A simple wall-mounted hook rail and.
By Home Crane Editors. . 3 min read.
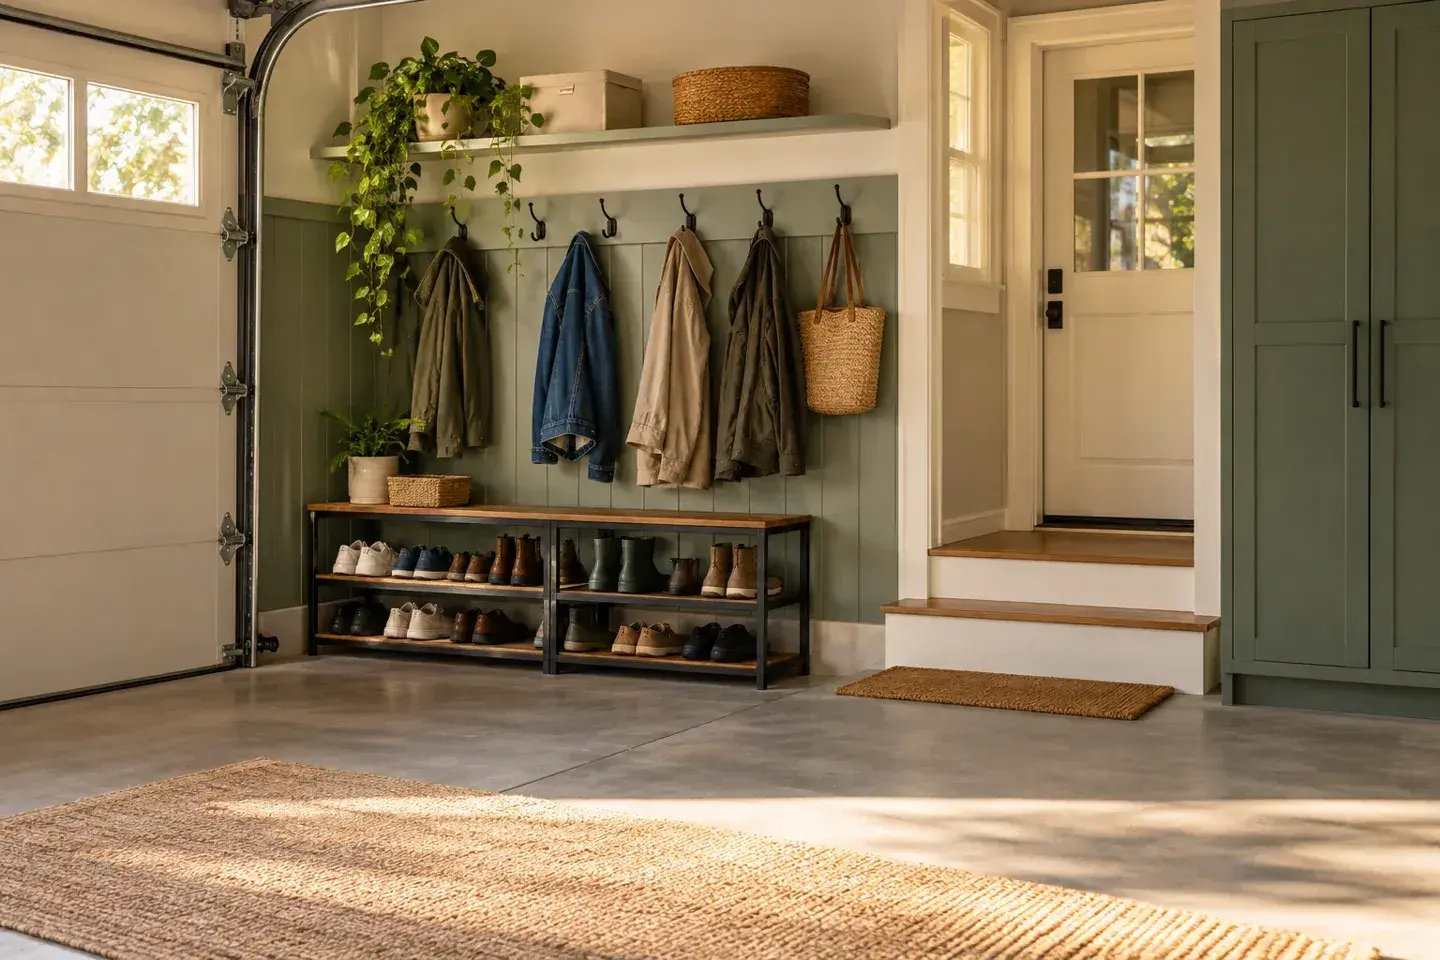
A garage drop zone should make arrival easier without narrowing the route to the house or interfering with equipment. A simple wall-mounted hook rail and a stable shoe rack can do that with fewer construction demands than a full cabinet-and-bench installation.
This guide uses that straightforward layout. If you add a seat, choose a bench designed for seating or a properly specified structural plan. A storage shelf or cabinet top should not become a seat merely because it is at a convenient height.
1. Choose a location that keeps access clear
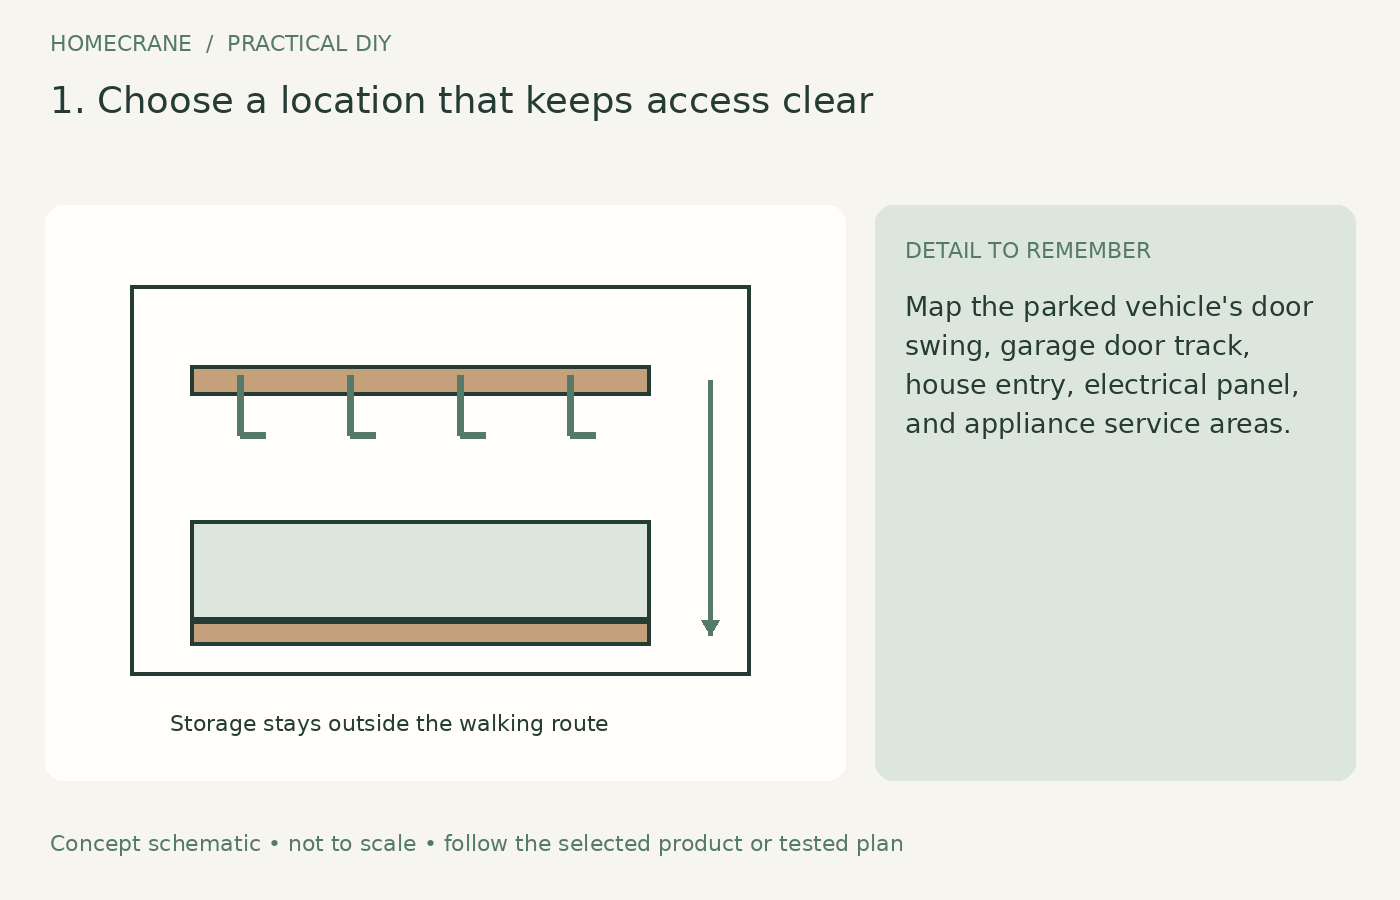
Map the parked vehicle's door swing, garage door track, house entry, electrical panel, and appliance service areas. Tape the proposed rack footprint on the floor and walk through the route carrying a bag. Check the layout with the car parked, not only in an empty garage.
Keep combustible storage away from heat-producing equipment and do not mix coats with fuel, paint, or chemical storage. The US Fire Administration's garage guidance identifies these spaces as requiring particular attention to fire safety and access.
Preserve the garage-to-house door's operation and any required closing function. Do not add hooks or storage that prevents it from opening, closing, or latching properly.
2. Size the rail and storage to the household
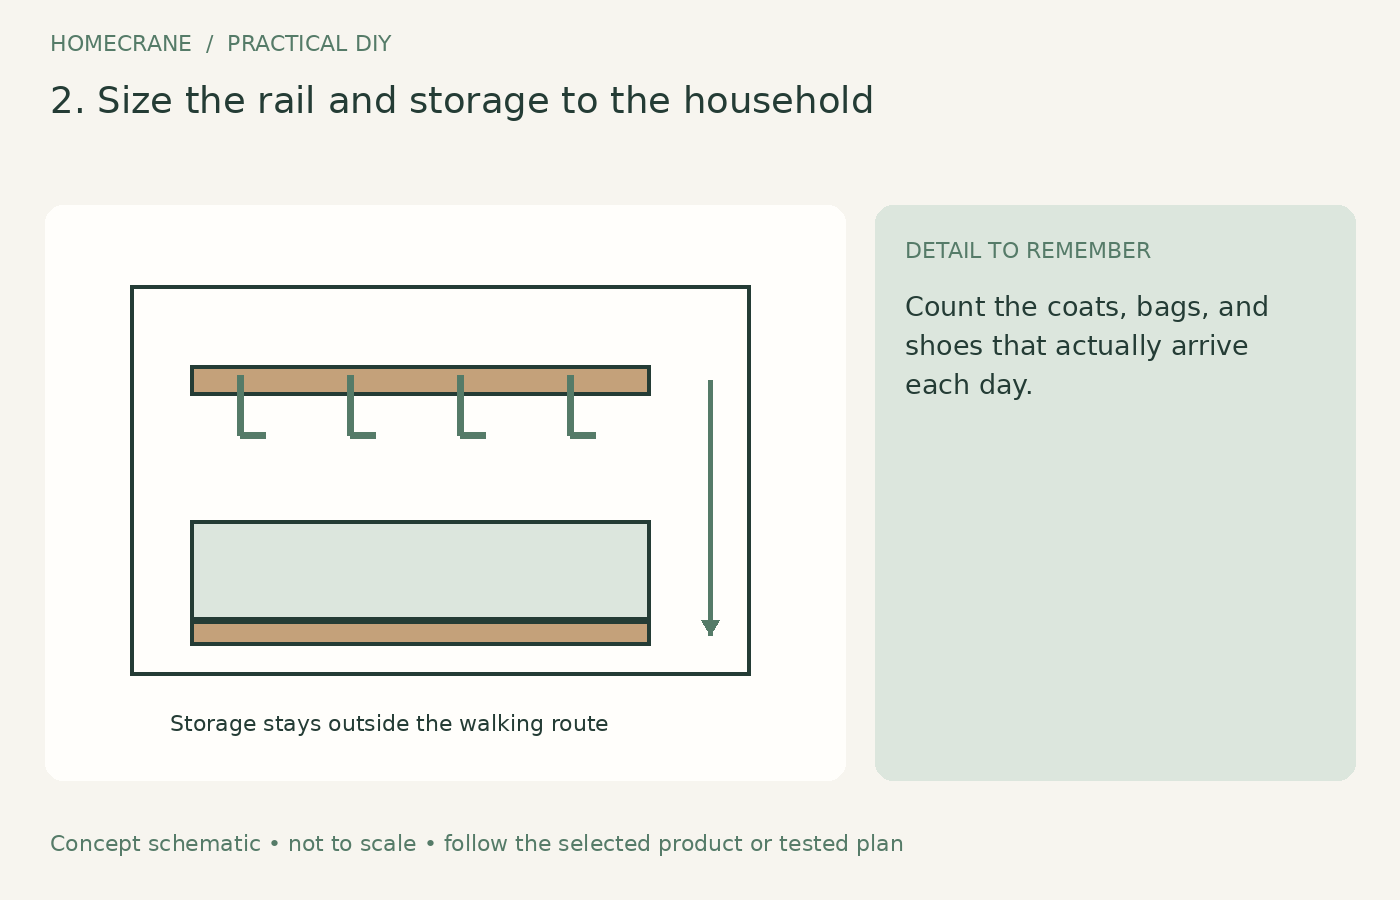
Count the coats, bags, and shoes that actually arrive each day. Give each person a manageable zone rather than trying to store every seasonal item beside the entrance. Bulky winter coats need more spacing than light jackets.
Measure hook projection and hanging length. Keep bags from resting on shoes or dragging on the floor. Use reachable heights appropriate to the household while avoiding sharp projections in a narrow walkway.
Choose a shoe rack that fits the marked footprint when loaded. Boots can require more height than ordinary shoes, and a drip tray adds thickness. Leave room to remove and clean the tray without dismantling the whole arrangement.
3. Build or select a suitable hook rail
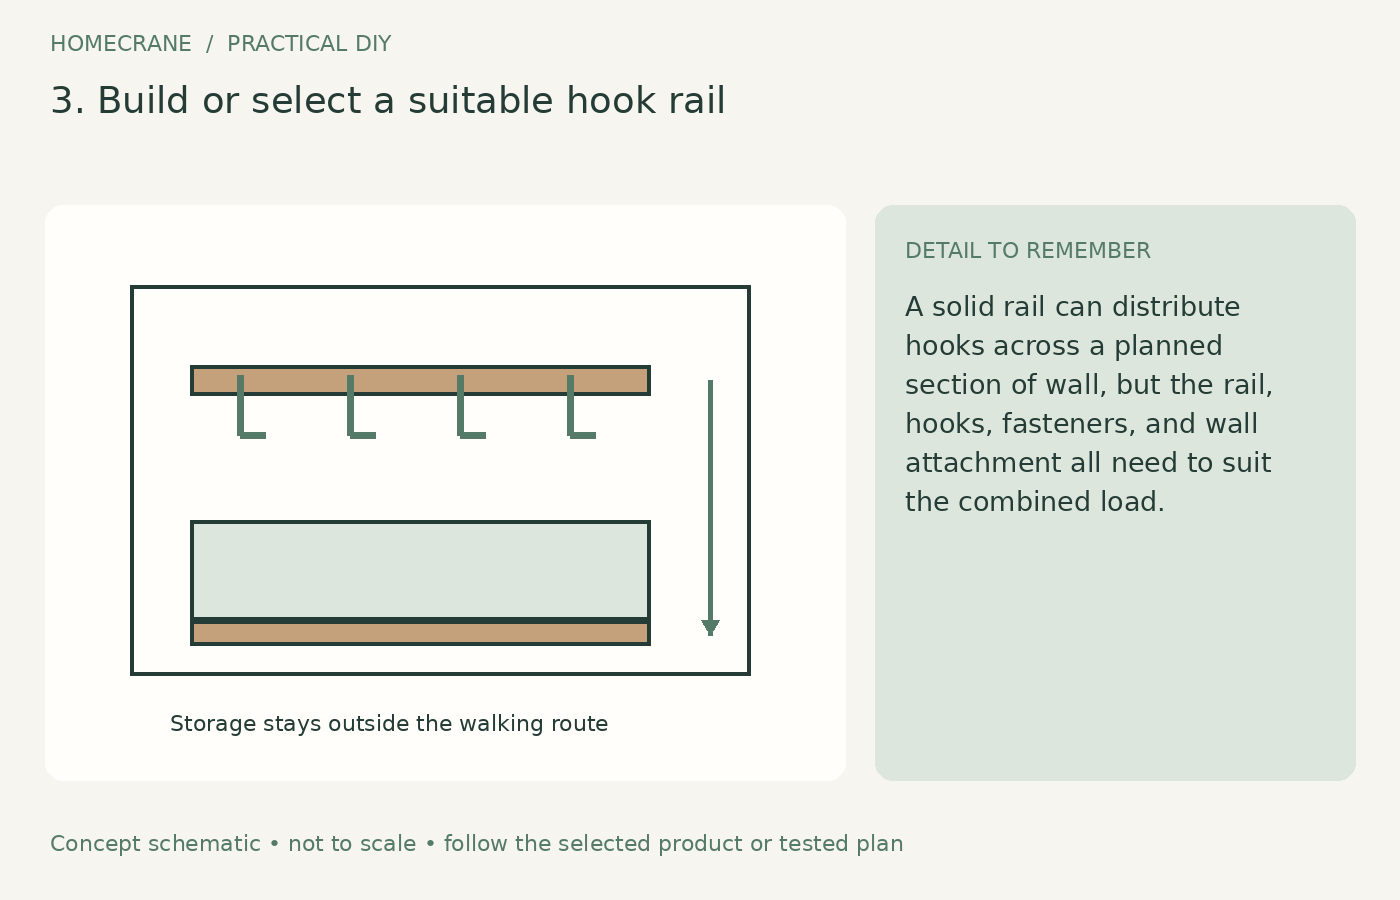
A solid rail can distribute hooks across a planned section of wall, but the rail, hooks, fasteners, and wall attachment all need to suit the combined load. Heavy backpacks can be more demanding than coats.
Use a straight, sound board of dimensions appropriate to the chosen design, ease exposed edges, and prefinish where practical. Lay out the hooks before drilling so the spacing remains useful when several items hang together.
Locate suitable framing and check for concealed services. Use the specified fasteners for the rail and hooks. Do not rely on drywall screws or unknown anchors simply because the board feels firm when empty. If the wall assembly or expected load is uncertain, get a qualified installer to specify the connection.
4. Install storage without compromising the garage wall
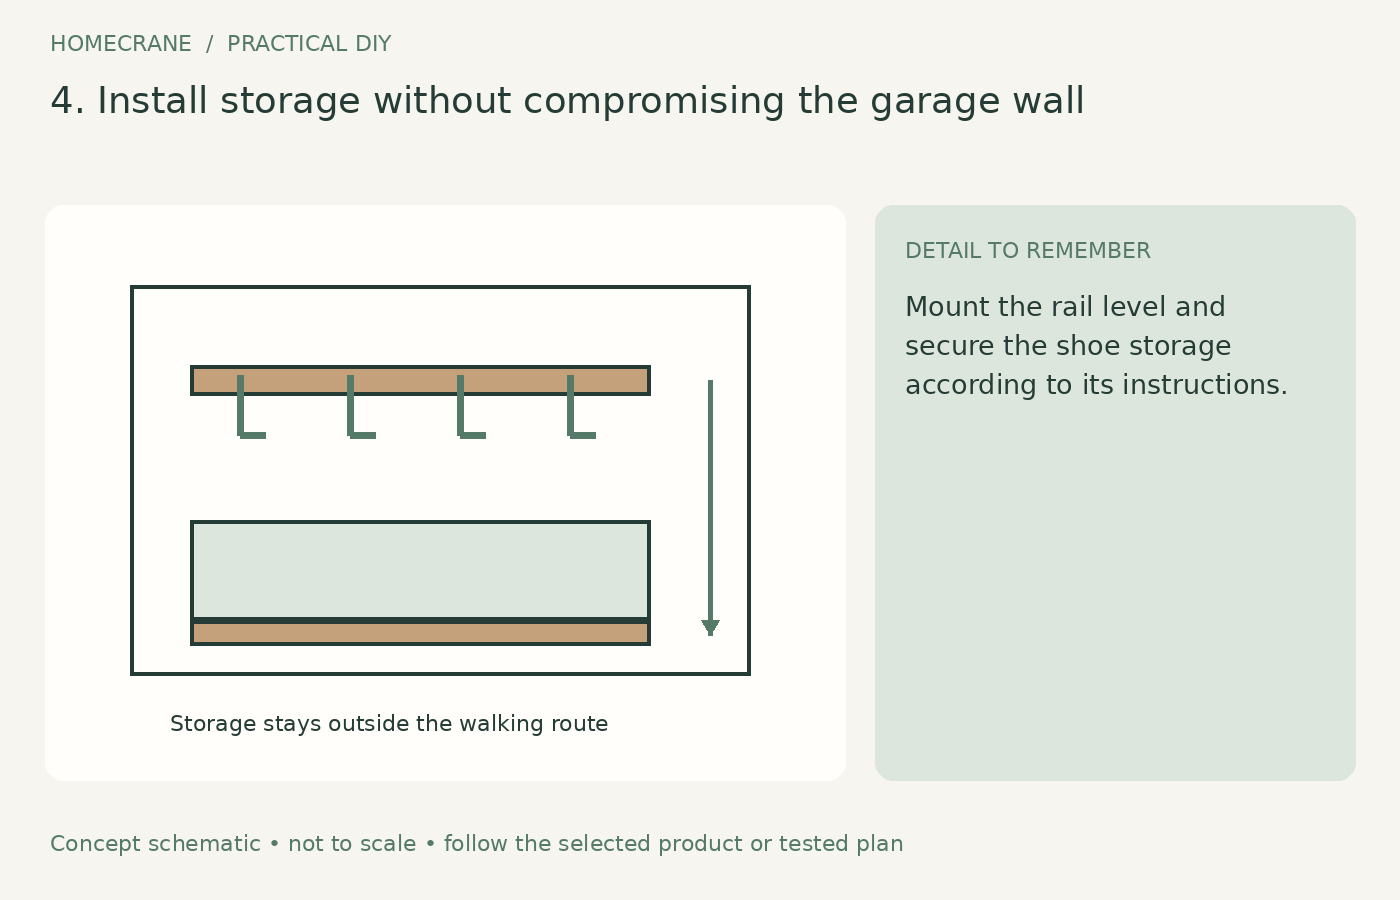
Mount the rail level and secure the shoe storage according to its instructions. Do not cut large openings in the wall or remove protective wall materials to recess the unit without an appropriate design. The garage boundary can have fire-separation requirements that a decorative project must preserve.
Keep outlets, panels, vents, and service access available. Store chemicals separately in their original containers, following the US Fire Administration's hazardous-materials guidance.
Avoid running extension cords through the coat area or adding a charging station by habit. If electrical work is needed, plan it with a qualified electrician. A drop zone should reduce clutter rather than combine clothing, charging equipment, and flammable storage in one place.
5. Test the routine and adjust the capacity
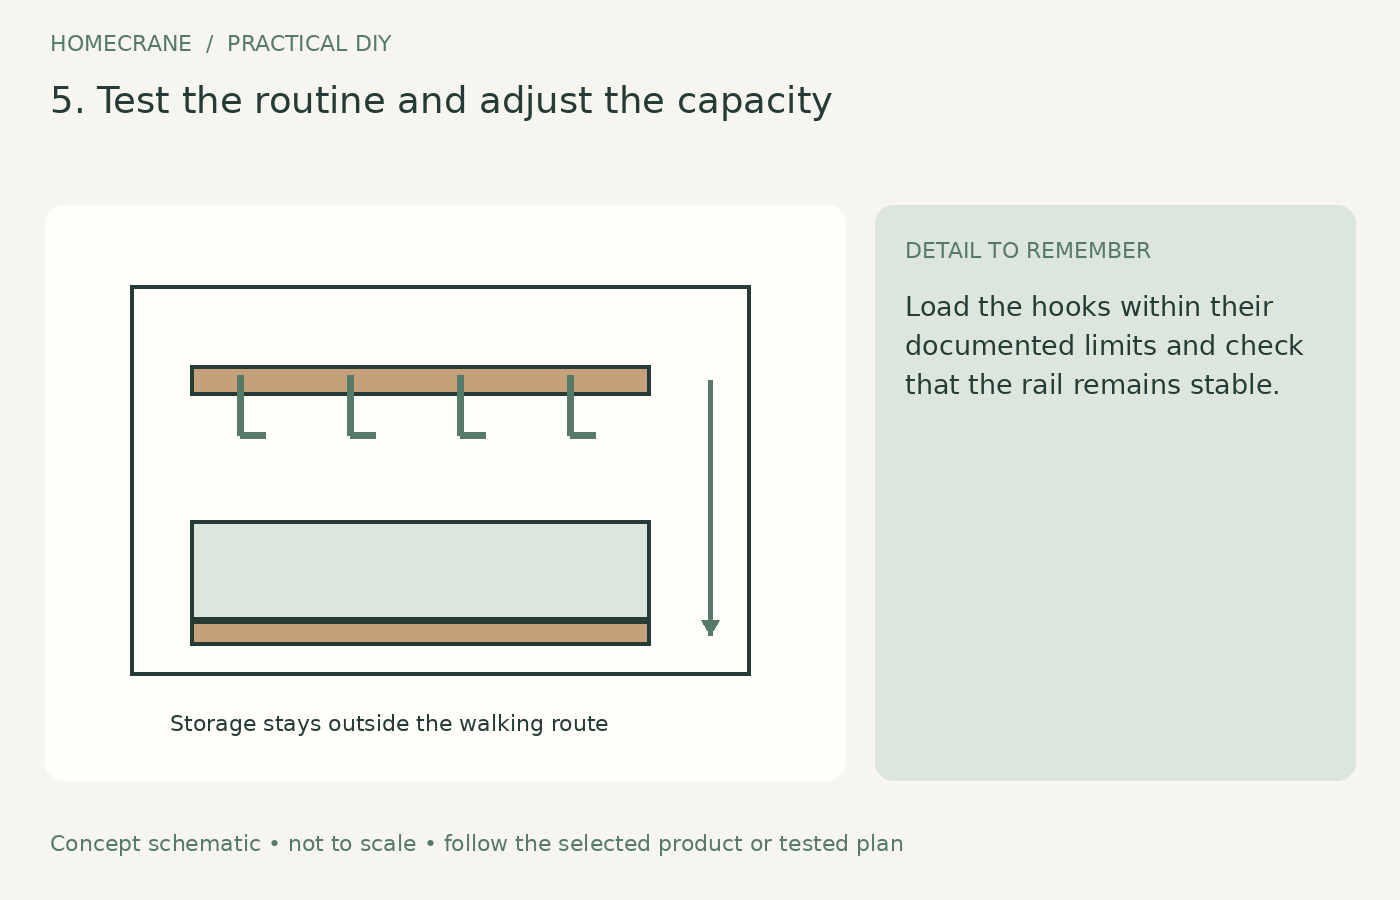
Load the hooks within their documented limits and check that the rail remains stable. Confirm the door and walking route are clear with real coats, bags, and shoes in place. Empty storage dimensions often underestimate the space soft items occupy.
Use a washable tray for wet footwear where suitable, and dry wet coats properly rather than leaving moisture trapped against the wall. Check whether the garage's humidity and temperature are appropriate for the items you intend to store long term.
Review the area after a week. If shoes spill into the route, reduce the number stored there or change the rack. Add capacity only if it can fit safely; the solution is not always another row of hooks.
A useful layout worksheet
| Feature | Include | |
|---|---|---|
| Floor footprint | Rack plus shoes and tray access | |
| Wall projection | Hooks plus hanging coats and bags | |
| Door movement | Vehicle, garage, and house doors | |
| Utilities | Panels, appliances, vents, and shutoffs | |
| Load | Combined contents and attachment limits |
Budget for the correct fixings, finish, and storage accessories rather than only the board. A simple rail plus a ready-made rack can be more economical and easier to maintain than custom cubbies with many small compartments.
Questions homeowners ask
Can I add a bench later?
Yes, if the layout still preserves access and the bench is designed for seating. Recheck the route with someone using the bench, not only with it empty.
Should I put a smoke alarm in the garage?
Use appropriate local and professional guidance for the alarm system. The US Fire Administration discusses heat alarms for garages because ordinary smoke alarms can be affected by garage conditions. Have permanent alarm installation handled appropriately.
Sources
- US Fire Administration's garage guidance. Checked October 11, 2026
- US Fire Administration's hazardous-materials guidance. Checked October 11, 2026
- US Fire Administration discusses heat alarms for garages. Checked October 11, 2026
Share this article
Get new guides by email
Practical home articles and free resources. No spam, and you can unsubscribe at any time.
Keep reading

DIY Fluted Headboard Made Out of Pool Noodles
Plan a decorative fluted headboard using covered foam channels, a stable backer, careful material checks, and secure independent mounting.
October 2026, 3 min read

4 Renter-Friendly Ways to Hang Curtains Without Drilling
Compare tension rods, adhesive curtain hooks, magnetic rods, and floor-to-ceiling systems for curtains in a rental without drilling.
October 2026, 3 min read
Genius Under-Stairs Pull-Out Storage Ideas You Can DIY
Explore five under-stairs storage approaches with practical guidance on access, drawer hardware, stability, and existing openings.
October 2026, 3 min read