How to Build Strong DIY Floating Shelves for Your Kitchen
Plan and build floating kitchen shelves with suitable brackets, stud mounting, accurate drilling, and realistic checks for shelf and dish weight.
By Home Crane Editors. . 4 min read.
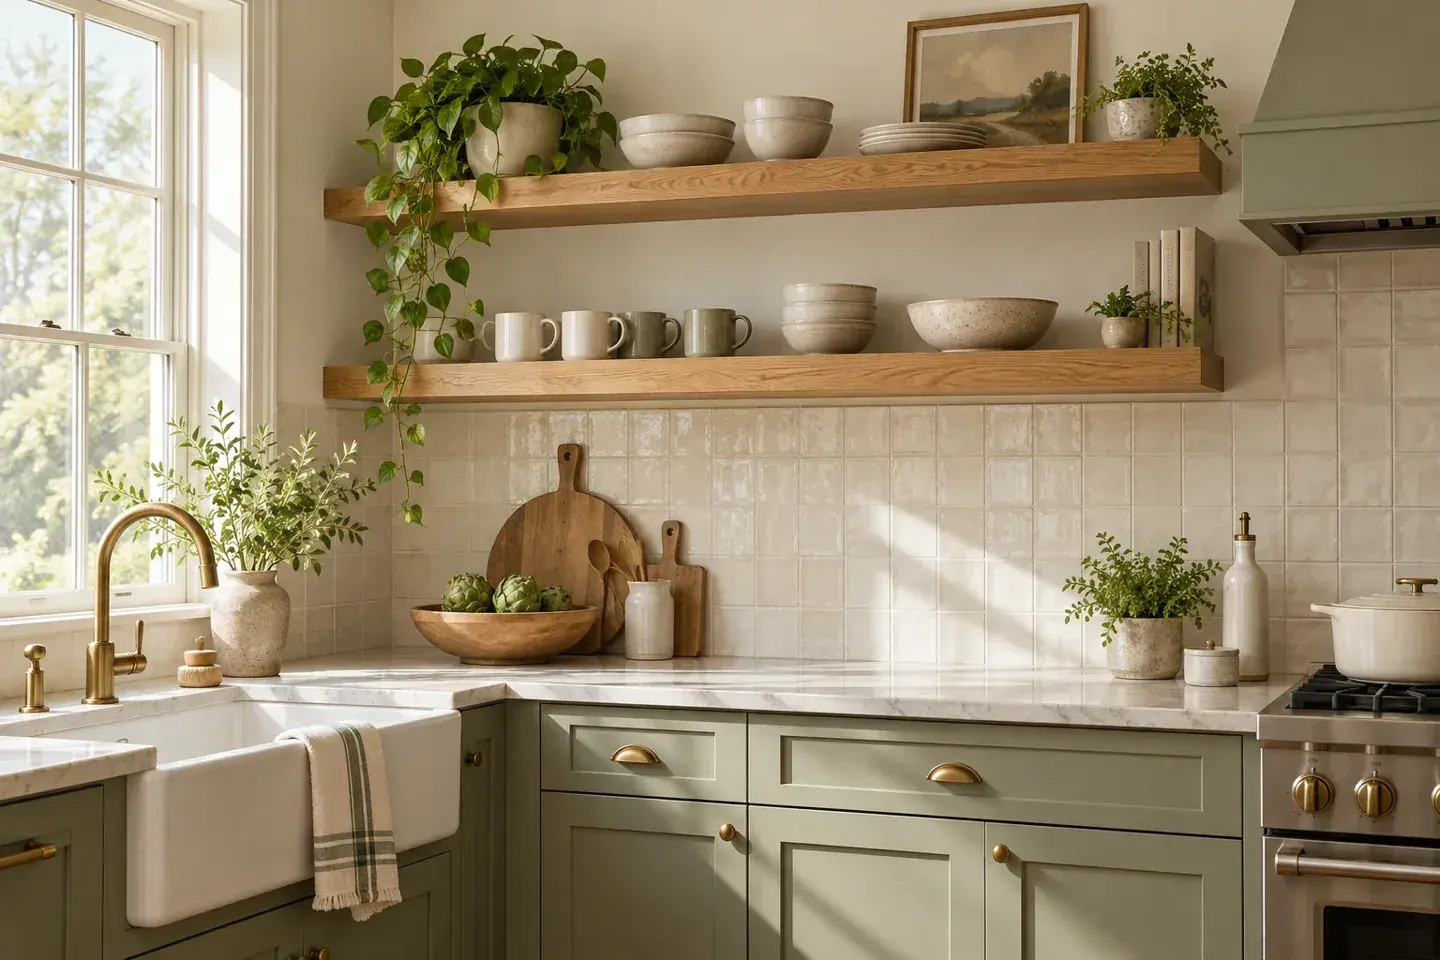
Strong floating shelves start with a matched combination of shelf material, concealed brackets, fasteners, and wall structure. A thick-looking board alone does not establish capacity. For a kitchen, choose a documented bracket system intended for the shelf dimensions and the dishes you plan to store.
This guide follows a solid-wood shelf with a manufacturer-rated concealed support attached to suitable wood studs. Masonry, metal studs, unusual walls, and hollow box shelves require a different approved design. The dimensions and hole locations must come from the selected hardware's current instructions.
1. Plan the shelf and its real load
Measure the available wall width, usable depth, and clearance above the counter. Check cabinet doors, faucets, outlets, and appliances. A shelf that fits the wall may still obstruct everyday use.
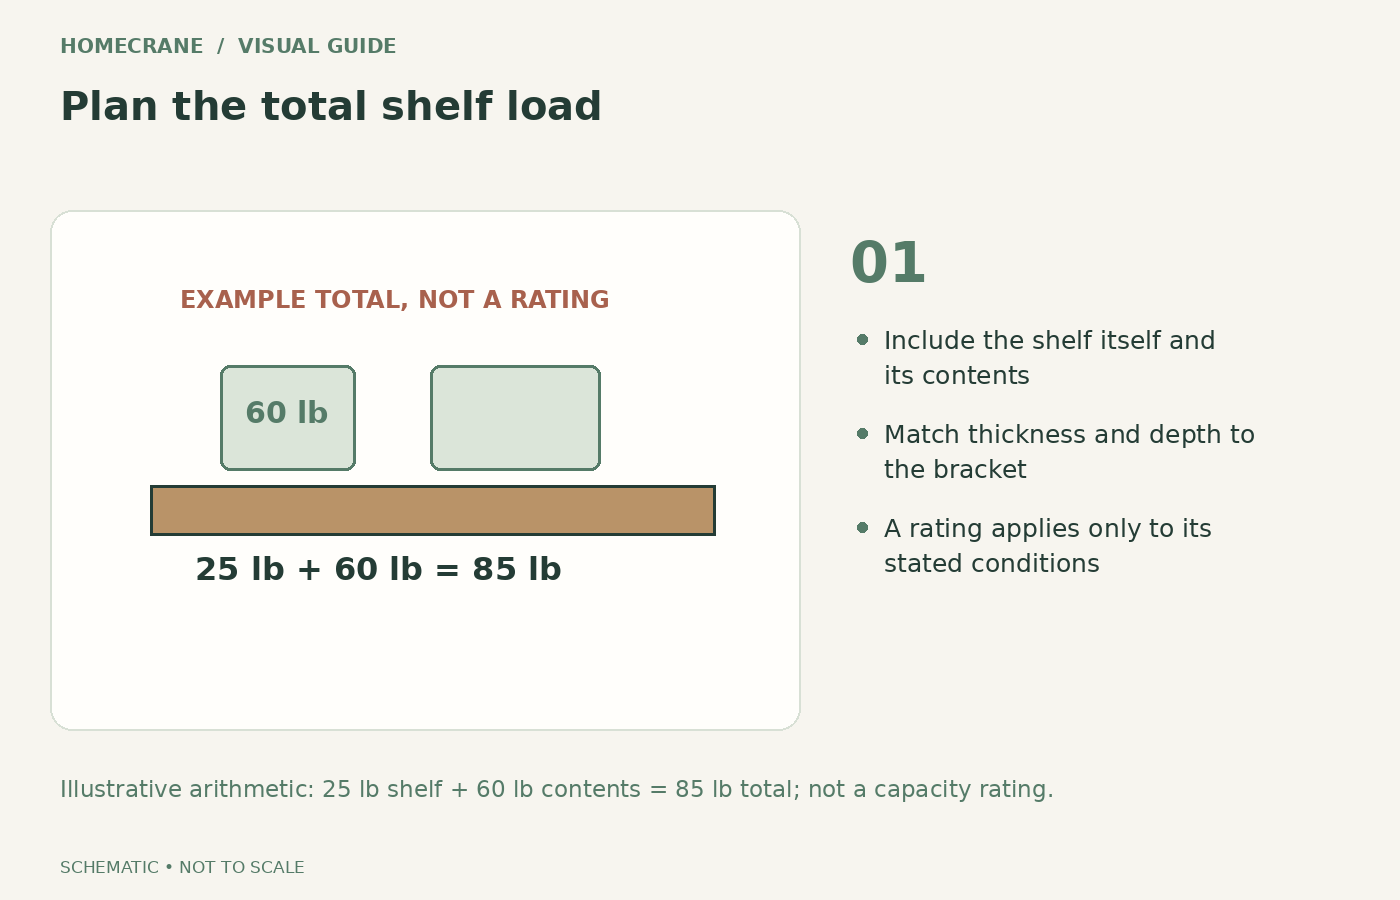
List what will sit on it and weigh representative stacks of dishes. Include the shelf's own weight when checking a system whose rating covers the total load. For example, a 25-pound shelf plus 60 pounds of contents totals 85 pounds. That arithmetic is a planning example, not a recommended capacity.
Choose the bracket system before purchasing the board. Rockler's heavy-duty support listing specifies conditions for its own hardware, including attachment to wood studs and shelf dimensions. Do not transfer that rating to a different bracket, greater depth, longer span, or another wall type.
2. Locate suitable framing and select fasteners
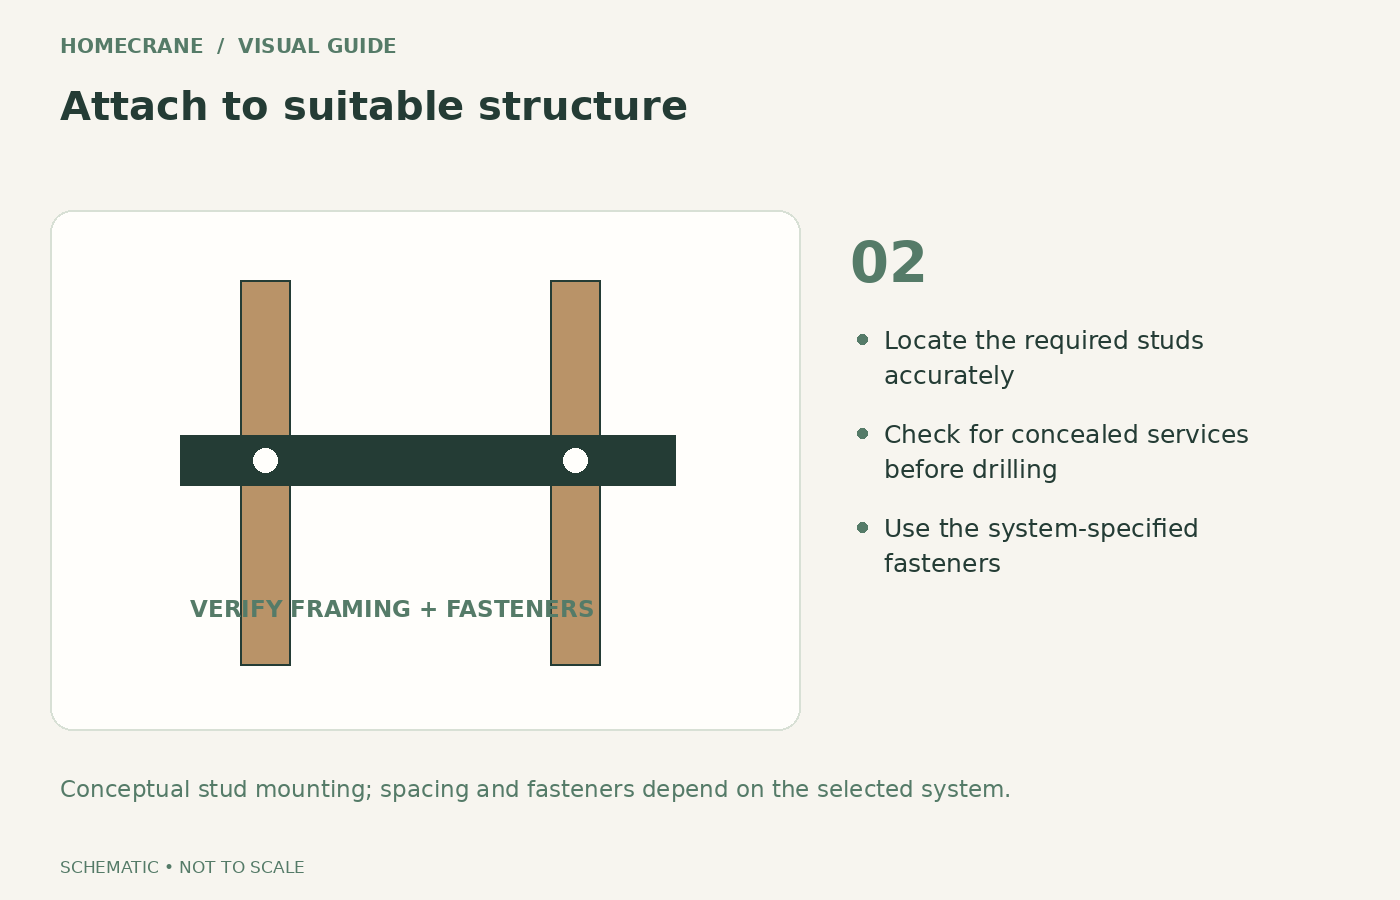
Find the required studs and confirm their locations by an appropriate method before drilling the full mounting holes. Check for wiring, plumbing, and other concealed services. A detector is helpful but does not guarantee that a drilling path is clear.
Mark the bracket position with a level and the actual hardware or its supplied template. Confirm that the required mounting points align with suitable framing. Moving the shelf slightly is preferable to substituting drywall anchors for a stud attachment required by the instructions.
Use the specified structural fasteners and embedment for the system and wall. Drywall screws are not a generic substitute. If existing stud locations cannot support the intended layout, obtain a suitable backing or alternate mounting design rather than drilling new holes in the bracket without approval.
3. Cut and machine the shelf to match the hardware
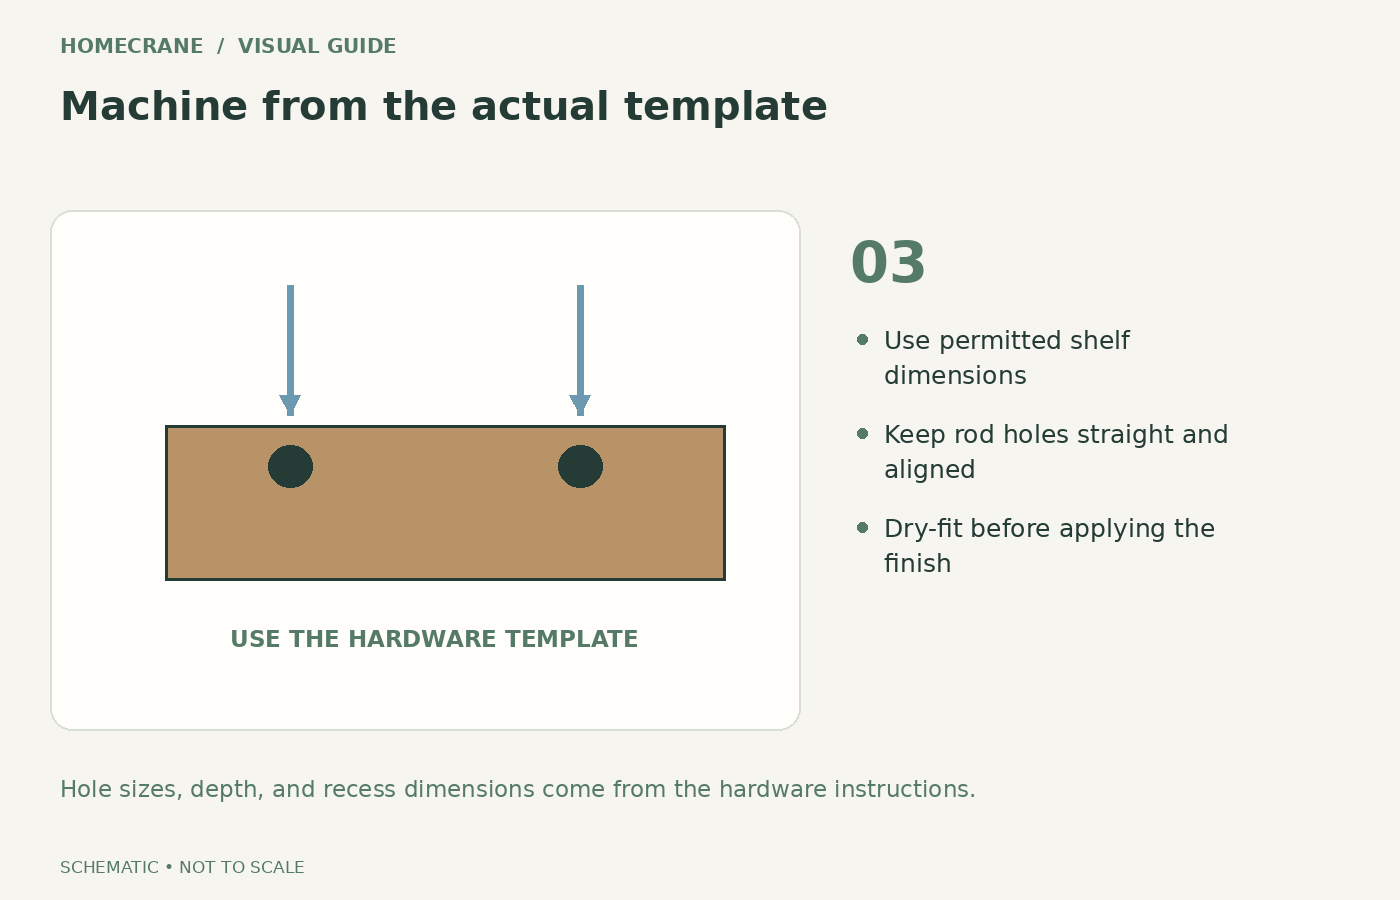
Choose straight, sound material that falls within the bracket's permitted thickness and depth. Cut it to the planned length and prepare the rear recess and rod holes using the manufacturer's dimensions. Clamp the work securely and use appropriate eye, hearing, and dust protection.
Accurate holes are important: a slightly wandering bore can prevent the shelf from seating or leave it tilted. A compatible drill guide or a woodworking shop's help can be worthwhile, especially with deep holes. Practice on scrap of suitable thickness before machining the finished board.
Dry-fit the hardware and shelf before finishing. Check that the bracket sits as intended, the shelf reaches the wall without forcing, and any retaining screws or locks remain accessible. Do not enlarge holes casually to solve misalignment; follow an approved correction.
4. Finish the wood and install the support
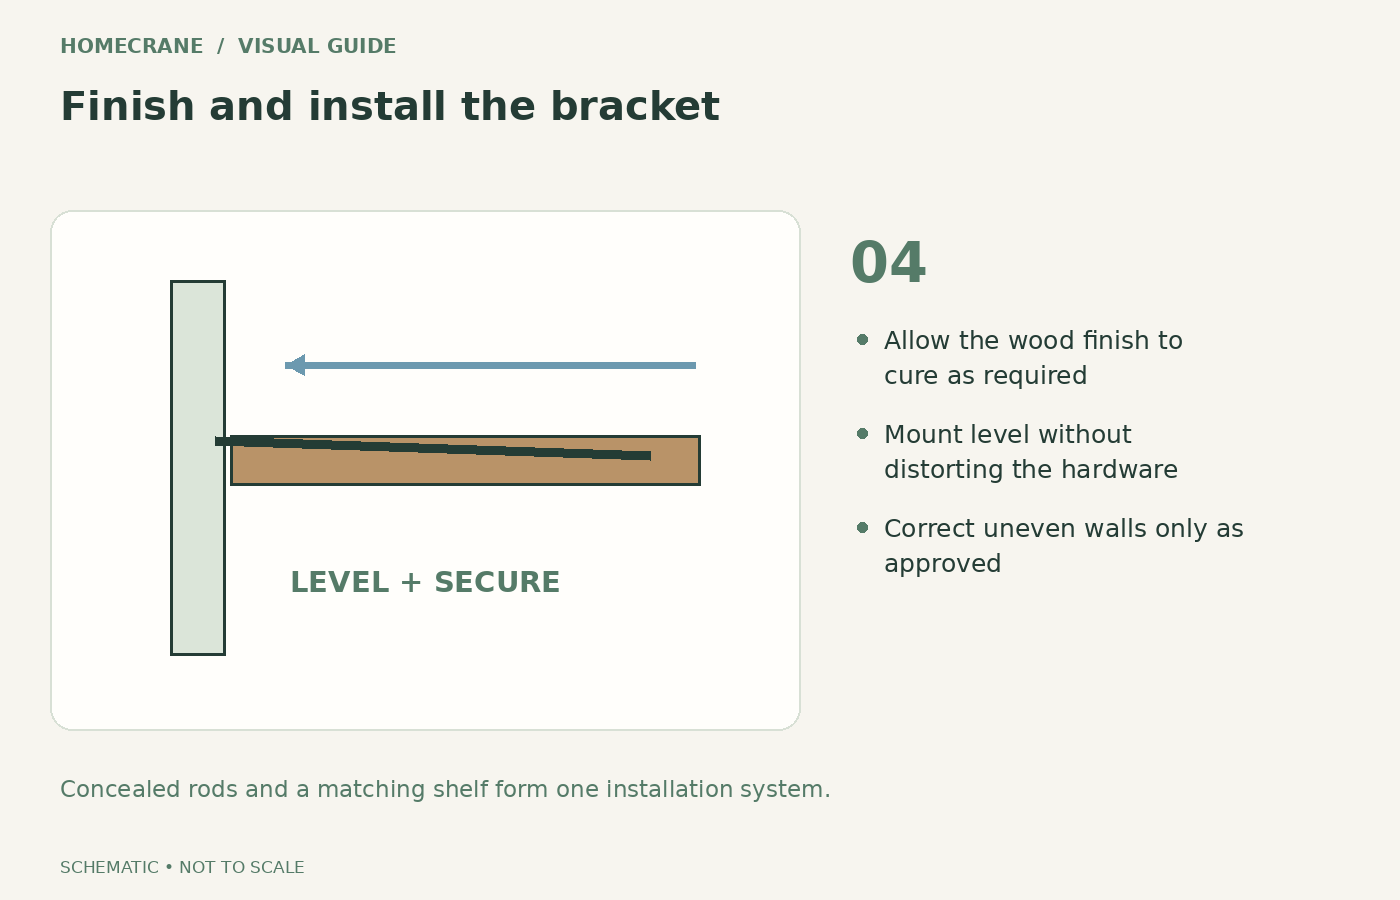
Ease sharp edges and finish the shelf with a coating suitable for its intended kitchen use. Follow the finish's drying and curing directions, and avoid buildup inside critical hardware fits. Finishing all appropriate exposed surfaces helps give the piece a consistent appearance.
Install the bracket to the verified framing using the required pilot holes, fasteners, and tightening method. Check level and fit before sliding the shelf into place. If the wall is uneven, use only a mounting correction compatible with the system rather than forcing the bracket to bend against it.
Rockler's installation tutorial illustrates why hardware-specific hole preparation and stud mounting matter. Its steps apply to the hardware shown there; use your own system's template and instructions if you selected another product.
5. Secure the shelf and load it conservatively
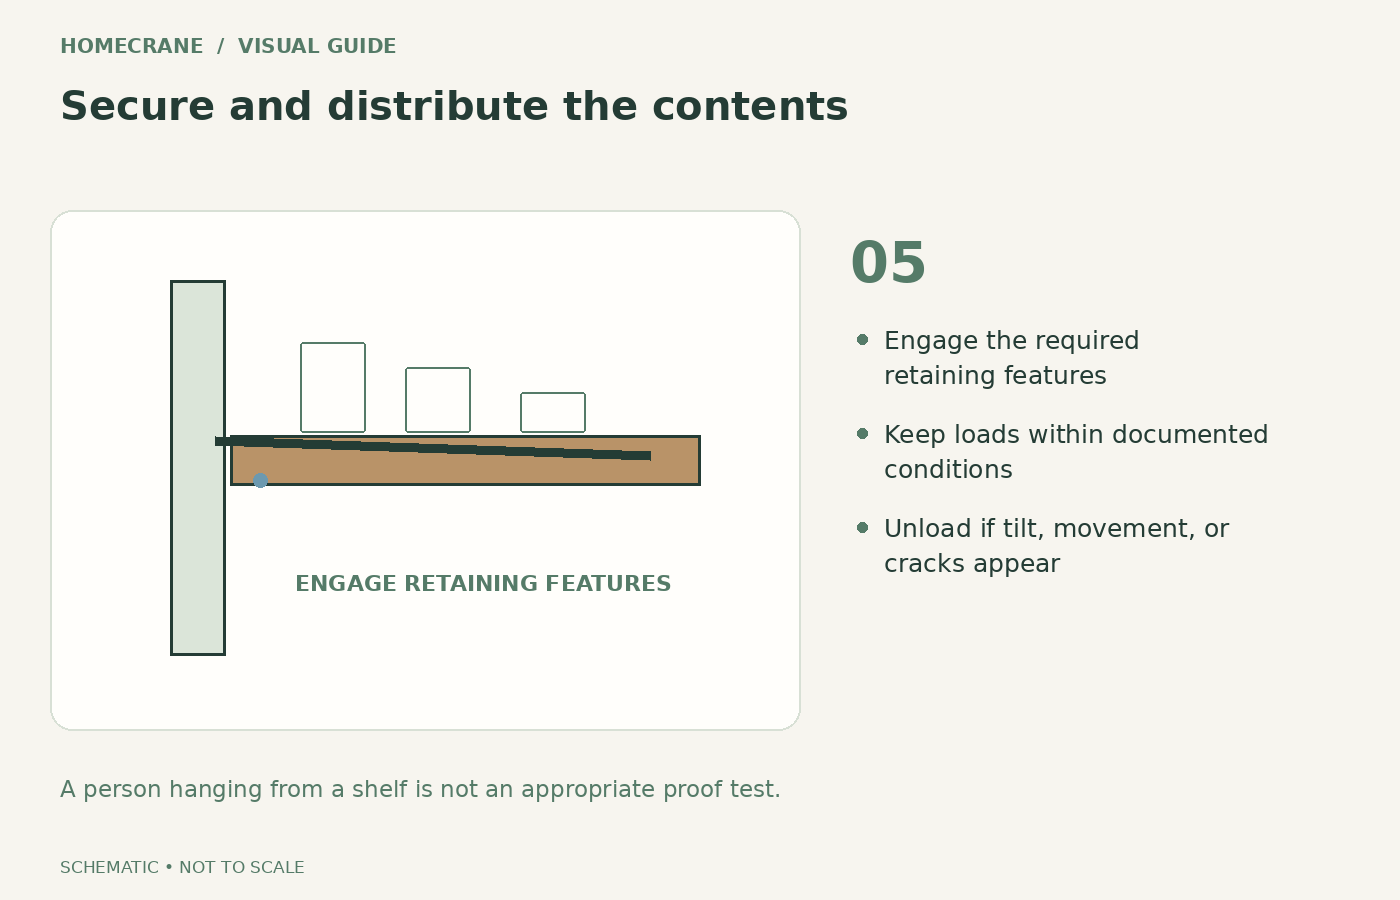
Fit the shelf and engage all specified retaining features. A shelf that merely slides over rods may still need a lock or screw to prevent unintended movement. Check the finished assembly for looseness, unexpected gaps, and visible damage.
Add ordinary items gradually within the documented capacity and distribution requirements. Keep heavy objects closer to the wall where practical, and avoid concentrating a large load at an unsupported end. Do not hang from the shelf or use a person as a “strength test.”
Inspect periodically, especially after moving heavy items. If the shelf tilts, fasteners move, or cracks appear, unload it and investigate. Sheppard Brackets' capacity explanation also shows how attachment and bracket configuration affect its own systems. A capacity number belongs to a defined assembly, not to floating shelves in general.
Build a useful shopping list
| Feature | Detail to confirm | |
|---|---|---|
| Solid-wood shelf | Permitted thickness, depth, length, and condition | |
| Concealed support | Current instructions and capacity conditions | |
| Fasteners | Correct type, size, and required embedment | |
| Drilling tools | Accurate template, guide, and suitable bits | |
| Finish | Kitchen use and required cure time |
Include machining and tool costs before assuming DIY will be cheaper than a ready-made shelf. A board, brackets, drill guide, long bit, finish, and replacement material after a drilling error can add up. Having a shop machine the board while you handle finishing may be a practical middle route.
Questions homeowners ask
Can floating shelves hold plates?
Yes, when the complete installed system is designed for their weight. A few plates and a full stack of heavy dinnerware are different loads. Weigh the contents and check the rating conditions.
Can I attach them only to drywall?
Do not do that with a system requiring studs. Choose a separately documented solution for the actual wall and load, or install suitable structural backing. For substantial kitchen storage, uncertainty about the wall is a reason to get qualified installation help.
Sources
- Rockler's heavy-duty support listing. Checked October 11, 2026
- Rockler's installation tutorial. Checked October 11, 2026
- Sheppard Brackets' capacity explanation. Checked October 11, 2026
Share this article
Get new guides by email
Practical home articles and free resources. No spam, and you can unsubscribe at any time.
Keep reading
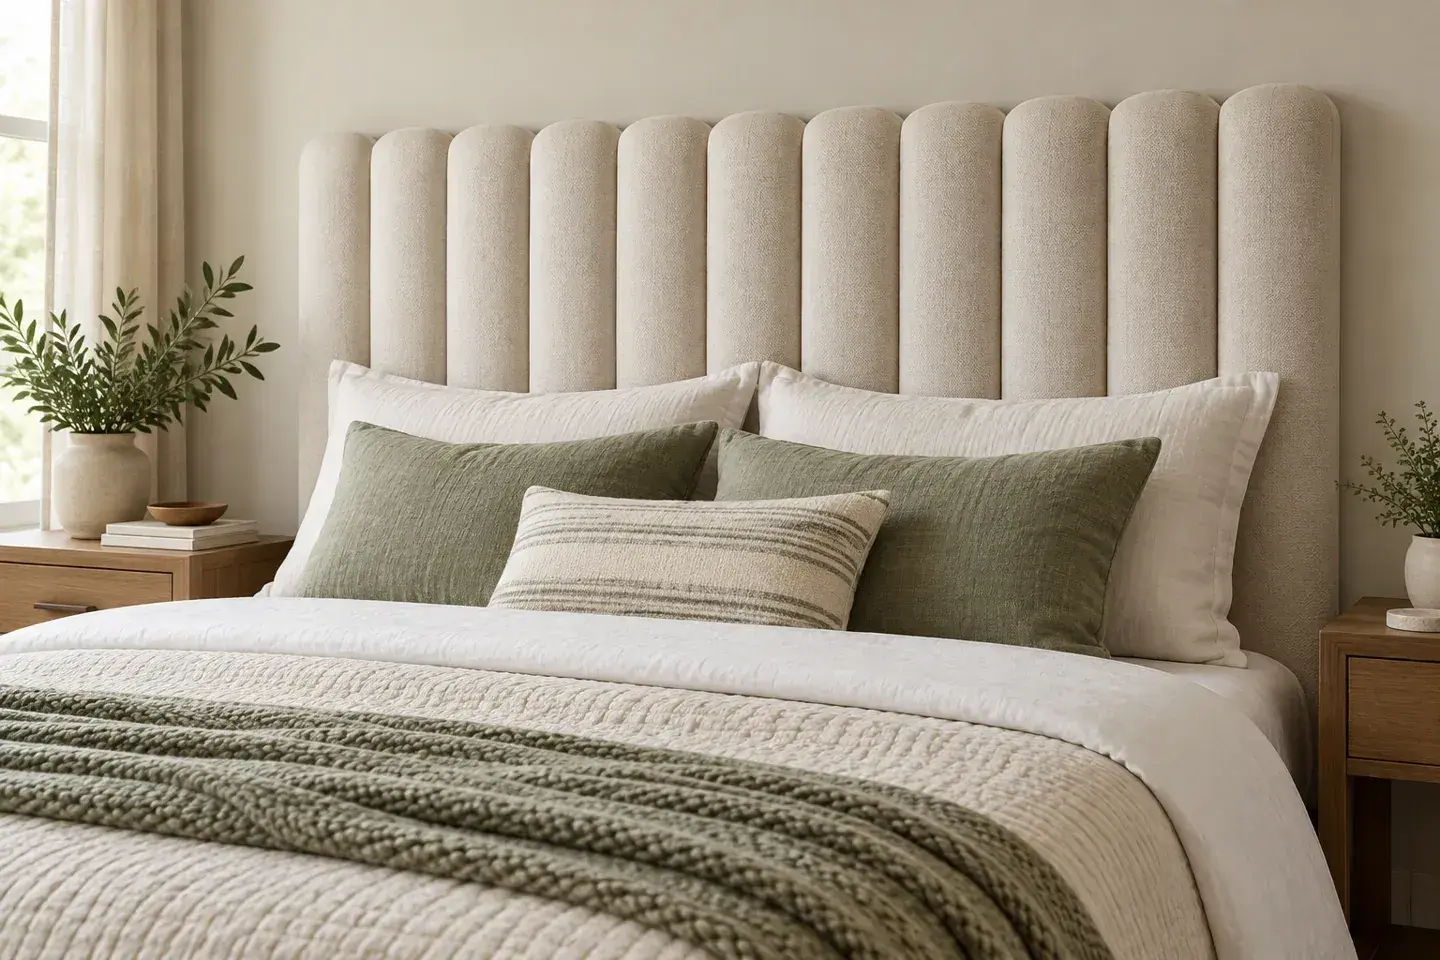
DIY Fluted Headboard Made Out of Pool Noodles
Plan a decorative fluted headboard using covered foam channels, a stable backer, careful material checks, and secure independent mounting.
October 2026, 3 min read

4 Renter-Friendly Ways to Hang Curtains Without Drilling
Compare tension rods, adhesive curtain hooks, magnetic rods, and floor-to-ceiling systems for curtains in a rental without drilling.
October 2026, 3 min read
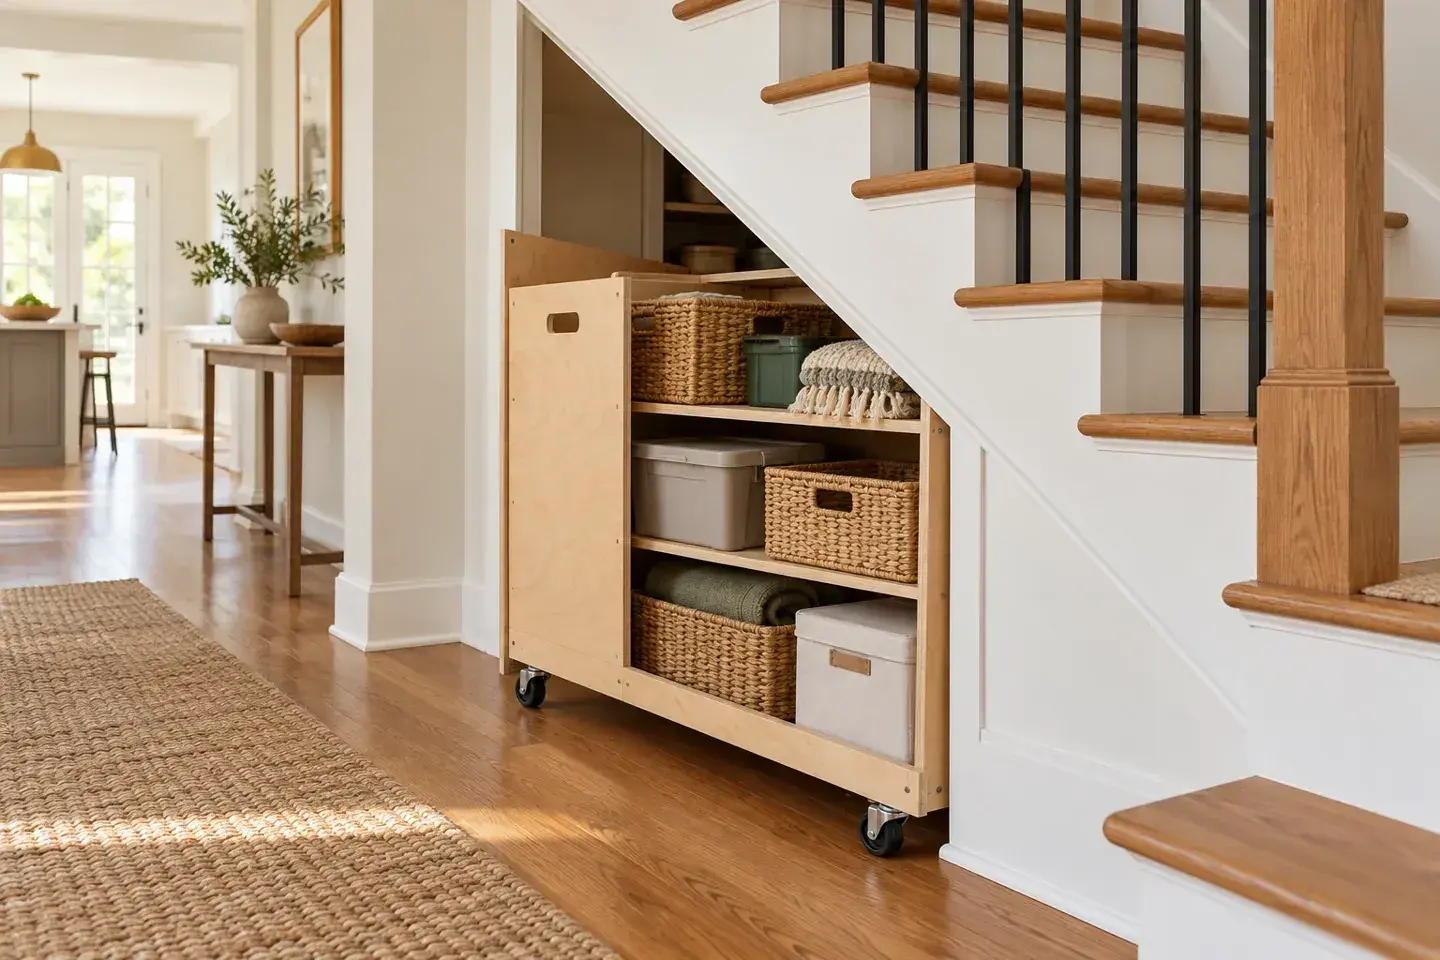
Genius Under-Stairs Pull-Out Storage Ideas You Can DIY
Explore five under-stairs storage approaches with practical guidance on access, drawer hardware, stability, and existing openings.
October 2026, 3 min read