How to Clean a Smelly Garbage Disposal (Baking Soda Method)
Clean a smelly garbage disposal with a manufacturer-supported baking soda method, splash-guard care, and practical troubleshooting tips.
By Home Crane Editors. . 4 min read.
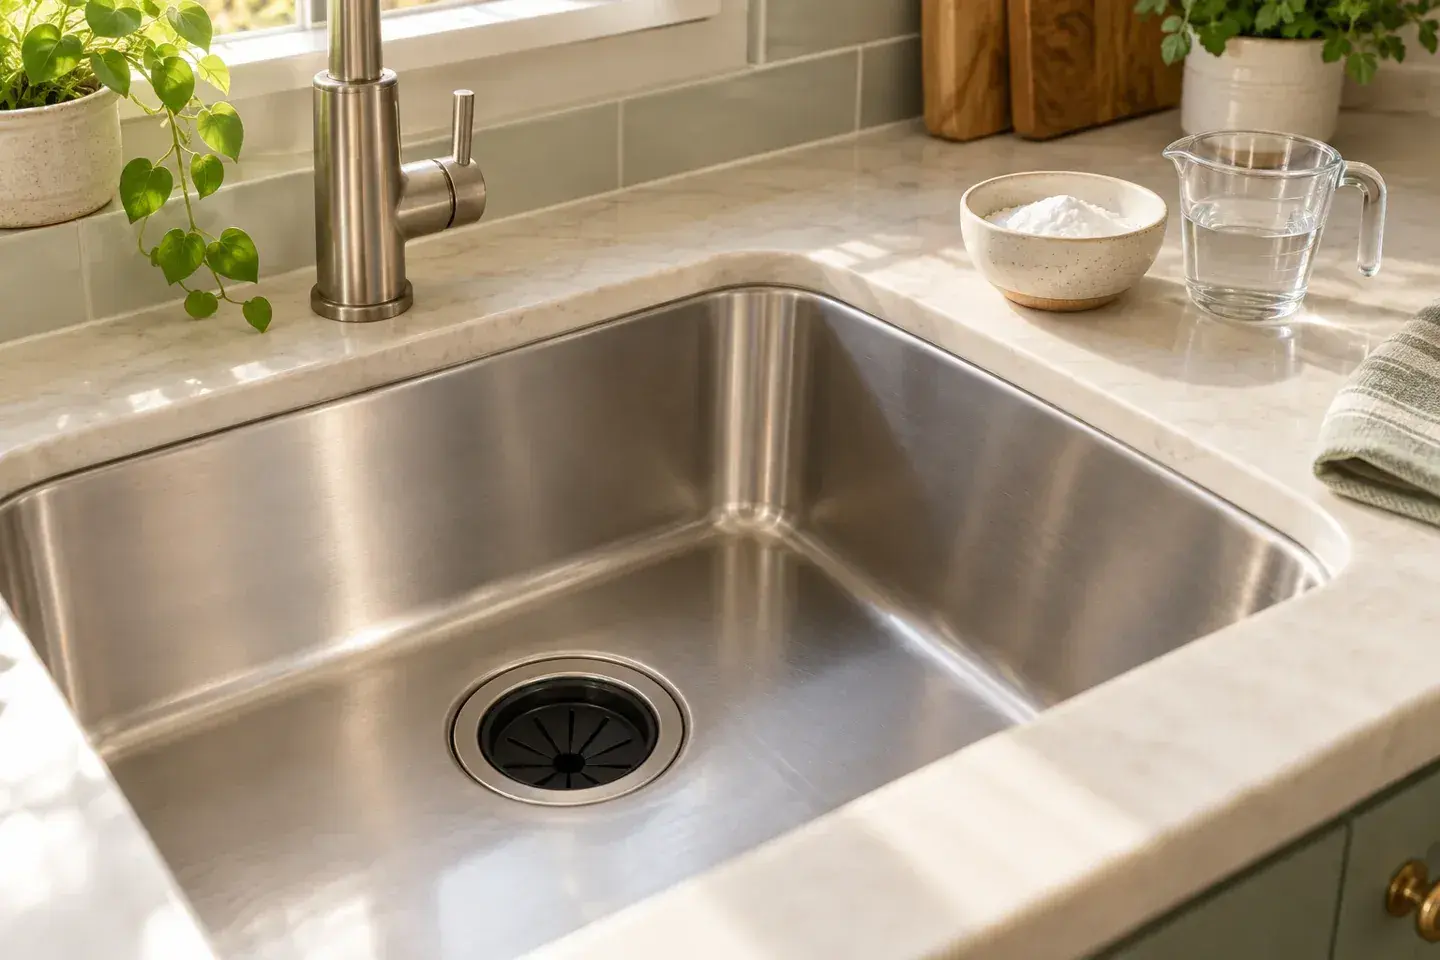
A smelly garbage disposal often needs food residue removed from the splash guard and accessible surfaces, followed by a thorough flush. Baking soda can be part of that routine, but pouring powder into a dirty disposal and walking away rarely addresses the whole problem.
For compatible InSinkErator models, the manufacturer's odor guidance uses one-quarter cup of baking soda mixed into a sink half-filled with warm water, then released while the disposal runs. Check your model's manual first. This is an odor-cleaning procedure for a draining, normally operating appliance, not a way to clear a blocked sink or repair a jam.
1. Check the drain and disconnect power
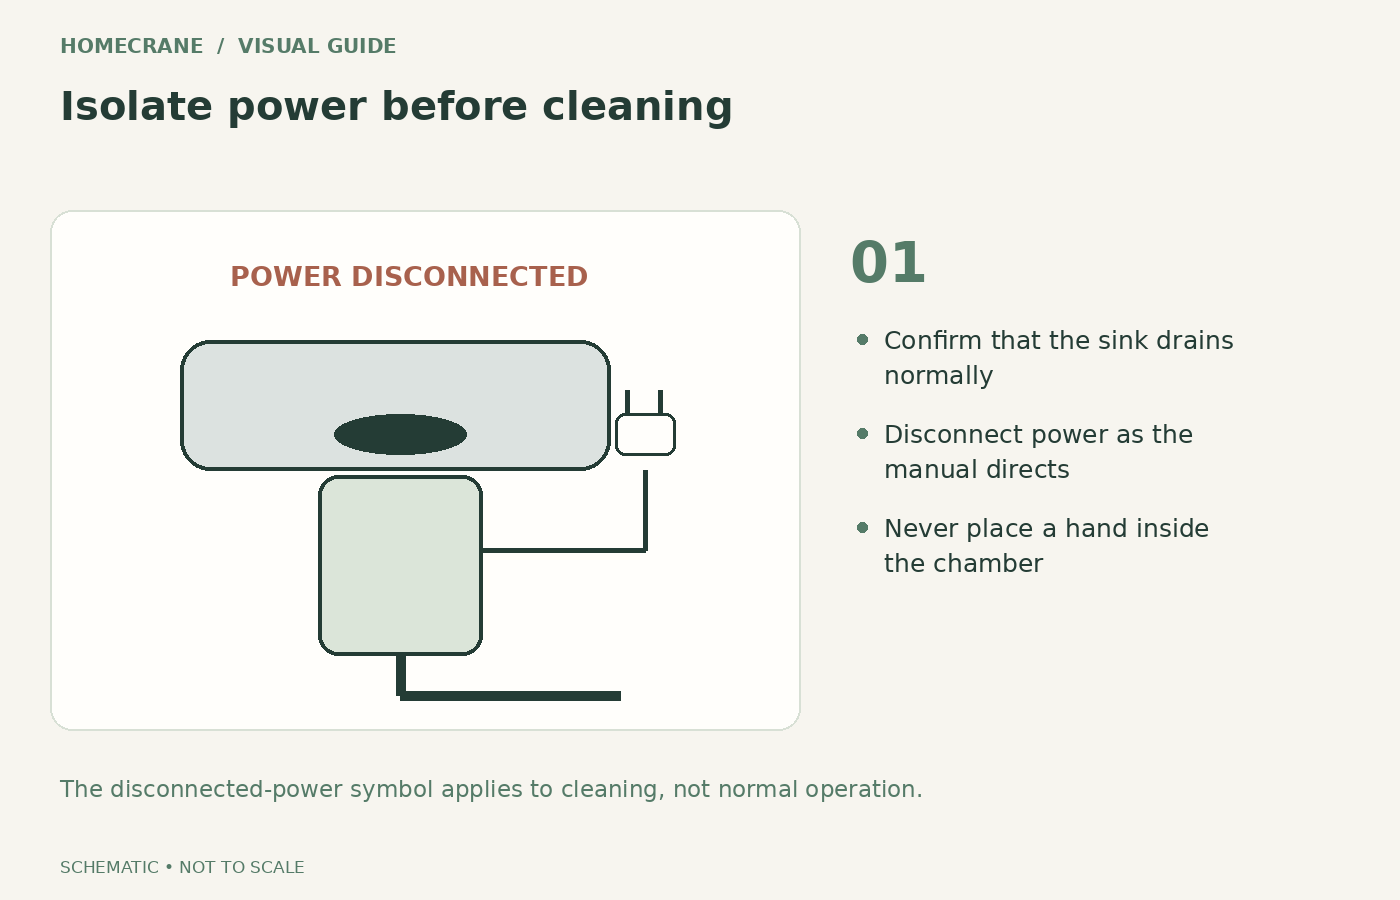
Run a little water with the disposal off. If the sink backs up, stop and resolve the drainage problem before attempting a sinkful flush. A humming motor, repeated breaker trip, leak, or burning smell also changes the job from routine cleaning to troubleshooting.
Turn the disposal switch off and disconnect its power as directed by the manual. For a plug-in unit, unplug it where safely accessible. For a hardwired unit, isolate the appropriate circuit. Keep the area dry and do not treat the wall switch alone as protection while cleaning accessible parts.
Gather baking soda, a measuring cup, a suitable stopper, a soft cleaning brush, dish soap for removable parts if permitted, and a towel. Never put a hand inside the grinding chamber. Do not try to remove a stuck object as part of this odor routine; use the manufacturer's separate jam-clearing instructions.
2. Clean the splash guard where residue collects
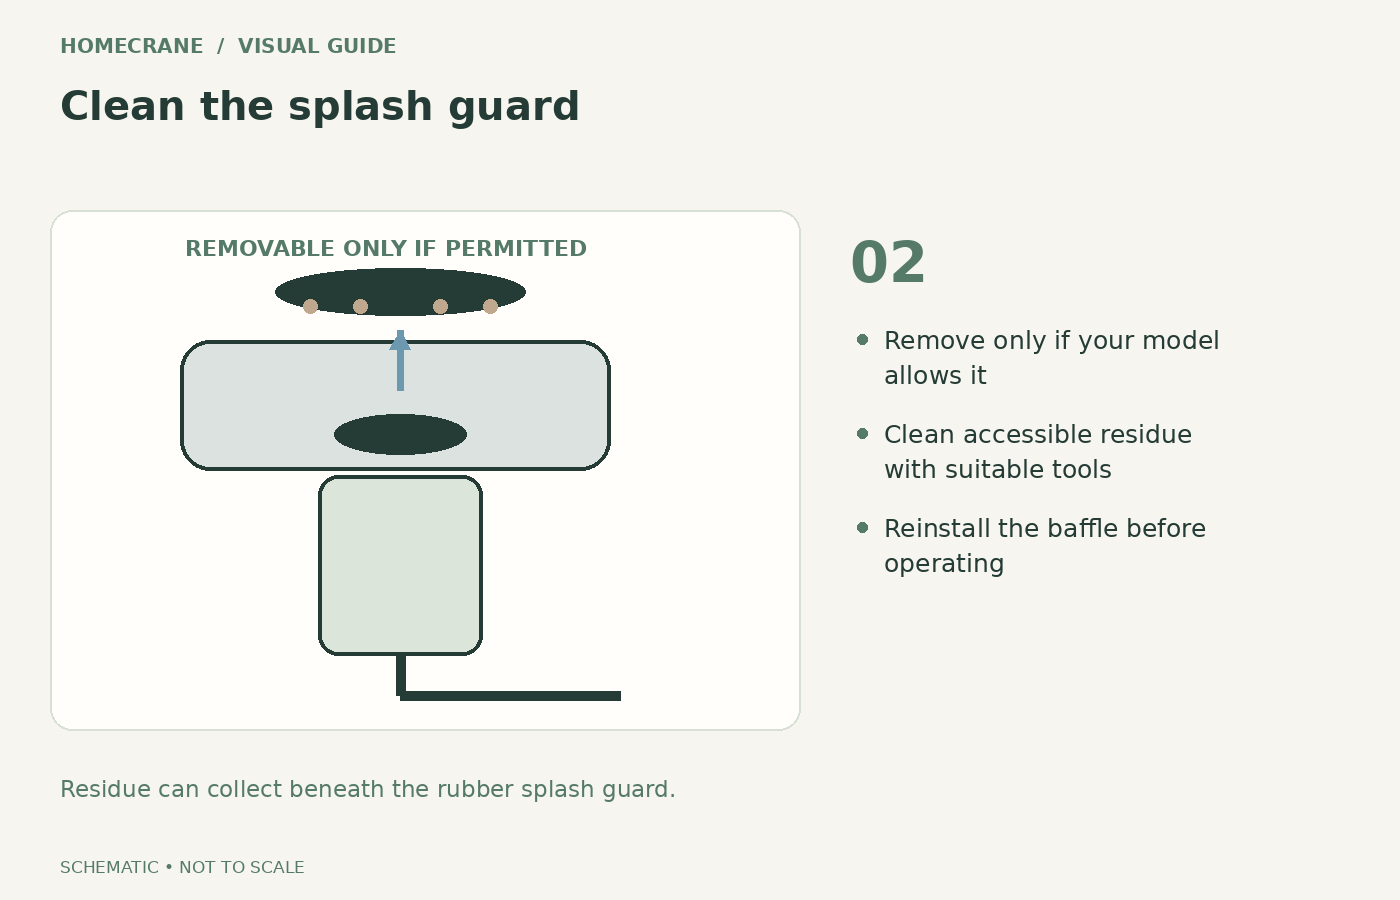
The underside of the rubber splash guard is easy to overlook because it is hidden from above. Food film there can keep producing odor even when the sink bowl looks clean.
If your model has a removable baffle, take it out only as the manual allows. Clean it away from the appliance with the approved method, rinse it, and inspect it for damage. If it is not removable, use an appropriate long-handled brush on accessible surfaces while the power remains disconnected. Keep hands outside the chamber and do not force tools into the mechanism.
Reinstall every removed part before operating the appliance. The InSinkErator care manual specifically warns against operating without the sink baffle in place. A badly damaged guard should be replaced with the correct part, rather than improvised from a generic piece of rubber.
3. Prepare the baking soda flush
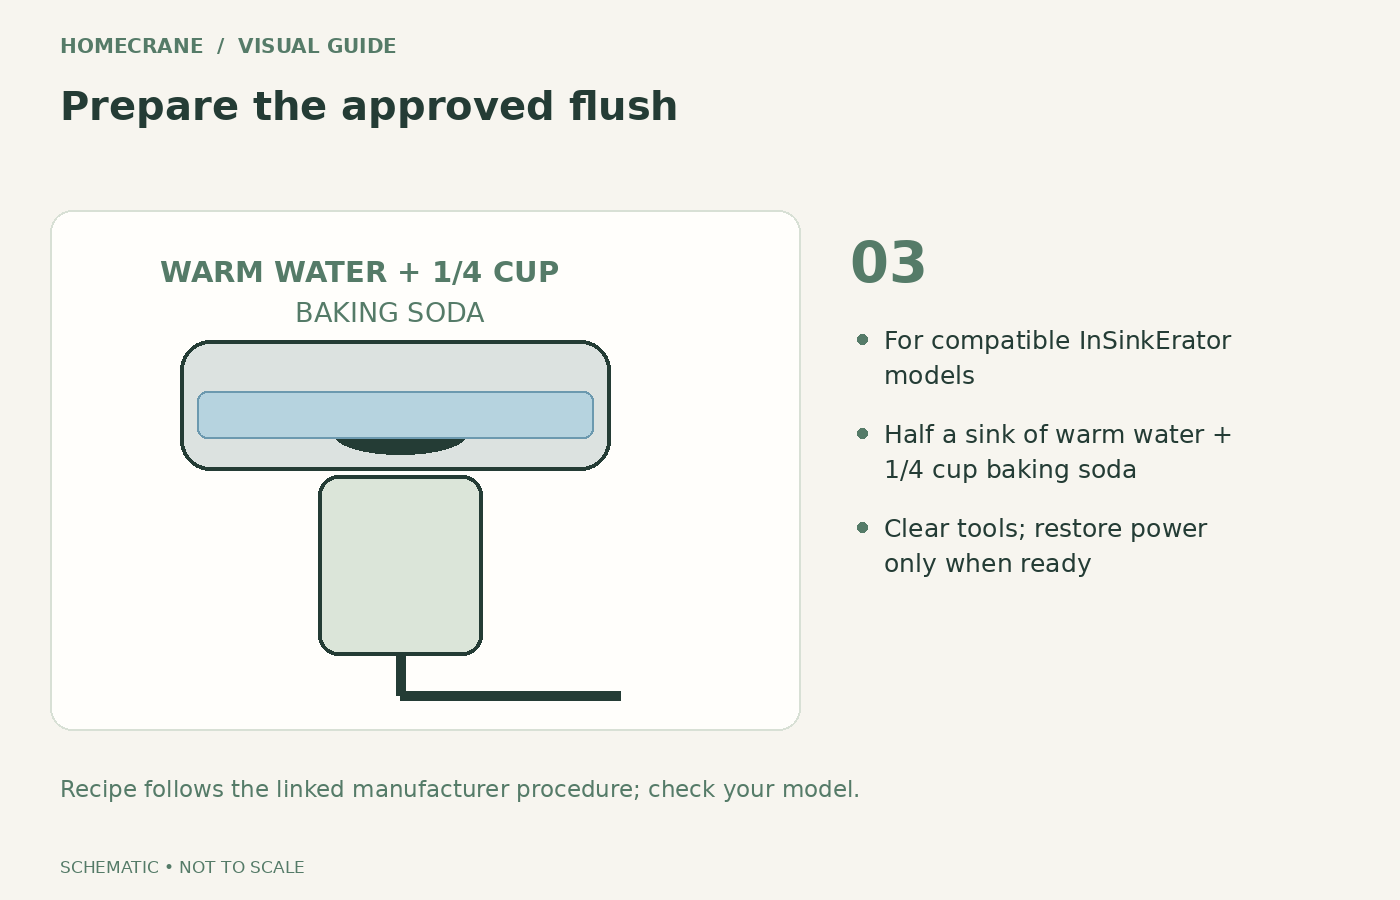
With the disposal off and the stopper fitted, fill the sink about halfway with warm water. For the InSinkErator procedure, mix in one-quarter cup of baking soda. Do not substitute boiling water or add other cleaning chemicals.
Remove tools and cleaning materials from the sink area. Reconnect power only after the baffle is installed, everything is clear, and you are ready to operate the unit normally. Keep hands dry around plugs and switches.
The manufacturer's odor-removal guidance calls for switching the disposal on and removing the stopper to flush the mixture through. Use the normal stopper handle from above; do not reach into the opening. If your appliance has a different operating system, such as a batch-feed design, follow its specific instructions instead of adapting this sequence by guesswork.
4. Flush, check, and reset your routine
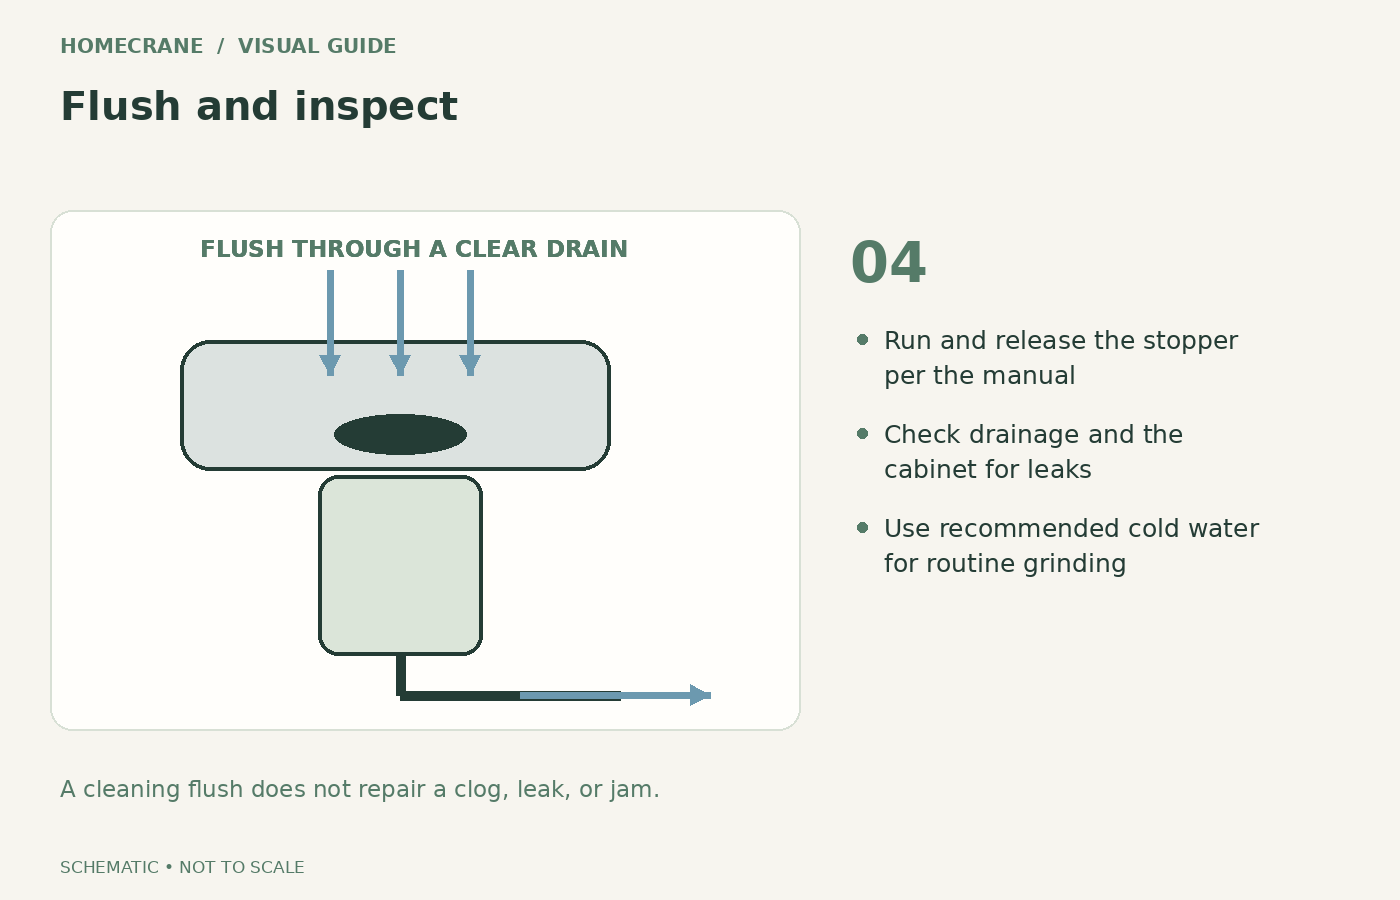
Complete the flush according to the manual, then switch the unit off. Check the sink and cabinet below for drainage or leaks. Once the area is clean, give it time before deciding whether an odor remains; fragrance can mask a problem without showing whether residue has actually been removed.
For ordinary food grinding, use the cold-water flow your manufacturer recommends and allow water to carry the particles away afterward. Do not feed grease, large fibrous scraps, or more material than the appliance is designed to handle. A disposal supplements sensible waste handling; it does not make every food scrap suitable for the drain.
Wipe the sink rim and stopper too. If odor returns quickly, note whether it follows dishwasher use, appears after the sink sits unused, or comes from the cabinet rather than the opening. Those observations help identify a cause beyond surface buildup.
Why not add vinegar for extra fizz?
Baking soda and vinegar produce a visible reaction, but bubbling is not proof that greasy residue has been removed or that a drain has been disinfected. This particular manufacturer procedure does not require vinegar.
Keeping to one approved method also avoids accidentally combining it with leftover drain cleaner or bleach. If a chemical drain product has already been used, follow that product's directions and tell anyone who works on the drain. Do not add a homemade mixture on top of unknown chemicals.
The goal is simple: remove accessible residue and move loosened material through a functioning drain. Do not describe the method as sterilizing the disposal, eliminating every germ, or guaranteeing a permanent cure.
When the smell needs a different fix
| Feature | Better next step | |
|---|---|---|
| Water remains in the sink | Address the blockage before flushing | |
| Motor hums but does not grind | Follow the model's jam procedure | |
| Moisture beneath the sink | Locate and repair the leak | |
| Odor returns immediately after cleaning | Check connected drains and plumbing | |
| Burning smell or electrical trouble | Stop using the appliance and arrange service |
Persistent sewer-like odor can involve a trap, vent, connection, or another plumbing issue. More baking soda will not repair those defects. If you cannot identify the source, a plumber can inspect the system without repeated experiments.
Questions homeowners ask
How often should I do this?
Use odor and visible residue as prompts, alongside the manufacturer's maintenance schedule. Frequent recurrence is a reason to investigate what is being fed into the appliance and whether drainage is normal.
Can I use the method in a septic-connected home?
Check both the disposal instructions and the guidance for your septic system. A cleaning method being acceptable for an appliance does not establish that adding more food solids to a particular septic system is advisable.
Sources
- InSinkErator care manual. Checked October 11, 2026
- odor-removal guidance. Checked October 11, 2026
Share this article
Get new guides by email
Practical home articles and free resources. No spam, and you can unsubscribe at any time.
Keep reading
Painted Kitchen Countertops After Two Years: What to Inspect and Expect
Assess painted countertops after two years with a practical inspection guide for edges, sink areas, scratches, cleaning, and repair decisions.
October 2026, 3 min read

How to Help Prevent Frozen Pipes in Minnesota Winters
Prepare Minnesota plumbing for winter with guidance on vulnerable pipes, heat, insulation, outdoor lines, and when to contact a plumber or utility.
October 2026, 5 min read

Repointing Brick Cost in Pennsylvania: What You Need to Know
Compare Pennsylvania brick repointing costs with Philadelphia context, wall-area calculations, compatible mortar, access, and a clear sample budget.
October 2026, 4 min read