How to Clean Grout Without Scrubbing for Hours
Clean grout with less effort using a compatible cleaner, proper contact time and controlled rinsing, while avoiding damage to tile and stone.
By Home Crane Editors. . 4 min read.
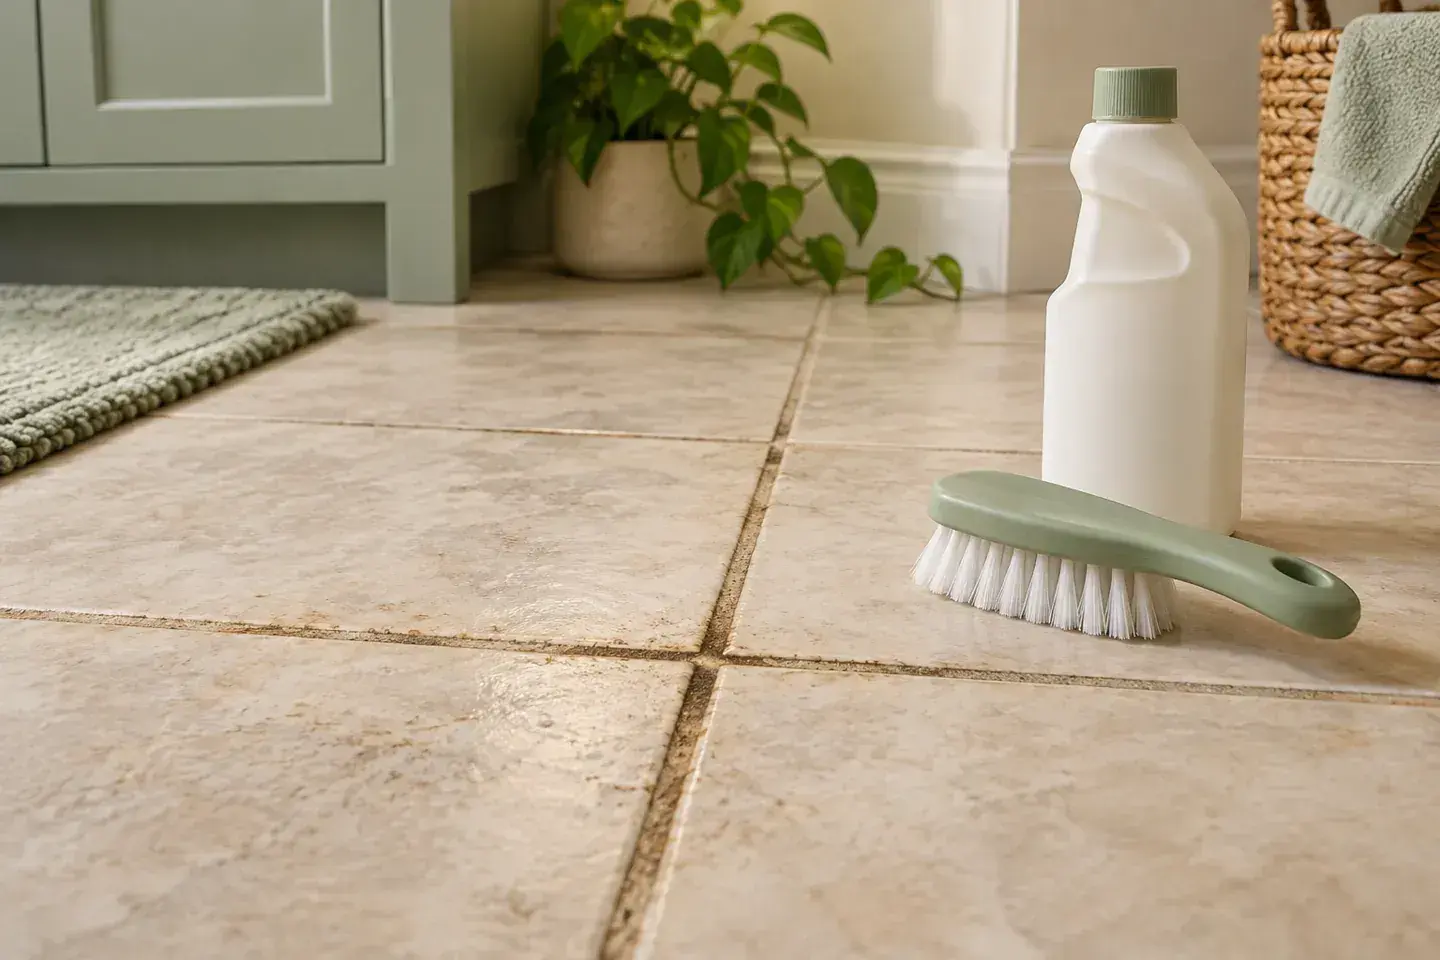
The useful shortcut is the right cleaner, the correct contact time, and removing the loosened dirt promptly. There is no universal no-scrub mixture that safely restores every grout joint. Some light brushing may still be necessary, while stained, damaged, or discolored grout may need treatment beyond cleaning.
First identify the tile and grout. Natural stone, cement grout, epoxy grout, and premixed products can have different care requirements. A cleaner suitable for one combination can damage another, especially where acid-sensitive stone is involved.
This guide focuses on routine dirt and residue. Persistent mold associated with moisture, crumbling joints, and repeated white deposits deserve diagnosis rather than stronger cleaning by default.
1. Identify the residue and test the surface
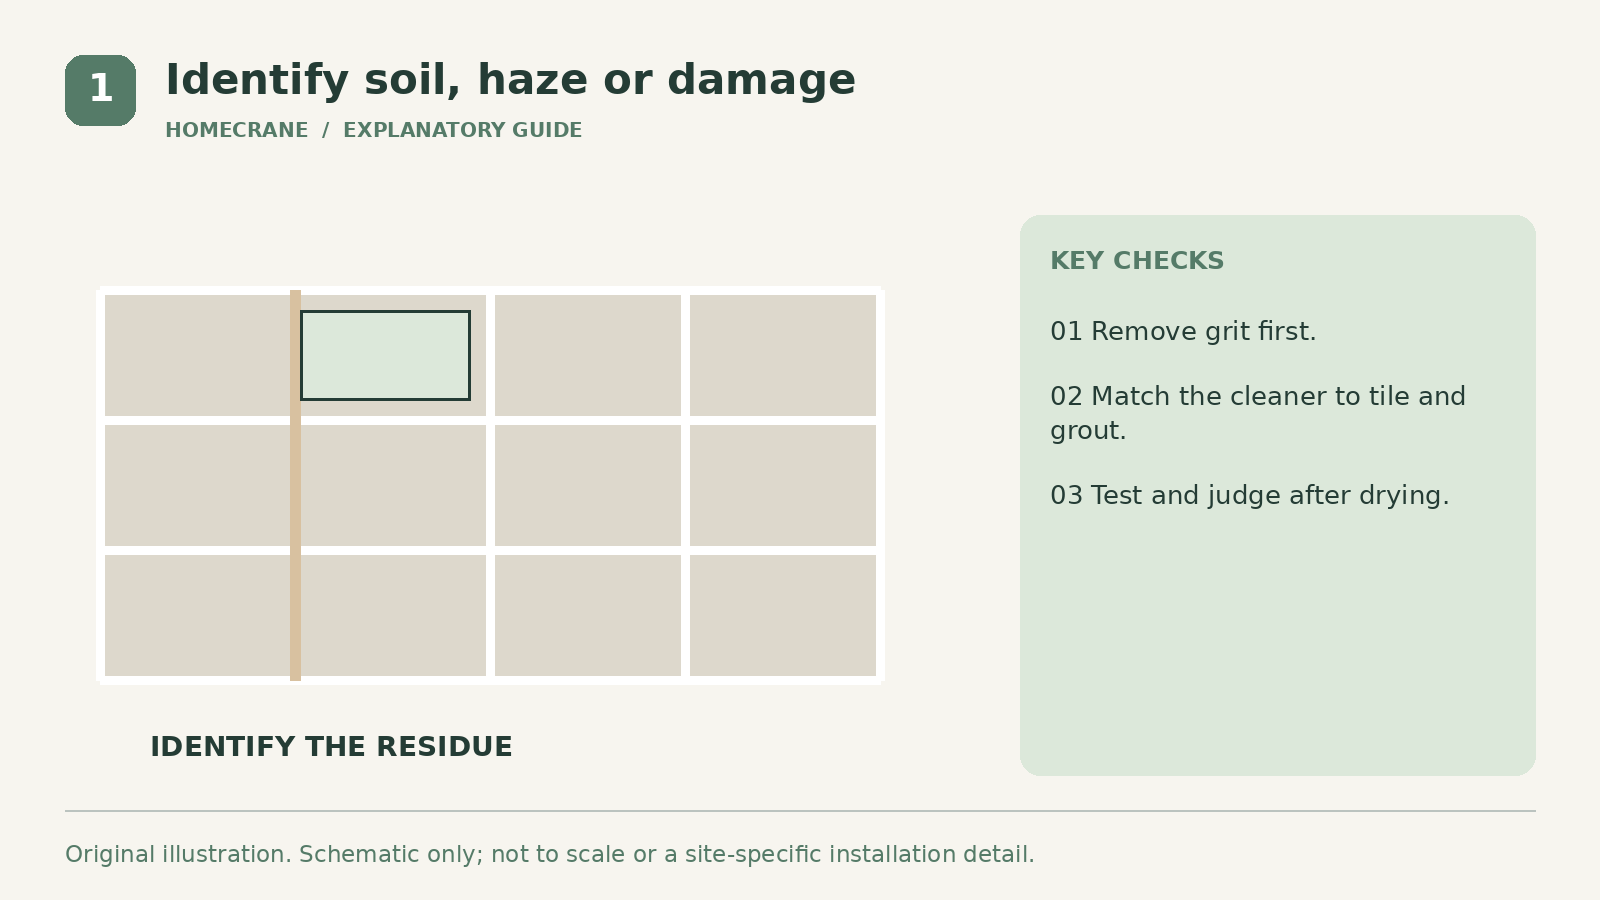
Vacuum or sweep loose grit before wet cleaning. That keeps abrasive particles from being dragged across the surface and reduces the dirt the cleaner must handle. Use a tool appropriate for the tile finish.
Look at where the discoloration occurs. Kitchen grease, tracked-in soil, soap residue, construction haze, and mineral deposits are not the same cleaning problem. A white film returning after washing may require investigation of moisture or installation residue.
CUSTOM Building Products' TileLab Grout & Tile Cleaner is an example of a nonacidic cleaner intended for common dirt and residue. Its label is more useful than a generic promise that any strong bathroom product will work.
Test the selected cleaner in a small inconspicuous area, including both grout and tile. Let the area dry before judging color and sheen. A wet joint often looks darker, so immediate appearance can mislead you about the result.
2. Let an approved cleaner do its specified work
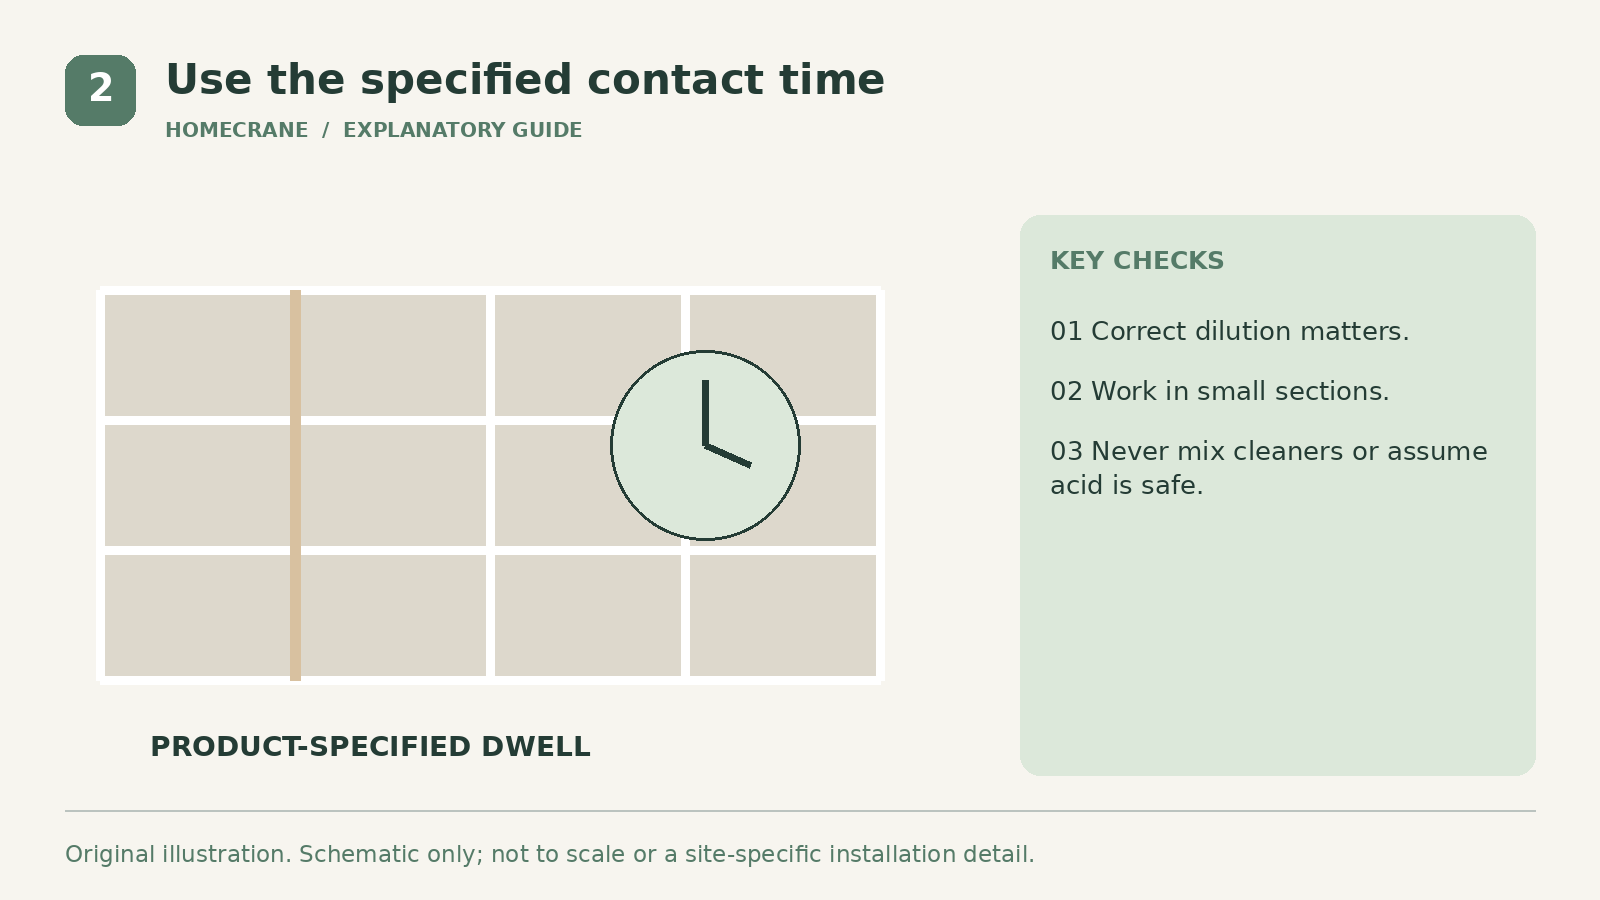
Use the dilution, amount, and contact time stated for the exact product. A stronger mixture is not automatically more effective. It can leave residue, affect sealers, or damage finishes.
Work in manageable sections so you can control the dwell period and keep the cleaner from drying where the instructions prohibit it. "Let it sit" is useful only when the product and surface permit that contact time. Do not leave an unknown chemical on grout for hours.
CUSTOM's stone-care information notes the acid sensitivity of materials such as marble, travertine, and limestone. That is why vinegar or acidic toilet cleaner is a poor universal grout hack around stone.
Never mix cleaners, including bleach with acids or ammonia-containing products. Keep ventilation adequate and use the protection specified on the label. Avoid overspray on metal, wood, painted trim, and nearby textiles.
3. Agitate gently, then remove the dirty liquid
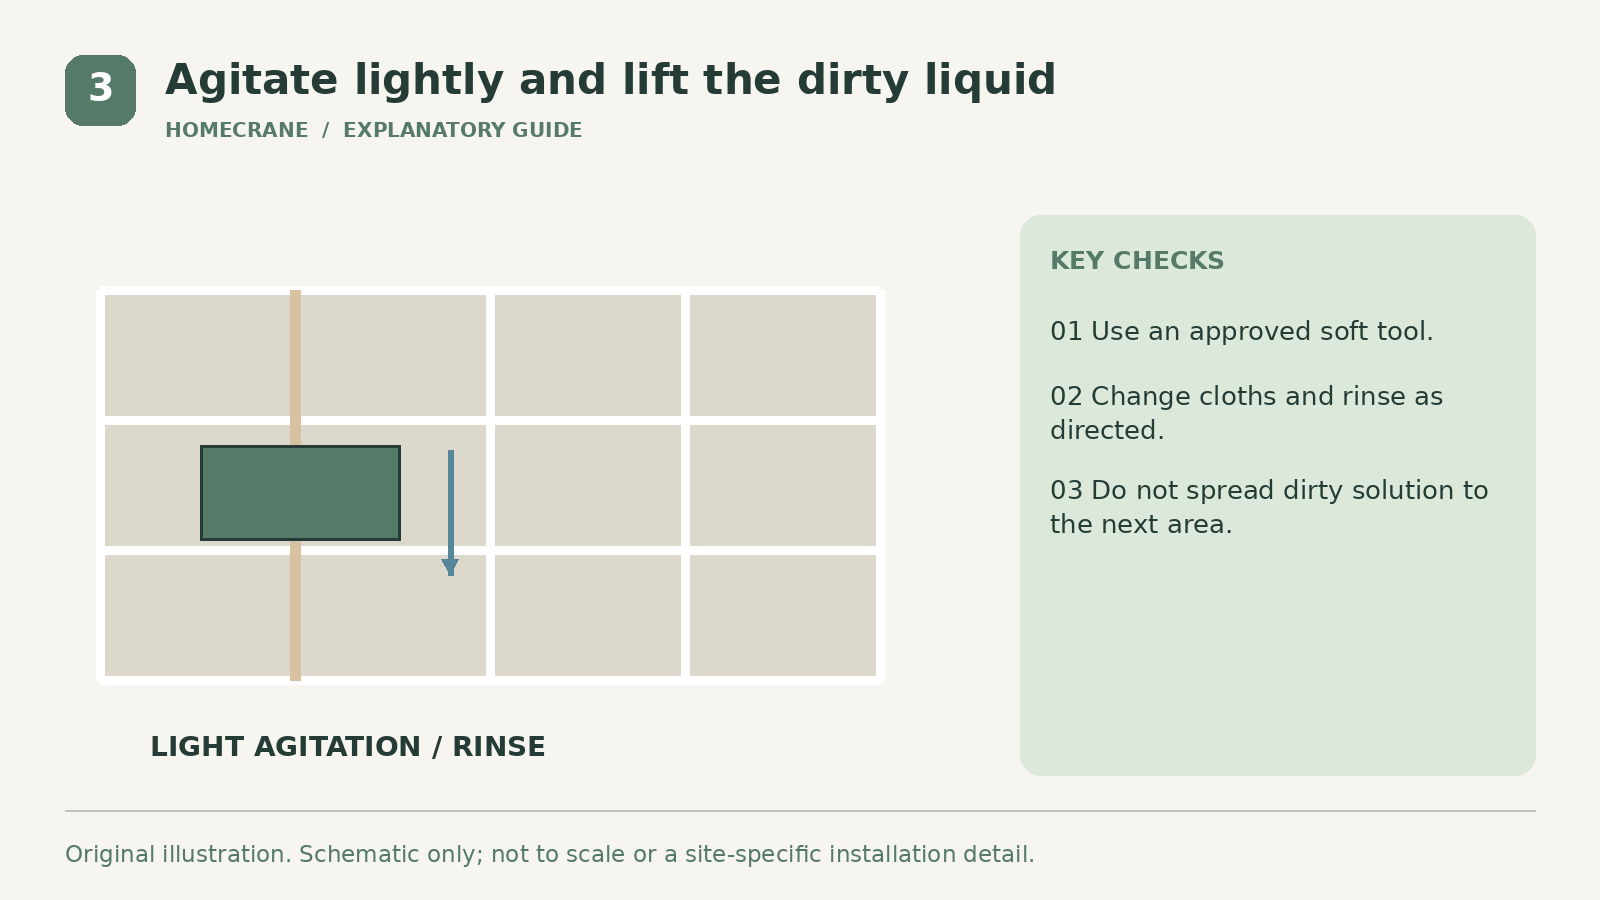
Use a soft nylon brush or other tool approved for the grout and tile. Work along the joint with controlled pressure. The aim is to release softened soil, not abrade the grout or force cleaner beneath damaged edges.
Avoid wire brushes, aggressive powered attachments, and abrasive pads unless the surface manufacturer specifically allows them. A tool that removes the top of the joint may appear to clean while shortening the life of the finish.
Lift away the dirty solution with clean cloths or the approved extraction method. Rinse as directed and change water or cloth faces frequently. Spreading the same gray liquid across the next section can leave the floor looking dull after it dries.
Inspect only when dry. If the product permits another pass and the first pass improved the result without damage, a controlled repeat may help. If there is no improvement, reassess the stain type rather than increasing force indefinitely.
Keep the floor safe to walk on during the process. Work toward an exit and prevent other people from stepping onto wet cleaner. A small section at a time is easier to manage than flooding the whole room.
4. Decide whether the remaining problem is staining or damage
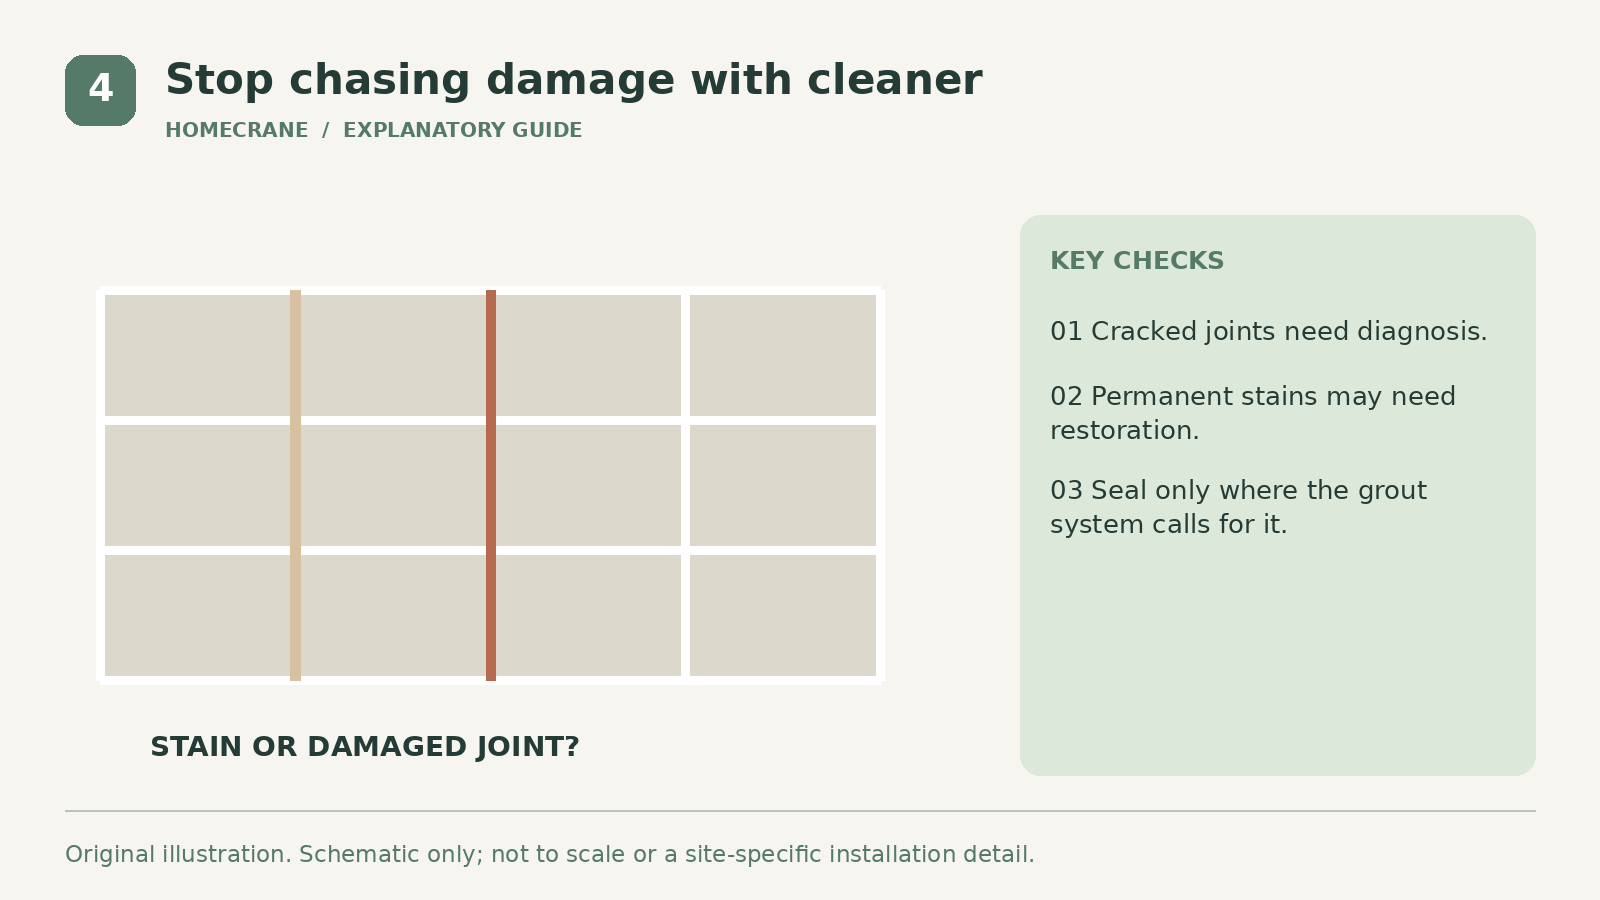
Permanent discoloration may not clean away. A compatible grout colorant or restorative treatment can sometimes improve appearance after proper preparation, but it is a different project with its own limitations. Follow the grout and treatment manufacturers' compatibility instructions.
Cracked, loose, or missing grout needs an appropriate repair. Repeated cracking can indicate movement that regrouting alone will not solve. A joint at a change of plane may require a flexible sealant detail rather than ordinary grout.
Construction haze also needs the correct product. CUSTOM's grout-haze remover information describes an acidic treatment for particular residues. That product category should not be confused with routine maintenance cleaner or used indiscriminately on acid-sensitive materials.
After cleaning, seal only if the grout system calls for it and the selected sealer is compatible. Some grout types do not need a topical sealer. Sealing does not make the assembly waterproof or eliminate future cleaning.
| Feature | Better next step | |
|---|---|---|
| Everyday dirt or soap residue | Compatible routine cleaner and controlled dwell | |
| Greasy buildup | Cleaner approved for the residue and surface | |
| New-installation haze | Identify grout type and use its specified removal method | |
| Cracked or crumbling joints | Diagnose and repair | |
| Color unchanged after suitable cleaning | Assess permanent staining or a restoration system |
Is baking soda paste harmless?
Not automatically. Abrasion, residue, and compatibility still matter. Do not assume a household ingredient is suitable for every stone, sealer, or grout.
Can steam replace chemicals?
Only where the tile and grout system permits it. Heat and pressure can be unsuitable for some materials or damaged joints. Use the care instructions rather than a blanket steam-cleaning recommendation.
How do I keep it easier next time?
Remove loose dirt regularly, wipe spills promptly, and use a compatible routine cleaner before heavy buildup develops. Fix moisture and drainage problems instead of repeatedly bleaching their symptoms.
Sources
- CUSTOM Building Products' TileLab Grout & Tile Cleaner. Checked October 11, 2026
- CUSTOM's stone-care information. Checked October 11, 2026
- CUSTOM's grout-haze remover information. Checked October 11, 2026
Share this article
Get new guides by email
Practical home articles and free resources. No spam, and you can unsubscribe at any time.
Keep reading
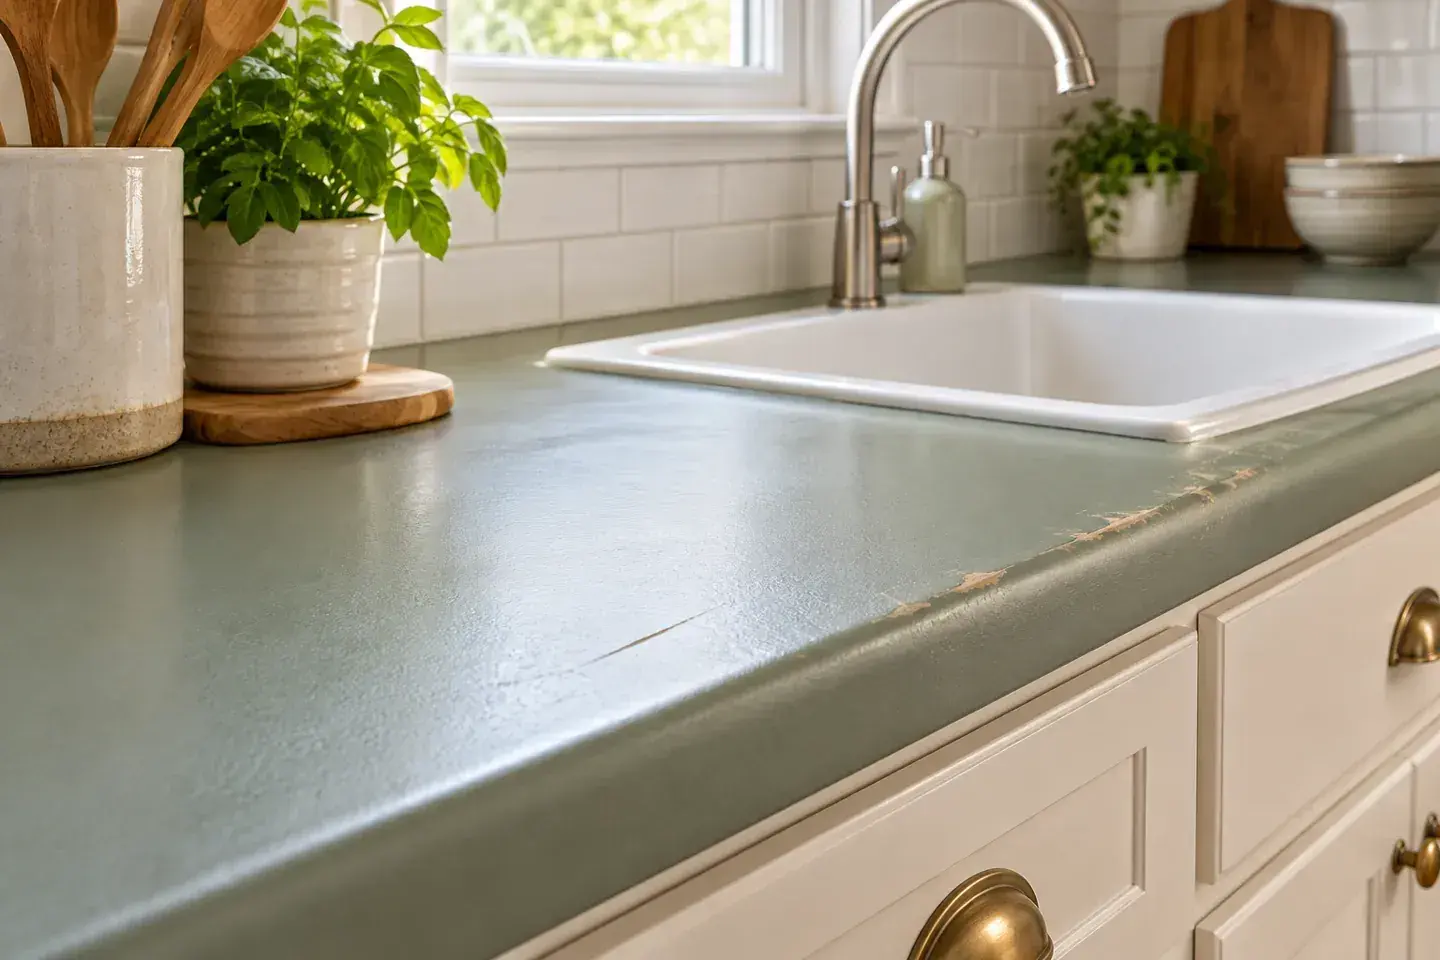
Painted Kitchen Countertops After Two Years: What to Inspect and Expect
Assess painted countertops after two years with a practical inspection guide for edges, sink areas, scratches, cleaning, and repair decisions.
October 2026, 3 min read

How to Help Prevent Frozen Pipes in Minnesota Winters
Prepare Minnesota plumbing for winter with guidance on vulnerable pipes, heat, insulation, outdoor lines, and when to contact a plumber or utility.
October 2026, 5 min read
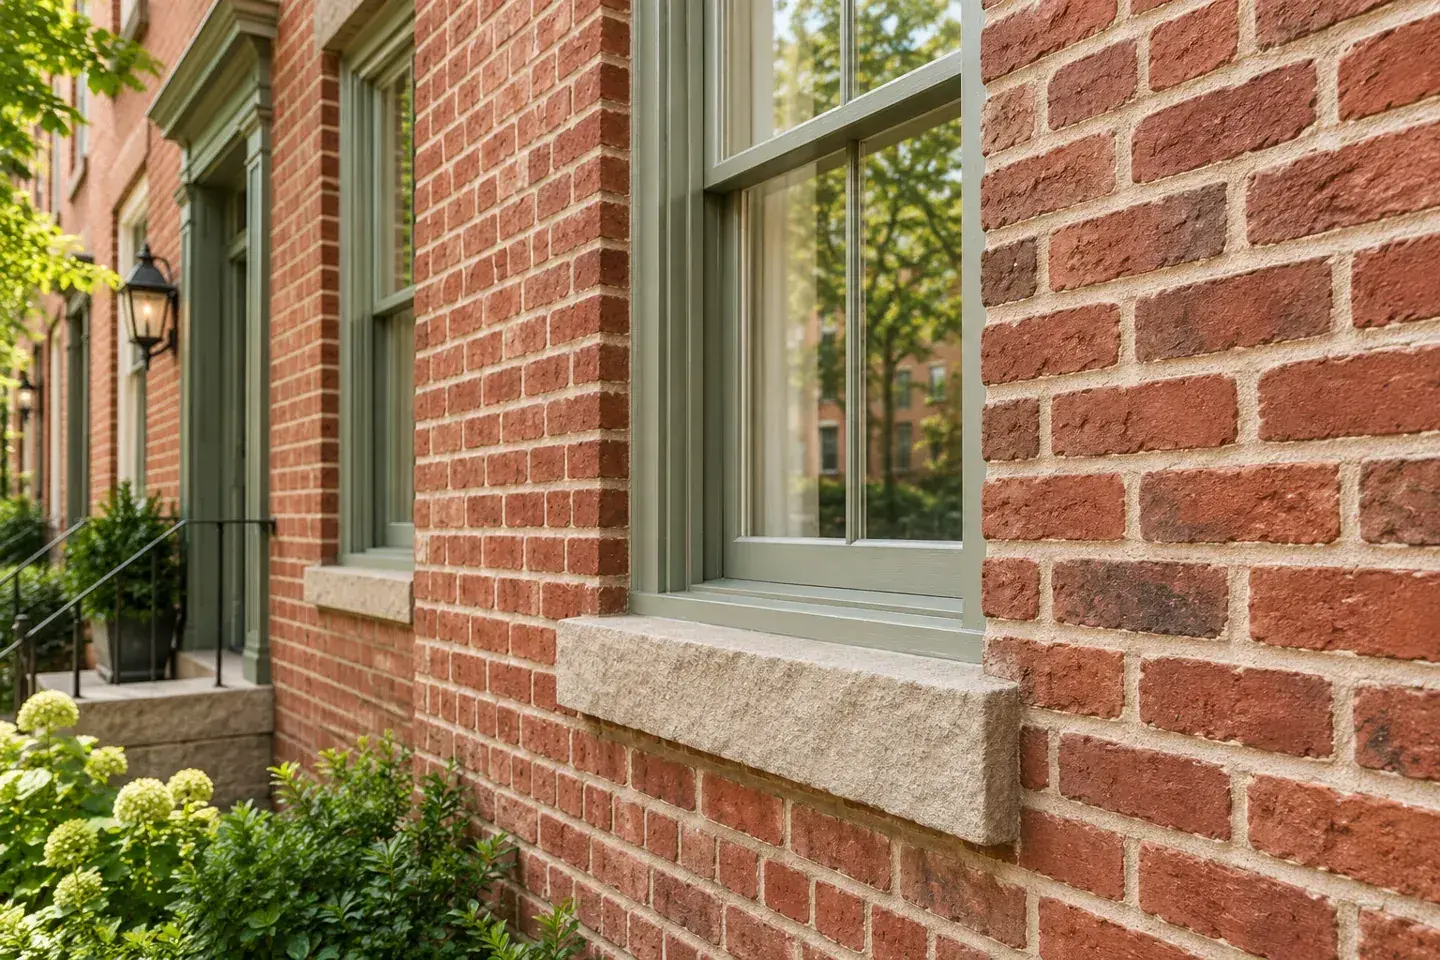
Repointing Brick Cost in Pennsylvania: What You Need to Know
Compare Pennsylvania brick repointing costs with Philadelphia context, wall-area calculations, compatible mortar, access, and a clear sample budget.
October 2026, 4 min read