How to Extract a Stripped Screw from a Metal Door Hinge
Remove a stripped hinge screw with a supported door, correct engagement and a matched extraction method, then restore a reliable attachment.
By Home Crane Editors. . 4 min read.
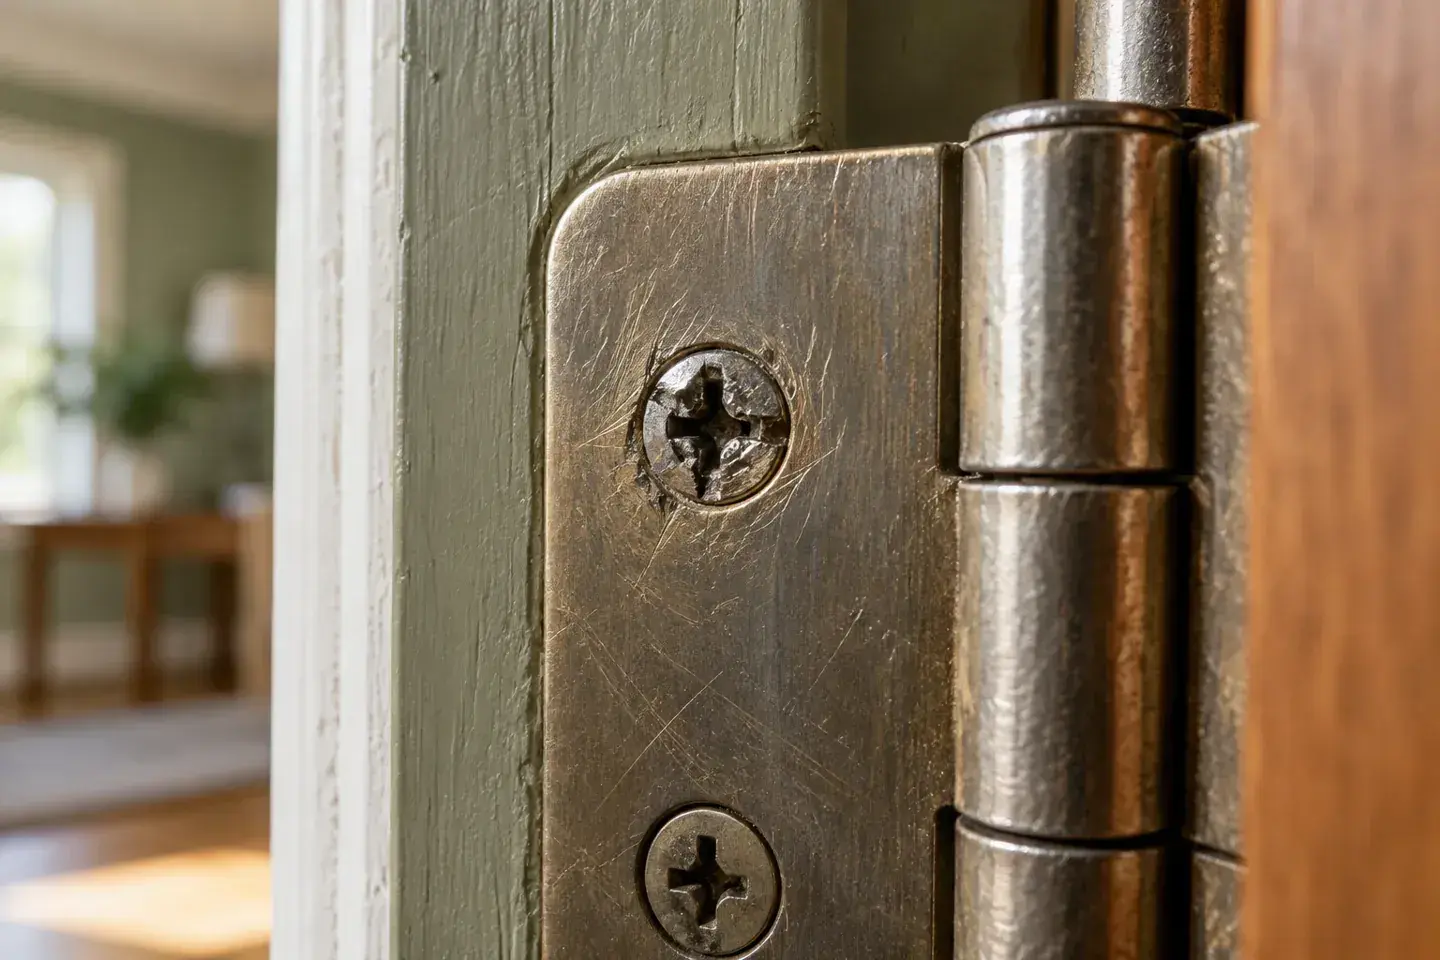
Support the door, stop using the slipping bit, and try the least destructive method that still has a chance of gripping the screw. Repeated high-speed driving usually removes more metal from the head and makes extraction harder.
A stripped head is different from stripped threads. If the driver cannot grip the recess, the head is damaged. If the screw turns but does not tighten or back out, the threads or attachment may be compromised. Diagnose which problem you have before choosing a tool.
Heavy, fire-rated, security, or unfamiliar doors deserve qualified help. Removing hinge fasteners can let a door shift or fall. Do not rely on one remaining screw to support a heavy door while you experiment.
1. Stabilize the door and inspect the fastener
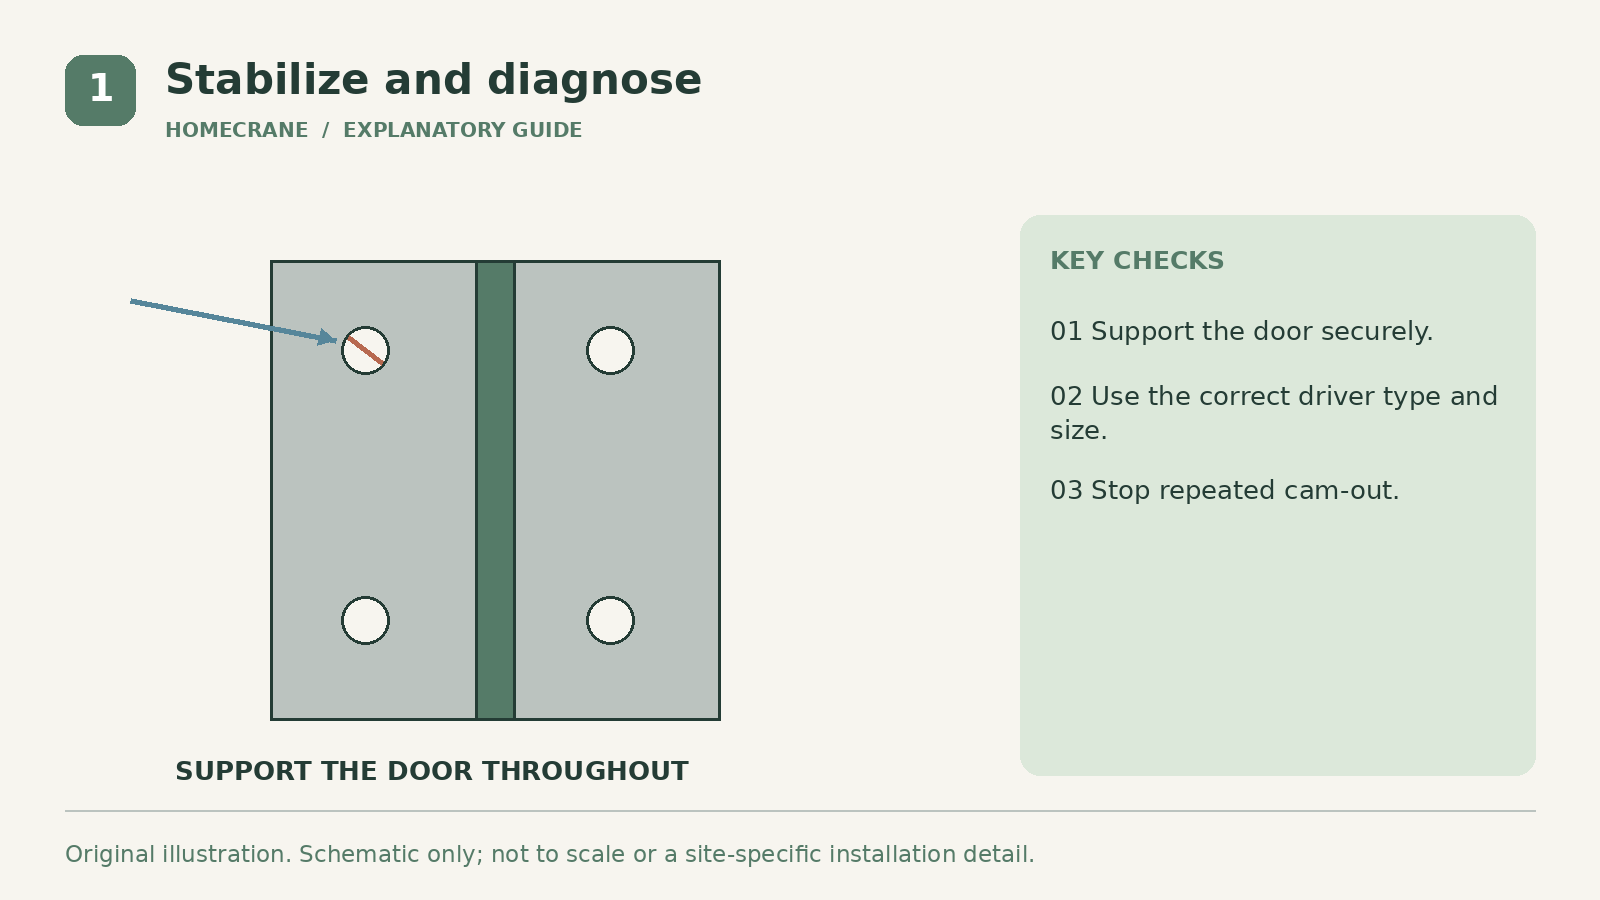
Support the door appropriately without loading fragile trim or creating a trip hazard. Keep people clear and protect the floor. If you cannot make the door stable, stop and call a door or hardware professional.
Clean debris or paint from the screw recess carefully without enlarging it. Use the correct driver type and size. Phillips, Pozidriv, square, and other recesses can look similar but need different engagement.
Try controlled manual pressure with a sound matching bit if enough of the recess remains. Keep the tool aligned with the screw. Stop if it cams out rather than grinding through repeated attempts.
Check whether the screw is rusted, painted in, or loaded by a misaligned hinge. A compatible penetrating product may help some corroded metal connections, but protect finishes and follow its instructions. Do not use an open flame or improvised heating near a finished door, seals, or unknown materials.
2. Use external grip only if the head is accessible
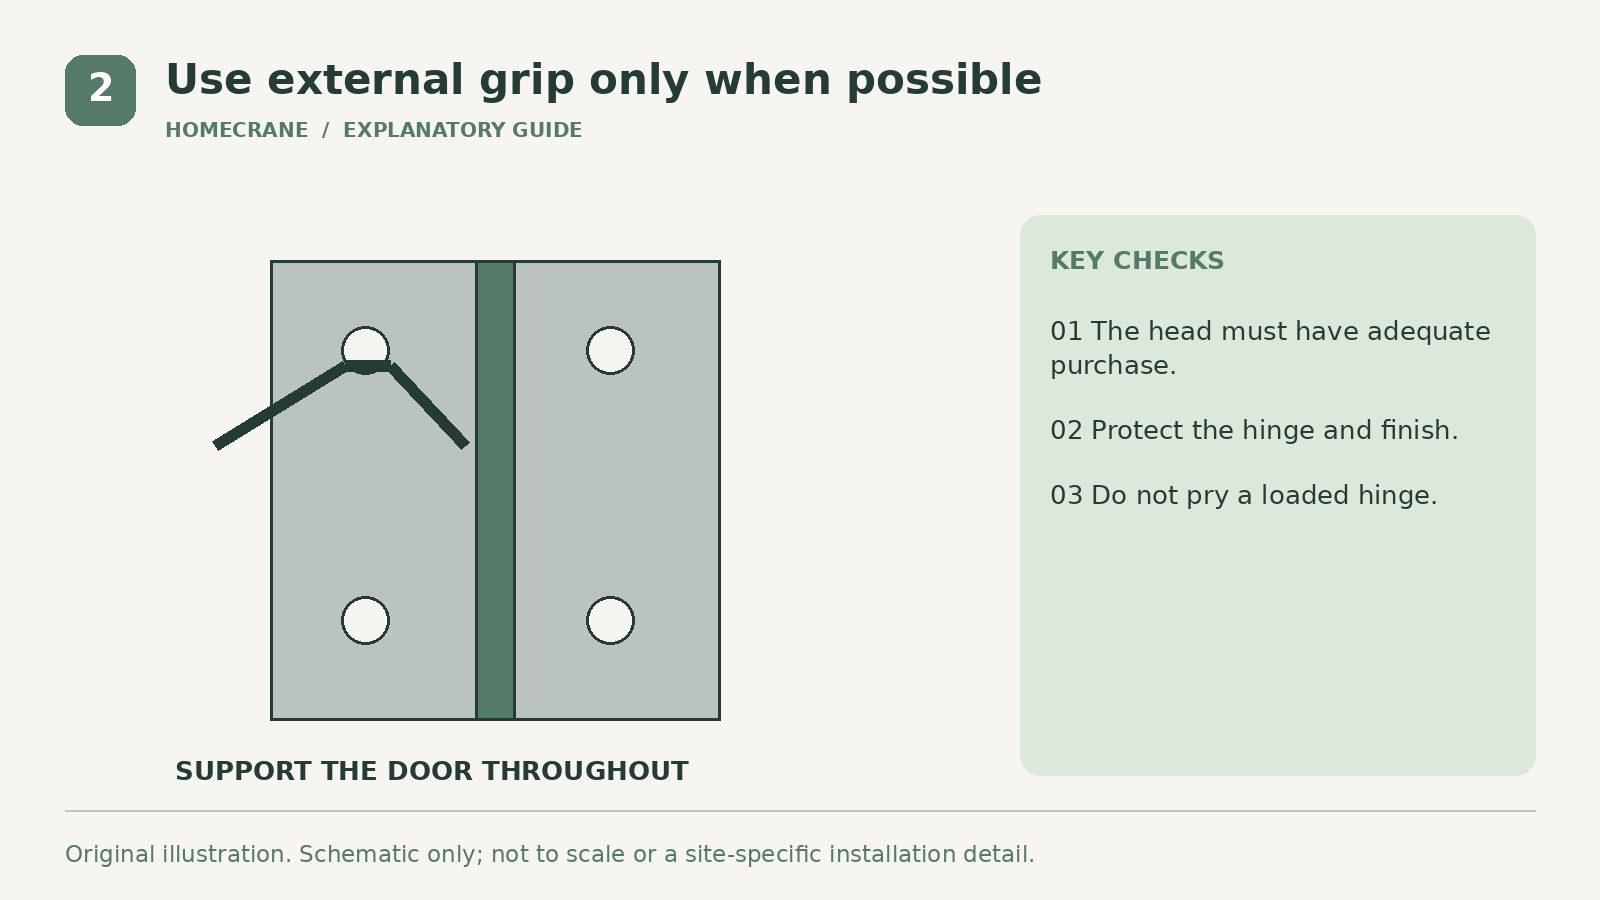
If the head projects enough, an appropriate gripping tool may turn it without drilling. Protect the hinge surface and keep the tool from slipping into the door finish. A countersunk head flush with the hinge often offers too little purchase for this approach.
Do not pry the hinge outward to expose the screw while the door is loading it. That can distort the leaf, damage the frame, or release the door unexpectedly. Maintain support and work within a stable arrangement.
Rubber-band tricks sometimes add friction to a lightly damaged recess, but they are not reliable for a seized screw. If a cautious attempt fails, move to a suitable method rather than packing more material into a badly rounded head.
Avoid cutting a new slot with a powered tool unless you have the skill, access, and protection for the specific situation. Sparks, metal fragments, and a slipping disc can damage the door and injure the operator. A professional extraction may be cheaper than replacing the hinge and refinishing the door.
3. Use a correctly sized extractor when drilling is appropriate
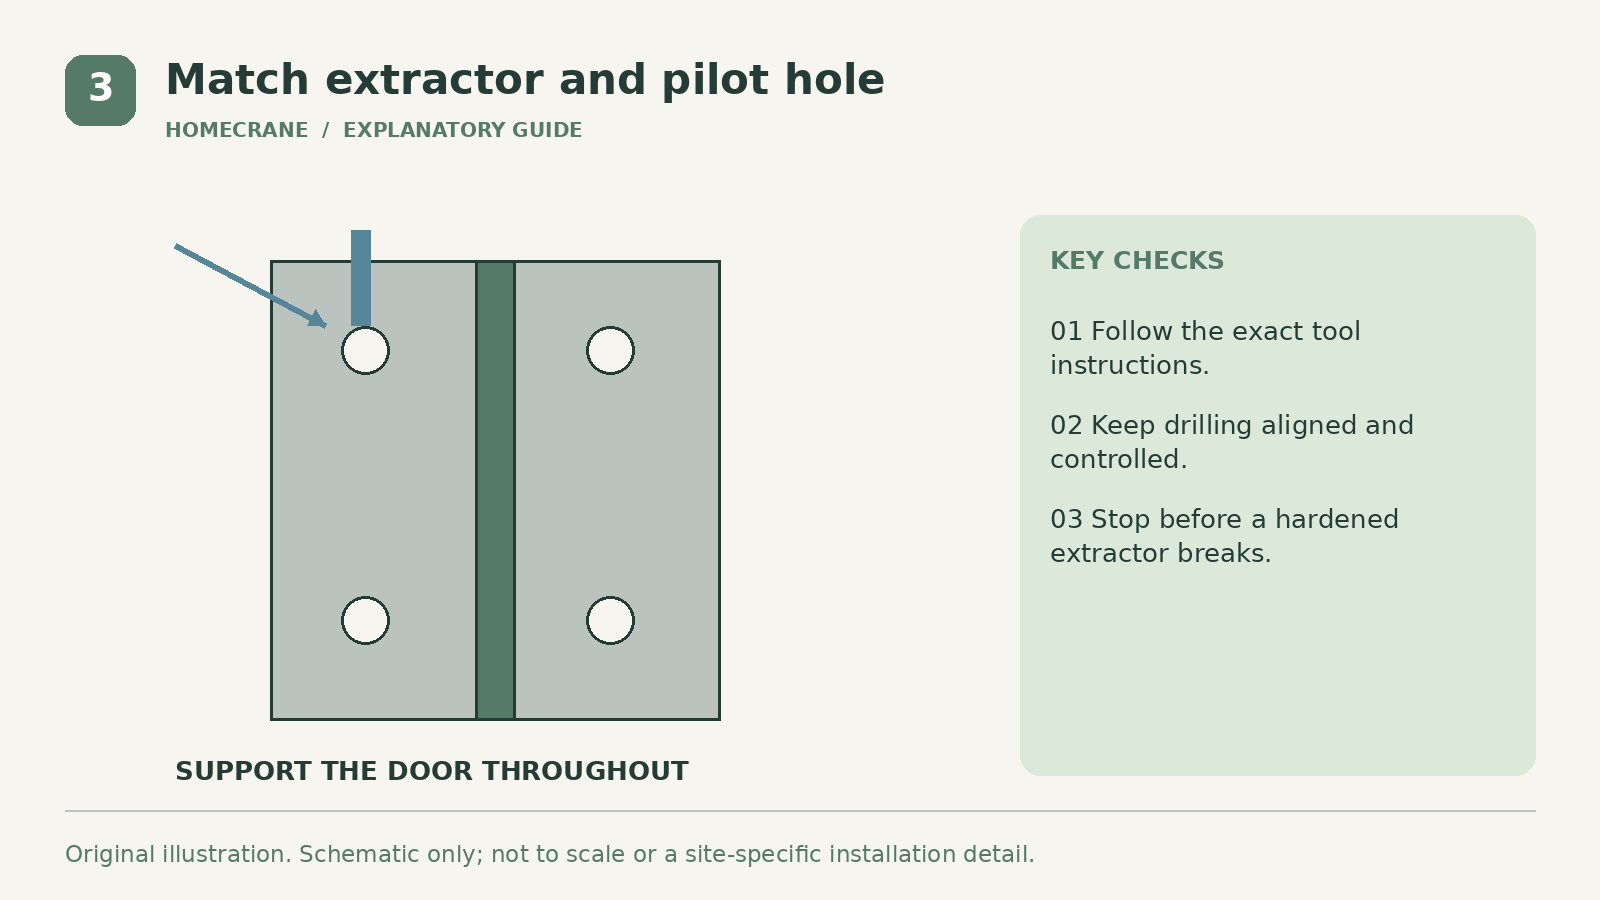
Choose an extractor system matched to the screw size and material. Read its required drill size, pilot-hole depth, drive method, and direction. A small countersunk hinge screw may not have enough material for an oversized extractor.
IRWIN's spiral extractor and drill-bit products pair extractors with specified drill sizes and explain the left-hand gripping design. This illustrates why the tool and pilot hole need to match; it is not an instruction to use that example size on every hinge screw.
Wear eye protection and contain metal chips. Keep the drill centered and aligned, using the speed and method suitable for the tool and metal. Protect the surrounding hinge and avoid drilling beyond the fastener into unknown material.
Use the specified turning tool with controlled force. If the extractor twists, binds, or does not move the screw, stop. A broken hardened extractor can be much harder to remove than the original screw.
Some extraction systems use a different sequence, such as a dedicated damaged-head bit. Follow that system rather than combining unrelated steps. Do not assume an impact driver is permitted merely because the tool fits its chuck.
4. Repair the attachment before reinstalling the screw
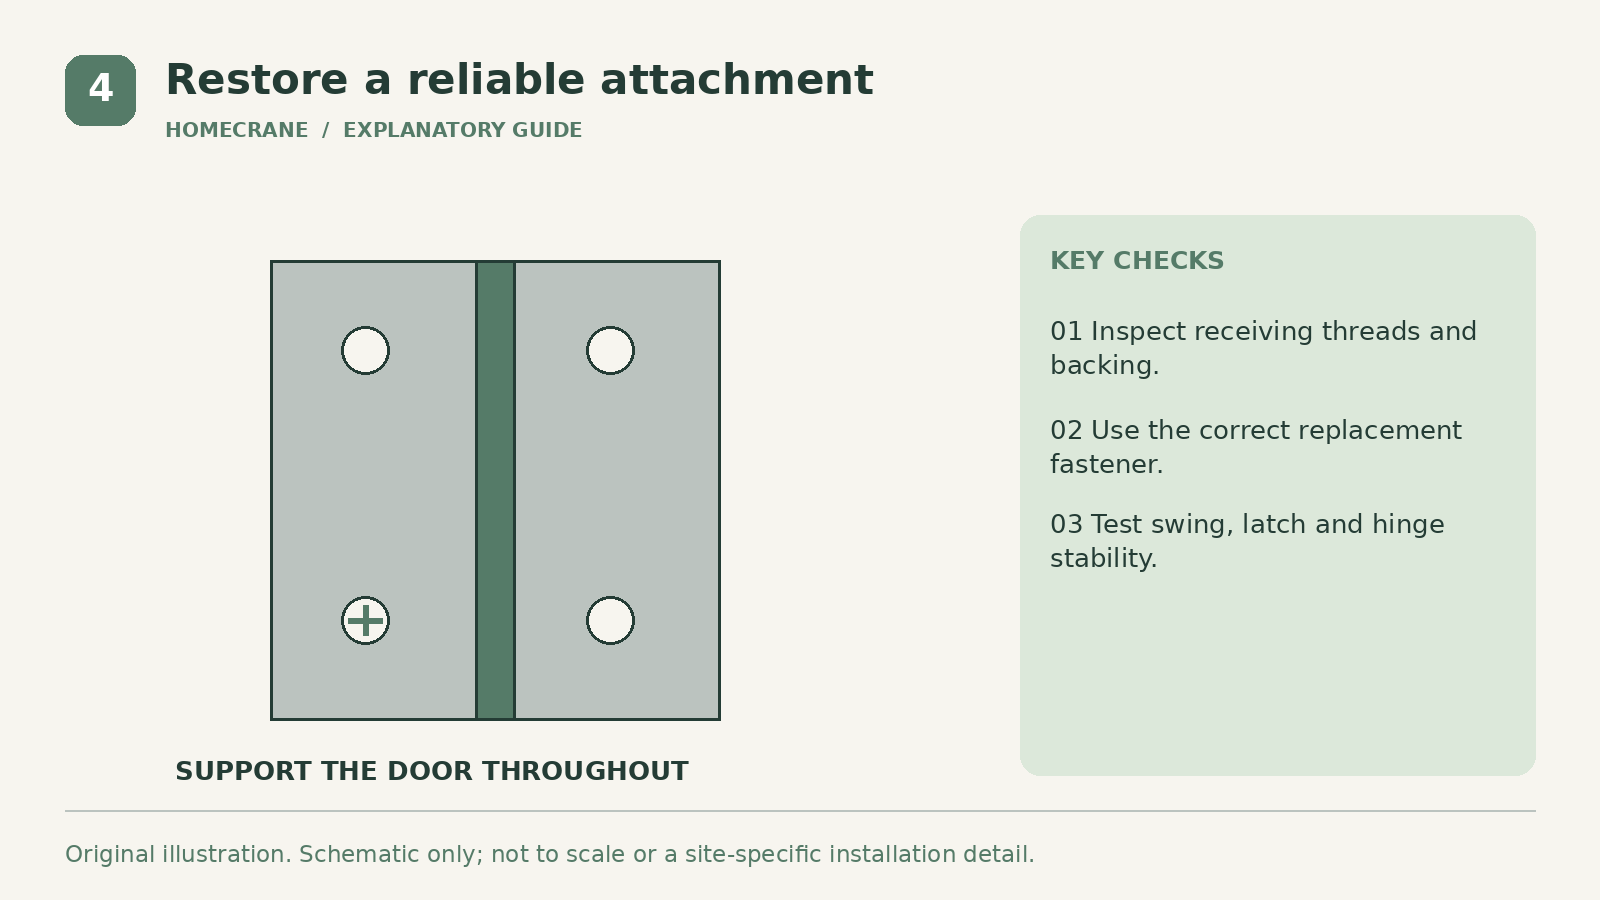
Once the fastener is removed, inspect the hinge hole and the receiving threads or backing. A new screw will not fix stripped metal threads by itself. The correct repair may involve a specified fastener, a thread repair, a replacement component, or professional work.
Match screw diameter, thread, head shape, length, and material to the hinge and frame requirements. A protruding head can prevent the hinge from closing, while an inappropriate longer screw can damage concealed components. Do not substitute a random oversized screw to make it feel tight.
If drilling off the head becomes necessary, have a suitable plan for supporting the door, removing the hinge leaf, and extracting the remaining shank. For many homeowners, this is the point to use a hardware professional. Destructive removal should be planned, not the accidental result of escalating force.
After reassembly, test the door's swing, latch, clearances, and hinge stability. Recheck fasteners as directed by the hardware maker. A successful extraction is only complete when the door is securely attached and operates normally.
| Feature | Starting method | |
|---|---|---|
| Recess partly intact | Correct bit and controlled manual engagement | |
| Head projects enough | Suitable external gripping tool | |
| Head cannot grip, screw size permits | Matched extractor system | |
| Broken extractor or damaged frame threads | Professional repair |
Can I drill straight through the screw?
Not as a casual first step. It can enlarge the hinge or frame hole and destroy the attachment. Use a planned extraction method with the door supported.
Why not keep using the impact driver?
Repeated slipping removes more of the recess and can damage surrounding hardware. Controlled engagement is more useful than additional speed when the head is already compromised.
Sources
- IRWIN's spiral extractor and drill-bit products. Checked October 11, 2026
Share this article
Get new guides by email
Practical home articles and free resources. No spam, and you can unsubscribe at any time.
Keep reading

DIY Fluted Headboard Made Out of Pool Noodles
Plan a decorative fluted headboard using covered foam channels, a stable backer, careful material checks, and secure independent mounting.
October 2026, 3 min read

4 Renter-Friendly Ways to Hang Curtains Without Drilling
Compare tension rods, adhesive curtain hooks, magnetic rods, and floor-to-ceiling systems for curtains in a rental without drilling.
October 2026, 3 min read
Genius Under-Stairs Pull-Out Storage Ideas You Can DIY
Explore five under-stairs storage approaches with practical guidance on access, drawer hardware, stability, and existing openings.
October 2026, 3 min read