How to Fix a Hollow-Sounding Tile on a Concrete Floor
Diagnose hollow-sounding floor tile before choosing monitoring, replacement or injection repair. Learn why sound alone does not prove a failed bond.
By Home Crane Editors. . 4 min read.
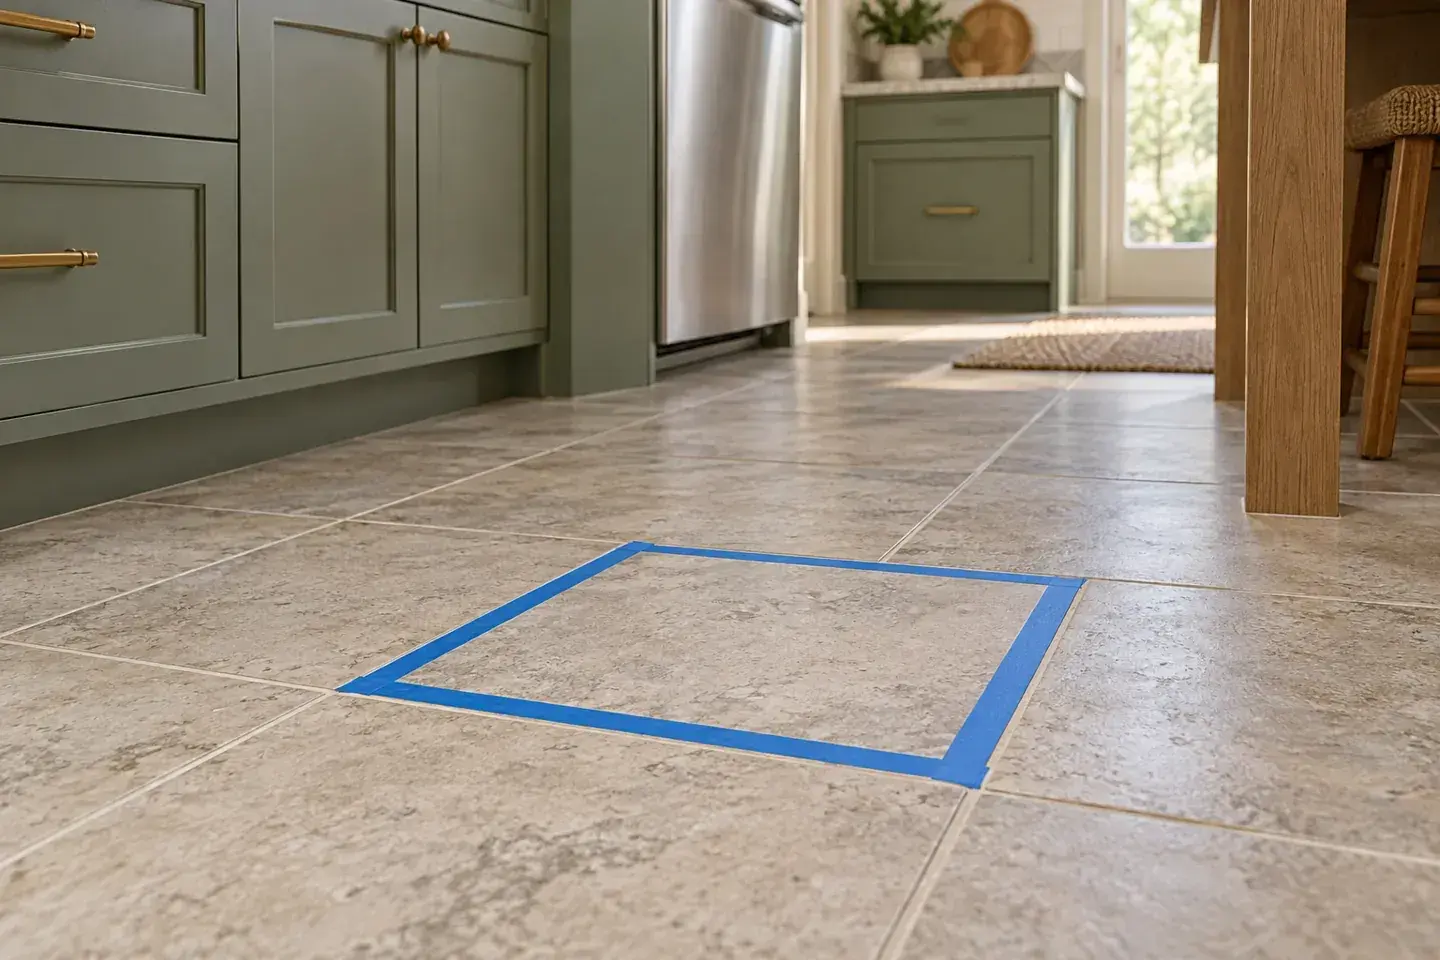
A hollow sound is a reason to investigate, not automatic proof that a tile needs replacement. The installation method, the area affected, and signs such as movement, cracks, or loose grout determine whether a repair is needed. Filling an unknown space with adhesive can hide a symptom without correcting the cause.
Start by recording where the sound occurs and whether it is changing. Avoid repeated hard tapping, which can chip the tile. If tiles are lifting, sharp edges are exposed, or the floor feels unstable, keep traffic away and arrange a professional assessment.
The Tile Council of North America's hollow-tile guidance explains that some installation assemblies can sound hollow even when the tile is bonded. It also cautions that a repair may not last if the cause of failure remains. That distinction should guide the entire job.
1. Map the symptom without damaging the floor
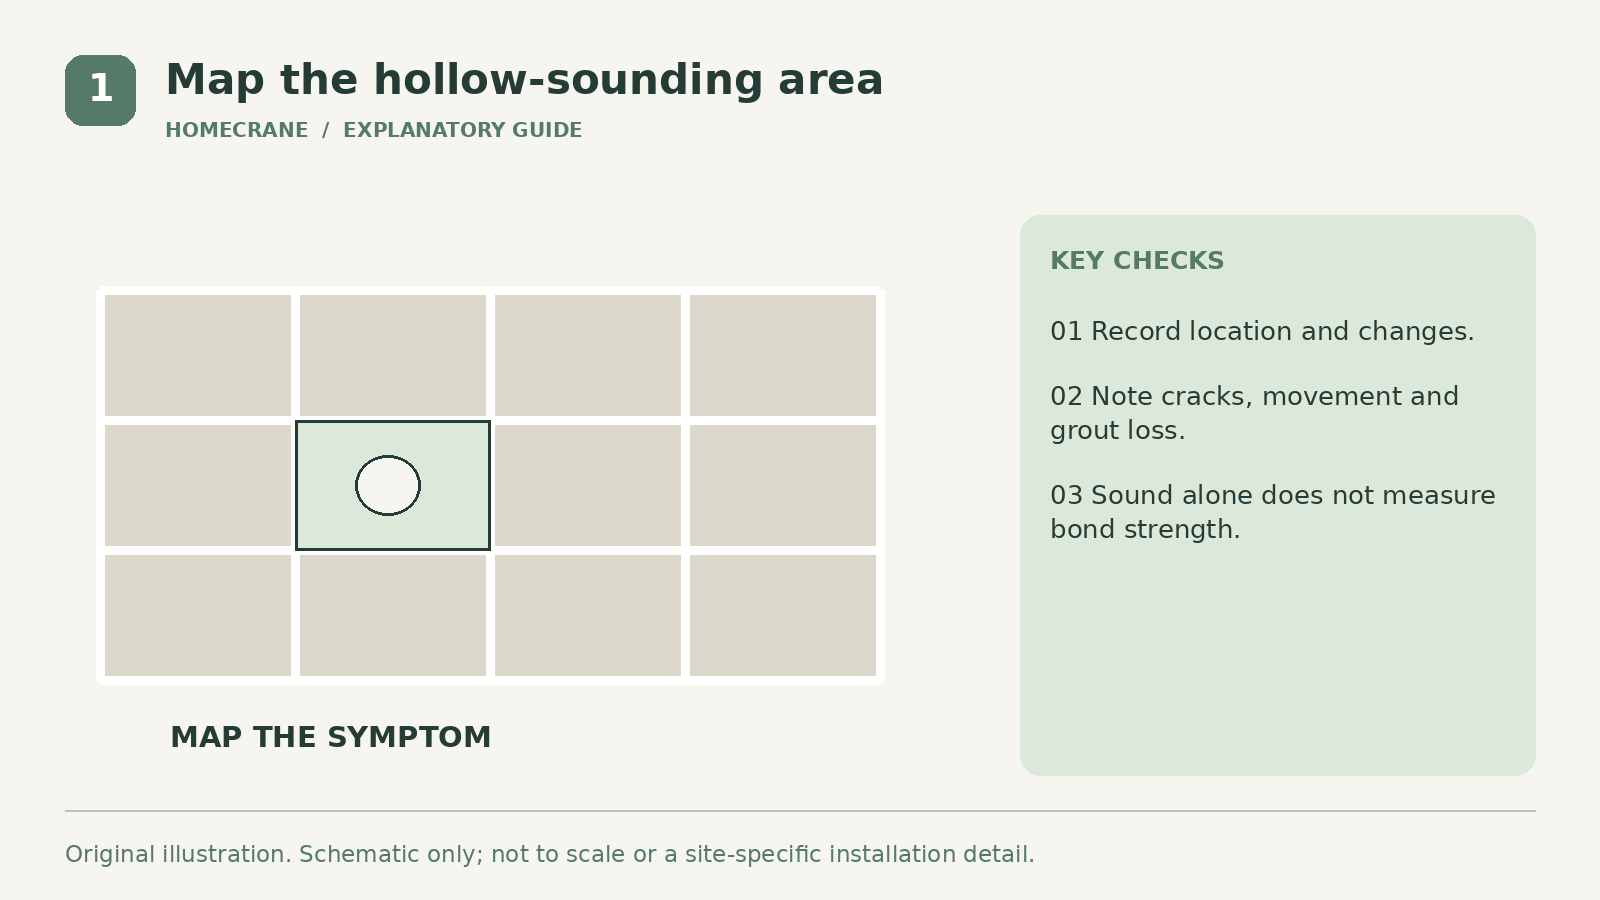
Use a simple room sketch and note the affected tiles. Record whether the sound is at corners, edges, or across a larger area. Photograph cracks, missing grout, staining, and nearby transitions. Include the approximate age of the installation and any recent leak or building work.
Compare the area with adjacent tiles using only a gentle, nonmarking check. Sound varies with tile size and the layers below it. Do not assign a bond-strength percentage from a tapping noise or assume that every different note represents a void.
Check for observable movement during ordinary use without deliberately loading a suspect tile. A visibly loose tile or crumbling joint deserves more attention than a sound difference in an otherwise stable floor. Do not jump on it or use impact as a test.
Find any installation records. A membrane, mortar bed, heating system, or previous repair can change the interpretation. The installer may be able to identify the assembly before destructive investigation becomes necessary.
2. Look for the reason, not just the empty space
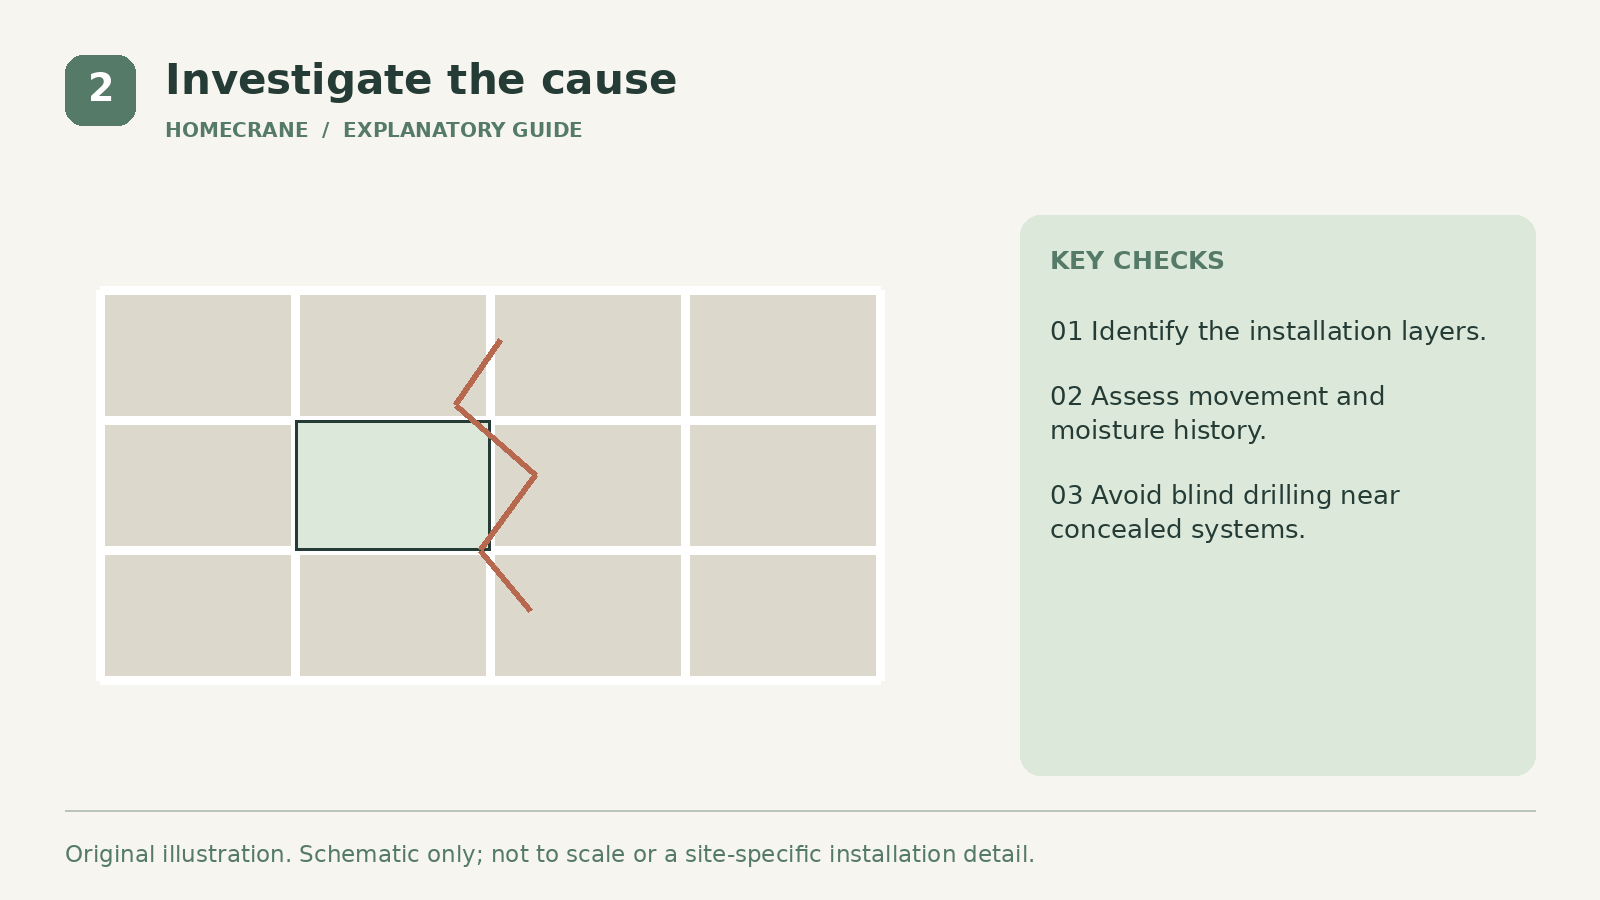
Possible causes include incomplete contact, contamination, movement, or a problem in another layer. The correct diagnosis requires assessment of the actual floor. A concrete slab can move or crack, and a tile repair that ignores that condition can fail again.
Ask whether there are adequate movement provisions and whether perimeter spaces have been improperly filled or restrained. This is not an invitation to cut joints blindly. Their location and treatment belong to the tile assembly design.
Moisture history matters too. Note plumbing leaks, flooding, damp areas, or changes near exterior doors. Correcting the source may be necessary before repairing the finish. A stain does not establish the mechanism by itself, but it is useful evidence for the installer.
If the floor contains radiant heating or the construction is unknown, tell the contractor before drilling or demolition. Older floor layers and adhesives may also need hazardous-material assessment before disturbance. Investigation should not create an avoidable secondary problem.
3. Choose monitoring, local replacement, or a broader repair
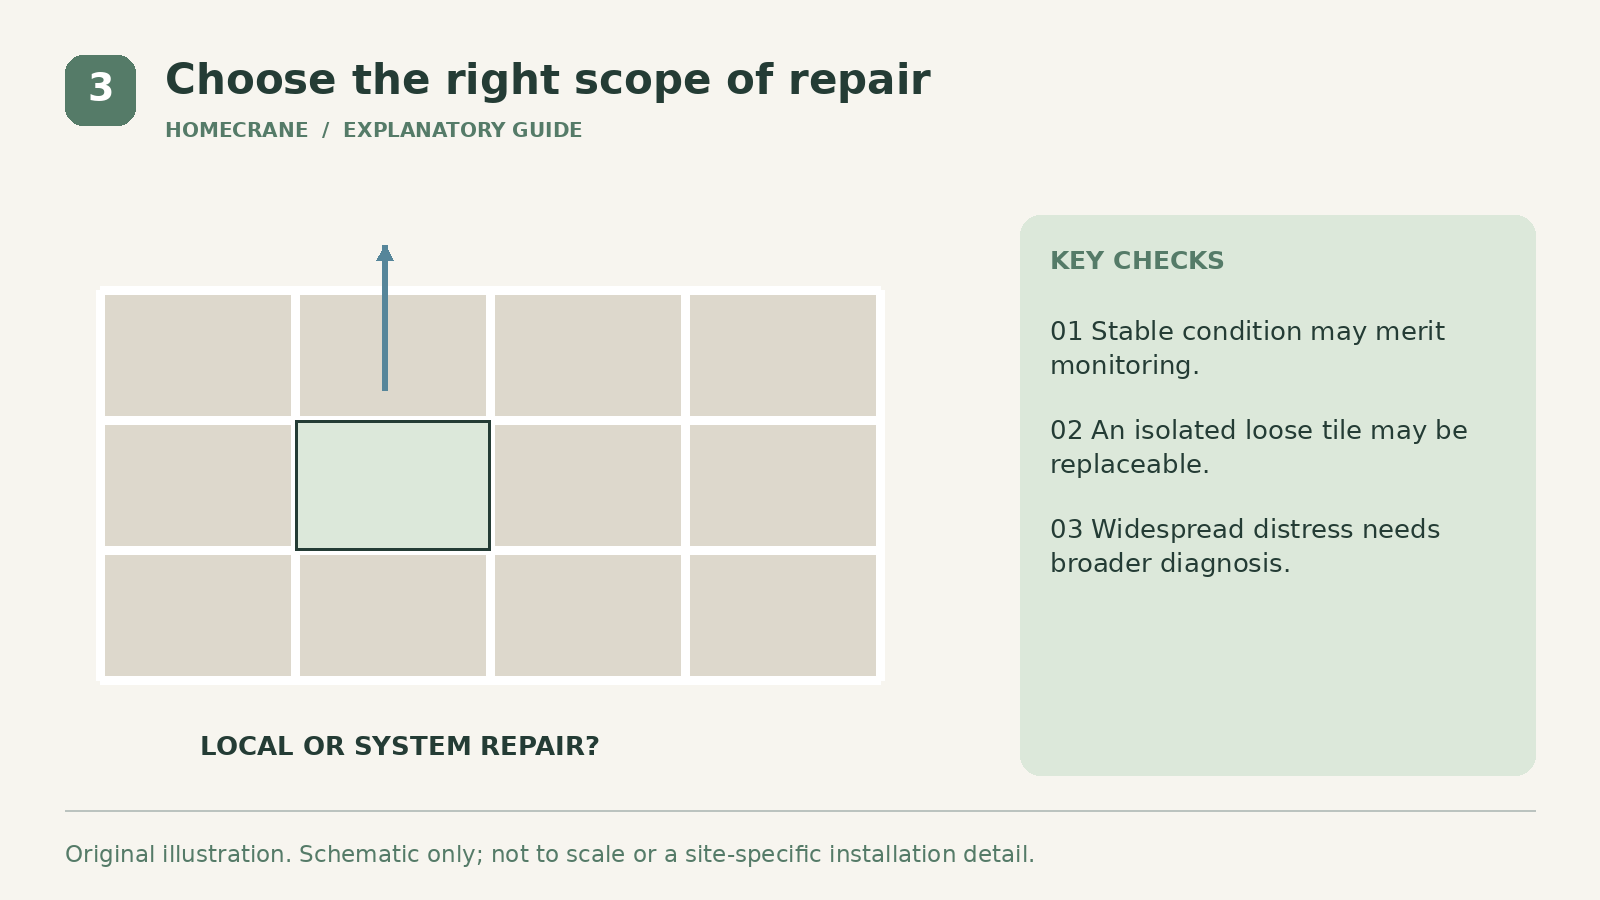
For a stable floor with no associated distress, an installer may recommend documenting and monitoring the area. Keep the photographs and watch for changes rather than repeatedly probing it. Monitoring is a decision based on condition, not a guarantee that no future problem will occur.
A genuinely loose isolated tile may be suitable for removal and replacement if the surrounding assembly is sound and the cause can be corrected. Confirm that matching spare tiles exist before work starts. Color, thickness, and batch differences can make a nominally identical replacement noticeable.
The contractor should explain how the surrounding tiles will be protected, what will be inspected beneath the removed tile, and how the new tile will be installed with compatible materials. Do not assume adhesive can simply be added on top of dusty old mortar.
Widespread movement, tenting, repeated cracking, or many loose tiles can require a broader repair. Compare the cost and disruption of repeated spot work with addressing the underlying assembly. Ask for the diagnosis in writing before authorizing a large replacement.
4. Treat injection repair as a qualified option
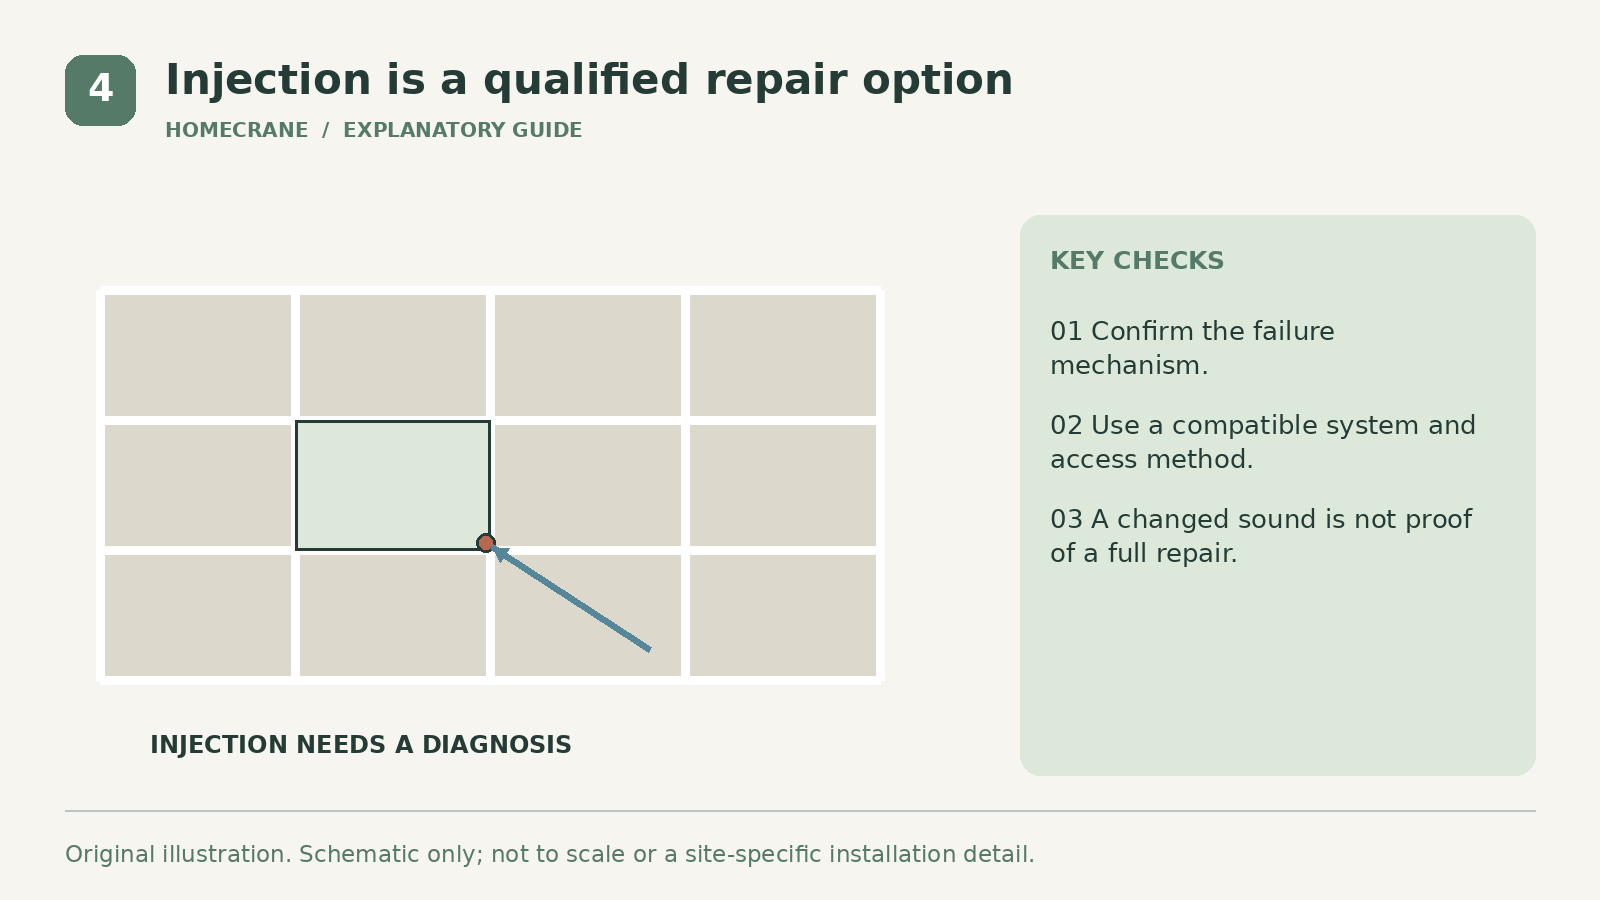
Some repair systems inject a material beneath a tile through prepared access holes. Suitability depends on the failure, available paths, substrate, and product. It is not a universal DIY fix for any hollow noise.
TCNA notes that epoxy injection has been attempted for small areas but does not solve every installation problem. Ask a contractor using this method what evidence supports it, how they will avoid damaging concealed layers, and what result they warrant.
An injection that reduces the sound does not automatically prove that the floor's movement or bond problem is resolved. Request a clear description of the intended repair outcome rather than only a promise that tapping will sound different.
If the tile moves, the substrate is damp, the cause is unknown, or the problem is extensive, avoid buying a bottle of repair adhesive before obtaining an assessment. A small diagnostic expense can prevent paying for a cosmetic treatment and then a full repair.
| Feature | Sensible starting point | |
|---|---|---|
| Different sound, no visible distress | Identify assembly and document condition | |
| One loose tile, sound surrounding floor | Assess local replacement | |
| Widespread cracks or movement | Investigate assembly and substrate | |
| Proposed injection repair | Verify cause, product suitability and warranty |
Can I grout around it more firmly?
Adding grout does not reliably restore a failed bond and can conceal movement. Repair the actual problem rather than using the joint as a structural substitute.
Must every hollow tile come out?
No. Sound alone cannot establish that. The installation and accompanying symptoms determine the appropriate response.
Sources
- Tile Council of North America's hollow-tile guidance. Checked October 11, 2026
Share this article
Get new guides by email
Practical home articles and free resources. No spam, and you can unsubscribe at any time.
Keep reading

Painted Bathroom Ceramic Floor Tile: What to Check After One Year
Painting ceramic bathroom floor tile can be a cosmetic alternative to replacement when the tile is sound and the coating system permits the application. A.
October 2026, 3 min read

The Easiest DIY Flooring to Install for Total Beginners
Compare five beginner-friendly flooring approaches, with illustrations, subfloor checks, installation tradeoffs, and a practical buying checklist.
October 2026, 4 min read

How to Fix Squeaky Hardwood Floors Underneath Carpet
Find the cause of squeaks beneath carpet, confirm the hidden floor layers, and choose a suitable repair while protecting the hardwood underneath.
October 2026, 4 min read