The Easiest DIY Flooring to Install for Total Beginners
Compare five beginner-friendly flooring approaches, with illustrations, subfloor checks, installation tradeoffs, and a practical buying checklist.
By Home Crane Editors. . 4 min read.
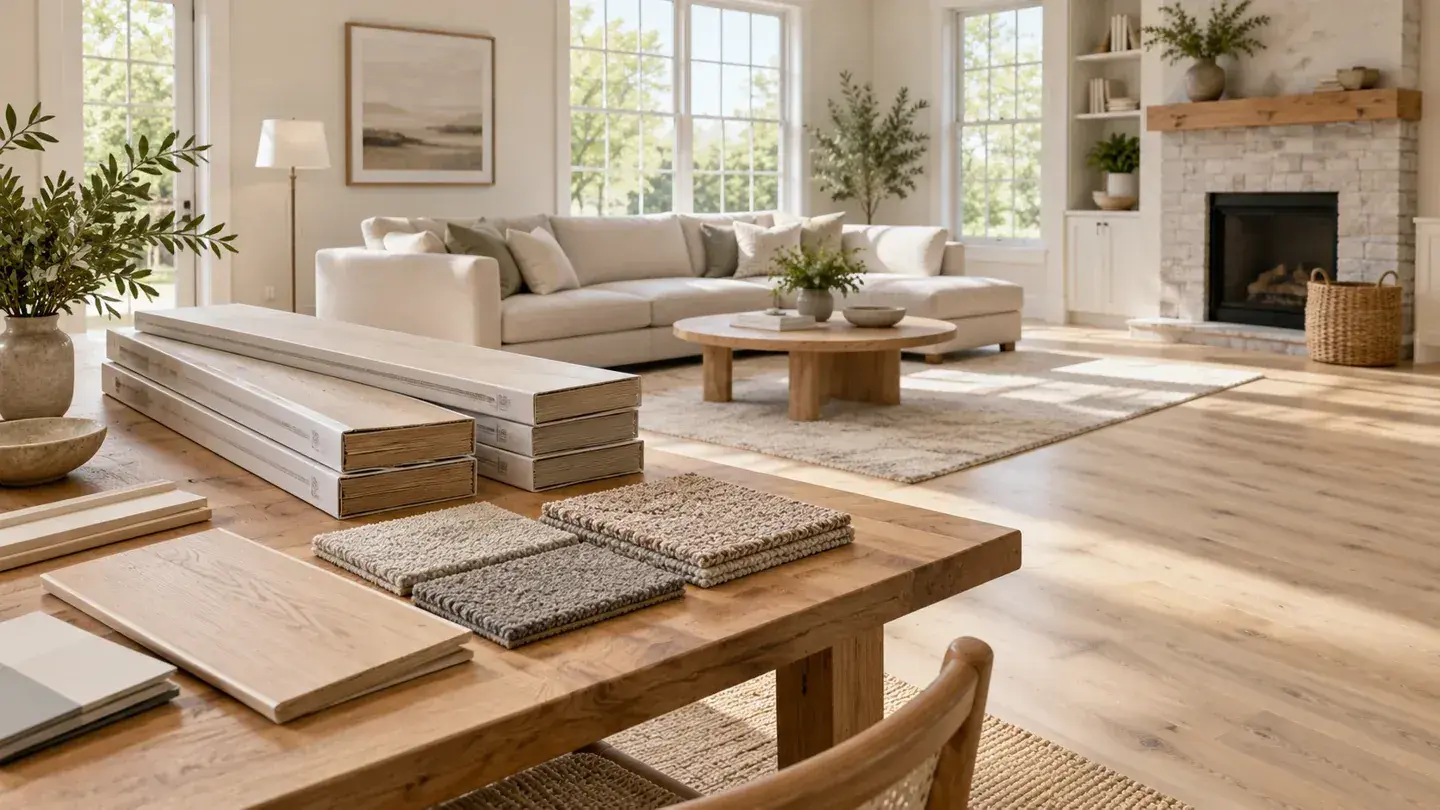
The easiest DIY flooring is usually connector-backed carpet tile for a dry room where you want a soft surface, or click-lock vinyl plank when you want a hard floor. That recommendation assumes the existing base already meets the product's requirements. A simple locking joint does not make a damp, uneven, or damaged subfloor easy to fix.
For a first project, choose one small, nearly rectangular room with few doorways. Compare complete installation systems, including transitions, underlayment, moisture requirements, and cutting tools. This guide ranks five approaches by the decisions a beginner must handle, rather than promising that every floor takes a weekend.
Before removing an old floor, identify what you have. Suspect older tiles or adhesives can require professional asbestos assessment; older painted trim can involve lead. Do not sand or grind unidentified material to make a new floor fit. The safest beginner project starts with a known, sound substrate.
1. Connector-backed carpet tiles
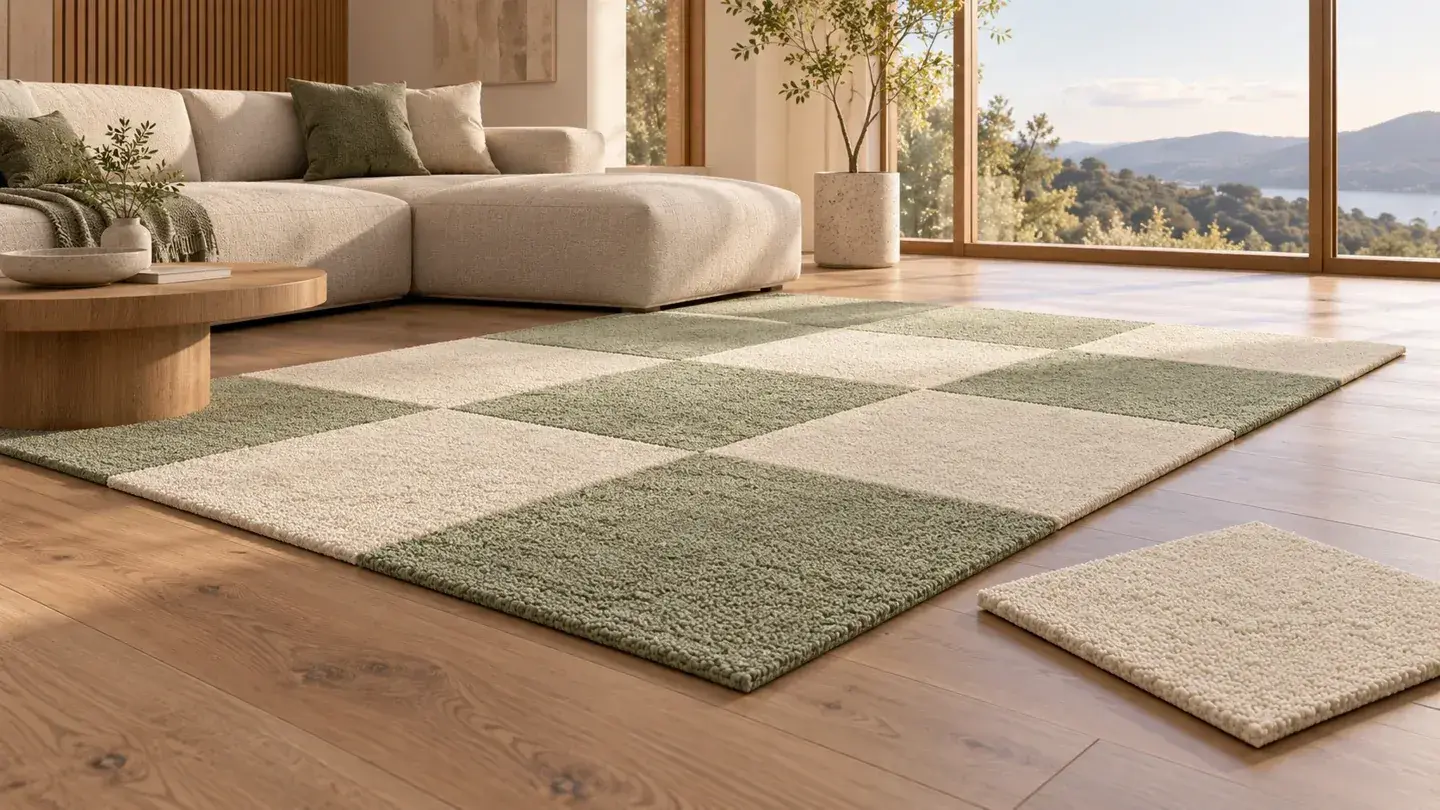
Carpet tiles connected to one another can be forgiving because you handle small pieces and can adjust the layout before finishing. They suit a home office, playroom, or bedroom where softness matters. They are not a solution for wet rooms or a damp slab.
FLOR's installation instructions describe its connector system, which joins tiles to each other rather than adhering them to the floor. That is a specific system, not a feature of every carpet tile. Other products use full adhesive or different backing requirements.
Start your comparison by asking whether the finished surface will be an area rug or wall-to-wall installation. Then look at border cuts and doorway edges. A centered pattern might look better but require more trimming. Keep extra tiles from the same purchase so a future damaged piece has a closer visual match. For a beginner who dislikes saw work, this is the first category worth examining.
2. Click-lock vinyl plank
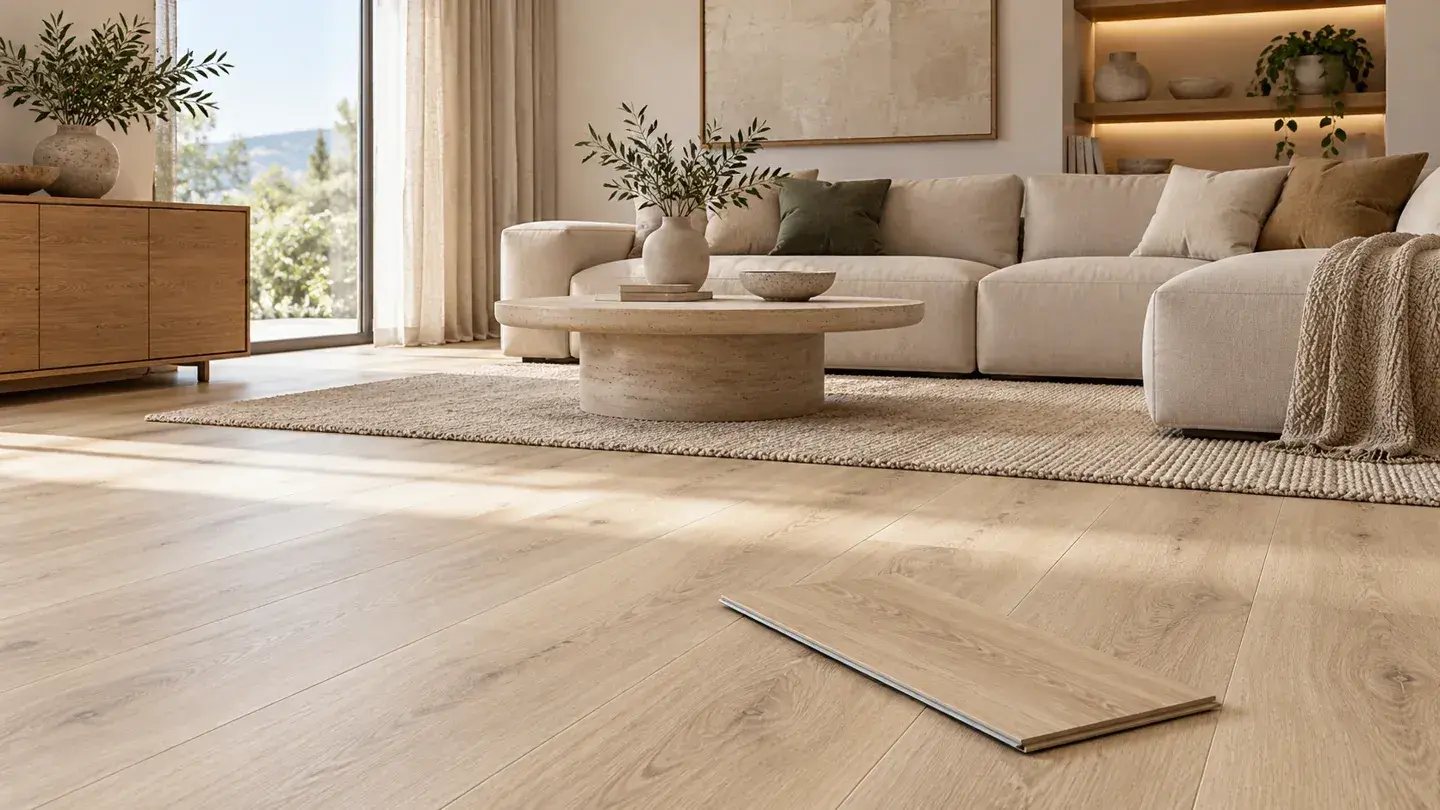
Click-lock vinyl plank is a practical hard-floor candidate when the room conditions and subfloor match the instructions. The planks interlock, but the assembly still needs the specified movement space and a flat supporting surface. A waterproof plank does not repair moisture problems below it.
Shaw's vinyl planning and installation resources direct homeowners toward the relevant installation information. Read the document for the exact product before buying underlayment. Extra cushioning beneath a product with attached padding is not automatically an improvement.
The difficult parts usually occur at the edges: the last narrow row, door jambs, transitions, and irregular closets. Sketch these before ordering. If a room has several connected spaces, ask whether the product permits one continuous installation. Practice joining a few spare planks on a protected flat surface first. If joints require excessive force, stop and check the specified locking sequence instead of damaging the edge.
3. Click-lock laminate
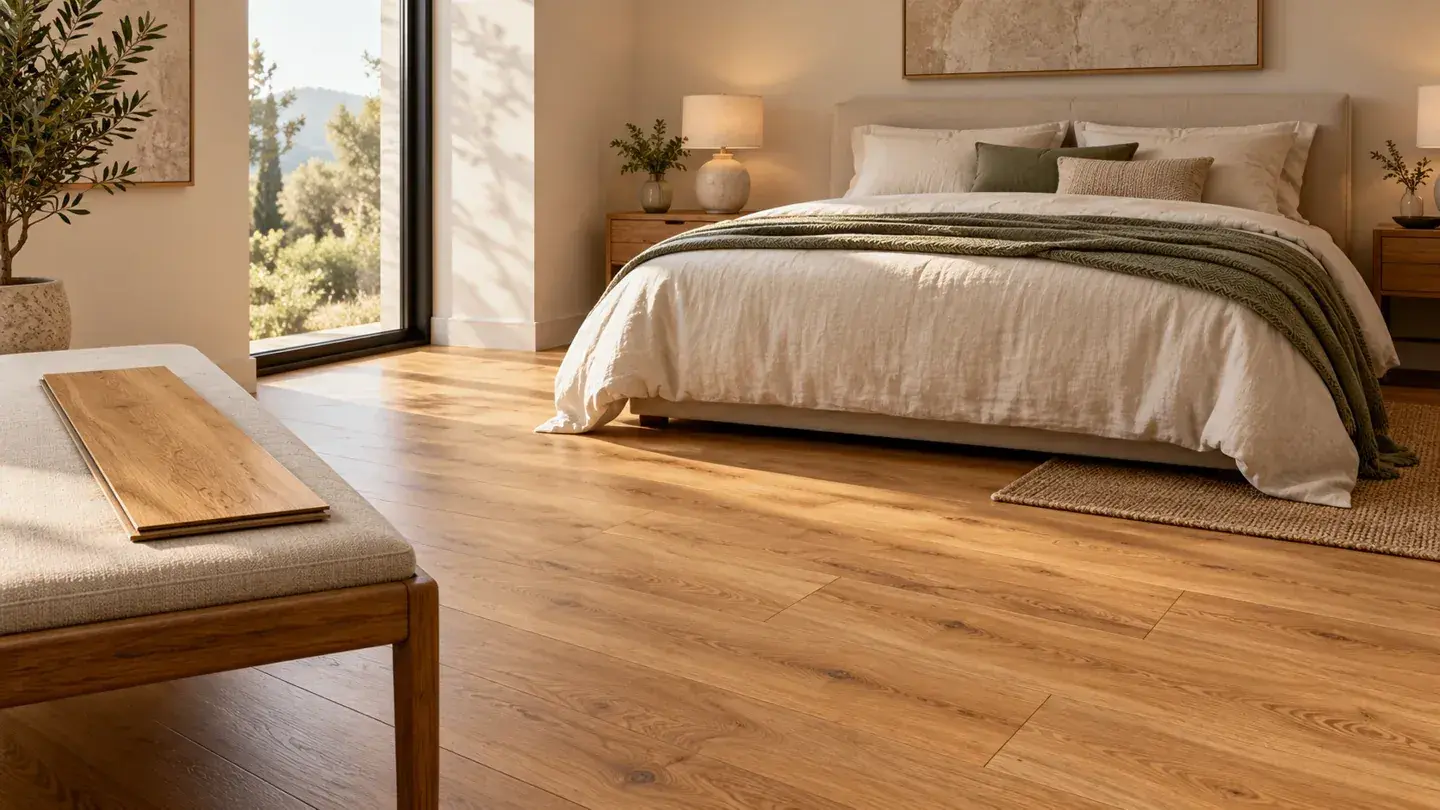
Click-lock laminate is another approachable option for a dry living area, especially when you like its surface design and can make accurate cuts. Its apparent simplicity should not obscure its product-specific moisture limits and perimeter requirements.
Pergo's installation page provides separate instructions for different product lines. Use those documents for acclimation, acceptable substrates, tools, and wet-area restrictions. Do not transfer an expansion-gap measurement from an unrelated floor just because both boxes say laminate.
Choose a straight installation pattern for your first room. A diagonal pattern creates more measuring and edge cuts without solving a practical problem. Work out the first and last row widths together so the far wall does not end in a fragile sliver. Laminate may suit a confident beginner with suitable cutting equipment, but it is less attractive when the project includes difficult curved cuts or unresolved water exposure.
4. Peel-and-stick vinyl tile
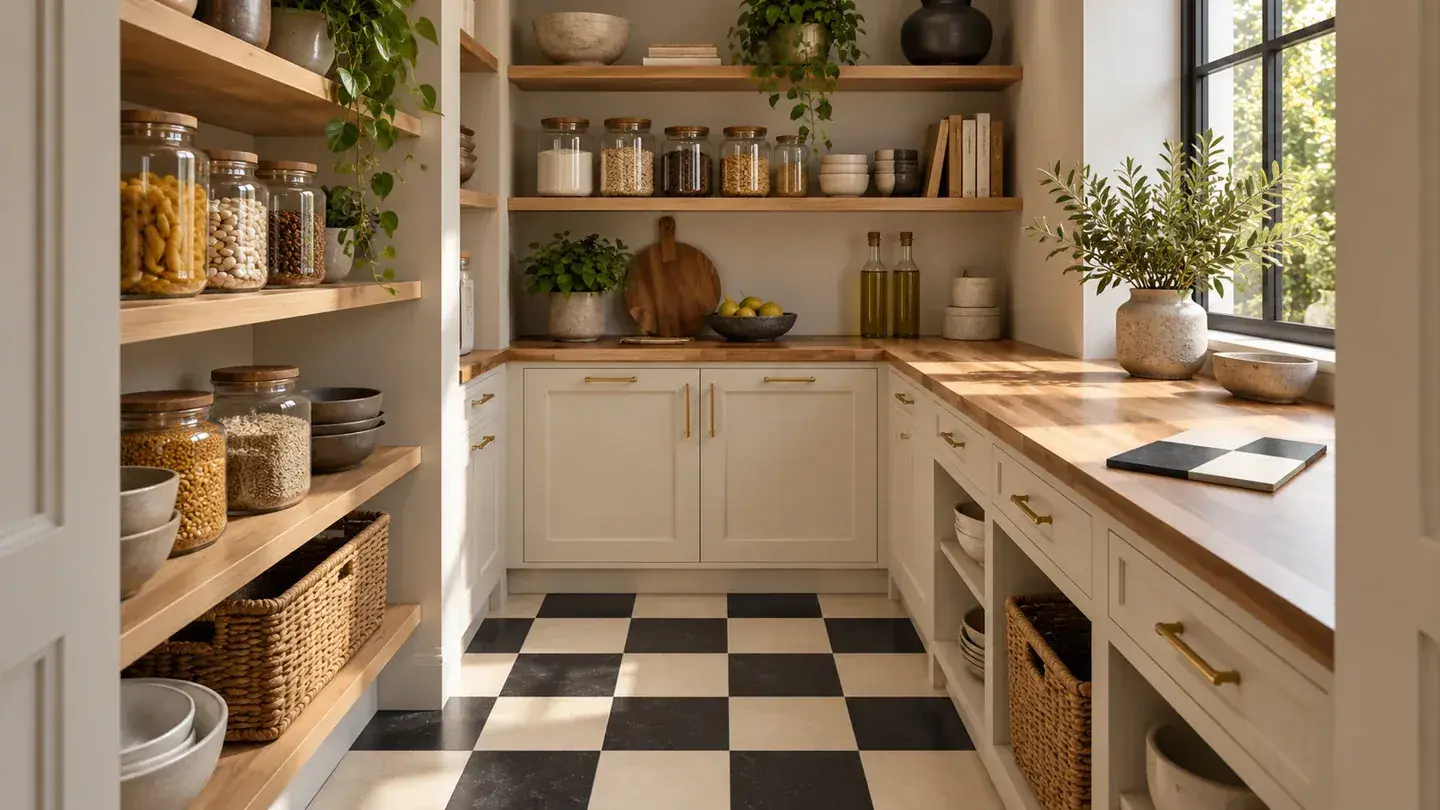
Peel-and-stick vinyl tile looks easiest because there is no locking joint. It can be straightforward on an approved, smooth, clean substrate. Its weakness as a beginner choice is that the adhesive makes poor preparation visible and harder to reverse.
Armstrong's vinyl tile guidance emphasizes preparing the base and following the selected product's installation instructions. Some installations need rolling equipment and additional preparation materials, so the purchase price of the tiles is not the whole project budget.
Dry-layout the pattern before exposing adhesive. Consider where small border pieces will land and whether existing surface texture could show through. Do not assume an old painted floor is an approved base or that adhesive tile is removable without damage. In a rental, obtain written permission and agree on restoration. For a first permanent installation, a suitable small utility room can be more manageable than a complicated kitchen with many obstacles.
5. Floating engineered wood
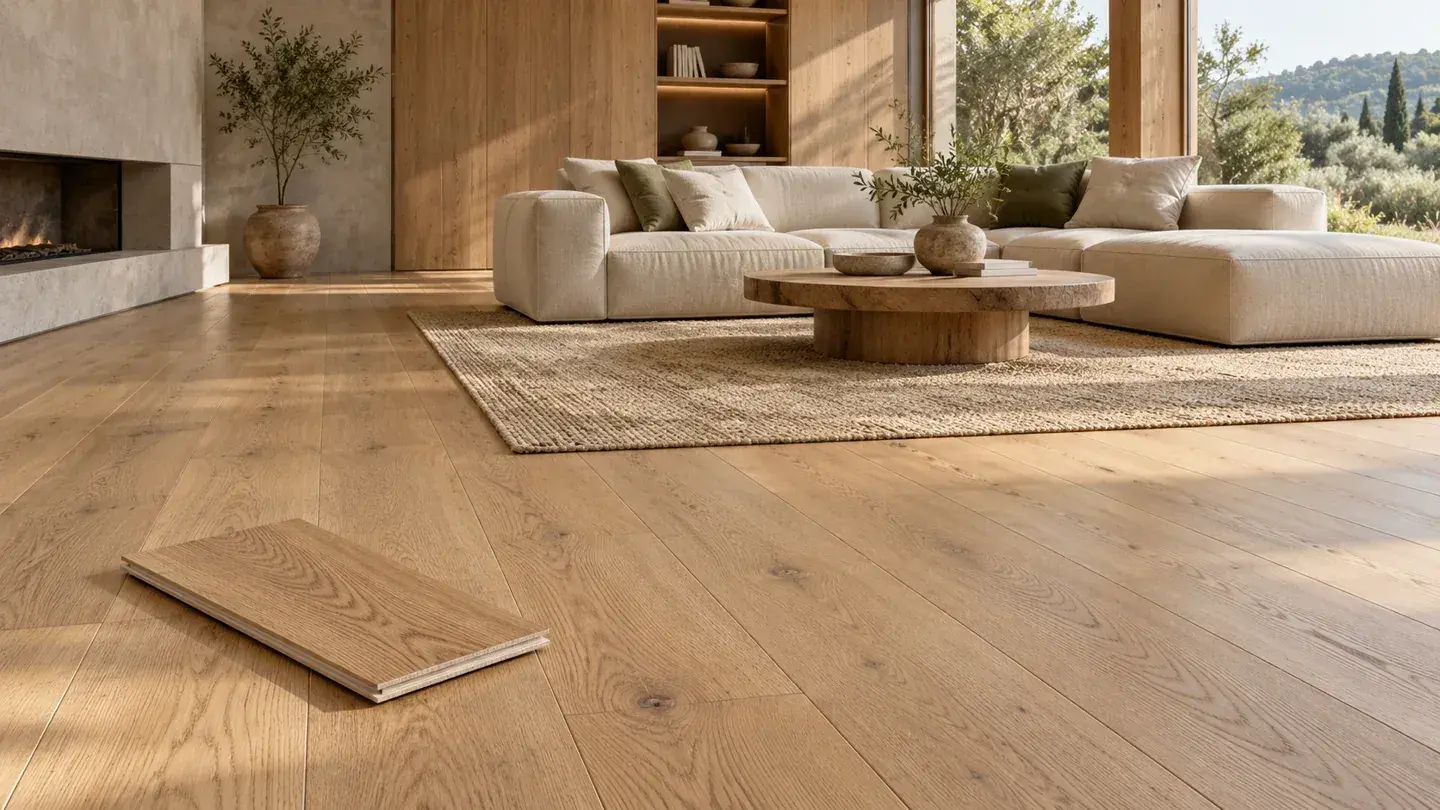
Floating engineered wood can be a reasonable first project for someone comfortable measuring, cutting, and following a complete flooring specification. However, engineered wood describes the material, not one universal installation method. Some products float; others require adhesive or fastening.
Select a product explicitly approved for your intended floating installation. Confirm the required underlayment, moisture testing, indoor conditions, and transition details with its current manual. If the sales listing and instructions disagree, resolve that before opening cartons.
This option makes sense when real wood is important enough to justify the extra care. Practice the joint and inspect boards before placement. Plan how appliances, doors, and adjacent rooms meet the added floor height. For a total beginner whose priority is the fewest decisions, engineered wood usually comes after carpet tiles or a straightforward click-lock vinyl project. Paying for substrate preparation while installing the finish yourself can still be a useful compromise.
Compare the whole job before choosing
| Feature | First option to investigate | Main condition |
|---|---|---|
| Dry office, soft surface wanted | Connector-backed carpet tiles | Approved clean, dry base |
| Simple room, hard surface wanted | Click-lock vinyl plank | Flatness and moisture requirements |
| Dry living room, accurate cuts manageable | Click-lock laminate | Exact product instructions |
| Very smooth approved base | Peel-and-stick vinyl tile | Adhesive compatibility |
| Real wood is the priority | Approved floating engineered wood | Installation and humidity requirements |
A beginner's buying check
Measure the room, then price the entire system: flooring, product-specified waste allowance, preparation, trim, transitions, tools, disposal, and delivery. A 10-by-12-foot room has 120 square feet of gross floor area, but that is not automatically the correct quantity to order.
Ask the retailer to identify the installation PDF and matching transition pieces before you pay. Photograph doorway heights and note any dampness or movement. If the base needs structural repair, moisture remediation, or extensive leveling, get that work assessed separately. Choosing an easy finish is most useful after the difficult underlying problems have been resolved.
Sources
- FLOR: Installation Instructions. Checked October 6, 2026
- Shaw Floors: Plan and Install Vinyl. Checked October 6, 2026
- Pergo: Install DIY. Checked October 6, 2026
- Armstrong Flooring: Vinyl Tile Installation. Checked October 6, 2026
Share this article
Get new guides by email
Practical home articles and free resources. No spam, and you can unsubscribe at any time.
Keep reading
Painted Bathroom Ceramic Floor Tile: What to Check After One Year
Painting ceramic bathroom floor tile can be a cosmetic alternative to replacement when the tile is sound and the coating system permits the application. A.
October 2026, 3 min read
How to Fix Squeaky Hardwood Floors Underneath Carpet
Find the cause of squeaks beneath carpet, confirm the hidden floor layers, and choose a suitable repair while protecting the hardwood underneath.
October 2026, 4 min read
The Best Waterproof Flooring Options for Basement Bathrooms
Compare five basement bathroom flooring options, with matching images and practical checks for moisture, substrate preparation, and product approval.
October 2026, 5 min read