Painted Bathroom Ceramic Floor Tile: What to Check After One Year
Painting ceramic bathroom floor tile can be a cosmetic alternative to replacement when the tile is sound and the coating system permits the application. A.
By Home Crane Editors. . 3 min read.
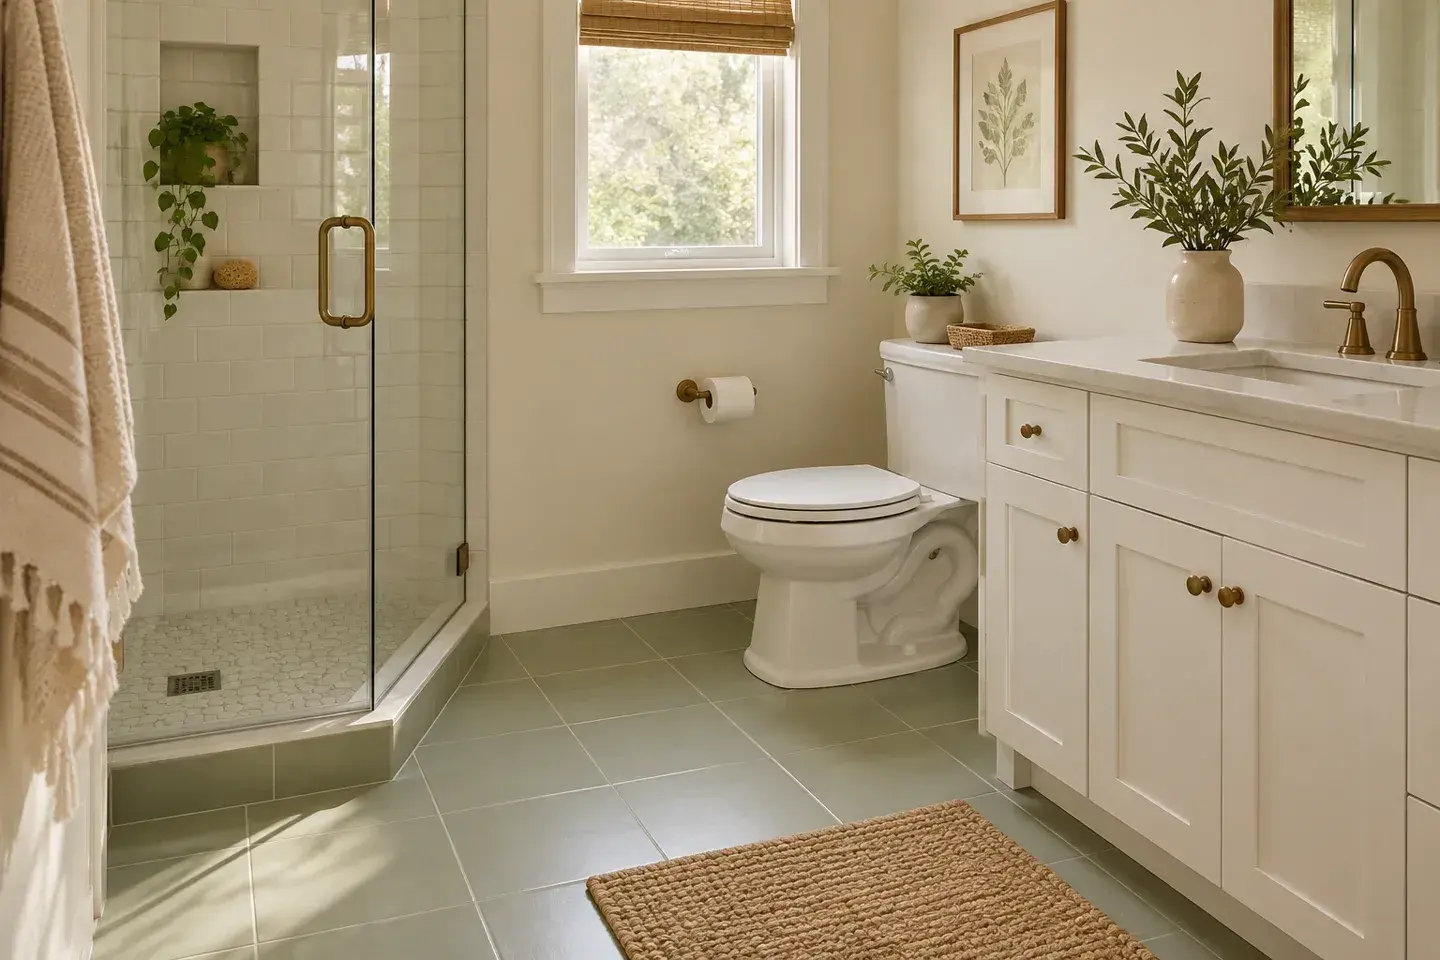
Painting ceramic bathroom floor tile can be a cosmetic alternative to replacement when the tile is sound and the coating system permits the application. A year later, the useful questions concern adhesion, wear, cleaning, moisture, and repairability, not only whether the color still looks attractive.
This is a research-based one-year inspection guide. HomeCrane has not supplied a personal year-long floor test, and the images are illustrative concepts. The original “I painted my floor” angle should be used only when an actual homeowner's documented experience and photographs are available.
1. Check whether the original system was appropriate
Find the product names, application date, preparation method, and coating sequence. A bathroom floor coating is different from a tub-and-tile refinishing product. Rust-Oleum's tub refinishing guidance directs floor projects to a separate floor-coating system.
The Rust-Oleum HOME product page describes a base coat plus required topcoat for compatible interior surfaces. That is one documented option, not a claim that every painted tile floor will last equally well.
If the original materials are unknown, be cautious about adding another coating. Ask the manufacturer about compatibility and suitable testing rather than assuming any fresh topcoat will restore performance.
2. Inspect the highest-wear areas
Look at the doorway, the route to the vanity, the area in front of the toilet, and places where furniture or bins move. Use good light and compare similar locations rather than judging the whole room from one flattering photograph.
Record chips, scratches, dull patches, and peeling edges separately. A surface scratch and loss of adhesion are different problems. Note whether damage is isolated or spreading, and whether it follows grout lines, tile edges, or a previous repair.
Photograph each area from the same angle with a simple size reference beside it. Repeat later if you need to monitor change. Do not scratch the finish deliberately in a visible area as a homemade durability test.
3. Look for moisture and movement beneath the finish
Inspect around fixtures and room edges for persistent dampness, leaking seals, loose tiles, or cracked grout. A coating does not repair a leaking bathroom or turn an unsuitable assembly into a waterproof floor.
Rust-Oleum's floor-coating support instructions exclude use inside showers for the system described. Keep the distinction between a bathroom's dry floor area and the shower enclosure clear.
If tiles move or dampness persists, address the underlying cause before spot-painting. Repeatedly covering a failing edge can hide evidence that would help diagnose the problem. Where water damage is suspected, obtain an appropriate inspection rather than treating every dark patch as cosmetic wear.
4. Review cleaning and everyday use
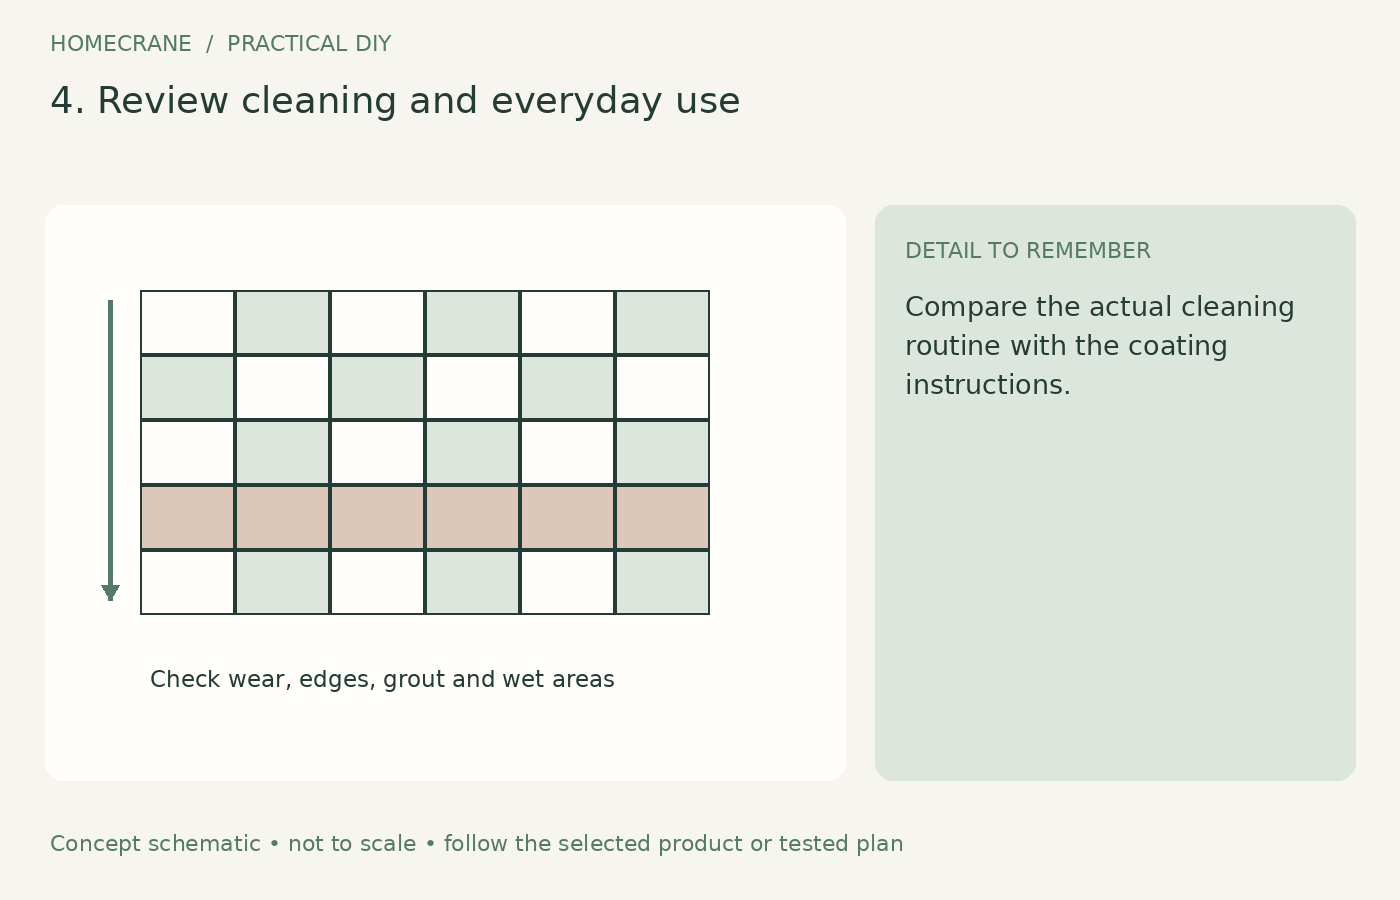
Compare the actual cleaning routine with the coating instructions. Abrasive pads, aggressive chemicals, dragging furniture, and incompatible mat backings can affect a finish. A product being washable does not mean every cleaner or cleaning machine is permitted.
Use the approved mild method and avoid standing water. Check under mats periodically and let damp areas dry. Keep furniture protection compatible with the coating and replace damaged pads before they scratch the surface.
Consider traction as well as appearance. If the floor feels slippery under normal bathroom conditions, address that concern using a system-approved approach. Do not add an unapproved glossy clear coat or scatter loose rugs that introduce a different hazard.
5. Decide between a touch-up, recoating, and replacement
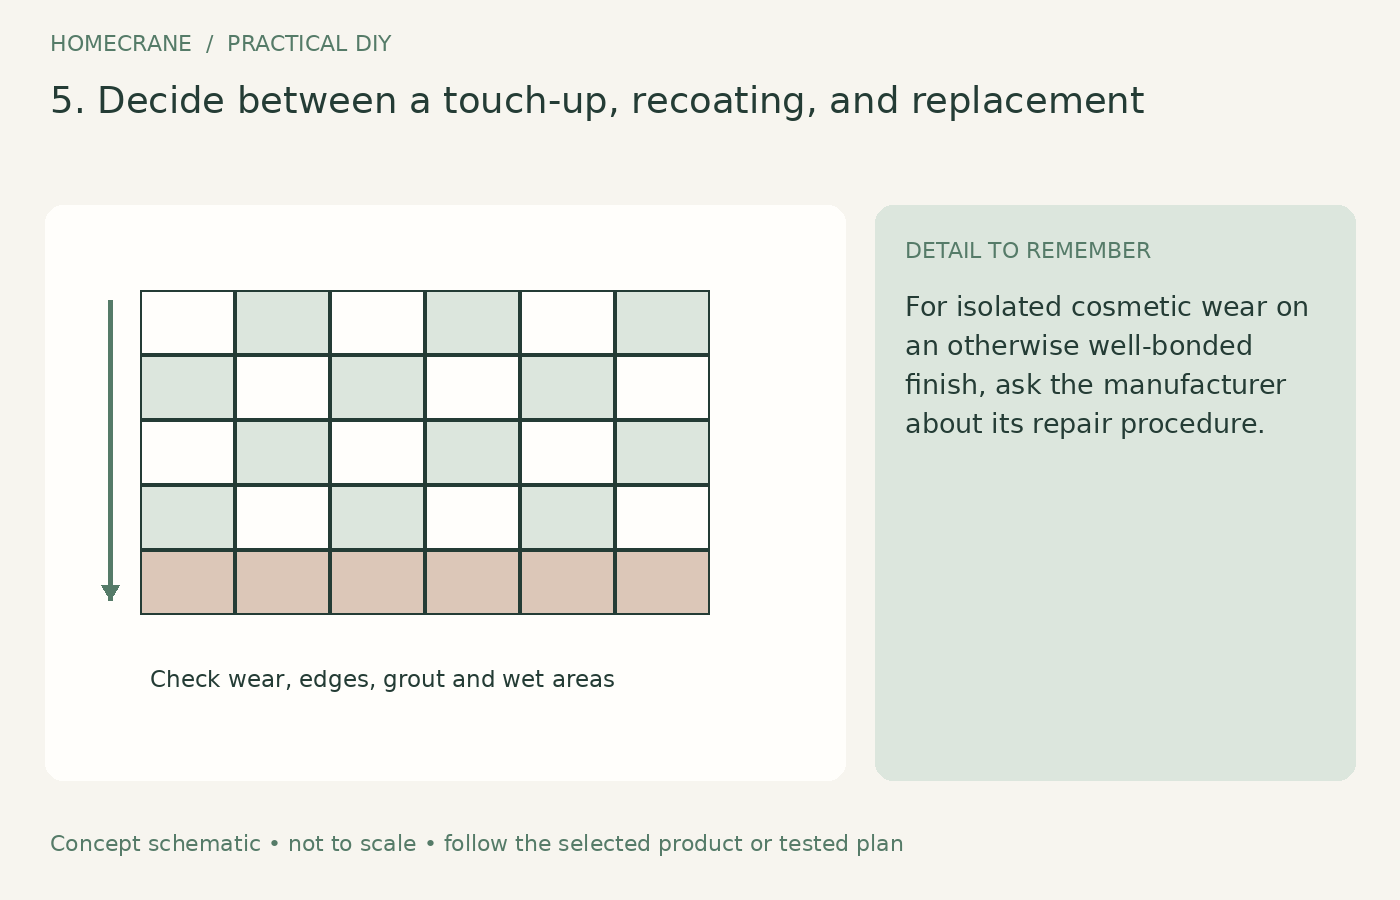
For isolated cosmetic wear on an otherwise well-bonded finish, ask the manufacturer about its repair procedure. Color and sheen may differ between an old surface and a small fresh patch, so test where practical.
Widespread peeling calls for diagnosis of preparation, moisture, compatibility, or movement. Recoating over a failing layer is unlikely to solve the cause. Removal or a different flooring system may become the more practical route.
Replacement makes sense when the underlying tile assembly is failing, the room needs broader waterproofing or layout work, or maintenance no longer fits your expectations. The least expensive next step is the one that addresses the actual failure rather than repeating the same unsuccessful coating process.
A useful one-year condition record
| Feature | Why it matters | |
|---|---|---|
| Product and preparation | Establishes the coating system | |
| High-traffic photographs | Shows where wear is concentrated | |
| Chips versus peeling | Separates impact from possible bond failure | |
| Leaks or loose tiles | Identifies underlying problems | |
| Cleaning products used | Helps assess compatibility | |
| Repair cost and downtime | Supports the next decision |
If you are planning the project rather than inspecting one, create this record at installation. Save receipts, labels, photos of the prepared surface, and the cure schedule. That makes a future one-year review much more useful than relying on memory.
Questions homeowners ask
How long will painted tile last?
There is no single defensible lifespan for every bathroom. Product, preparation, moisture, traffic, cleaning, and substrate condition all influence performance. Use documented system guidance and actual condition rather than a guaranteed number of years.
Can paint hide damaged grout?
It can change its color, but it does not restore loose or failing grout or repair movement beneath the tile. Resolve those defects before treating the surface as a cosmetic project.
Sources
- Rust-Oleum's tub refinishing guidance. Checked October 11, 2026
- Rust-Oleum HOME product page. Checked October 11, 2026
- Rust-Oleum's floor-coating support instructions. Checked October 11, 2026
Share this article
Get new guides by email
Practical home articles and free resources. No spam, and you can unsubscribe at any time.
Keep reading

The Easiest DIY Flooring to Install for Total Beginners
Compare five beginner-friendly flooring approaches, with illustrations, subfloor checks, installation tradeoffs, and a practical buying checklist.
October 2026, 4 min read
How to Fix Squeaky Hardwood Floors Underneath Carpet
Find the cause of squeaks beneath carpet, confirm the hidden floor layers, and choose a suitable repair while protecting the hardwood underneath.
October 2026, 4 min read
The Best Waterproof Flooring Options for Basement Bathrooms
Compare five basement bathroom flooring options, with matching images and practical checks for moisture, substrate preparation, and product approval.
October 2026, 5 min read