How to Fix a Toilet That Runs Until You Jiggle the Handle
Diagnose a toilet that stops running when you jiggle the handle. Check lever movement, chain slack, flush seals and fill-valve operation.
By Home Crane Editors. . 4 min read.
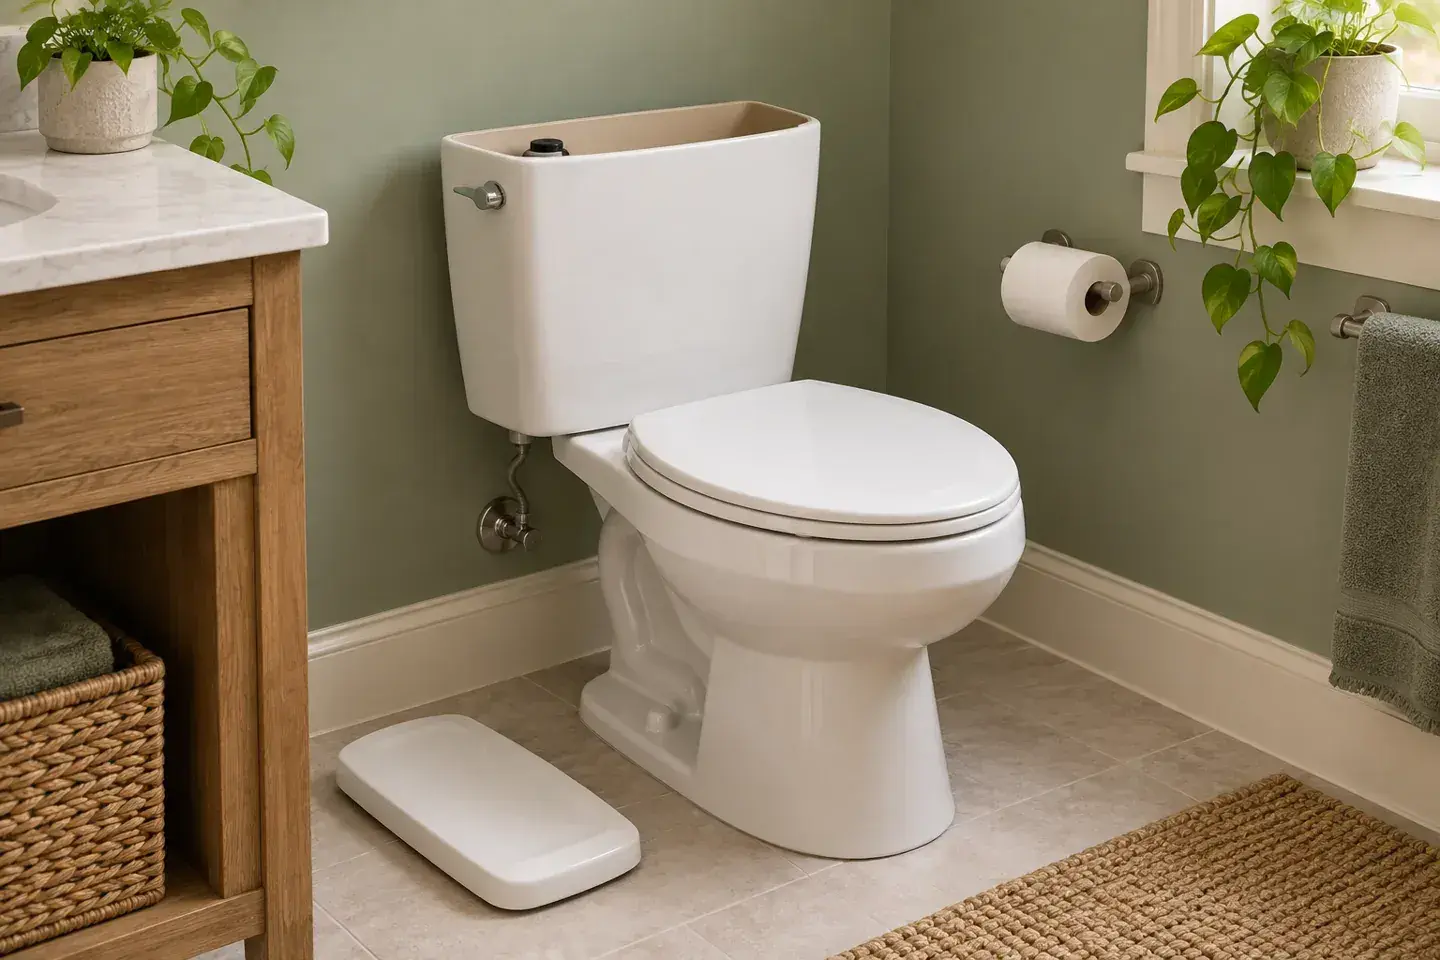
When jiggling the handle stops a running toilet, the handle, lever, chain, or flush seal may be failing to return freely. Observe the mechanism before replacing parts. A toilet can also run because the fill valve does not stop or water escapes past a worn seal, and those faults need different fixes.
This guide applies to a conventional gravity-flush tank. Pressure-assisted, concealed, and electronic systems need their own service instructions. Find the toilet model and any replacement-part information before buying a universal kit.
Remove the tank lid carefully and place it flat on a protected surface where it cannot fall. Porcelain lids are heavy and can break. Keep tools from striking the tank.
1. Watch one normal flush and identify what stays open
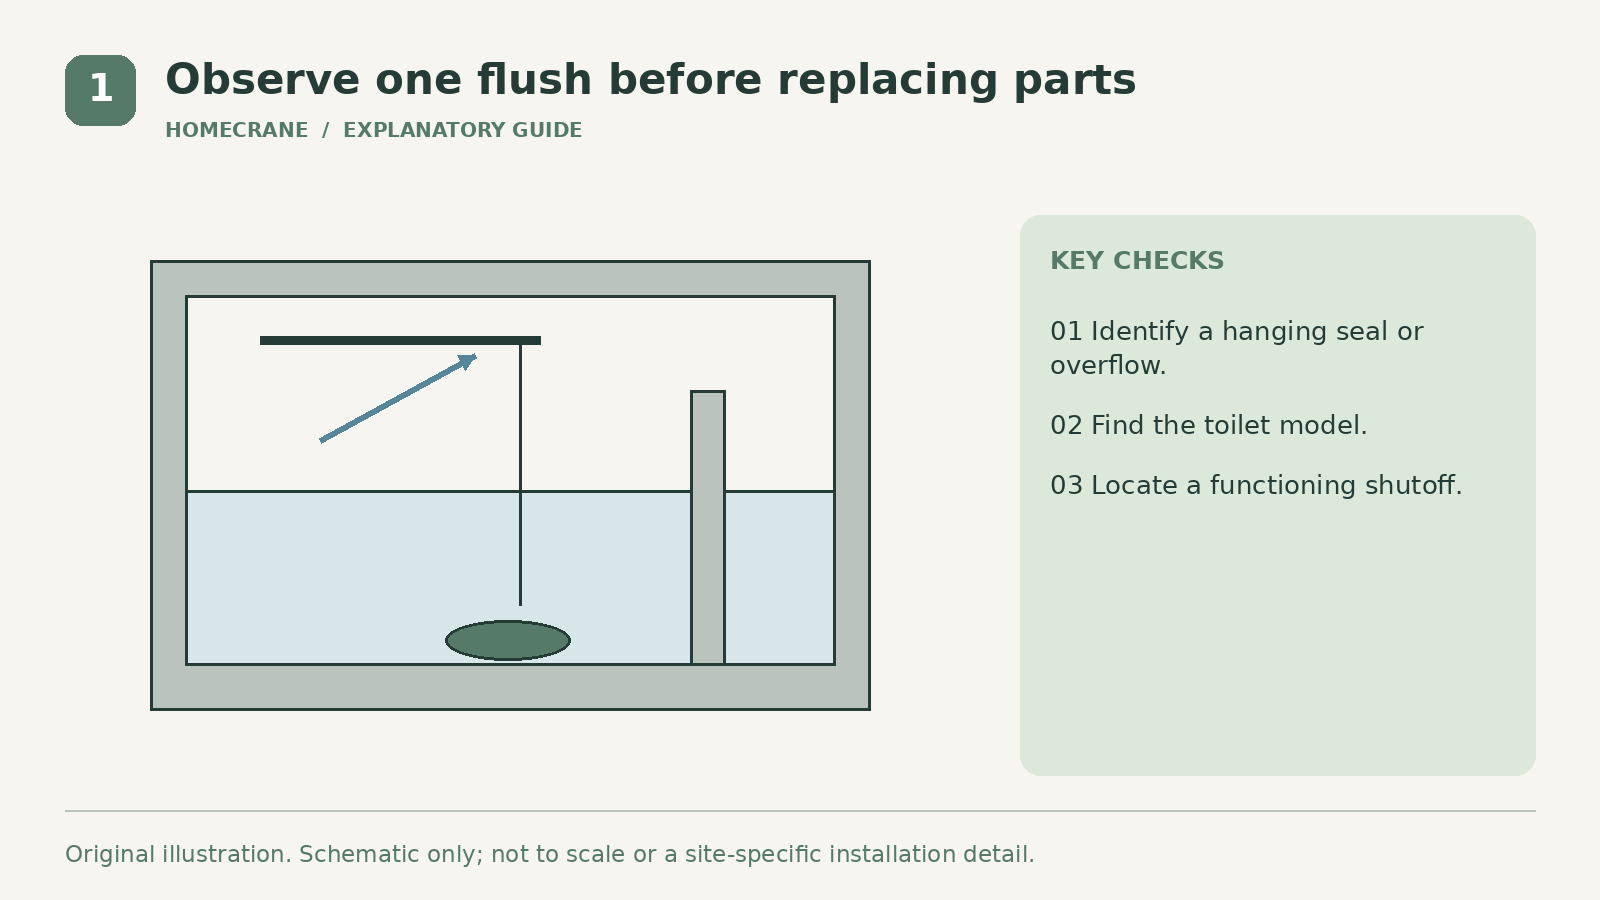
Flush and observe from above without putting your hands among moving parts. Does the handle return to its resting position? Does the chain become slack enough for the flapper to seat? Does a canister or other seal return squarely?
If the tank never fills because water flows directly into the bowl, inspect whether the flush seal remains open. If the water rises and spills into the overflow, the fill valve or its adjustment deserves attention. These are different routes for wasted water.
Photograph the mechanism and note the part numbers. Compare the observed arrangement with the toilet's instructions. Some systems use a chain; others do not. Avoid applying a flapper-specific adjustment to a different flush valve.
Locate the water shutoff before making adjustments. Close it gently for hands-on work and flush to reduce tank water where appropriate. If the valve leaks, is seized, or will not shut off, do not force it. Arrange a plumbing repair.
2. Free the handle and set the chain to the correct slack
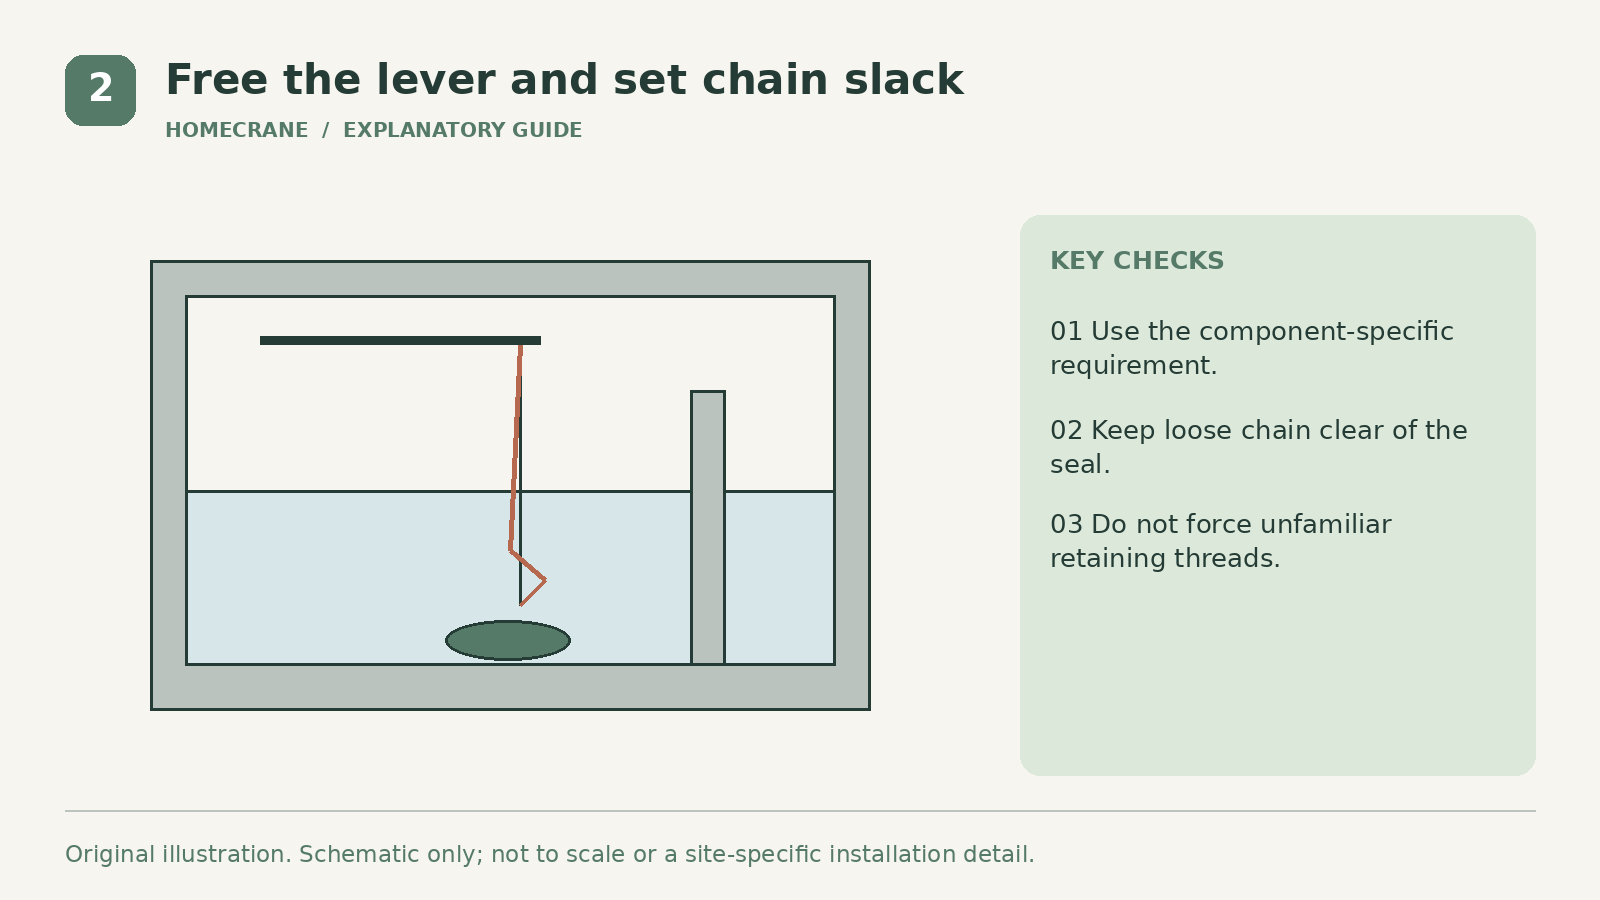
Check whether the lever rubs the tank, another component, or the lid. A handle that binds can keep tension on the chain. Correct the fit using the part's instructions rather than bending components randomly.
Some toilet-handle retaining nuts have reverse threads. Confirm the design before turning with force. Overtightening can damage the handle or porcelain, and loosening the wrong way can make matters worse.
For a compatible flapper system, the chain needs enough slack to let the flapper close while still lifting it correctly during flushing. Fluidmaster's K-400H-021 instructions specify roughly a half-inch small-J slack for that kit. Use your own component's requirement rather than treating that dimension as universal.
Keep extra chain from catching beneath the seal or on nearby parts. Reattach clips securely according to the instructions. Turn the water back on carefully and test several flushes, watching whether the mechanism returns without help.
3. Inspect the flush seal and compatible replacement parts
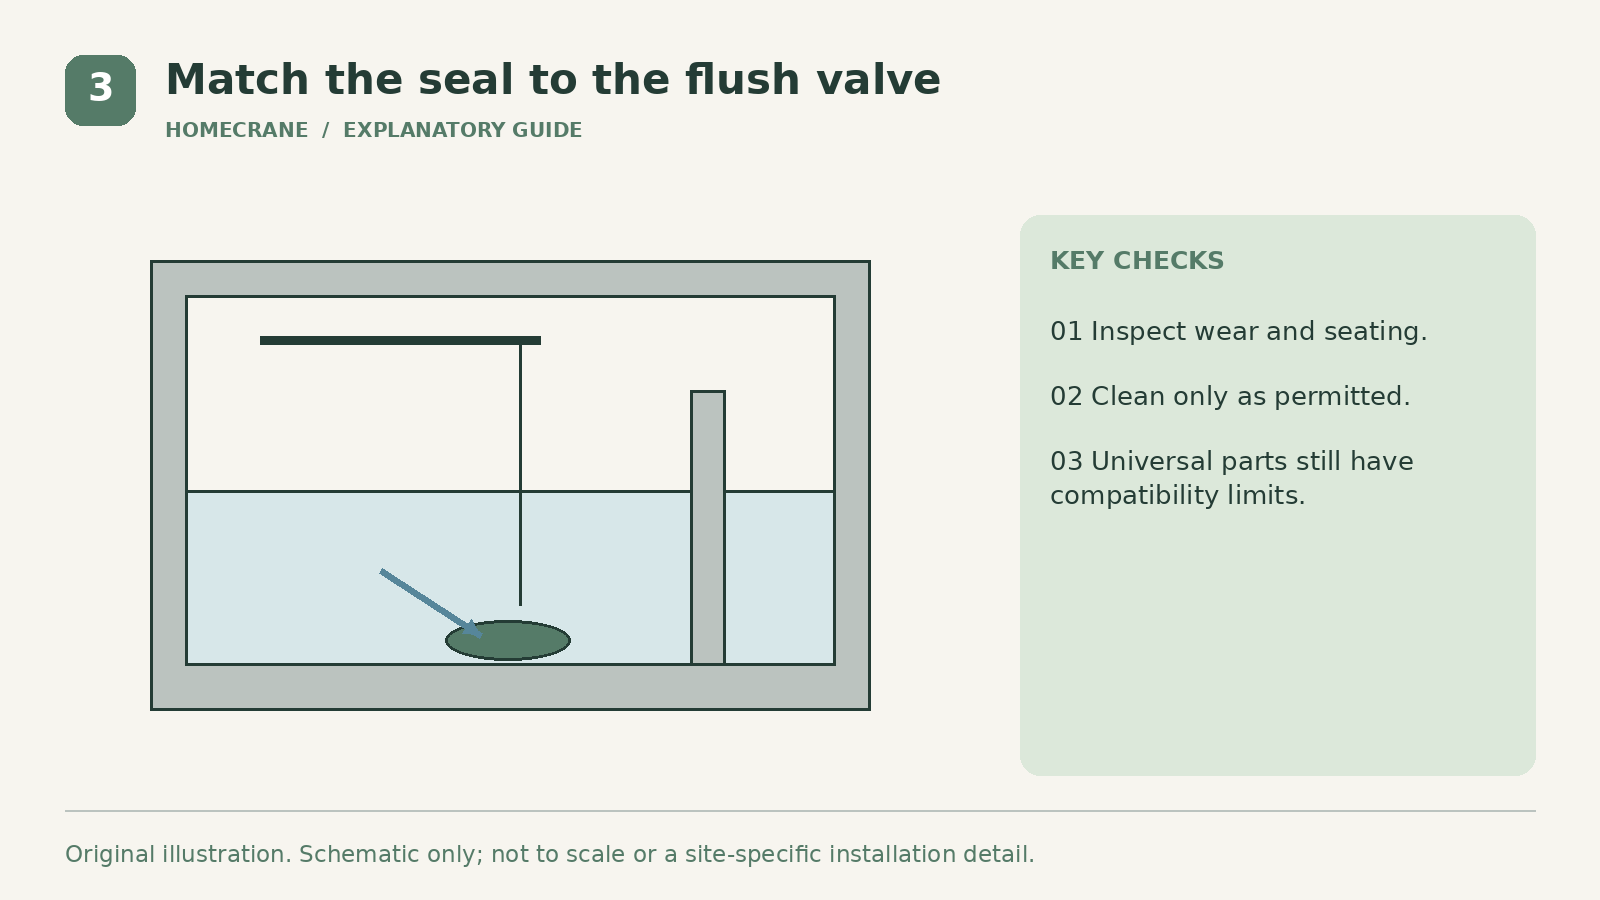
If the handle and chain move freely but water continues leaking into the bowl, the flapper or seal may be worn, distorted, dirty, or incorrectly fitted. Turn off the supply before the appropriate inspection and follow the model's service procedure.
Clean the sealing area only with a method approved for the component. Do not scrape or abrade it aggressively. A damaged seat or incompatible replacement can prevent a seal even when the new rubber part looks close to the original.
Match the replacement by toilet and flush-valve requirements, not appearance alone. Two-inch and three-inch valves are different, and adjustable flappers may need specific settings. Fluidmaster's three-inch flapper page illustrates that even products called universal identify a particular valve class and compatibility limits.
Keep chemical tank cleaners out unless the toilet and component makers explicitly allow them. Follow the replacement instructions for attachments, chain position, and water-use adjustment. Retain the old part until the new one has been confirmed to work correctly.
4. Check the fill valve and verify the finished repair
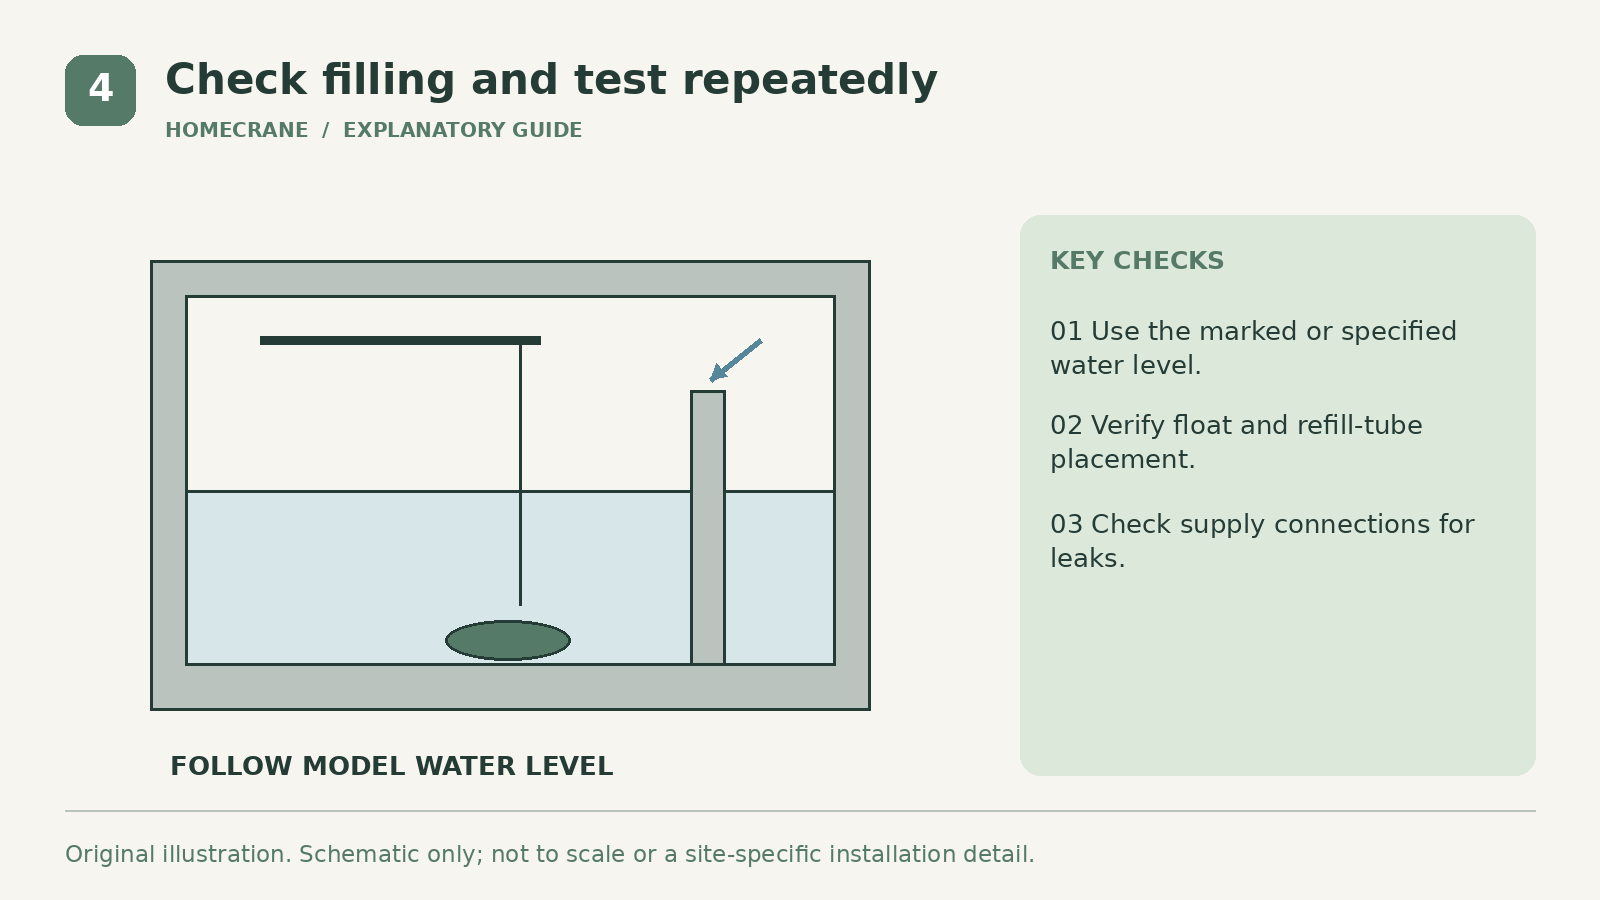
If water rises into the overflow, check the fill level and valve operation against the toilet's marked level and instructions. Do not bend or reposition parts blindly. The refill tube also needs the specified placement and clip; it should not be improvised or submerged contrary to instructions.
Observe whether the float moves without contacting the tank wall, lever, or other mechanism. A valve that still fails to shut off after an approved adjustment may need service or replacement. Shut off the water and get help if you cannot stop uncontrolled filling.
After any repair, check the supply connection and surrounding floor for leakage. Flush several times and wait between tests to confirm that the tank stops filling and does not restart unexpectedly. Replace the lid carefully and confirm it does not interfere with the handle mechanism.
If the symptom returns, record which part is hanging up rather than repeatedly jiggling the handle. A dependable repair should work through ordinary use without requiring a special movement.
| Feature | Likely area to inspect | |
|---|---|---|
| Handle remains down | Handle and lever fit | |
| Chain stays taut at rest | Chain adjustment and routing | |
| Seal closes but tank slowly refills | Flush seal, seat or another leak path | |
| Water reaches overflow | Fill valve and specified water level |
Should I replace every tank part at once?
Not necessarily. A simple binding handle can be corrected without replacing a functioning valve. Broader replacement may be sensible when several parts are worn, but diagnose first.
Can I leave it until later?
A running toilet wastes water and can conceal a developing fault. If you cannot stop it reliably, use a functioning shutoff and arrange repair rather than relying on the handle trick.
Sources
- Fluidmaster's K-400H-021 instructions. Checked October 11, 2026
- Fluidmaster's three-inch flapper page. Checked October 11, 2026
Share this article
Get new guides by email
Practical home articles and free resources. No spam, and you can unsubscribe at any time.
Keep reading
Painted Kitchen Countertops After Two Years: What to Inspect and Expect
Assess painted countertops after two years with a practical inspection guide for edges, sink areas, scratches, cleaning, and repair decisions.
October 2026, 3 min read

How to Help Prevent Frozen Pipes in Minnesota Winters
Prepare Minnesota plumbing for winter with guidance on vulnerable pipes, heat, insulation, outdoor lines, and when to contact a plumber or utility.
October 2026, 5 min read

Repointing Brick Cost in Pennsylvania: What You Need to Know
Compare Pennsylvania brick repointing costs with Philadelphia context, wall-area calculations, compatible mortar, access, and a clear sample budget.
October 2026, 4 min read