How to Frame a Boring Builder Grade Bathroom Mirror
Framing an existing bathroom mirror can make a basic vanity feel more finished without replacing the glass. The important distinction is between the.
By Home Crane Editors. . 4 min read.
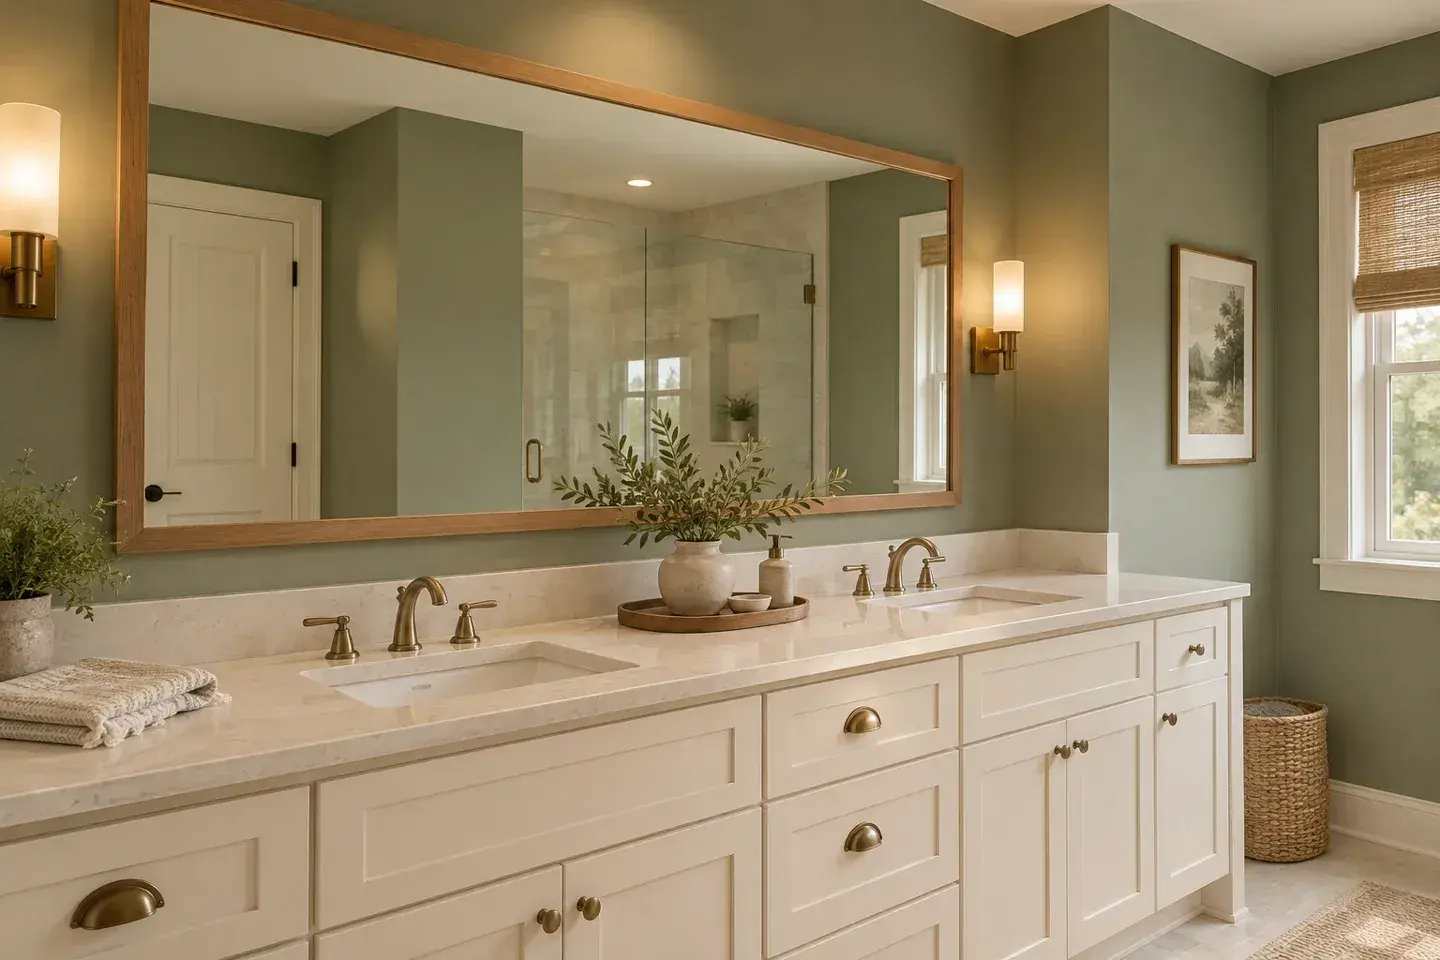
Framing an existing bathroom mirror can make a basic vanity feel more finished without replacing the glass. The important distinction is between the hardware that holds the mirror on the wall and the decorative frame that sits around its face. Adding a frame does not repair an insecure mirror.
For beginners, a purpose-made mirror-frame kit is often easier than adapting ordinary molding around clips. A custom wood frame can also work, but its weight, attachment method, moisture resistance, and clearance need a deliberate design. Never assume a general construction adhesive is suitable for mirror backing or for supporting heavy trim on glass.
1. Inspect the mirror and record the clearances
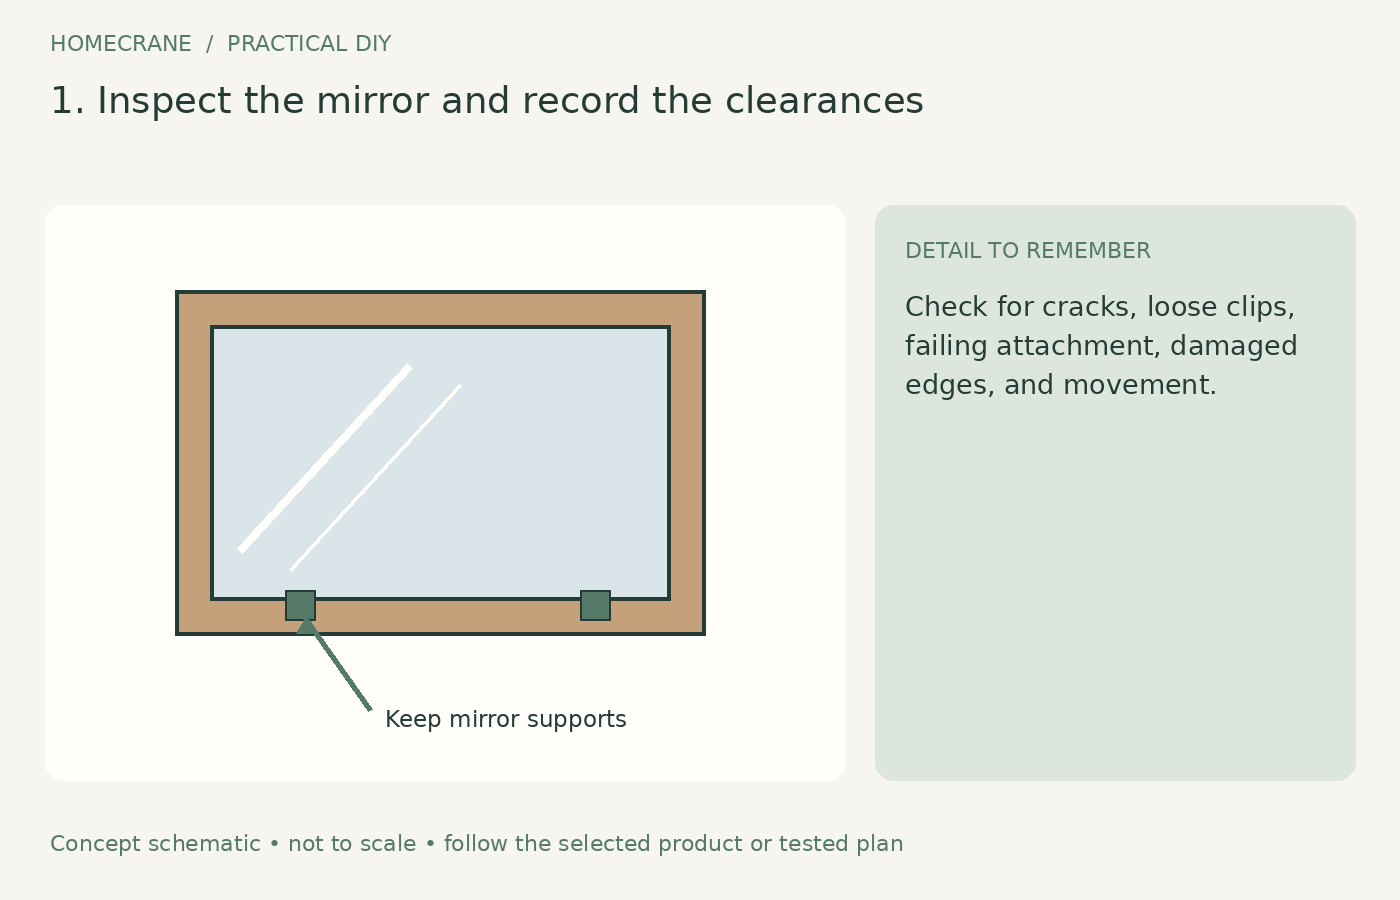
Check for cracks, loose clips, failing attachment, damaged edges, and movement. If the mirror is insecure or damaged, have that addressed before decorating it. Do not remove supporting clips merely because they interrupt the look of the frame.
Measure the glass width and height, plus the space beside the backsplash, light fixture, adjacent walls, and medicine cabinet doors. Photograph the corners and clip locations. A frame that fits the visible glass can still interfere with a faucet handle or cabinet door.
Follow the chosen kit's measuring directions precisely. Some frames are designed to overlap the glass and cover clips, while others require clearance outside the mirror. Those are different dimensions, so do not use one generic “add two inches” rule.
2. Choose a frame system that handles the clips
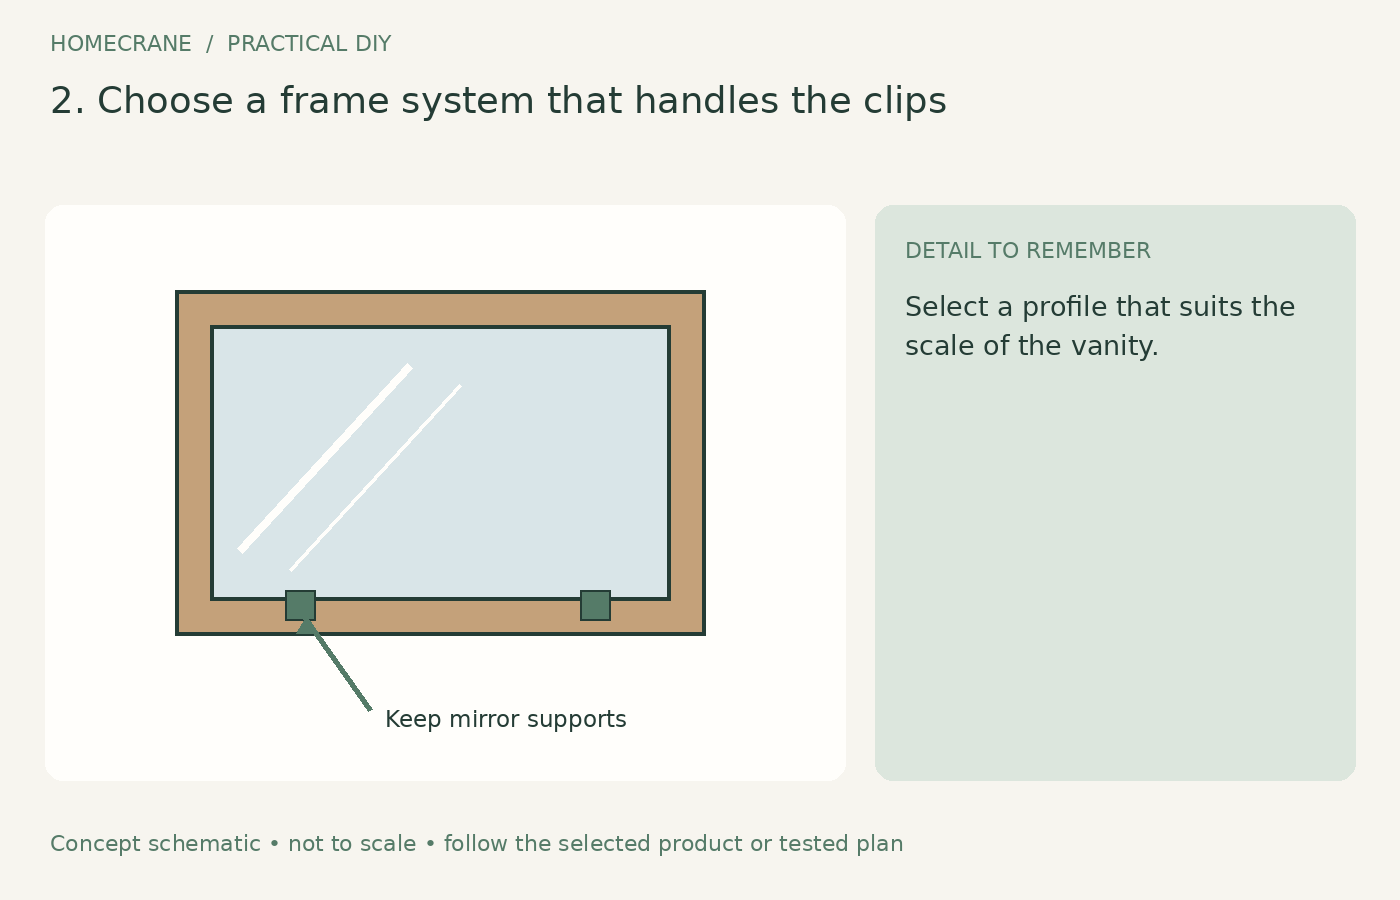
Select a profile that suits the scale of the vanity. A narrow frame can look clean on a small mirror; a wider frame can conceal more of an edge but reduces the reflective area. Hold up a sample before ordering the entire frame.
MirrorMate explains its recessed clip-covering design, which is an example of a system engineered for an existing wall-mounted mirror. Its FAQ discusses compatibility details and exceptions. Those features belong to that product and should not be assumed for ordinary flat-backed trim.
If making your own frame, resolve clip clearance and attachment before cutting. Use an appropriate mirror-compatible system with a documented load and surface application. A decorative frame must not interfere with the mirror's original support.
3. Assemble and finish the frame off the wall
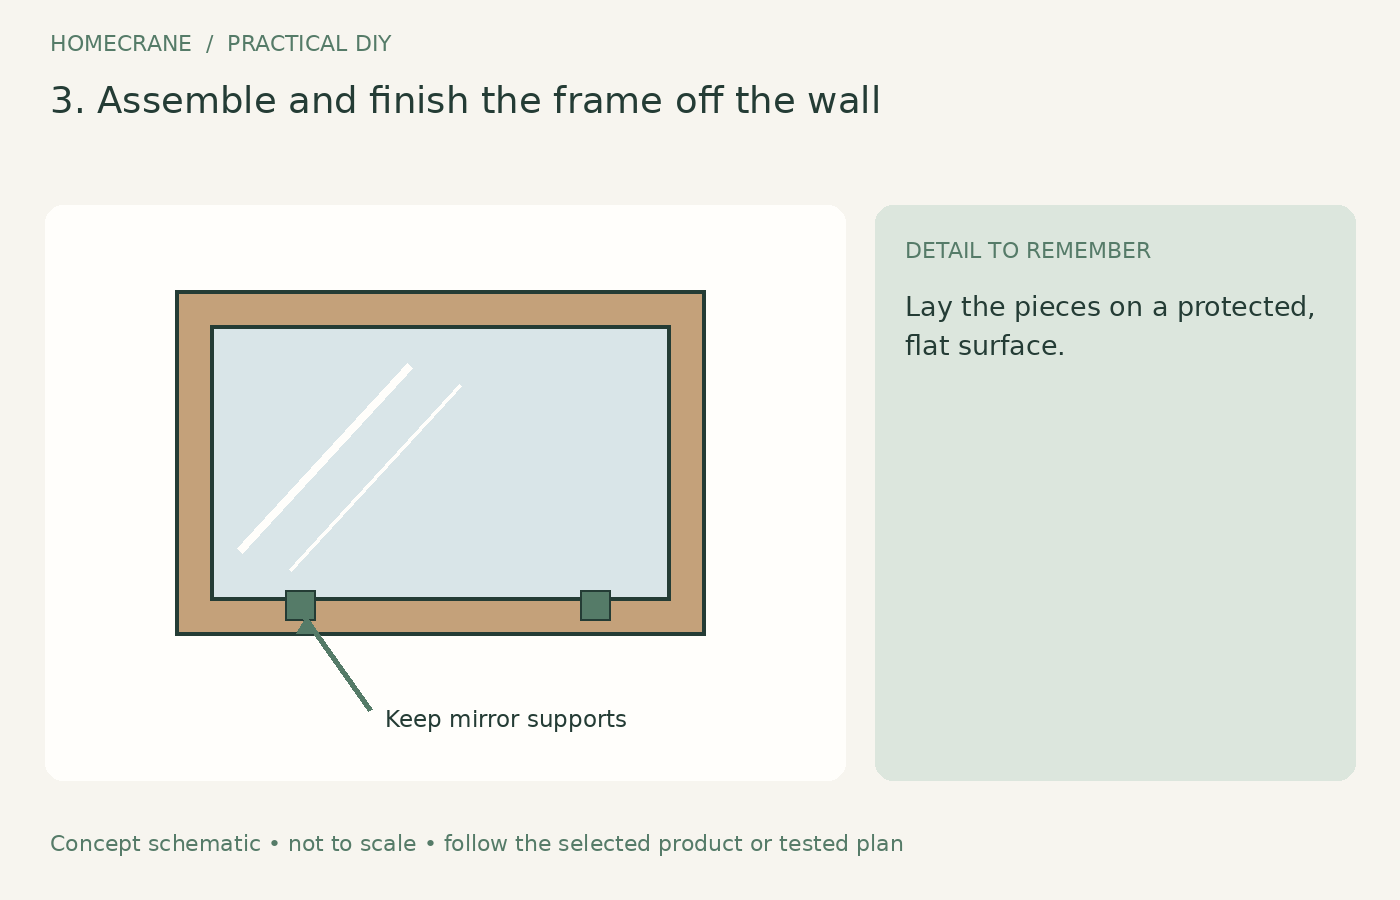
Lay the pieces on a protected, flat surface. Confirm their orientation and dry-fit the corners. Assemble them using the supplied connectors and adhesive, or the joinery specified by your chosen frame design.
Check diagonals or corner alignment before the joints set. Small gaps become obvious against reflective glass, and a twisted frame can be difficult to attach evenly. Wipe excess glue according to the adhesive instructions instead of spreading it across the finished face.
For unfinished wood, apply the suitable finish before installation and allow it to cure. Remember that the back edge can reflect in the mirror. Finish the visible reflected area consistently, but keep attachment surfaces compatible with the mounting system. Do not paint over adhesive tape or required bonding areas.
4. Clean, dry-fit, and attach as instructed
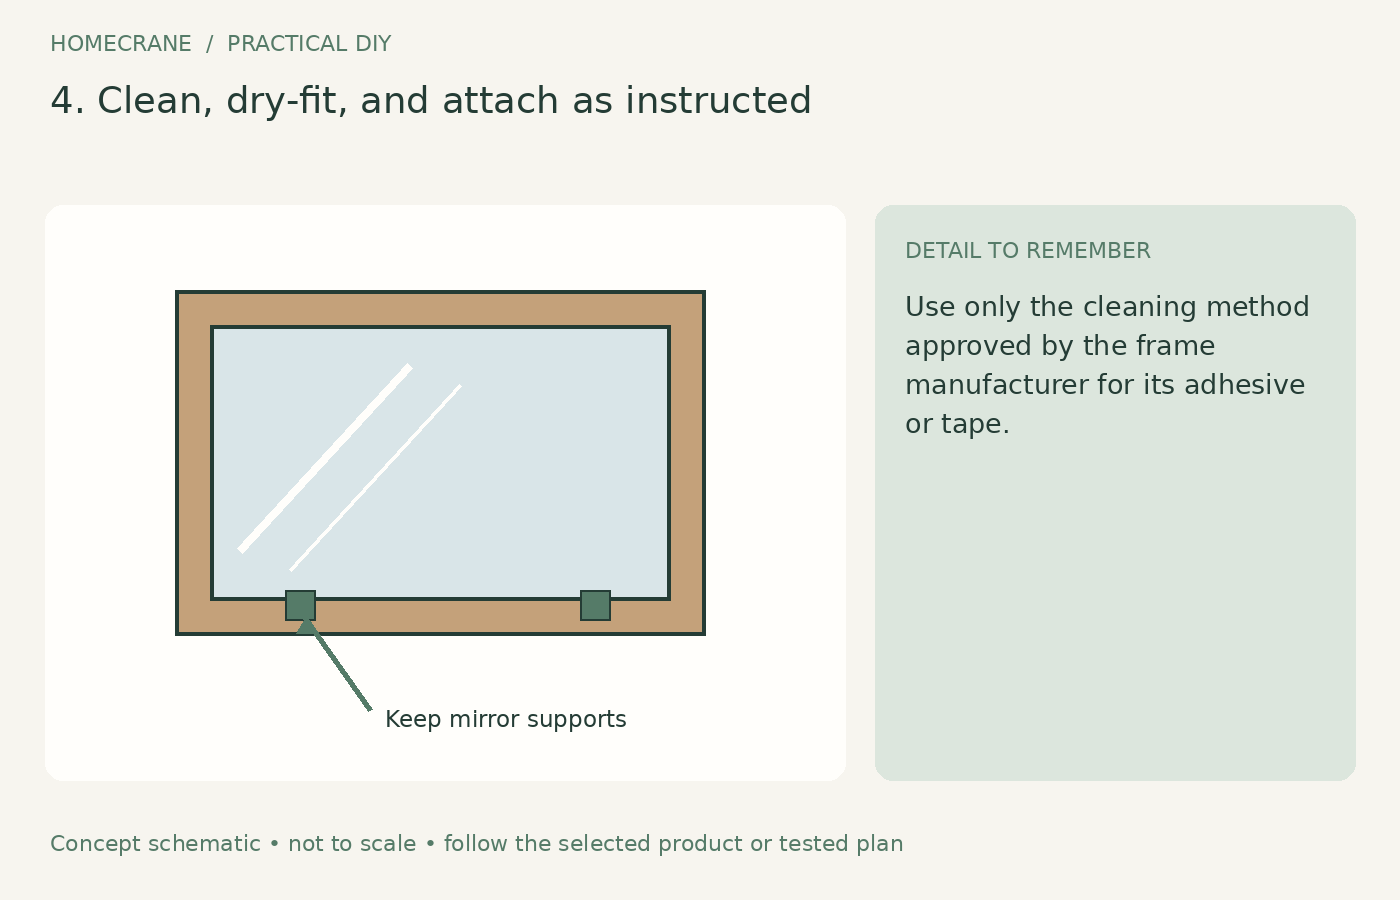
Use only the cleaning method approved by the frame manufacturer for its adhesive or tape. Ordinary glass cleaner can leave residue that interferes with some attachment systems. Let the surface dry fully.
Test the complete frame position before exposing adhesive. MirrorMate's installation instructions illustrate a product-specific sequence using placement aids. If you choose that system, follow the actual supplied instructions rather than improvising a different order.
Lift with adequate help and support the frame safely. Do not lean tools or heavy pieces against the glass. Press and support the frame as the system requires, then respect its handling and curing times. Inspect the corners and make sure existing clips or channels remain functional.
Compare the two common approaches
| Feature | Main advantage | Detail that needs attention |
|---|---|---|
| Purpose-made frame kit | Predesigned assembly and attachment | Accurate measurements and compatibility |
| Custom wood frame | Flexible profile and finish | Weight, clip recesses, joinery, and attachment |
A kit is not automatically the cheapest choice, but it can reduce the need for saws, finishing supplies, and a custom mounting solution. Compare the total materials and tools, including failed cuts or finish samples, before deciding.
Choose a finish that coordinates with something already in the room: the faucet, cabinet hardware, or wood tone. Matching every metal exactly is optional, but an intentional relationship makes a modest frame look more integrated.
Common mistakes to avoid
Cutting all four pieces before confirming the measuring method can waste the entire frame. Another frequent mistake is ignoring the reflected backside, which can show an unfinished strip even when the front looks perfect.
Do not caulk every edge to the mirror unless the system specifically requires it. Unplanned sealant can affect removal, appearance, or moisture behavior. Likewise, do not use the new frame as a handle when cleaning or adjusting the mirror.
Questions homeowners ask
Can I frame a mirror that touches the backsplash?
Some systems are designed for that situation. Check the profile and measuring instructions before ordering, especially at bottom clips or metal channels.
Will the frame hide dark mirror edges?
It may conceal limited edge discoloration cosmetically, but it does not reverse damage to the mirror. Check whether moisture or another ongoing problem is causing the deterioration before covering it.
Sources
- MirrorMate explains its recessed clip-covering design. Checked October 11, 2026
- MirrorMate: Frequently asked questions. Checked October 11, 2026
- MirrorMate's installation instructions. Checked October 11, 2026
Share this article
Get new guides by email
Practical home articles and free resources. No spam, and you can unsubscribe at any time.
Keep reading

DIY Fluted Headboard Made Out of Pool Noodles
Plan a decorative fluted headboard using covered foam channels, a stable backer, careful material checks, and secure independent mounting.
October 2026, 3 min read

4 Renter-Friendly Ways to Hang Curtains Without Drilling
Compare tension rods, adhesive curtain hooks, magnetic rods, and floor-to-ceiling systems for curtains in a rental without drilling.
October 2026, 3 min read
Genius Under-Stairs Pull-Out Storage Ideas You Can DIY
Explore five under-stairs storage approaches with practical guidance on access, drawer hardware, stability, and existing openings.
October 2026, 3 min read