How to Insulate a Drafty Front Door Frame in 15 Minutes
Find and reduce a front-door draft with correct weatherstripping or stationary-joint sealing, and learn which repairs need more than 15 minutes.
By Home Crane Editors. . 4 min read.

You may reduce a simple door draft in about 15 minutes when the cause is obvious and the correct replacement material is ready. Air-sealing is the useful quick fix; damaged framing, hidden gaps, and major alignment problems take longer. Do not promise a complete insulation repair before locating the leak.
There are two different joints to inspect: the moving joint between door and frame, and stationary joints around the frame or trim. Weatherstripping serves the first; an appropriate sealant may serve the second. The wrong material can make the door hard to close without stopping the actual leak.
The Department of Energy's exterior-door weatherstripping job aid emphasizes reducing air infiltration while preserving door operation. That is the goal of this quick check.
1. Locate the draft before spending the first five minutes
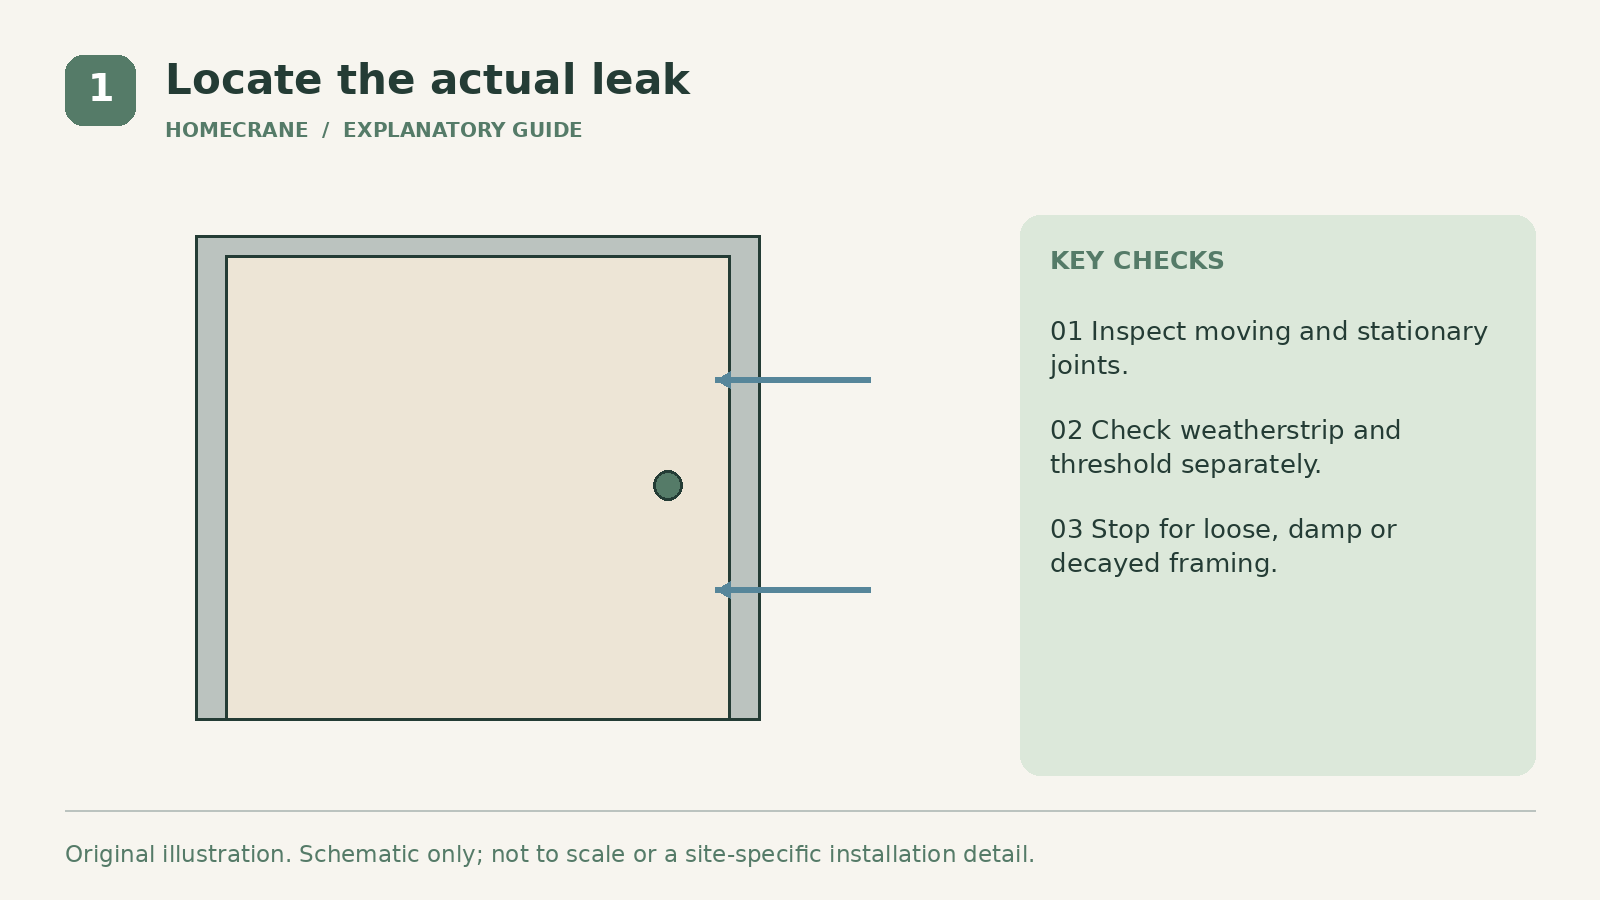
Close and latch the door normally. Look for daylight at the perimeter and feel for moving air without using a flame. A small piece of tissue can help reveal a draft, but changing wind and HVAC operation can affect what you notice.
Inspect the weatherstrip for missing sections, tears, compression, and loose attachment. Check the bottom sweep or threshold seal separately. A draft along the side of the door will not necessarily be fixed by adding a draft stopper at the bottom.
Look at the joint between trim and wall. If the air seems to emerge there rather than around the moving door edge, the repair may involve stationary air-sealing or the hidden frame-to-wall space. Do not fill every visible opening without understanding its purpose.
Stop the quick repair if you find soft wood, water staining, a loose frame, or a door that no longer latches. Those conditions need diagnosis. A seal should not conceal decay or make an insecure door appear repaired.
2. Replace a simple worn weatherstrip with the correct profile
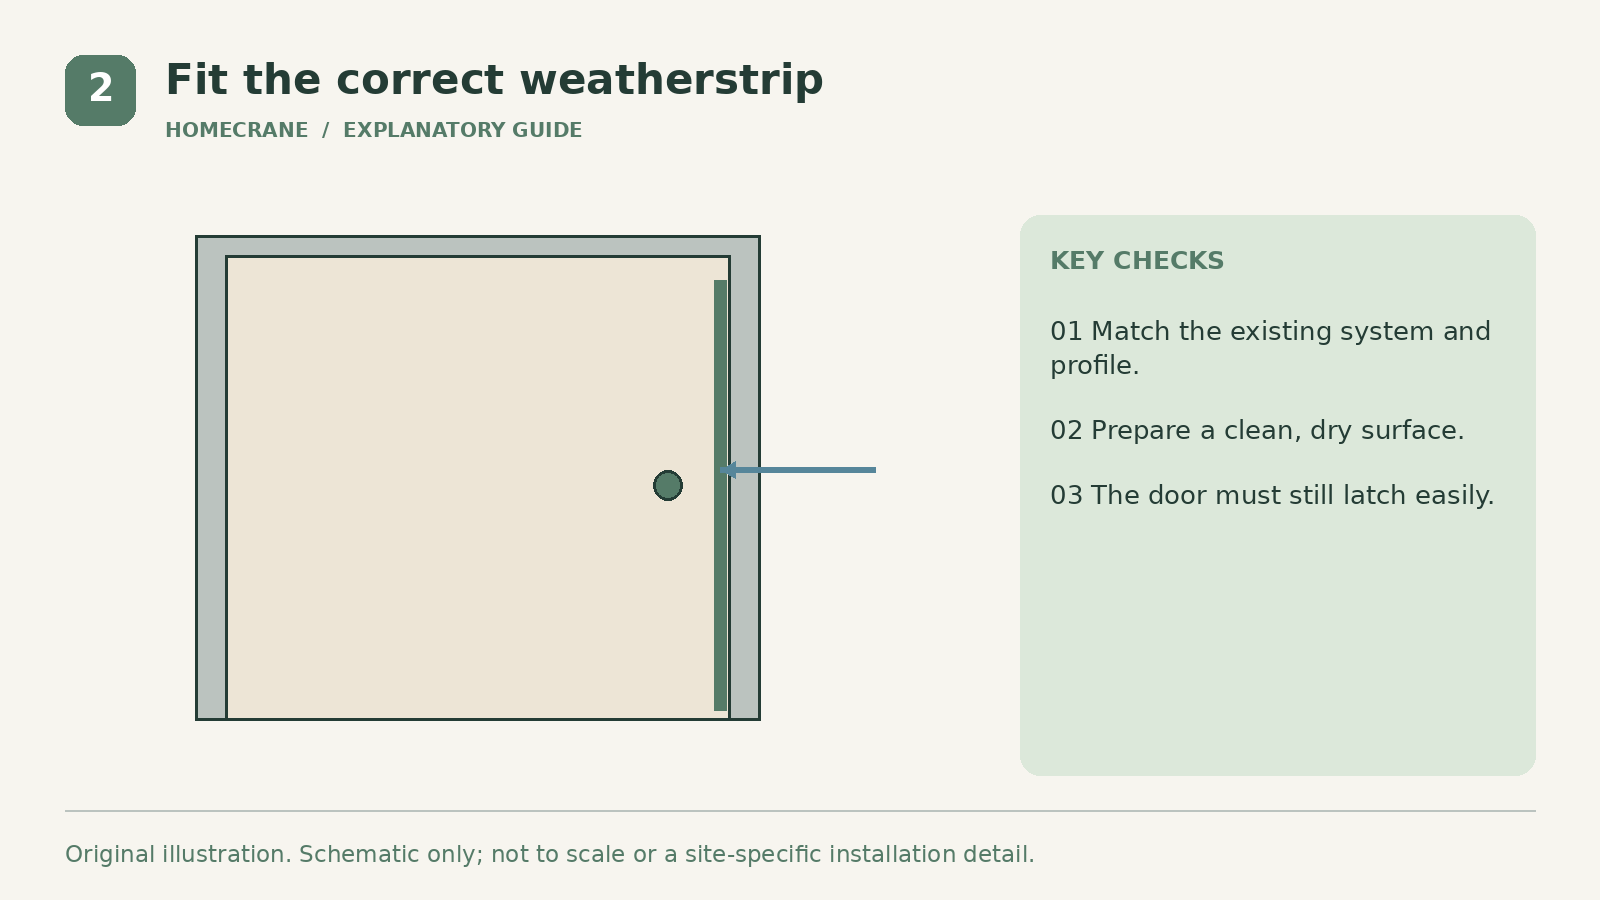
Identify the existing type: kerf-in, adhesive-backed, compression, or another system. Match the door maker's profile and size where available. The thickest foam in the store is not automatically the best seal.
For an appropriate adhesive product, prepare a clean, dry surface and follow its temperature and bonding instructions. Measure and cut neatly, keeping corners continuous as designed. Do not stretch flexible material during fitting if the product warns against it, since it may retract later.
For a kerf-in replacement, use the correct profile and insertion method. Do not force an oversized seal into a damaged groove. If the old material is painted in or difficult to remove, allow more time and avoid tearing the frame finish.
Close the door gently and check contact. The seal should compress enough to work without requiring a slam. Test the latch and deadbolt from both sides. If they bind, reassess the fit rather than forcing the hardware.
3. Seal a suitable stationary joint, not the moving door edge
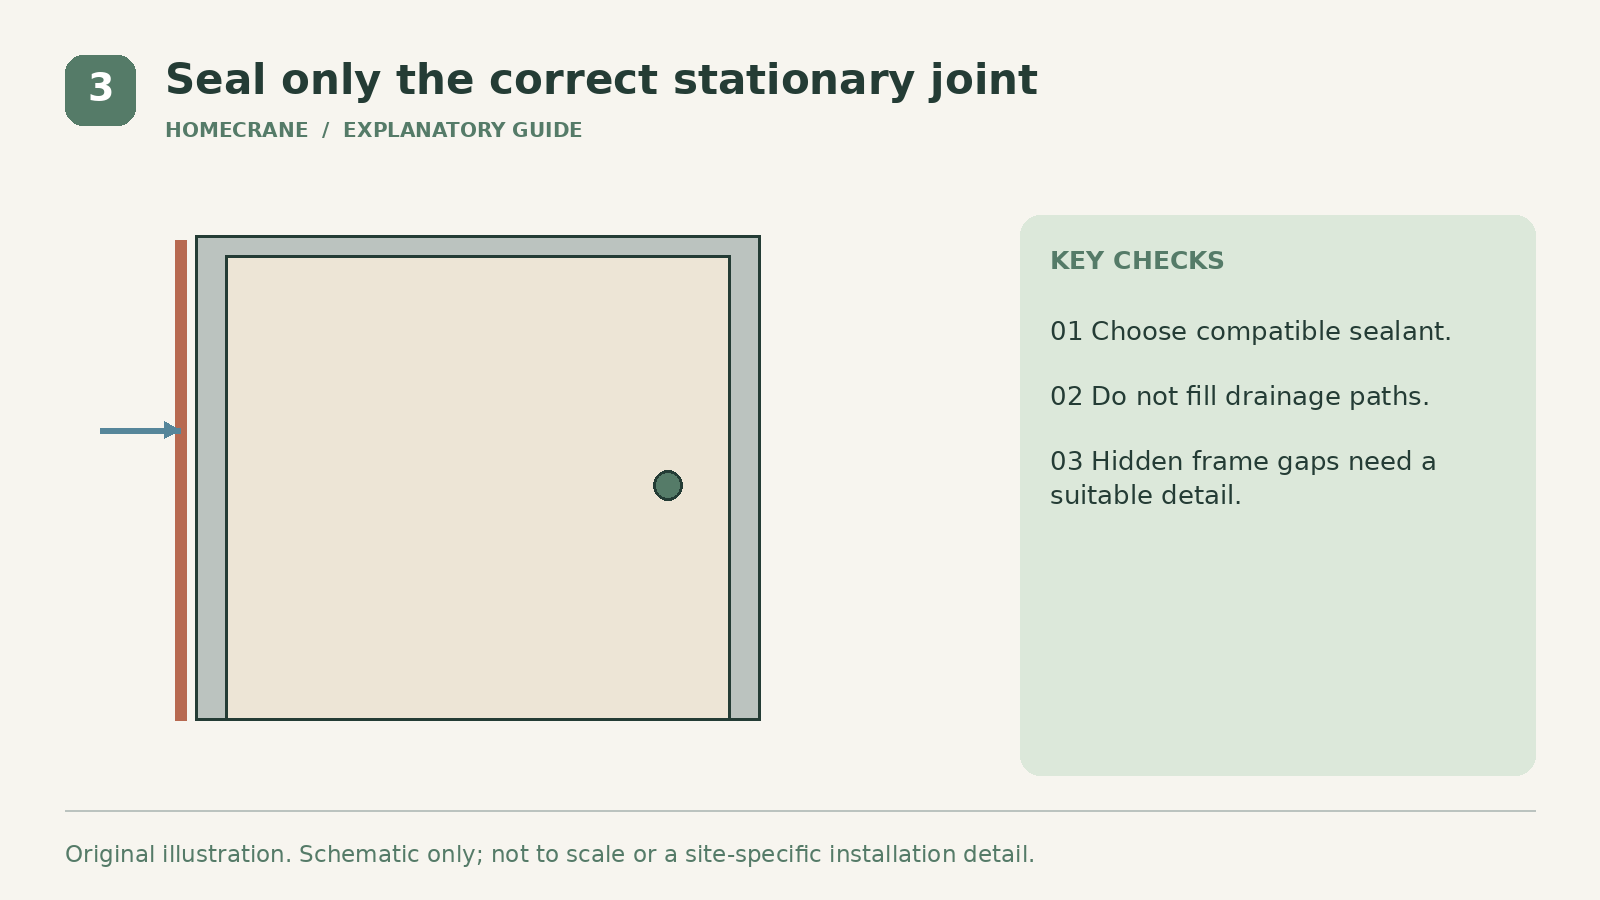
Where a small stationary trim-to-wall gap is the confirmed leak path, choose a sealant compatible with the surfaces, exposure, movement, and intended paint. Energy Saver's weatherstripping guidance distinguishes weatherstripping for moving components from caulk for stationary gaps.
Remove loose failed material as appropriate and prepare the joint according to the sealant label. Apply a controlled bead within the product's allowed joint size. Observe curing requirements before painting or exposing the repair to conditions the product excludes.
Do not caulk the door shut, fill drainage openings, or block designed ventilation. Exterior sill and flashing details can have drainage functions that are not obvious from the inside. If the suspected leak is beneath the threshold or behind trim, ask for the proper assembly detail.
Hidden frame-to-wall gaps may need trim removal and a suitable window-and-door air-sealing system. Generic expanding foam can distort components or complicate later work. This is outside a casual 15-minute repair when the construction and product compatibility are unknown.
4. Retest the seal and plan any remaining work
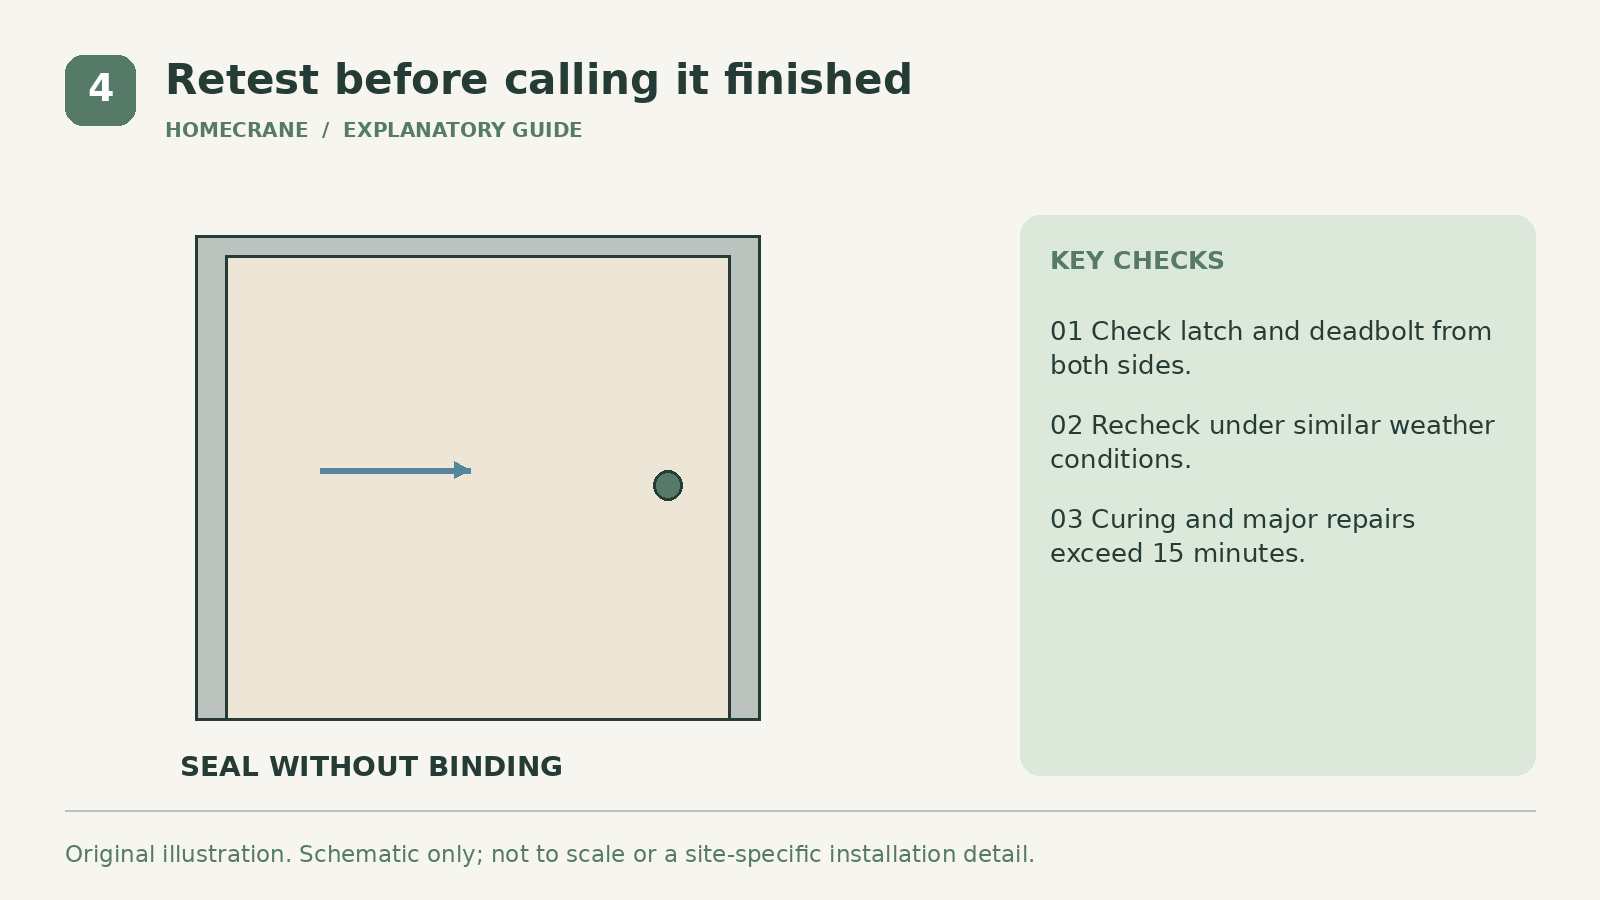
Operate the door repeatedly, including the latch and deadbolt. Check that the new material does not roll, detach, or catch at corners. Look for even contact and remaining light gaps.
Recheck under similar weather conditions if possible. A single calm-day test does not prove that wind-driven leakage is solved. Note where the draft persists and whether it comes from the threshold, the frame, or another nearby building joint.
If the door needs adjustment, have the hinges, strike, threshold, and frame assessed together. Do not keep adding layers of foam until the hardware struggles. An appropriate repair can include alignment as well as sealing.
Maintain intended home ventilation and ask for a broader energy assessment if drafts occur throughout the house. A front-door improvement may increase comfort without resolving every source of air leakage or heat loss.
| Feature | Likely next action | |
|---|---|---|
| Torn matching weatherstrip | Replace with the correct profile | |
| Small confirmed stationary trim gap | Use a compatible sealant detail | |
| Door rubs or will not latch | Correct alignment first | |
| Damp or soft frame | Investigate water damage | |
| Leak behind trim or threshold | Plan a more complete repair |
What can realistically fit into 15 minutes?
A short inspection and simple replacement may, with materials ready and no complications. Shopping, surface drying, sealant curing, and structural repairs do not fit that promise.
Is a door snake enough?
It may reduce a bottom draft temporarily, but it does not repair side seals, a damaged threshold, or hidden frame leakage. Keep it from obstructing safe door operation.
Sources
- Department of Energy's exterior-door weatherstripping job aid. Checked October 11, 2026
- Energy Saver's weatherstripping guidance. Checked October 11, 2026
Share this article
Get new guides by email
Practical home articles and free resources. No spam, and you can unsubscribe at any time.
Keep reading

The Best Energy-Efficient Windows for High-Altitude Colorado
Compare energy-efficient windows for high-altitude Colorado by elevation compatibility, whole-window ratings, solar gain, and installation quality.
October 2026, 4 min read

Best Heating Systems for Upstate New York: Comparing Cost and Comfort
Compare five heating approaches for Upstate New York and learn how energy prices, efficiency, existing equipment, and installation scope affect cost.
October 2026, 5 min read

The Best Energy-Efficient Windows for Minnesota Winters
Choose energy-efficient windows for Minnesota winters using whole-window ratings, glazing, frame and installation comparisons, and practical bid checks.
October 2026, 4 min read