The Best Energy-Efficient Windows for High-Altitude Colorado
Compare energy-efficient windows for high-altitude Colorado by elevation compatibility, whole-window ratings, solar gain, and installation quality.
By Home Crane Editors. . 4 min read.
For a high-altitude Colorado home, the best energy-efficient window is one approved for the actual installation elevation and supplied with verified ratings for that exact configuration. Start there before choosing triple-pane glass, a frame material, or a brand.
A low U-factor is valuable in a cold climate, but the glass must also handle the pressure difference between manufacture, transport, and installation. Solar exposure, air leakage, installation quality, and service access complete the decision. This guide compares the most useful options and questions rather than claiming one untested product is best for every Colorado property.
1. Specify the elevation before the glass
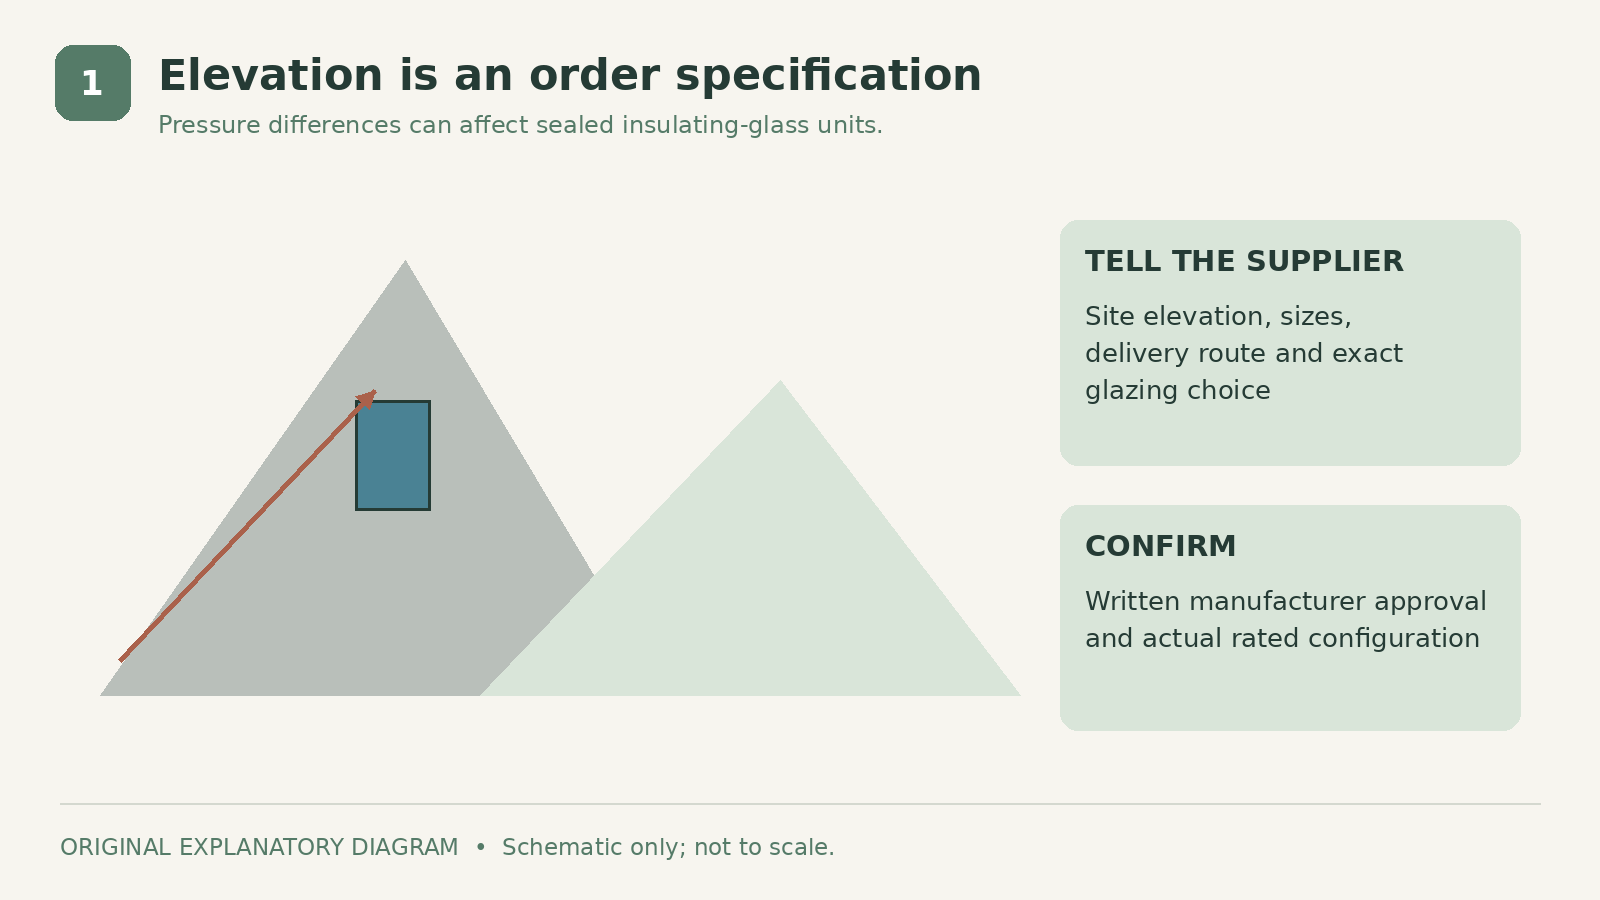
Cardinal's technical bulletin explains that sealed insulating glass manufactured at lower elevation can bow when moved higher, with possible glass or seal damage if the pressure difference is large. High-altitude configuration is therefore an order specification, not merely a sales label.
Give the supplier the site's elevation, window dimensions, and expected delivery route. Ask the manufacturer to approve the exact glass configuration for the project and explain any transport or installation limitations.
Some systems use factory-installed capillary tubes. Cardinal's glossary states that its capillary-tubed units are not argon-filled and should use air-filled performance values. Do not assume an advertised argon rating still applies after a high-altitude option changes the unit.
Manufacturers have different policies. Marvin's Elevate technical catalog, for example, includes elevation guidelines and warranty limitations. That is a reason to obtain written product-specific confirmation, not a universal elevation threshold for all windows.
Never drill, open, or modify an insulating-glass unit to improvise pressure equalization. The approved configuration and installation procedure belong with the manufacturer and qualified installer.
2. Compare whole-window U-factors
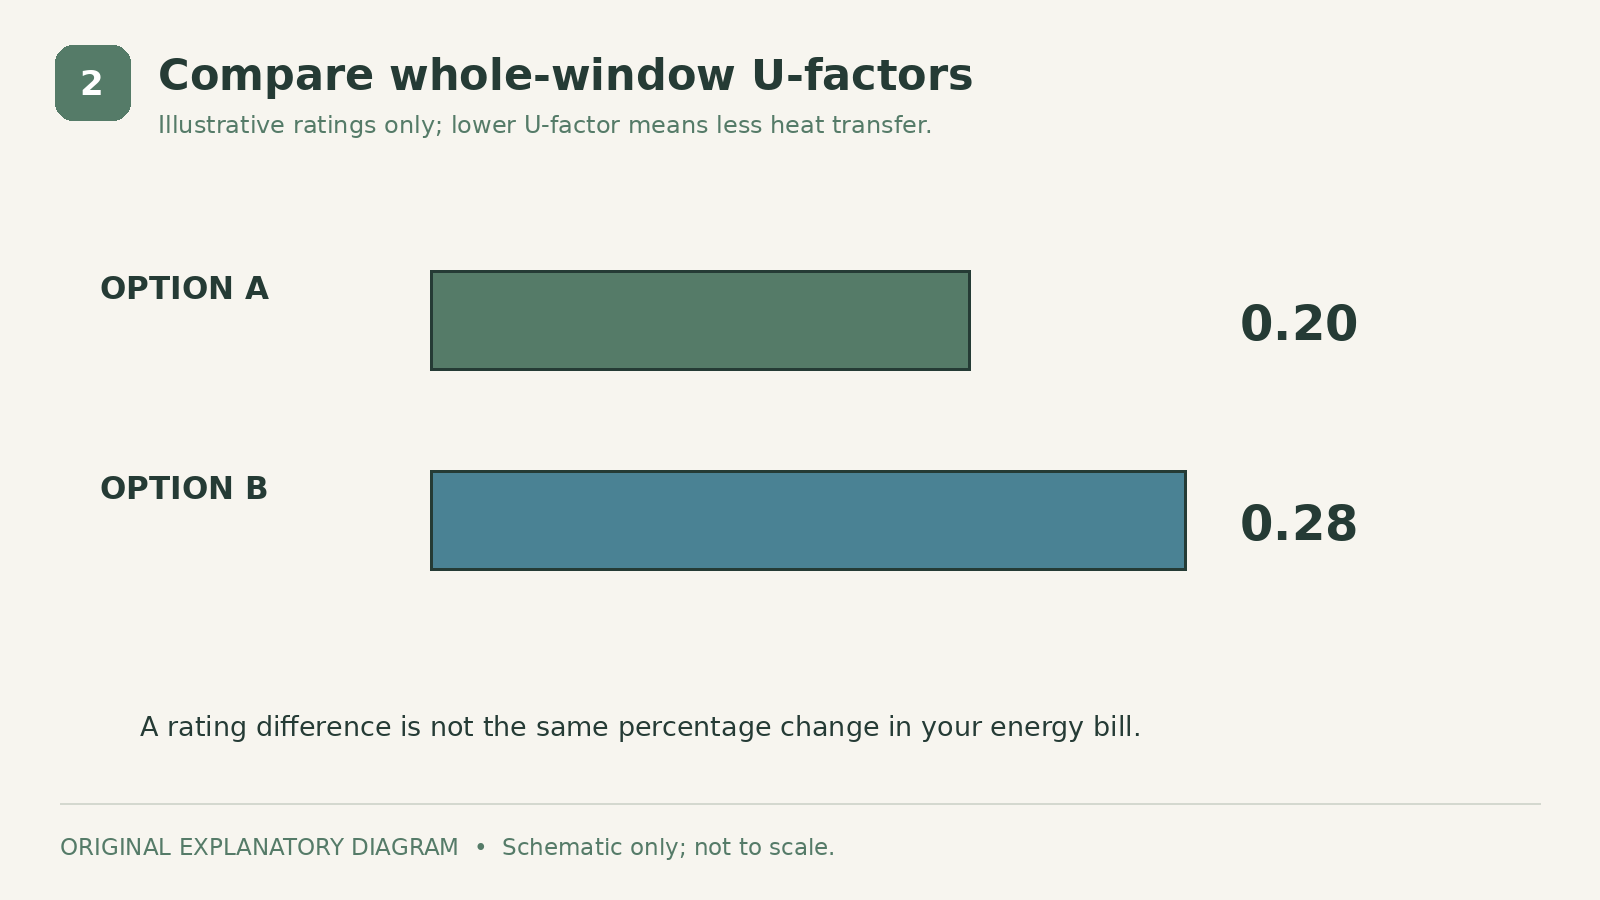
U-factor describes heat transfer; lower values indicate better insulation. Use the certified whole-product rating, not a center-of-glass number that leaves out the frame and edge effects. The National Fenestration Rating Council provides standardized energy-performance information for comparison.
For a cold, exposed home, put an altitude-approved triple-pane package on the shortlist alongside a strong double-pane option. Triple glazing can be useful, but pane count alone does not establish the better finished product. Compare the exact configurations offered in your quote.
As a simple rating comparison, a U-factor of 0.20 is lower than 0.28. That does not mean your whole-house heating bill will fall by the same proportion. Window area, existing performance, installation, weather, and the rest of the building affect the actual result.
Ask the supplier for the product identification that connects the quote to its rating. If different sizes or operating styles have different values, keep them separate in the schedule instead of using one attractive number for the entire order.
A budget-conscious buyer should request the installed price difference between the two suitable packages. That creates a concrete decision about performance and cost rather than a debate over which pane count sounds more premium.
3. Match solar gain to each exposure
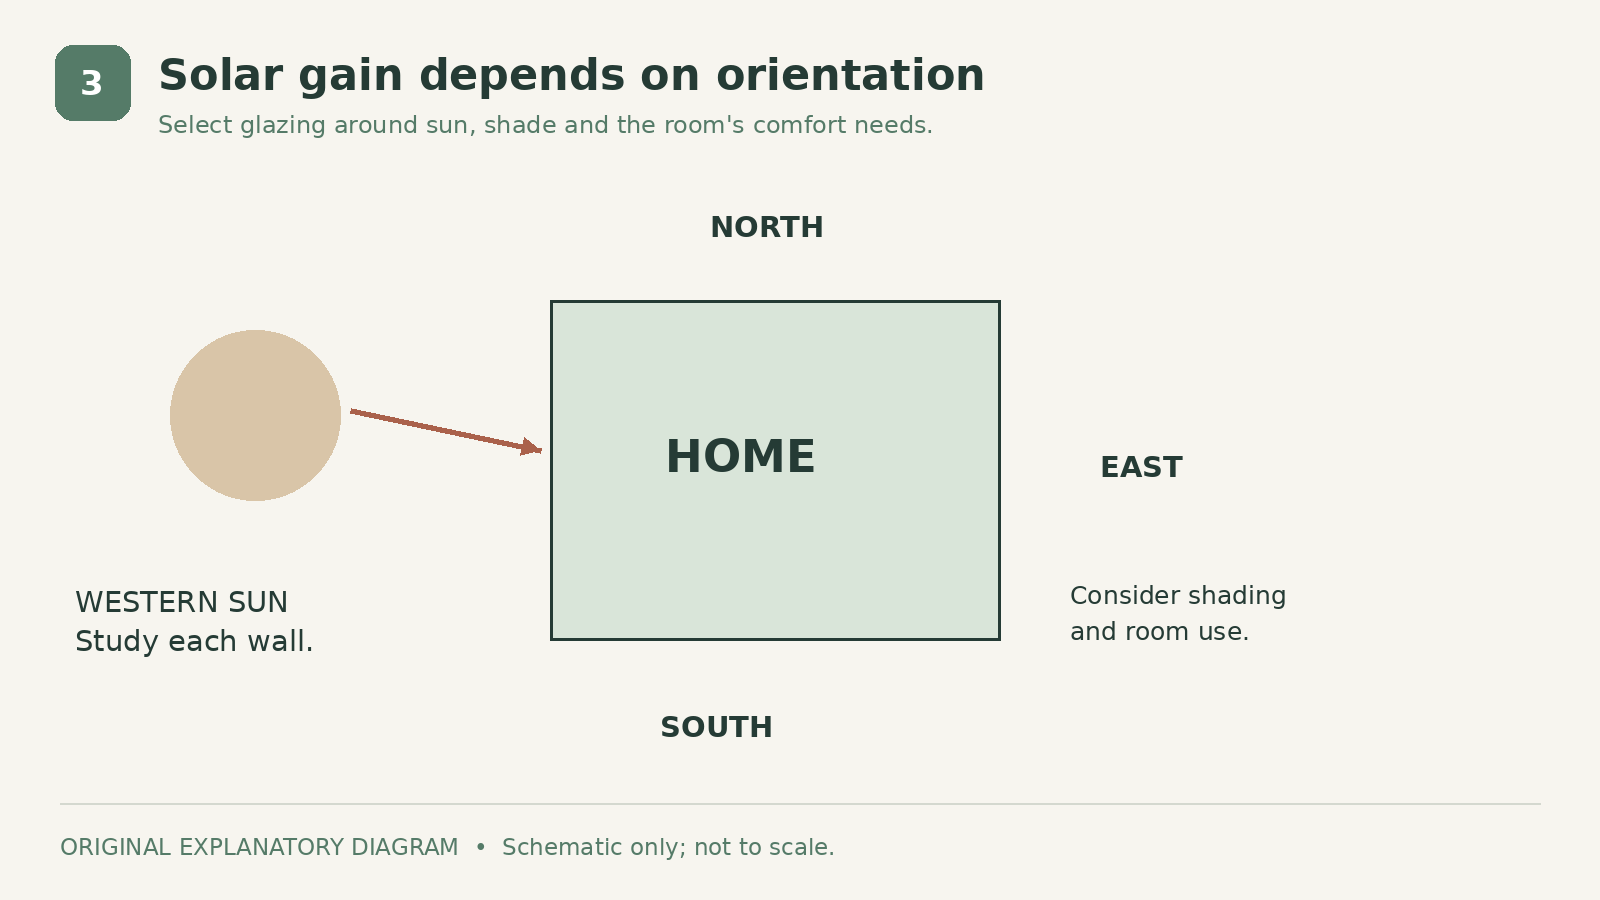
Solar heat gain coefficient, or SHGC, describes the fraction of solar heat admitted through a window. Lower values admit less. The right balance depends on orientation, shading, and the home's heating and cooling needs.
ENERGY STAR's window guidance distinguishes cold-climate south-facing opportunities from east and west exposures that can need solar control. A sunny mountain home can still experience overheating, so the lowest U-factor does not answer the entire comfort question.
Make a window schedule by wall orientation. Note roof overhangs, trees, afternoon glare, and rooms that already overheat. Ask whether different approved glazing packages would serve different sides of the home better.
Compare visible transmittance as well. The Department of Energy explains that this measures daylight transmission, which is different from solar heat gain. A lower-solar-gain option should still provide the daylight you want.
View a sample in your own room if possible. Glass appearance, exterior reflectivity, and the view through it are easier to judge in context than on a small showroom display.
4. Compare frames, operation, and installation
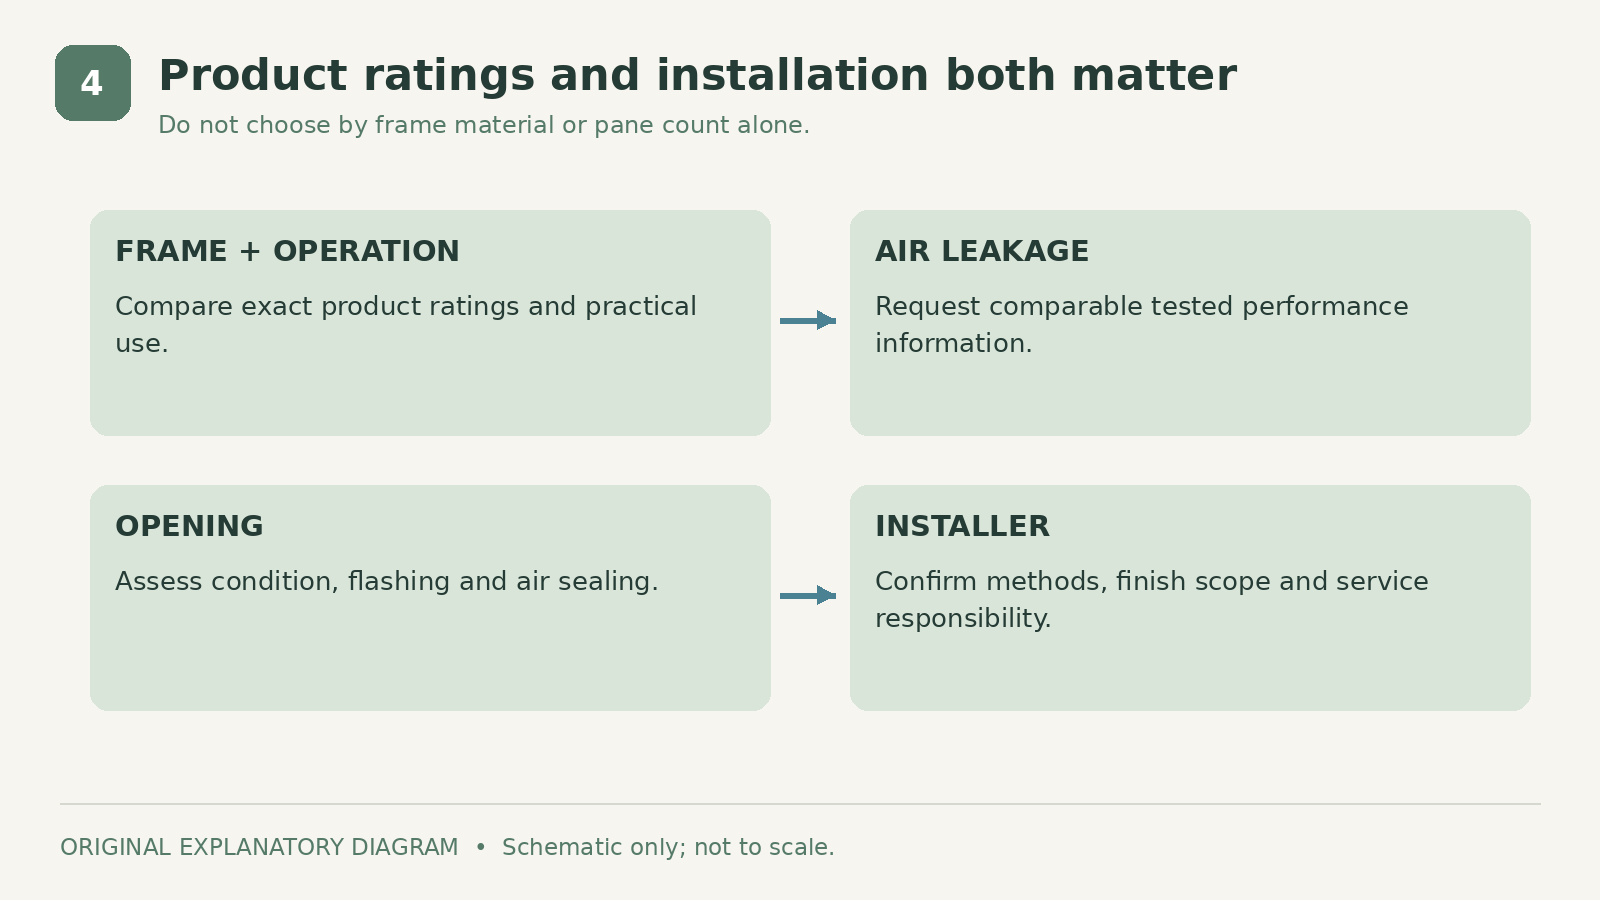
Frame material is only one part of the assembly. Compare certified ratings, maintenance requirements, finish choices, and local service for the actual wood, fiberglass, vinyl, composite, or thermally improved metal products under consideration.
Choose operating styles around how the room works. A fixed picture window can suit a view where ventilation is not required. A casement or other operable unit may suit a room where controlled ventilation matters. Required emergency escape, ventilation, safety glazing, and accessibility must be checked for the specific location.
Ask for air-leakage information rather than assuming an operating style guarantees tightness. Compare values measured on the same basis. Also ask how the installer will handle the opening, flashing, air sealing, and interior and exterior finishes.
NFRC's FAQ notes that product ratings do not account for installation quality. Even a strong rated window can disappoint if the surrounding installation is poorly executed.
If replacement work may disturb older painted surfaces or reveal deterioration, include appropriate assessment in the project scope. Do not let an attractive product price hide uncertain removal and repair work.
5. Build a quote that preserves the rated performance
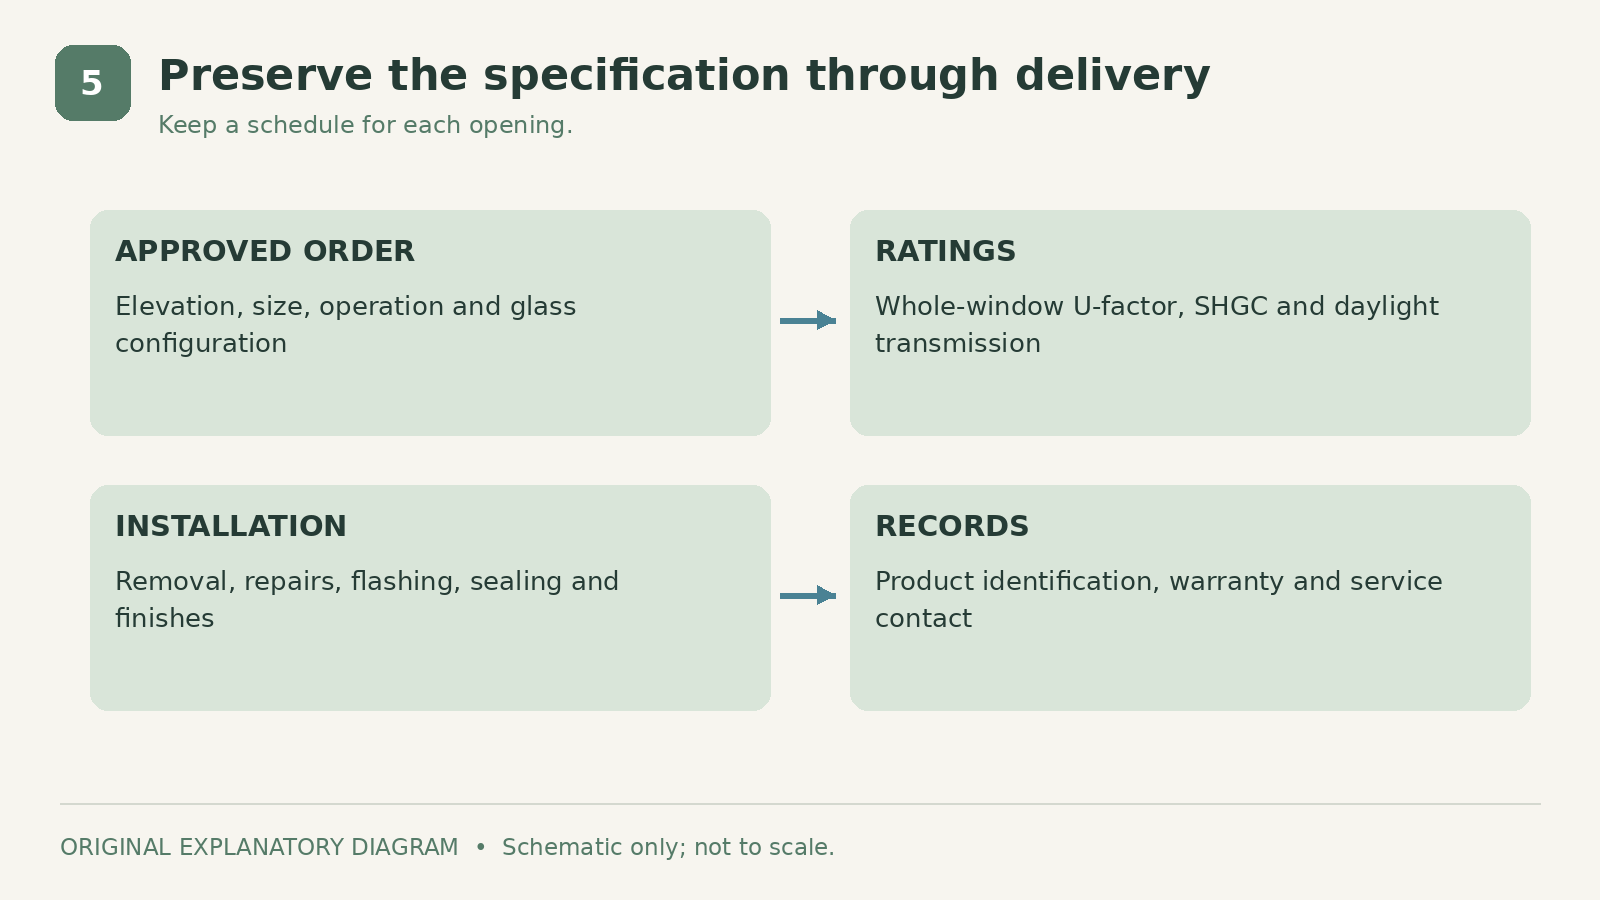
Use a short comparison schedule for each window opening. The goal is to ensure that the delivered product matches the approved, rated configuration you selected.
| Feature | What to request | |
|---|---|---|
| Site and transport | Installation elevation and manufacturer-approved handling | |
| Exact product | Series, size, operation, frame, and glazing option | |
| Insulation | Certified whole-window U-factor for the supplied configuration | |
| Solar performance | SHGC and visible transmittance | |
| Altitude provision | Written approval and any effect on gas fill or ratings | |
| Installation | Removal, opening repairs, flashing, sealing, and finishes | |
| Coverage | Product and workmanship warranty responsibilities |
Use the ENERGY STAR climate-zone finder for the property's state and county. Do not assume that a label saying “energy efficient” proves suitability for your location or that certification replaces elevation approval.
Which option belongs on your shortlist?
For a cold, exposed site, compare altitude-approved low-U-factor triple-pane and high-performance double-pane packages. For strong western sun, include solar-control glazing in that comparison. For a limited budget, prioritize verified compatibility, installation quality, and the rooms with the clearest comfort problems before decorative upgrades.
Keep the approved order, rating information, installation documents, and warranties. The strongest purchase is a documented combination of glass, frame, elevation compatibility, and workmanship, with a supplier who can service it locally.
Sources
- Cardinal Glass: Ig13 08 2020. Checked October 6, 2026
- Cardinal Glass: Glossary Capillary Tubes. Checked October 6, 2026
- Marvin: Marvin Elevate Technical Specifications Catalog. Checked October 6, 2026
- National Fenestration Rating Council. Checked October 6, 2026
- ENERGY STAR: Res Windows Doors Skylights. Checked October 6, 2026
- US Department of Energy: Purchasing Energy Efficient Residential Windows Doors and Skylights. Checked October 6, 2026
- National Fenestration Rating Council: Windows Doors Skylights FAQ. Checked October 6, 2026
- ENERGY STAR: Climate Zone Search. Checked October 6, 2026
Share this article
Get new guides by email
Practical home articles and free resources. No spam, and you can unsubscribe at any time.
Keep reading
Best Heating Systems for Upstate New York: Comparing Cost and Comfort
Compare five heating approaches for Upstate New York and learn how energy prices, efficiency, existing equipment, and installation scope affect cost.
October 2026, 5 min read

The Best Energy-Efficient Windows for Minnesota Winters
Choose energy-efficient windows for Minnesota winters using whole-window ratings, glazing, frame and installation comparisons, and practical bid checks.
October 2026, 4 min read
Best Attic Insulation for Michigan Winters: Choosing the Right System
Compare Michigan attic insulation options, including air sealing, cellulose, fiberglass, batts, and designed foam assemblies, with five explanatory diagrams.
October 2026, 5 min read