How to Paint a Bathroom Vanity Without Sanding (Step-by-Step)
Paint a bathroom vanity without sanding using a compatible coating system. Follow six steps for preparation, adhesion, coating, and curing.
By Home Crane Editors. . 4 min read.
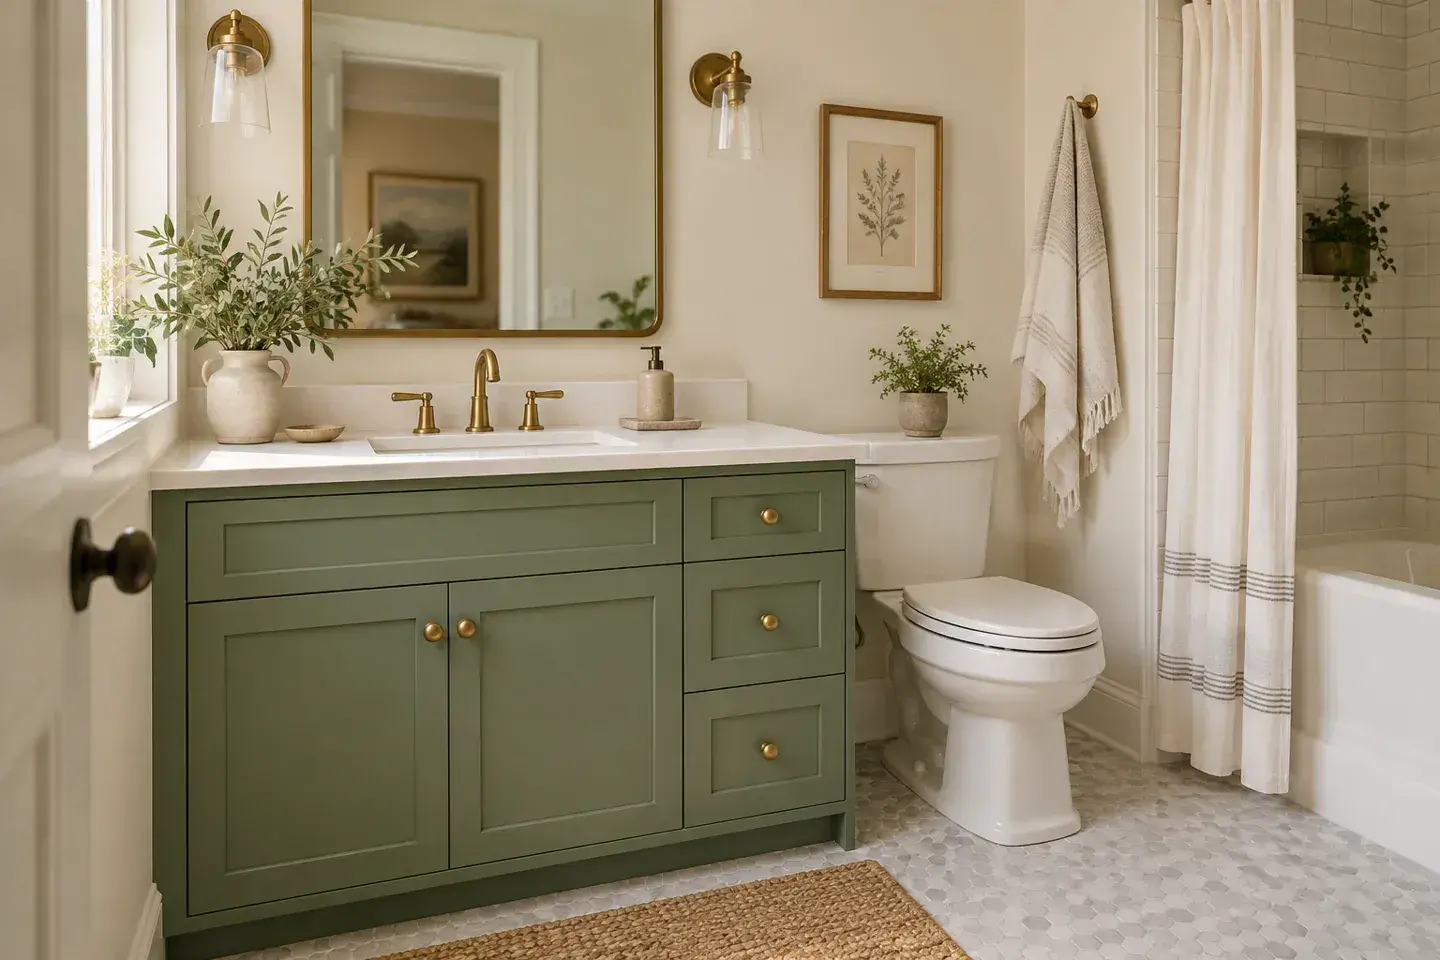
You can paint some bathroom vanities without sanding when the existing surface is sound and the chosen coating system explicitly permits that preparation method. “No sanding” still means cleaning thoroughly, checking adhesion, treating the surface as directed, and allowing the coating to cure.
The approach below uses a compatible cabinet-coating system rather than assuming ordinary wall paint will bond to any glossy vanity. Read the instructions for the exact kit or combination you buy. Products with similar names can use different cleaners, primers, bond coats, and topcoats.
1. Confirm that the vanity is a suitable candidate
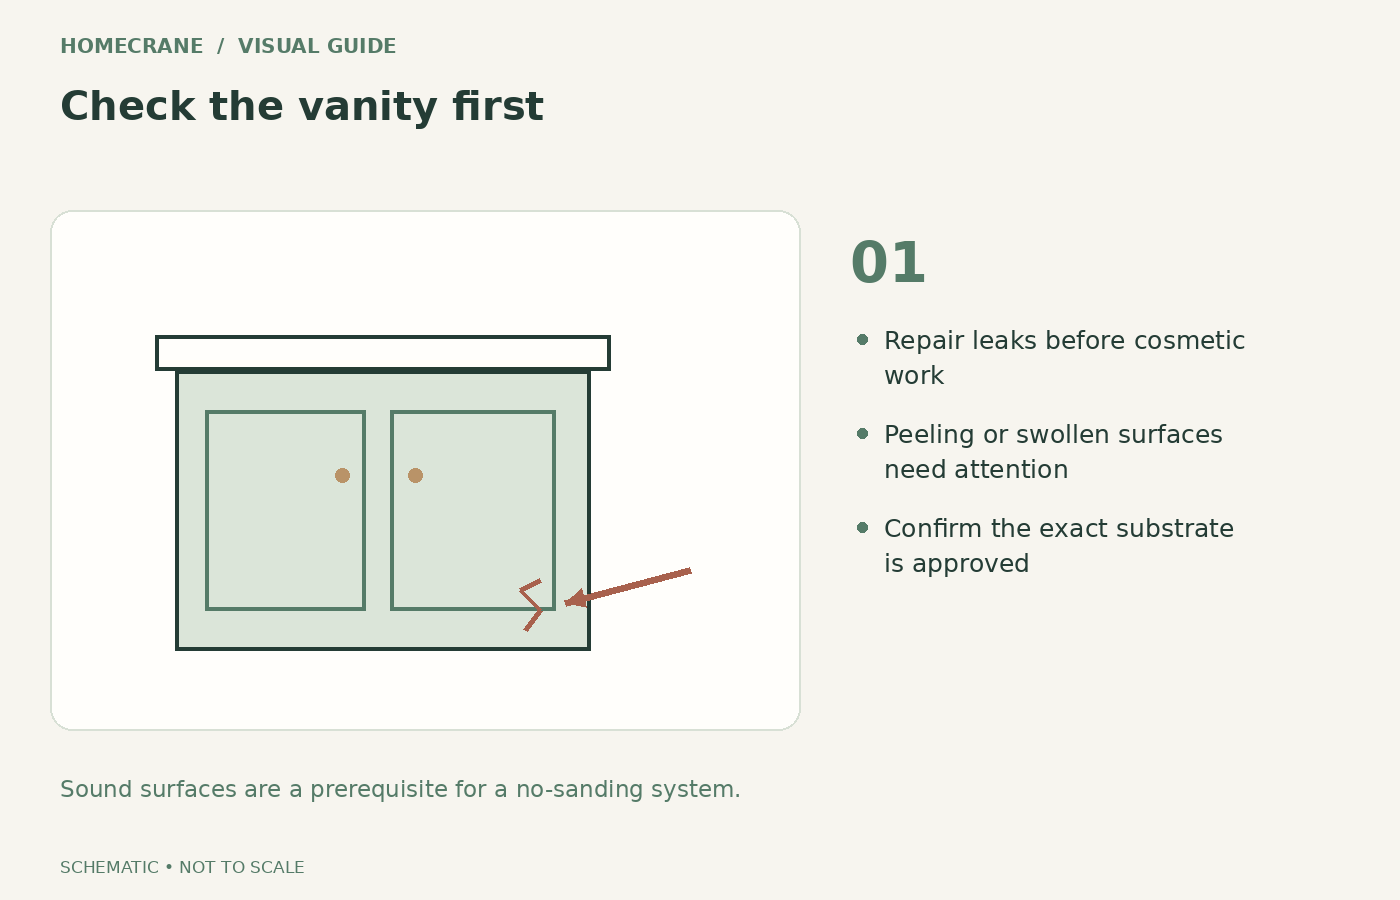
Check the doors, drawer fronts, edges, and areas beside the sink. Swollen particleboard, peeling laminate, loose veneer, and actively flaking paint need repair or replacement before a cosmetic coating makes sense. Correct plumbing leaks first.
Identify the substrate and existing finish as far as practical. A system approved for wood is not automatically approved for every plastic film or factory coating. Ask the manufacturer about uncertain materials before buying the full quantity.
Rust-Oleum's Cabinet Transformations guidance allows certain sound, well-adhered previously painted surfaces within its specified preparation process. That is a conditional product instruction, not permission to cover failing paint. If old paint may contain lead, avoid disturbing it and obtain appropriate assessment before repair work.
2. Remove hardware and protect the bathroom
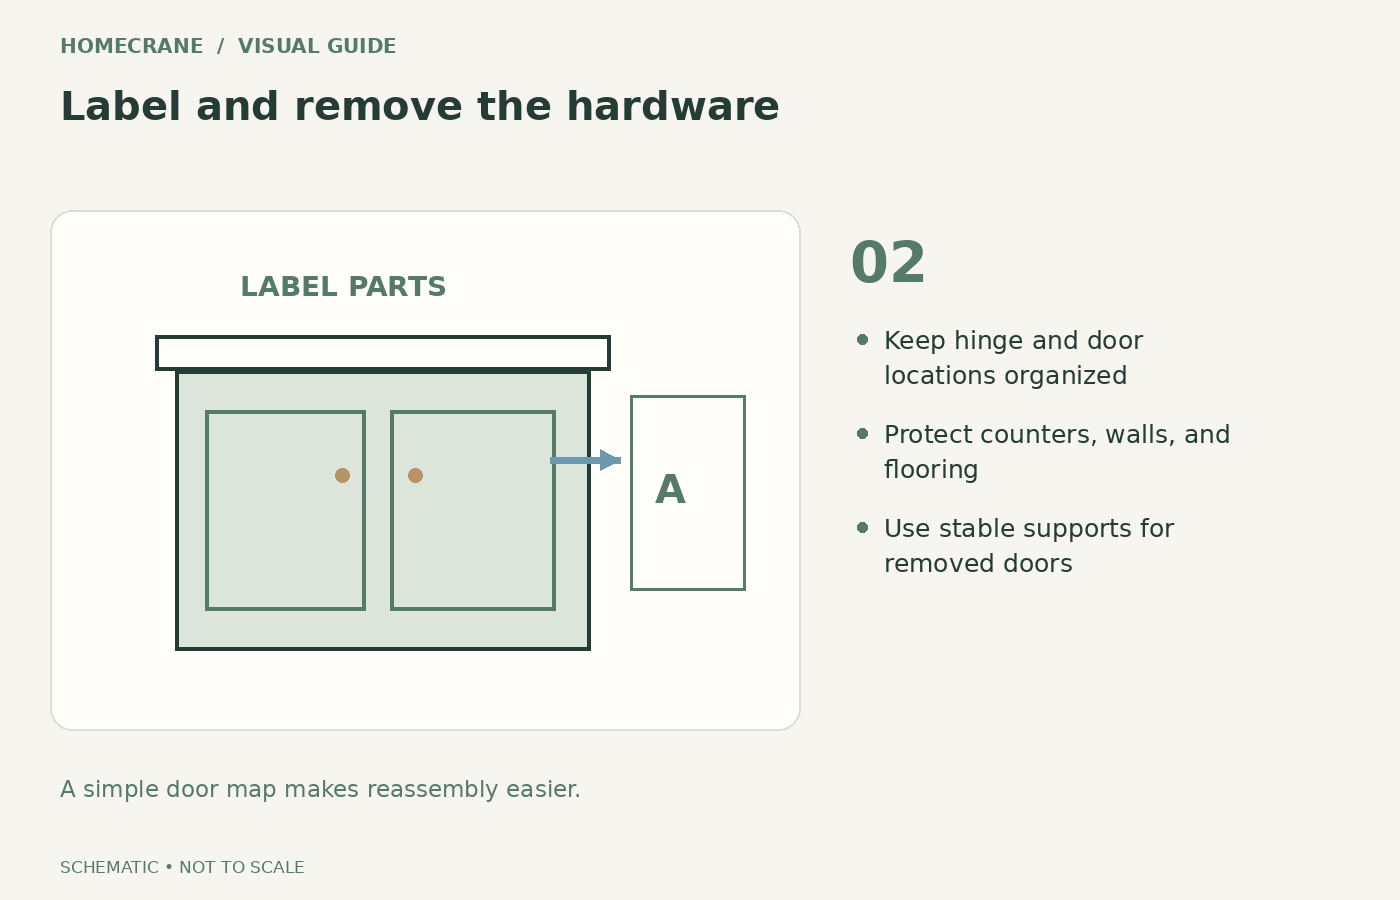
Label each door and hinge location with a simple diagram or removable tag, then remove doors, drawer fronts where practical, knobs, and hinges. Keep hardware grouped so reassembly does not become a guessing game.
Protect the countertop, floor, plumbing fixtures, and adjacent walls. Create a clean, ventilated work area with supports that hold doors securely. Keep coating materials away from ignition sources when their labels require it, and use the specified protective equipment.
Take a few close-up photographs of hinge positions before removal. Note any adjustment needed, such as a rubbing door, while the original fit is still visible. Repairing alignment before the final finish reduces the temptation to scrape or force freshly painted edges later.
3. Clean, rinse as required, and let everything dry
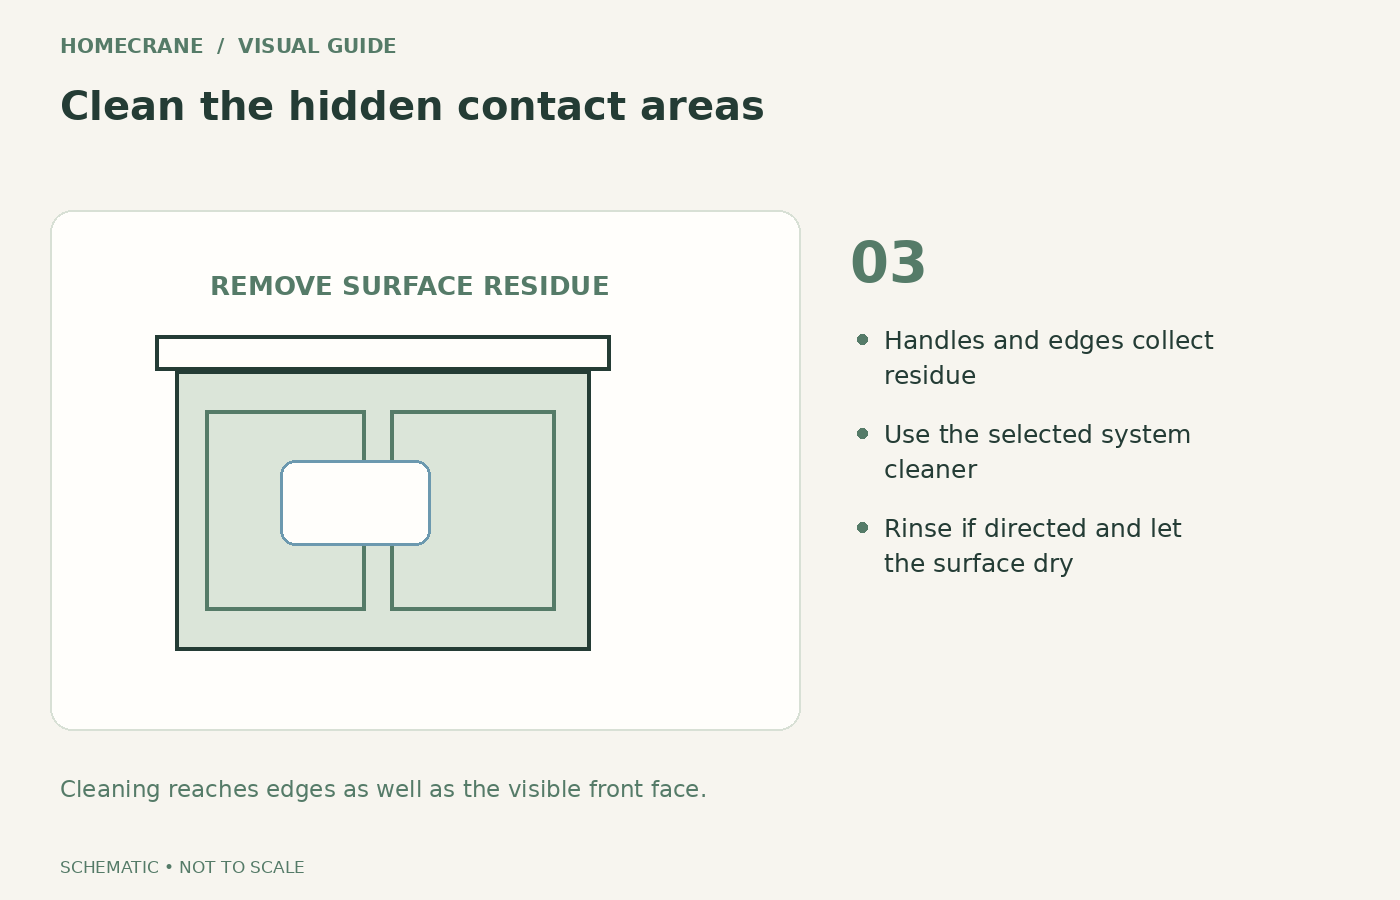
Bathroom surfaces can carry soap, cosmetics, hair products, and cleaner residue even when they do not look greasy. Pay attention to handles, door edges, and the area below the basin.
Use the cleaner specified by the coating system, at its instructed dilution and contact time. Follow any rinsing requirement and allow the surface to dry fully. Do not leave a strong cleaner on the vanity because you assume residue will improve adhesion.
Work in manageable sections and change dirty cloths instead of spreading contamination around. Cleaning should happen before any permitted adhesion preparation. A liquid deglosser does not automatically replace degreasing, and not every cabinet kit uses the same preparation chemistry.
4. Apply the approved adhesion preparation
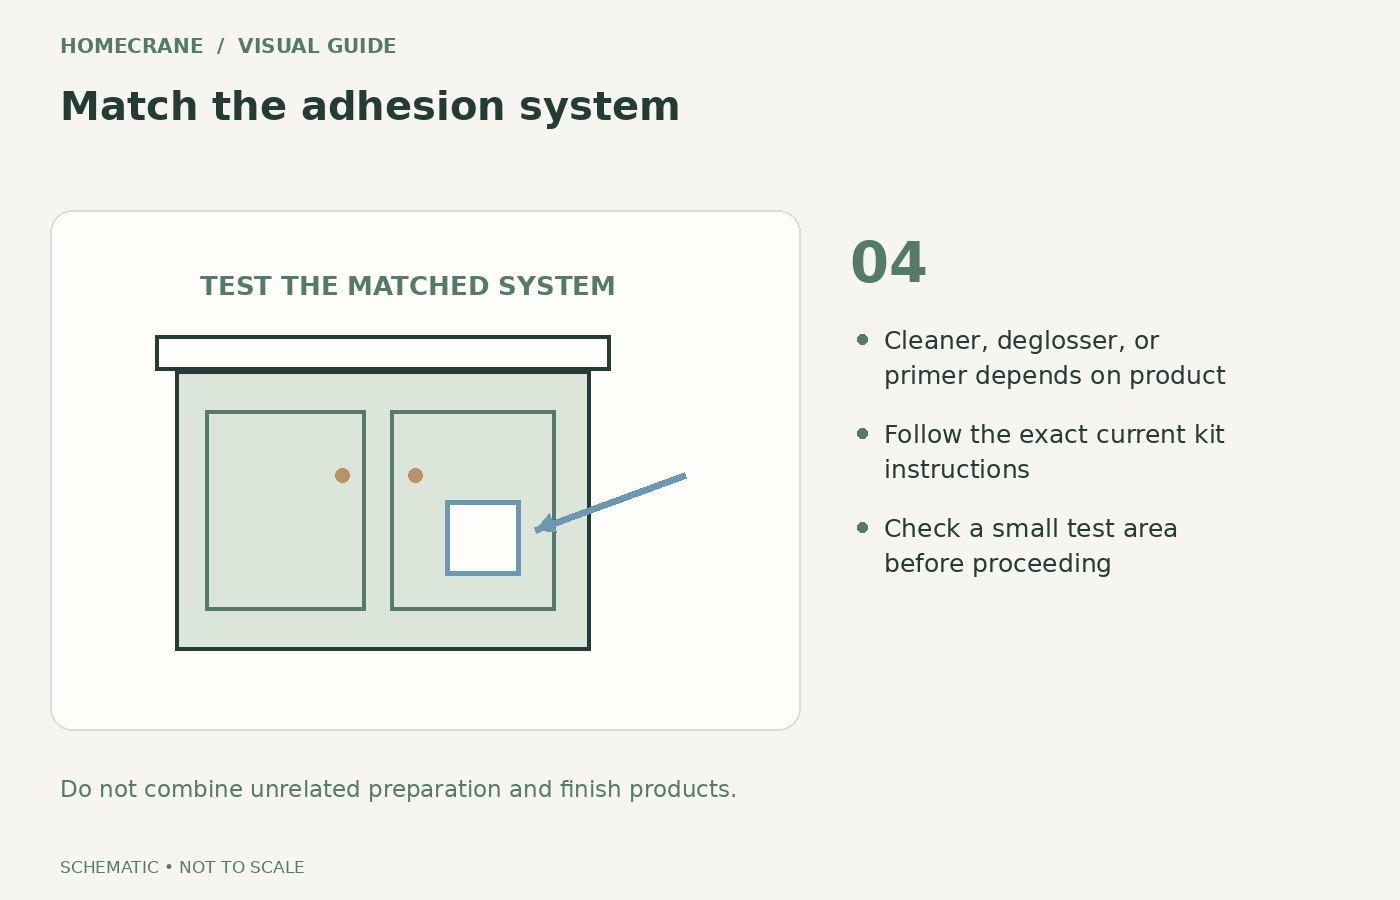
Some systems use a deglosser, some use a dedicated bonding primer, and others specify a cleaner followed by a bond coat. Choose one compatible system and follow its sequence. Do not combine leftovers simply because each can says “cabinet” or “bonding.”
For example, the current Rust-Oleum white tint kit product page describes a cleaner, bond coat, and topcoat system without sanding or priming. Older instructions for a differently configured kit may mention a deglosser. The label and technical instructions for the actual product in your hands control.
Make a small test application in an inconspicuous area and evaluate it after the stated drying or curing period. If it peels or scratches away unusually easily, stop and ask the manufacturer how to correct the preparation. Extra coats do not fix a poorly bonded first layer.
5. Apply thin, even coats with the specified tools
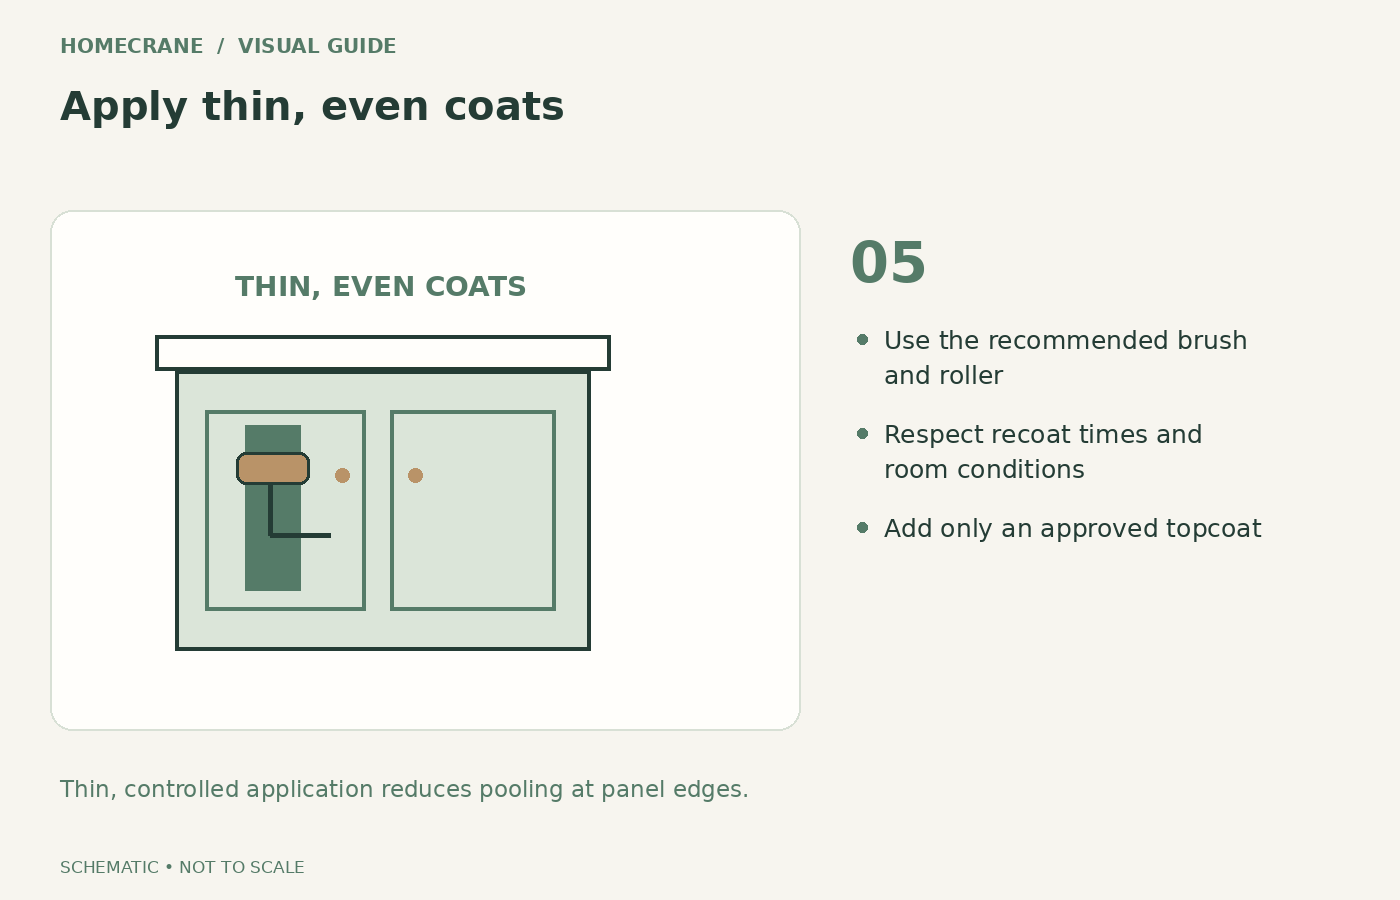
Use the recommended brush and roller. Work panel recesses without leaving heavy pools, then finish the broader areas consistently. Keep doors supported and allow each side enough time before turning it over.
Follow recoat intervals and environmental limits. A cold, damp bathroom can delay drying, while heavy application can create drips or a soft finish. Do not keep brushing paint that has already started setting in an attempt to erase every stroke.
Apply a topcoat only if the system requires or permits it. An unrelated clear coat can change color, sheen, or adhesion. Keep the finish out of hinge recesses and hardware threads where buildup could interfere with the fit.
6. Allow curing time and reinstall carefully
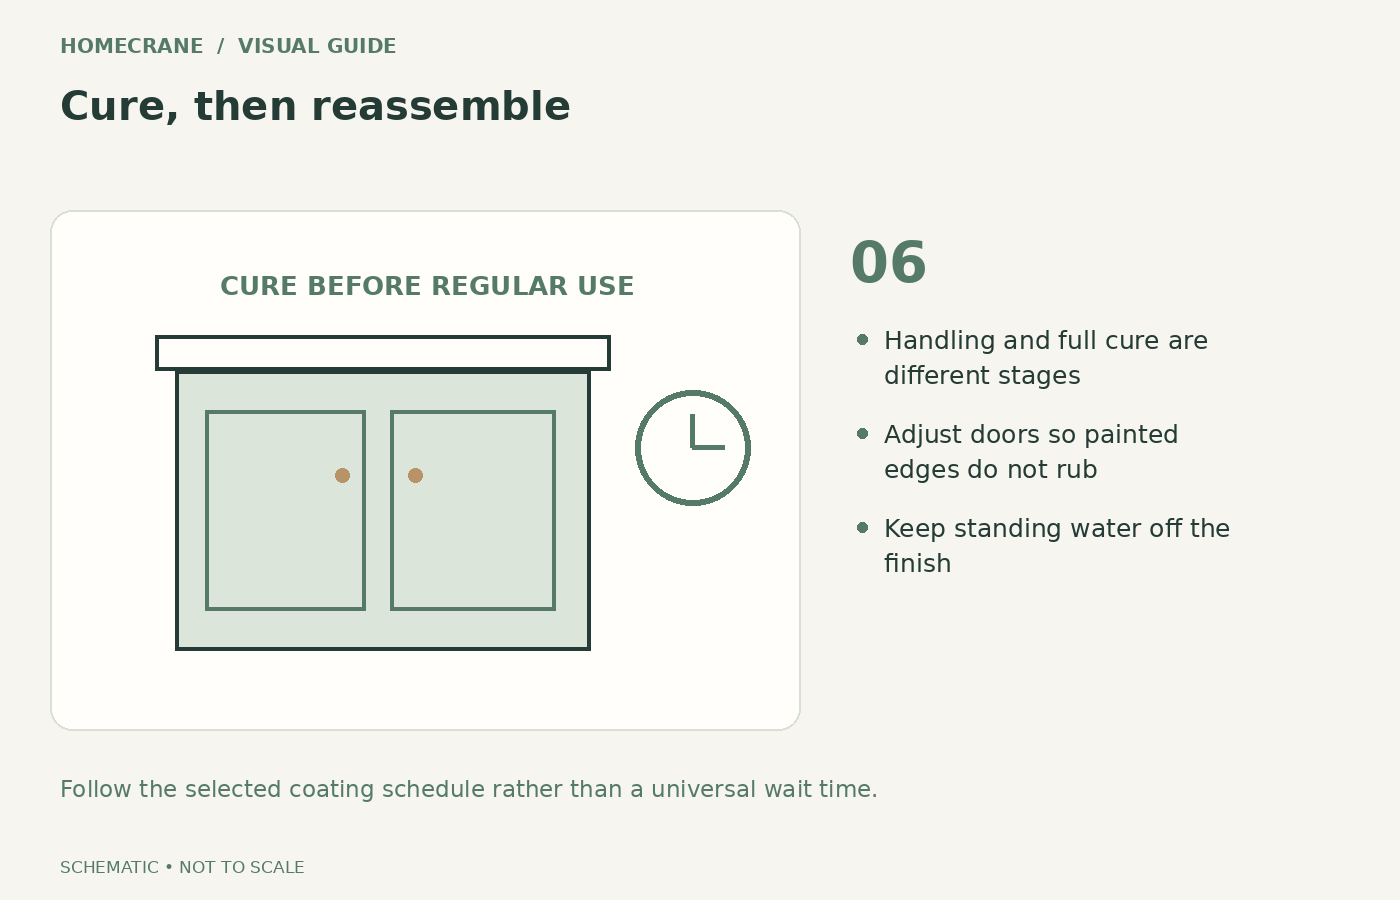
Distinguish between handling, recoating, light use, and full cure. Those intervals can be different. Use the instructions for your product rather than a universal “ready tomorrow” promise.
Reinstall hardware without overtightening and adjust doors so painted surfaces do not rub. Add appropriate bumpers if needed, keeping adhesives off areas that are not ready for contact. Avoid resting wet towels or leaking bottles against the new finish.
Rust-Oleum's project guidance reinforces following the coating sequence and waiting before reassembly. Treat the first weeks gently according to the selected system's instructions, then use its recommended cleaning method. A successful finish is a maintained coating, not a waterproof repair for a damaged cabinet.
Supplies to plan before starting
| Feature | Purpose | |
|---|---|---|
| Compatible cabinet system | Matched preparation and finish | |
| Cleaner and cloths | Remove contamination | |
| Labels and hardware containers | Keep parts organized | |
| Suitable brush and roller | Control texture and coat thickness | |
| Protection and door supports | Keep the work area clean and stable |
Estimate coverage using all exposed faces and edges you intend to coat. Add the specified number of coats and allow for any approved test area. Buying just enough for the front faces can leave drawer edges or the cabinet frame unfinished.
Questions homeowners ask
Will no-sanding paint hide oak grain?
Usually not completely. Paint changes color, but grain texture can remain visible. A smoother filled-grain finish is a separate preparation project with its own compatibility requirements.
Can I skip cleaning if the vanity looks new?
No. Surface contamination can be invisible. Follow the full preparation method even when the cabinet appears clean, and use the adhesion test to check the system before coating every part.
Sources
- Rust-Oleum's Cabinet Transformations guidance. Checked October 11, 2026
- Rust-Oleum white tint kit product page. Checked October 11, 2026
- Rust-Oleum's project guidance. Checked October 11, 2026
Share this article
Get new guides by email
Practical home articles and free resources. No spam, and you can unsubscribe at any time.
Keep reading
DIY Fluted Headboard Made Out of Pool Noodles
Plan a decorative fluted headboard using covered foam channels, a stable backer, careful material checks, and secure independent mounting.
October 2026, 3 min read

4 Renter-Friendly Ways to Hang Curtains Without Drilling
Compare tension rods, adhesive curtain hooks, magnetic rods, and floor-to-ceiling systems for curtains in a rental without drilling.
October 2026, 3 min read
Genius Under-Stairs Pull-Out Storage Ideas You Can DIY
Explore five under-stairs storage approaches with practical guidance on access, drawer hardware, stability, and existing openings.
October 2026, 3 min read