How to Unblock a Kitchen Sink Filled with Standing Water
Clear a kitchen sink with standing water using a safe diagnostic sequence, controlled plunging and suitable trap checks, plus signs to call a plumber.
By Home Crane Editors. . 4 min read.
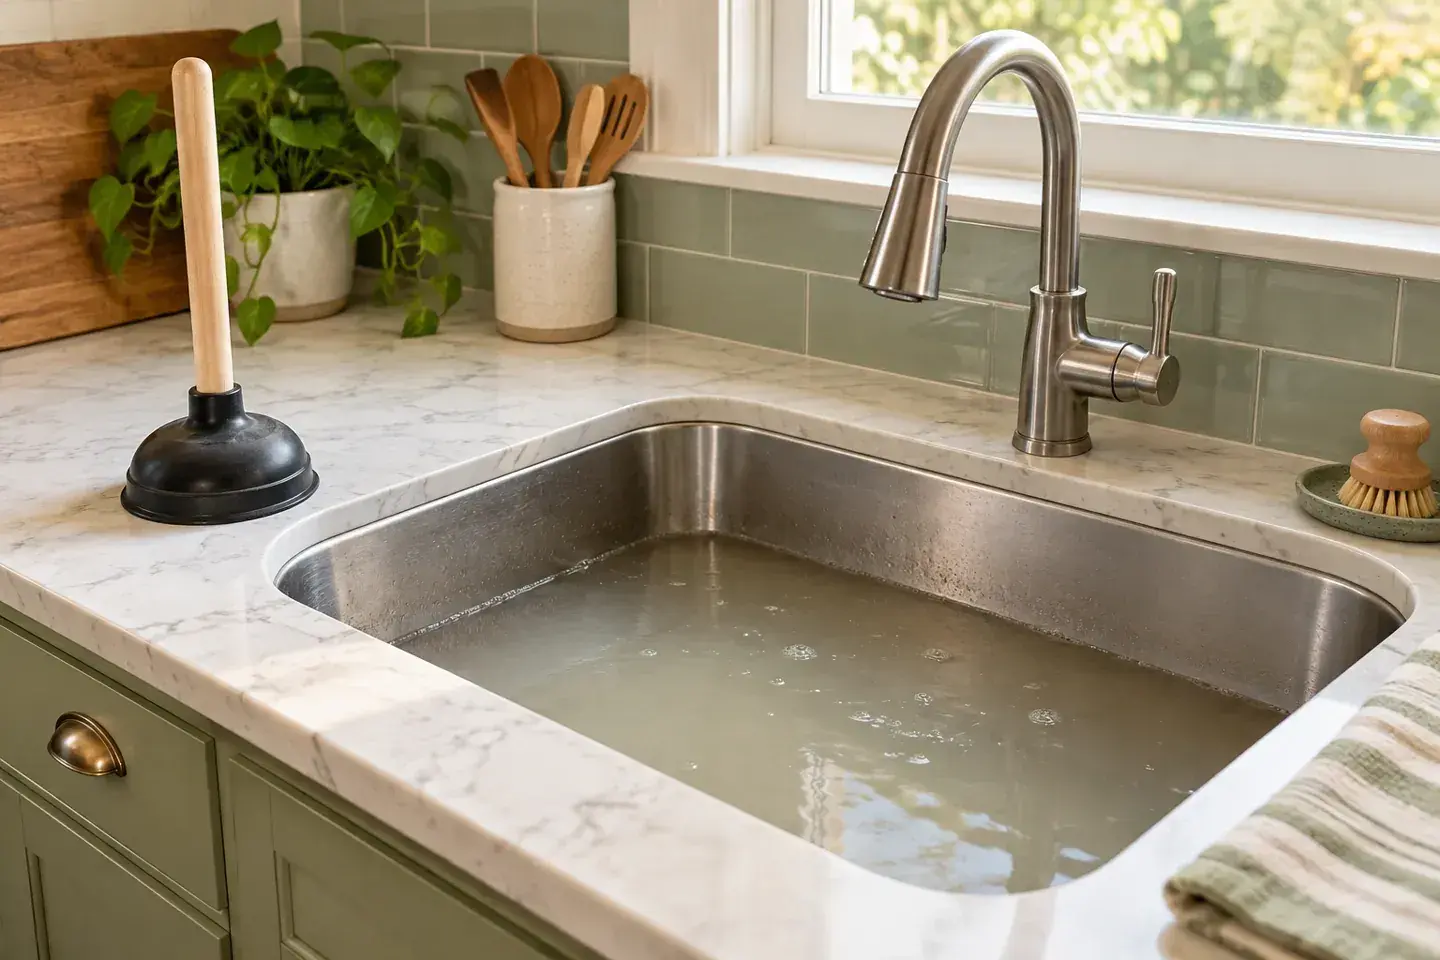
Stop adding water, switch off the disposal if fitted, and establish whether the blockage affects only this sink. A simple local clog may respond to a cup plunger.
This guide covers a sink with ordinary household wastewater and no chemical drain treatment. A jammed disposal motor and a blocked drain line are different problems, even though both can leave water in the bowl.
1. Check the situation and remove excess water
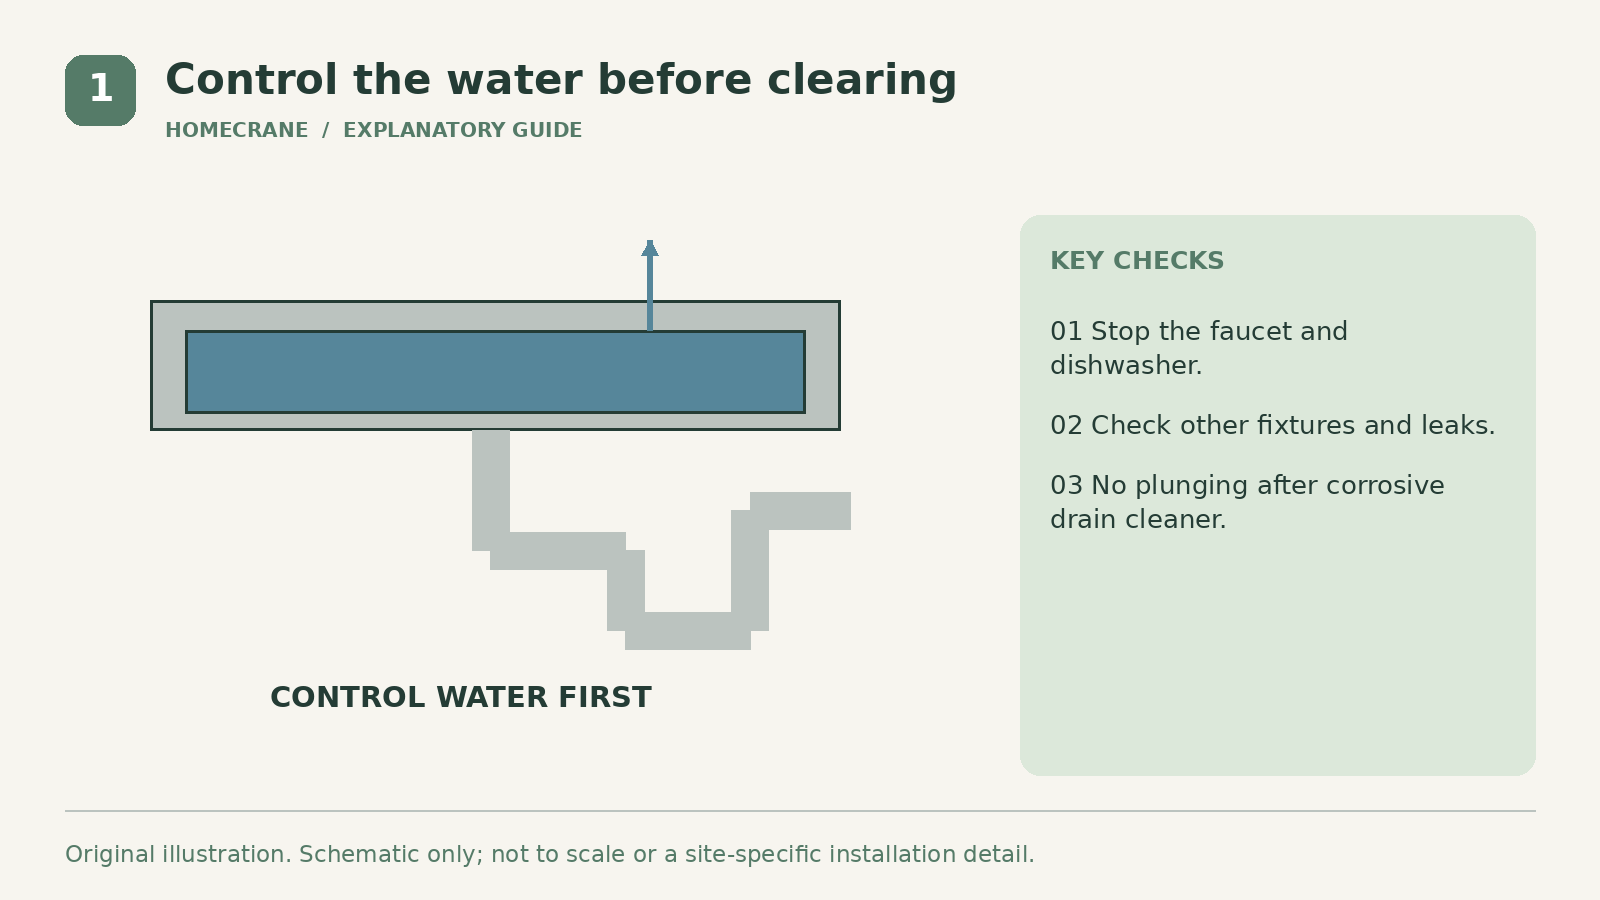
Turn off the faucet and stop the dishwasher from discharging into the blocked sink.
Look under the sink for active leaks without touching wet electrical equipment. If water is near an outlet or disposal connection, avoid contact and arrange safe electrical isolation. Disconnect disposal power safely before any hands-on work around its opening or connections.
Bail excess water into a bucket using a small container. Wear suitable gloves and protect the cabinet floor. Keep enough clean water for the plunging method you use, but do not fill the sink close to overflowing. Dispose of removed water appropriately; do not transfer contaminated water into another fixture that is also backing up.
Lift out a removable strainer and clean visible debris from it. Use a suitable tool for debris accessible above the drain; never put fingers inside a disposal. Check the disposal's own manual if it hums, fails to start, or appears mechanically jammed.
2. Try controlled plunging for a local drain blockage
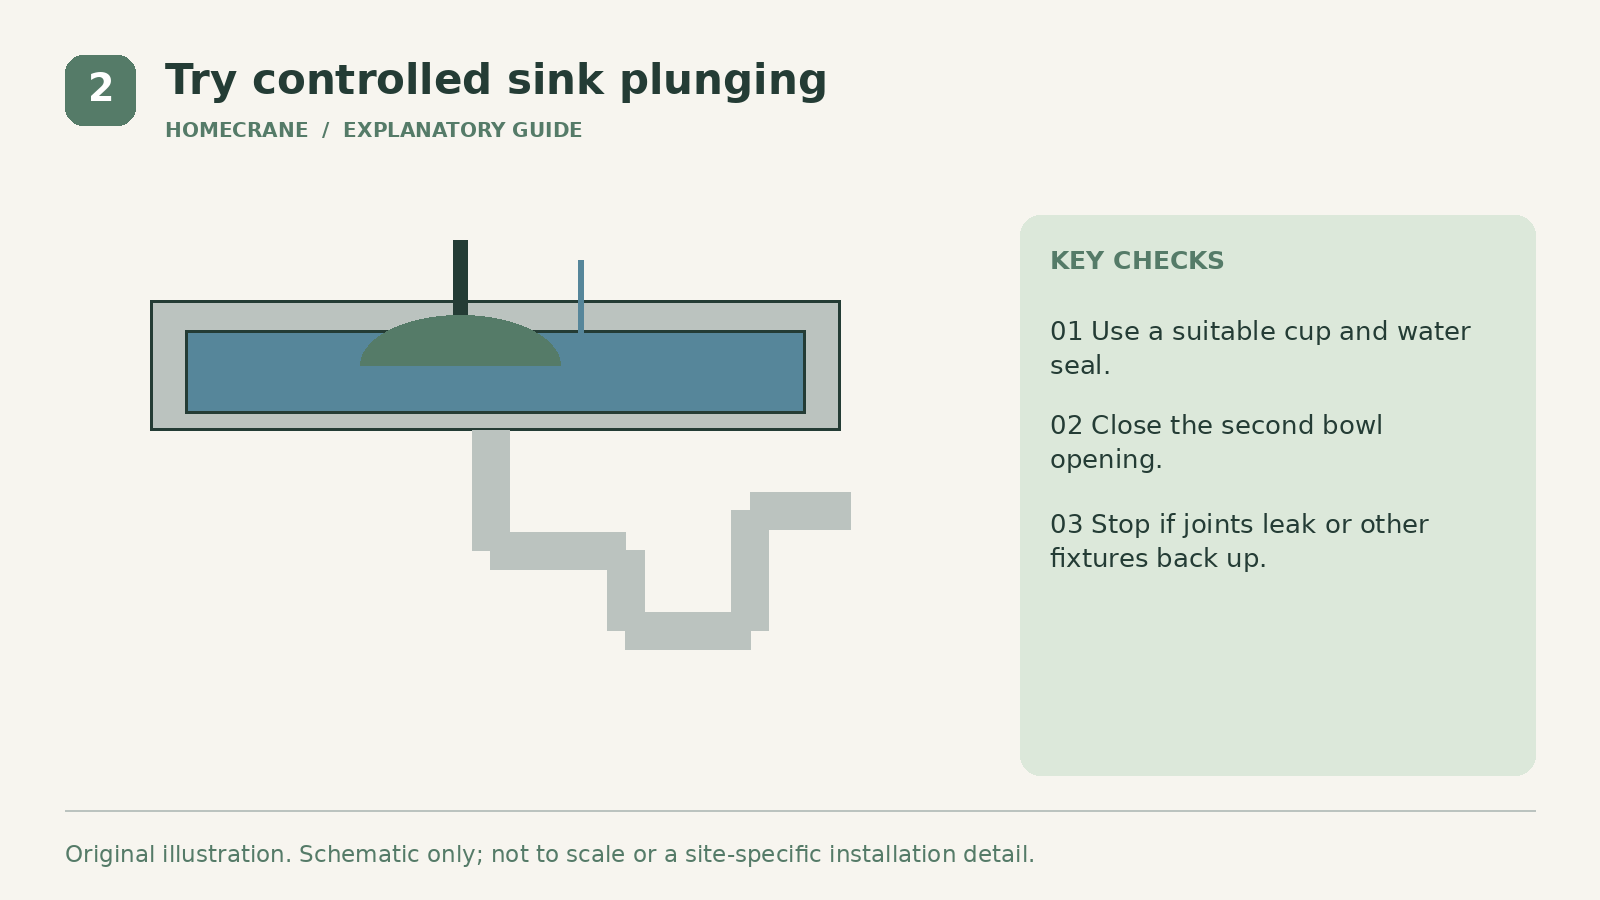
Use a flat-bottomed cup plunger intended for sinks. It needs a seal around the opening, with enough water to cover the cup. On a double-bowl sink, close the other drain opening so the pressure does not simply escape into that bowl.
InSinkErator's clogged-disposal guidance describes plunging as a drain-clearing step and distinguishes a drain blockage from a disposal jam. Use the current instructions for your model, particularly if the disposal itself is not operating normally.
Begin gently to avoid splashing. Maintain the seal and use controlled strokes, then lift the cup to see whether water drains. Do not keep forcing pressure if water appears at a joint, another fixture backs up, or the trap leaks.
If the water clears, run a modest amount of water and watch the cabinet connections. A sink that drains briefly and immediately blocks again needs further diagnosis. Repeated plunging may move a clog without removing the underlying buildup.
Do not use a toilet plunger that has been used in a toilet without addressing hygiene, and do not use compressed-air gadgets to force an unknown blockage through aging pipework.
3. Assess whether trap cleaning is a reasonable DIY task
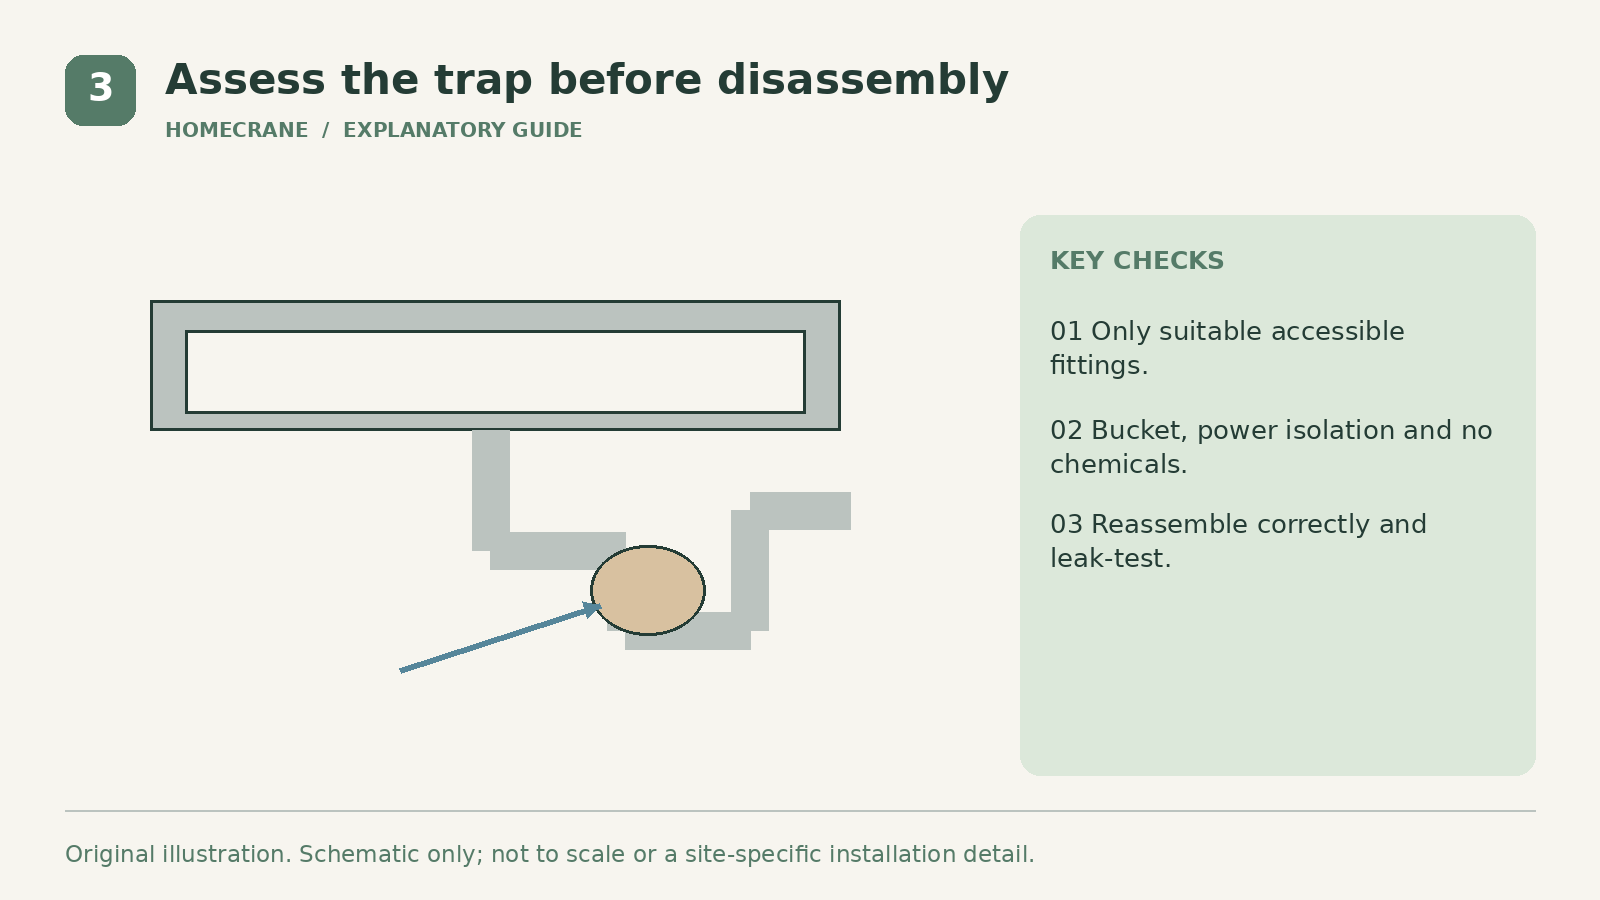
The curved trap beneath the sink catches debris and retains the water seal that blocks sewer gases. An accessible slip-joint trap can sometimes be cleaned by a confident homeowner. Glued assemblies, corroded metal, inaccessible fittings, fragile connections, or chemical contamination are reasons to call a plumber.
Photograph the assembly before disturbing it. With the sink bailed out, power safely isolated where relevant, and a bucket beneath, follow the trap's appropriate disassembly method. Expect residual water. Support adjacent pipes and do not twist the disposal or wall connection to obtain leverage.
Remove debris and inspect the trap and sealing washers. Reassemble with the correct orientation and components. Do not add random sealants to slip-joint connections or overtighten plastic nuts to compensate for damaged parts.
Test with a small amount of water while observing every disturbed connection, then increase the flow if there are no leaks. Dry the exterior and check again after use. Persistent leakage needs correction before returning the cabinet to normal storage.
Leave the trap assembled when finished. An open drain connection can release sewer gas. If you cannot restore it promptly and correctly, stop and obtain plumbing help rather than improvising a permanent cap or connection.
4. Escalate when the blockage is beyond the trap
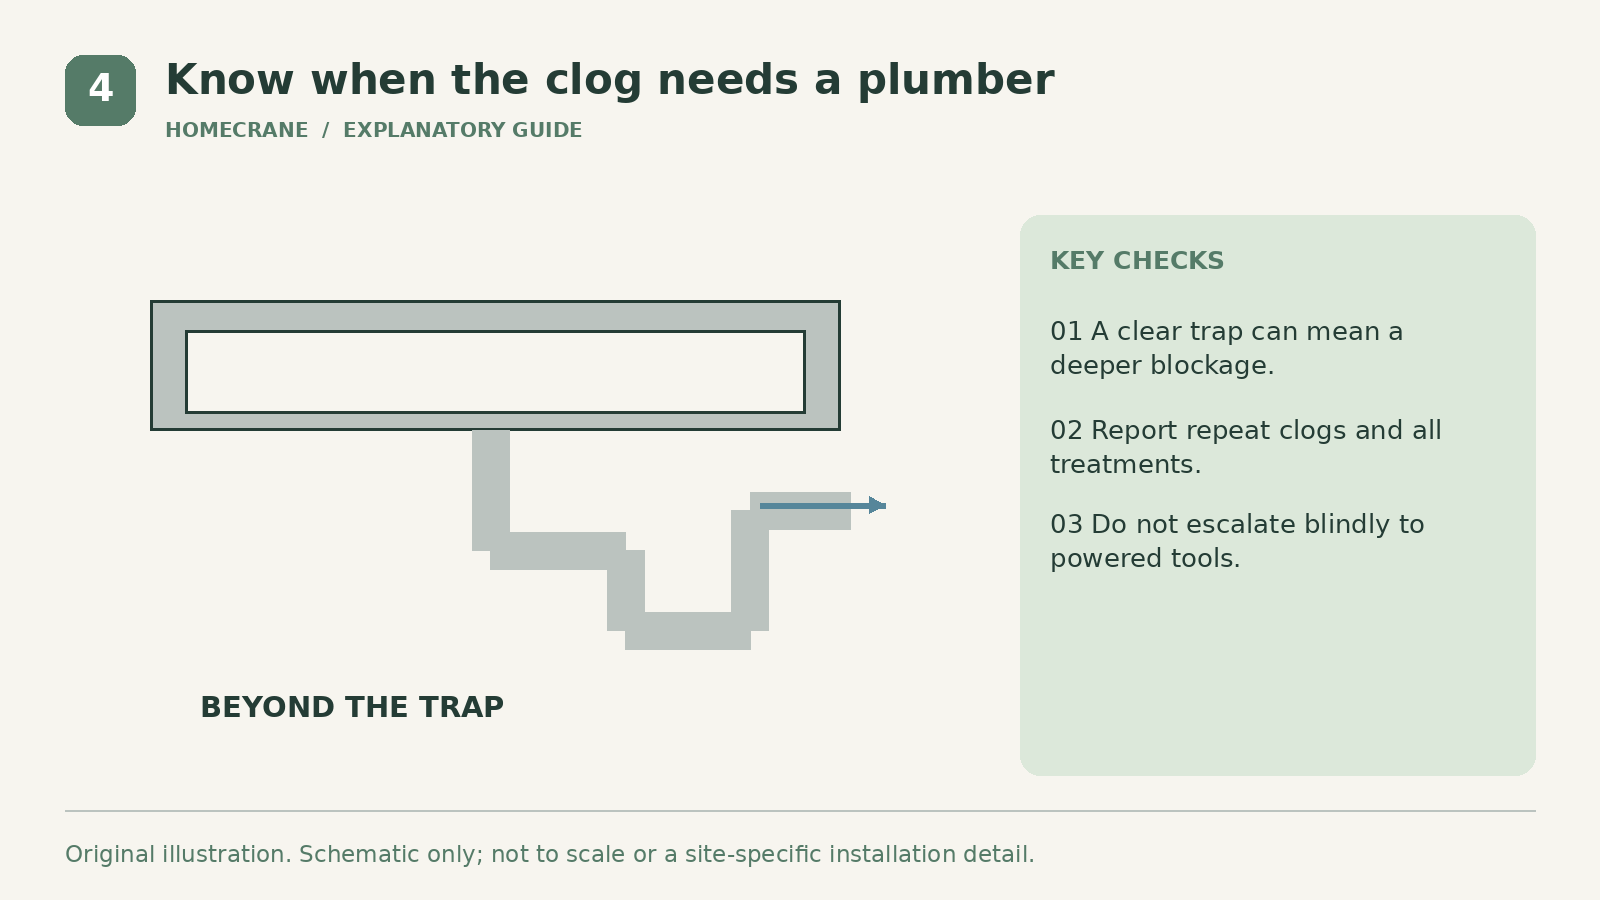
If the trap is clear but water still will not drain, the blockage may be in the branch drain or farther downstream. A plumber can select suitable cable equipment and an access point without damaging the fixture or pipe. A motorized drain machine is not the next automatic step for a first-time DIY repair.
Describe the symptoms clearly: when the problem began, whether the disposal runs, whether both bowls are affected, what other fixtures do, and whether the sink has blocked repeatedly. Include every cleaner or treatment already used.
Ask what the service charge includes, whether diagnostics are separate, and how additional work will be approved. A camera may be useful for persistent or suspected pipe problems, but the appropriate diagnostic method depends on access and conditions.
Avoid the shortcuts that create more work
| Feature | Better approach | |
|---|---|---|
| More water to force the clog through | Stop filling and identify the blockage | |
| Mixing household chemicals | Use one approved method; never mix cleaners | |
| Pouring a kettle of boiling water | Follow fixture and pipe guidance; avoid thermal shock and burns | |
| Running a struggling disposal repeatedly | Diagnose the jam separately with its manual | |
| Ignoring a slow leak after reassembly | Inspect and correct the connection |
Will baking soda and vinegar clear it?
Do not rely on fizzing as evidence that a substantial grease or solid blockage has cleared. Mechanical removal or professional cleaning may be needed. Never add either ingredient after another drain cleaner.
How can I reduce repeat clogs?
Keep grease and oils out of the drain, use the strainer, and follow the disposal's food and water-use instructions. Recurring blockages deserve investigation rather than a standing routine of stronger chemicals.
Sources
- InSinkErator's clogged-disposal guidance. Checked October 11, 2026
Share this article
Get new guides by email
Practical home articles and free resources. No spam, and you can unsubscribe at any time.
Keep reading
Painted Kitchen Countertops After Two Years: What to Inspect and Expect
Assess painted countertops after two years with a practical inspection guide for edges, sink areas, scratches, cleaning, and repair decisions.
October 2026, 3 min read

How to Help Prevent Frozen Pipes in Minnesota Winters
Prepare Minnesota plumbing for winter with guidance on vulnerable pipes, heat, insulation, outdoor lines, and when to contact a plumber or utility.
October 2026, 5 min read

Repointing Brick Cost in Pennsylvania: What You Need to Know
Compare Pennsylvania brick repointing costs with Philadelphia context, wall-area calculations, compatible mortar, access, and a clear sample budget.
October 2026, 4 min read