Step-by-Step Guide: How to Limewash a Brick Exterior
Learn when exterior brick suits limewash, how to test a finish, prepare the masonry, and plan application without hiding moisture problems.
By Home Crane Editors. . 3 min read.
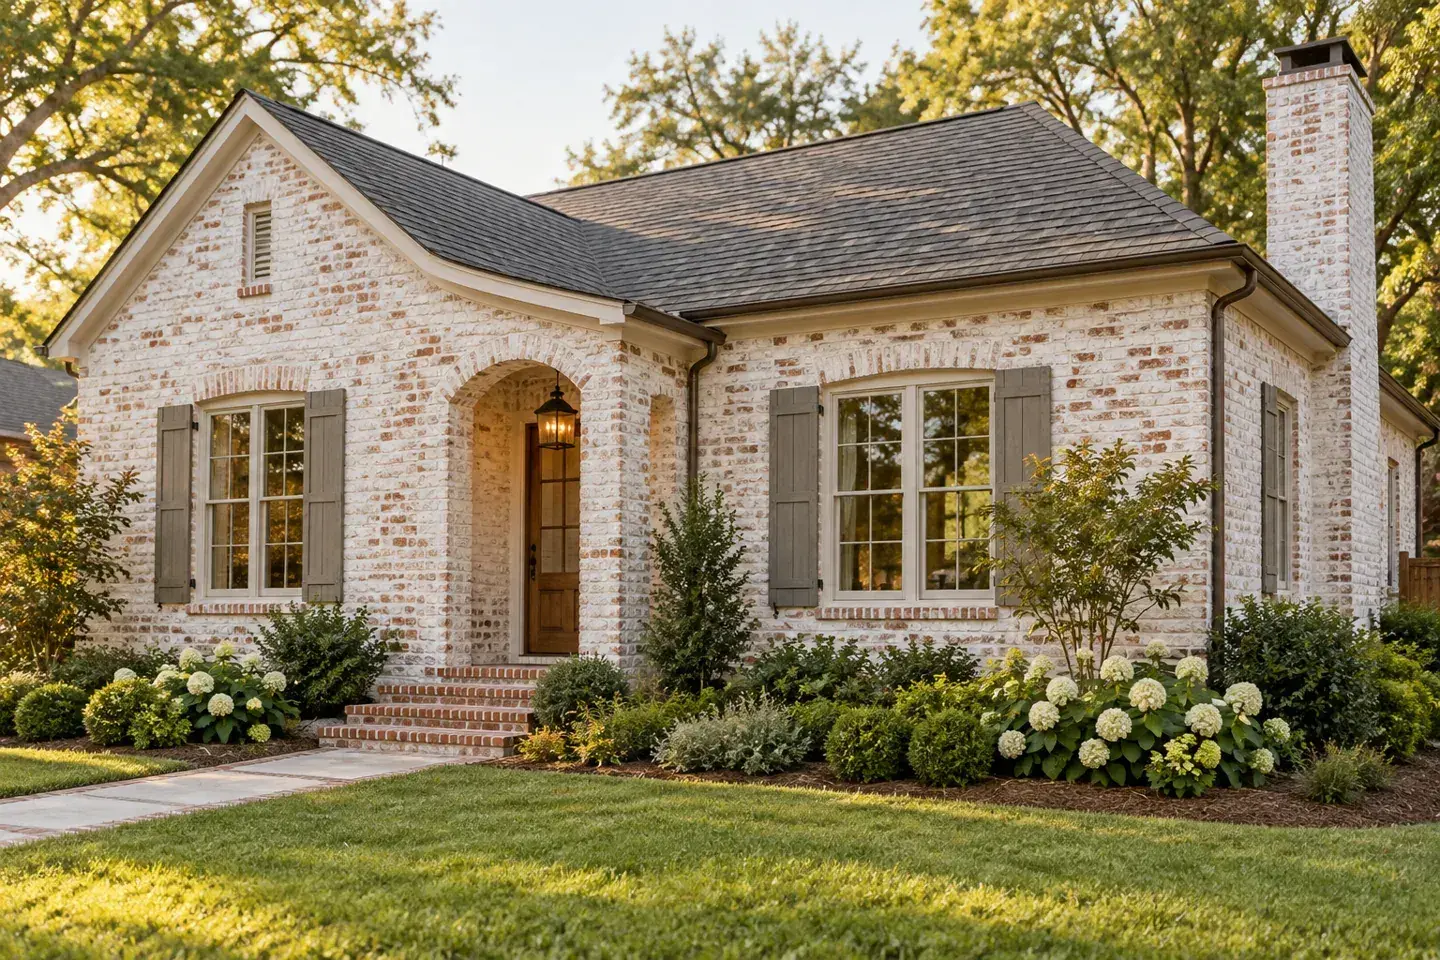
Limewash can soften a red or brown brick exterior while leaving the masonry's texture visible. The result depends on the brick's absorbency, the product, weather, and how much finish you remove. It is not a reliable way to hide failing mortar or water damage.
This guide uses Romabio Classico Limewash as a specific example of a distressed, single-coat system. It is intended for absorbent, unpainted, unsealed brick or stone. [1] A painted wall, sealed brick, or a uniformly opaque finish requires a different assessment and possibly a different system.
Before you start
Before buying materials, walk the exterior after dry weather and look for deteriorated joints, damp patches, and drainage problems. Have questionable masonry evaluated. Obtain any required HOA or historic-district approval before changing the facade.
Plan safe ground-level access, protective coverings, a masonry brush, mixing tools, water supply, and the eye, skin, and other protection specified by the product's safety documents. Tall elevations and difficult access are reasons to hire a qualified professional, not improvise a ladder platform.
1. Test absorbency and approve a sample
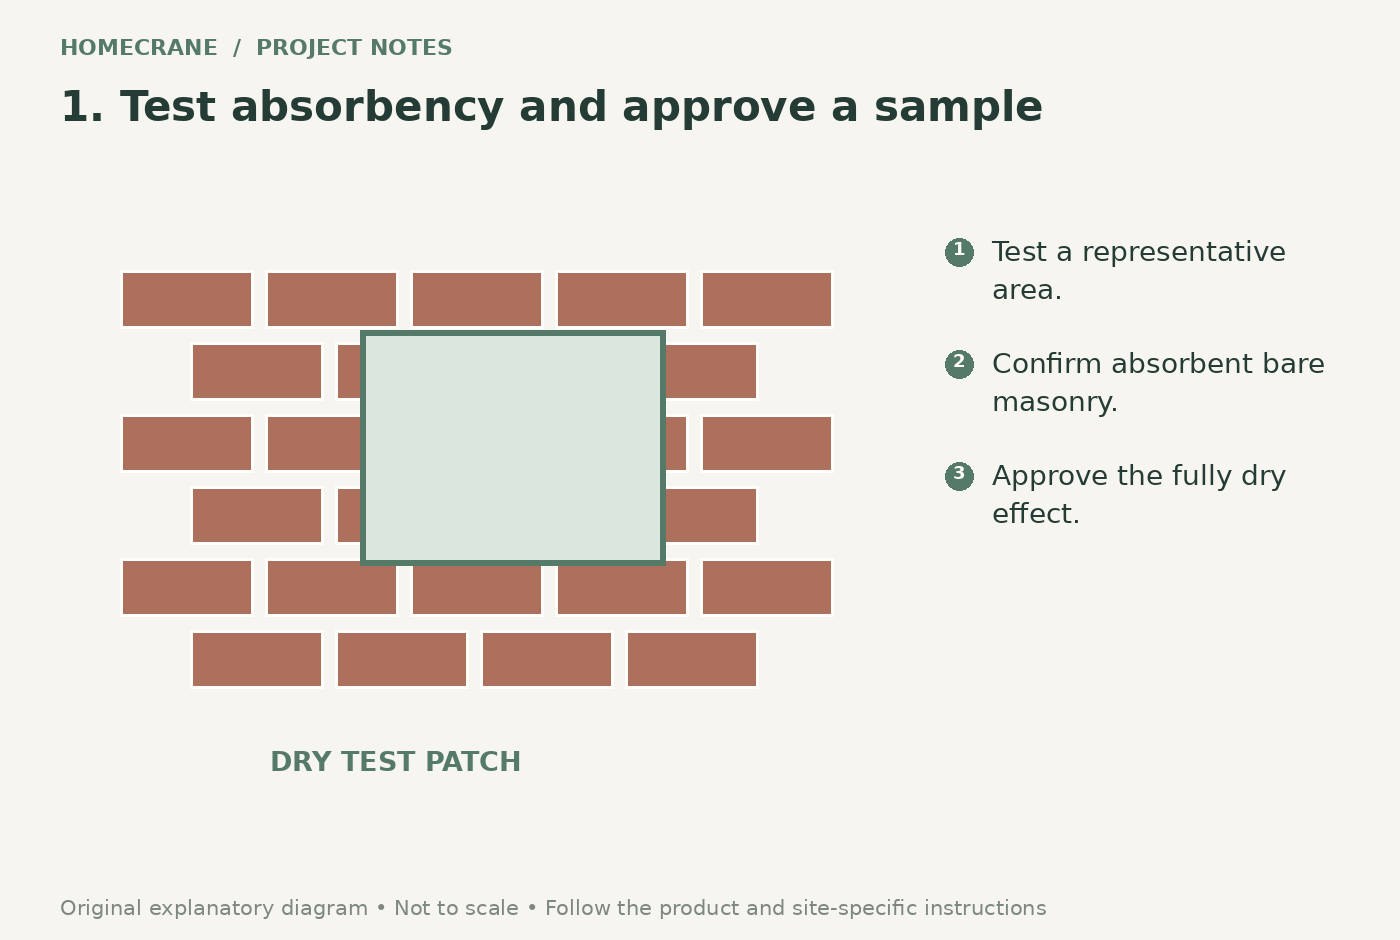
Choose an inconspicuous section that represents the facade, including mortar joints and more than one brick color. Confirm suitability using the manufacturer's procedure, then make a sample with the intended dilution and application method. A photograph online cannot tell you how your brick will accept the material.
Review the dry sample from the street and close up. Decide whether you prefer a fairly complete veil or a deliberately weathered finish. Record the mix and timing that produced the result. Do not assume a successful sample on one replaced patch proves every elevation has the same absorbency.
2. Repair, clean, and protect the surroundings
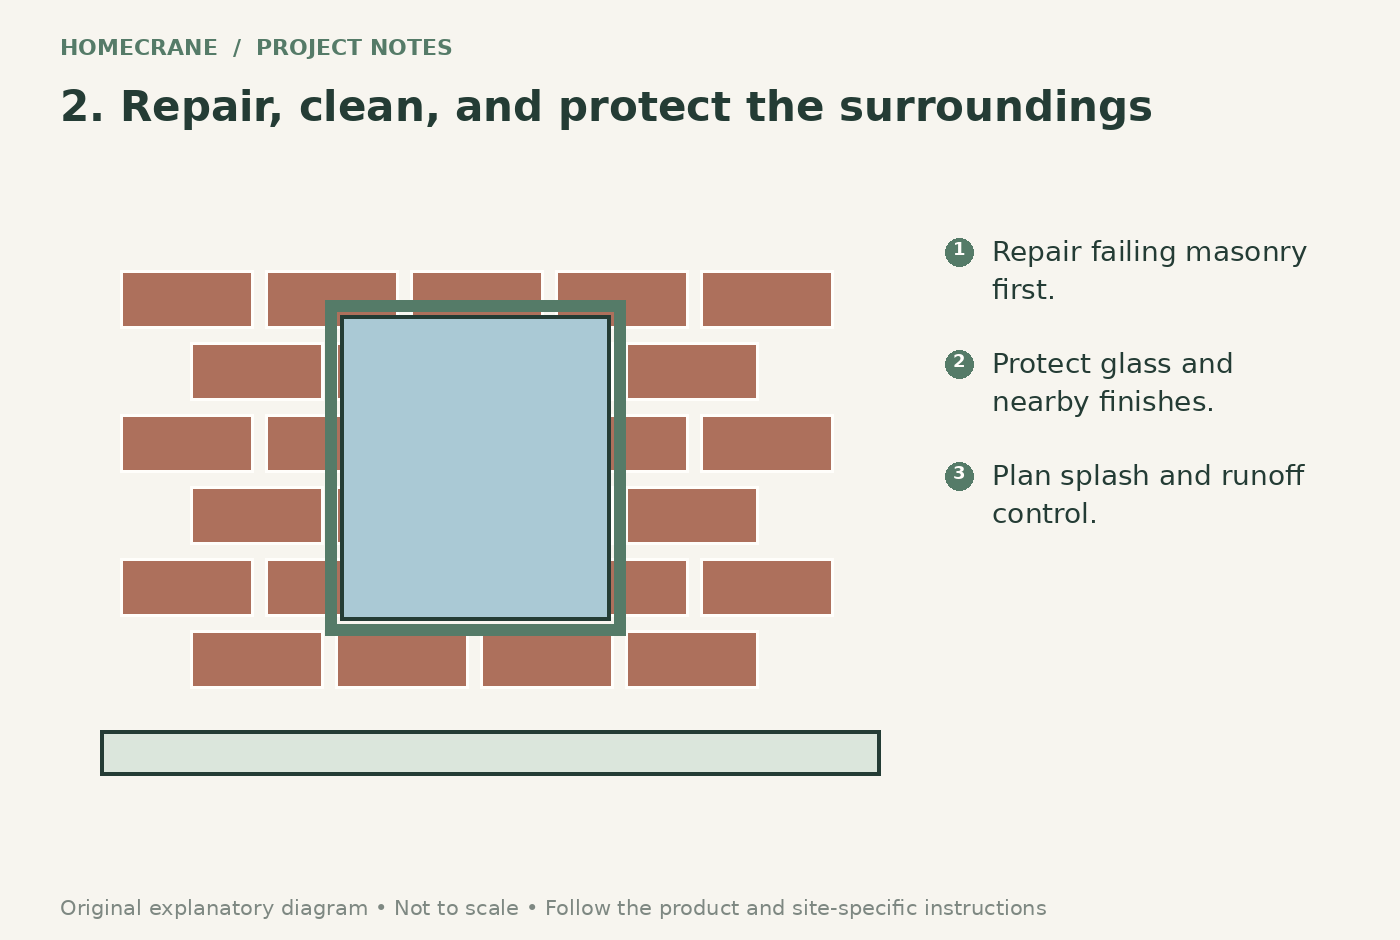
Finish necessary masonry repairs and allow the repair materials to cure as specified before coating. Clean using a method suitable for the brick and product. Aggressive cleaning can create a separate masonry problem, so seek guidance for soft historic brick or persistent staining.
Protect windows, metal, paving, and nearby surfaces. Plan to control splashes and runoff rather than letting wash water travel wherever it chooses. Move portable planters and outdoor furniture. Confirm that the forecast, surface condition, and application temperature meet the selected product's requirements before mixing a full batch.
3. Mix consistently and dampen the brick
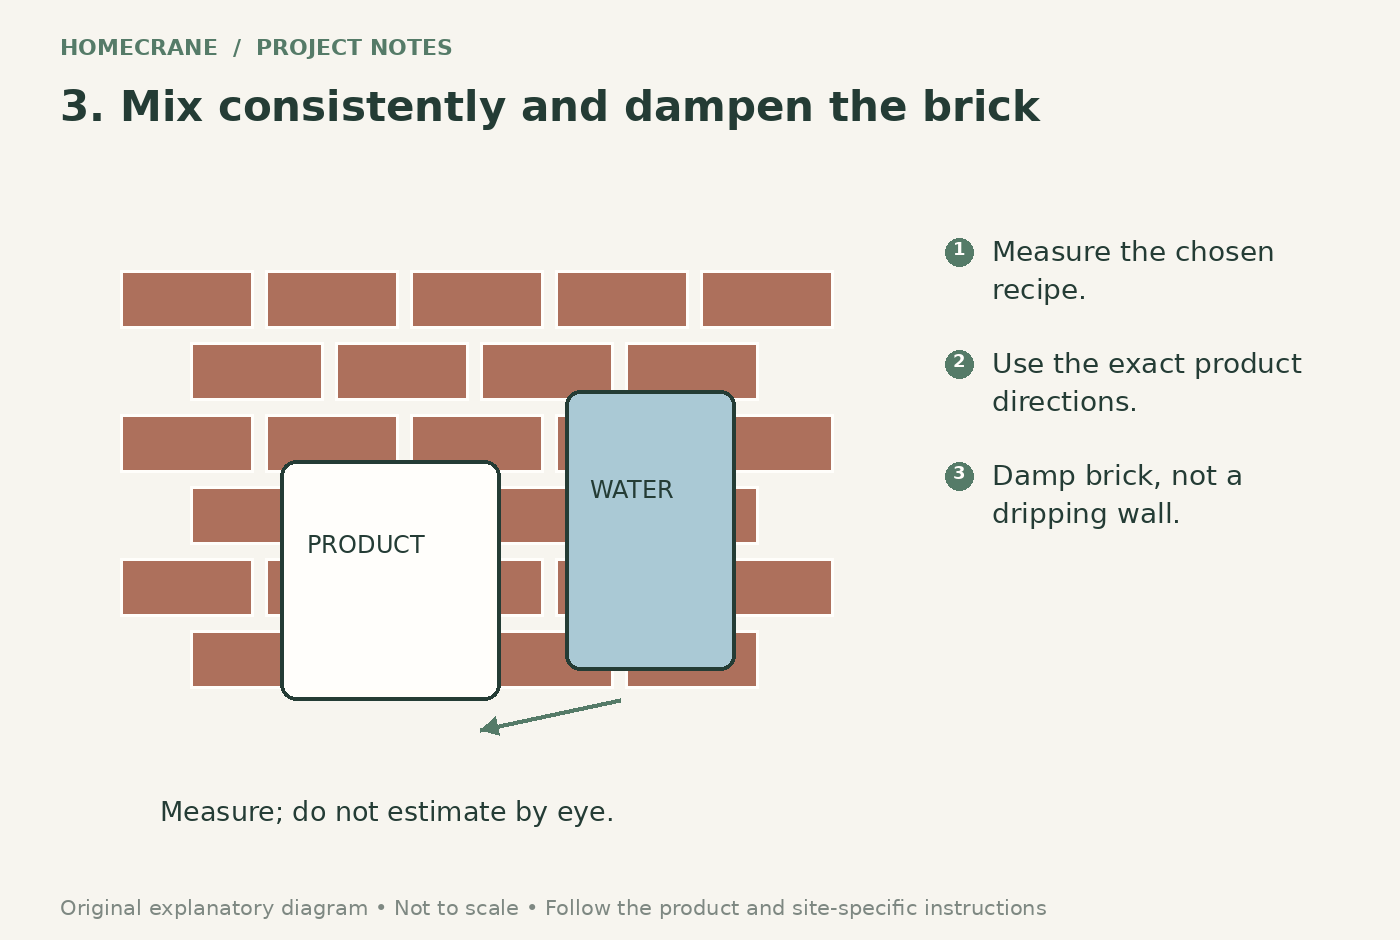
Romabio's Classico instructions call for dilution with water, typically 50 to 100 percent by volume, and application to a damp wall that is not dripping. These are product-specific directions, not a universal limewash recipe. [2] Read the current label and test the selected mix.
Measure water rather than estimating separate buckets by eye. Mix enough for a logical section and keep your written recipe nearby. Dampen in manageable areas as conditions require; a sunny wall and a shaded wall may behave differently. Do not add water simply to stretch material beyond the approved coverage or change the finish halfway through an elevation.
4. Brush a manageable section
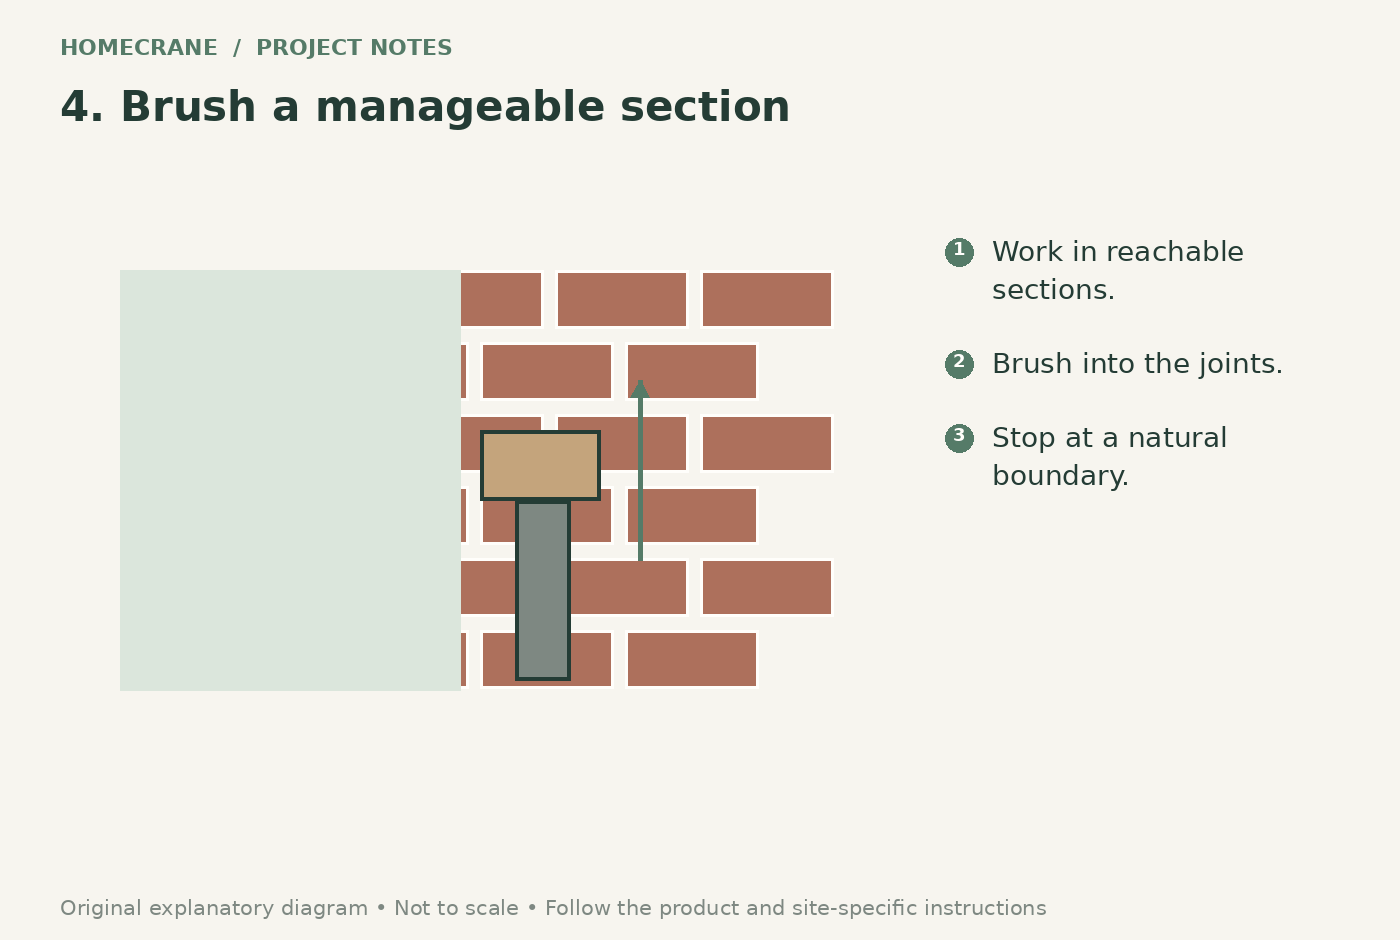
Work from a safe position and carry the finish into the mortar joints. Follow the tested brushing pattern, keeping an eye on the whole section as well as individual bricks. Plan stopping points around architectural breaks so a pause is less conspicuous.
Classico is designed for a one-coat distressed effect. [1] Resist importing a different paint system's two-coat routine without checking compatibility with your intended result. If a section begins drying faster than expected, reduce the area you tackle next rather than rushing beyond safe reach or applying an uncontrolled thick layer.
5. Create the wash-off effect and let it cure
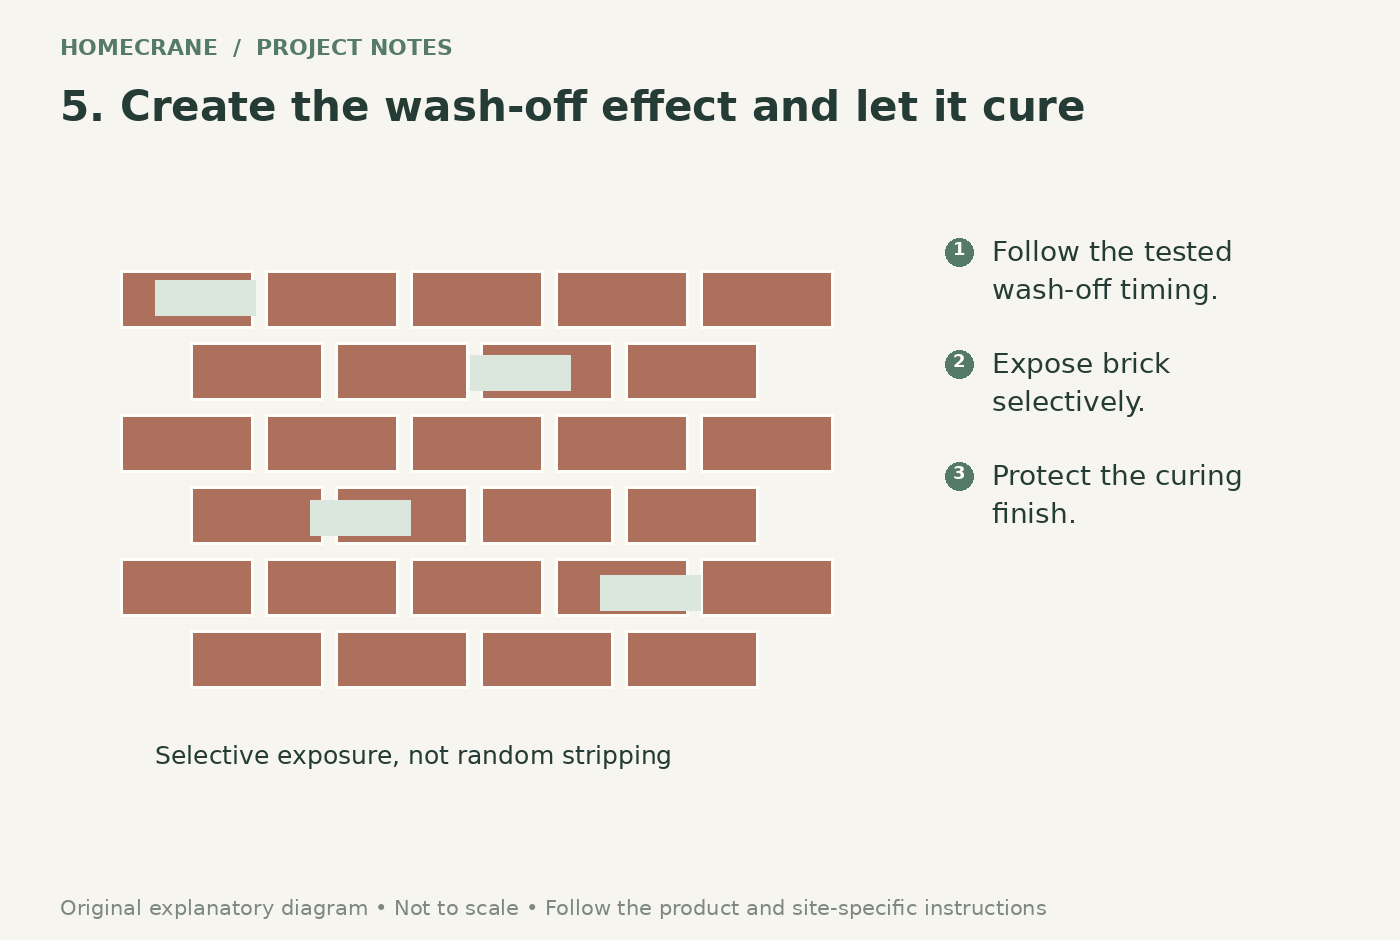
For Classico, the wash-off window begins as the finish starts to dry and can vary with conditions. Romabio describes roughly 10 to 60 minutes, which is why a site sample matters. [2] Remove finish selectively to echo the approved sample instead of stripping random isolated bricks.
Afterward, protect the work and follow the specified curing and weather guidance. Keep a record of the product and mixture for later maintenance. Do not treat a pale patch as a reason to scrub the entire facade immediately. Evaluate the fully developed appearance and consult the manufacturer if the result differs markedly from your sample.
Common questions and next steps
Can you limewash already painted brick? This Classico approach is for suitable bare, absorbent masonry. Ask the coating manufacturer to specify a system for your existing surface.
Will limewash stop a leak? No. Repair water entry and failing masonry before any decorative work.
Can you undo it easily? Do not plan the project around a promise of effortless removal. Approve a sample and treat the facade change as a substantial decision. Use a professional for high walls, fragile masonry, or access problems.
Sources and further reading
Research reviewed October 12, 2026.
Sources
- Romabio: Classico Limewash surfaces and finish. Checked October 12, 2026
- Romabio: Classico application tutorial. Checked October 12, 2026
Share this article
Get new guides by email
Practical home articles and free resources. No spam, and you can unsubscribe at any time.
Keep reading
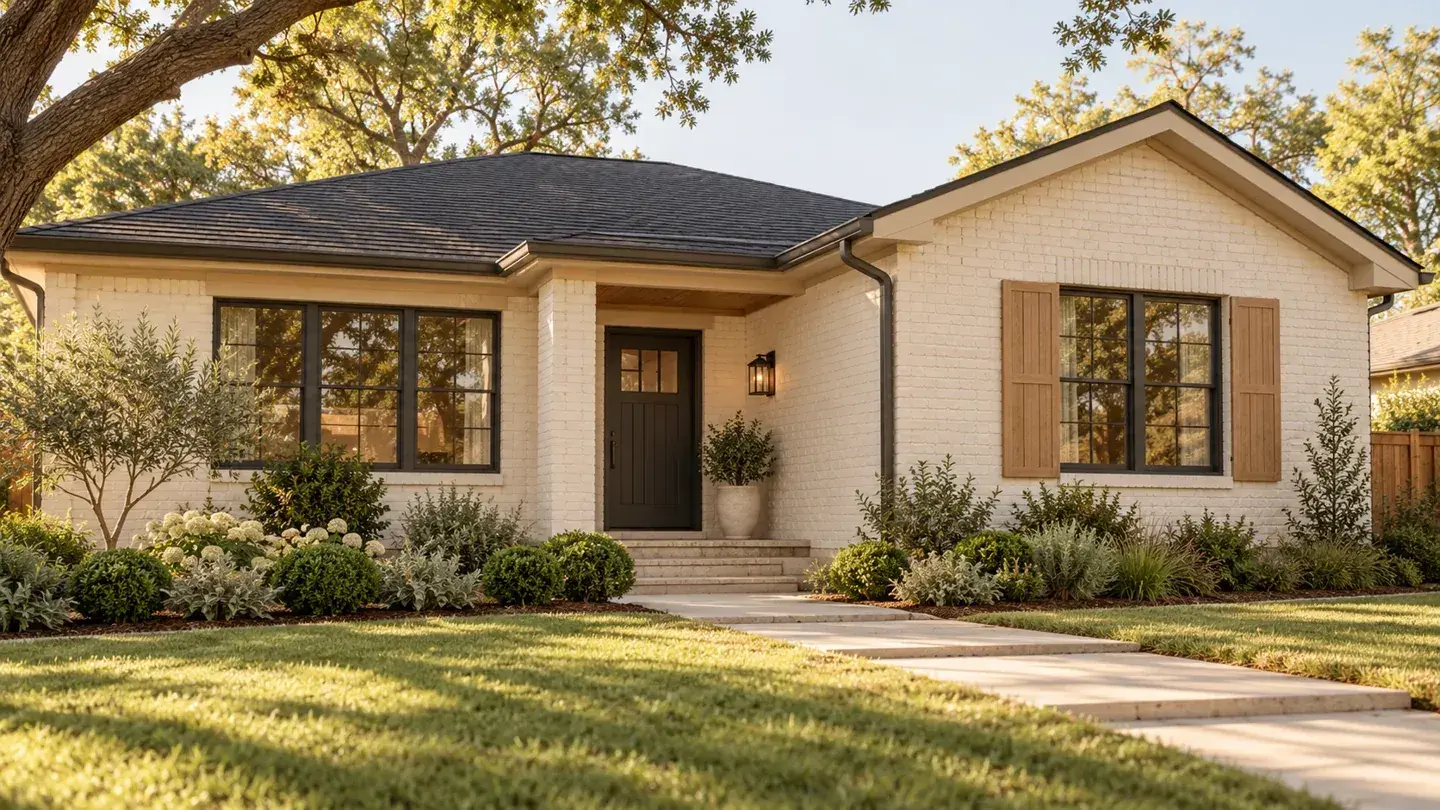
Painted Brick Exteriors: Pros, Cons, and Maintenance Costs
Weigh painted-brick benefits, moisture concerns, treatment options, and US costs, with a sample budget and a practical maintenance plan.
October 2026, 4 min read
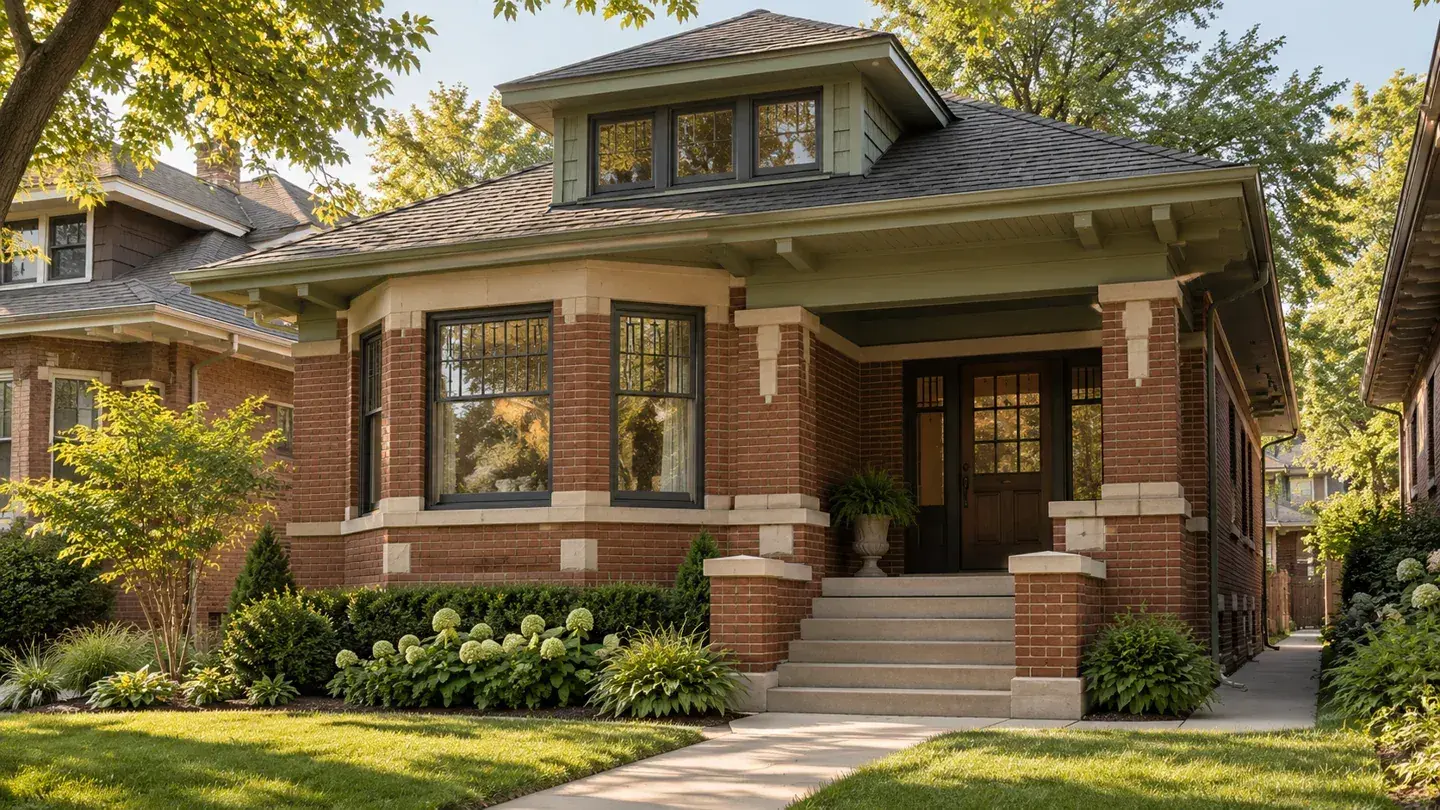
9 Historically Inspired Exterior Paint Colors for Chicago Bungalows
Explore nine historically inspired Chicago bungalow paint palettes for trim and accents, with illustrations, sample-testing advice, and preservation context.
October 2026, 5 min read
15 Stunning Mid Century Modern Ranch House Exterior Ideas (Before & After)
Explore 15 midcentury ranch exterior before-and-after concepts with illustrated concepts, practical design tips, and planning checks for your US home.
October 2026, 5 min read