Modern DIY Slat Wood Accent Wall: Complete Planning and Installation Tutorial
A wood slat wall gets its character from rhythm: consistent slat widths, carefully chosen gaps, and clean edges. For a beginner, a small interior wall.
By Home Crane Editors. . 3 min read.

A wood slat wall gets its character from rhythm: consistent slat widths, carefully chosen gaps, and clean edges. For a beginner, a small interior wall with no outlets or complicated corners is the easiest place to learn.
Choose between individual slats and a manufactured panel system before buying materials. Individual slats offer flexible spacing but take more layout work. Prefabricated panels can speed installation, although their mounting requirements, seams, and substrate limitations still need attention. Decorative slats do not automatically soundproof a room.
1. Measure and calculate the repeat
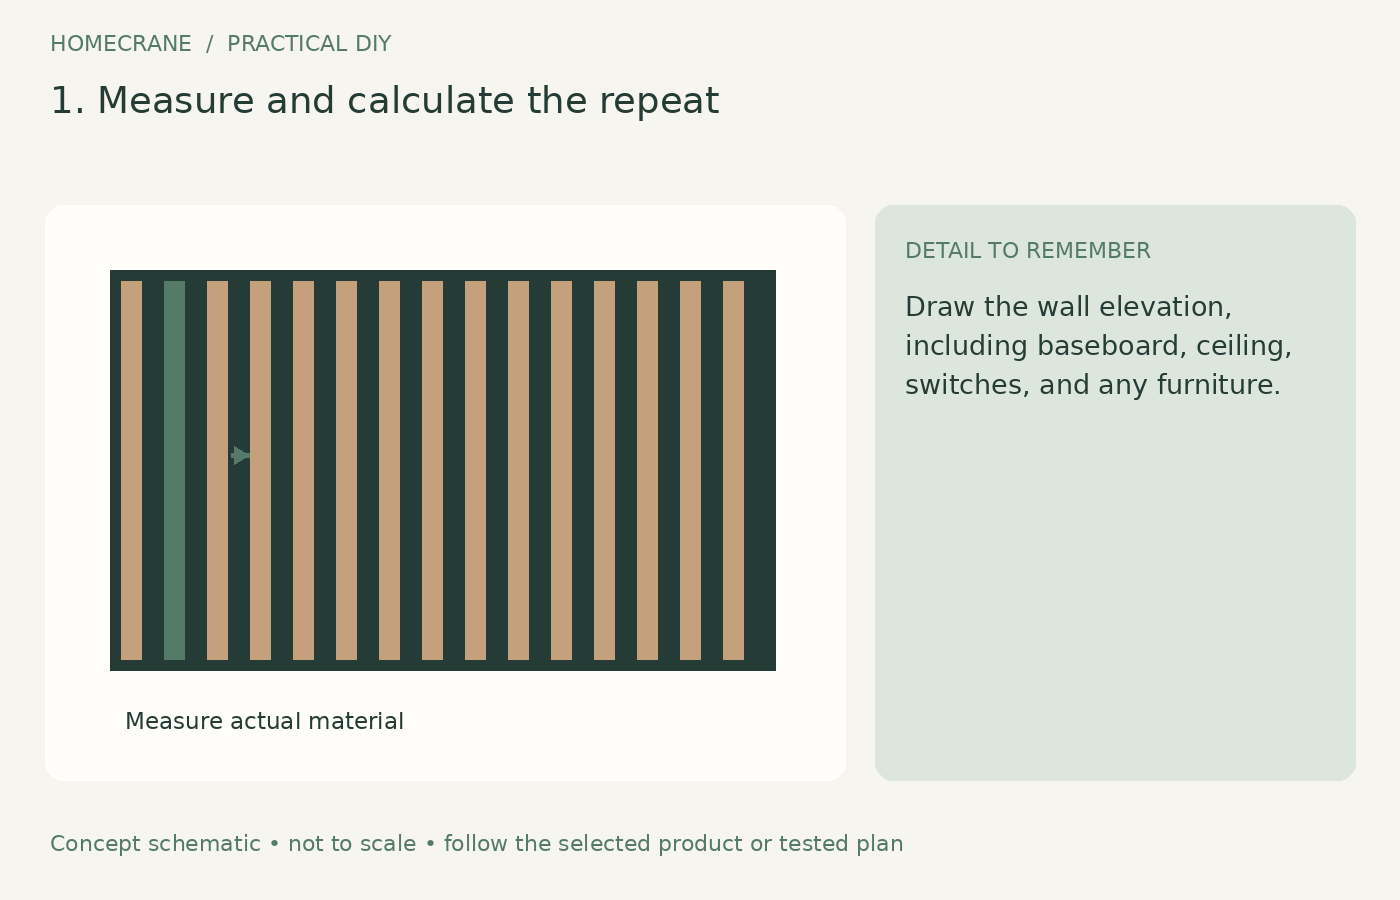
Draw the wall elevation, including baseboard, ceiling, switches, and any furniture. Decide whether the slats stop above the baseboard or meet a new trim detail. Avoid starting with one full slat at the left and discovering a thin, awkward strip at the right.
For a custom layout, total pattern width equals the number of slats times their actual width, plus the number of gaps times the gap width. Twenty 1.5-inch slats with nineteen 0.75-inch gaps occupy 44.25 inches. Centering that pattern on a 48-inch panel leaves 1.875 inches at each side.
That is an original layout example, not a standard specification. Adjust the pattern for the actual wall and use scrap to preview the spacing before committing.
2. Select the material and finish
Use straight, stable slats with a surface you can finish consistently. Solid wood, veneered components, and manufactured panels behave differently when cut and fastened. Confirm whether the product is intended for the room's humidity and use.
The Wood Veneer Hub's installation library provides separate instructions for different panel families. Match the guide to the exact product. Do not apply a ceiling or acoustic installation detail from one system to another decorative panel.
Finish individual slats before installation when practical, especially the side faces visible through the gaps. Test stain on the actual wood. Different boards can absorb color unevenly, and a sample on another species may give a misleading expectation.
3. Prepare the backing and plan the fixings
Repair and clean the wall, then apply the intended background finish if it will remain visible. A dark background emphasizes the spacing; a lighter one creates a quieter effect. Allow paint to cure sufficiently for the selected attachment method.
Locate suitable fixing points and check for concealed services. If a panel adds thickness around an electrical device, have the box and cover detail addressed correctly. Do not leave a receptacle recessed behind combustible trim or cover it with slats.
Where old paint will be disturbed, use the EPA's lead-safe renovation guidance for the applicable older-home conditions. Sawing and sanding also require suitable dust control for the material being used.
4. Install a straight first slat and repeat the gap
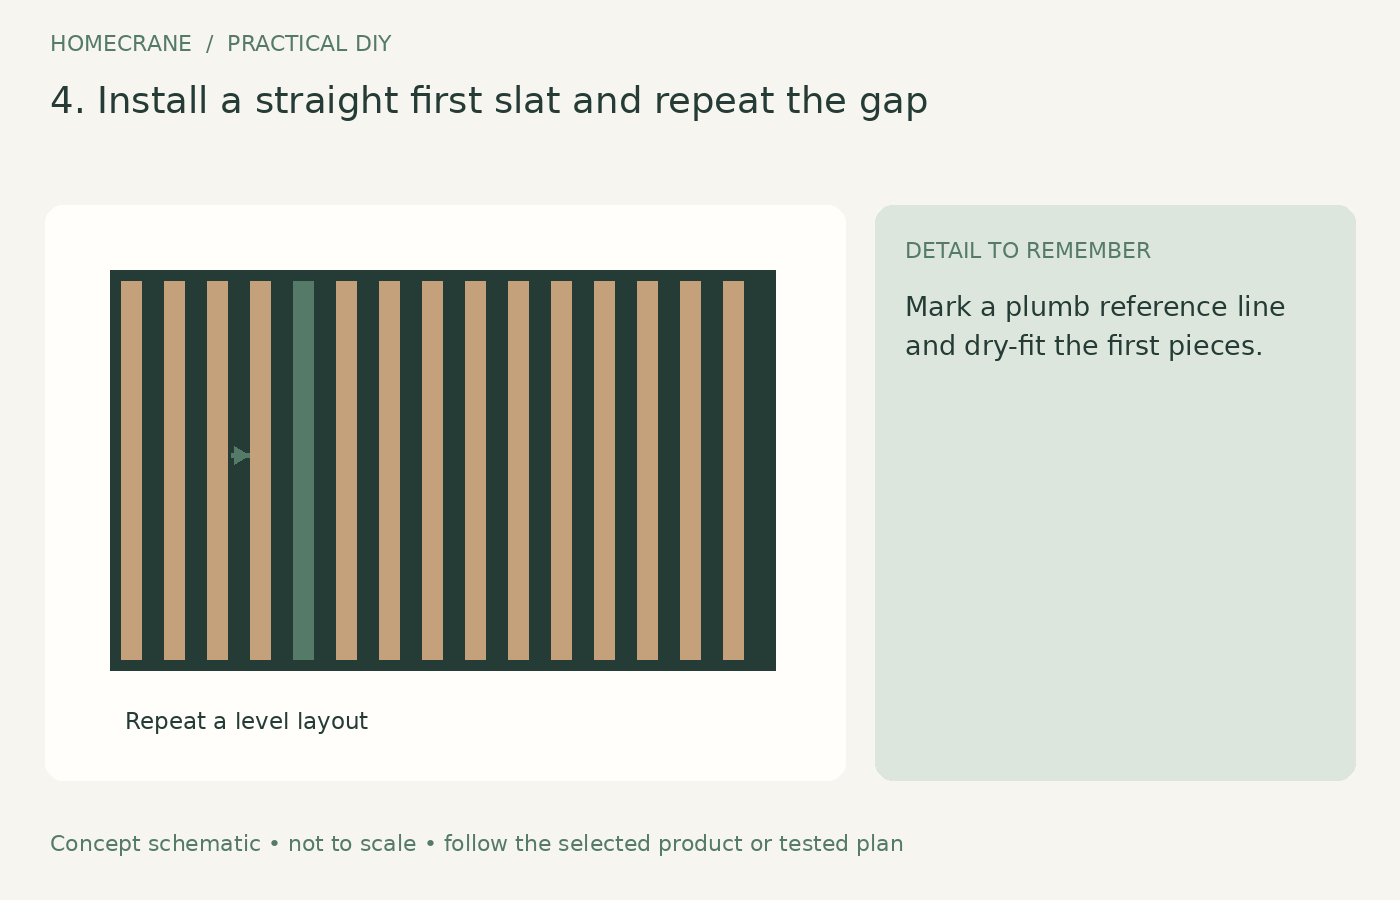
Mark a plumb reference line and dry-fit the first pieces. Use the mounting system specified for the product, wall, and orientation. An adhesive installation is generally not damage-free to remove, even when it uses no visible screws.
For individual slats, use a spacer block cut to the intended clear gap. Check plumb periodically instead of trusting the spacer to correct a leaning pattern. Measure the remaining width as you progress so cumulative error is caught early.
For manufactured panels, inspect seams and slat alignment before fixing each section. Make cutouts with appropriate tools and supported material. Avoid crushing felt backing or splitting narrow slats by overtightening fasteners. Keep required access and ventilation openings clear.
5. Finish the edges and inspect the result
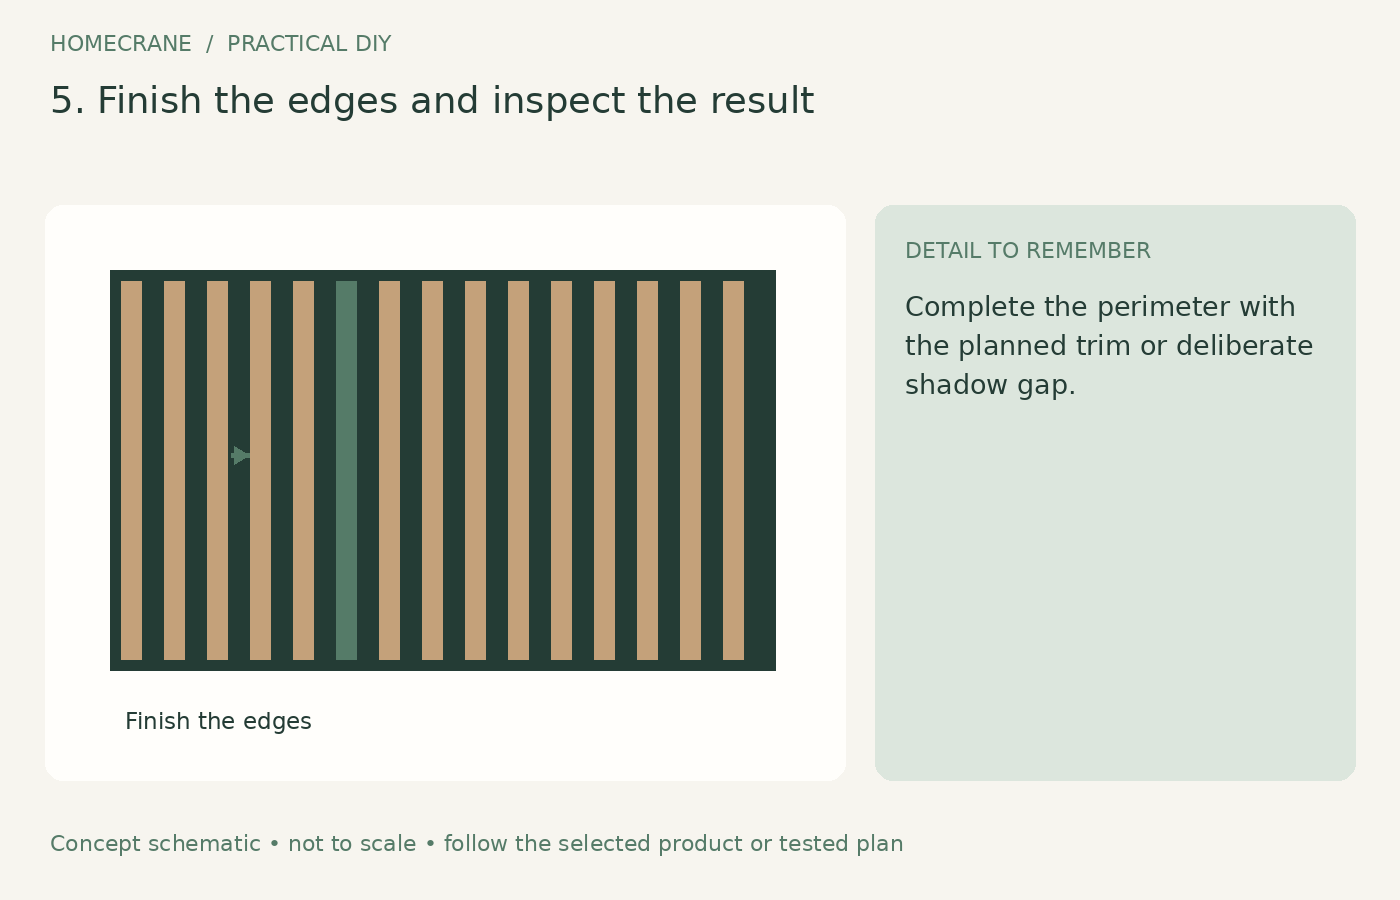
Complete the perimeter with the planned trim or deliberate shadow gap. Do not force the final slat into a narrow space that changes the rhythm of the whole wall. Small variations at the perimeter can be less noticeable when distributed intentionally.
Touch up cut edges using the product's recommended method. Inspect for loose pieces, sharp edges, protruding fasteners, and interference with switches or doors. Let finishes and adhesives cure before regular contact.
If you want acoustic improvement, use the manufacturer's tested complete assembly, including any backing, cavity, or insulation requirements. A decorative wall may reduce some reflections under certain conditions, but it is not evidence that sound transmission through a shared wall has been solved.
Plan the materials before shopping
| Feature | Decision to make | |
|---|---|---|
| Slats or panels | Actual dimensions and intended location | |
| Background | Visible wall finish or approved backing | |
| Fixings | Wall type, orientation, and product instructions | |
| Edge treatment | Trim, return, or intentional gap | |
| Finish | Color sample, compatibility, and cure time |
Include offcuts and the direction of the wood grain in the cutting plan. A nominal panel area can look economical until several narrow strips are needed around corners. For a first project, reducing the accent wall's width can improve both the cost and the finished proportions.
Questions beginners ask
Can I install slats directly over wallpaper?
Do not assume the wallpaper bond can carry the assembly. Follow the mounting system's substrate requirements and remove or prepare incompatible layers as directed.
Should the gaps all be exactly equal?
The intended repeated gaps should be consistent, but the perimeter can be designed differently. Plan that difference on paper so it looks intentional rather than like a measuring mistake.
Sources
- The Wood Veneer Hub's installation library. Checked October 11, 2026
- EPA's lead-safe renovation guidance. Checked October 11, 2026
Share this article
Get new guides by email
Practical home articles and free resources. No spam, and you can unsubscribe at any time.
Keep reading
15 Icy Blue Bedroom Paint Ideas for 2026
Explore 15 icy blue bedroom paint ideas, from accent walls to blue ceilings, with warm pairings and practical sampling tips for 2026.
October 2026, 6 min read
Neo Deco Living Room Ideas: How to Get the Look on a Budget
Create a budget Neo Deco living room with curves, geometric patterns, metallic accents, jewel tones, and balanced furniture styling.
October 2026, 3 min read
15 Smart Small Laundry Room Stackable Washer Dryer Ideas
Explore 15 smart small laundry room stackable washer dryer ideas. Compare illustrated concepts, practical layout tips, and planning checks.
October 2026, 6 min read