How to Paint Kitchen Cabinets Without Sanding: Step-by-Step
Follow seven illustrated cabinet-painting stages, including surface checks, cleaning, adhesion testing, compatible coatings, and curing time.
By Home Crane Editors. . 5 min read.
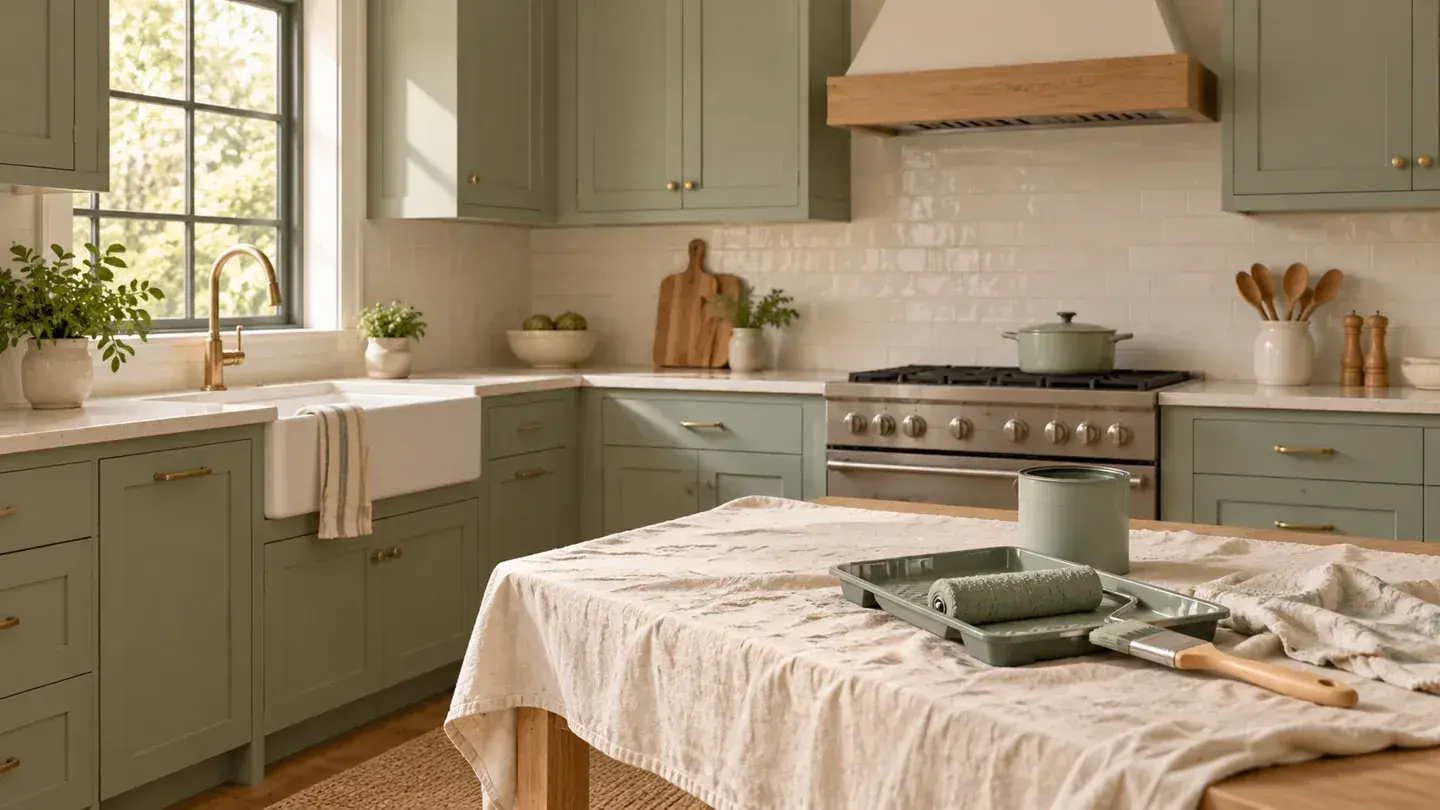
You can sometimes paint kitchen cabinets without sanding, but only when the existing surface and the selected coating system allow it. Clean, firmly bonded finishes may qualify. Peeling paint, wax, damage, and failed adhesion tests can change the plan. A no-sanding project still requires substantial preparation and drying time.
Start with one current cabinet-coating system and follow its instructions throughout. Do not combine the cleaning stage from one tutorial, the primer from another, and an unrelated topcoat because each sounds convenient. Compatibility matters more than the promise printed in a headline.
Decide Whether This Method Fits Your Cabinets
Identify the cabinet material and existing finish as well as you can. Solid wood, veneer, laminate, and damaged foil-wrapped doors need different consideration. Check the selected product's approved surfaces. Loose covering, swollen substrate, and failing joints require repair or replacement decisions before decoration.
The current Rust-Oleum Cabinet Transformations instructions, updated in February 2026, call for an adhesion test and acknowledge that failed adhesion can require sanding. This article is a planning sequence, not a substitute for the instructions supplied with your exact kit.
1. Inspect the Finish and Establish a Stop Point
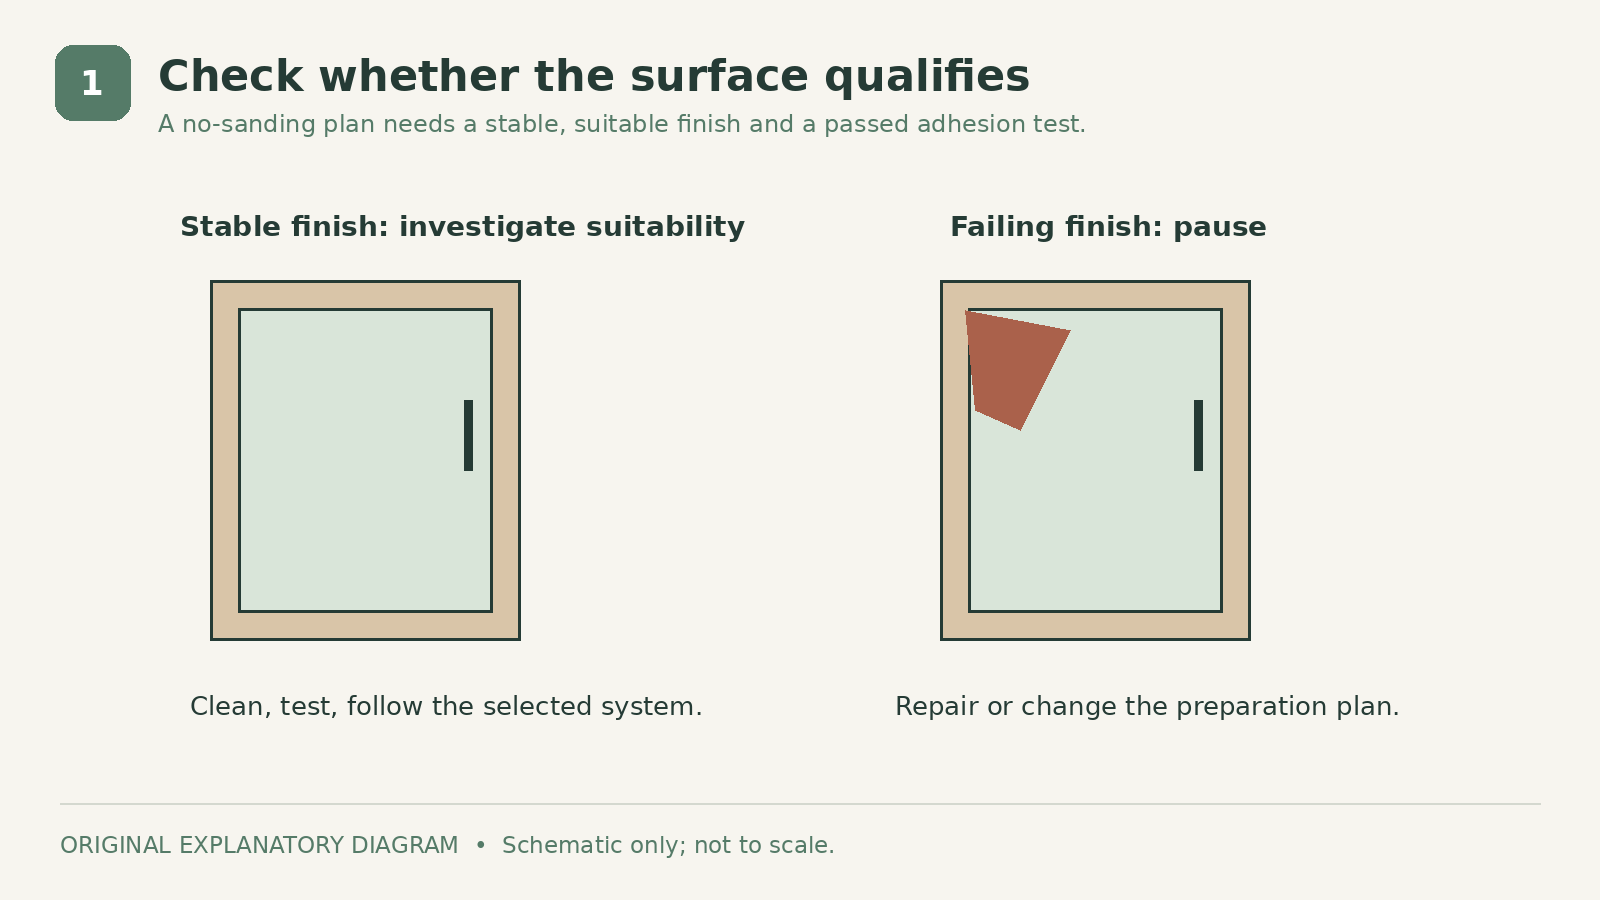
Open every door and drawer, looking closely around handles, sink-side edges, hinges, and the range. Check whether the finish is firmly attached and whether the underlying cabinet is sound. Photograph problems before starting so you can distinguish existing damage from coating issues later.
Set a clear limit: if the coating is peeling or the product's adhesion test fails, pause the no-sanding approach. Covering a weak layer does not make it a strong base. If you want to avoid all abrasion, the alternative may be professional preparation or replacing selected fronts rather than continuing with incompatible paint.
For older painted cabinets, check age and coating history before disturbing the surface. EPA guidance for pre-1978 homes is relevant where lead paint may be present. Skipping sanding does not automatically remove every preparation hazard.
2. Label Doors, Drawers, and Hardware
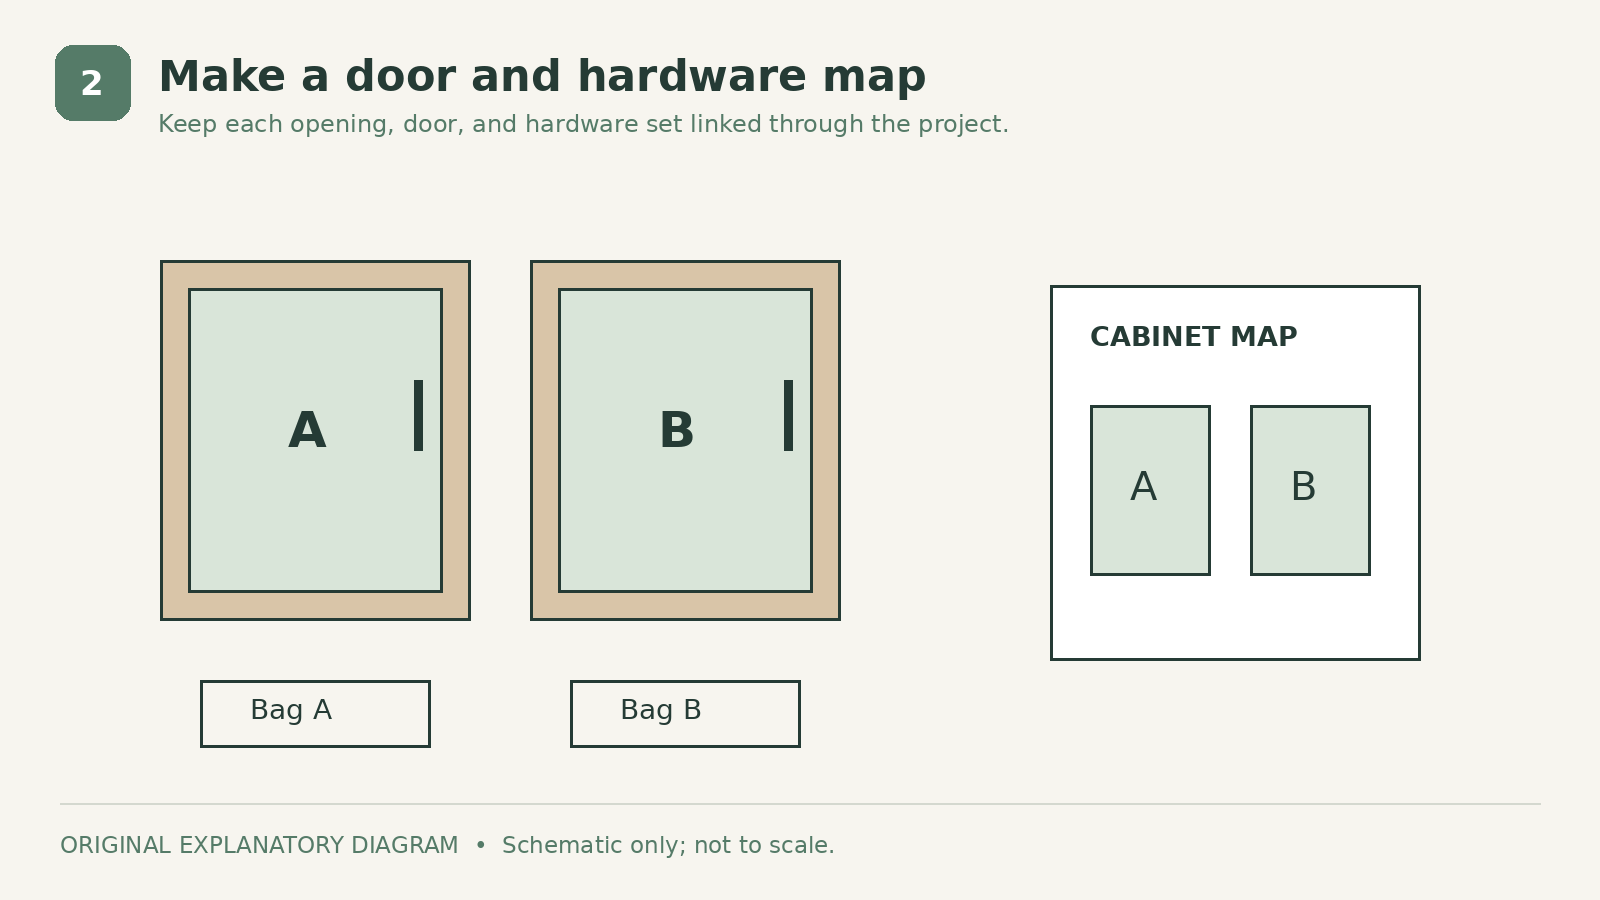
Draw a simple cabinet map and assign each opening a letter or number. Label the corresponding door in a place that will not interfere with the finish. Bag hardware by location, and record hinge orientation with photographs. This makes reassembly much less dependent on memory.
Remove handles and other hardware as directed for the project. Protect counters, appliances, flooring, and adjacent surfaces. Arrange a clean work area where doors can lie securely without touching wet finishes, and plan how you will coat edges and both faces without handling them too early.
Think through kitchen access before opening a can. Keep frequently used items elsewhere and leave a safe route through the room. A drying area that blocks the refrigerator or an exit will become a problem long before the last coat is finished.
3. Remove Grease and Cleaner Residue
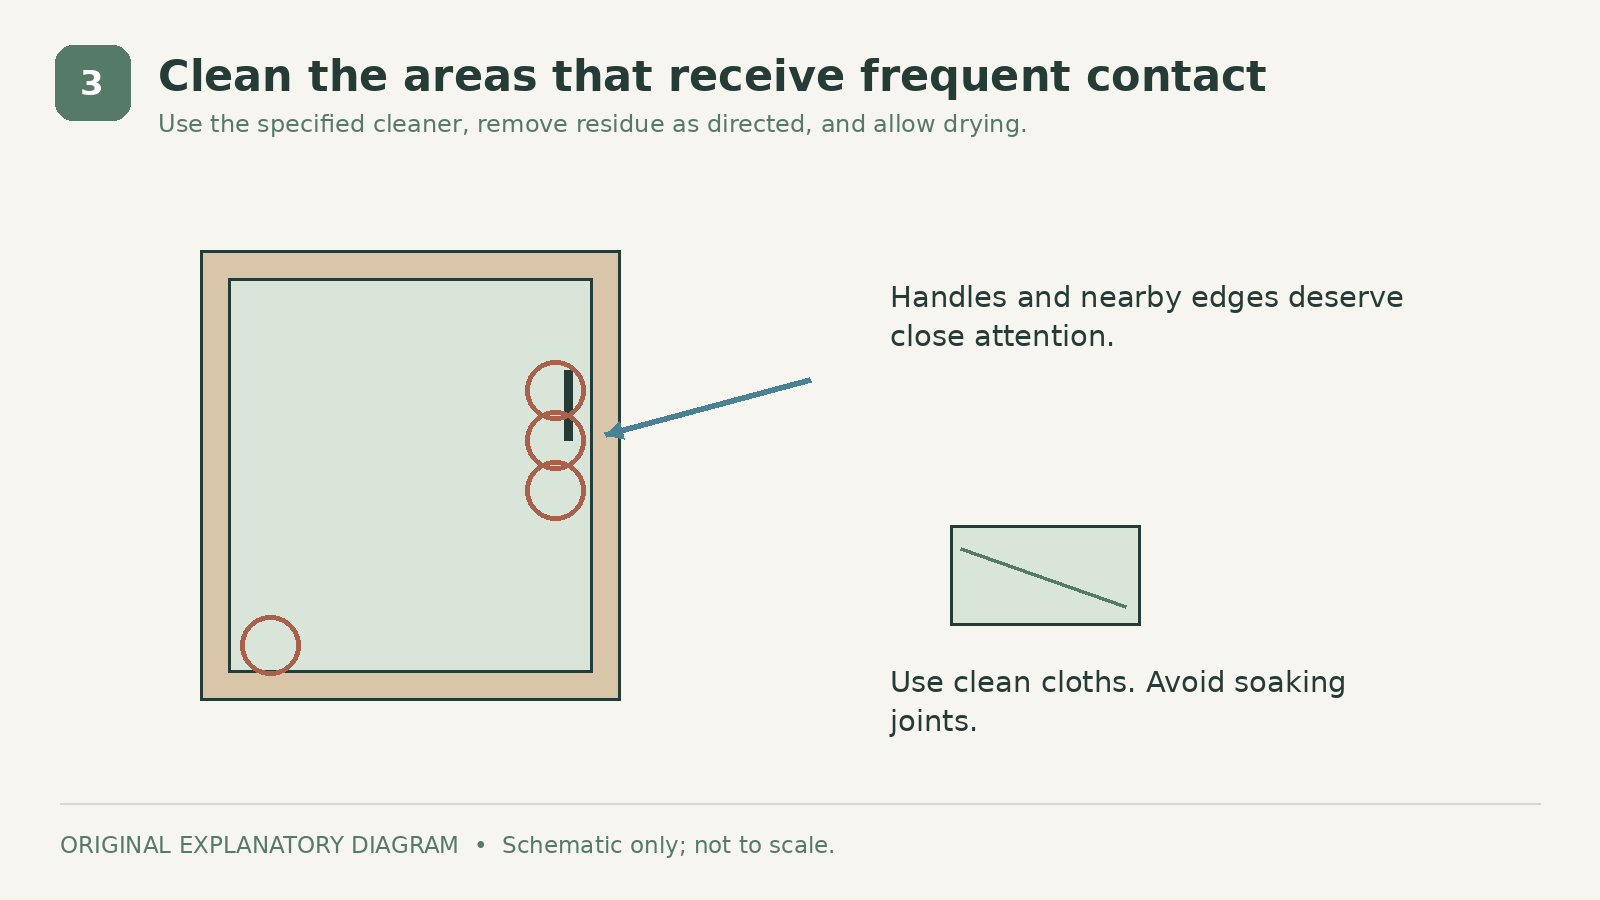
Clean using the product specified by your coating system, paying particular attention to handle areas and cooking residue. Work methodically so every door receives the same preparation. Follow the cleaner's requirements for dilution, dwell time, rinsing, and drying instead of assuming that more concentrated cleaner works better.
A surface can look clean while still carrying polish, grease, or cleaner residue. Use fresh cloths as needed and avoid spreading soil from one section to another. Keep water from soaking joints or damaged edges, especially where the underlying material is vulnerable.
Allow the prepared surface to reach the condition required before coating. This waiting period belongs in the schedule. Do not add a solvent deglosser merely because an older online article recommends it; the manufacturer's earlier kit guidance describes a different preparation sequence from the current kit information.
4. Complete the Specified Adhesion Test
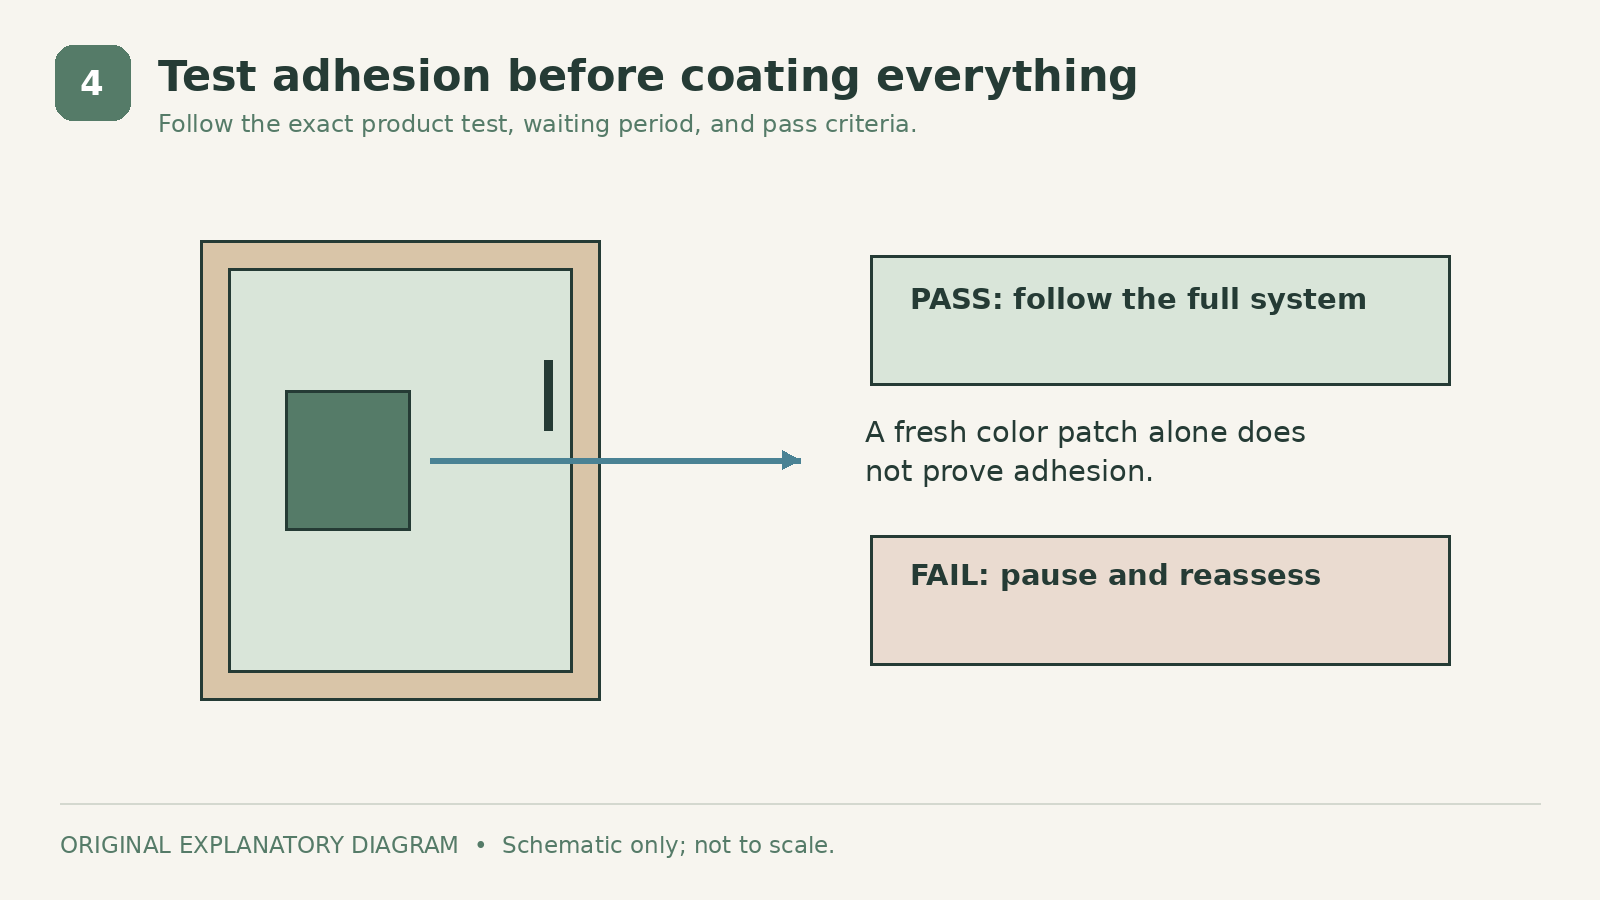
Test the complete proposed preparation and coating approach on a suitable small area before treating every cabinet. Follow the product's test method, timing, and pass criteria exactly. A patch that looks attractive immediately after application has not necessarily demonstrated adhesion.
Record what you used and how long you waited. If the test fails, contact the manufacturer about the actual surface rather than adding extra coats. The remedy may fall outside a no-sanding project. Do not keep escalating cleaners or mixing coatings without a supported procedure.
This test also provides a useful color and sheen sample. View it in daylight and under kitchen lighting, beside the counter and floor. A small adjustment at this stage is easier than repainting a complete set of doors after discovering an unwanted undertone.
5. Use Primer Only as the System Requires
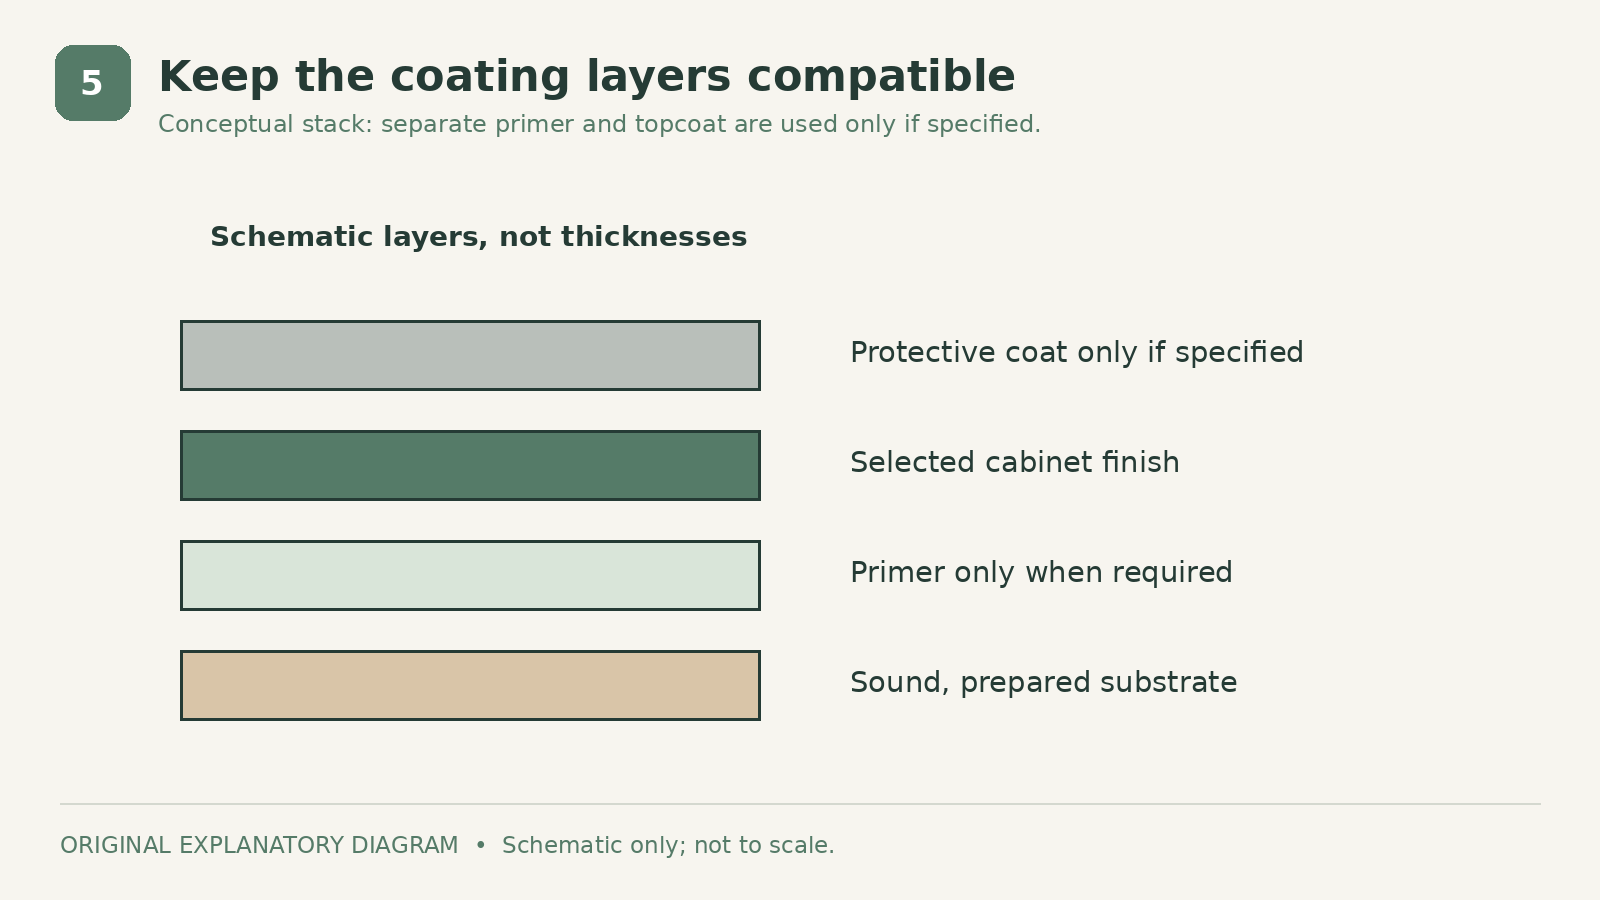
Some cabinet systems specify a separate primer for particular surfaces or stains; others have a different approved sequence. Check the exact situation rather than assuming that primer is always optional or always an improvement. Ask about exposed wood, repairs, discoloration, and previously coated areas separately.
Keep the primer, finish, and any protective coat within a documented compatible system. Confirm tools, application conditions, and recoat windows before starting. The goal is consistent preparation across all parts, not a collection of different solutions on neighboring doors.
If a conventional cabinet paint interests you instead, read its preparation requirements before purchase. Benjamin Moore's cabinet-painting guide includes sanding. That method should not be relabeled no-sanding by simply deleting a step.
6. Apply Controlled, Thin Coats
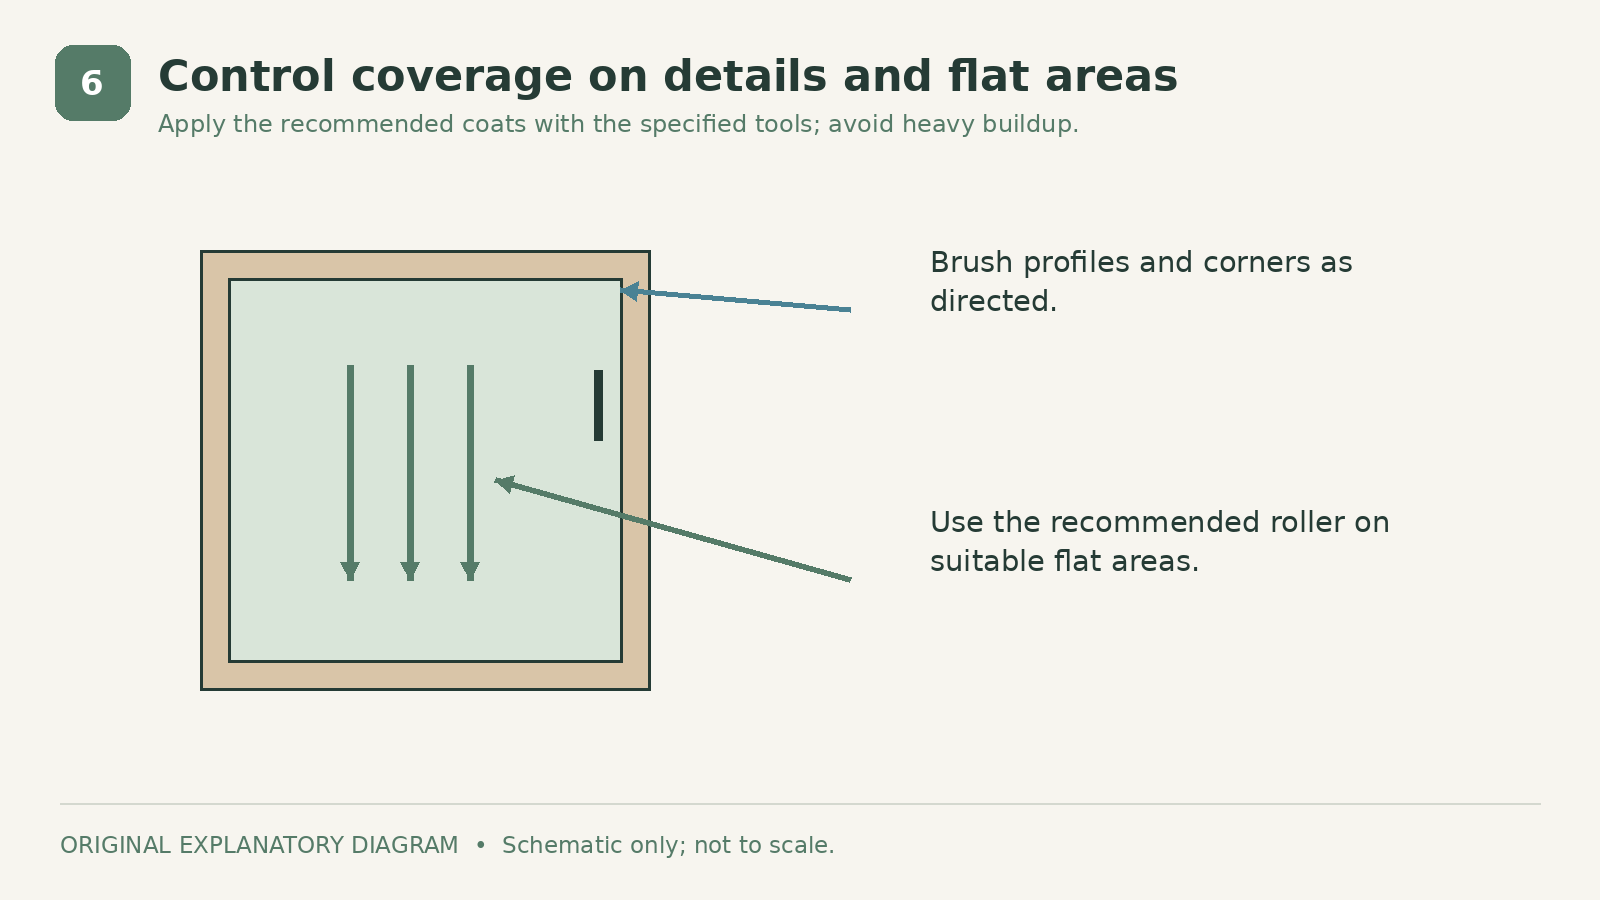
Use the recommended brush or roller for the coating and door profile. Work into details without leaving heavy accumulations in corners, then finish flat areas evenly. Maintain the product's coverage and application guidance; a thick coat is not a shortcut to a durable result.
Keep doors organized in the same order as your cabinet map. Inspect edges and lower corners for runs while you can still correct them according to the instructions. Protect the drying area from dust and accidental contact, and maintain the ventilation and protective measures required by the labels.
Plan recoat timing around actual conditions. Temperature and humidity can affect the work, so a generic overnight assumption is not enough. If the chosen system includes a protective topcoat, use it as specified rather than substituting a clear product intended for a different finish.
7. Separate Drying, Reassembly, and Full Cure
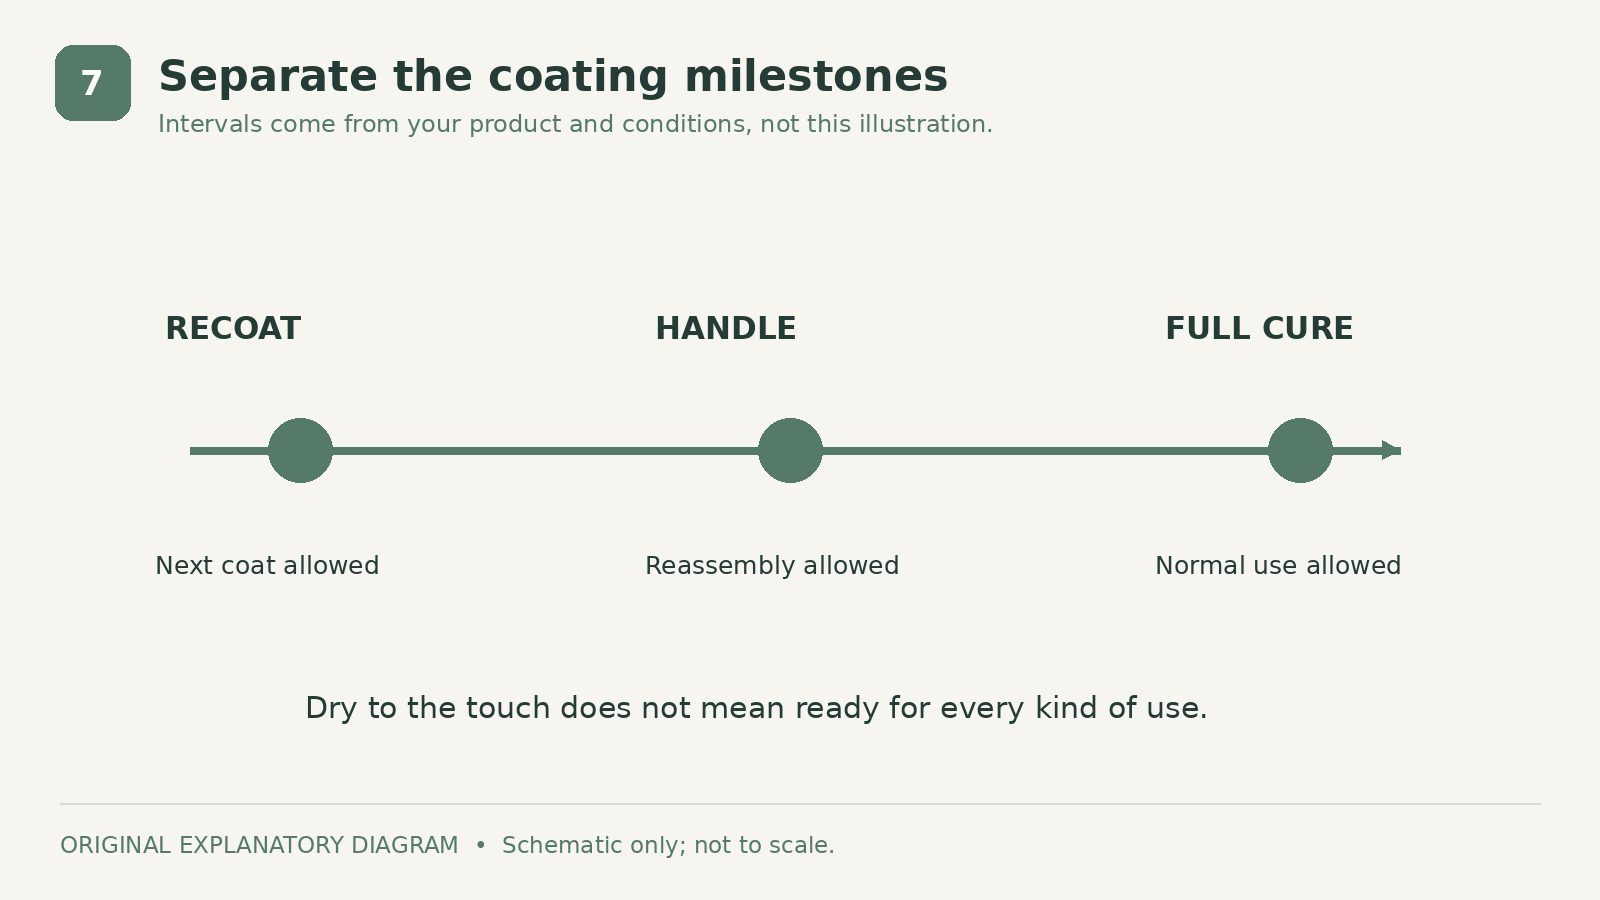
A coating can feel dry before it is ready for handling or regular cleaning. Read the separate intervals for recoating, reinstalling doors, and returning the finish to normal service. Put those dates on your project calendar so household use does not outrun the product schedule.
Reinstall hardware carefully after the specified handling time. Use your map to return doors to their original positions and make appropriate alignment adjustments. Avoid pressing newly coated surfaces together or attaching accessories before the coating is ready.
During the initial service period, follow the manufacturer's cleaning and use restrictions. Once cured, maintain the finish with approved methods. Save the product details, batch information, and a note about the preparation you used for future touch-ups.
What Success Looks Like
A successful no-sanding project begins with a suitable, stable surface and a passed adhesion test. It ends with consistent coverage, functioning doors, and a finish allowed to cure. If those conditions cannot be met, changing methods is a better result than preserving the no-sanding label at the expense of the cabinets.
Sources
- Rust-Oleum support: Cabinet Transformations Kits. Checked October 5, 2026
- US EPA: Lead Safe Renovations Diyers. Checked October 5, 2026
- Rust-Oleum support: Cabinet Transformations Primer Recommendation. Checked October 5, 2026
- Benjamin Moore: Paint Kitchen Cabinets. Checked October 5, 2026
Share this article
Get new guides by email
Practical home articles and free resources. No spam, and you can unsubscribe at any time.
Keep reading
DIY Fluted Headboard Made Out of Pool Noodles
Plan a decorative fluted headboard using covered foam channels, a stable backer, careful material checks, and secure independent mounting.
October 2026, 3 min read

4 Renter-Friendly Ways to Hang Curtains Without Drilling
Compare tension rods, adhesive curtain hooks, magnetic rods, and floor-to-ceiling systems for curtains in a rental without drilling.
October 2026, 3 min read
Genius Under-Stairs Pull-Out Storage Ideas You Can DIY
Explore five under-stairs storage approaches with practical guidance on access, drawer hardware, stability, and existing openings.
October 2026, 3 min read