Remove Stubborn Wallpaper Borders Without Damaging Drywall
Remove a stubborn wallpaper border with controlled testing, adhesive softening and gentle scraping, then prepare damaged drywall for refinishing.
By Home Crane Editors. . 4 min read.
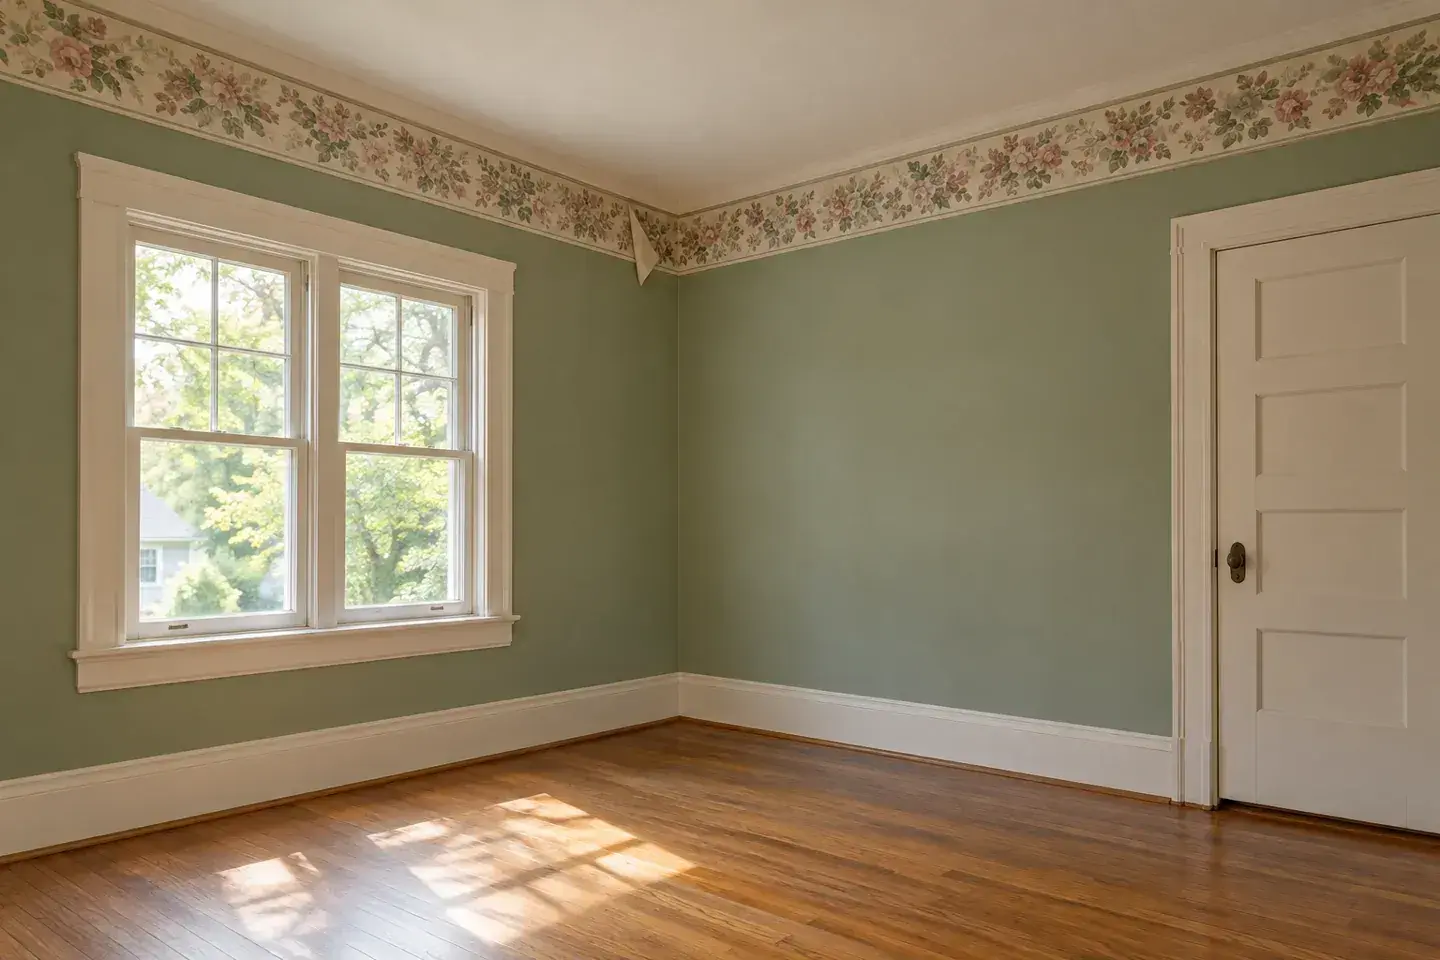
The gentlest approach is to test a small section, soften the correct adhesive, and lift the border with minimal force. Damage-free removal is not guaranteed, especially when wallpaper was applied directly to unprimed drywall or painted over. The aim is to preserve as much of the wall face as possible and repair any damage properly.
Gather floor protection, clean cloths, a suitable scraper, and a wallpaper-removal product compatible with the wallcovering. Protect electrical fittings from moisture. Where work could wet or disturb electrical components, arrange safe isolation and appropriate assistance.
Do not begin by soaking the entire room. A small test reveals whether the top layer peels, whether liquid penetrates, and how readily the drywall paper releases with the adhesive.
1. Test the border and identify its layers
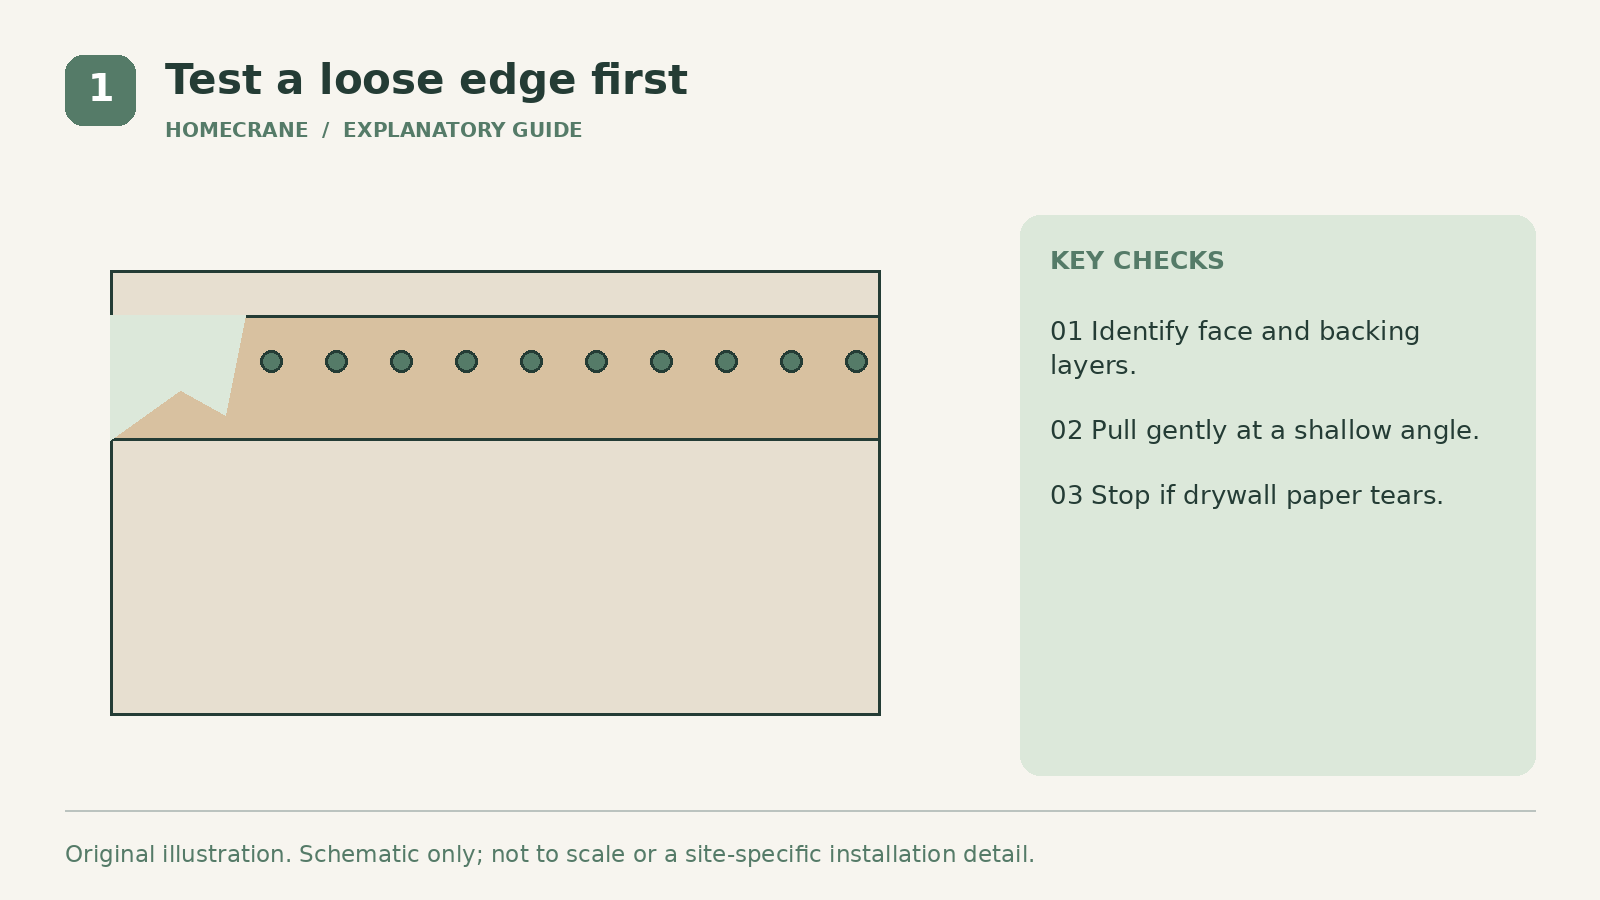
Start at an inconspicuous seam or loose edge. Lift gently to see whether a decorative face separates from a paper backing. Some borders peel readily; vinyl-faced or painted borders may resist moisture until the surface is treated as directed.
Keep the pull shallow and controlled. If brown drywall paper comes away with the border, stop and reduce force. Do not interpret a larger tear as progress. Photograph the test area and adjust the method before continuing.
Check for signs of dampness or mold behind the border. Resolve the source before refinishing. A new coat of paint should not conceal an active leak or soft gypsum board.
Older wallcoverings, paints, and underlying materials may need assessment before disturbance. See the EPA lead-safe renovation guidance before disturbing suspect paint, especially in pre-1978 homes. Avoid aggressive sanding or scraping where hazardous coatings are a possibility. A wallpaper job can expose several generations of finish beneath the visible layer.
2. Soften the adhesive in a controlled area
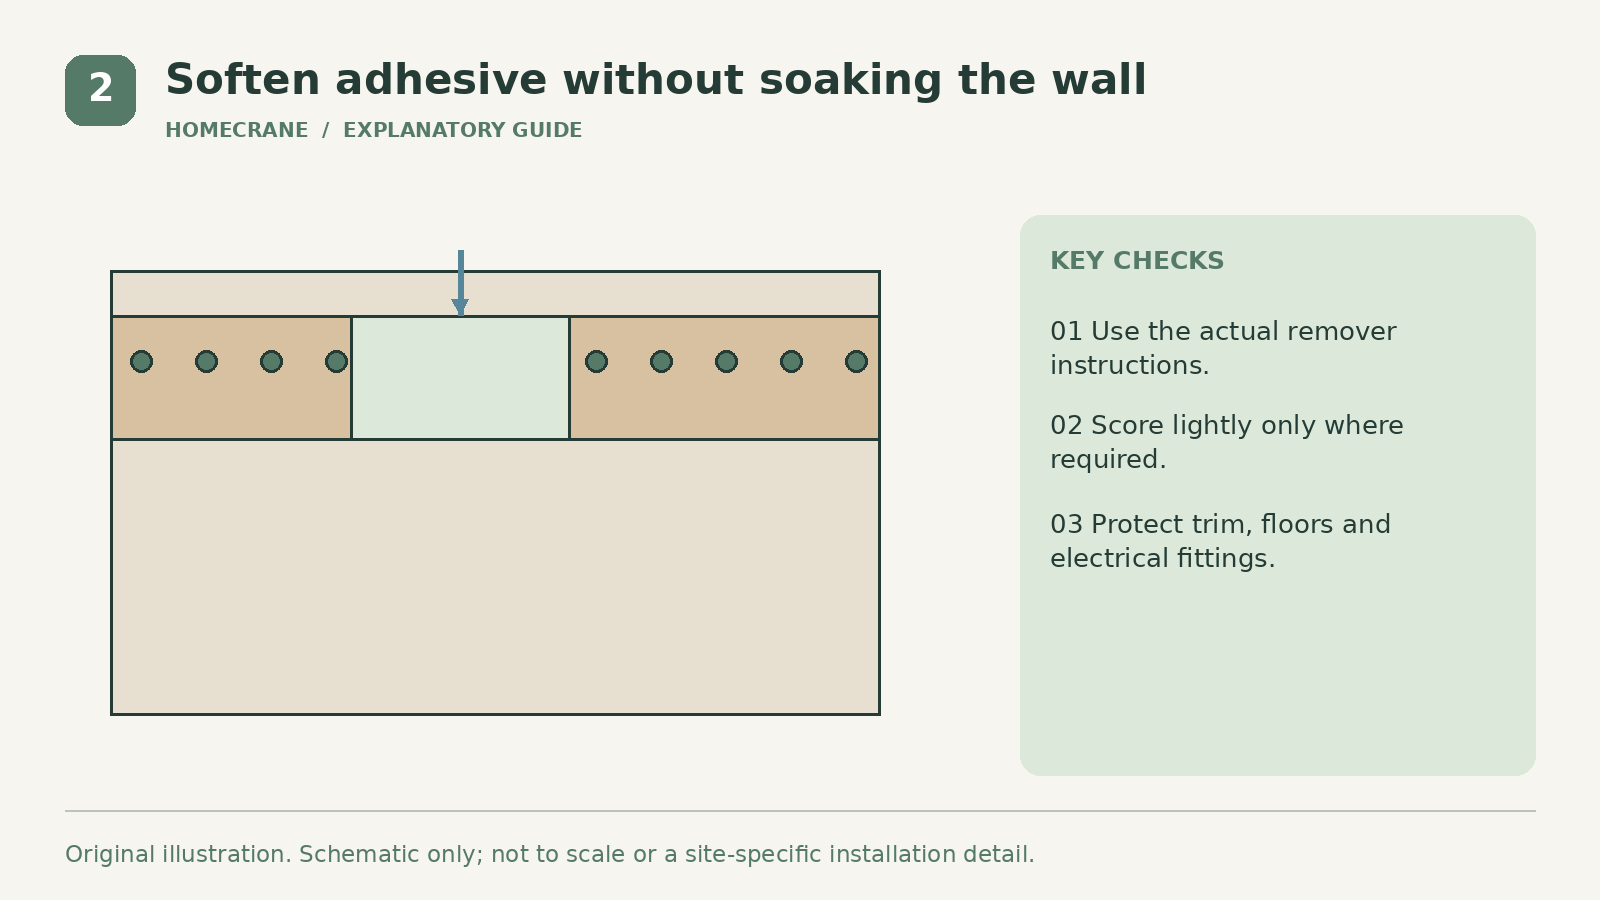
Use the selected remover according to its label, including application method, contact time, ventilation, and protection. Different formulations have different instructions. Do not substitute an arbitrary long soaking period for the stated method.
Zinsser DIF Ready-To-Use Wallpaper Stripper is one example of a product designed for wallcovering and adhesive removal. Its manufacturer describes scoring when needed to help penetration. That does not mean pressing a scoring tool deeply into drywall.
If scoring is required, use the intended tool lightly and follow its instructions. The purpose is to open the wallcovering surface, not puncture the gypsum face. Practice on the smallest area and check the result before increasing pressure.
Protect ceilings, trim, and flooring from runoff. Apply only enough solution for the approved process and do not let liquid collect around outlets. A cloth or controlled applicator may be easier to manage than spraying overhead, if the product permits it.
3. Lift the softened material without gouging
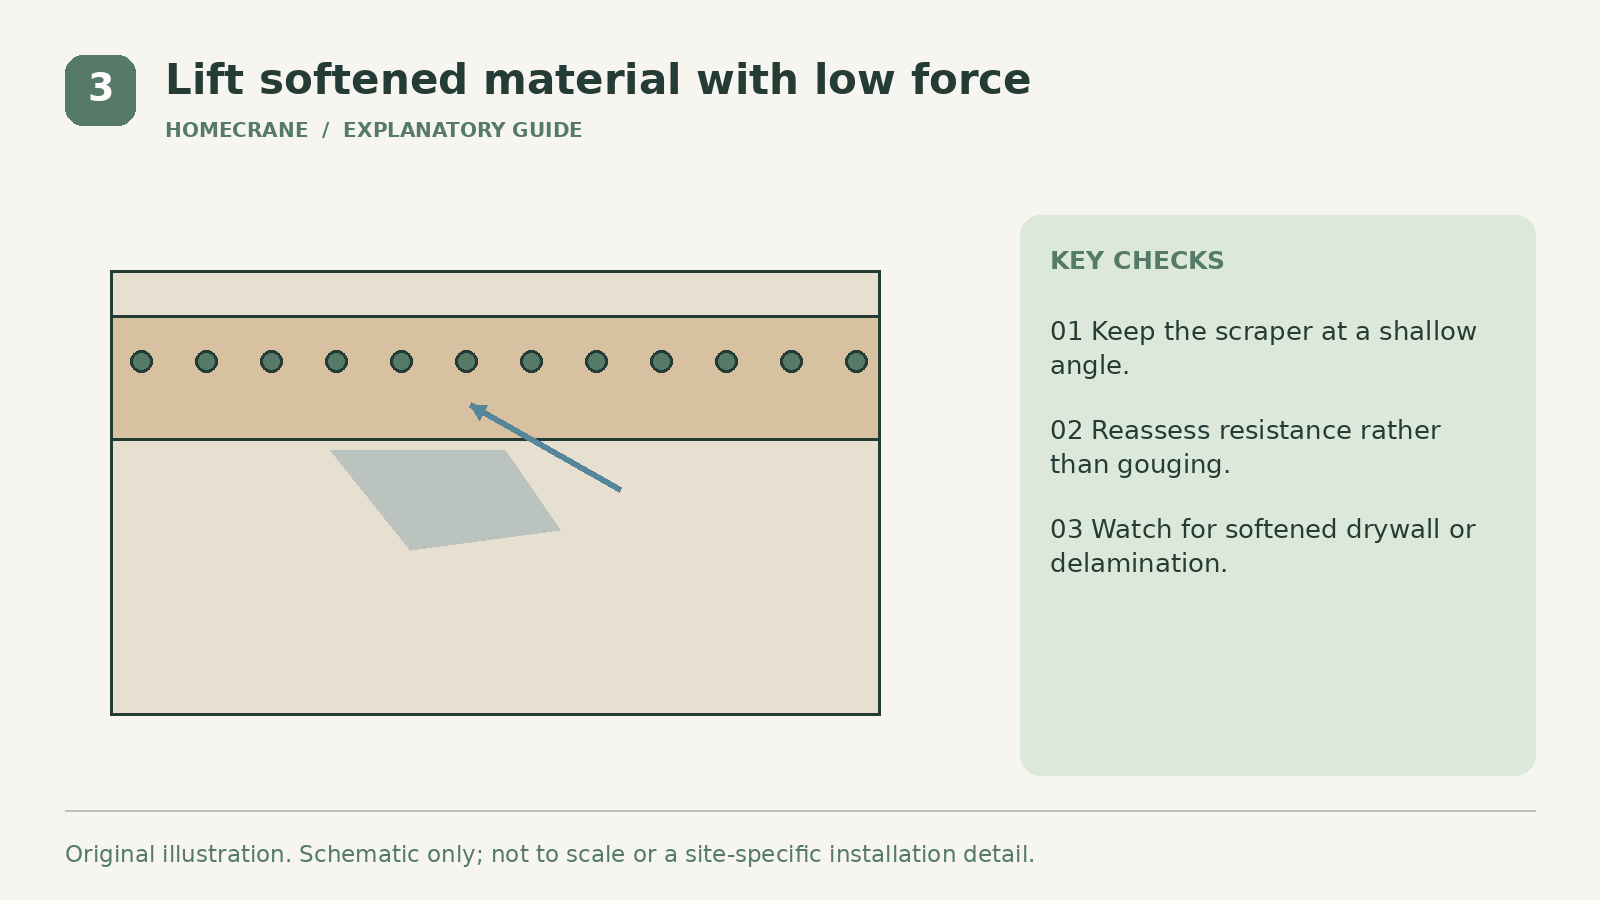
Use a suitable scraper at a shallow angle and let the softened adhesive release. Work in small sections with the blade nearly parallel to the wall. Sharp force into the surface can slice drywall paper or dig into gypsum.
If the border resists, stop and reassess penetration and contact time. Apply another permitted treatment rather than scraping harder. A stubborn coated layer may need a different approach or professional removal.
Keep removed material and tools off finished surfaces. Dried adhesive scraps can spread to the floor or trim and create another cleaning job. Wipe drips promptly using a compatible method.
Steam is not automatically the gentlest option. Heat and moisture can affect paint, drywall facing, and nearby materials, and steam can cause burns. Use a steamer only when suitable for the wall and with its instructions, rather than holding it in one place until the surface gives way.
Take breaks to inspect the exposed wall. A narrow damaged strip is easier to repair than an entire room of torn facing. Stop if the board becomes soft or the paper repeatedly delaminates.
4. Remove residue, dry and prepare for paint
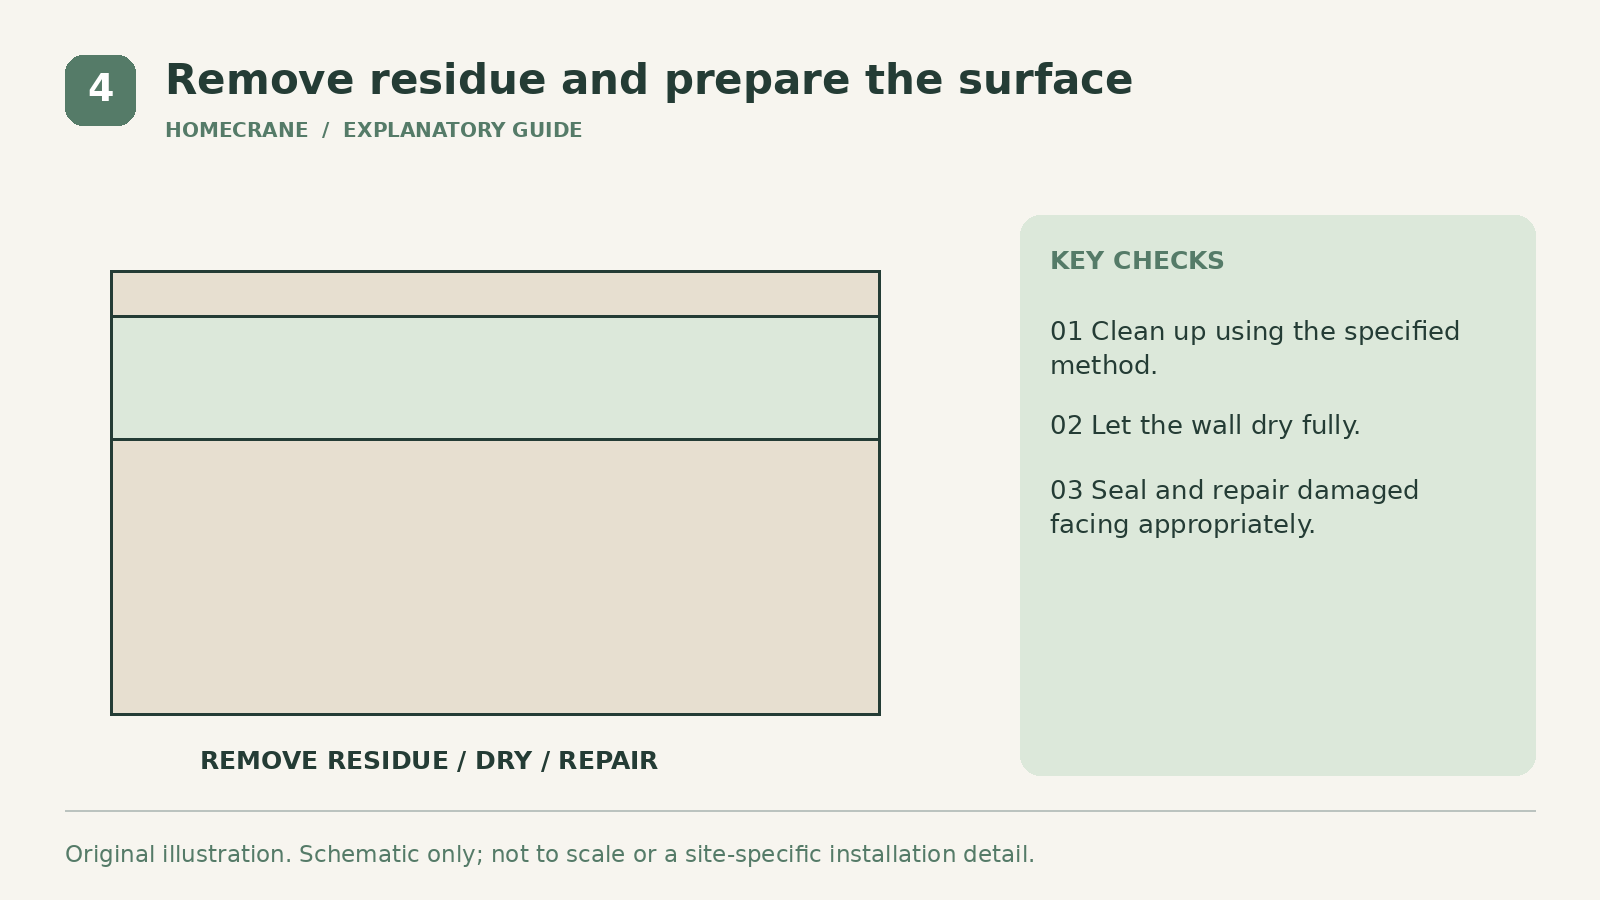
Residual adhesive can interfere with the next finish. Use the remover's specified cleanup and rinse method, keeping moisture controlled. Do not paint over a sticky film simply because the printed border has disappeared.
Allow the wall to dry fully before assessing repairs. Torn drywall paper may need an appropriate problem-surface sealer before patching or painting. Ask the coating supplier for a compatible repair sequence rather than applying wet filler directly over unstable paper.
Zinsser's DIF technical instructions illustrate why product-specific application and residue removal matter. Use the data sheet for your actual formulation; similarly named removers can have different directions.
Once repairs are sound and dry, prime as required and inspect under side lighting. A former border line can remain visible because of paint thickness, sheen, or surface texture. Correct that difference before applying the final coats.
| Feature | Better response | |
|---|---|---|
| Liquid beads on the border | Check whether its face needs approved scoring or removal | |
| Drywall paper tears | Stop pulling hard and reassess the method | |
| Adhesive remains slippery or sticky | Continue compatible residue removal | |
| Wall is soft or damp | Allow drying and investigate moisture damage |
Can I use dish soap or fabric softener?
An improvised mixture may leave residues or be incompatible with the next coating. A suitable remover with clear instructions is easier to use predictably.
Can I paint over the border instead?
It may leave visible edges and introduce adhesion problems. If removal would cause extensive damage, discuss a properly prepared alternative with a painter rather than assuming ordinary wall paint will hide the layer.
Sources
- EPA lead-safe renovation guidance. Checked October 11, 2026
- Zinsser DIF Ready-To-Use Wallpaper Stripper. Checked October 11, 2026
- Zinsser's DIF technical instructions. Checked October 11, 2026
Share this article
Get new guides by email
Practical home articles and free resources. No spam, and you can unsubscribe at any time.
Keep reading
DIY Fluted Headboard Made Out of Pool Noodles
Plan a decorative fluted headboard using covered foam channels, a stable backer, careful material checks, and secure independent mounting.
October 2026, 3 min read

4 Renter-Friendly Ways to Hang Curtains Without Drilling
Compare tension rods, adhesive curtain hooks, magnetic rods, and floor-to-ceiling systems for curtains in a rental without drilling.
October 2026, 3 min read
Genius Under-Stairs Pull-Out Storage Ideas You Can DIY
Explore five under-stairs storage approaches with practical guidance on access, drawer hardware, stability, and existing openings.
October 2026, 3 min read