15 Small Kitchen Layout Ideas to Maximize Space
The best small kitchen layout gives you a clear place to prepare food, storage you can reach, and enough room to open doors without blocking the kitchen.
By Home Crane Editors. . 9 min read.
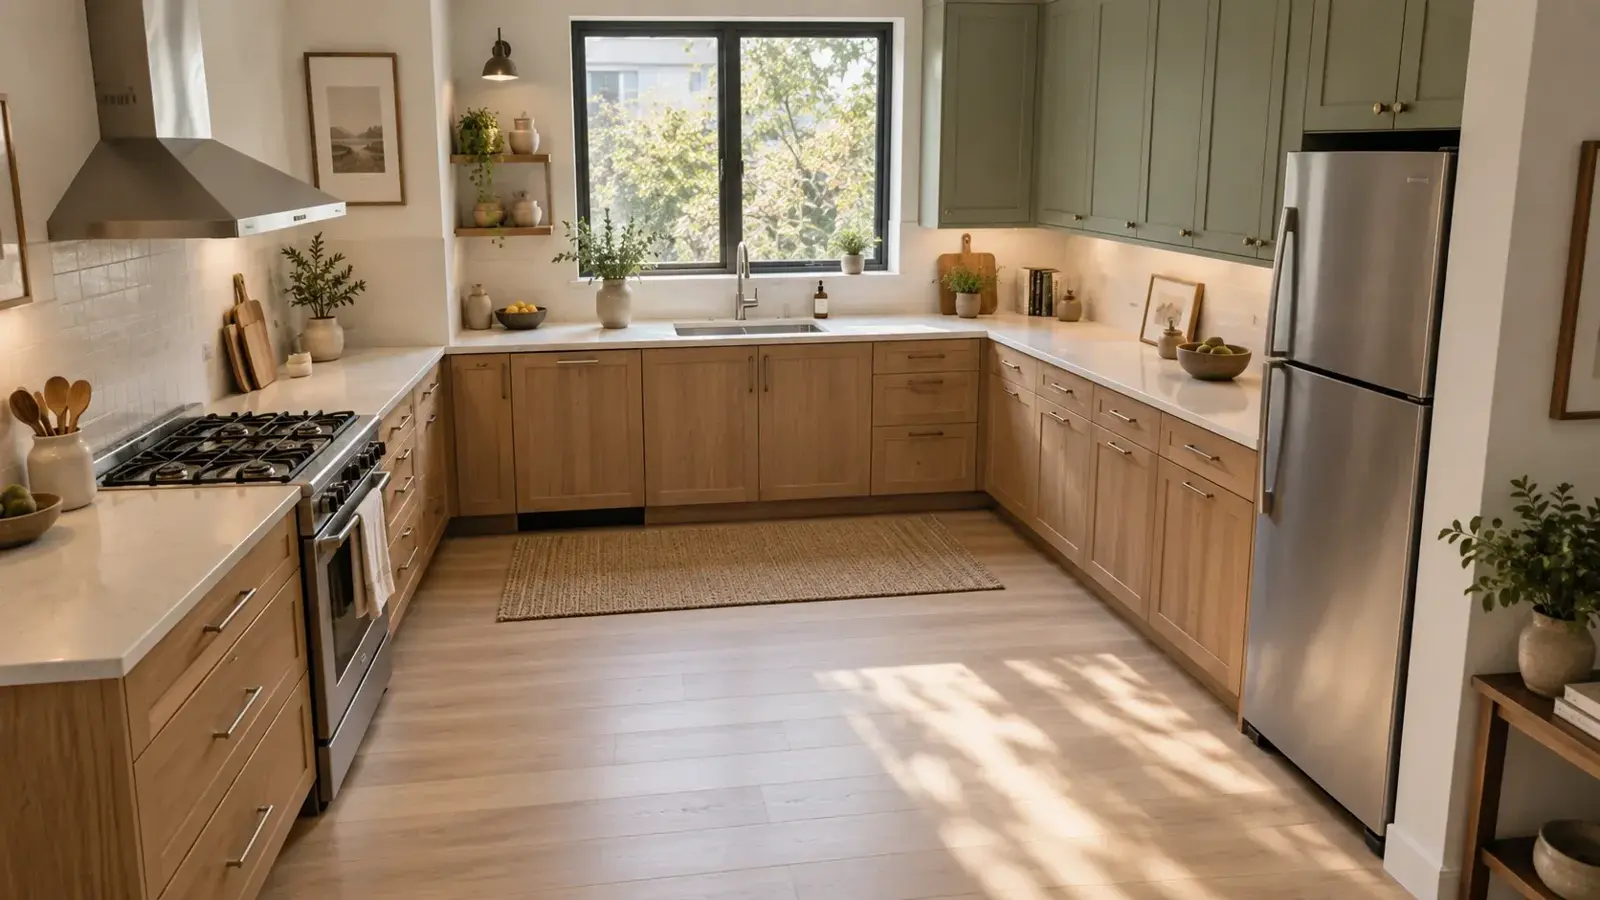
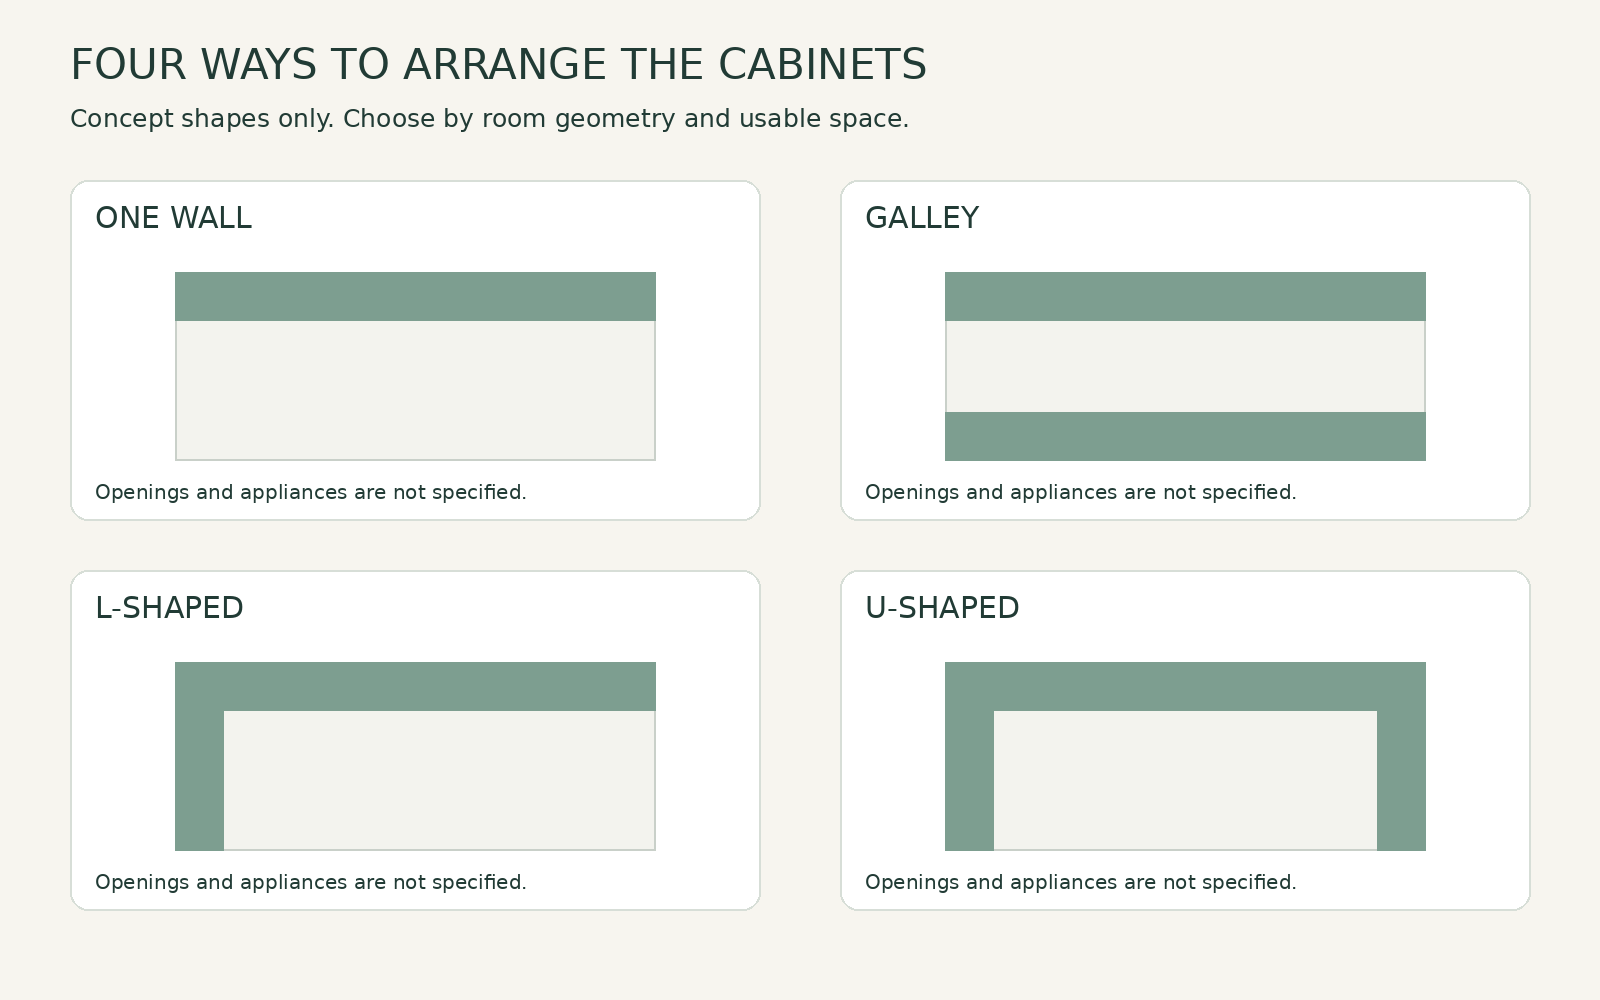
The best small kitchen layout gives you a clear place to prepare food, storage you can reach, and enough room to open doors without blocking the kitchen. Start with the room's shape: consider one wall for a compact studio, two parallel runs for a suitable narrow room, or an L-shape for a corner. Add an island only if the surrounding space works.
These 15 ideas include complete floor plans and smaller changes within an existing layout. Choose the ones that solve your daily frustrations, whether that means unloading dishes, finding pantry staples, or sharing the room.
Before choosing a layout, measure the space you actually use
A room can look generous when everything is closed and become awkward as soon as someone unloads the dishwasher. Sketch the walls, windows, doorways, and existing appliance positions. Include handles, countertop edges, and door-opening space. IKEA's kitchen measurement checklist is a useful reference for recording the room and its fixed features.
As planning benchmarks, the NKBA Kitchen Planning Guidelines recommend a work aisle of at least 42 inches for one cook or 48 inches for multiple cooks, and a walkway of at least 36 inches. These are design recommendations, not universal legal requirements. Individual accessibility needs and locally adopted rules require separate assessment.
Also list what currently interrupts you. Do groceries land on the dining table because the counter is full? Does the refrigerator door obstruct a drawer? A useful layout addresses those specific problems before adding more cabinetry.
1. Keep a studio kitchen on one wall
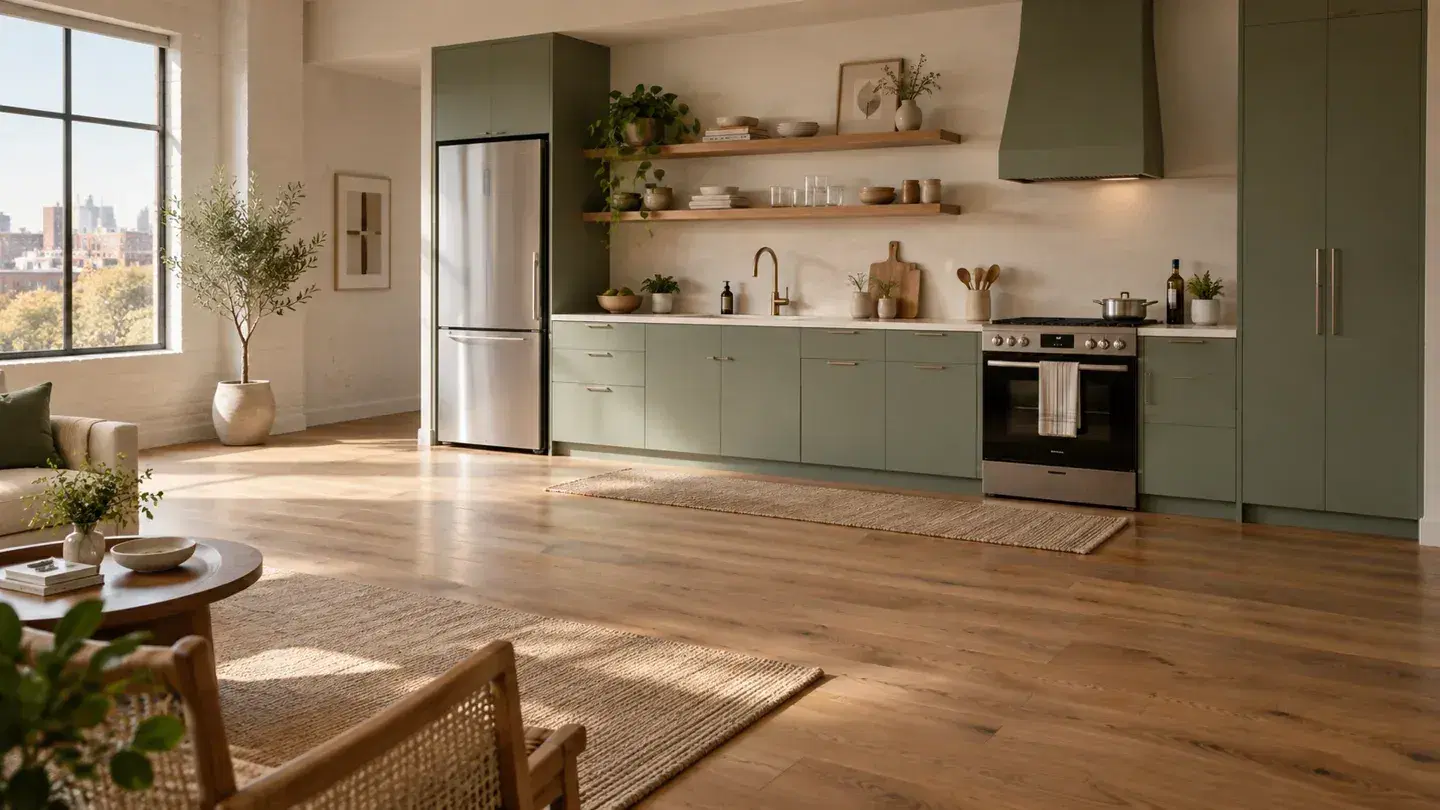
A one-wall layout puts the main kitchen components along a single run, leaving the rest of the room available for living or dining. It is worth considering when a second cabinet run would crowd the apartment.
Keep a useful stretch of counter between the main task areas instead of dividing the whole run into small fragments. IKEA's layout overview illustrates the difference between linear, galley, and corner arrangements.
The trade-off is limited frontage. Before specifying a tall pantry, check what happens to the preparation surface. A cupboard that stores everything can still leave you nowhere convenient to make lunch.
2. Use a galley when the room has enough width
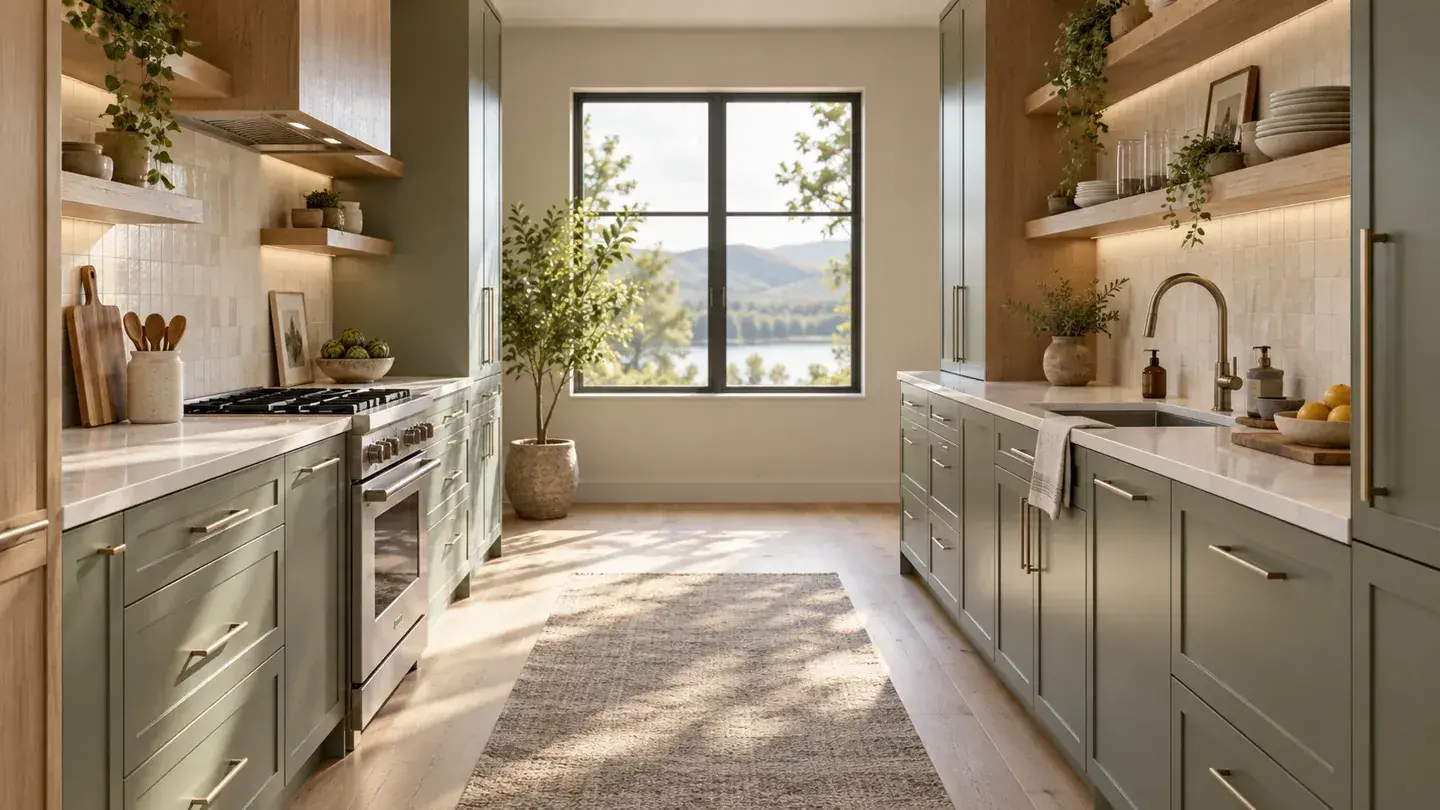
Two parallel cabinet runs can organize a narrow rectangular kitchen well. One side might hold the sink and main preparation area, with other appliances and storage opposite, depending on existing services and clearances.
Test the arrangement with appliance doors shown open on the plan. Avoid placing two frequently used doors directly opposite each other if that creates a conflict.
A galley is less appealing when it is also the household's busiest passage. If everyone must cross the kitchen to reach another room, keep that route central to the design discussion. Extra countertop is a poor exchange for a constant bottleneck.
3. Try a shallow storage run opposite the main counter
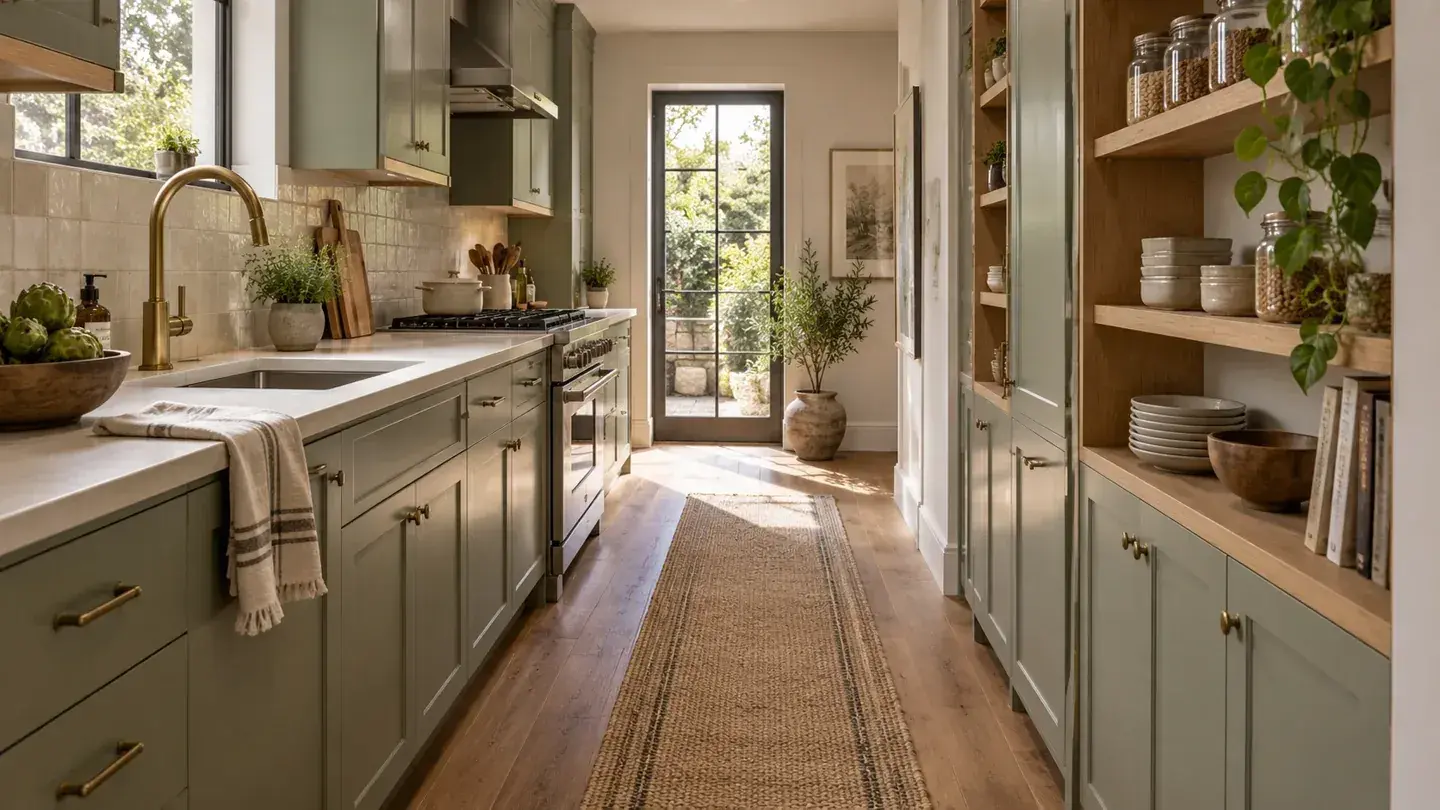
An uneven galley can be a useful compromise: retain a full working run on one side and use shallower storage opposite. The narrower side could hold glasses, pantry containers, or serving pieces that do not need deep shelves.
This is a design option to investigate, not a reason to squeeze appliances into unsuitable cabinets. Choose storage intended for its proposed use and have its support and fit checked.
Measure your actual belongings first. A shallow cupboard that accepts your everyday plates may be useful; one that only fits a row of tiny jars may not justify the floor space.
4. Leave the center open with an L-shaped layout
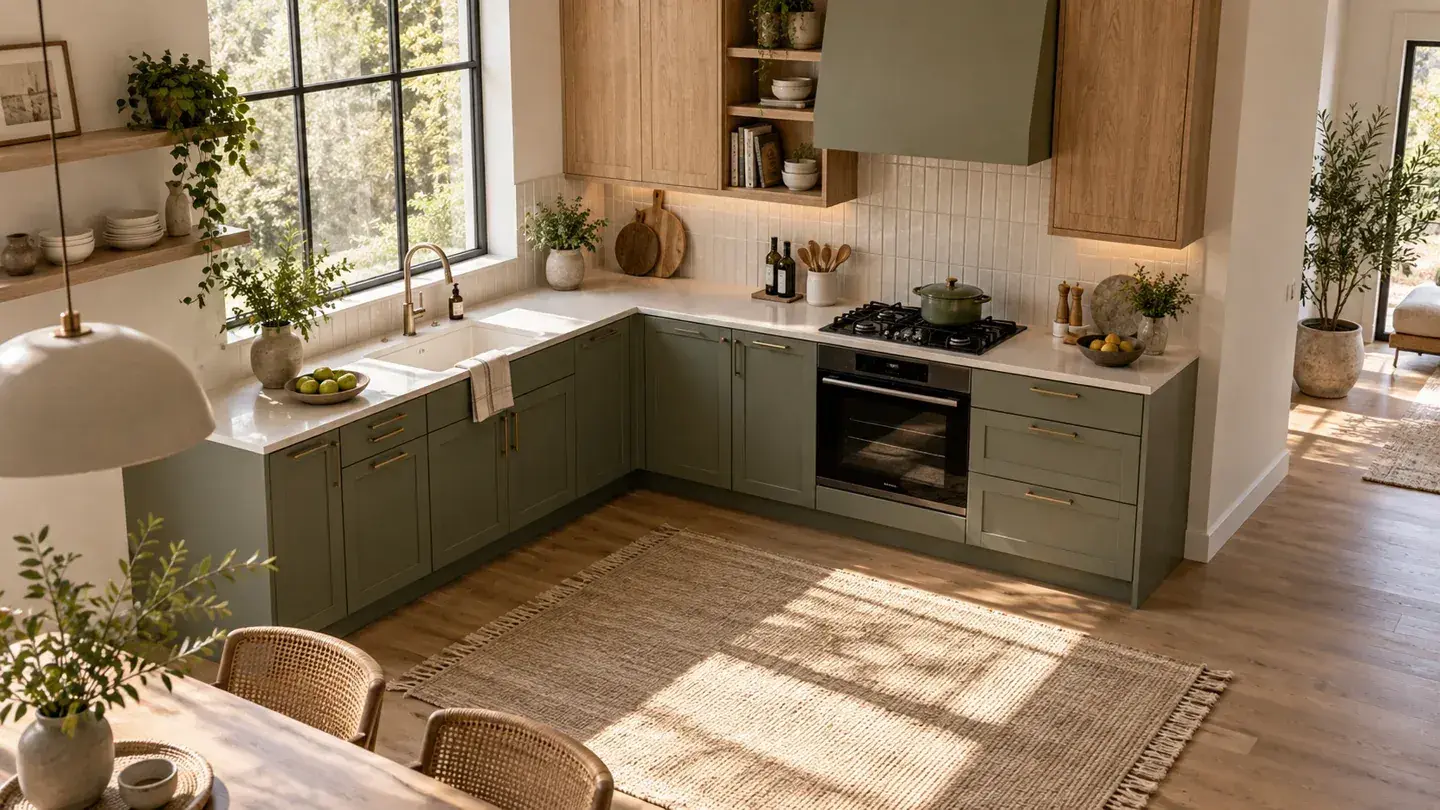
An L-shape uses two adjoining walls and leaves the opposite side open. Consider it when the kitchen shares space with dining or living and you want a clear approach to the work area.
Give the longer run a defined purpose, such as the main preparation zone, rather than scattering tall units across both walls. Keep the corner's storage arrangement understandable and easy to access.
Avoid filling the open center automatically. Live with the proposed circulation pattern on paper before adding a table or cart. Sometimes the most useful feature of an L-shaped kitchen is the empty floor it preserves.
5. Choose a U-shape only when the center stays usable
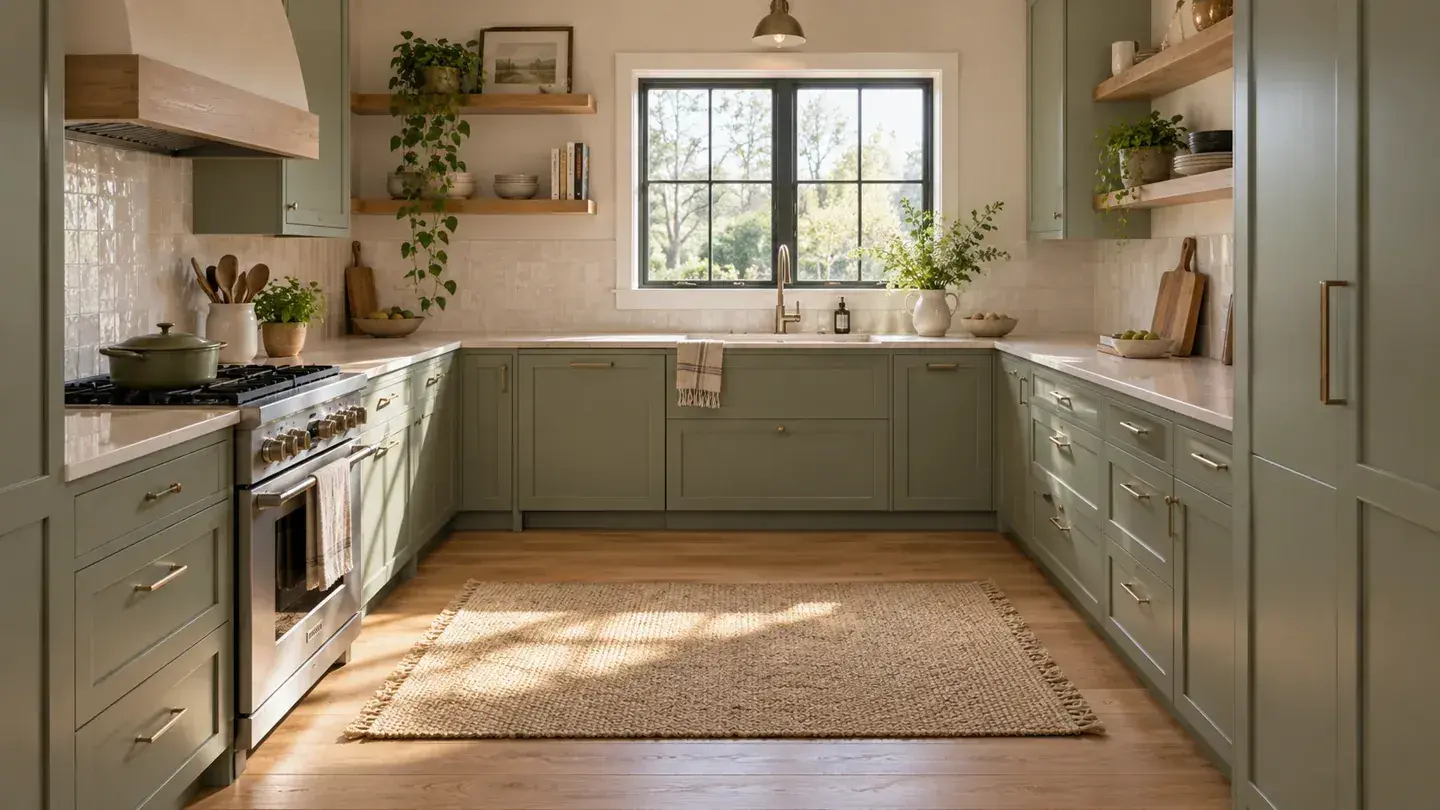
A U-shaped kitchen wraps three sides of the room with work surfaces and storage. It can suit someone who wants several tasks close together, provided the internal space accommodates movement and opening doors.
Its weakness is the temptation to fill every available edge. Two corners, several appliances, and an entry opening can produce a crowded plan even when the total countertop looks impressive.
Ask the designer to demonstrate the kitchen in use, including dishwasher unloading and refrigerator access. If the center becomes cramped, shorten one side or reconsider an L-shape rather than preserving the U at all costs.
6. Use a short peninsula to define the kitchen edge
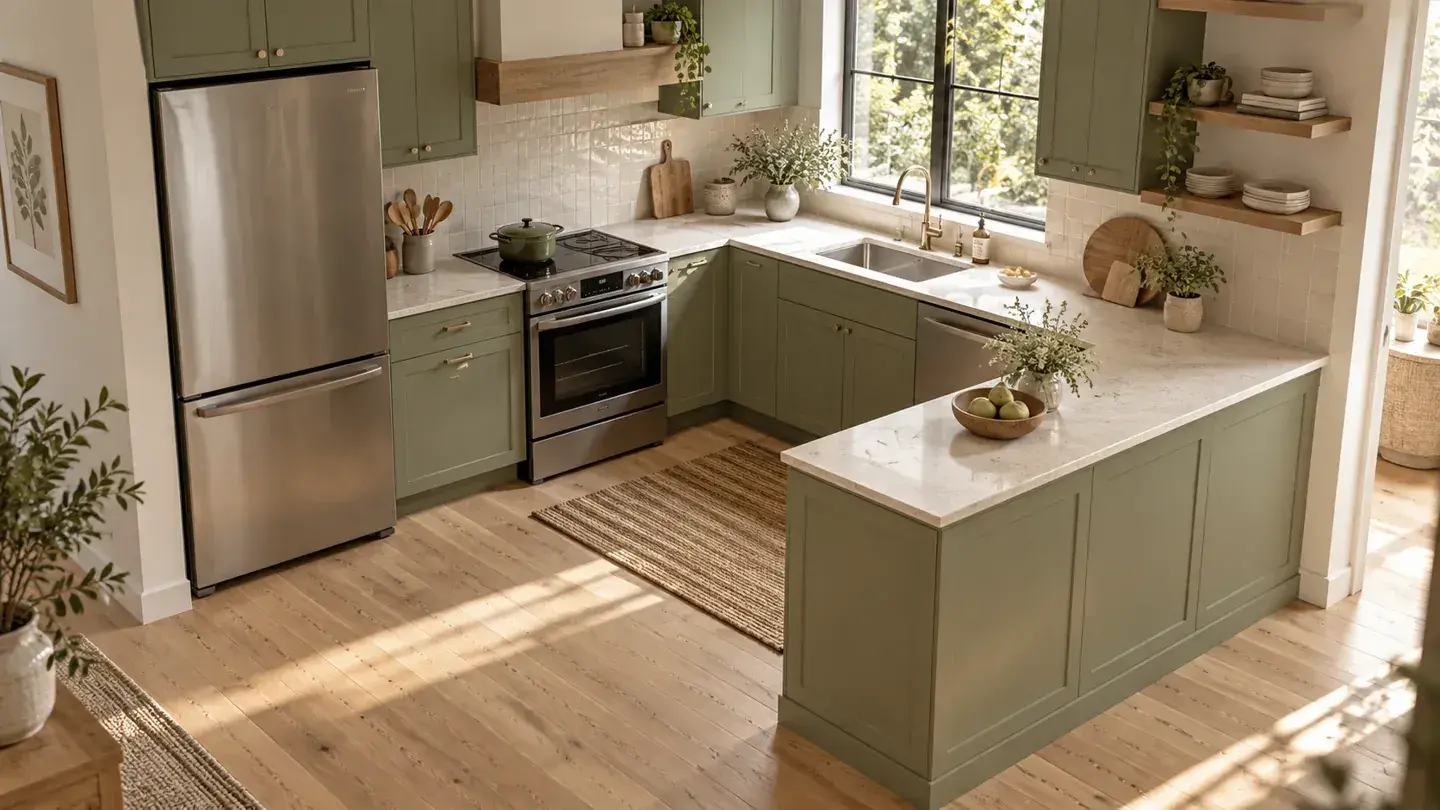
A peninsula connects to an existing cabinet run instead of standing independently. It can provide a preparation surface and define the boundary between kitchen and living space.
Keep its length proportionate to the entrance it leaves. Draw the route around its exposed end and check that the peninsula does not turn the kitchen into a narrow enclosure.
Seating is optional. A peninsula designed only for preparation and storage may be more useful than one with stools that occupy the household's main route. If seating matters, assess the occupied seats as part of the layout, not as decorative accessories added later.
7. Give a movable cart a permanent parking place
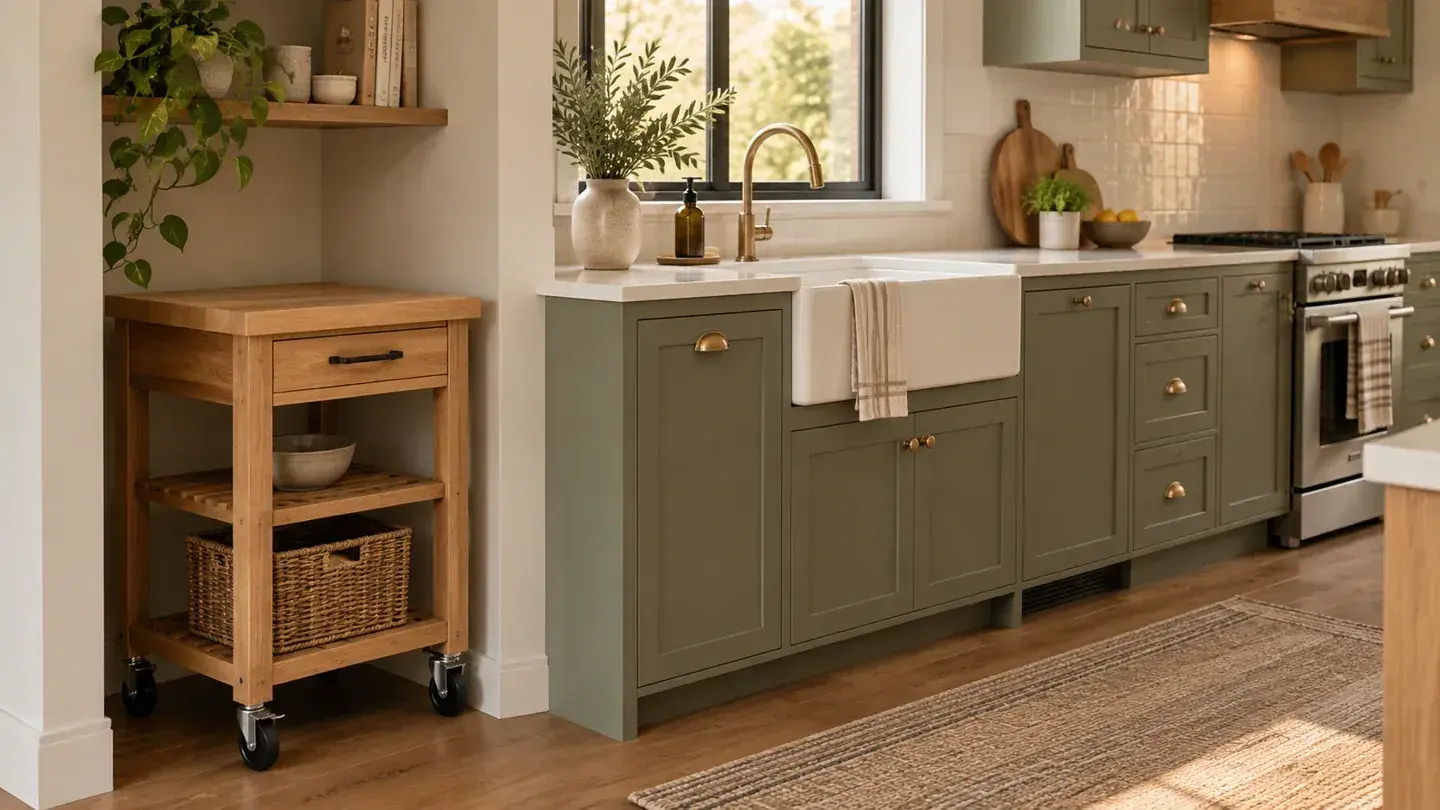
A cart can provide occasional workspace without committing to a fixed island, but its flexibility depends on having somewhere to park it.
Choose the parking position first, then check the cart's dimensions against that space. It should not block a doorway, appliance, or regular walking route when stored or in use. Follow its load limits and use its wheel locks where provided.
This can be a practical option for renters who cannot change cabinetry. However, if you must keep moving the cart simply to enter the kitchen, the room probably needs a smaller piece or no cart at all.
8. Place the refrigerator near the edge of the work zone
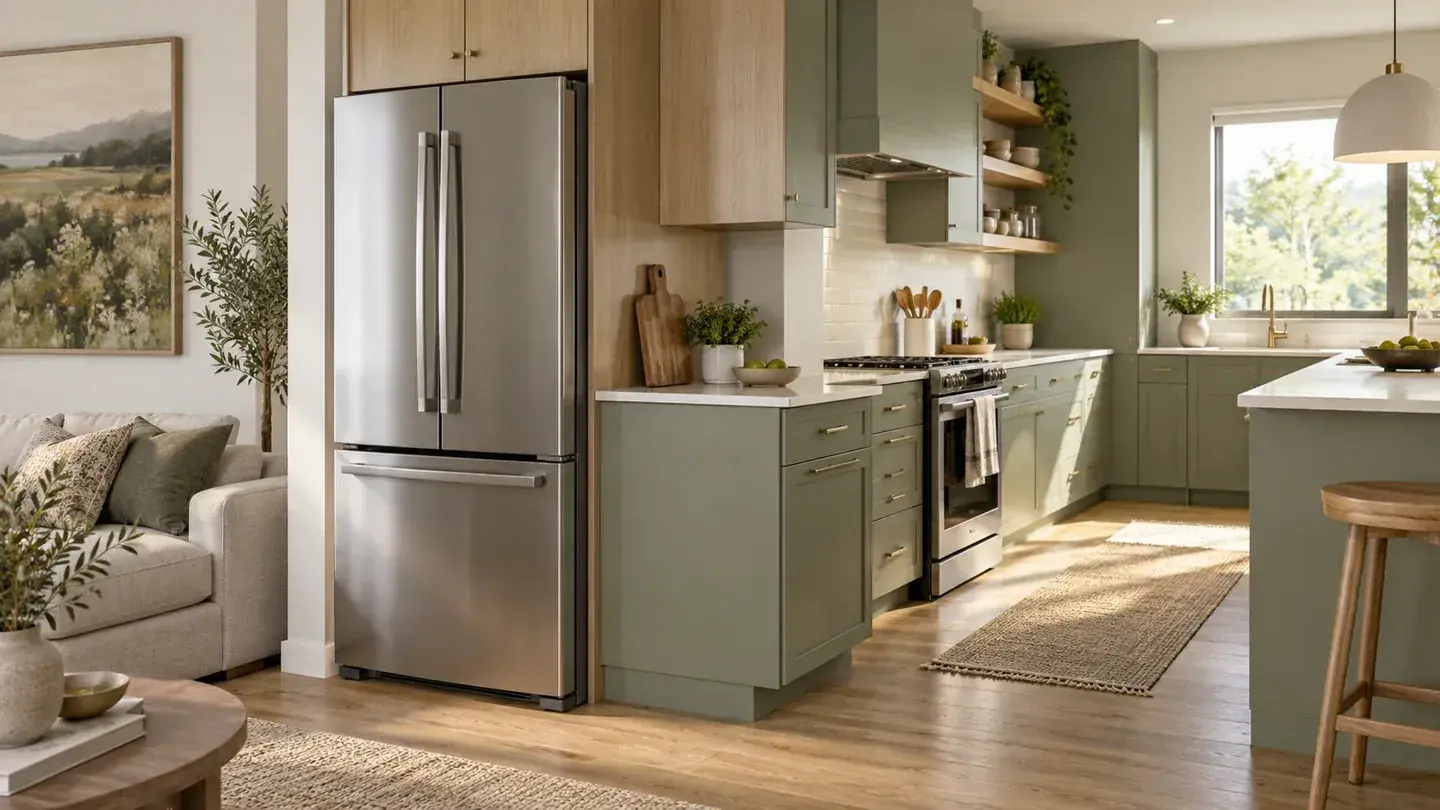
If household members frequently enter just to get a drink or snack, consider a refrigerator position reachable without crossing the main preparation area.
That location still needs a convenient place to set items down and enough opening space for the chosen model. Check whether the door can open far enough to use and remove internal drawers, especially beside a wall.
Do not choose its location from the closed appliance dimensions alone. Ask for the manufacturer's model-specific requirements before finalizing cabinets. The objective is easier everyday access without creating a new obstruction at the kitchen entrance.
9. Protect one continuous preparation surface
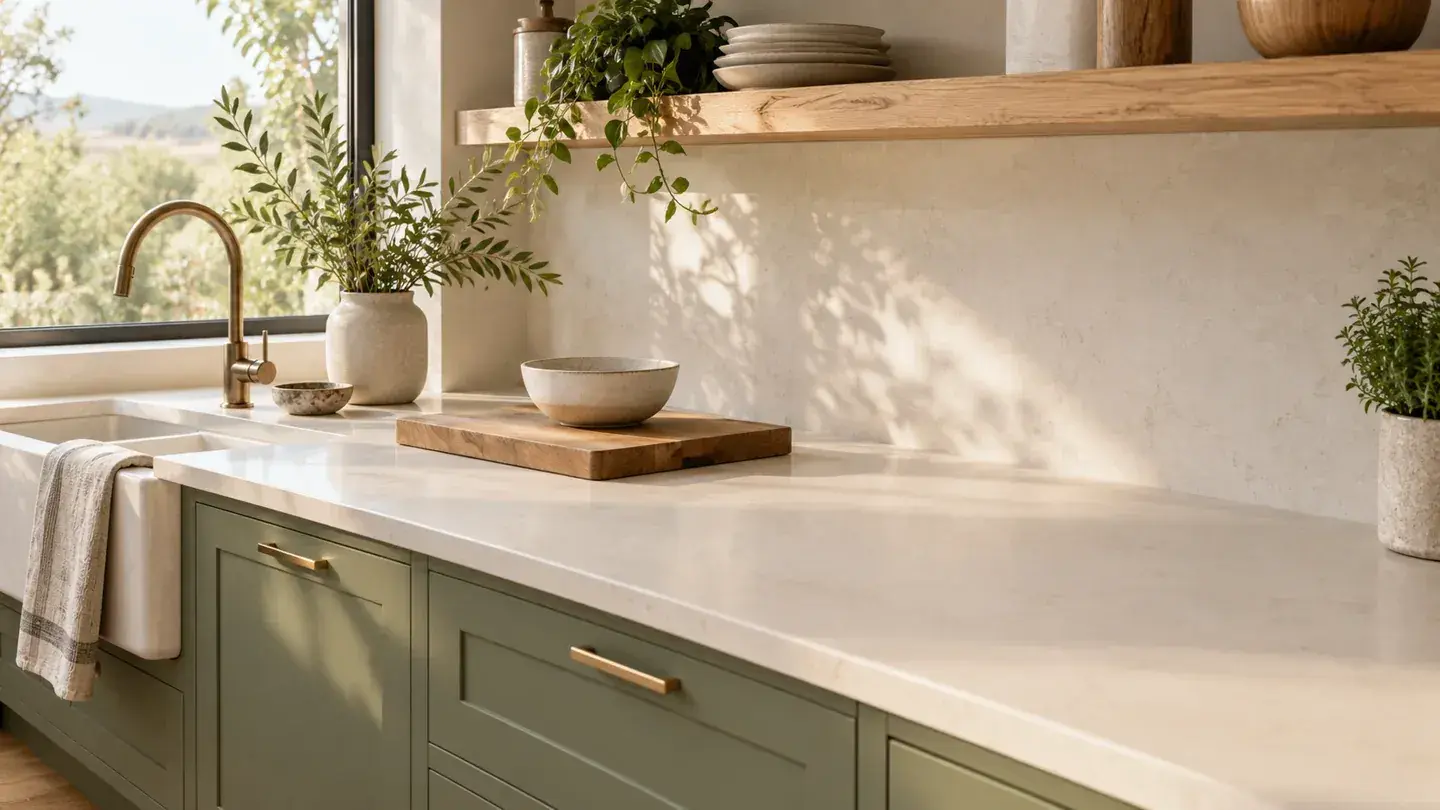
Several small countertop sections can add up to substantial area while still being frustrating to use. Prioritize one clear working surface near the sink.
The NKBA preparation-area recommendation is a continuous counter at least 36 inches wide and 24 inches deep immediately beside a sink. Use that as a planning reference, with individual needs assessed separately.
Now consider what occupies that surface. If the coffee maker, dish rack, and storage jars all live there, the drawing overstates the space available. Give those items intentional homes before concluding that the kitchen needs a bigger footprint.
10. Group tall storage where it does not interrupt the counter
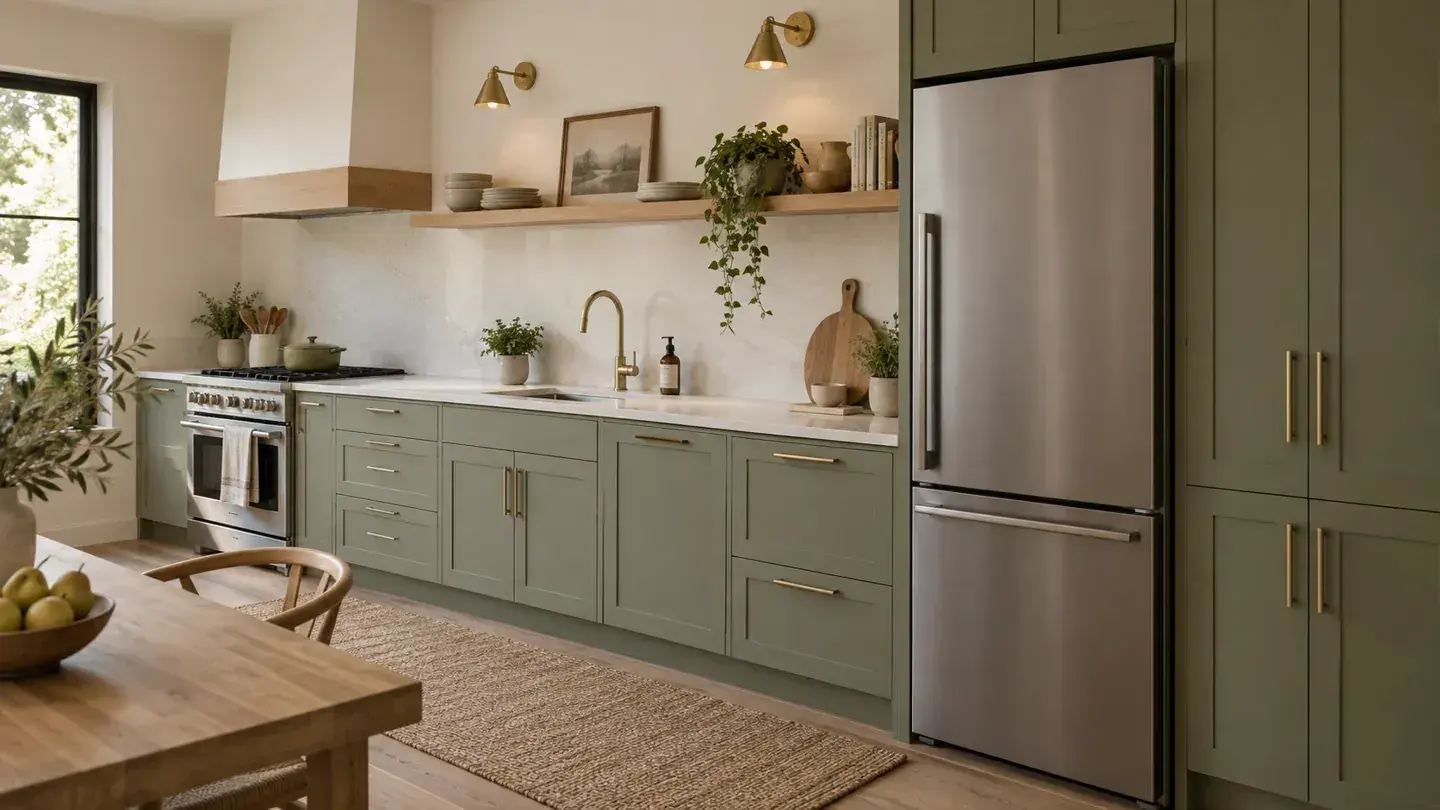
Consider placing a pantry cabinet and refrigerator together at an appropriate end of a run. This can preserve a more continuous stretch of working counter elsewhere.
Check the consequence before committing: will the tall group crowd a window, obstruct an entrance, or create awkward refrigerator access? Keep the everyday items within comfortable reach rather than treating high storage as the answer to every shortage.
A useful exercise is to assign contents to each proposed cupboard. If the tall pantry mainly holds rarely used serving dishes while daily food preparation suffers, a shorter storage arrangement may be the better compromise.
11. Put drawers where you prepare food
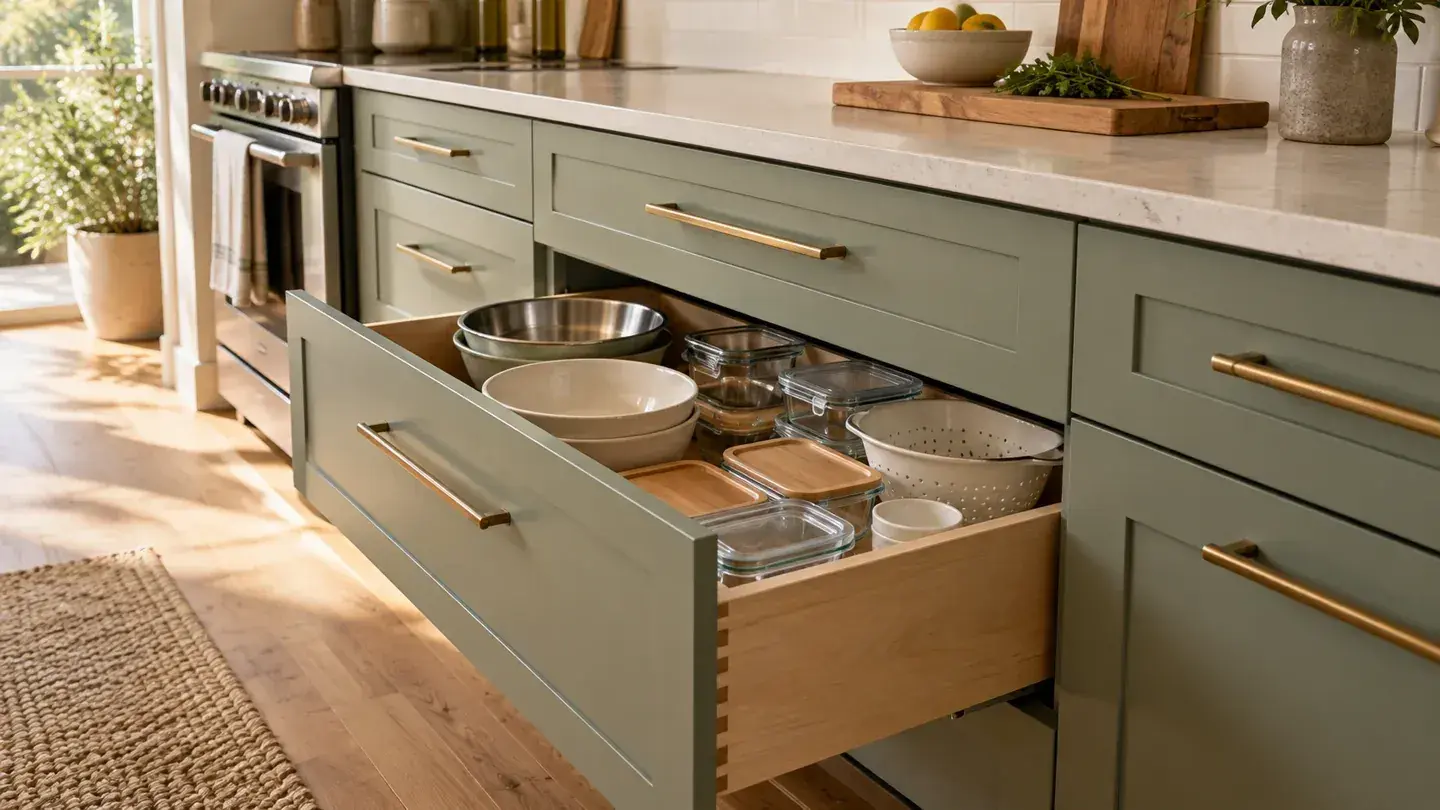
In a redesign, consider drawers beneath the main preparation area for the items used there. The benefit comes from matching storage to the task: bowls near mixing space, containers near food packing, and towels near cleanup.
Specify drawers around actual contents and the cabinet system's weight limits. A collection of deep drawers is not automatically useful if most belongings are shallow utensils and small containers.
This idea changes the organization within a layout rather than its overall shape. It is especially relevant when the existing floor plan works but every routine involves opening several unrelated cupboards.
12. Evaluate compact appliances before finalizing cabinets
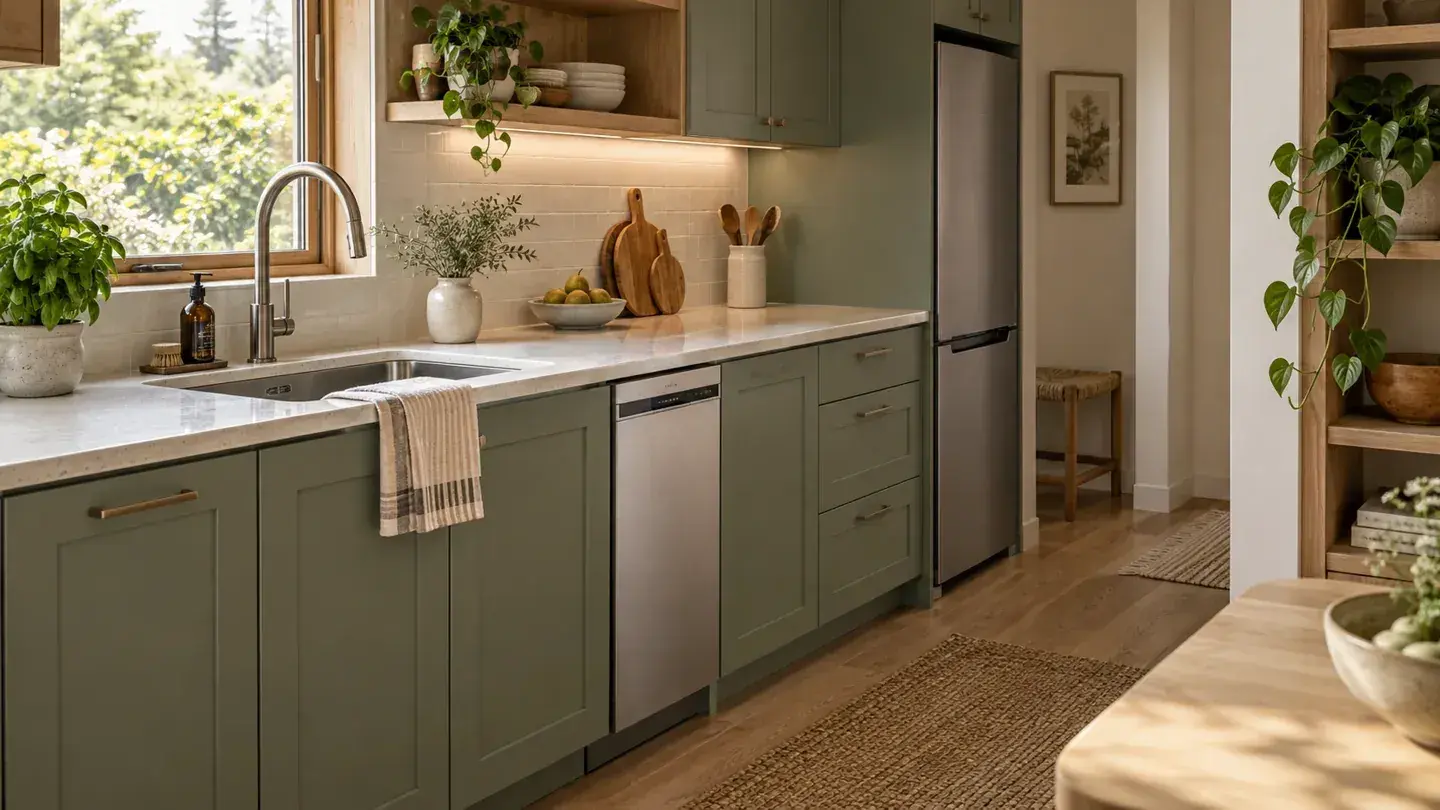
Smaller appliances are worth evaluating when their capacity suits the household. For example, Bosch offers an 18-inch dishwasher category, giving planners an option beyond larger formats.
Compare the proposed machine against your normal loads, including the items you wash most often. Then check the selected model's actual dimensions, required opening, door movement, and installation requirements.
Do not count every nominal inch saved as usable new storage. Cabinet modules, fillers, and adjacent components affect the result. The goal is a complete arrangement that works, not simply the smallest appliance on the list.
13. Move occasional dining to a flexible table
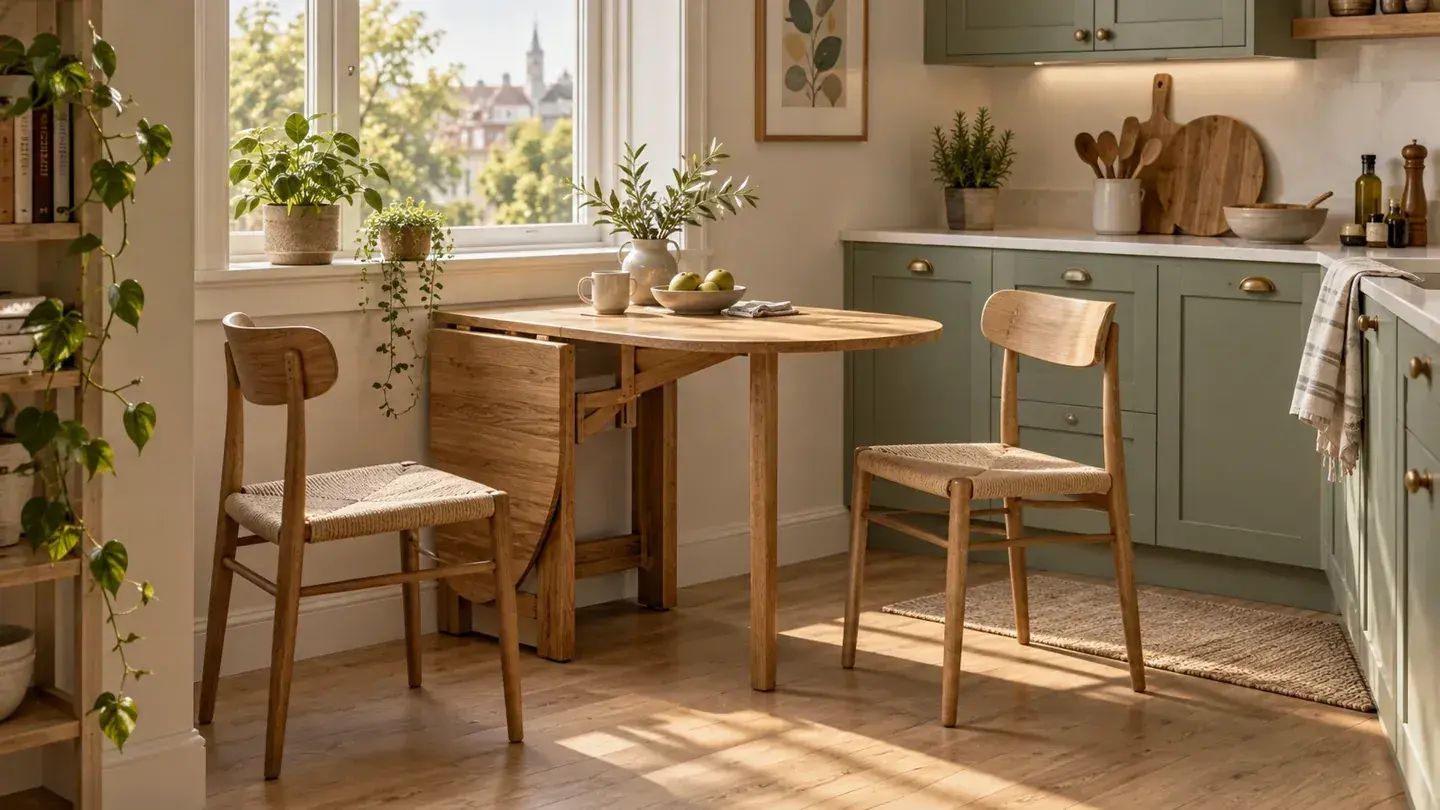
If kitchen seating is needed only occasionally, a small drop-leaf table may suit the household better than a permanent breakfast bar.
Plan both configurations. The folded table needs a sensible home; the open table and occupied chairs need sufficient room without blocking circulation. A tabletop that technically fits is not enough if nobody can sit down comfortably.
Keep dining on the quieter side of the room where possible. For renters, freestanding furniture can be easier to reconsider than fixed cabinetry. Choose a stable, purpose-built table and follow its operating instructions rather than improvising a wall-mounted solution.
14. Put drinks and everyday cups outside the busiest area
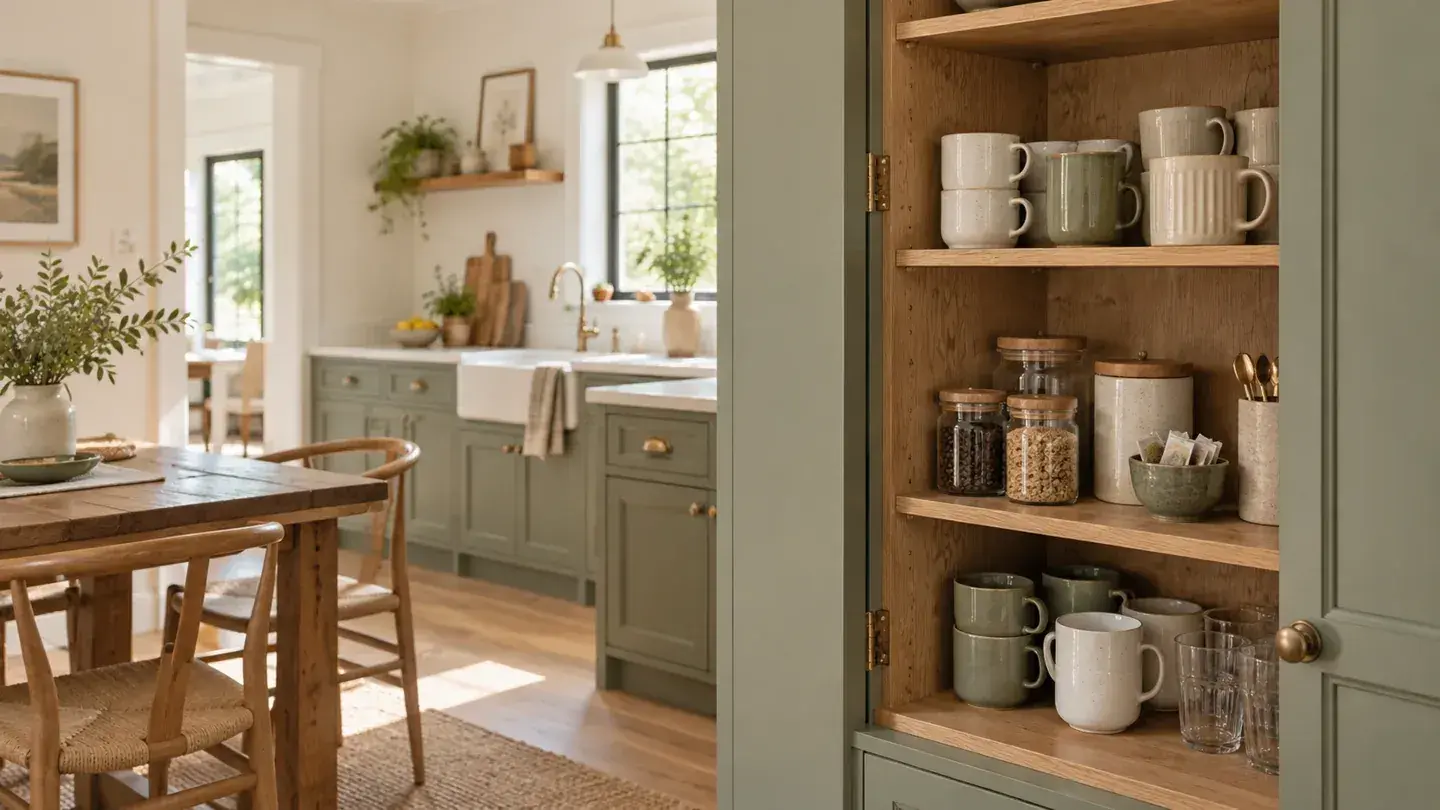
If several people share the kitchen, consider keeping cups and drink supplies near its outer edge or in a suitable adjacent storage area. Someone making a drink then has less reason to search through the main preparation zone.
Start with storage rather than adding another appliance station. A compact cupboard for mugs and supplies may solve the problem without occupying more counter.
If an appliance is included in the redesign, its location must suit the manufacturer's instructions and appropriate electrical provision. Avoid a plan that relies on cords crossing routes or appliances operating inside unsuitable enclosed storage.
15. Replace an oversized island with open floor
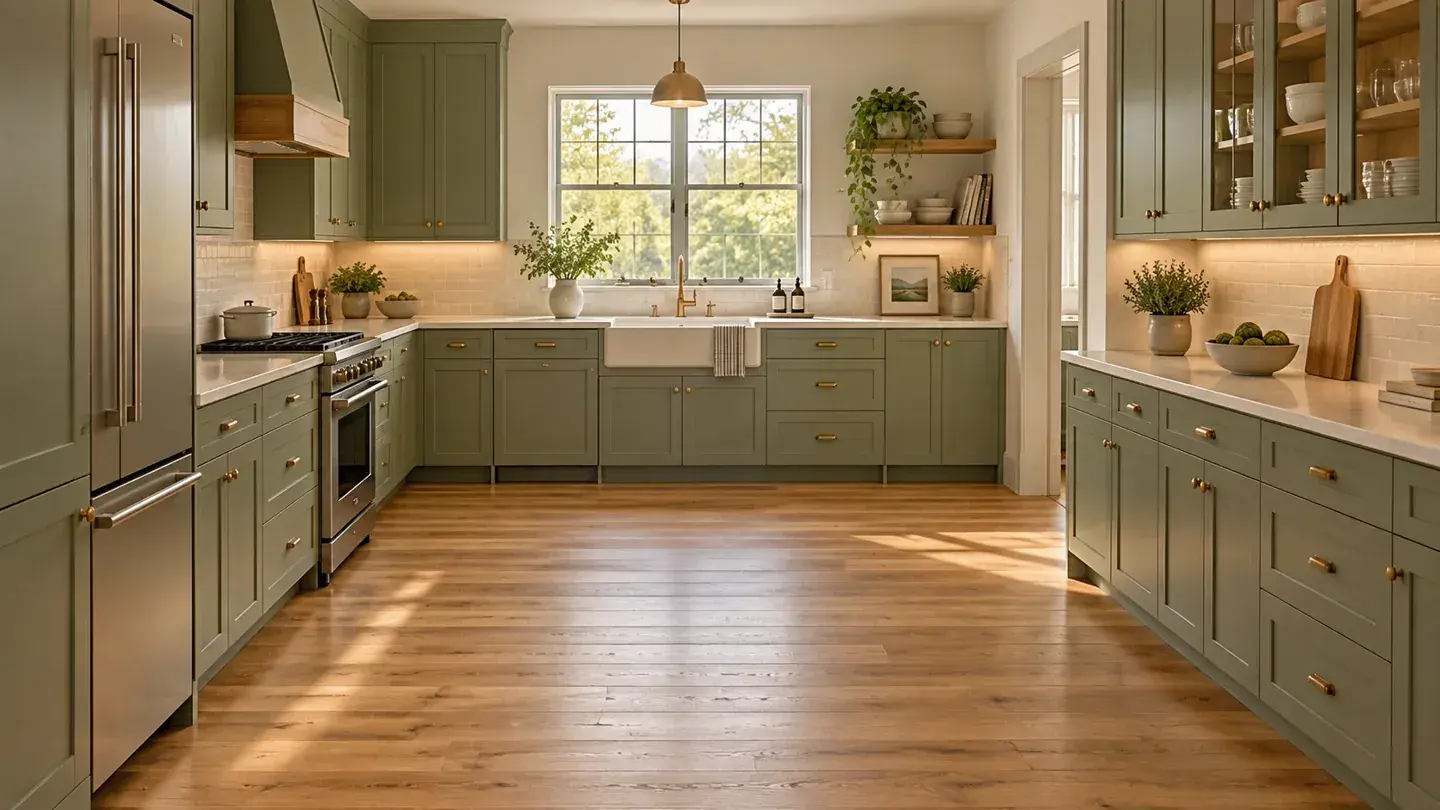
Removing an unnecessary freestanding island from the plan can be the most effective space-saving decision. The floor it occupies may be more valuable for movement, shared use, or appliance access.
Compare two versions of the room: one with the island and one without. Record where its contents would go and whether its work surface is genuinely needed every day.
For an existing fixed island, have a qualified professional assess removal, particularly if services are involved. This is a planning decision, not a demolition instruction. An island earns its place by improving the room's use, not by appearing in inspiration photographs.
A quick check: will an island actually fit?
Consider this illustrative width calculation, using assumed dimensions:
| Feature | Assumed width | |
|---|---|---|
| Room | 120 inches | |
| Wall-side counter projection | 25 inches | |
| Proposed island | 24 inches | |
| Space remaining for both aisles | 71 inches | |
| Each aisle if divided equally | 35.5 inches |
The calculation is 120 − 25 − 24 = 71 inches, then 71 ÷ 2 = 35.5 inches. That is about 902 mm per aisle. If either side serves as a work aisle, this arrangement falls below the single-cook benchmark discussed earlier.
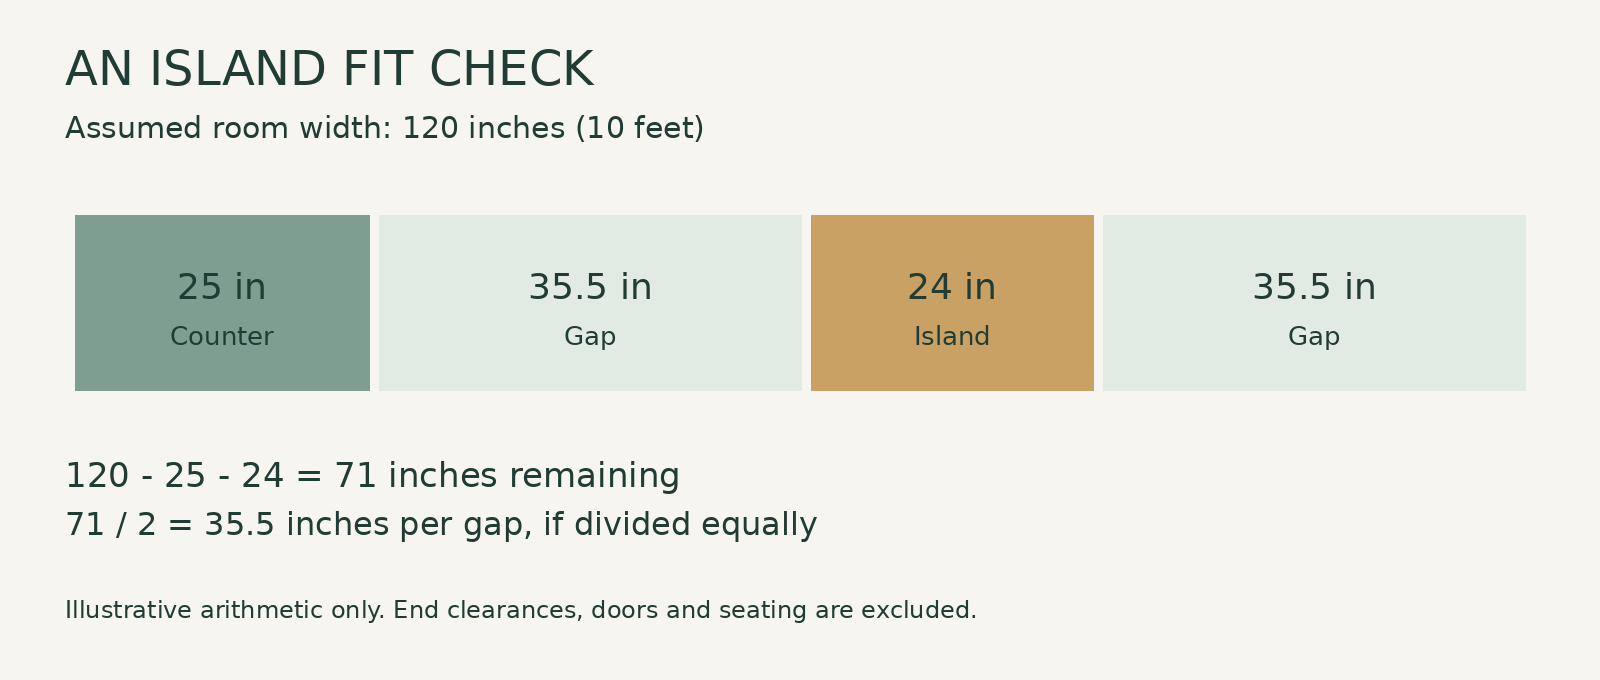
This does not establish a universal room size for islands. It shows why checking the remaining space is more useful than asking whether a small island exists.
Choose the idea that solves your biggest problem
| Feature | Ideas to investigate first | What to check |
|---|---|---|
| No clear preparation area | 1, 9, 10 | Counter space after everyday items are placed |
| Narrow room feels crowded | 2, 3, 15 | Circulation and open appliance doors |
| Kitchen occupies a room corner | 4, 6 | Entrance width and neighboring furniture |
| Storage is difficult to use | 10, 11 | Actual contents, reach, and drawer capacity |
| Shared kitchen gets congested | 8, 14 | Routes to drinks, food, and cleanup |
| Rental needs flexibility | 7, 13 | Parking space and furniture in use |
Before ordering, ask a kitchen designer to compare your strongest two options using measured drawings and actual appliance specifications. IKEA's kitchen planning service is one retailer-based option; an independent designer can consider other cabinet systems. Changes involving services, structure, or local approvals need the appropriate professionals.
Begin with one concrete goal: a clear preparation counter, an unobstructed route, or storage that fits what you own. Keep only the additions that help achieve it.
Sources
Share this article
Get new guides by email
Practical home articles and free resources. No spam, and you can unsubscribe at any time.
Keep reading
15 Icy Blue Bedroom Paint Ideas for 2026
Explore 15 icy blue bedroom paint ideas, from accent walls to blue ceilings, with warm pairings and practical sampling tips for 2026.
October 2026, 6 min read
Neo Deco Living Room Ideas: How to Get the Look on a Budget
Create a budget Neo Deco living room with curves, geometric patterns, metallic accents, jewel tones, and balanced furniture styling.
October 2026, 3 min read
15 Smart Small Laundry Room Stackable Washer Dryer Ideas
Explore 15 smart small laundry room stackable washer dryer ideas. Compare illustrated concepts, practical layout tips, and planning checks.
October 2026, 6 min read