The Beginner's Guide to Installing Shiplap Horizontally
Horizontal shiplap can give an interior wall a clean, continuous rhythm, but a good result starts with the actual board profile and installation.
By Home Crane Editors. . 3 min read.

Horizontal shiplap can give an interior wall a clean, continuous rhythm, but a good result starts with the actual board profile and installation instructions. True overlapping shiplap, tongue-and-groove products, and thin decorative strips are not installed identically.
Choose an interior product suitable for the room and follow its current guide. This tutorial explains the sequence for a horizontal wall installation. It does not replace product-specific fastener, acclimation, expansion, or substrate requirements, and it is not an exterior weatherproofing guide.
1. Identify the product and plan the wall
Measure wall width and height at several locations. Mark outlets, switches, windows, baseboards, and any surface that must remain accessible. Decide how the boards will meet the perimeter trim before calculating quantities.
Read the profile's installed coverage, not just its overall board width. Overlapping material covers less height than the full board dimension. Divide the wall height by the exposed face dimension to estimate courses, then plan how the first and final rows will look.
Order using a cut layout that accounts for lengths and waste. A total square-foot calculation can hide the need for many short pieces around windows. For a first project, an uninterrupted wall is easier to plan and usually gives a cleaner result.
2. Acclimate and prepare the materials
Store the boards as the manufacturer instructs and allow the specified acclimation period. Temperature and moisture differences can affect wood movement and the finished appearance. Do not leave the material in a damp garage and install it immediately in a heated room.
Inspect boards for damage, profile defects, and color variation before cutting. Set aside pieces that are unsuitable for visible locations and plan cuts to use sound material efficiently. Finish or seal cut edges as the product requires.
The UFP-Edge shiplap instructions provide one product-specific example of acclimation, orientation, and fastening. Use them only for the matching product rather than treating their details as a universal rule for every board sold as shiplap.
3. Prepare the wall and mark the framing
Repair loose or damaged wall surfaces and address moisture problems before covering them. Locate suitable framing and mark its position so you can find it as the boards rise. Check for concealed services before fastening.
Plan the electrical details for the added wall thickness. Receptacles and switches should remain correctly mounted and accessible with appropriate components. Do not bury a box behind wood or improvise long screws without resolving the box extension and support requirements.
If preparation will disturb old paint, review the EPA's lead-safe renovation guidance. Cutting and sanding new boards also require suitable dust control and tool protection. Keep the room clear enough to handle long pieces without damaging walls or windows.
4. Establish a level first course
Find the reference line that will produce level courses across the wall. Floors and baseboards can slope, so do not assume the first board should simply follow them. Dry-fit the lower course and plan any scribing or trim needed at the bottom.
Install in the direction and orientation required by the profile. Some systems begin at the bottom with a specific overlap arrangement; others have different details. Keep the required perimeter movement clearances rather than packing every edge tightly.
Use appropriate fasteners at the specified locations. Do not nail through overlapping pieces if the product prohibits it. An incorrect fastener position can restrict movement or damage the joint even when the face looks neat.
5. Continue the courses and finish the perimeter
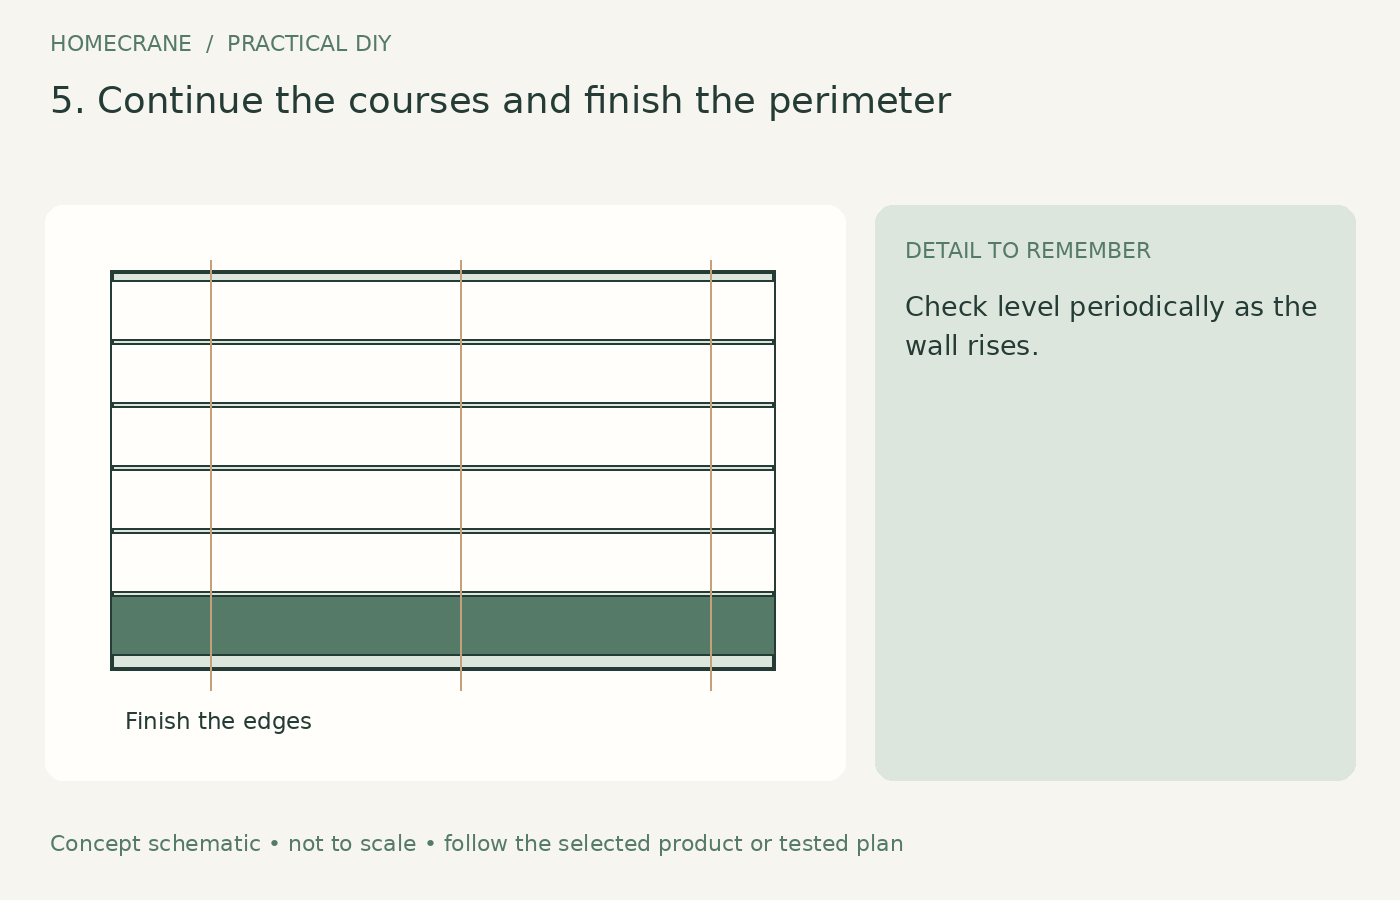
Check level periodically as the wall rises. Fit joints according to the profile rather than adding arbitrary spacer coins to a system that already controls its reveal. Plan end joints at suitable support where required and avoid a distracting repeating seam pattern.
Measure each cutout carefully and support boards while cutting. Dry-fit around openings before final fastening. Do not force a bowed board into place in a way that opens neighboring joints or distorts the wall.
Fit the final course and perimeter trim as planned. Touch up fastener holes and cuts with compatible products, keeping intentional reveals clear. Inspect the finished wall for loose boards, protruding fasteners, and blocked access before returning the room to use.
Common layout decisions
| Feature | Decide before installation | |
|---|---|---|
| Exposed face width | Determines the number of courses | |
| First and final rows | Avoids an accidental narrow strip | |
| End joints | Coordinates support and appearance | |
| Outlets and switches | Accounts for added wall thickness | |
| Perimeter trim | Preserves required movement space |
Avoid promising that a whole wall is a two-hour project. Cutting, acclimation, preparation, electrical details, and finishing often take longer than the visible board installation. A realistic schedule makes it easier to work accurately instead of forcing the final rows into place at the end of the day.
Questions beginners ask
Can I use plywood strips instead?
That is a different decorative treatment, without the same overlapping profile. Its edge finish, gaps, attachment, and movement details need a separate plan.
Can shiplap hide an uneven wall?
It may conceal minor visual defects, but it does not correct a failing or significantly uneven substrate. Prepare the wall or use a properly designed support system rather than relying on the boards to flatten it.
Sources
- UFP-Edge shiplap instructions. Checked October 11, 2026
- EPA's lead-safe renovation guidance. Checked October 11, 2026
Share this article
Get new guides by email
Practical home articles and free resources. No spam, and you can unsubscribe at any time.
Keep reading

DIY Fluted Headboard Made Out of Pool Noodles
Plan a decorative fluted headboard using covered foam channels, a stable backer, careful material checks, and secure independent mounting.
October 2026, 3 min read

4 Renter-Friendly Ways to Hang Curtains Without Drilling
Compare tension rods, adhesive curtain hooks, magnetic rods, and floor-to-ceiling systems for curtains in a rental without drilling.
October 2026, 3 min read
Genius Under-Stairs Pull-Out Storage Ideas You Can DIY
Explore five under-stairs storage approaches with practical guidance on access, drawer hardware, stability, and existing openings.
October 2026, 3 min read